Ahh, suspension. It’s revolutionised our sport and taken us to new heights (literally). With a bit of tuning it can turn an ‘okay’ bike into a rocket-ship, assuming of course you’ve got the skills to keep up. In my eyes, your suspension system is probably the component group most worthy of your extra coin, but it’s probably also the most difficult thing on a mountain bike to wrap your head around and understand. Today I’ll give you a rundown on what does what so the next time you carry out a trail-side suspension tune-up you’re not aimlessly twisting the dials. Bear in mind, this is an introductory piece, so if you’re already a suspension guru you probably won’t take much away from this.

What is a damper and what is a spring?
To keep things simple, the spring is what offers resistance and supports your weight, while the damper controls how the spring acts. Essentially, the spring dictates how much force is required to compress your suspension, while the damper controls how quickly (or slowly) the suspension travels throughout its stroke, via compression and rebound adjustments.
Imagine a compressed spring. If you removed the force keeping it compressed, it would decompress and launch into the air uncontrollably. If that spring had a damper, it would dictate the speed at which the spring could decompress when you removed the compressing force. Finding the right suspension setup is a matter of balancing your spring rate and damper adjustments until everything acts in unison.
Air Springs vs Coil Springs
There are two main types of springs when it comes to mountain bike forks: air springs and coil springs. Air springs are a pressurized chamber within your fork or shock that can be pumped up via a shock pump. The biggest benefit to an air spring is tunability. With a shock pump you can add or remove air pressure in seconds to make the spring harder or softer and, with internal volume spacers, you can adjust your spring curve (we’ll touch on spring curves in a second). Air springs require more seals, and more seals mean more friction, affecting small bump sensitivity. More seals also mean more maintenance.
Coil springs are mechanical springs, the same as you’d expect to see on a car or most downhill bikes. They have a much more linear spring curve. Coil springs are heavier than air, but with less seals there’s less maintenance and they’re a lot more supple over small bumps. Coil springs are simpler to maintain and don’t have the overheating issues that can plague some air shocks on long descents. The biggest downside to coil springs, is that they don’t fit some frames and you’ll probably have to buy an extra spring suited to your weight, versus an air spring which can just be pumped up.
Put simply, spring curves are the relationship between the amount of force needed to compress your suspension versus the amount of travel used. A linear spring curve, for example, might take 40kg to compress it through half of its travel and 80kg to fully compress it, versus a progressive spring curve which might take 40kg to compress it halfway and 120kg to fully compress it. A linear spring will feel the same regardless of how much travel you’ve used, whereas a progressive spring will feel firmer the further through the travel you get.
The benefits to a linear spring curve are; plenty of traction at lower speeds and suspension that feels the same through the entire stroke, while sacrificing bottom-out resistance without upping spring rates. The benefits to a progressive spring rate are; a supply top stroke with plenty more bottom-out resistance, but too much progression can make it difficult to use all of your travel, particularly if you’re not an aggressive rider. The key thing to consider here, though, is that every full suspension bike’s linkage system will have its own characteristics that lean towards one of the two spring curves.
Rebound and Compression
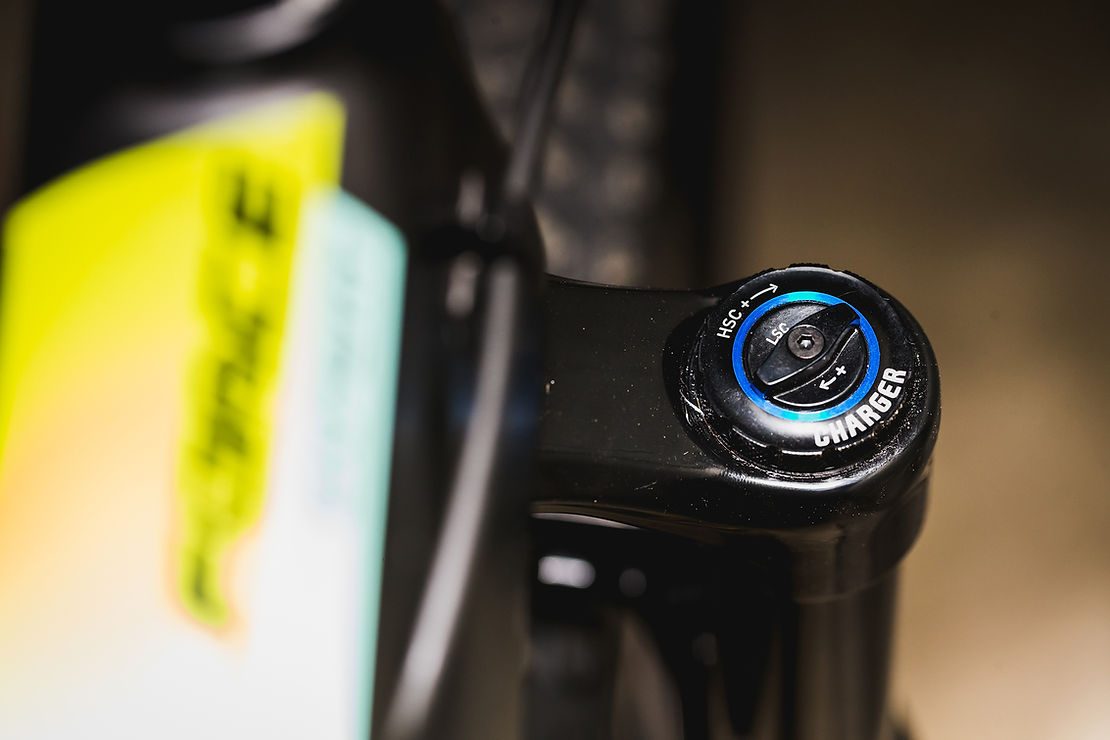
Your damper controls two things: rebound and compression. Rebound controls how quickly your fork re-extends after being compressed, with compression controlling how quickly your fork compresses under load – go figure. Most forks and shocks feature a rebound adjustment dial and some sort of compression adjustment. Both adjustments have two options: high-speed and low-speed, however, it’s more common to see high-speed and low-speed compression adjustments than high and low speed rebound adjustments on suspension components. Speed is in reference to your shaft speed, as in how quickly your suspension is moving through its travel. A high-speed compression for example, would be when you hit a drop and the rear shock quickly has to absorb the impact. A low speed compression would be when you get on your front brakes and the fork compresses a little, in a relatively controlled manner before supporting your weight. Rebound is much the same, but most external rebound adjustments are for low-speed rebound, as this circuit is responsible for about two thirds of your travel, where your fork should spend most of its time working.
Wrap Up
I’ve just thrown a ton of information your way, so we’ll call it quits for this class. Next time round, we’ll look at how to set up your suspension and how to start diagnosing problems on the trail, to get you one step closer to a suspension system that floats over the rough and still gets your power down when you need.
Words: Cam Baker
Image: Cameron Mackenzie

