

While it’s not every mountain biker’s favourite pastime, doing some at-home bike maintenance is part and parcel with the sport itself for a number of you. However, not having the right set up can really compromise the enjoyment you get from working on your bike, so this month we’ve put together a few tips on setting up a home workshop. On their own, these tips might not seem that important, but combined they can make a big difference.
Step 1 – Identifying Your Space
Ideally your workshop would be located in a garage or shed, but not everyone has that luxury. If an indoor space is your only option, look for a tiled one if possible, as it’s hard to avoid getting anything on the floor. Ideally, the space should be big enough to be able to turn your bike around, so at least 2m x 2m.
Lighting is key to good workmanship and preserving your eyes. Natural light from a nearby window is optimal; however, it’s best to avoid direct sunlight if possible, or to be able to close the blinds when necessary.
If natural lighting isn’t possible, or when you’re working at night, you want to use fluorescent tubes or coil fluorescent energy lightbulbs. Try to avoid using sharp light because it casts heaps of shadows. Or, barring that, hang a good work/inspection light from the roof, as you want to be able to keep your hands free.
Ventilation is also important as a lot of the best cleaning products – even the ethical ones – are often quite smelly. Even if it doesn’t bother you, remember to consider others in your household – muddy mountain bikers often already have a bad rep in their households and there’s no need to encourage the perception!
You’ll need somewhere to store hazardous substances (such as kerosene/diesel for cleaning a chain). Most people use a container that they need to dump out. One concept that works well is to use an old freestanding laundry tub that can be used to clean parts in, with a catch bucket collecting the waste to be disposed of appropriately.
The bike also needs to have some mechanism to hold it upright. Using a bike stand is optimal if you decide to invest. If not, you need to find a way to hang your bike. One option is to strap your unused bike rack to the wall. See more details in set up section.
Step 2 – Stocking your Workshop
Once you’ve selected your spot, you need to start equipping the area with a number of essential tools and items. Here is a list of what we consider essential:
– A good stash of rags – old cotton or flannel clothes are best as they’re not linty anymore.
– Bike stand or bike holding mechanism. If you don’t have a bike stand, it helps if you have a wall that you can mount stuff against.
Essential Tools:
● Good floor/ track pump.
● Small torch to be used as an inspection light.
● Tyre levers.
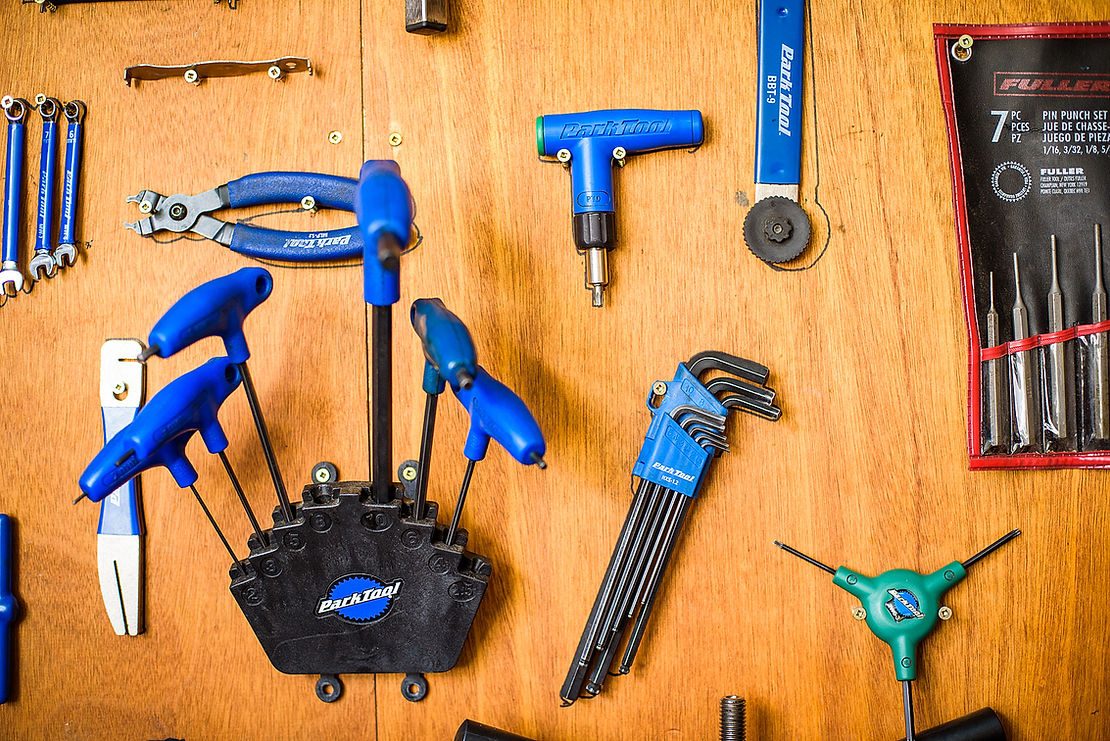
● Multi tool with all the hex and torx keys your bike needs, plus chain breaker and screwdrivers. (most decent bike specific multi tools will have all these things)
● Bike-specific cable cutting pliers.
● Side cutting and long nose pliers.
● Cassette lock-ring tool.
● Chain whip.
● Mechanic’s pick (a sharpened spoke will work)
● Soft-faced hammer or mallet.
● Phillips and flat screwdrivers.
● Shock pump.
● Utility Knife.
● Spoke nipple wrenches.
● Bike hanging jig: Chains from ceiling/ towbar bike rack mounted to the wall…. there are many make do options.
Great to have if you want to get really well setup:
● Good quality foldaway bike work stand.
● Solid work bench with engineer’s vice mounted to it.
● Air compressor.
● Good fluorescent tube lighting over work area.
● Chain joining link pliers.
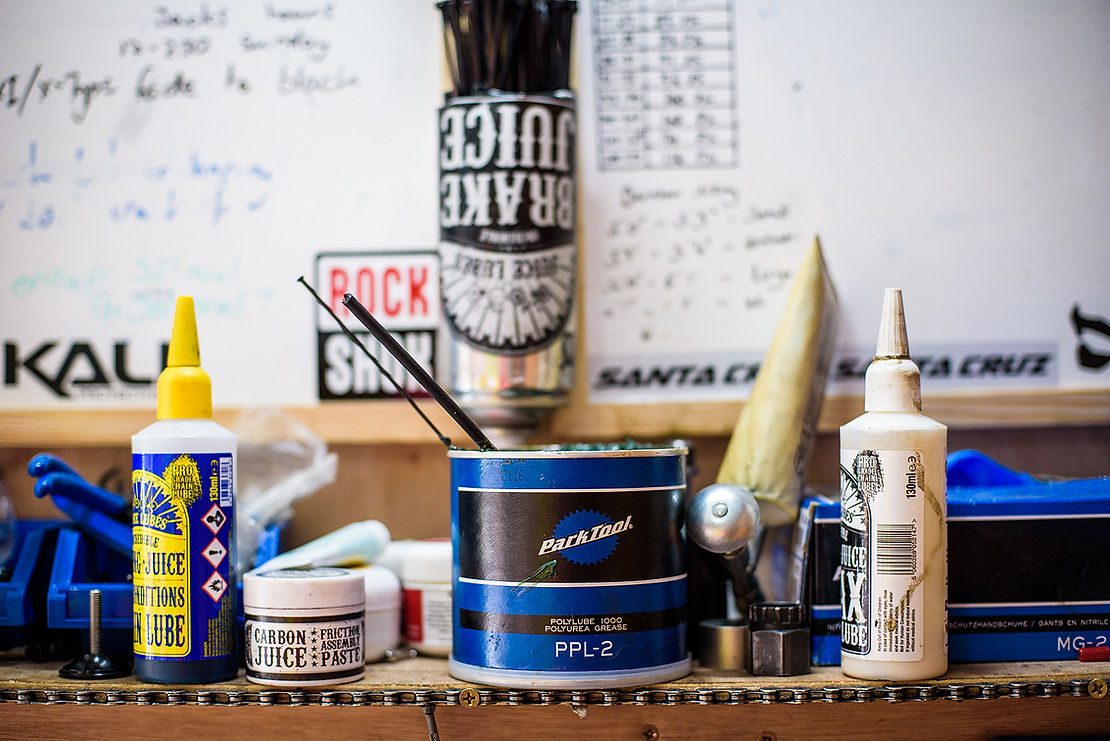
Useful products and supplies:
● Zip ties.
● Electrical tape.
● General purpose bicycle grease.
● Wet and dry chain lubes.
● Spare chain joining links.
● Silicone spray.
● Residue-free brake cleaner spray.
● Water-soluble degreaser.
● Blue Loctite thread locker.
● Carbon grease if you have carbon bike parts.
● Workshop apron.
● Nitrile work gloves.
● Bucket and selection of bike specific cleaning brushes.
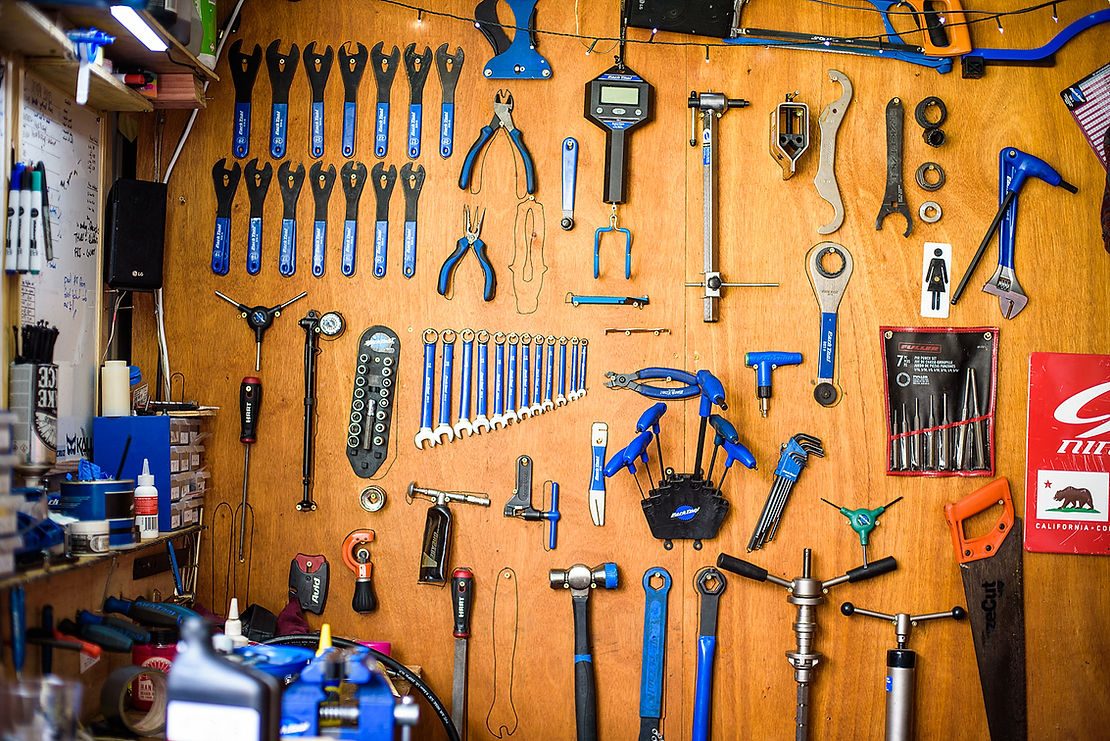
Step 3 – Setting it up
It’s worth stressing the importance of having your bike at work height, ideally somewhere steady that doesn’t swing. This can usually be achieved by using a work stand, which is a luxury, or a wall mounted bracket.
To enjoy the optimal bike set up, all your essential pieces of equipment should be within easy reach and have their own place. You should also have a piece of scrap carpet under the bike and where you’re standing – it’s less slippery and absorbs extra mess.
The most frequently used stuff should be in the easiest to reach positions, so you’ll need some sort of work bench top close to the bike to put things on while working. Use old cabinets if possible to keep stuff put away and use as a bench – an old kitchen cabinet with a bench top is optimal for this.
Words: James Duncan
Images: Digby Shaw