

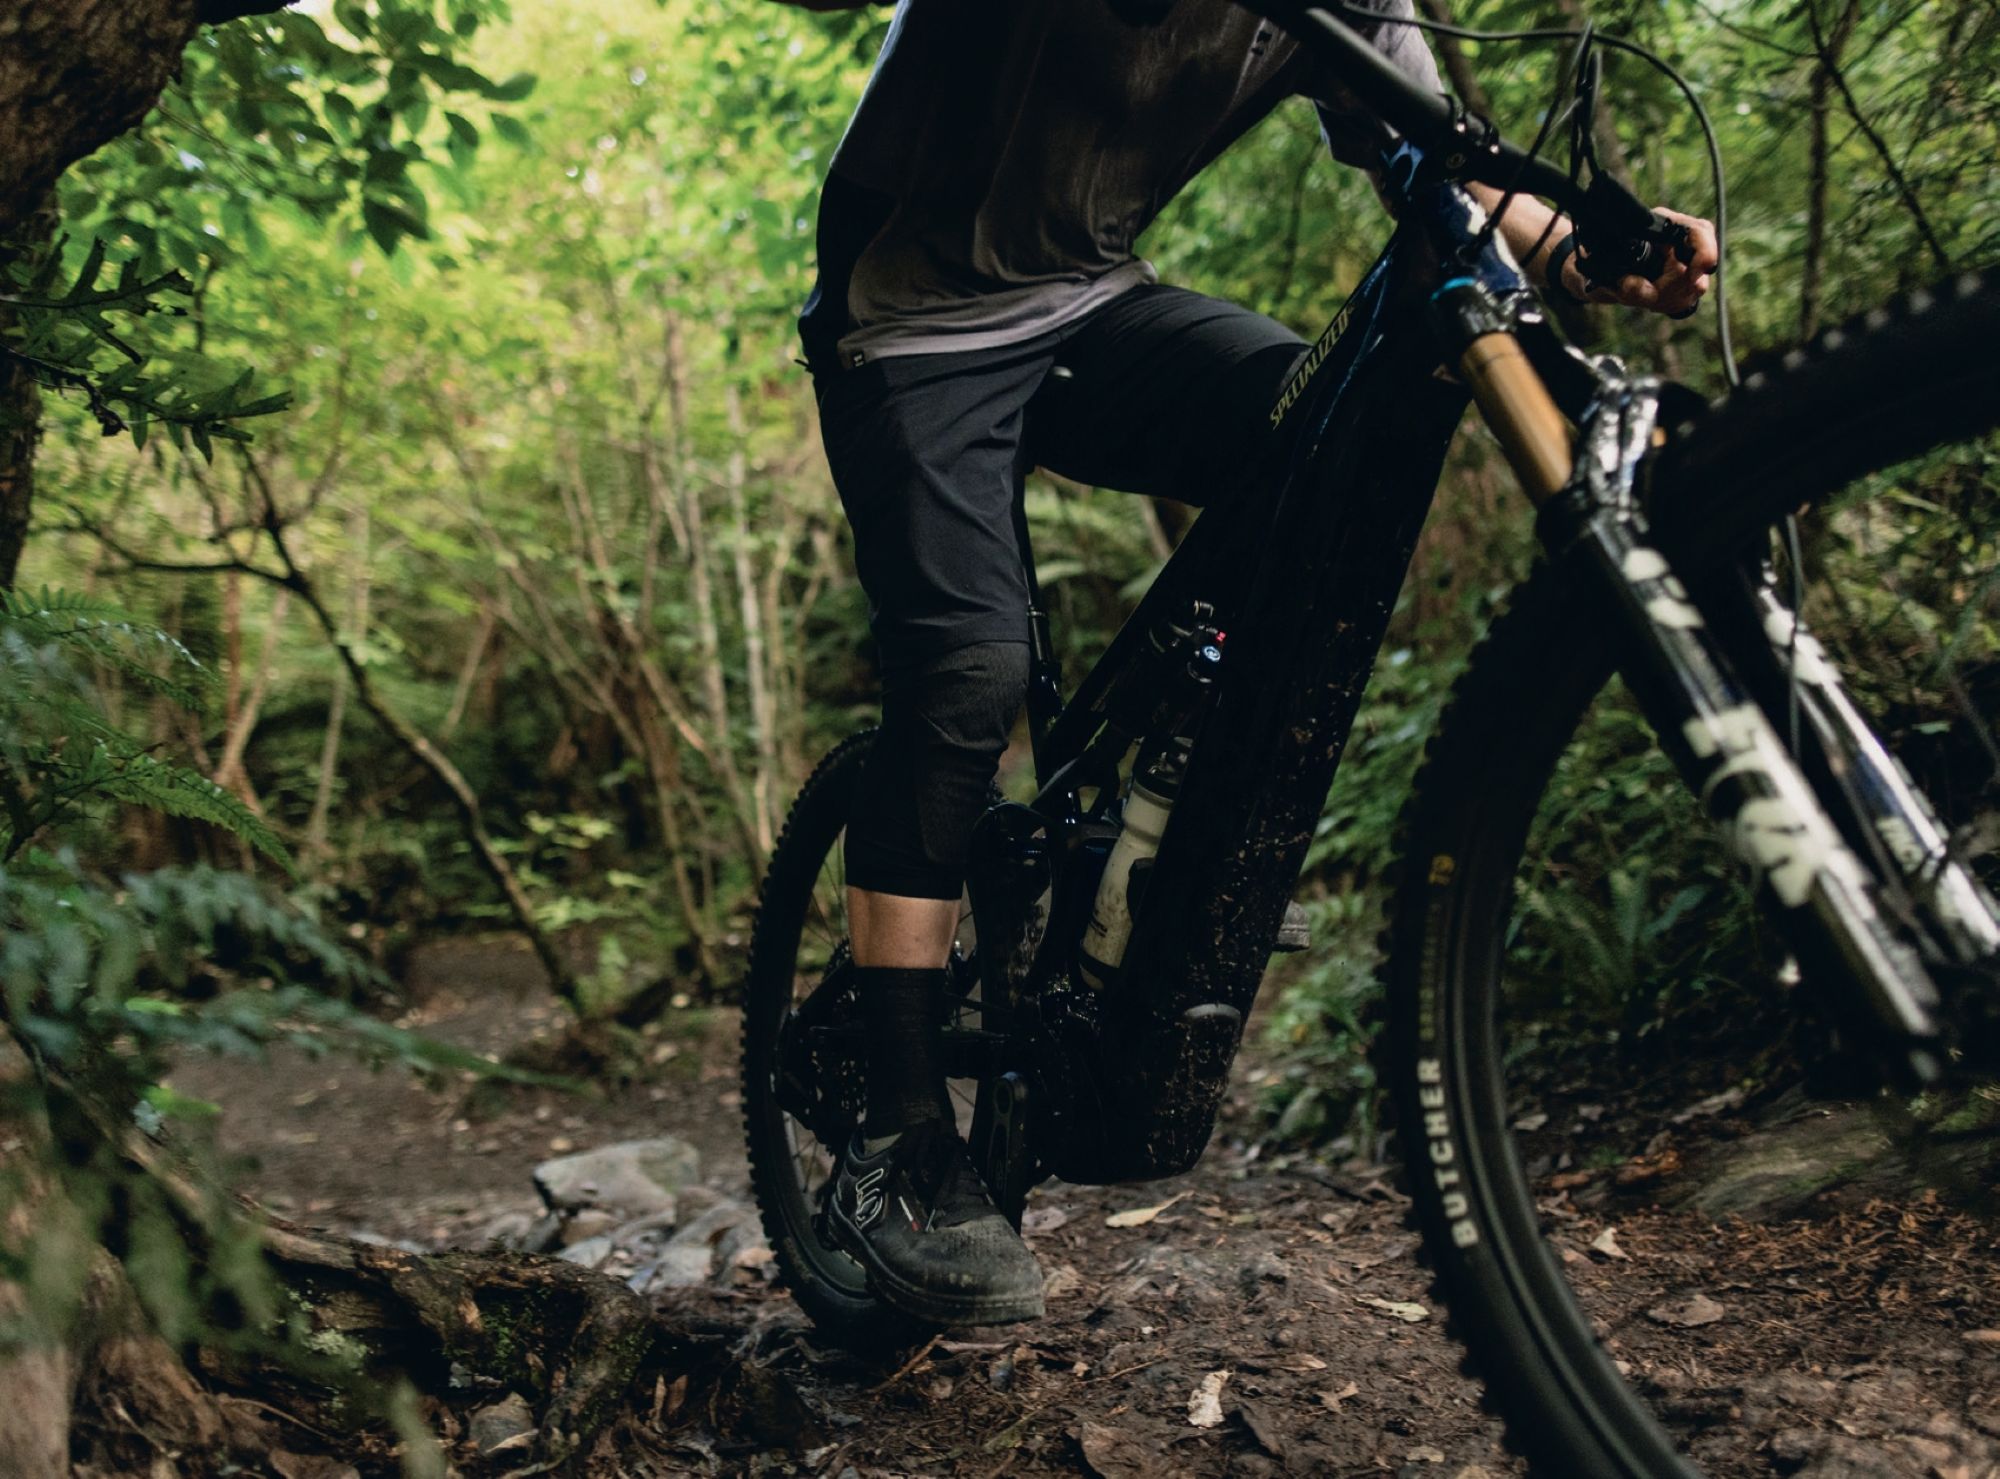
Commencal T.E.M.P.O. Signature
Words Lester Perry
Images Jamie Fox
RRP $9,200
Distributor Commencal NZ
Imagine this: The year is 2020. On a wall in the Commencal design office, there’s a mood board for a bike they’re developing. It’s covered in images torn from magazines and printed by the office laser printer, the products of quick-fingered Google image searches.
Amongst the chaotic collage of images, there’s a jet boat, a compass, a Pyrenean Ibex, a steam-roller with a big red X marked across it, one of those kid’s playground rides with a seat mounted atop a big spring, a metronome with a green tick scrawled over it, and a picture of Eli Tomac mid-whip over a motocross finish jump. Each image highlights a trait of the TEMPO—for example, the snappy handling of a jet boat and the climbing prowess of the Ibex. You get the idea.
Rumours swirled about an upcoming release after a prototype frame was teased online. With a distinctly lightweight XC build and ridden by none other than Pauline Ferrand-Prévot, would the new bike be Commencal’s entry into XC World Cup racing, piloted by PFP herself? Come 20th November 2022, speculation was put to rest as the bike officially broke cover in its final guise, under Hugo Frixtalon, in what is still one of the best bike launch videos I’ve ever seen. A short travel trail bike that would help define the category and embody all the inspiration from that design studio mood board.
Over the last five years or so, there’s been somewhat of an evolution in mountain bike geometry. Before this, if someone was searching for a bike to push their riding—and was into technical, aggressive trails—then a 150-160mm frame was the way to go. This was a necessity, to find the geometry that would be optimal to offer the rider confidence and control when tackling whatever trail lay before them. Nowadays, there’s been a pronounced shift in how designers think about geometry, and we’re finding bikes with travel in the 120-130mm region with geometry that is more suited to how most people want to ride. These bikes sit alongside those with similar travel numbers, but more cross-country-targeted geometry, on bike shop floors—an interesting dichotomy that not so long ago wasn’t the case. Rather than lugging around suspension travel (and associated weight), riders can now choose the geometry they want, coupled with their preferred suspension travel: a ‘Goldilocks porridge’ bike that is focussed on precisely what they want, rather than compromising on geometry or suspension travel.
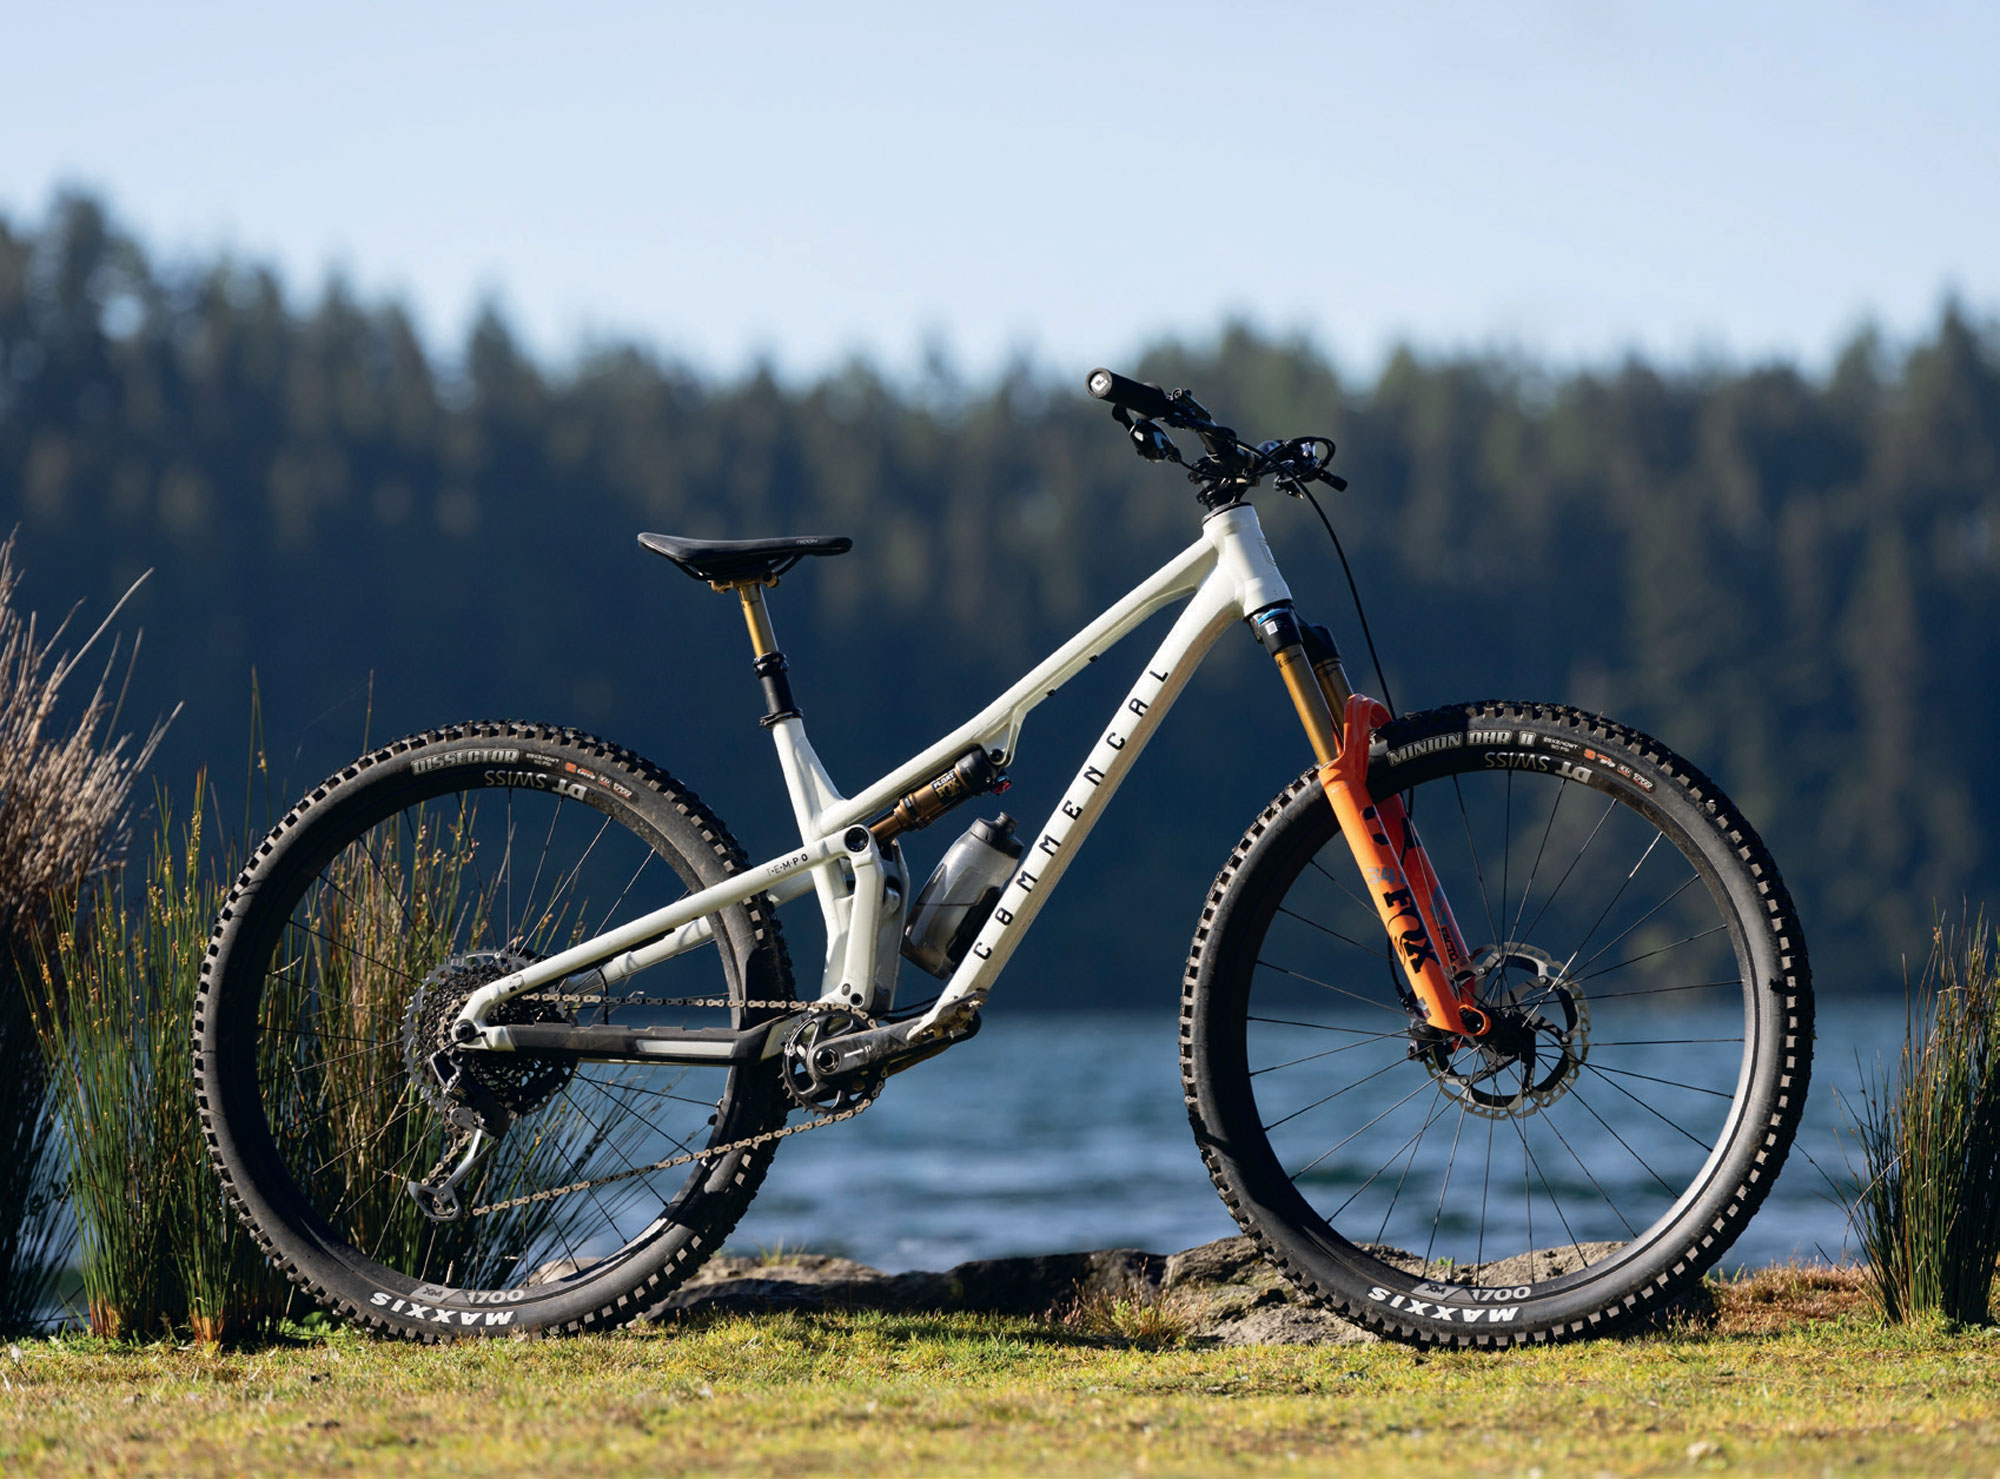
Enter the Commencal TEMPO: A big bike personality in a small travel package. Designed for pedalling efficiency while retaining the ability to tackle whatever trail is thrown at it. The bike’s metronome graphic points to a key aspect of the bike: pedalling—like a metronome, tapping out a cadence and covering kilometres. Its geometry speaks to its gravity roots.
There’s a lot to like about the Tempo.
Frameset
The Tempo is based around 125mm of rear travel and a 140mm fork, aiming squarely at the short travel trail bike segment. Offered only in Aluminium, the frame stays true to Commencal’s commitment to avoid using carbon fibre, due to concern about its environmental impact.
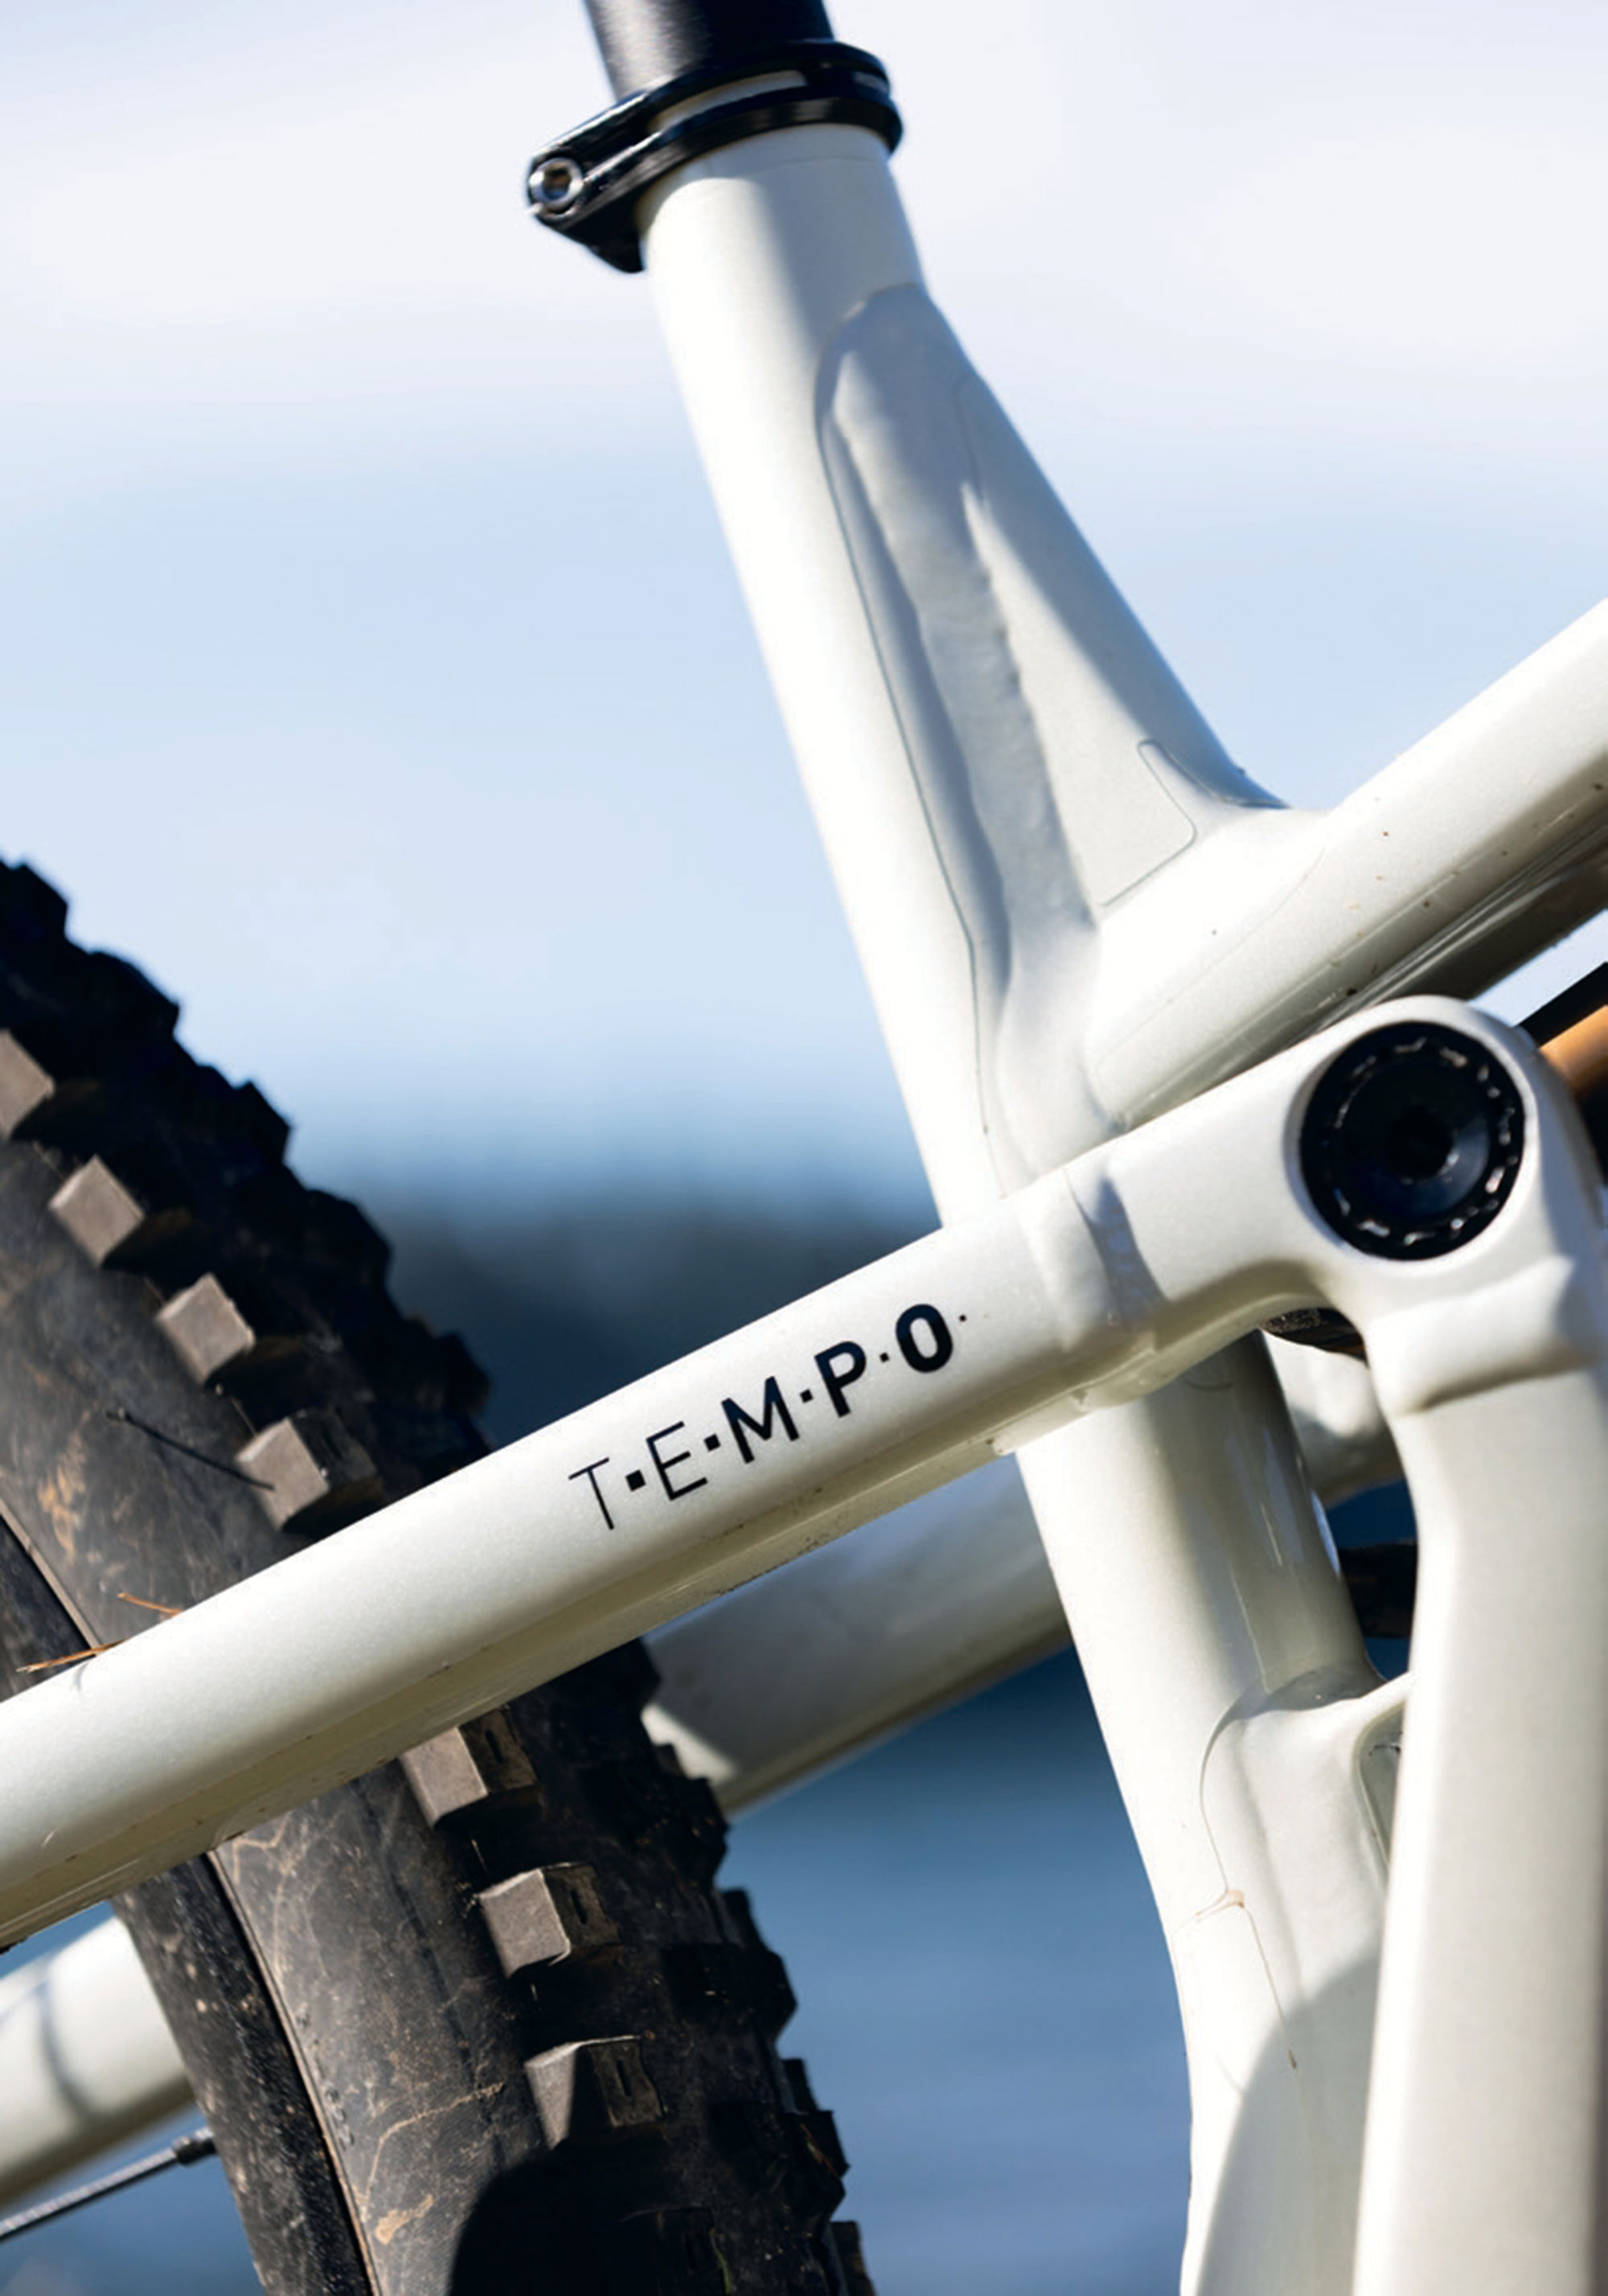
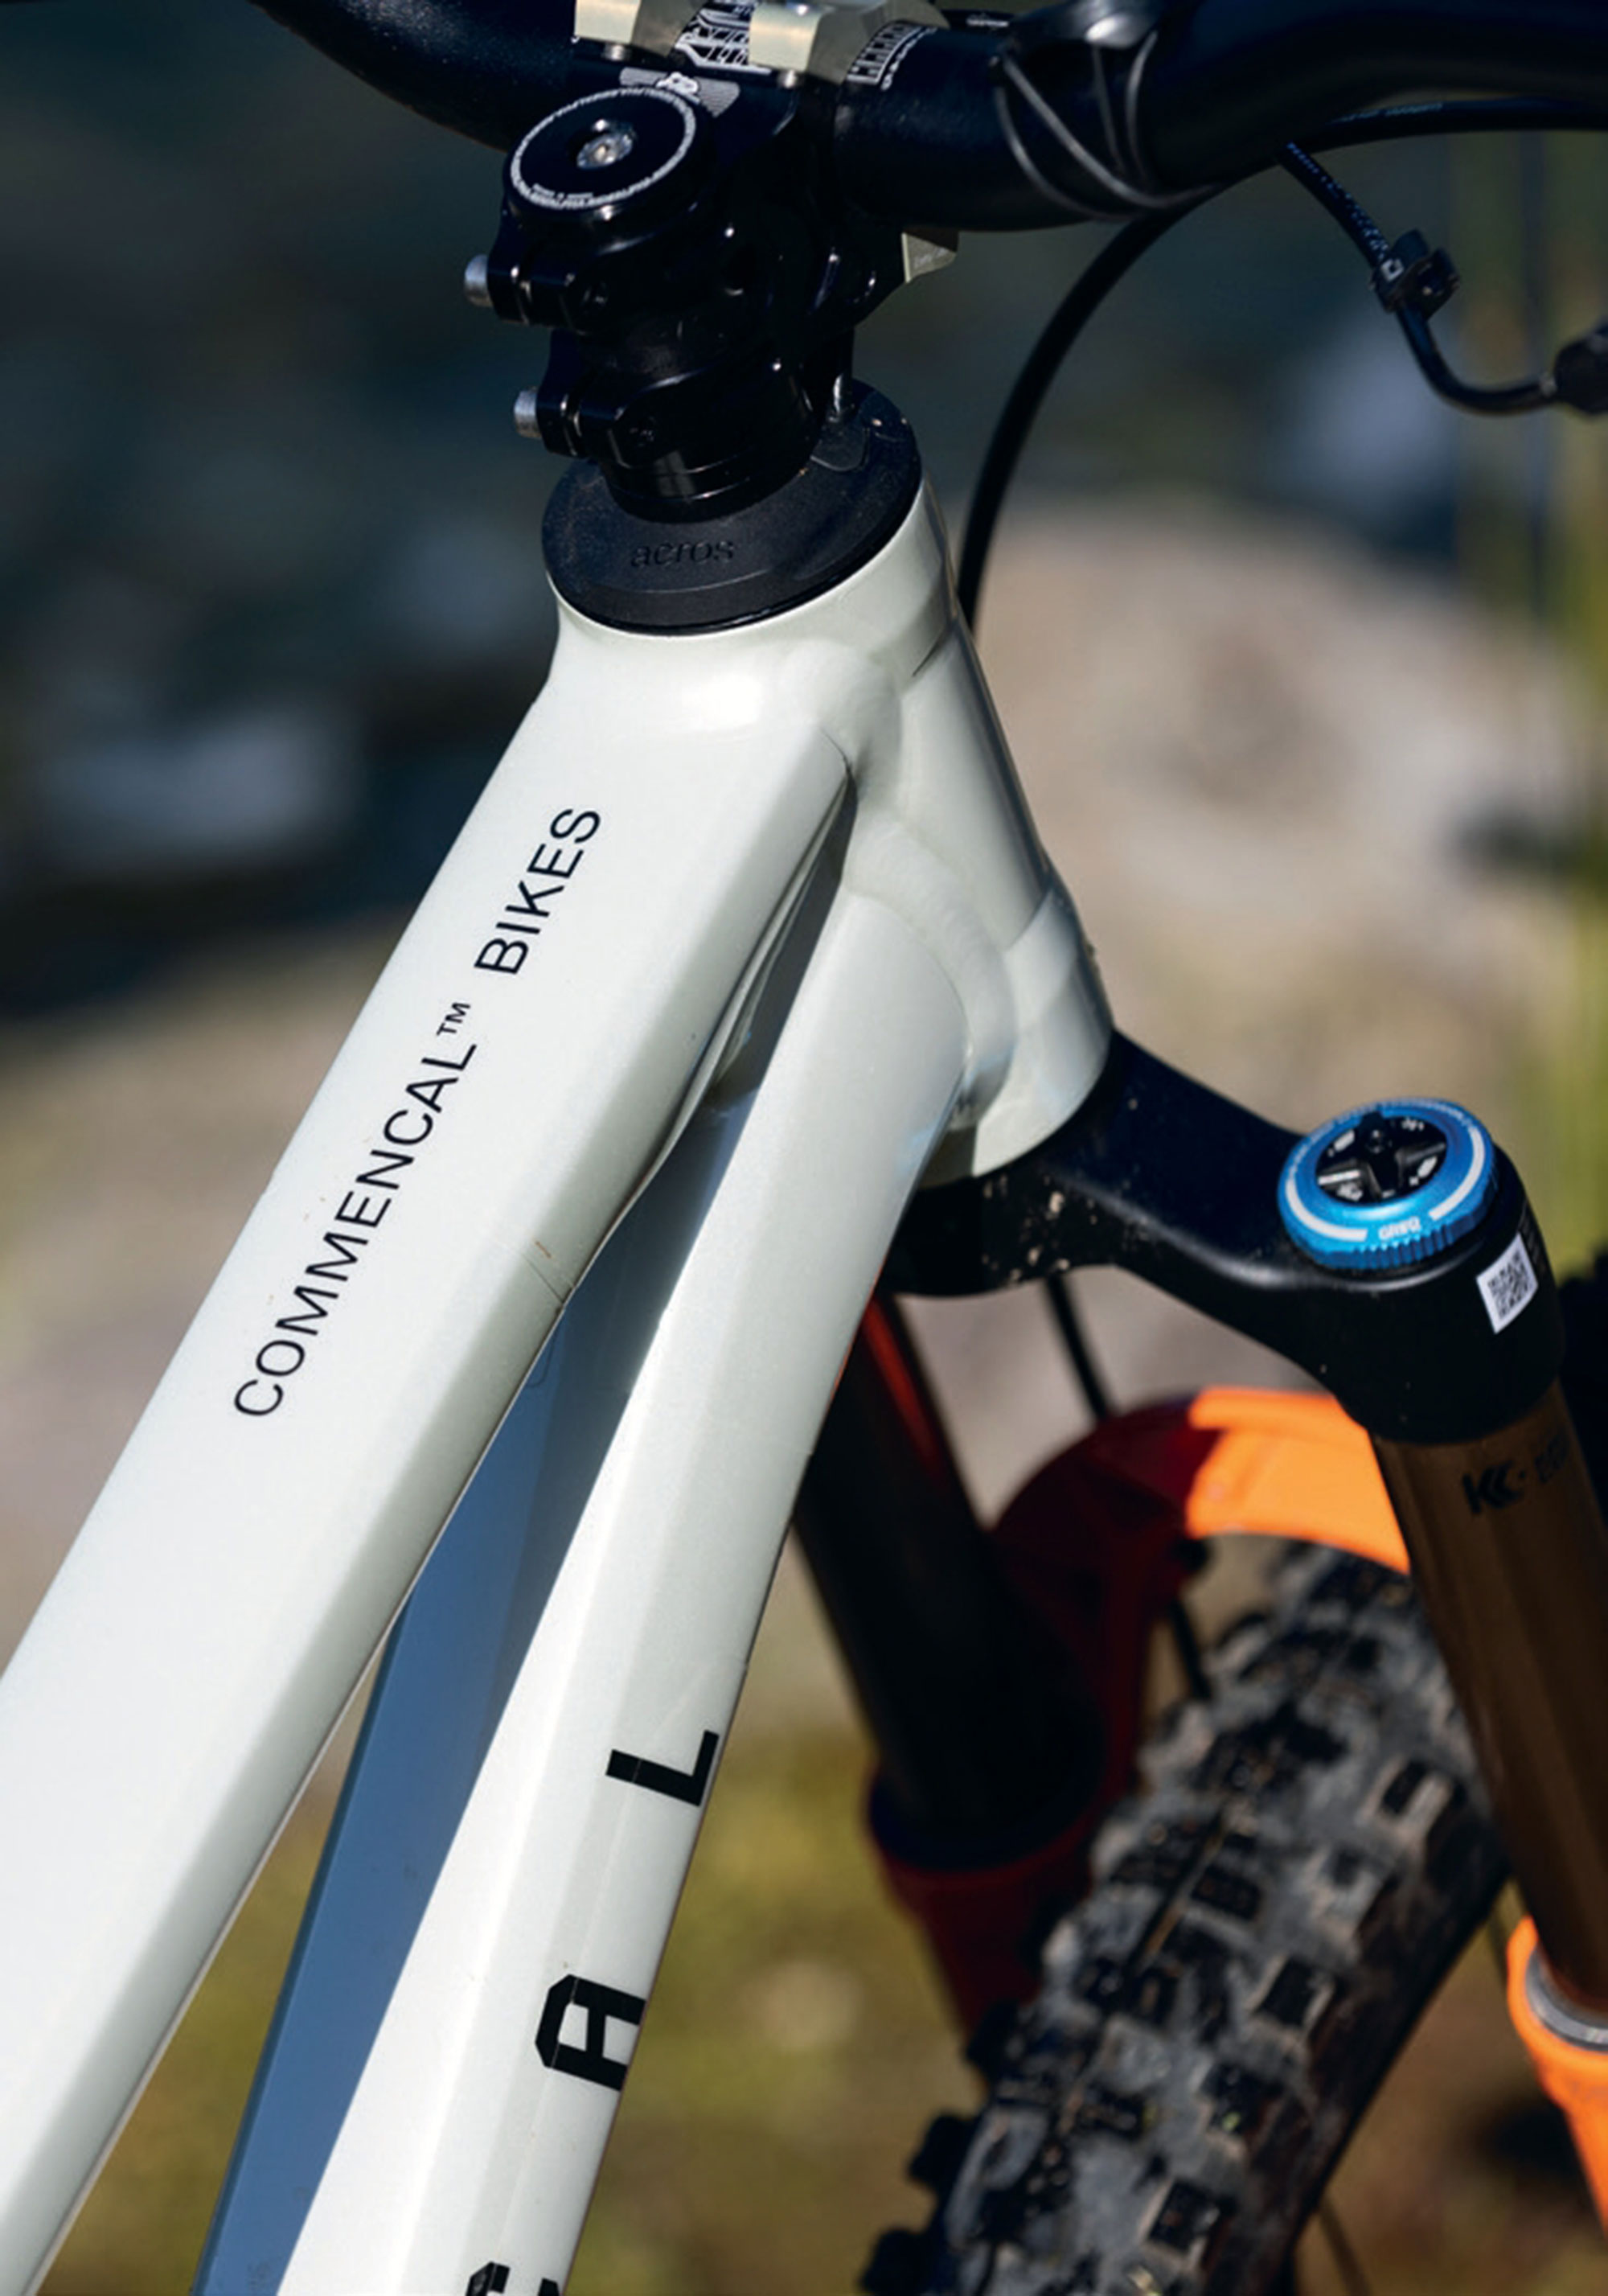
The Tempo shares the sleek look of the Meta V5. The frame’s lines flow seamlessly from the headtube down to the rear stays. The low-slung top tube gives ample room for a rider to move around the chassis and helps keep the centre of gravity low.
Designers borrowed the Virtual Contact System (VCS) suspension linkage from the Tempo’s big brother, the Meta V5, which I reviewed in a previous issue. While maintaining the same overall function, the VCS is simplified slightly to suit the Tempo’s smaller suspension package. This virtual pivot design suits the TEMPO to a tee, allowing a reasonably supple start to the stroke, while retaining satisfactory pedalling efficiency.
Linkage pivots are all ‘through axle’ style with an expander cap to help keep them tight. They performed admirably and not once did I need to tighten any pivot point. Bearings are all manufactured by ‘Enduro,’ so I’d expect these to last longer than many OEM options. Three months in, I haven’t had any cause for concern, although most of my riding has been in the dry over summer, so time will tell.
At the end of the chainstay is the now obligatory UDH derailleur hangar, making an upgrade to a T-type drivetrain a no-brainer; a worthy upgrade for sure to get rid of one of those headset-routed cables!
There’s no funky, proprietary stuff happening with the Tempo, we find Boost 148mm spacing in the rear, a 31.6mm seatpost, and a BB92 press-fit bottom bracket—all bog standard, in a good way.
Rubber bumpers across the drive side seatstay, chainstay, and on the lower downtube, help mute unwanted noise and protect the frame from nasty chain chips or debris. Just like the Meta V5, the Tempo is surprisingly quiet on the trail, thanks in part to these bumpers.
Geometry
The geometry numbers on the Tempo are modern but not extreme, striking a comfy middle ground between an Enduro bike and a cross country bike. The ‘medium’ size I rode has a middle-of-the-road 450mm reach, a category-topping 628.5mm stack, and an almost vanilla 435mm chainstay (440mm on L and XL bikes), while the seat tube angle is “better than most” at 76.6 degrees steep. The head angle is “steeper than some” at 65.5 degrees, but quite normal for a bike in this travel bracket. All that is to say; much like the Meta V5, the Tempo has a very balanced feel, with rider weight feeling like it sits slightly further back than on the Meta V5 (which has a 10mm longer reach in size medium).
Cockpit
A complete Renthal cockpit features a ‘Fatbar Lite’ 31.8-mm handlebar that is 760mm wide and has 30mm of rise. It’s clamped in place by a Renthal Apex 40mm-long stem. This setup has a nice balance of weight, performance and value, and the fact that they specified a 31.8mm clamp bar gets a big tick in my book. Not to mention my favourite grip: the ODI Longneck.
Wheels & Tyres
The party bus rolls on a set of DT Swiss XM 1700 rims on DT 350 hubs. As I’ve mentioned in other reviews, I’m a big fan of DT Swiss wheels—and these never skipped a beat. They’re not the lightest, at over 1800 grams, but given the price point and intended use, at least a rider won’t need to give their wheels a second thought as they are burly enough to handle some heavy hits. Their 30mm internal width pairs perfectly with the specced Maxxis EXO casing tyres. Up the front, the DHR II 29” x 2.4” WT with soft 3C MaxxGrip rubber compound is a savvy choice, offering exceptional grip across most scenarios. It rolls nicely, considering the level of grip and soft compound, and is an asset to the Tempo when trails get spicy. The Dissector 29” x 2.4” WT 3C MaxxTerra on the rear rolls well and has enough grip to keep things under control in most scenarios. It’s not a fantastic tyre, but it does suit general ‘trail bike’ type riding – although, if I were riding more on loose, rocky trails, I’d be reaching for something with a bit more bite.
Brakes
A tried-and-true pair of Shimano XT M8100 two-piston brakes help slow the Tempo down and, although they’ve proved reliable, the product managers missed a trick by not speccing a pair of lower-end—but more powerful—SLX 4-pot brakes. The M8100 brakes are okay on short descents, thanks to the MT905 Ice-Tech Freeza rotors, but they suffer on long descents, and I found myself having to haul on the levers more than I’d like. Simply changing to some 4-piston callipers would make a huge difference.
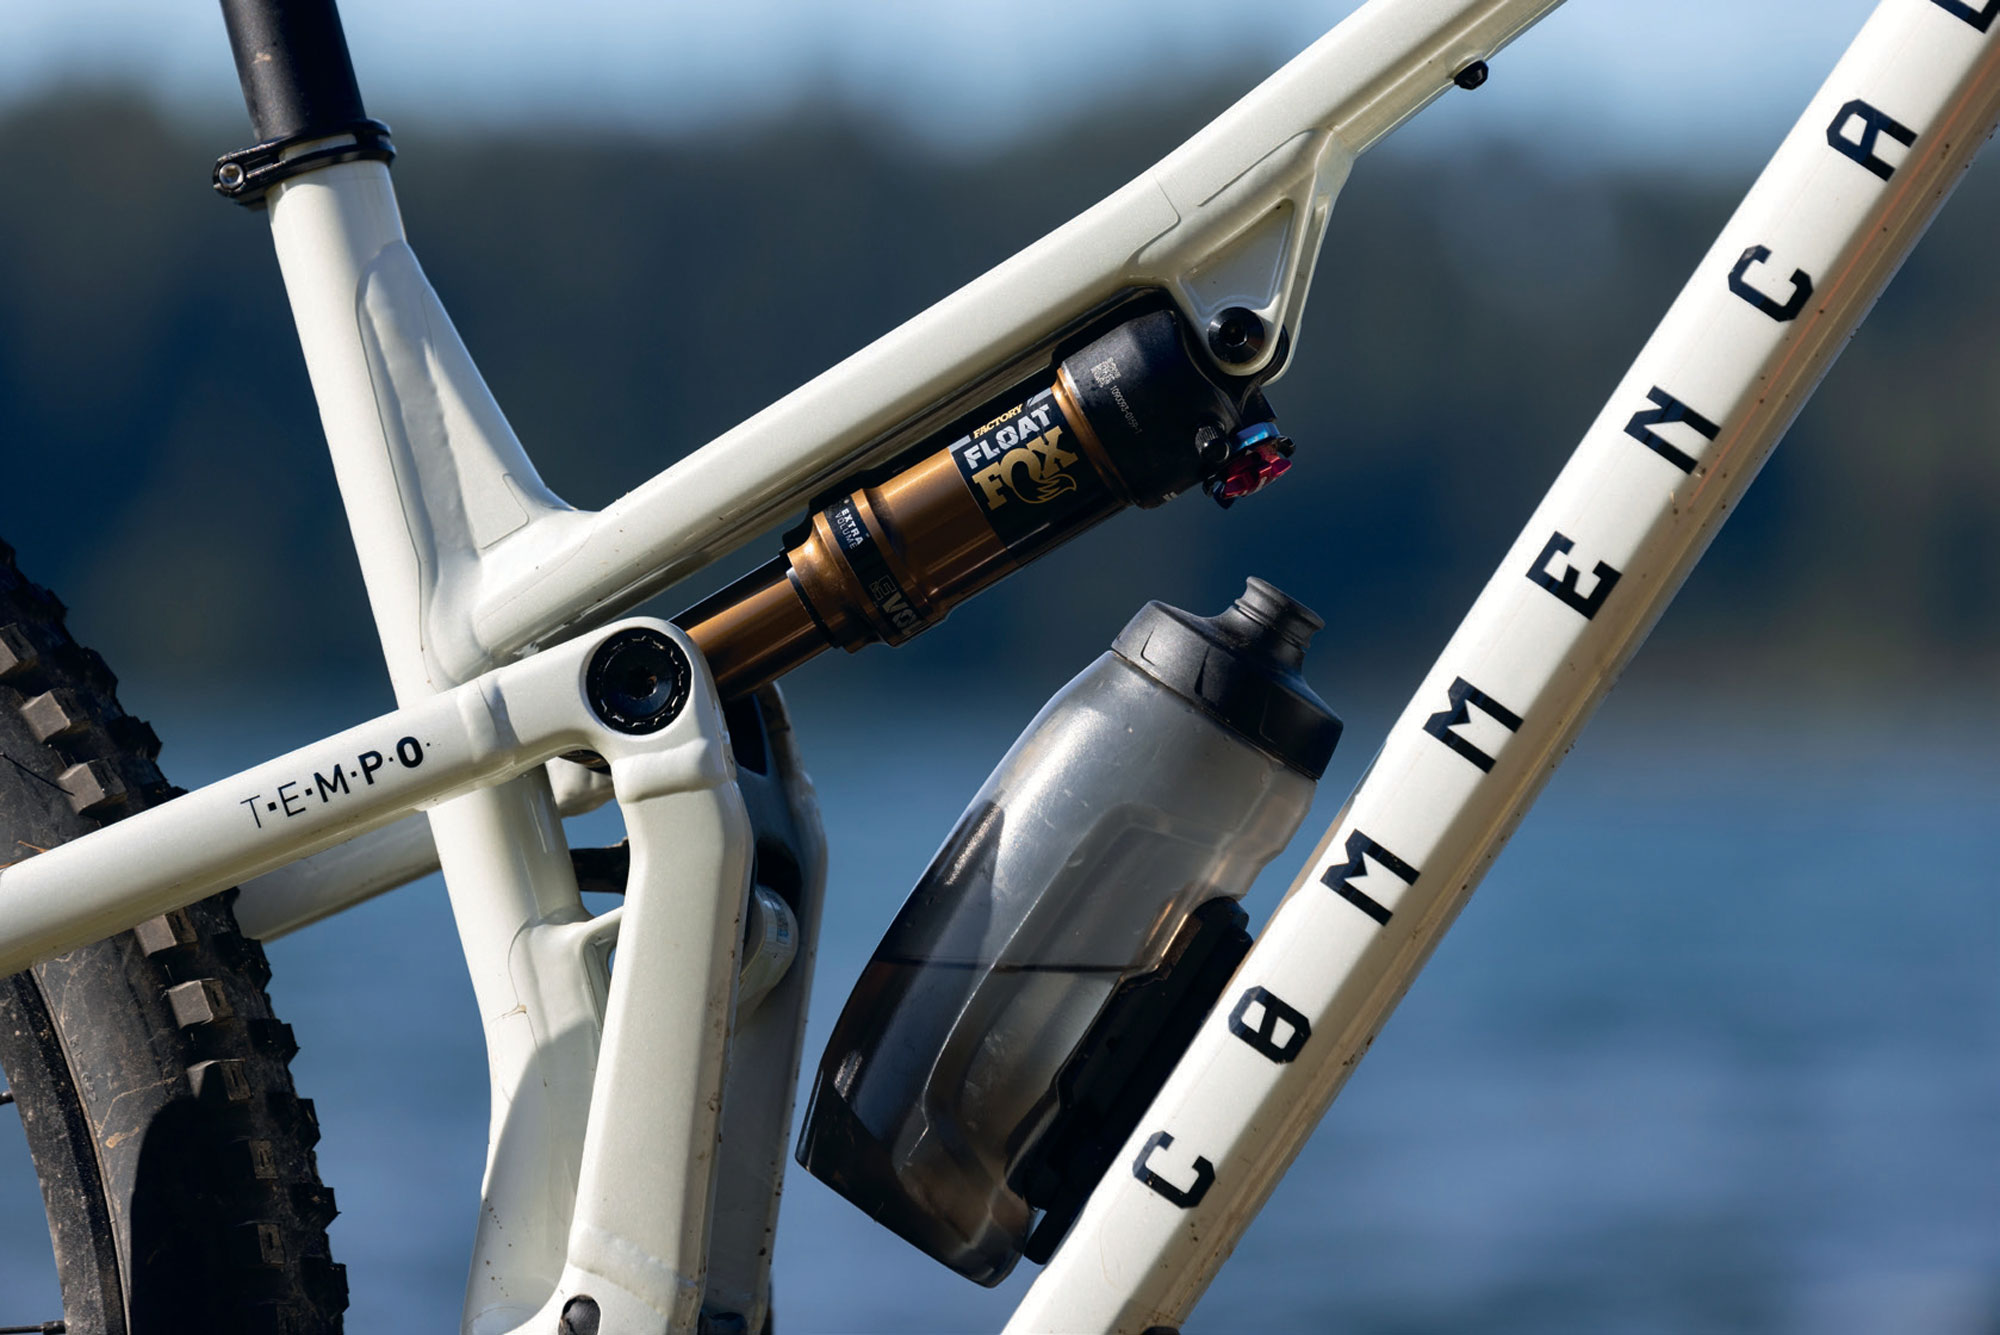
Shock
The Fox Float Factory, in its stock format, suited me perfectly, and no tweaking was required from Commencal’s initial recommendations. There’s a lockout lever in easy reach while riding and I used this a lot while climbing on gravel roads or smooth trails. A dial also offers two additional compression levels when the shock is ‘open’. I played a bit with these but found the bike’s overall feel much nicer in the lowest setting. It certainly pedalled better in the second or third setting than when fully open, but the added compression stunted the feel and was only a bonus on smooth trails where I’d throw the lockout anyway.
Fork
Front suspension is handled by a Fox 34 Factory with 140mm travel. There’s all the adjustment one would want, with low and high-speed rebound and compression dials. Interestingly, the spec sheet listed the fork as having a 51mm offset, something that I thought had gone away almost entirely these days in favour of 44mm versions. I initially thought maybe it was a typo but, sure enough, the bike turned up with the 51mm offset fork. Perhaps smaller travel bikes suit the larger offset? Whatever the case, I never gave it a second thought. Once I was out on the trail, it turned out that a bike still handles fine without the much-hyped 44mm offset. Who would have thought?! (I say this in jest!)
I was stoked on this fork; anything less would hamper the bike’s overall performance, and the 34 took everything I could throw at it. I’m 80kg, so not a lightweight, but I didn’t notice any untoward flex and, regardless of the trail, the fork was controlled and felt well damped. They say something works well if you never have to give it any thought, and this fork was proof of that. I backed off one click of highspeed rebound from recommended and called it good.
Drivetrain
The combination of a SRAM GX Eagle derailleur, shifter, cassette and chain takes care of shifting. While this stuff does the job, it wouldn’t be my first port of call for an upgrade on this bike, given the accessibility, accuracy and reliability of electronic derailleurs these days.
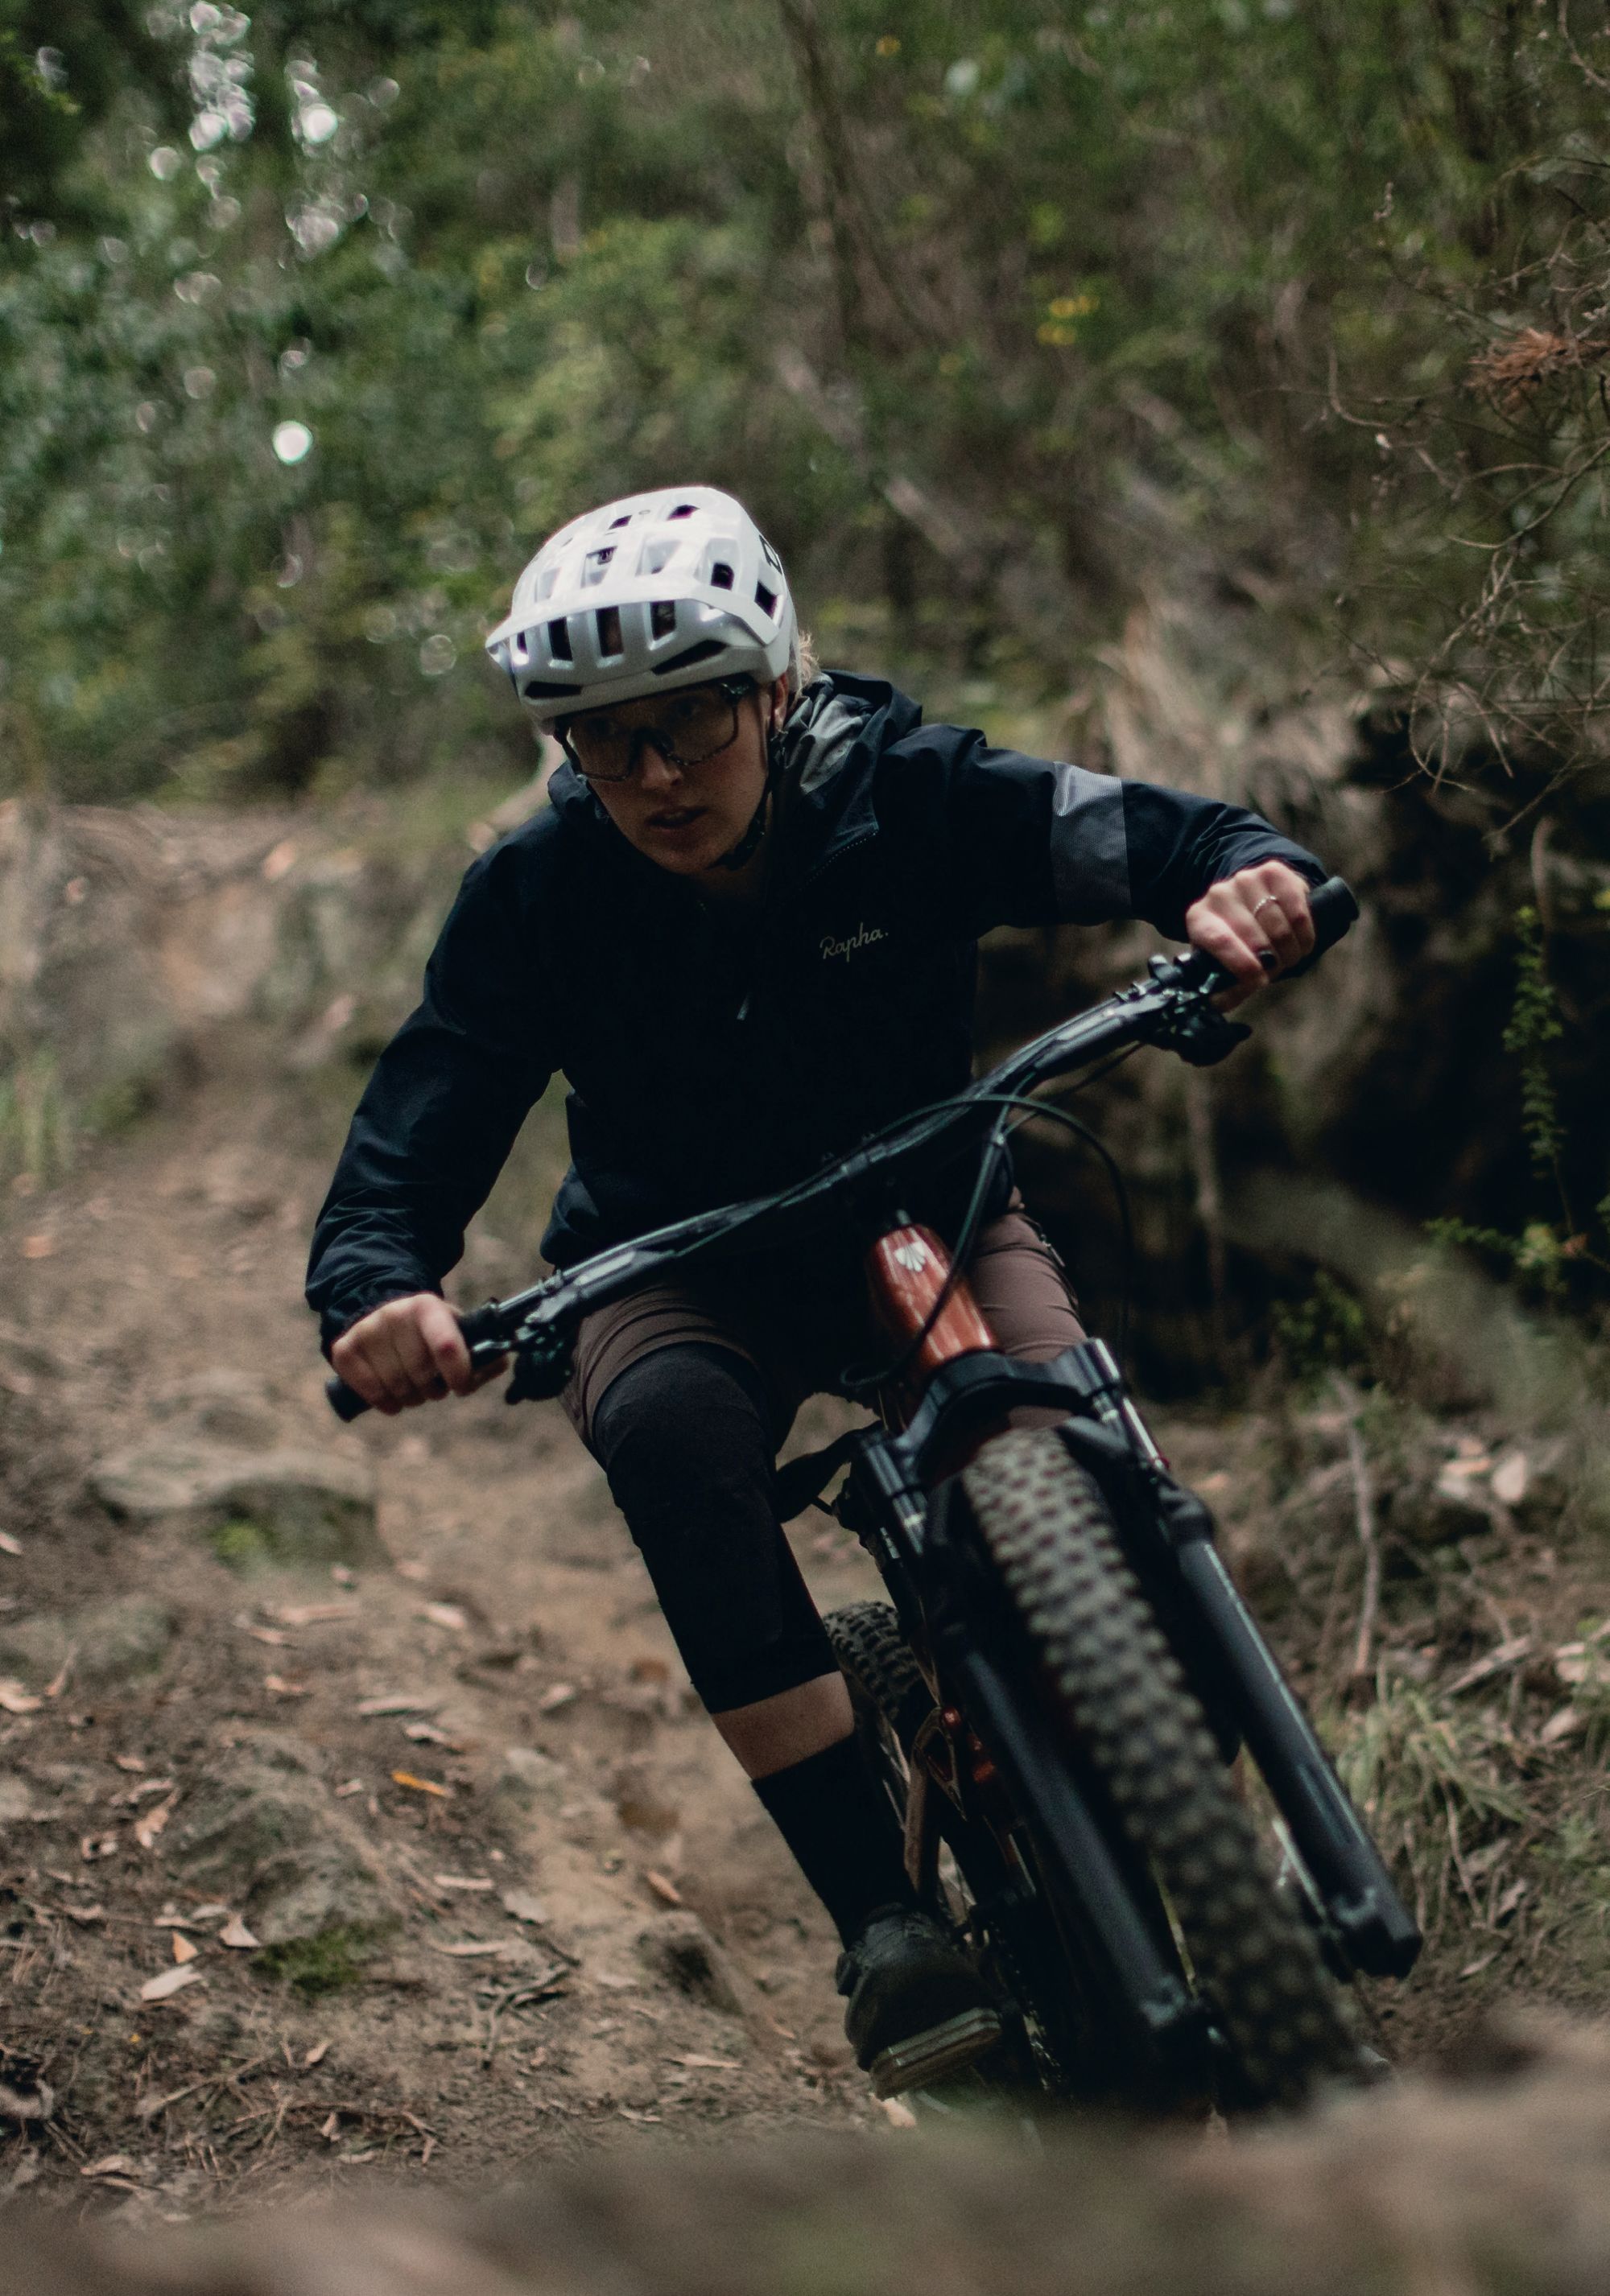
The Ride
From early 2024 until I took possession of the Tempo in October ‘24, I’d been getting about on either a 160-170mm travel Enduro bike or a full-gas XC race bike. So, I was keen to get on board a modern, short-travel trail bike, hoping that it would be more suited to how and where I ride most of the time.
As is the norm for me on many brands, I sit between the medium and large recommendations on the Tempo, so I chose to size down rather than up. With the steep seat tube and short reach (450mm), the bike felt short when seated but put me in a nice central position between the wheels, and the ample stack combined with the 30mm rise bar put my hands up relatively high, giving me a distinct feeling of confidence; helping the bike feel like it would handle more than it’s suspension travel numbers would first suggest.
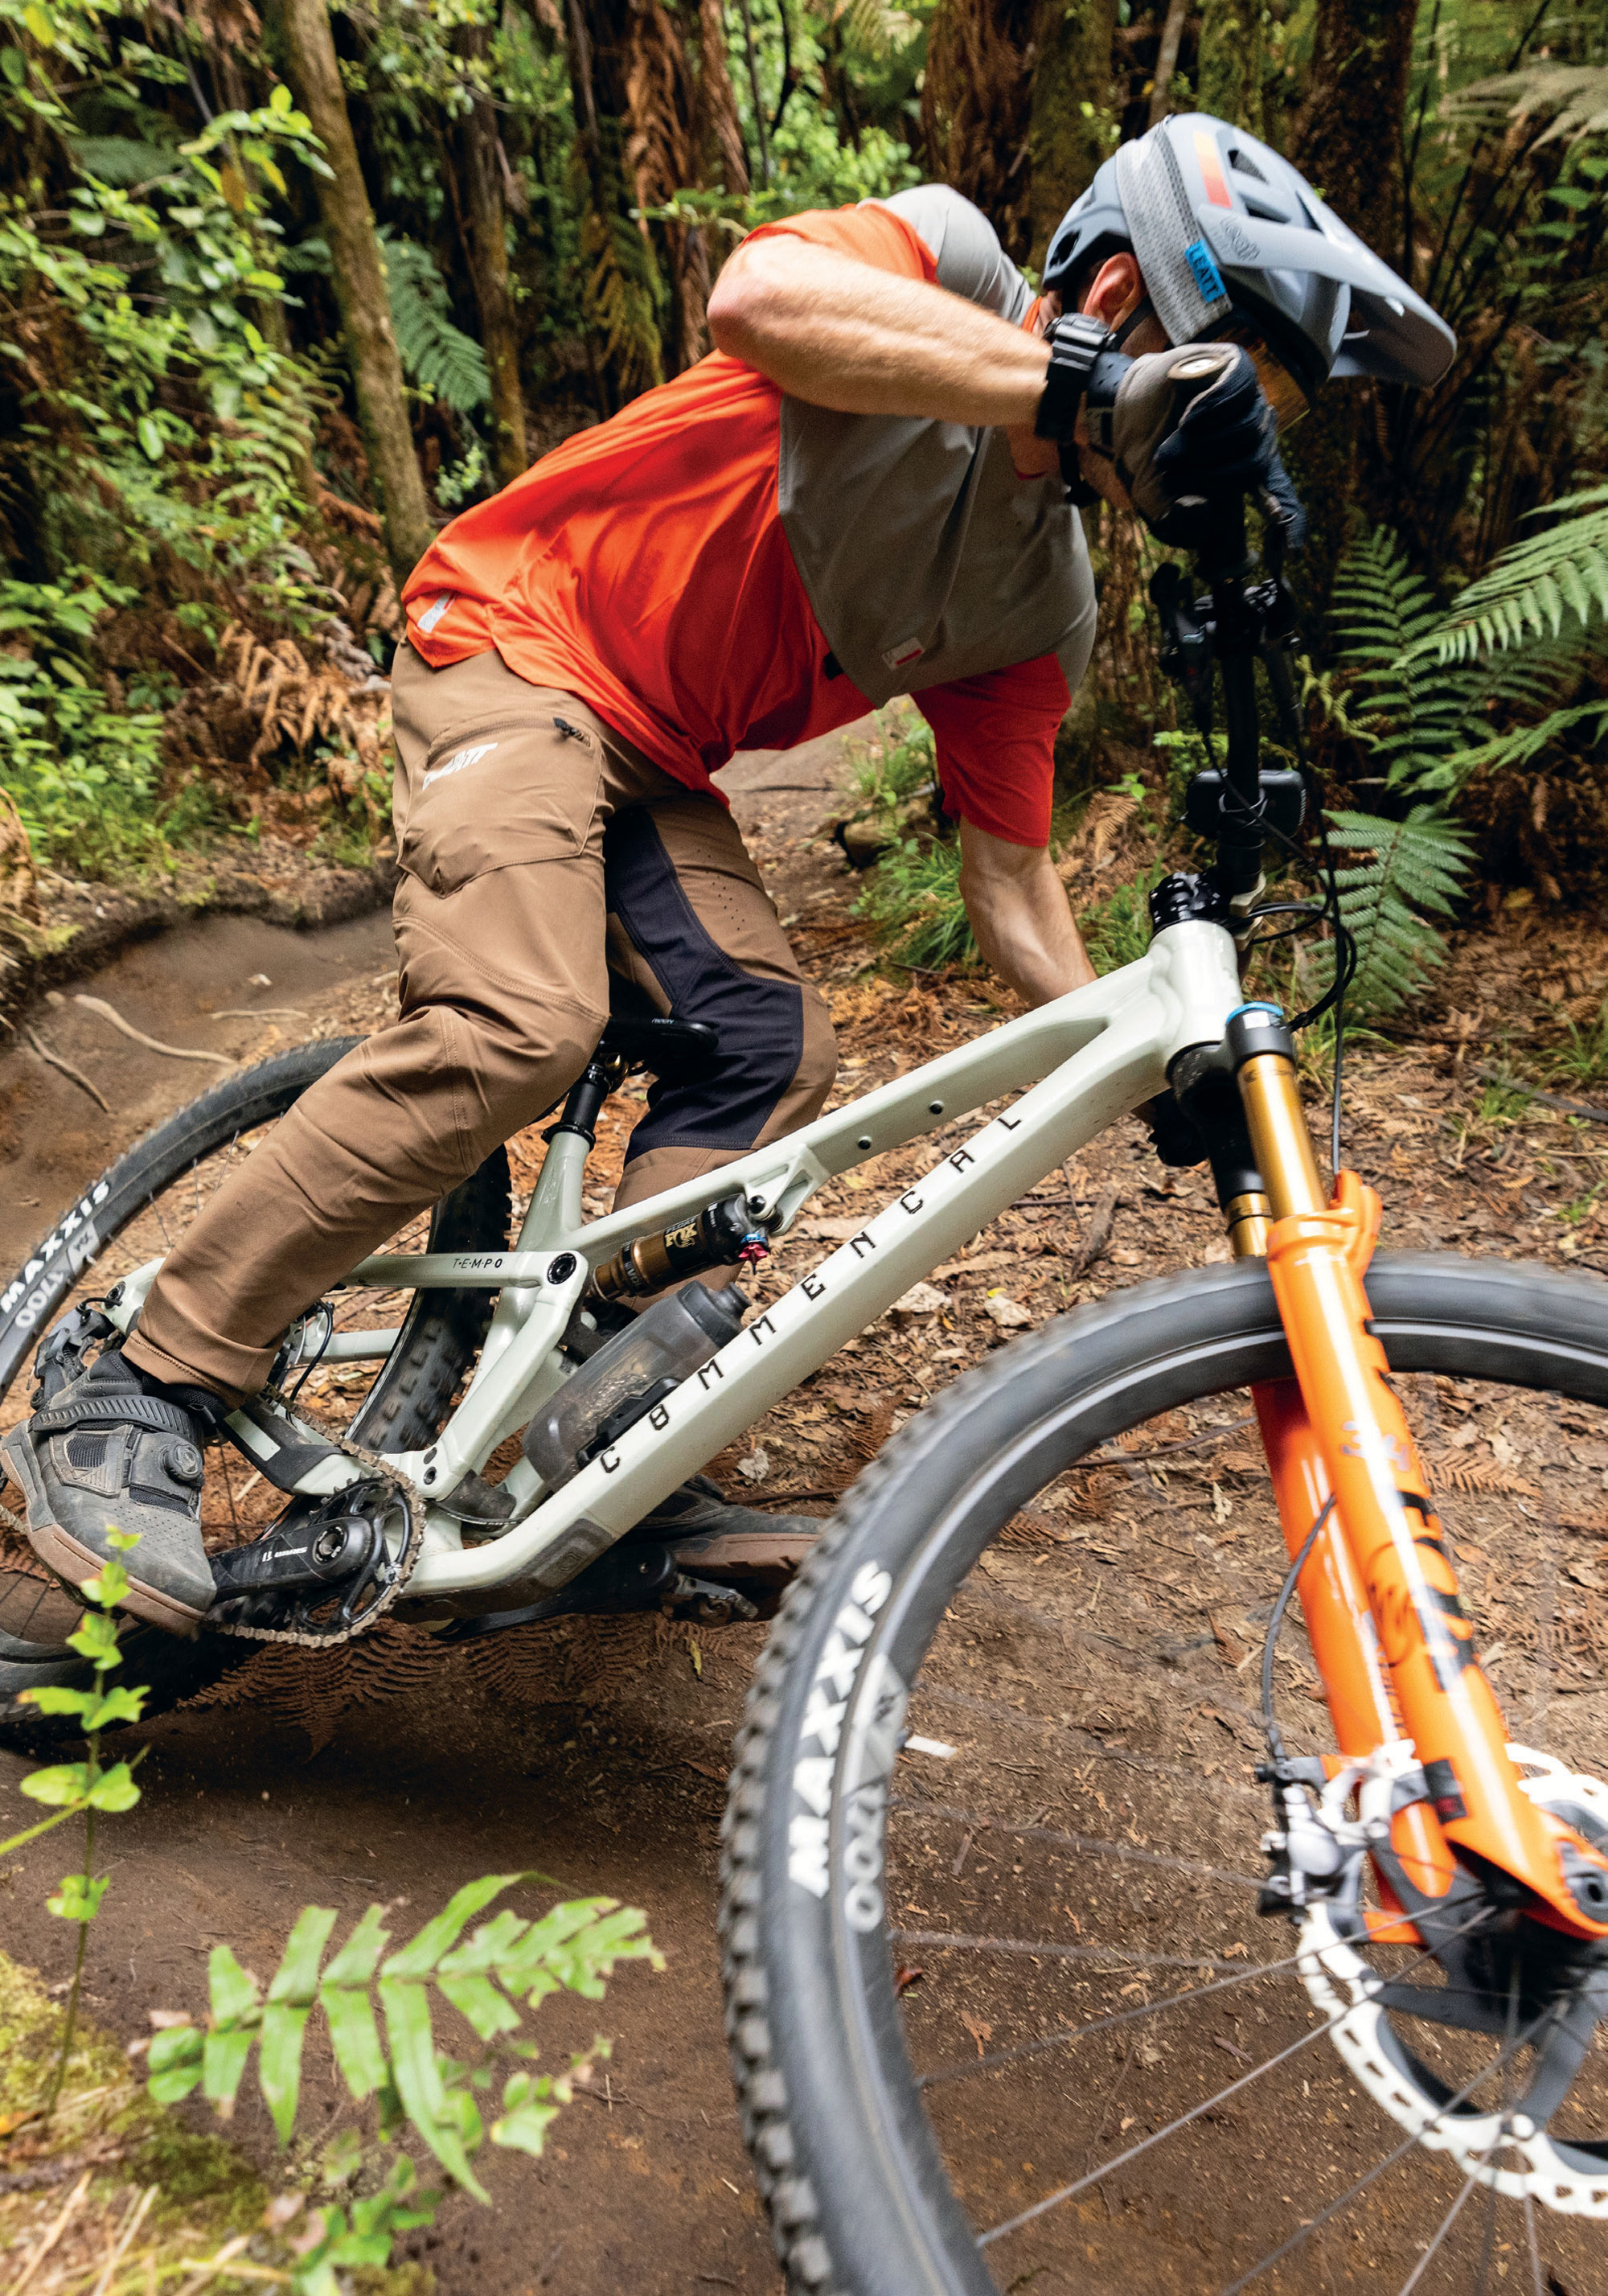
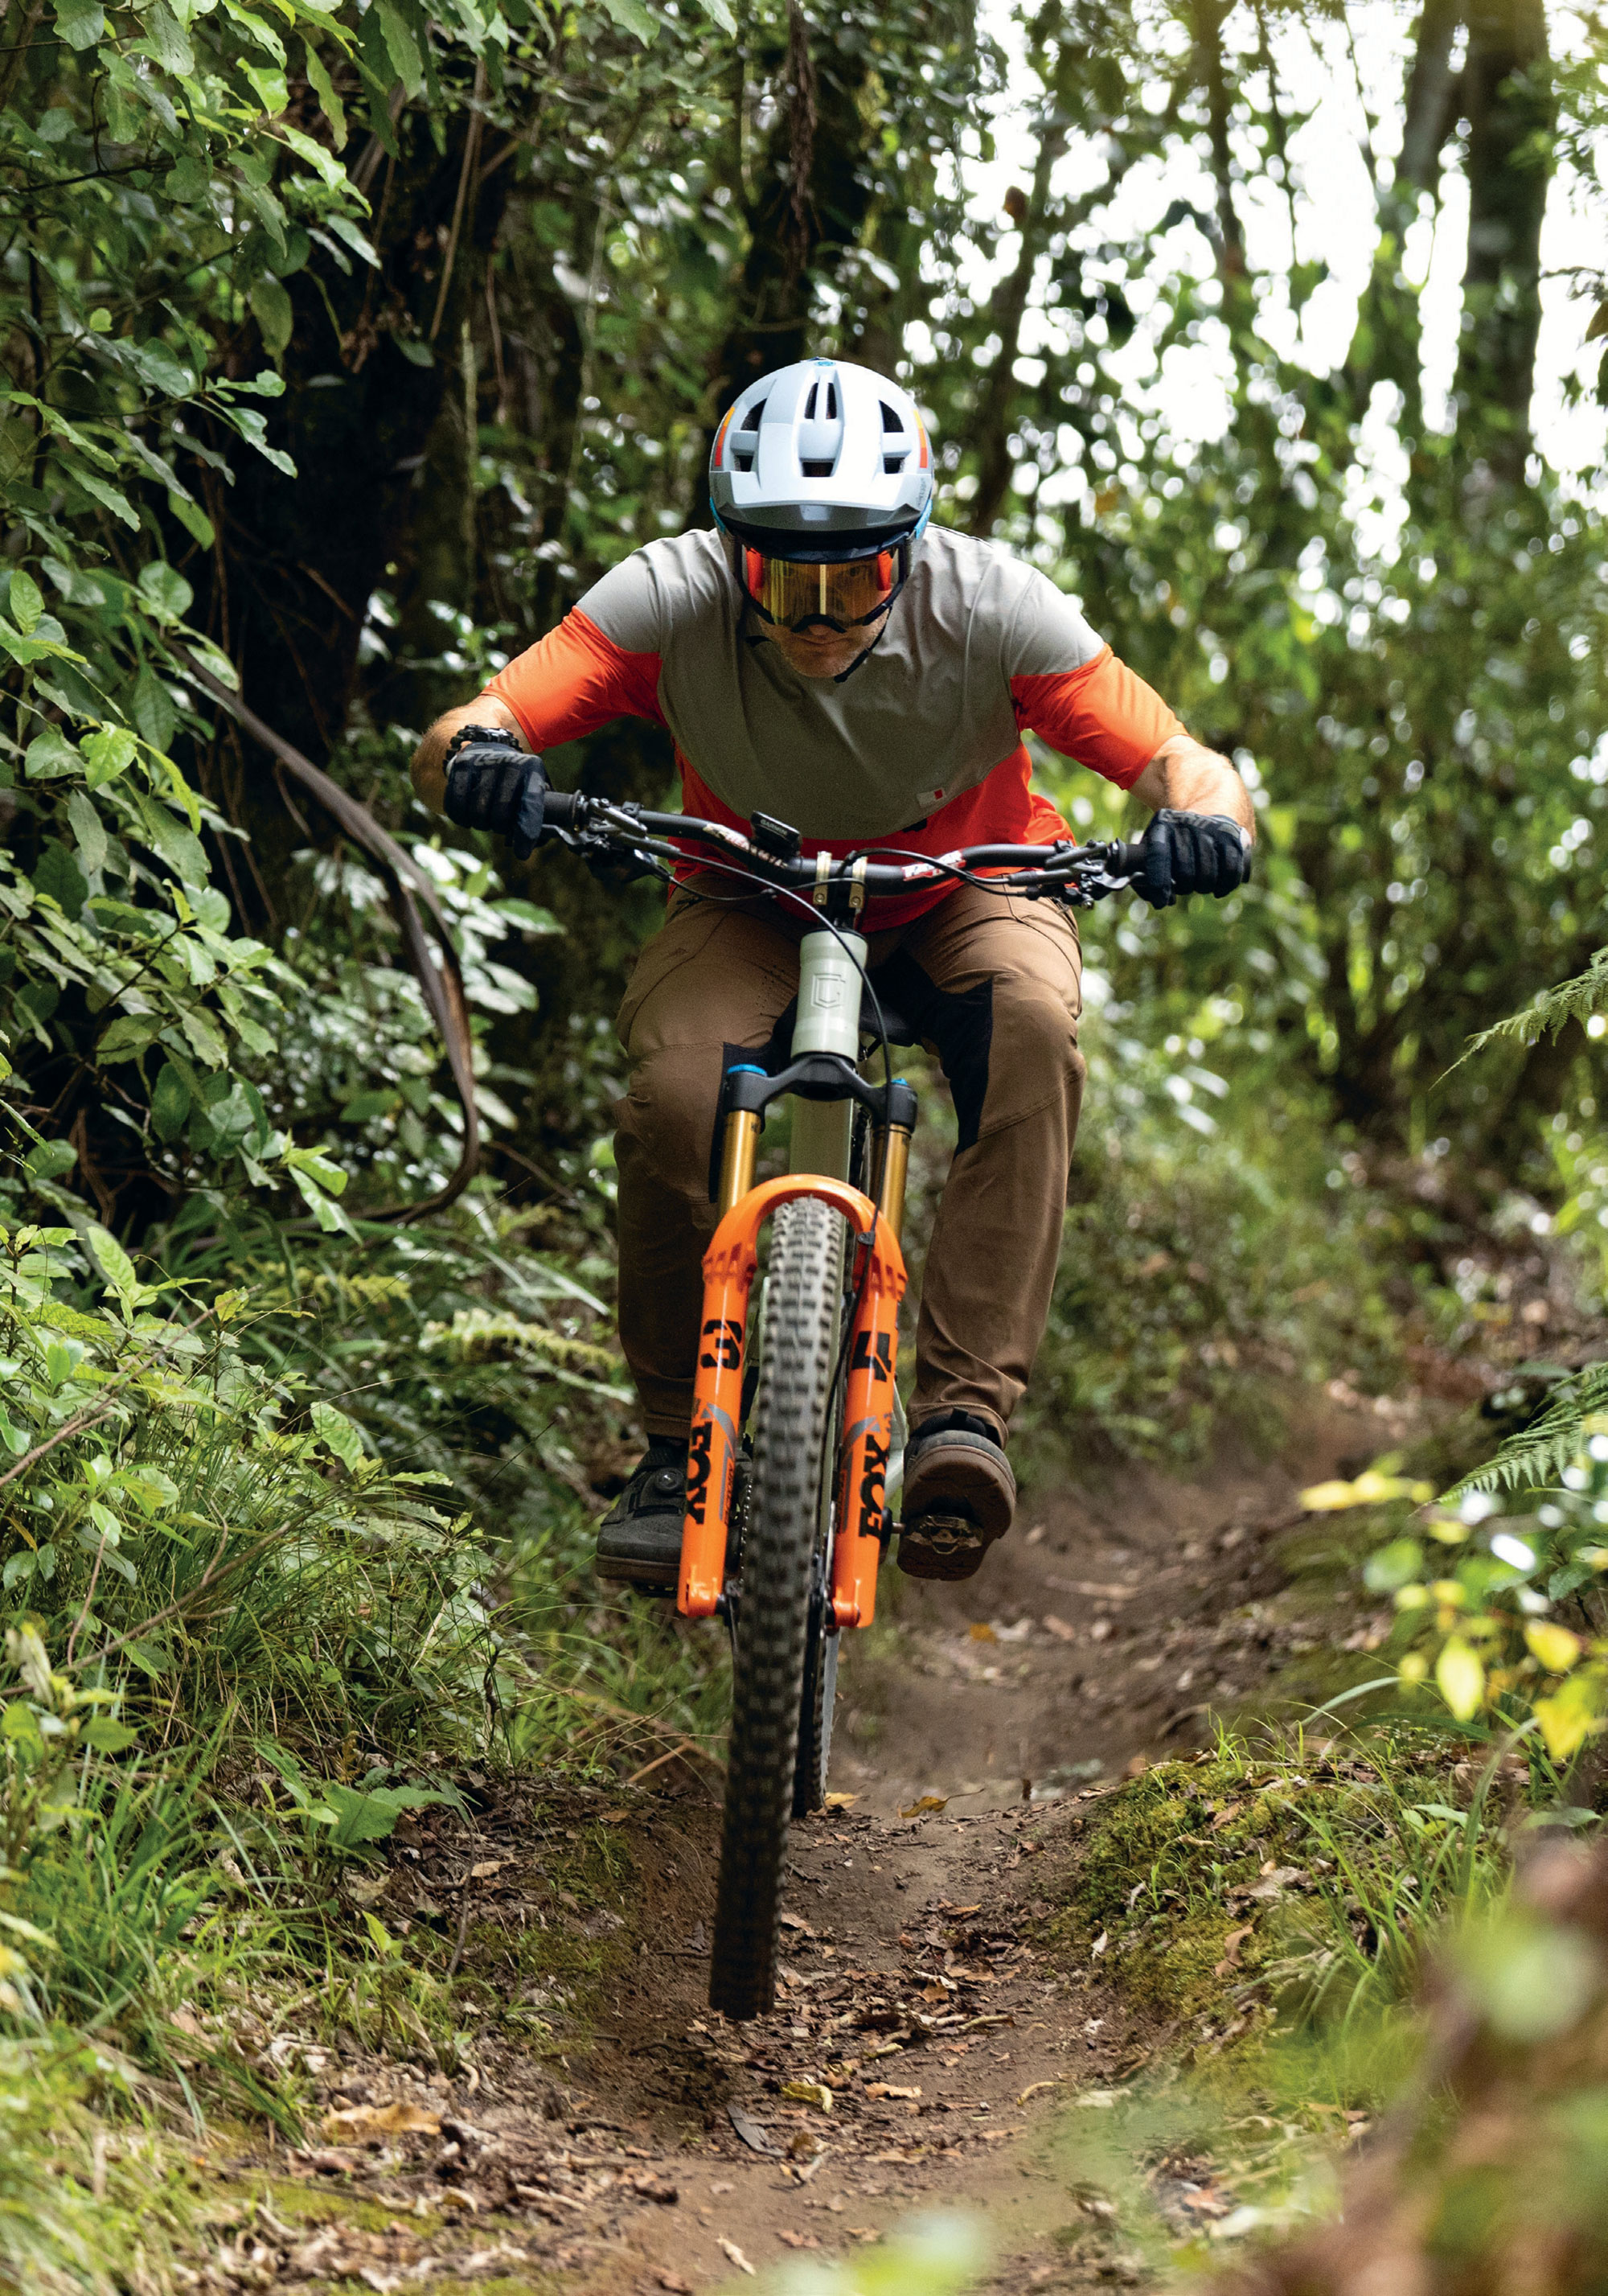
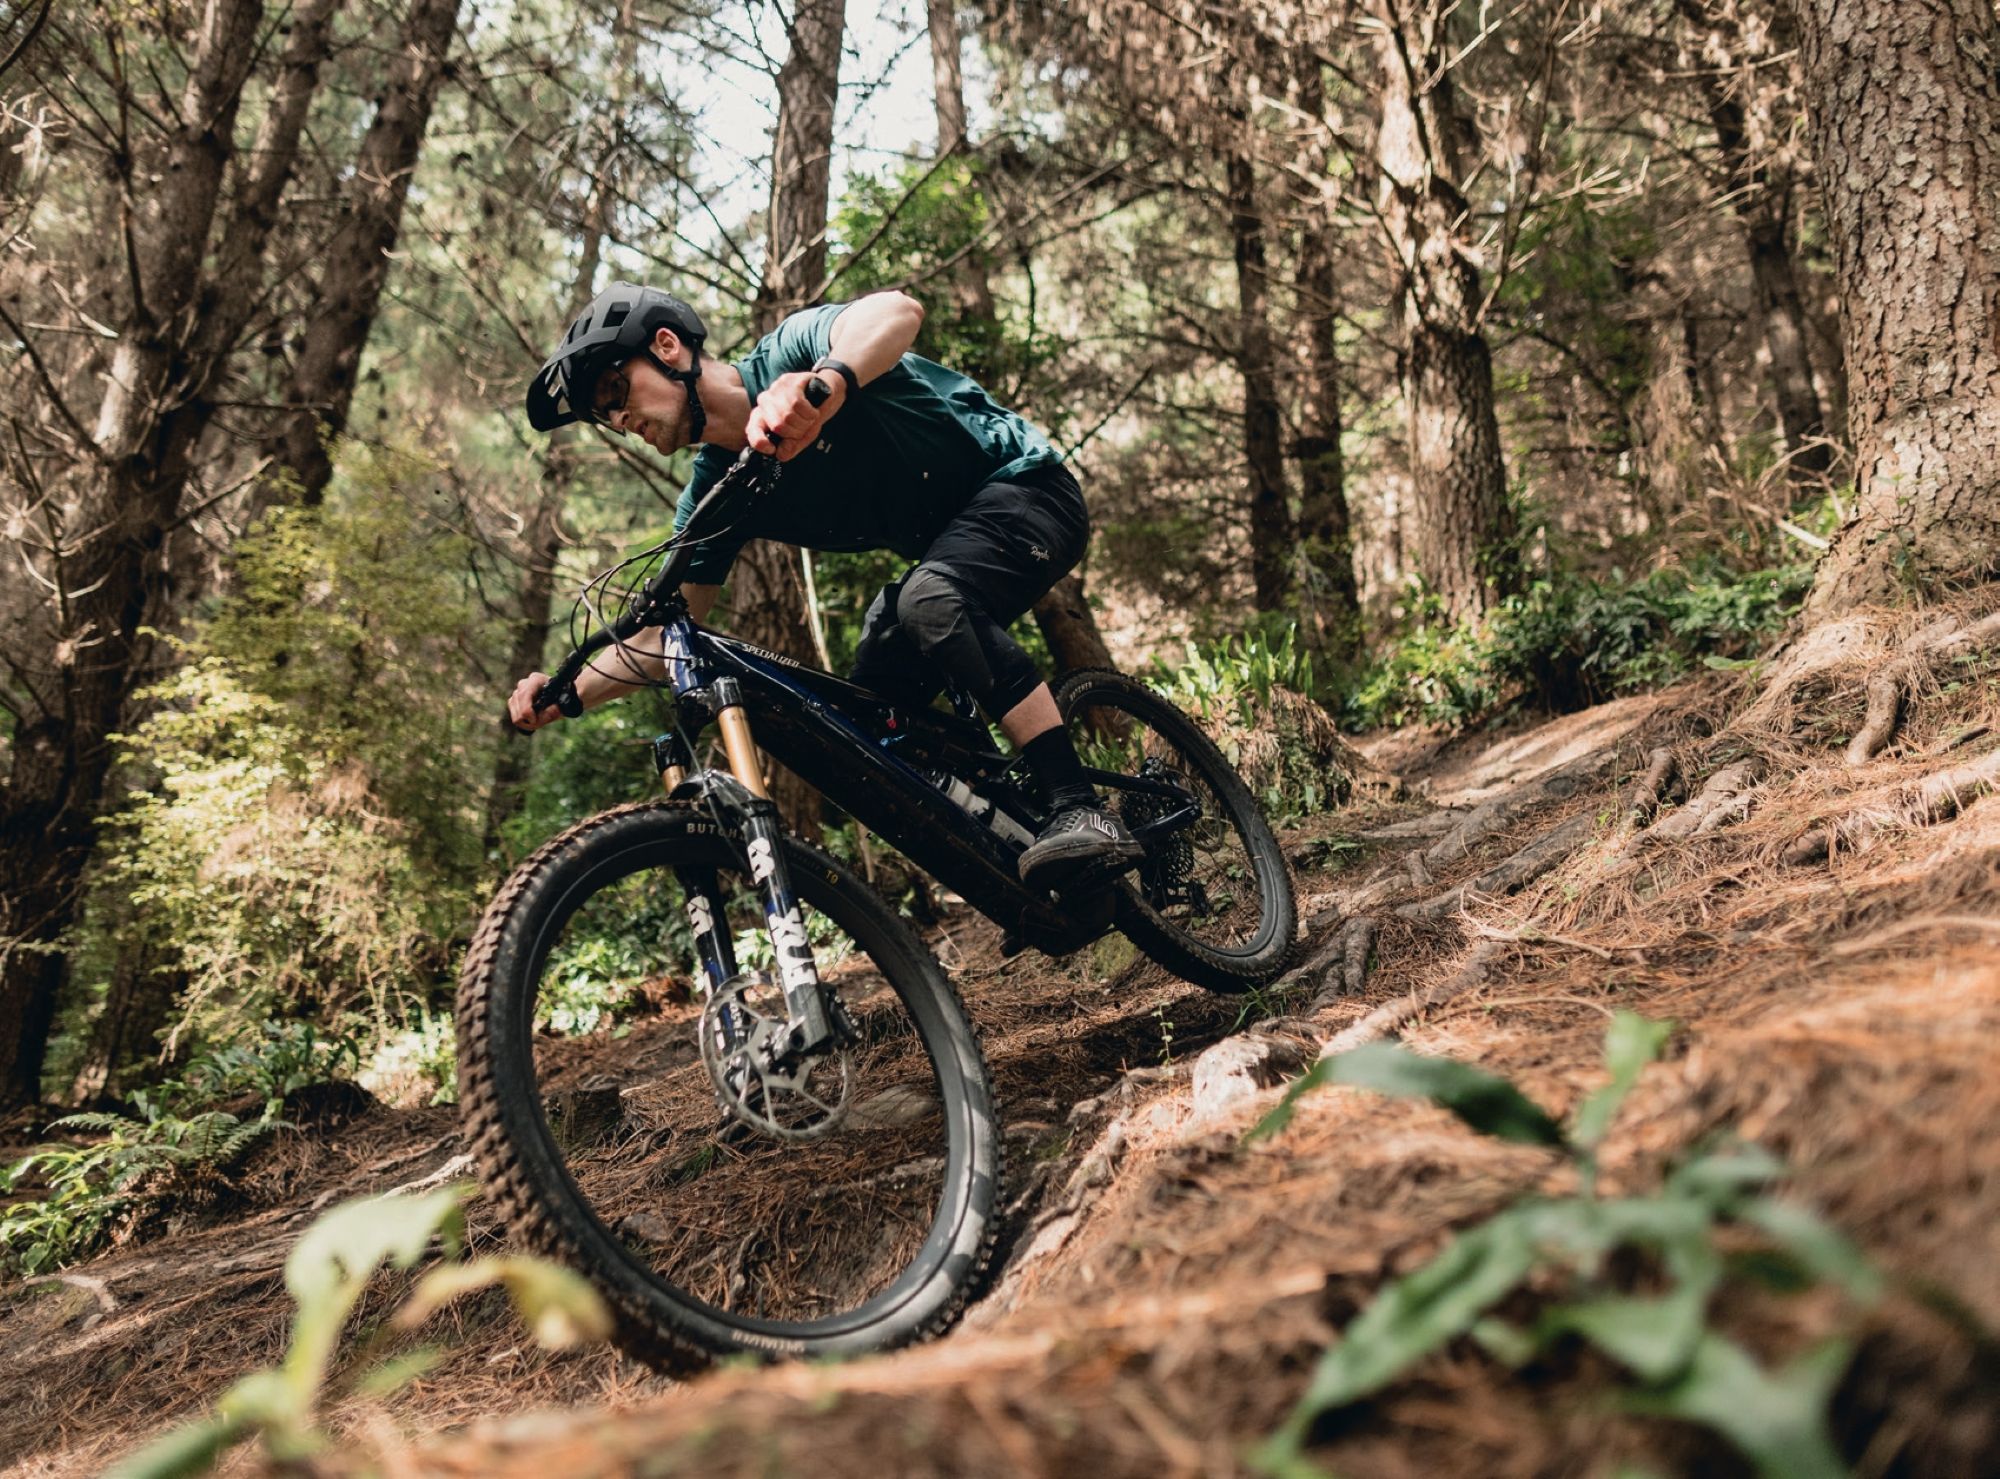
I’d convey the vibe of the bike as “playful”—akin to a big wheeled BMX in many scenarios. It excels when you’re being creative on the trail and allows for a super dynamic riding style; jumps, manuals, Scandi flicks and nose bonks are all in the Tempo’s remit, but it’s equally at home just cruising around in more of a ‘cross country’ mode.
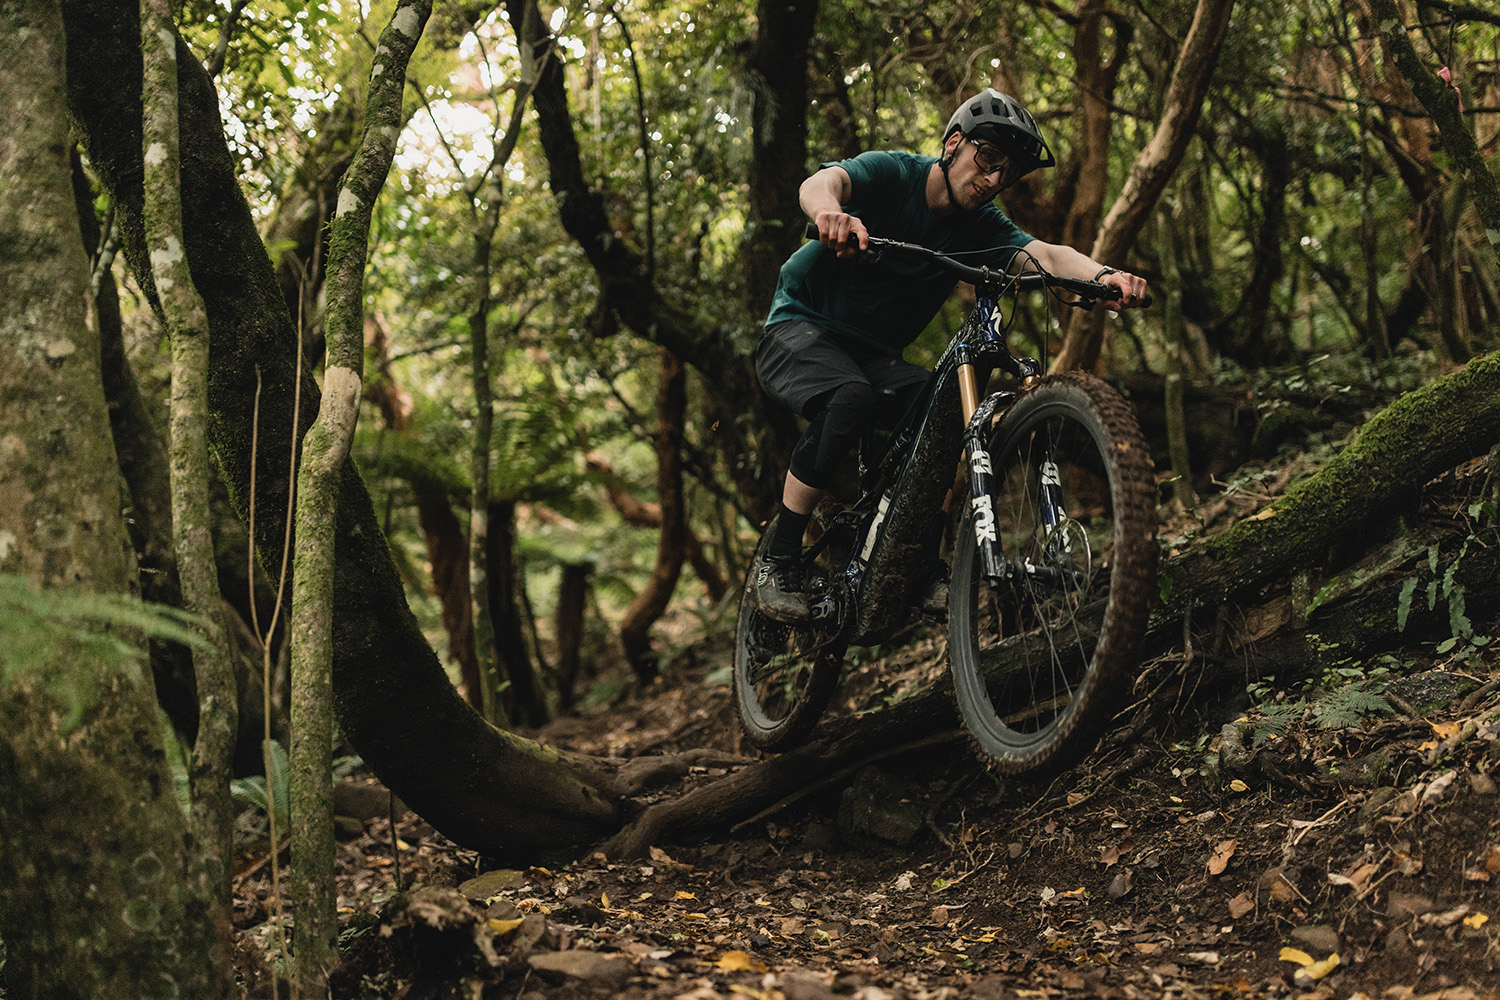
Seated climbing is excellent. The steep seat tube helped put a good amount of weight on the front tyre, helping retain control when threading the needle between obstacles or up steep switchbacks or steps. Climbing steep pitches out of the saddle, the suspension extends nicely, giving a firm platform to push against and a relatively snappy feel. At over 14kg, and with components designed for longevity rather than light weight, it’s unlikely a rider would be getting any climbing KOMs on the Tempo. Still, at least it gets you to the top of the hill efficiently and without feeling like you’re dragging an anchor.
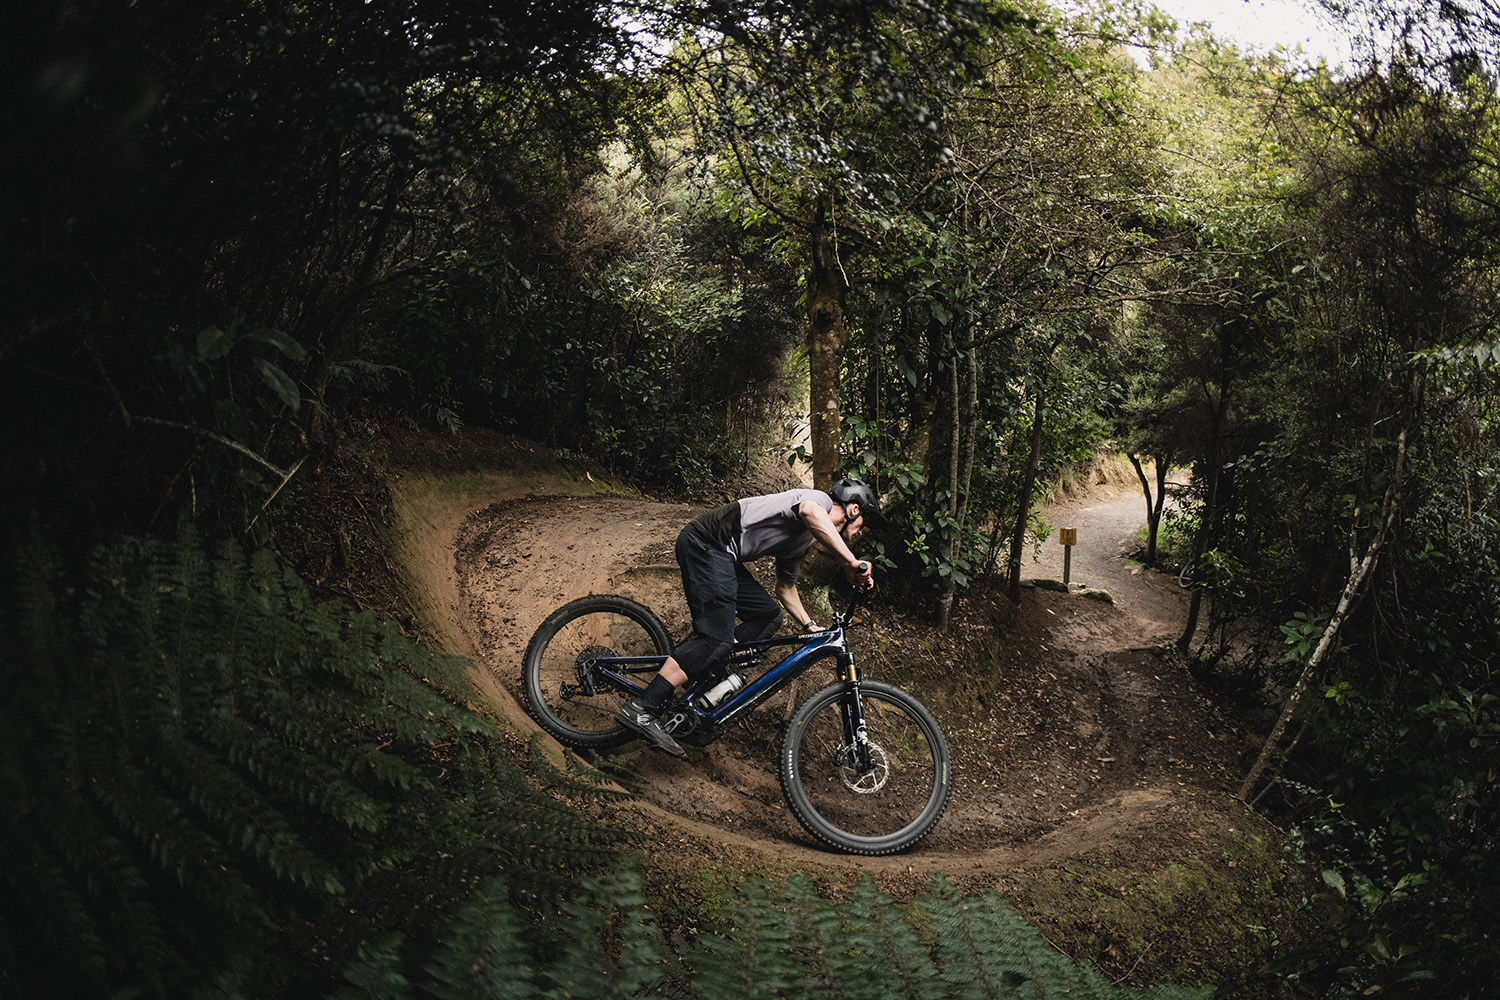
I commented in my Meta V5 review about how easy it was to change directions and drive through turns, and the Tempo retains this feeling. It straight-up rips turns—flat or bermed. I have fond memories of blasting through successive steep berms at the Whangamata MTB park, surprised by how it transitioned from one to the other. The only drawback of short travel like this is that rough and loose corners take a little more finesse to maintain traction; less travel means less sag and, ultimately, less traction.
Snapping out of turns, and under power while coming from a dead stop, the bike gets up to speed well and there’s no excessive loss of energy to the suspension.
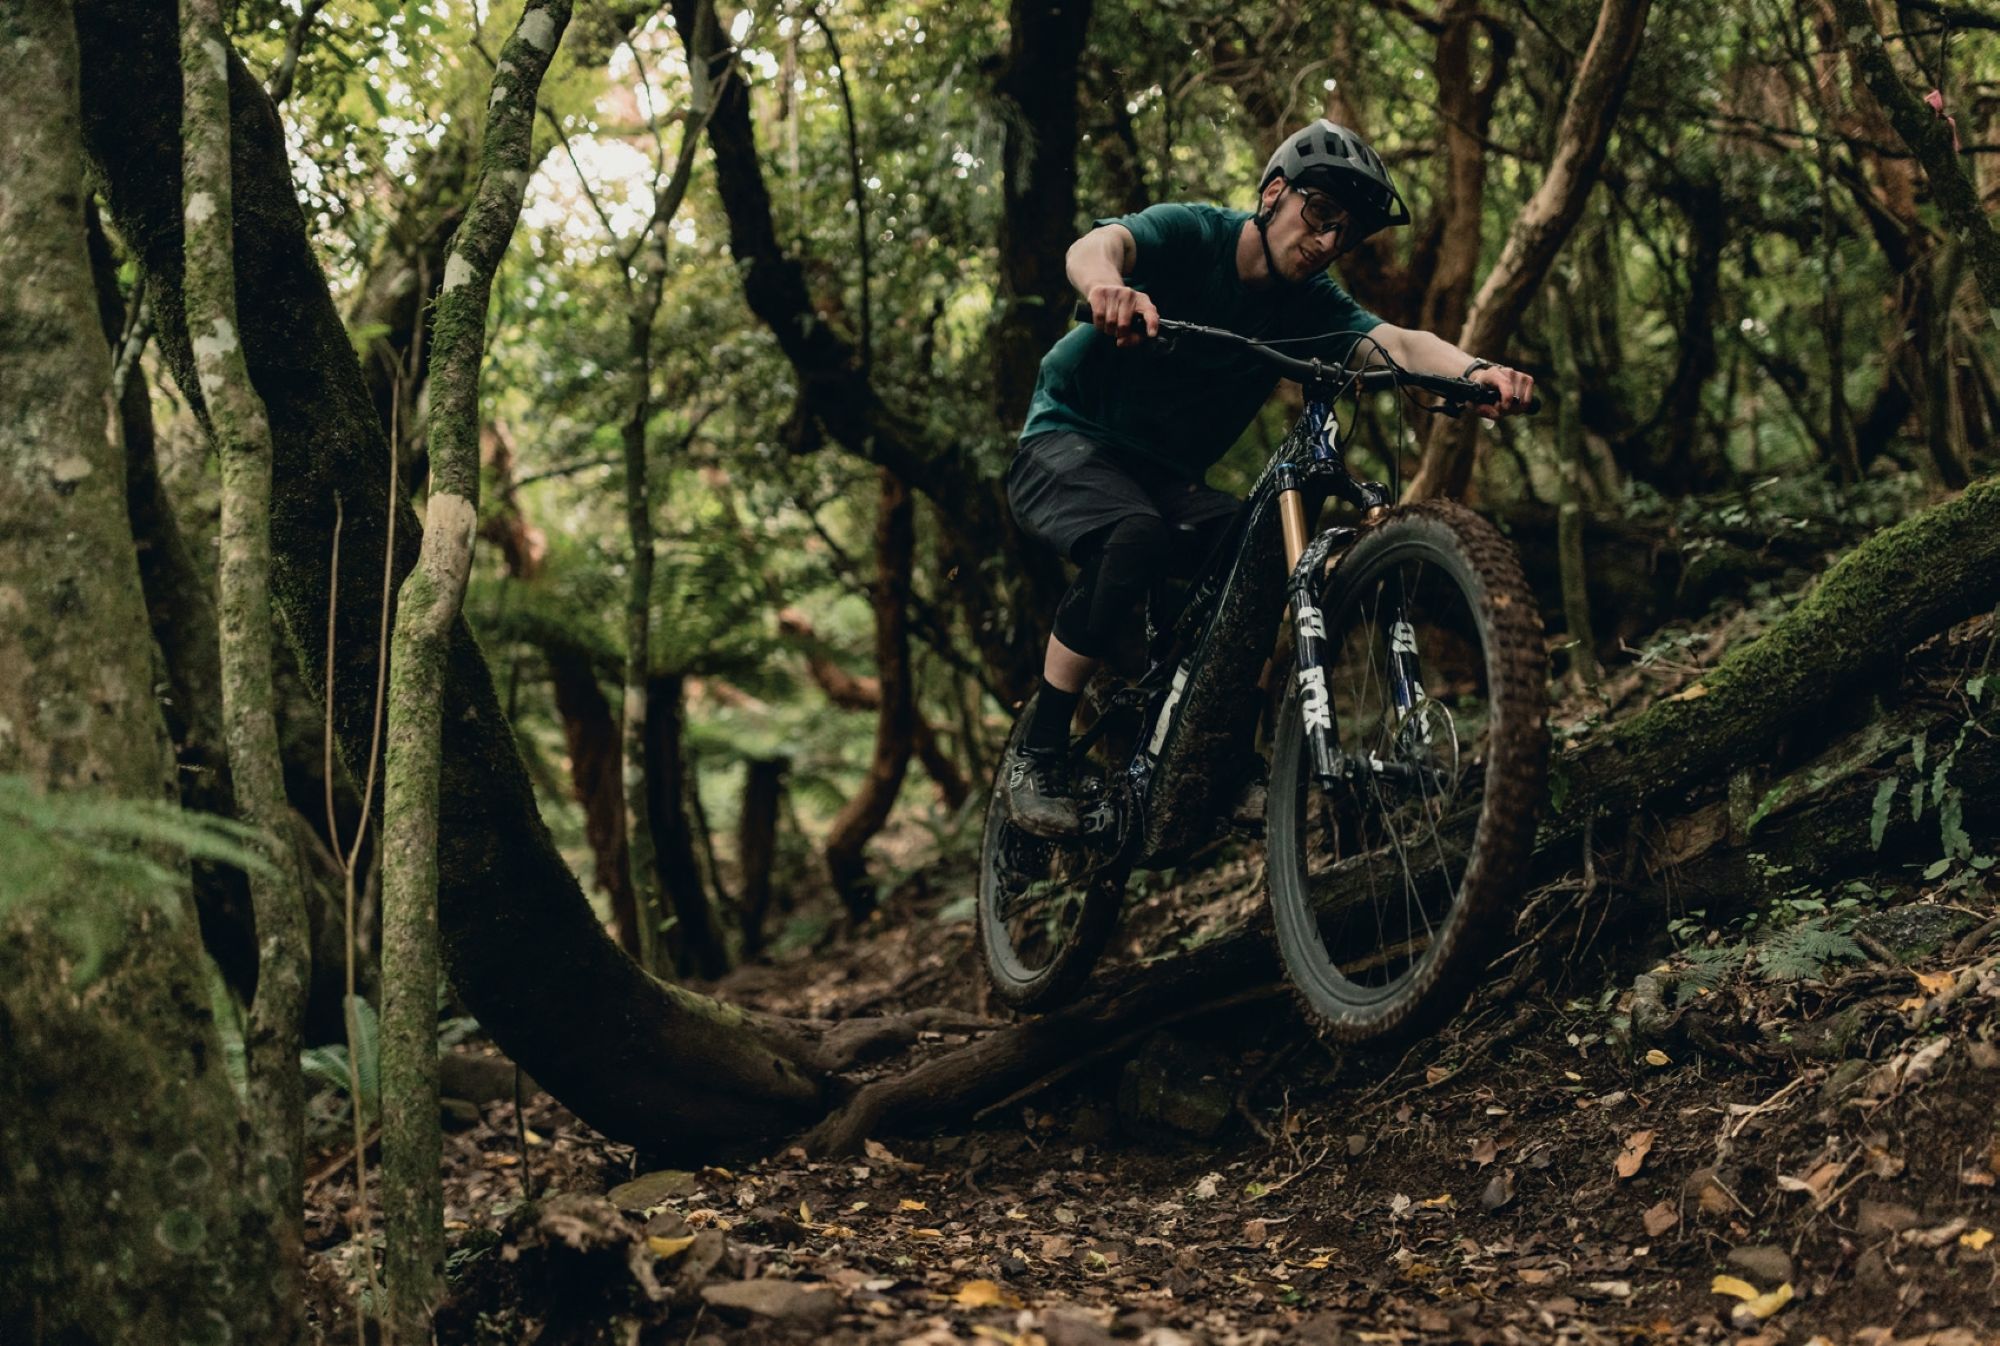
Descending on the Tempo is surprising. It’s not the first small-travel bike to ride like it has more travel, but it would be one of the better ones, leaving nothing on the table. With only 125mm of travel, it can’t offer a big bike ‘buttery’ feel as it sits into its sag, but it does a great job of quieting the chatter on the trail. It doesn’t blow through travel to an uncontrolled or harsh bottom out during larger hits or g-outs.
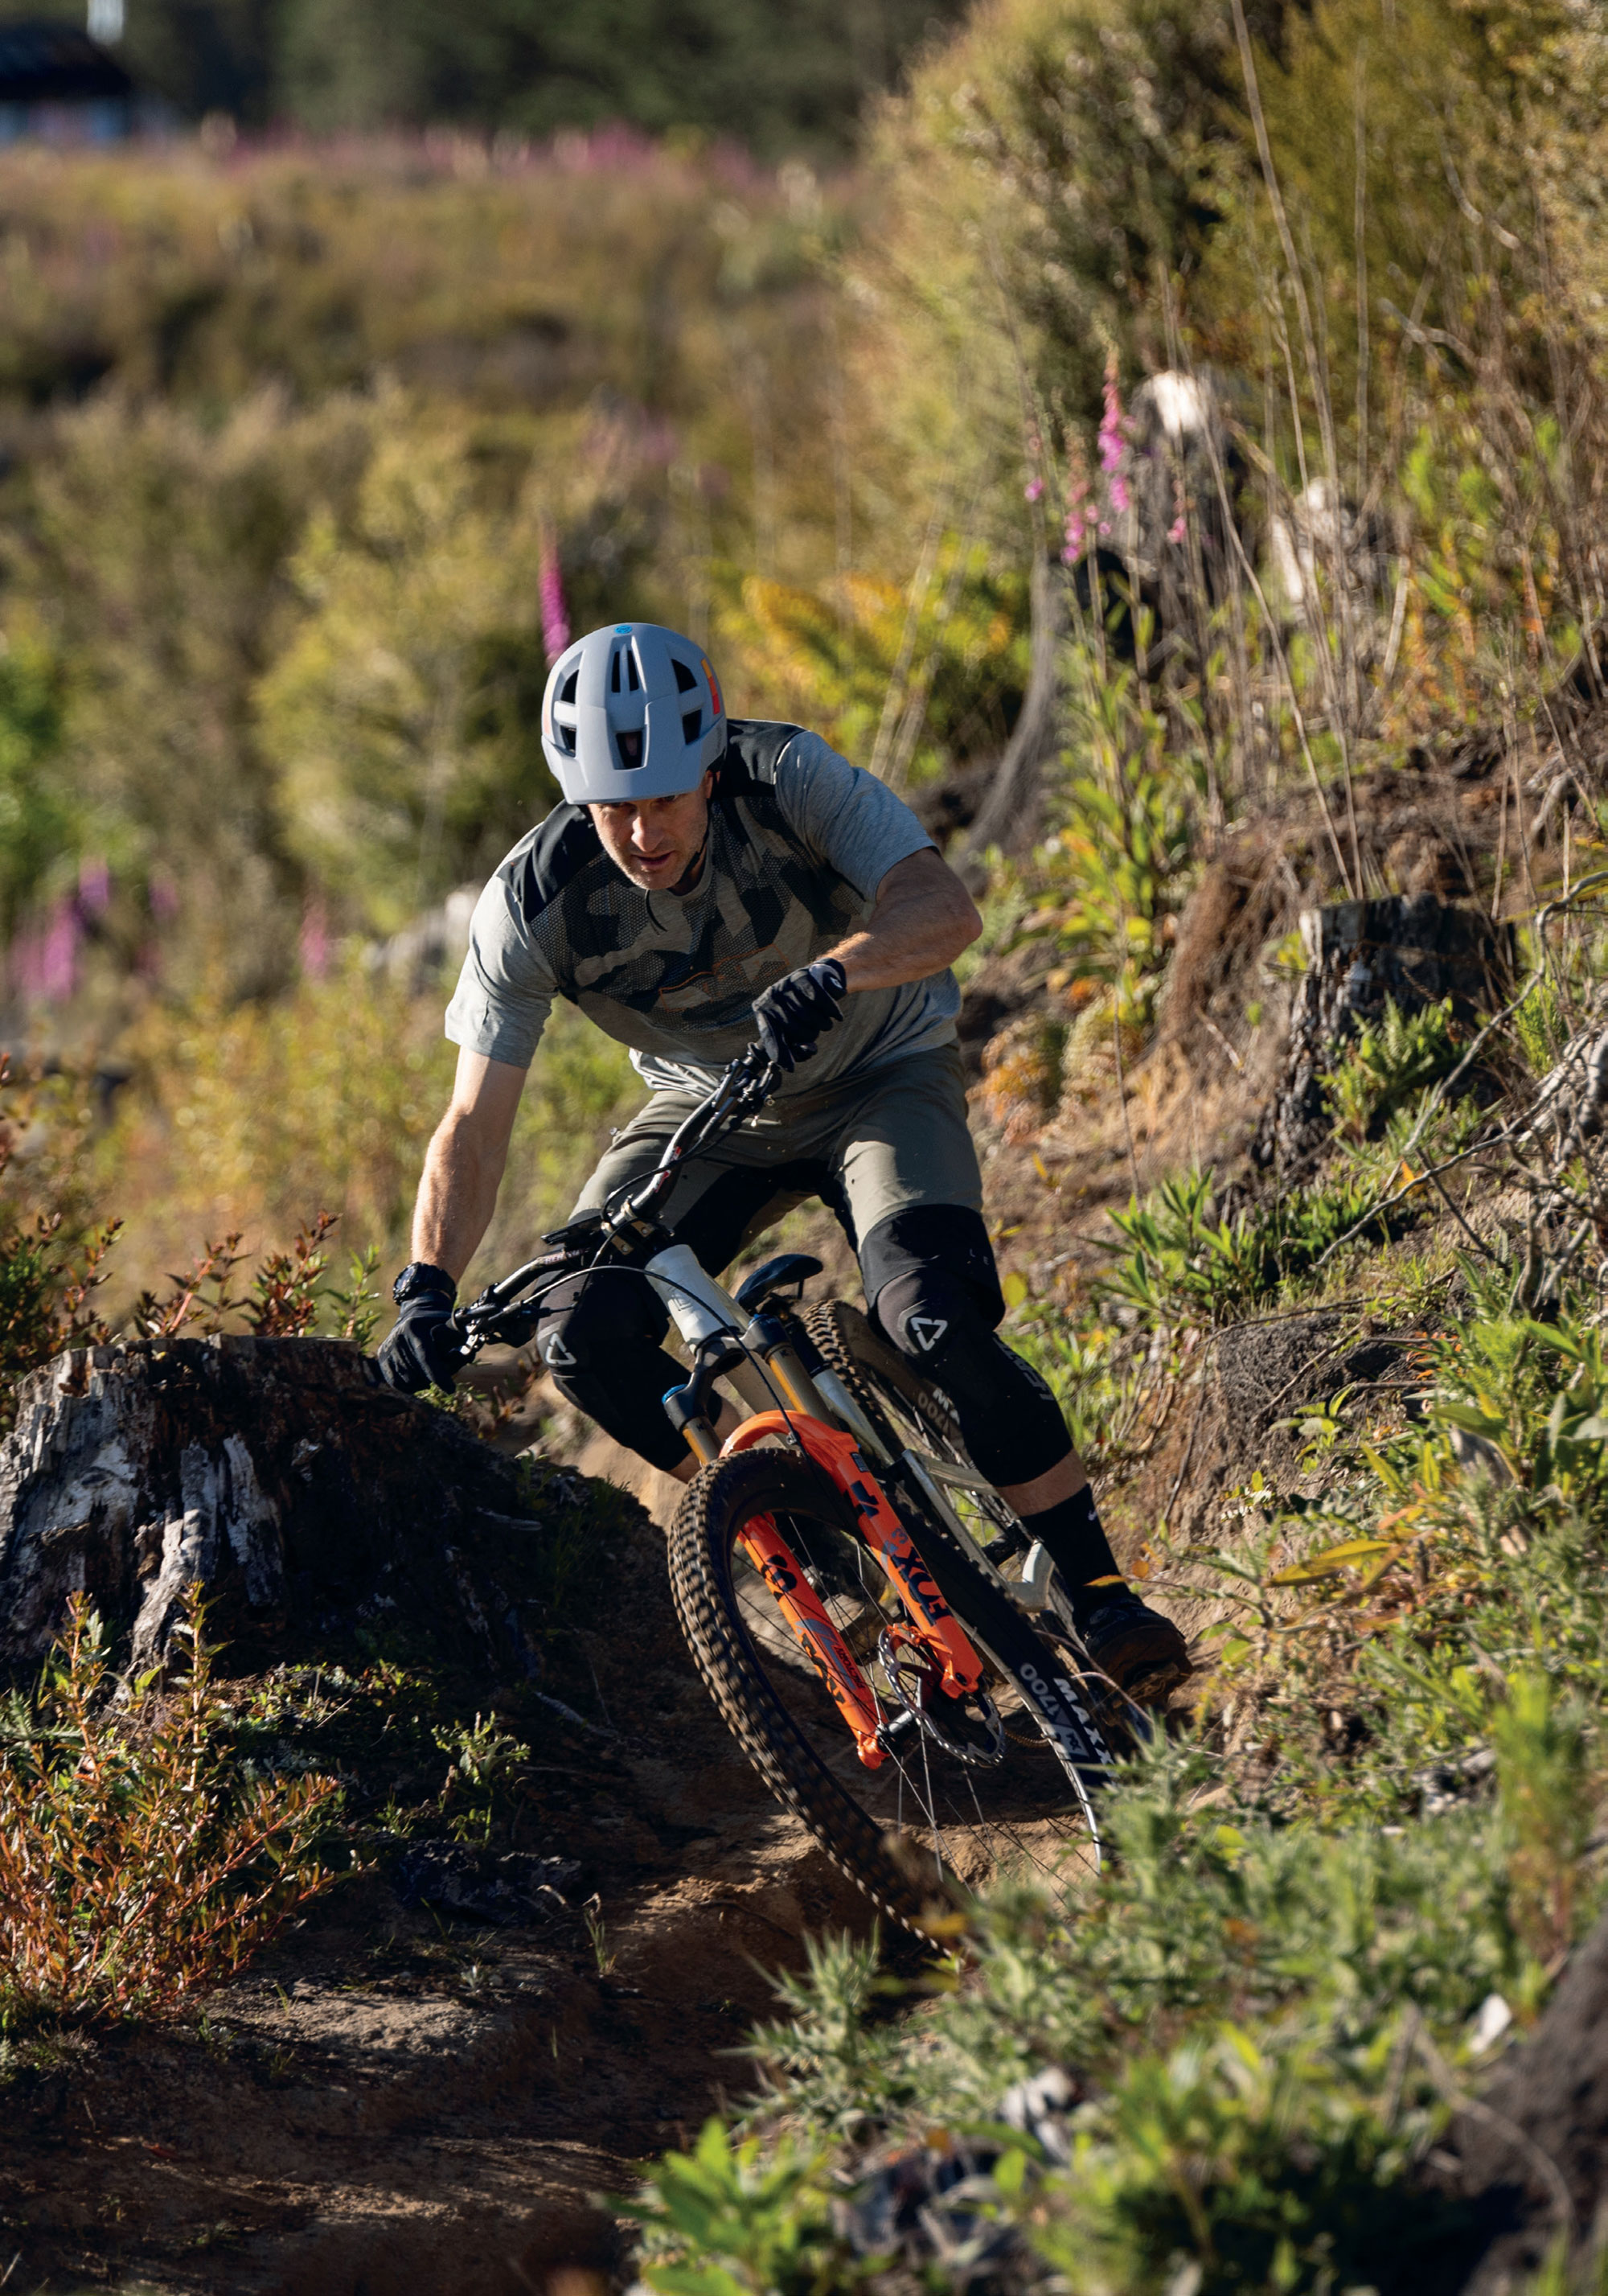
The Tempo is stable at speed, although the nature of its shorter travel means it’s not as planted as the Meta V5 or other similar Enduro bikes, and needs more brains and less brawn to deal with rough terrain. Aboard a bigger bike, one could essentially point and shoot, standing on the pedals and having the bike do all the work—the Tempo isn’t that sort of bike…. it’s true that you can’t have your cake and eat it too.
The 125mm of suspension is enough—until it isn’t. Over my three-month stint with the Tempo, there were a few times I came into a rough section a bit hot and really had to keep my wits about me as I used every millimetre of the travel, then relied on strength, skill and (possibly more so in my case) luck, to keep the ship upright. These situations were few and far between, but it’s worth keeping in mind that there’s not the safety net that a full enduro bike would offer. Although that’s not what anyone riding this bike would be after anyway.
I like a big day in the saddle, under my own steam, and I don’t like to feel like my fun is hampered by my choice of bike – regardless of whether I’m headed up or downhill. Living in the Waikato, the majority of my riding (all within a couple of hours’ drive) is on trails tending more towards the mellow end of the spectrum. Lots of digger-built trails and not so many gnarly, steep, rocky, “heck, I hope I can make this” sort of trails—unless I’m away in Nelson or Queenstown, which is once or twice a year, if I’m lucky. With this in mind, I’ve settled on the fact that a bike like the Tempo is realistically all I need: the ability to cover a decent amount of ground, climb effectively up hills, and be able to bomb back down whatever trail I choose without feeling like I’m being held back by inactive suspension or pucker-inducing handling.
Although I didn’t need to faff with the linkage at all, if I needed to—due to the layout of the VCS linkage and pivots—accessing the bottom shock bolt or pivot bolts can be a bit niggly; needing to remove some pivot bolts to access others. Not impossible, just time-consuming. If something in the back end comes loose while out on the trail, you’ll be holding up your riding buddies for a few minutes while you get it sorted.
The internal headset cable routing is the most polarising feature of the Tempo. Cables for the rear derailleur, dropper post and rear brake all squeeze their way through the headset top cap and down through the top bearing. There’s a bit going on up front. I’m yet to have a review bike long enough to need to replace a headset bearing and, if I had, I’m sure I’d do myself the favour of taking it to a bike shop with a mechanic who has far more patience than I do to complete the procedure. It’s fair to say that simply cracking the headset open, cleaning everything, popping off the bearing seal and re-lubing it once a month or so (depending on riding conditions) would drastically increase its lifespan. Spending 15 minutes doing this periodically is easier than a bearing replacement, which could take upwards of an hour.
Final thoughts
It’s taken some time for manufacturers to get little bikes ‘right’, but it seems they’re finally getting them dialled, bringing a shift in the mountain bike market as people realise a bike with “just” 125mm travel can handle everything they throw at it. Depending on where people ride, they probably don’t need a big travel bike as their daily rig. I’m now one of these people, and I’ve had an absolute blast riding the Tempo over the summer. I still have questions about headset routing and pivot bearing servicing over a longer term and through a winter of riding but, so far, I’m grinning.
SRAM Eagle 90 Transmission
Words & Images Liam Friary
RRP $1,488
Distributor Worralls
Analogue aficionados rejoice—cable ain’t dead! In fact, it’s far from dead with the recent launch of SRAM’s new Eagle 90 Transmission. A few years back, we saw the launch of SRAM’s electronic AXS Transmission which removed the traditional derailleur hanger by hanging the derailleur directly onto the frame.
This brought the benefits of strength, shifting under load, and improved shifting performance. Well, now all of this is offered in a more affordable mechanical version, which is great news—especially in the current economic climate.
There’s two new mechanical groupsets; SRAM’s Eagle 70 and Eagle 90. These are both 12-speed, cable-operated drivetrains, offering mechanical alternatives to their electronic counterparts. Eagle 90 is basically the mechanical version of GX AXS Transmission. It uses the same cassette, chain and crank arms, but adds a new steel chainring, plus a mechanical derailleur and shifter. Eagle 70 is the step-down option that replaces NX Eagle. It’s essentially the mechanical version of the S1000 Transmission, sharing its crankset, chain and XS-1270 cassette. One advantage: the cassette works with the more common HG freehub standard. It’s difference from the Eagle90 derailleur, is that it utilises cheaper materials and a Drag Spring damper to keep costs lower. For this review, I’ll focus on the Eagle 90 Transmission which I’ve been riding for a few months. You can purchase the complete SRAM Eagle 90 Transmission groupset with exception of BB. From a pricing perspective, its more expensive than Shimano’s XT mechanical drivetrain but cheaper than SRAM’s GX AXS Transmission.
Eagle 90 Installation is a simple setup procedure. SRAM’s “Prepare. Hang. Tighten.” motto is mostly accurate, but if you’ve spent years working on traditional derailleurs, there’s definitely a learning curve—you need to forget some old habits. That said, after the first installation, the second and third will go much smoother.
The “Prepare” step involves checking SRAM’s website or using the AXS app to enter your bike details (brand, model, frame size, chainring size). The system then gives you your specific chain length, cage lock position setting (A or B), compatible chainring sizes, and which cog to use for setup. SRAM provides excellent installation videos that cover the little details that help achieve perfect performance.
Overall, installation is straightforward—any decent home mechanic can handle it. Just be aware of a few things: changing chainring size or adjusting dropouts can affect shifting. Also worth noting: SRAM emphasizes that T-type drivetrains are very sensitive to proper torque specs, so use a calibrated torque wrench when installing both cassette and derailleur.
The Eagle 90 Derailleur uses a Full Mount design that connects straight to your frame without needing a separate hanger. There’s a catch though—it only works with UDH (Universal Derailleur Hanger) dropouts, so if you’ve got an older mountain bike (non-UDH), you’re out of luck. A standout feature is that the derailleur is rebuildable. If something breaks or wears out, you’ve got options: you can replace just the skid plates, get new P-Knuckle or B-Knuckle assemblies, or even grab a bushing replacement kit. The jockey wheels and inner cage are also available separately, or you can buy the complete package with the full cage and damper. This is a strong move away from the disposable culture of ‘break it, throw it, buy new’. The ‘right to repair’ movement has been gaining serious momentum lately—not just in cycling but across pretty much everything we own. From phones and laptops to cars and tractors, people are pushing back against manufacturers that make it nearly impossible to fix your own stuff without specialised tools or proprietary parts.
The cage on this derailleur is the same as the GX AXS Transmission model—steel on the outside, aluminum on the inside. Pretty cool feature: you can take off the whole assembly and damper from the main body without needing any tools. And since it’s modular, you could upgrade to a high- end version from an X0 or XX SL derailleur if you wanted. So, the Eagle 90 derailleur is a solid unit weighing in at in at 390g. However, its 100g lighter than the GX AXS version, which is welcomed.
The Eagle 90 Shifter features a brand-new trigger shifter with a specific cable-pull ratio for T-Type derailleurs and cassettes (not compatible with older Eagle systems). It comes in double-click for regular bikes or single-click for eMTBs, with a smaller plastic upper paddle for upshifting and a larger, textured aluminum lower lever for downshifting. Installation is flexible—use SRAM’s MMX system to either mount it directly on your handlebar with a standalone clamp or attach it right to a SRAM brake lever with the appropriate adapter. One nice detail: the cable runs straight and parallel to your handlebar, which looks super clean when paired with SRAM’s newest Stealth brakes.
The Eagle 90 Crankset shares the same alloy arms as the GX AXS, just with a black finish and steel bolt. It’s built for the modern 55mm chain line and uses a DUB Wide spindle. You can get arm lengths from 155-175mm, plus there’s a special eMTB version for Bosch and Brose/Specialized motors. I opted for shorter 165mm cranks on my set up.
The big difference from the GX AXS is the new one-piece steel chainring. It’s twice as heavy as aluminum but lasts three times longer and runs quieter. Thanks to the modern 8-bolt interface, you can easily swap to a lighter alloy ring or add a power meter if you want. The crankset comes in 30T, 32T, and 34T sizes, and includes standard two-piece bash plates.
The Eagle 90 Cassette uses the existing XS-1275 cassette from the GX AXS drivetrain. It needs an XD freehub body and works best with the 55mm chain line spacing. This cassette delivers a massive 520% gear range with its 10-52T spread. Construction-wise, the eight largest cogs use a pinned design while the smallest four form a single mini-cluster. The big 52T sprocket is aluminum for weight savings, and all the others are nickel-plated steel for better durability. A key feature is the narrow-wide tooth profile (X-Sync) that matches perfectly with the chain, creating better retention and specific shift gates in both directions—this is what allows for such reliable shifting even when you’re pushing hard on the pedals.
The Eagle 90 Chain uses the same GX Flattop chain from the existing lineup. It features the distinctive Flattop design that’s specific to Transmission systems and comes with a PVD coating that helps fight wear and corrosion. To keep costs down, the GX version uses solid pins instead of the lighter hollow pins found on higher-end SRAM chains. But it still includes the same convenient Powerlock master link that makes installation a breeze.
Eagle 90 Transmission Riding—to date I’ve probably done around 150-200km of riding with the new groupset. It’s plenty enough to get acquainted with its performance but not nearly enough to report on durability and longevity. However, from that first ride up until writing this review its been bloody good!
The smooth shifting does great under load, with positive engagement and a quietness to the drivetrain. Often, it’s so damn quiet you don’t even know you’ve shifted. For the last two decades, I have been used to backing off the pedals when shifting. Transmission effectively removes that from the equation, however, it does take some getting used to. I did find that the mechanical version of Transmission prefers shifting when under load. I should point out that the system shifts just two gears at a time. Interesting, perhaps, but it makes sense and is a smart design decision that likely helps keep gear transitions smooth when you’re putting power through the drivetrain. It’s a small detail, but it’s these thoughtful touches that contribute to how well the whole system performs.
There’s something about the tactile feel when thumbing the shifter up or down gears that resonates. Maybe it’s because I’ve been riding bikes since before there was electronic shifting, but there’s a certain appeal to the analogue feel. The lever ergonomics of the shift paddles are superb, especially that concave profile on the upshift paddle—it’s like it was designed specifically for my thumb. From the first ride, the natural feel, comfort and shift experience really stood out. Of course, this shifting is on par with what you’d expect from this level of groupset. It’s solid, dependable and functions really well. Sure, it’s not high-end X01—but that’s not the point here, and it keeps the price lower.
It’s been good riding the groupset at a variety of different locations. I’ve been on multiple rides in Rotorua and found that on the steeper fire roads and singletrack, shifting under load—or rather, last minute—before a feature (or if my heart rate soared too high) it found the gear without hesitation. Shifting under load is a real standout feature. Basically, it removes any thinking about gear changes and allowed me to focus on the line, putting down power to grind away up a fire road or tackle technical features.
On the descents, the silence continued—thanks to an improved clutch for Transmission—and after numerous rides, the components have only gotten better as they’ve bedded in. During my rides in Rotorua, I had a couple of stacks—nothing major—and the robustness of the derailleur meant I could dust off, grab my bike and continue on the trail without any shifting issues whatsoever. I did slam the bash guard against tree roots a couple times while rolling but, again, it just shrugged it off like it was nothing. No damage, no drama.
After tweaking the cable tension, I haven’t run into any real problems with the Eagle 90. Like any cable system, you’ll need to do regular maintenance—which is different from electronic derailleurs that generally keep shifting well for longer periods. On the plus side, there’s no battery to worry about charging— so each system has its own advantages and disadvantages. I personally like the fact that there’s nothing to charge—or remember to charge!—before heading out for a ride.
Another good addition is the advanced technology delivered to this groupset, while still being realistically serviceable. Unlike older derailleur designs that often meant replacing the entire unit after a good smack on a rock, these T-Type models let you swap out specific components—the outer parallelogram link, skid plates, derailleur cages—without throwing the whole thing. Perfect if you’re abusive with your bike and don’t want an expensive electronic mech hanging off your bike.
I noted earlier that shifting is best under load, as it can feel sluggish if soft pedalling. It actually performs better when you’re more aggressive—kind of counterintuitive but that’s how it works. This takes a bit to get used to but you soon adapt. It hasn’t skipped a beat since I’ve been on it—precise and crisp. Given how well it handles high-torque shifting, I bet it’ll be fantastic on eBikes with motors adding extra power through gear changes.
All in all, the new SRAM Eagle 90 Transmission is a pretty sweet addition to the mountain bike drivetrain scene. It basically takes all those cool features from the electronic versions— no hanger needed, super simple setup—but without emptying your bank account. The clear standout is shifting under load, which is seriously impressive. I’m also into that ‘click’ feedback that only mechanical can deliver. Sometimes, the analogue world prevails over the pressing of electronic buttons and dealing with apps and dead batteries.
Yeah, it’s a bit heavy—especially the cranks— and it’s not as boujee as the higher-end product from SRAM, but it doesn’t lack any performance benefits. It’s also pricier than other mechanical groupsets, but the Full Mount design eliminates a lot of the usual headaches that mess with shift performance and durability. The Eagle 90 Transmission is bloody good!
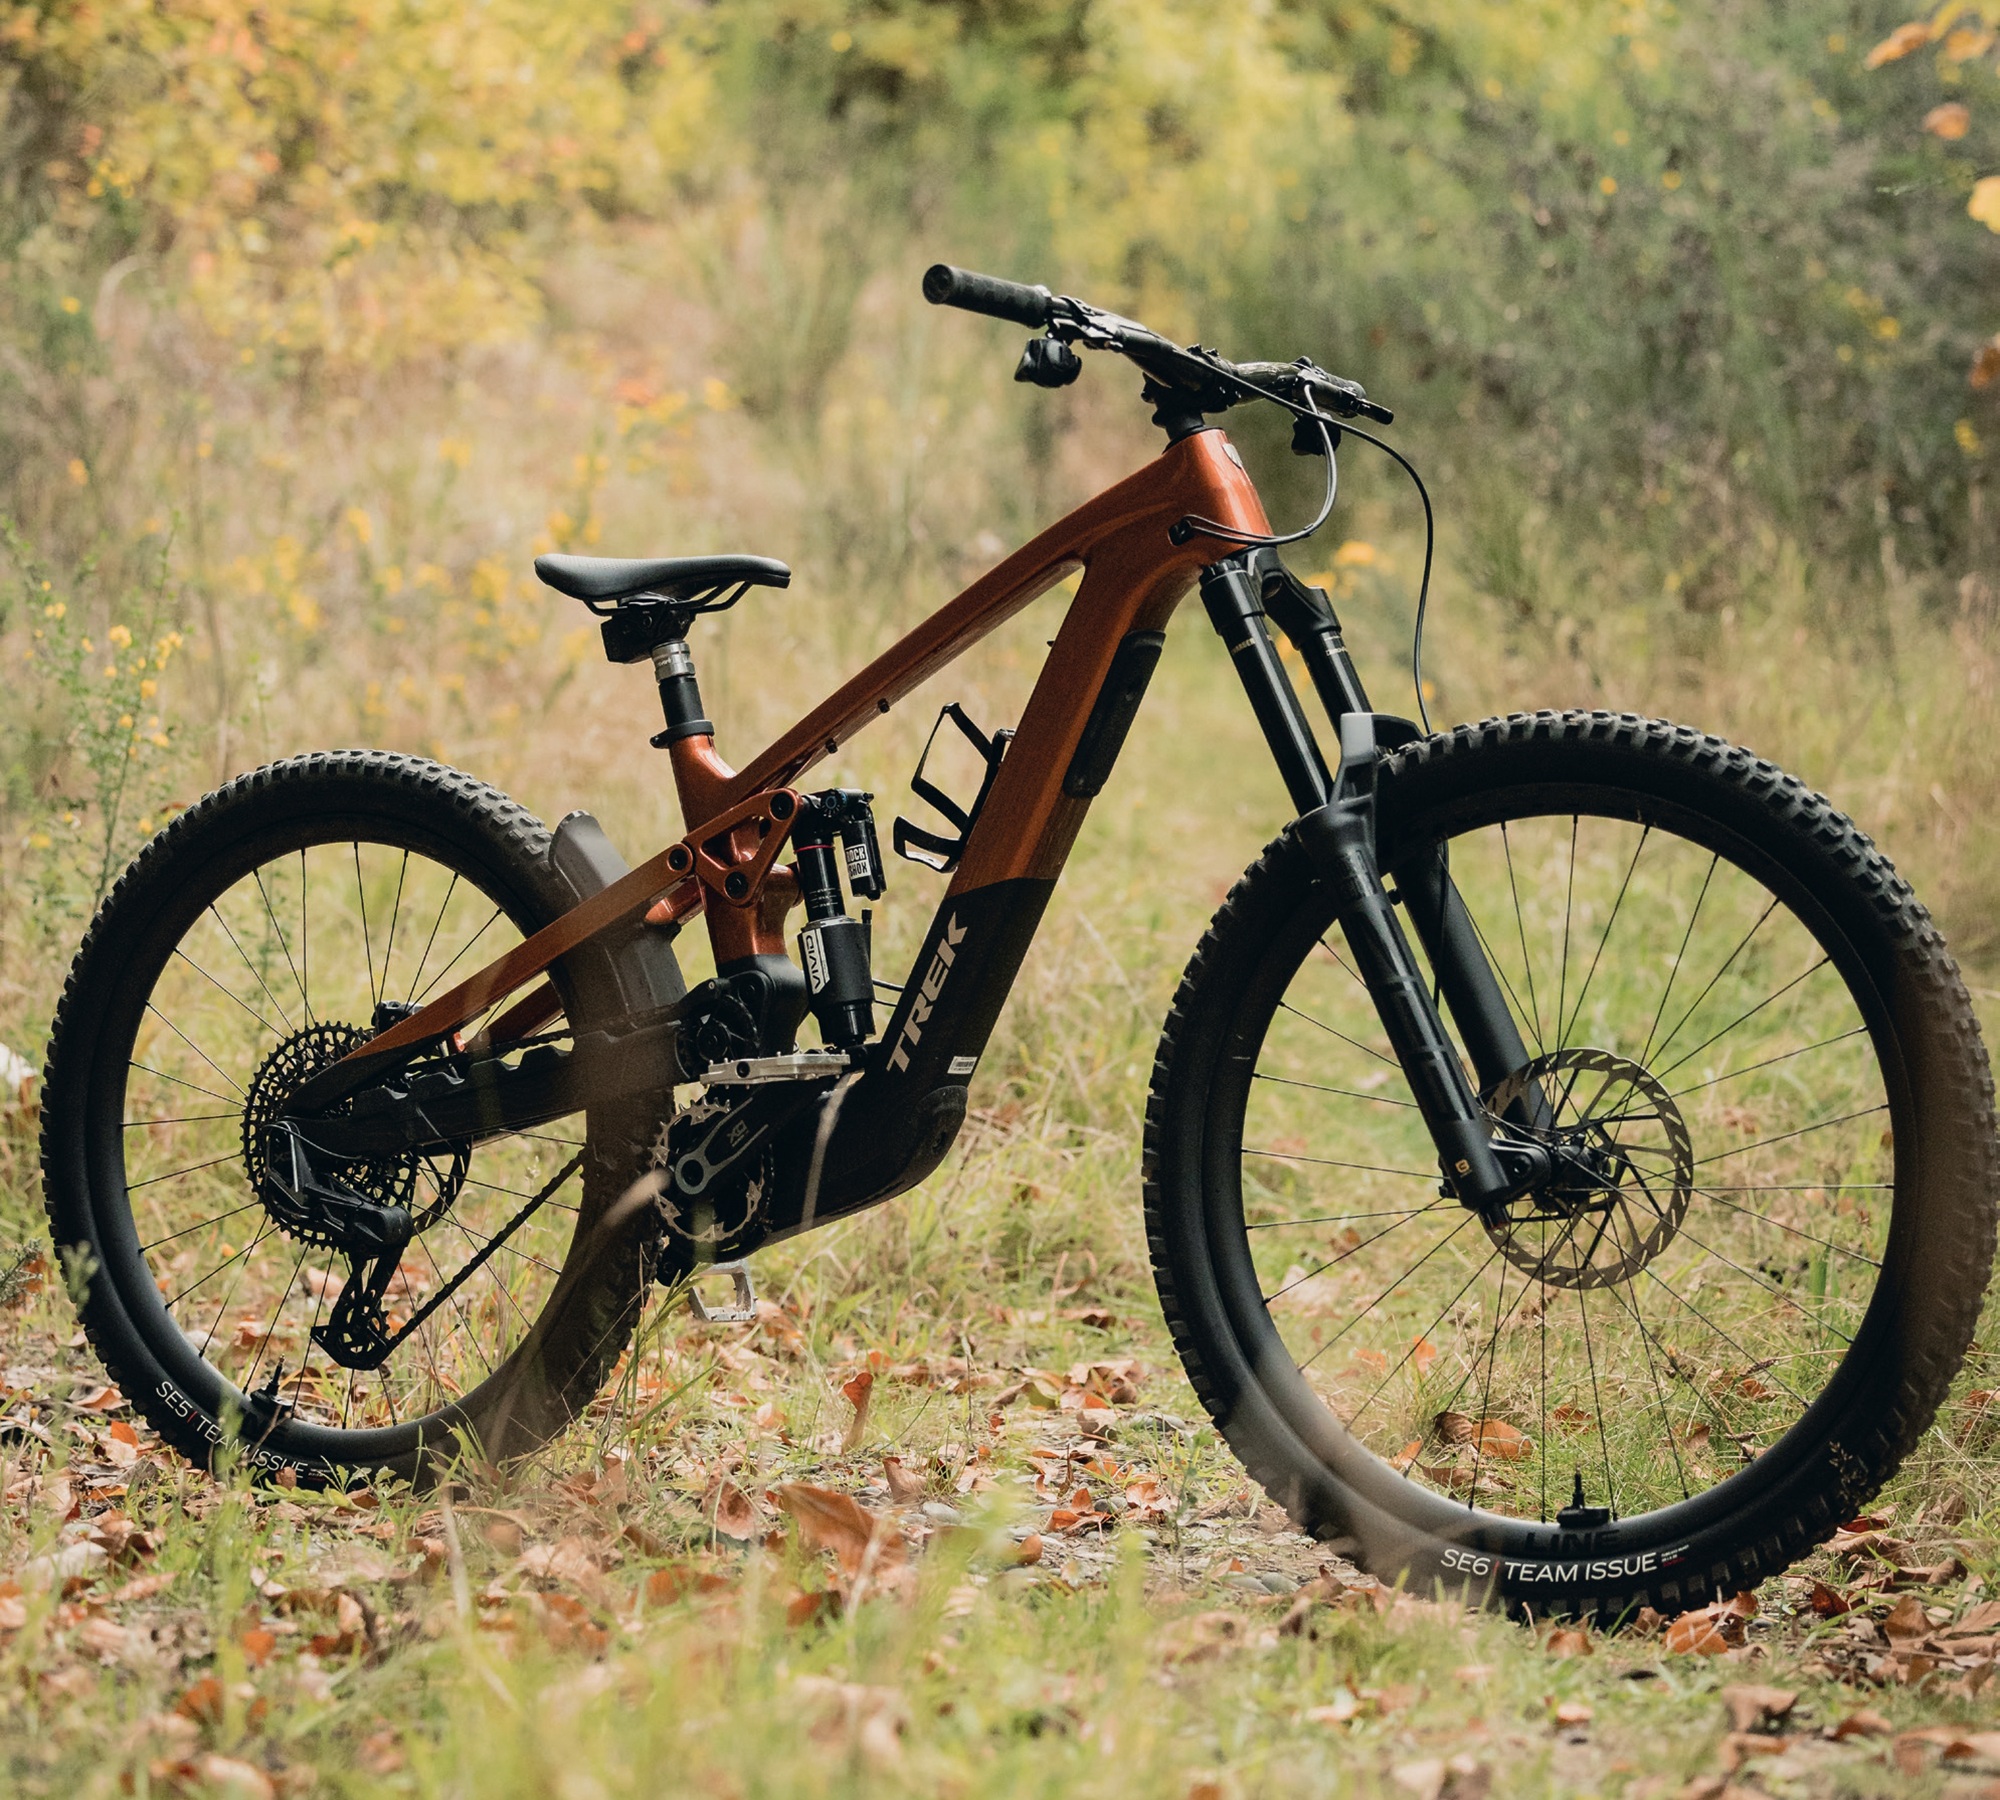
Trek Slash+ 9.9
Words Georgia Petrie
Images Cameron Mackenzie
RRP $19,999
Distributor Trek NZ
It’s fair to say we’ve seen a whole heap of changes within the eMTB landscape over the past few years. The last 18 months in particular have brought about the cementing of the SL (Super Light) category, and an absolute smorgasbord of full-powered options. Gone are the days of an eMTB resembling somewhat of a retro downhill bike with a motor strapped to the bottom. The wide range of battery sizes, motor options and travel means that the whole e-experience can now be more tailored than ever before.
With so much choice on the market, there’s something to be said for Goldilocks’ age-old personal tagline of “just right”. This is exactly what comes to mind when it comes to the increasingly popular SL eMTB category. Increasingly, we’re seeing more and more bikes in this class being specced with bigger batteries paired with lightweight, low-power SL motors, resulting in bigger battery range whilst maintaining a ‘not-too-heavy’ ride experience— in other words “the best of both worlds”.
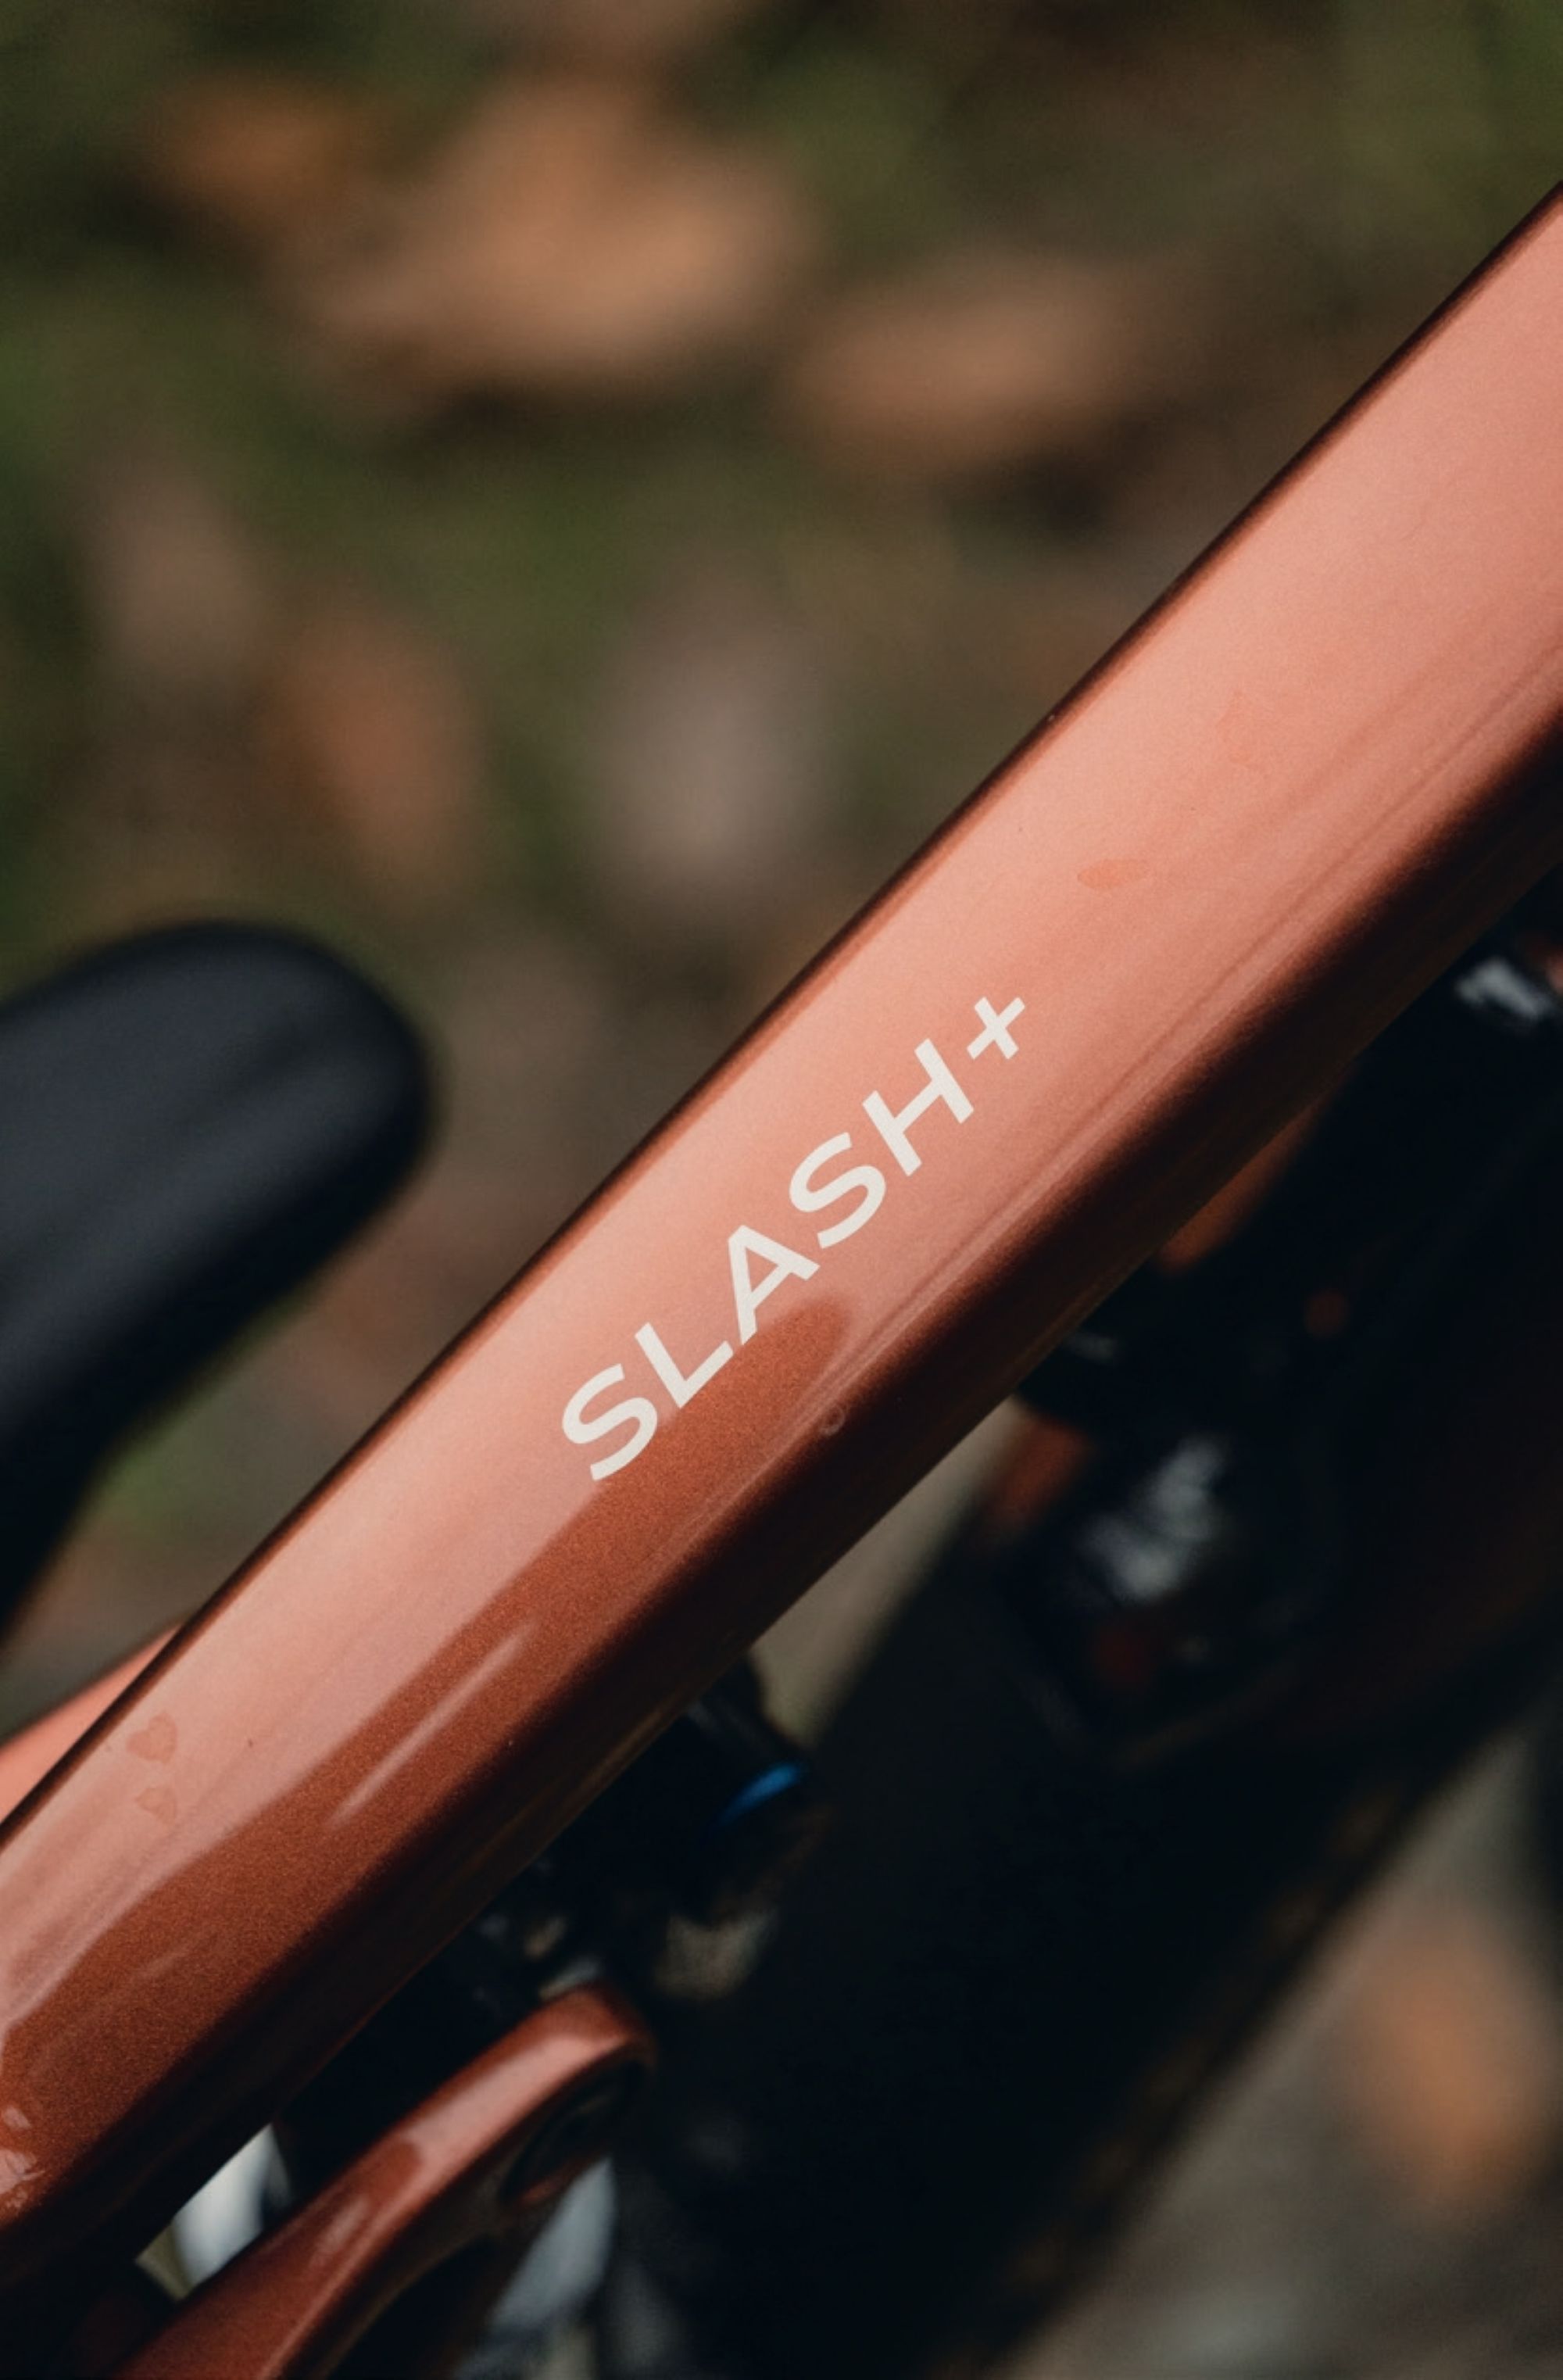
The Slash+ is essentially an electrified version of Trek’s ever-popular acoustic Slash, with the high-pivot, eye-catching chassis boasting a grunty 170mm of front and rear travel, with a fork that can be up-travelled up to a whopping 190mm. No mistake made—this is a burly bike that’s right at home on the roughest of double- black trails—and, as I came to learn: the rougher and more technical the trail, the more the Slash+ thrives, all without compromising on climbing ability. By incorporating a hearty 580wH battery paired with TQ’s HPR50 motor, the Slash+ strikes a balance, enabling you to “do more”; whether it’s an extra after-work lap, a backcountry ride – or even the difference between going for a post- work spin and staying home, especially as we say goodbye to post-work daylight hours once again!

eBike Features
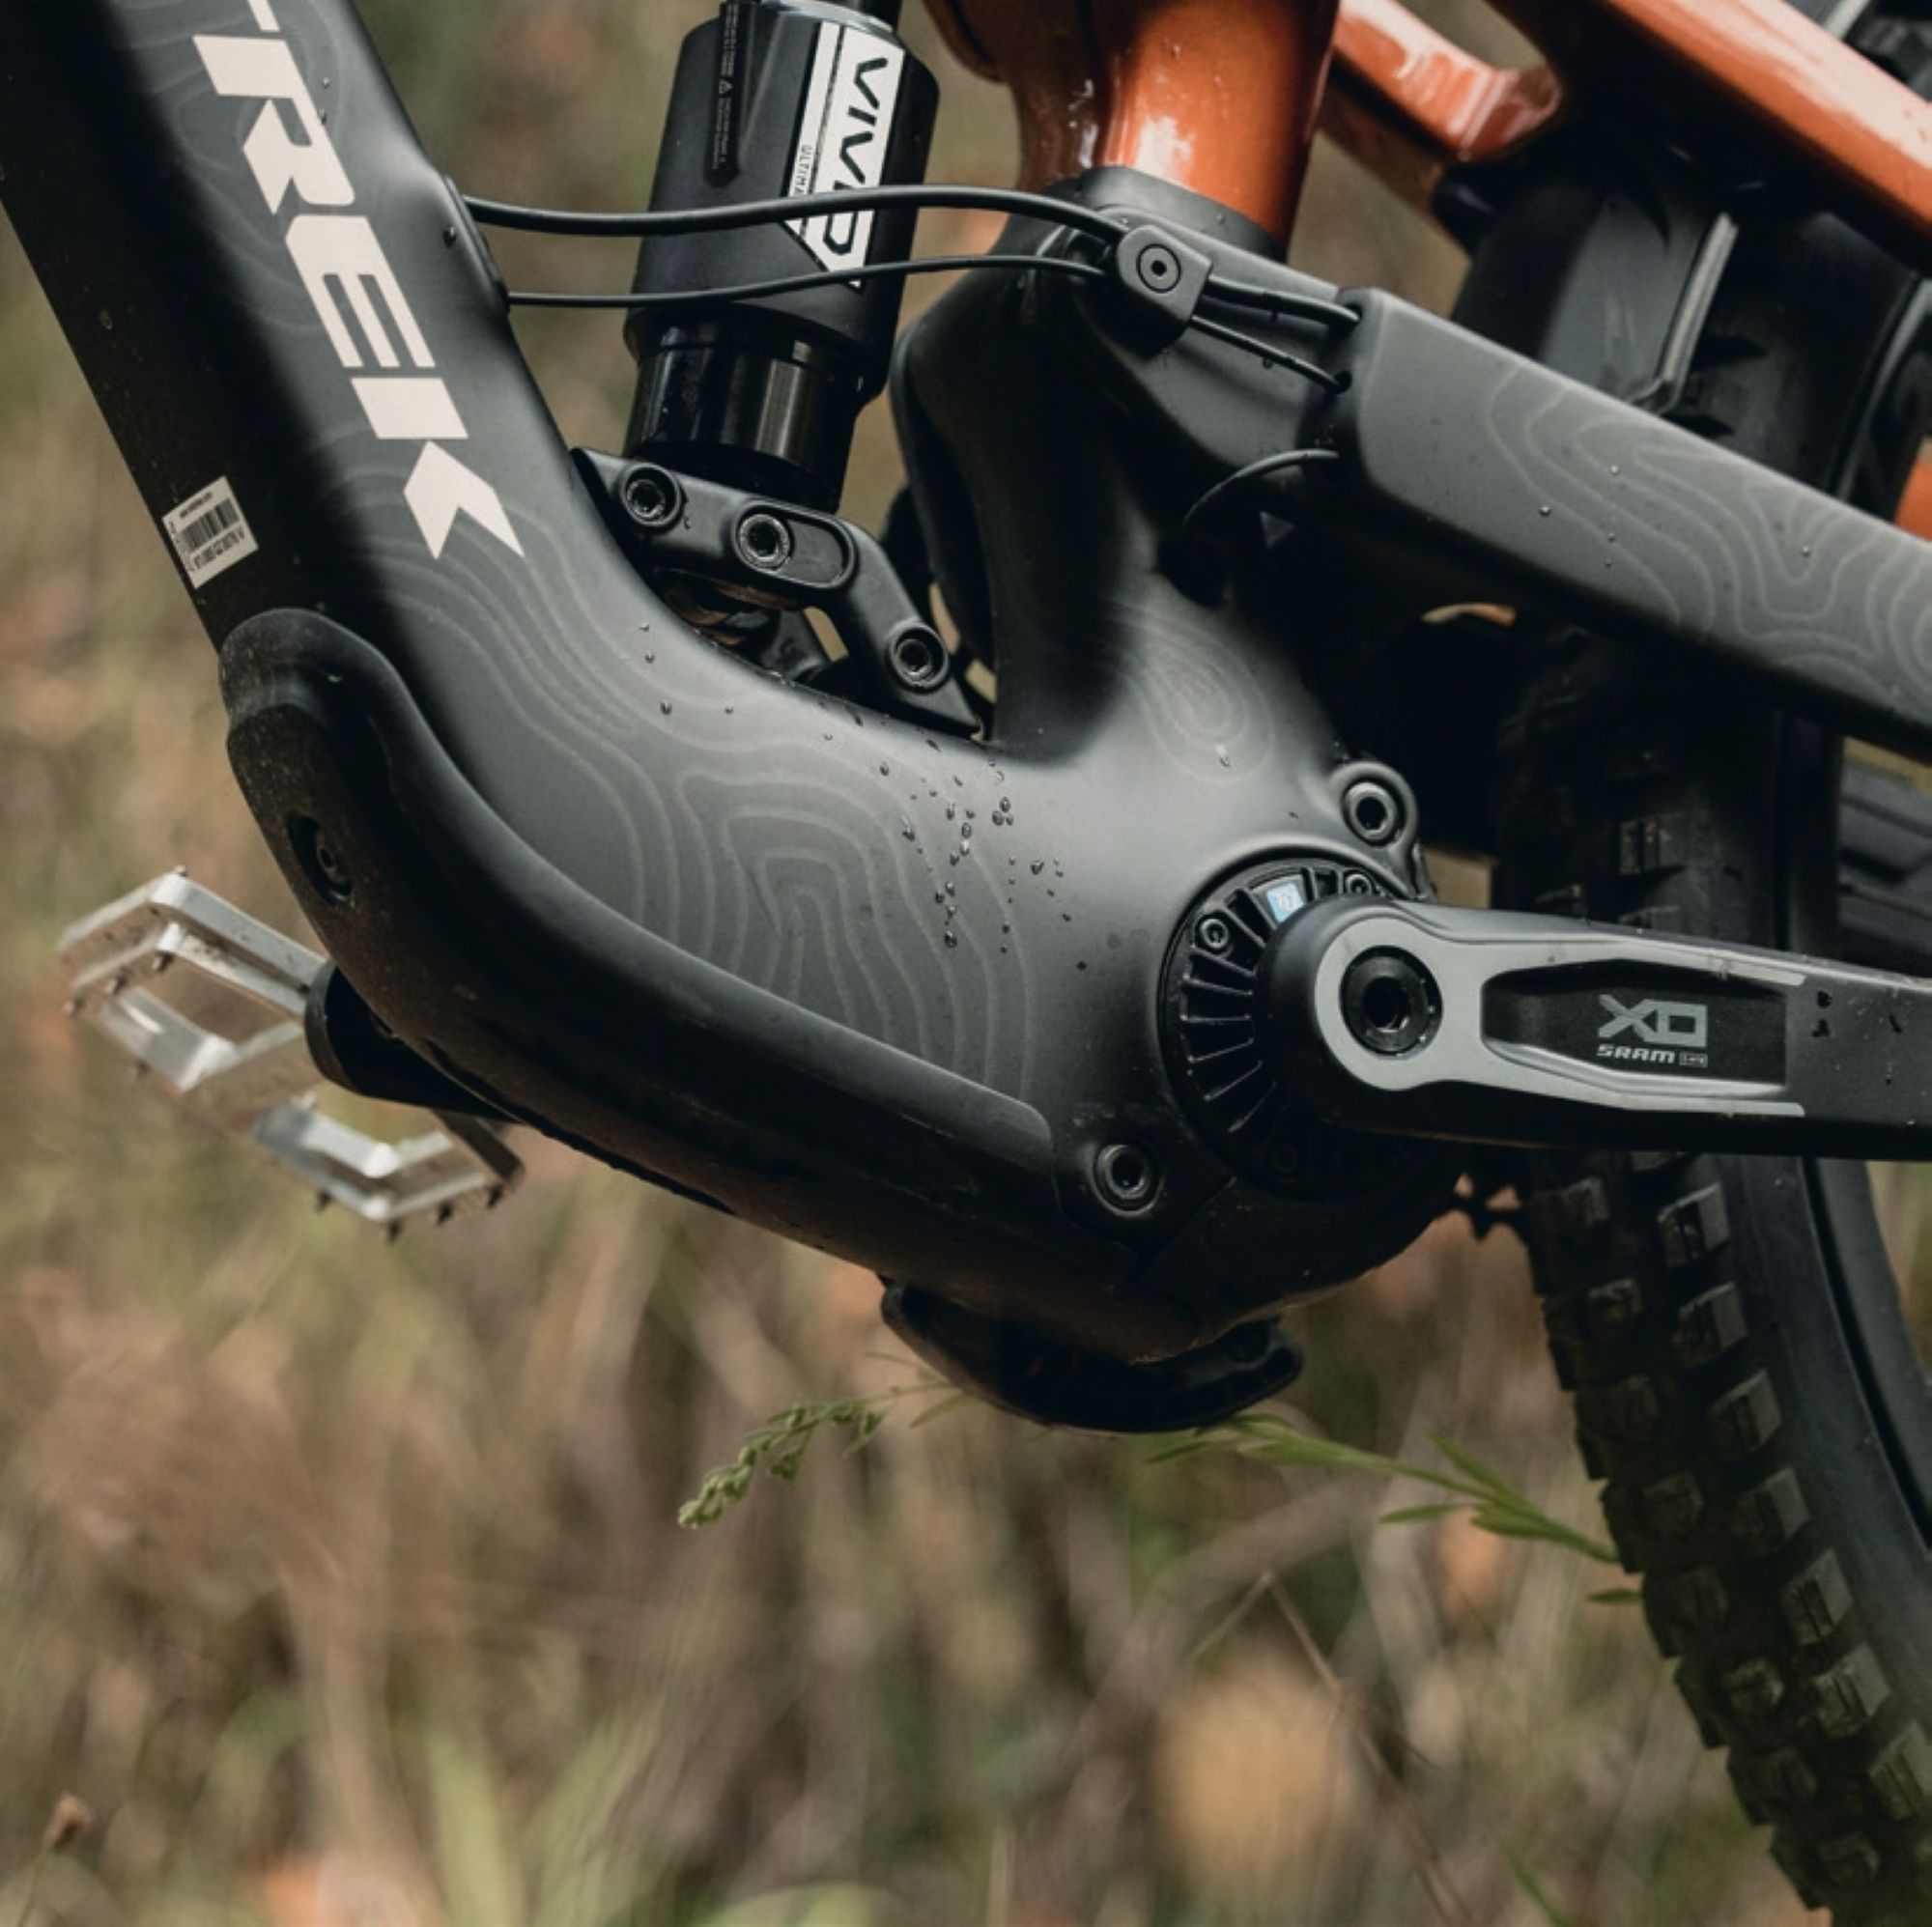
Although sporting the same 50Nm, 300-watt peak powered TQ-HPR50 motor as its shorter-travel Fuel EXe counterpart, a key point of difference—the defining factor of the Slash+’s place in the eMTB lineup—is it’s chunkier 580Wh battery. This stacks up well against other mid- weight contenders, punching above its weight relative to the likes of other longer-travel ~160mm options, such as Transition’s freshly released Regulator and Mondraker’s Dune, which both sport 400Wh batteries, and paired with Bosch’s grunty 55Nm, 600W peak powered SX motor. With so much choice and such subtle differences between motor and bike manufacturers, whether you’re a weekend warrior tackling technical blues or a park rat aiming to tackle every double black option in one day (and still pedal home afterward), the SL eMTB space really has expanded to cater for a wide range of rider types.
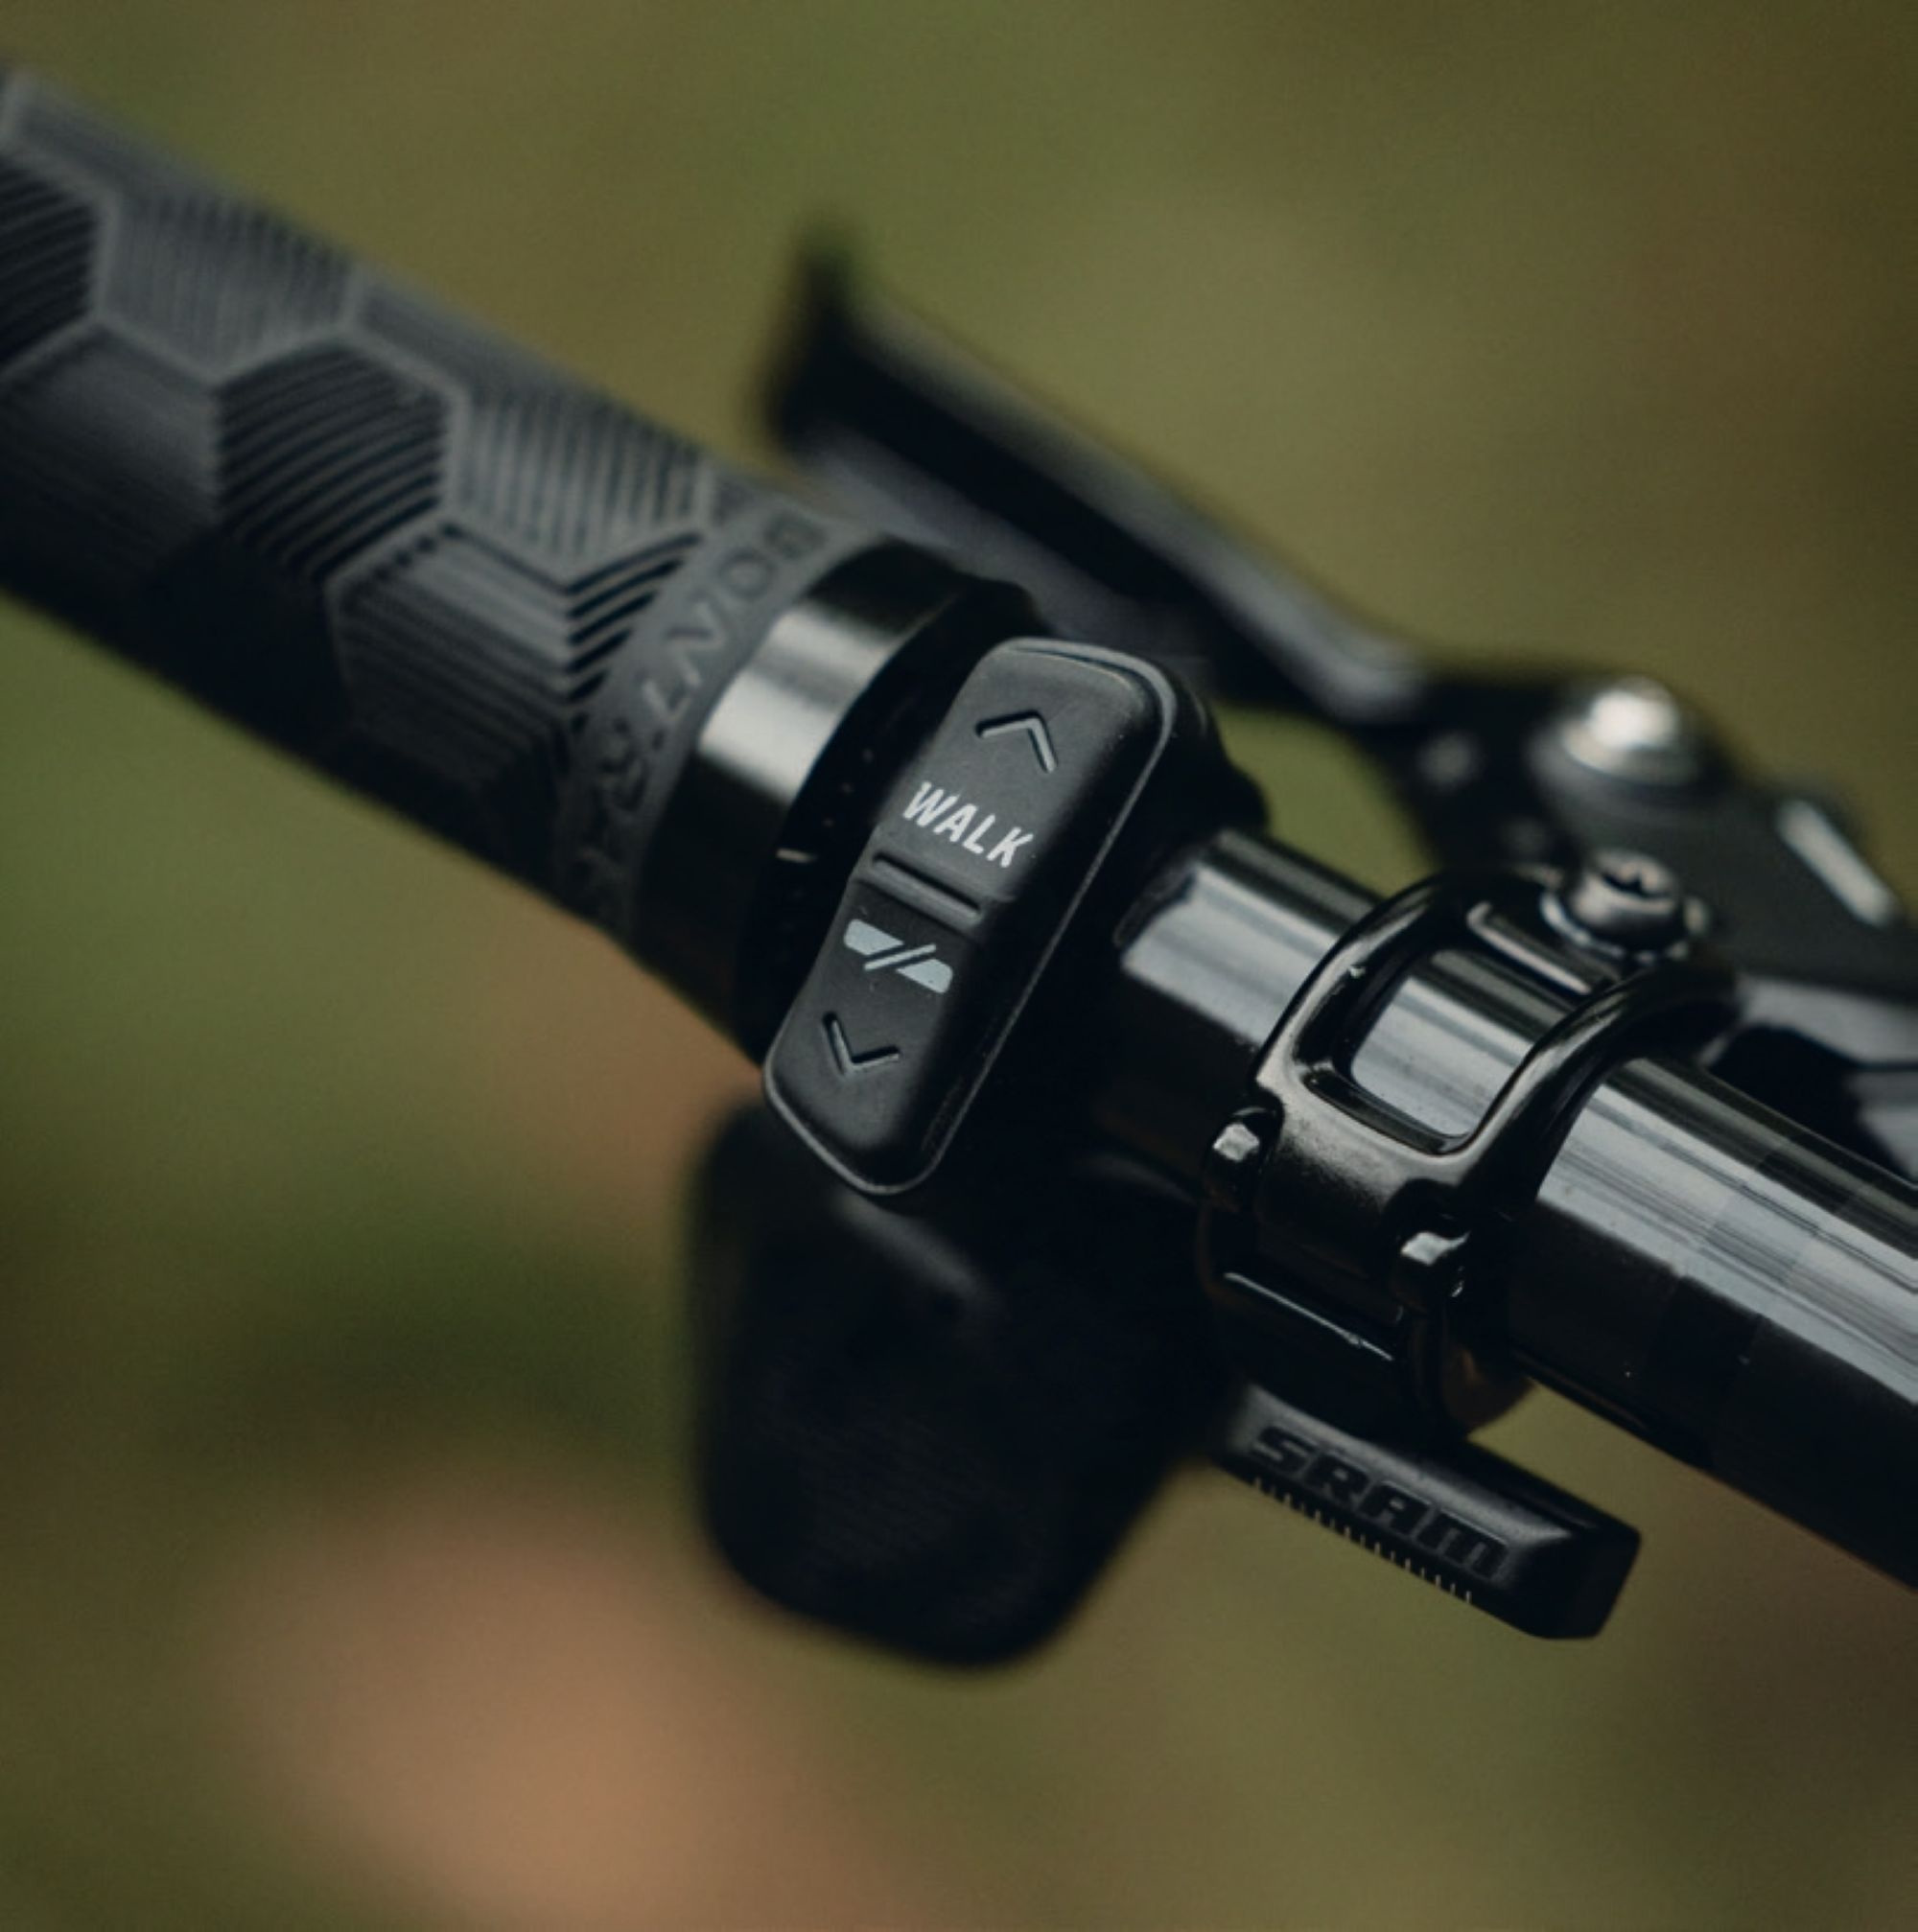
Alongside its big battery, a core outlier of the Slash+, relative to many of its SL competitors, is not only a removeable battery but the ability to swap between TQ’s 360 or 580Wh batteries, or swap in a fresh battery mid-ride. There’s also the option to purchase TQ’s 160Wh range extender, which fits snugly into the bottle cage, weighing 950g. The TQ-HPR50 is discreetly tucked away and pleasantly quiet even under load on full power mode, making the Slash+ one of the stealthiest long-travel eMTB’s I’ve ridden. The motor has three power modes and a ‘walk’ mode, rounded out with TQ’s integrated top- tube display, and two-button handlebar remote. Though the max power assist level and pedal response for each mode can be easily fine-tuned via the Trek Central and TQ apps (though I’d prefer to have one central channel for adjustment), I found the display a little unintuitive at times, and both this and the two apps almost a little tacky and clunky relative to counterparts such as Specialized’s Mission Control App, and Bosch’s eBike Flow app, both of which have undergone significant iterations and deliver a more refined and intuitive user experience. I also found the ‘walk’ button somewhat unwieldy to access and slow to kick-in, which isn’t uncommon across the wide range of eMTB brands I’ve tried and, whilst not a dealbreaker, can be rather frustrating.


Geometry and Frame Details
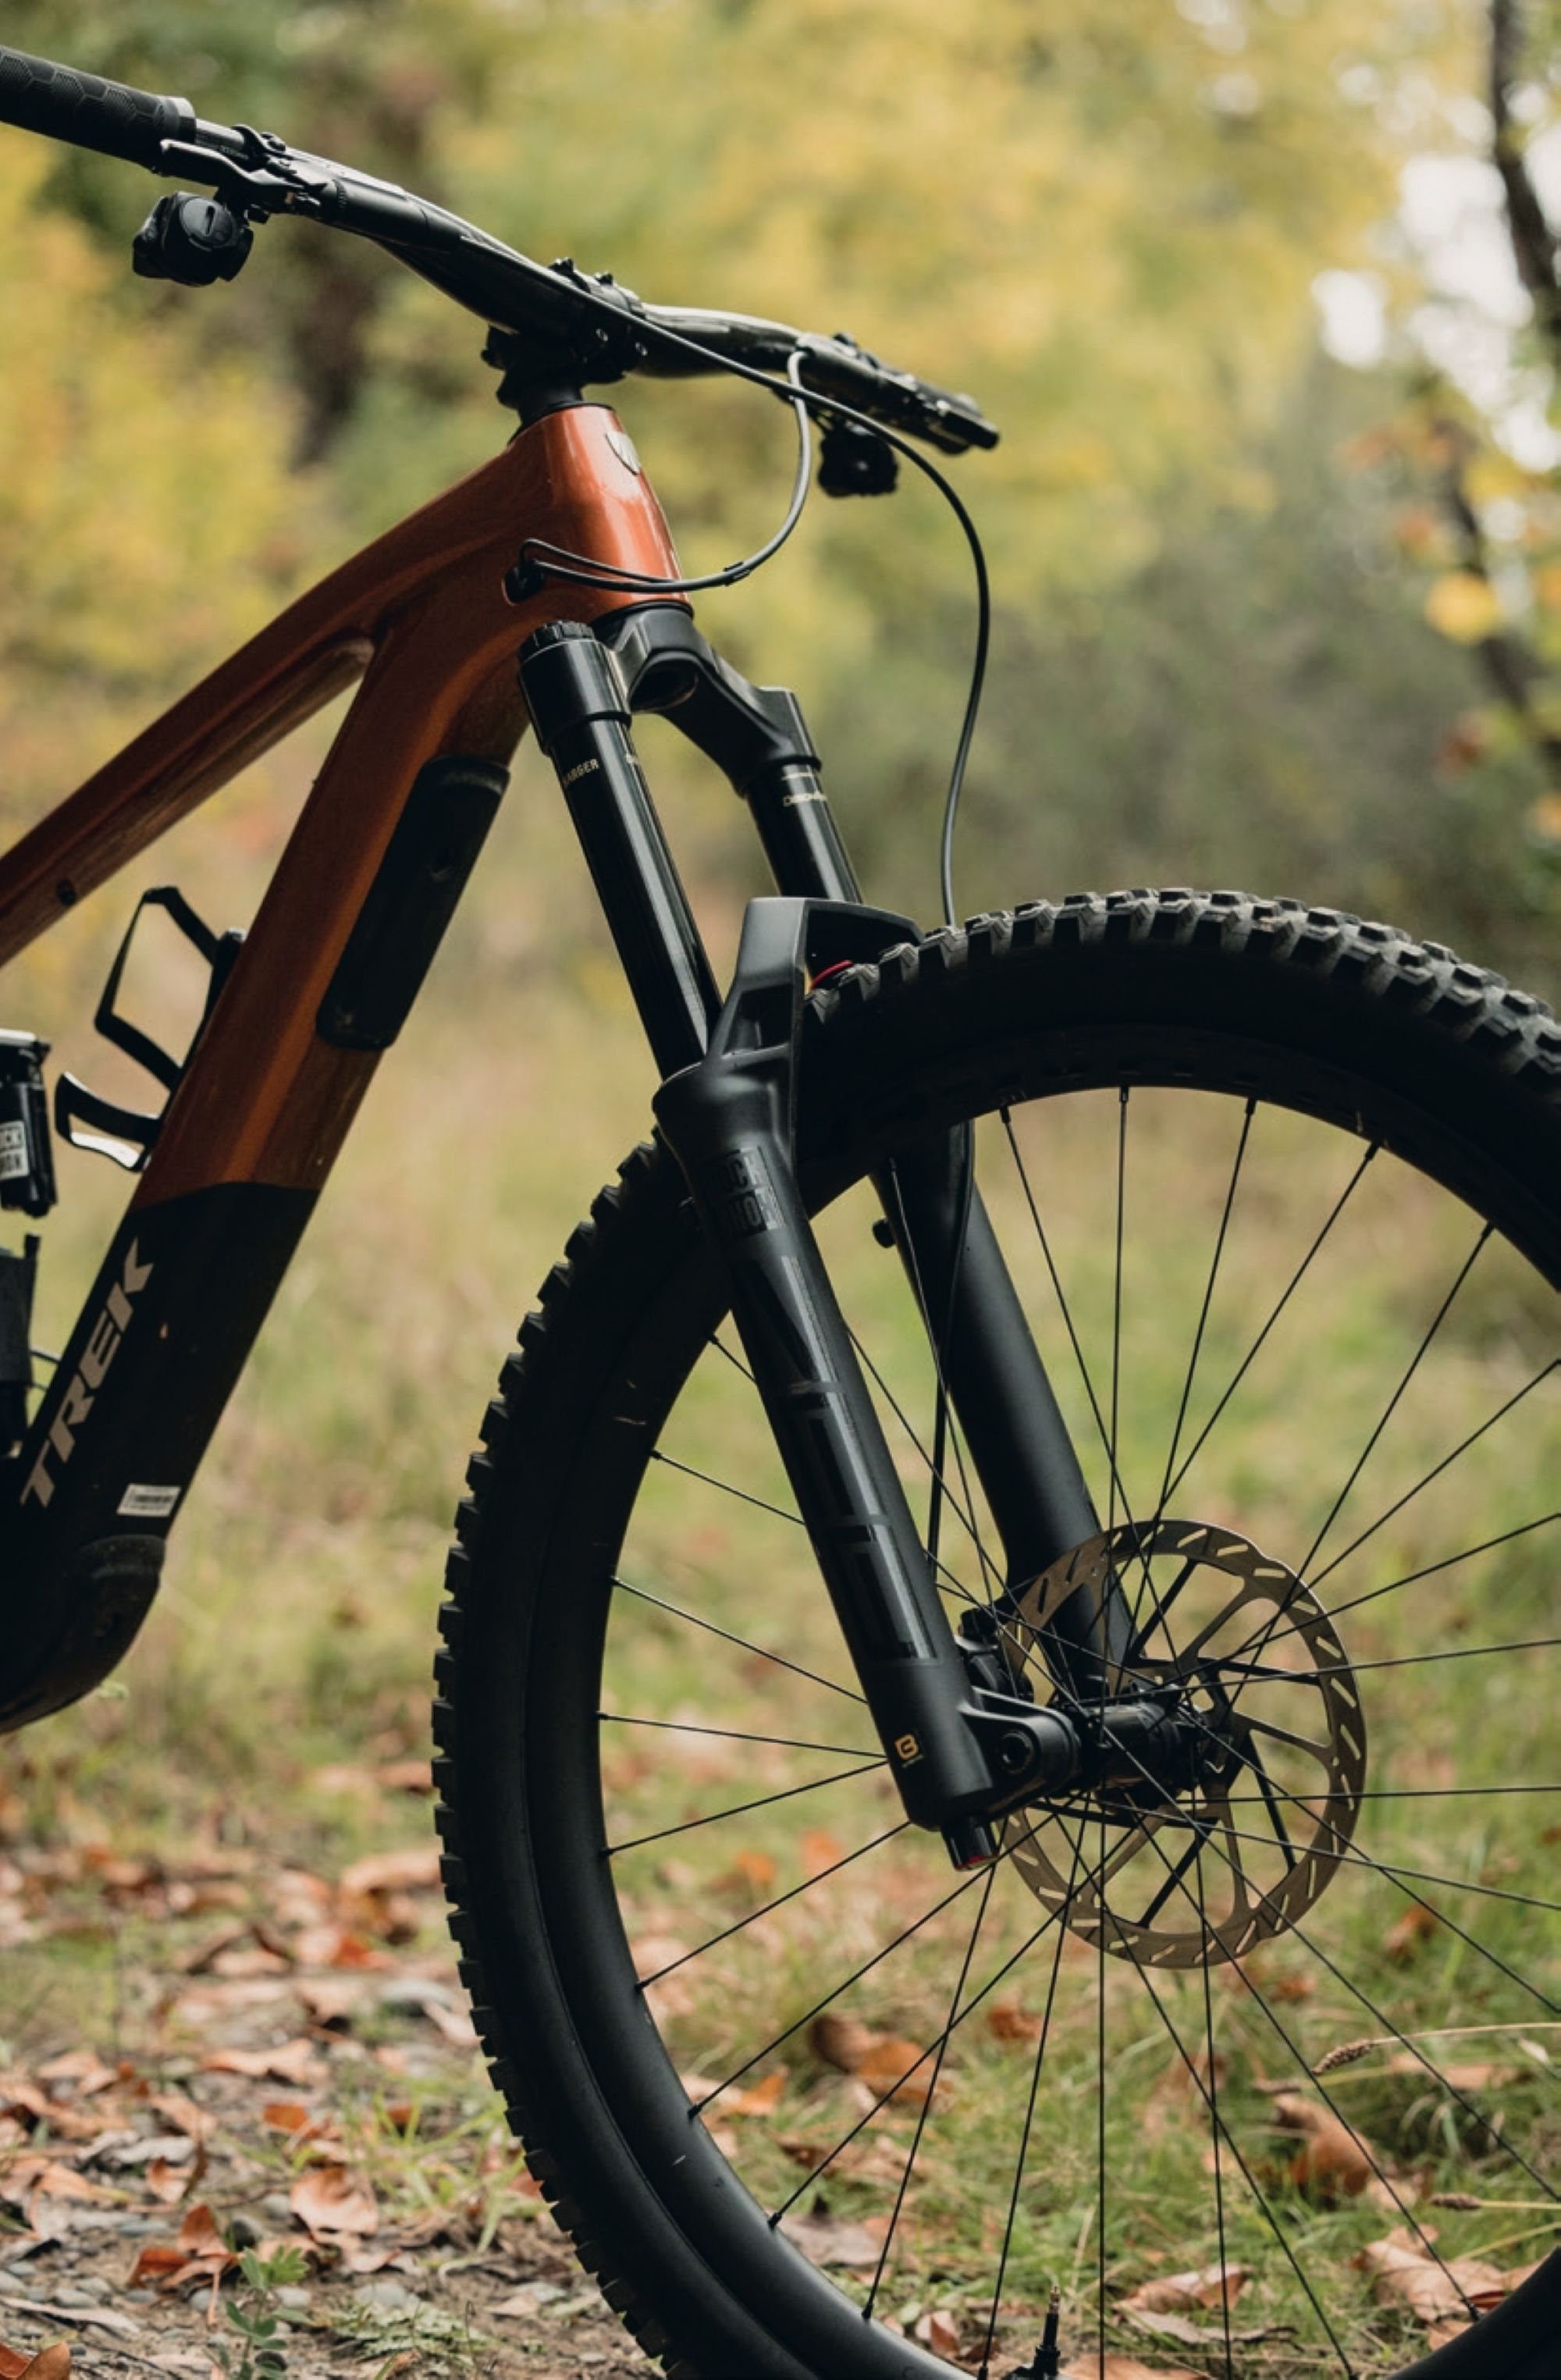
Make no mistake, the Slash+ is burly bike. With 170mm of front and rear travel, paired with a 63.4° head angle and 1233mm wheelbase, the Slash+ is made for steep, rough terrain—it’s fair to say that anything less is wasted upon this bike. At 77.5° the seat angle is surprisingly steep for a bike of such travel, making for a comfortable all-day climber that’s planted on steep ascents, with a particularly upright seating position making light work of long stints in the saddle – and making you second guess that you’re basically riding a mini downhill bike uphill.
This concoction of generous geometry has created a bike that descends exceptionally well with minimal compromise on climbing ability—the point of instability more or less doesn’t exist on the Slash+, with the bike instead asking for more if tackling anything below a double black technical or jump trail. Paired with a reach of 479mm, the Slash+ does feel generous relative to other SL offerings, with plenty of room to move around on the bike, whilst the 29” front and 27.5” mullet wheel size setup creates a sense of nimbleness oftentimes lost in eMTB experiences. Overall, the bike was exceptionally well-rounded, and one of the most versatile bikes I’d ridden in a long time. For how capably it descends, it almost seems wrong to climb with such comfort!
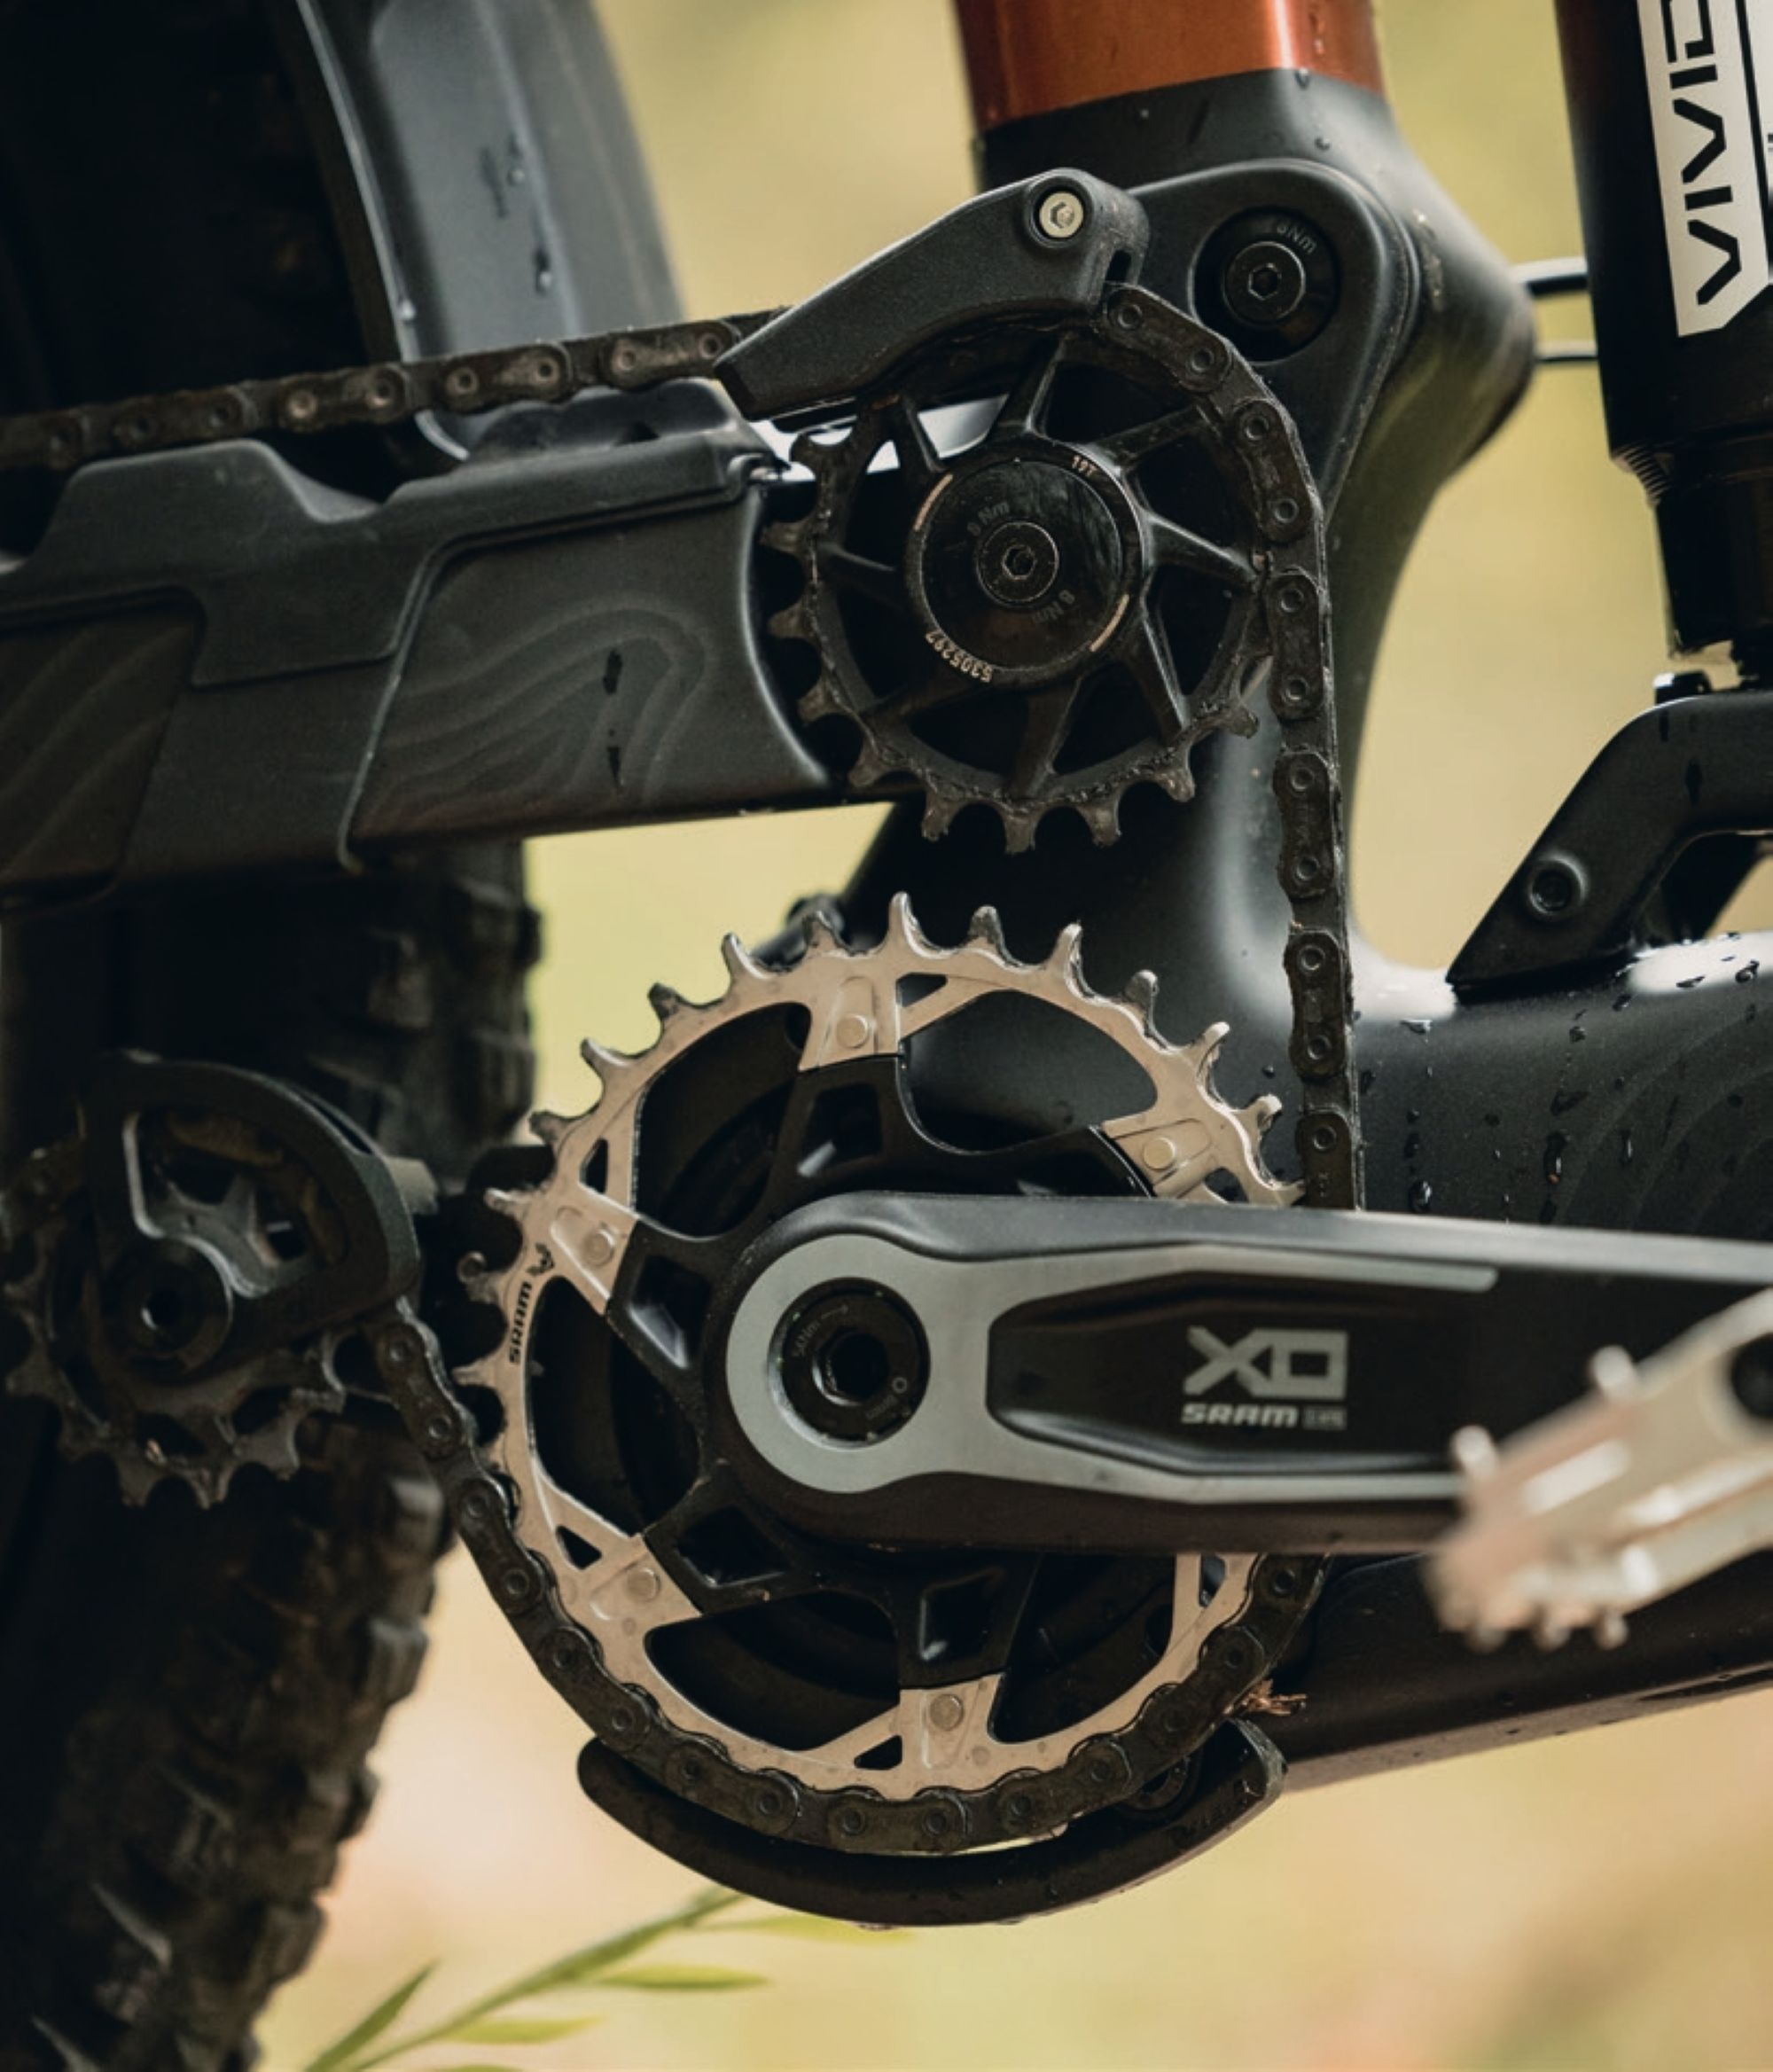
When it comes to nitty gritty frame details, the Slash+ has a plethora of thoughtful details. The integrated chainstay protector isn’t here to faff around—this thing is chunky and robust, and it means business when it comes to limiting chain slap, which is often a dinky afterthought on so many stock eMTB’s. On the Slash+, however, it’s a welcome addition—especially given the rough terrain that the bike is best suited to. The rear fender is also a nice touch—so often I’ve ruined frames with small-yet-mighty stones that work their way in between the rear wheel and chainstay, and this does a nice job of helping minimise this as well as keep mud at bay. There’s also a custom, Trek-specific chain guide which mounts directly to the motor housing—given my experience with zero chain drops, I’d say this is a well-executed addition. I found the charging port location a little odd to work with, having been so used to side-mounted ports, and often found myself having to really yank the charging cable hard to remove it once charged, which sometimes resulted in inadvertently smacking it on the underside of the top tube—oops. Having said that, this location makes sense when considering the bottle mounted TQ range extender, which fits snugly in this space when attached.
Ride Performance
For a bike with a 170mm fork up front, the Slash+ is an exceptionally comfortable climber, sitting high in the travel with a balanced centre of gravity. Not once did I find myself fighting to keep the front wheel on the ground, which is impressive considering the bike’s relatively slack head angle. It navigated tight switchbacks with surprising ease despite a long wheelbase—there was many an occasion where I was glad to have a mullet configuration, as it gave an otherwise cumbersome bike the ability to navigate tight, technical ascents. Traction isn’t an issue—in fact, this was one of the most planted bikes I’d climbed on, with a rear wheel that’s never fighting for grip. The Rockshox Vivid Air shock behaved itself well with minimal ‘bob’. Whilst the Rockshox AXS Reverb is a welcome addition on any eMTB—anybody who’s had to complete any mechanical dropper post maintenance on an eMTB will attest to how much of a headache it is—the standover on this bike is low at 77.6mm for our 17.5” sized test bike and, when paired with a 170mm dropper post, it leaves a little more seatpost exposed than desired, especially for longer limbed riders like myself!
As I’ve found with other TQ-HPR50 equipped bikes I’ve had the opportunity to ride, the power delivery is akin to a “pat on the back”—someone giving you a little push of encouragement climbing up the hill. Let’s be real, at 20.8kg, whilst the bike does fall into the SL eMTB category, the Slash+ is on the chunky side relative to the power that the motor can produce. There were numerous times where I found myself wanting more from the motor—I was surprised at the cadence level required to maintain optimal power delivery, particularly on road climbs. On a number of occasions I felt a twinge of surprise when the motor appeared to hit the point of peak power delivery—“is that it?!”, I asked myself, as I kept getting dropped by my fellow SL eMTB riding crew.
This is a great segway into battery chat; I’ve been fortunate enough to have a tasting platter of SL eMTB’s so far, and when the Slash+ showed up in my garage, I had range curiosity! My conclusion was one of uncertainty—whilst it initially seemed great to have the reassurance of a bigger battery, what I often found was that the weight of the bike required me to run the motor on a higher-than- usual mode, and I often found myself drawing battery at such a rate that it cancelled out the supposed gains of increased Wh. My experience with this motor also matched that of the Fuel EXe, in so far as the way the power is delivered seemed to draw battery at a greater rate than other SL counterparts, such as Shimano’s EP8 RS and Specialized’s SL 1.2 motor—this was even more apparent on the Slash+ with the additional bike weight the motor had to carry.
However, I was still able to tackle a solid 2.5hr long loop with 15% remaining and at no point was I unable to make it up any of Christchurch’s steepest Victoria Park fire roads—just don’t expect to be setting any Strava e-QOM’s! It should also be noted that the TQ motor continues to maintain its reputation of being without a doubt the quietest motor I’ve experienced, providing power almost silently. While it doesn’t bother me, I’m well aware that motor noise is a sensitive issue for some eMTB buyers, making this great news for those who prefer not to hear their bike humming as they ride.
The 9.9 AXS T-Type build is specced with, you guessed it, SRAM’s X0 AXS drivetrain. This performed reliably and with crisp efficiency throughout the duration of my testing, though I did notice that the drivetrain quickly became noisy unless spotlessly cleaned after almost every ride. Whilst Christchurch will provide you with an overwhelmingly dry riding experience and taking a rain jacket “just in case” is uncommon, this does equate to A LOT of dust, which for this bike means constant maintenance to ensure the drivetrain remains smooth under pedal load, and drag-free. I think we easily doubled our chain lube consumption for the duration of testing to try and avoid any ear-twitchingly uncomfortable grinding drivetrain noise. The other interesting characteristic of this particular X0 AXS drivetrain is that it’s powered by the primary battery—the plus side to this is that you don’t need to worry about swapping or monitoring batteries (let’s face it—we’ve all been “that guy” at the trail asking around for spares…) as long as the bike is charged. The flip side to this is that if you happen to find yourself in a sticky situation, or running the battery down to it’s last drop of juice, you’ll lose the ability to shift gears because once that primary battery dies, that’s your drivetrain power source gone.
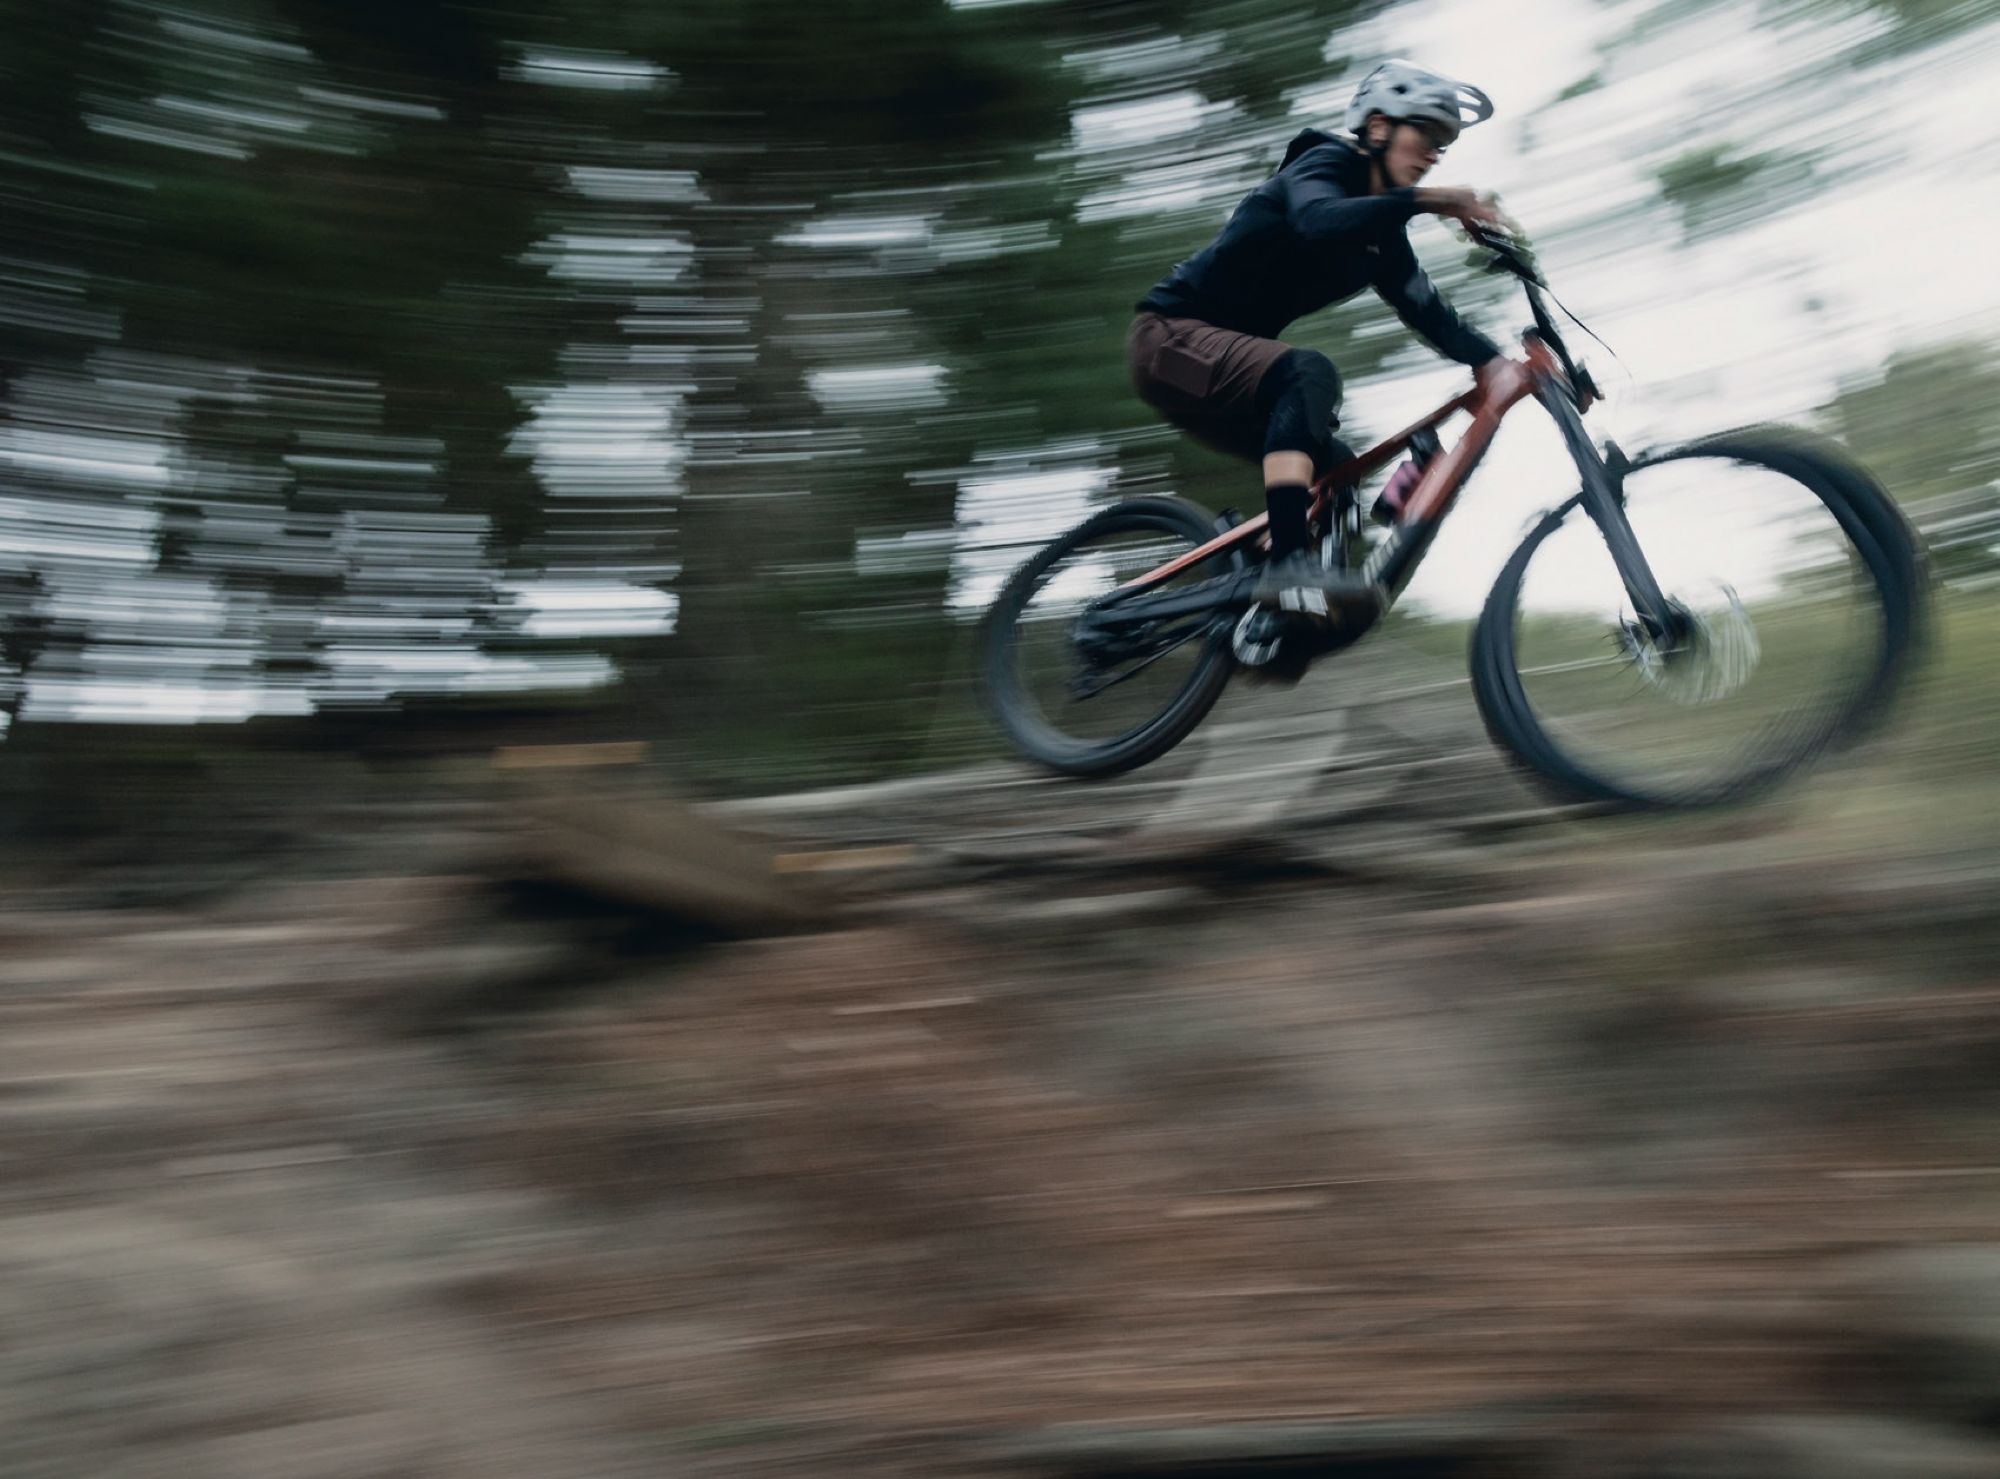
Descending on the Slash+ is a dream—this has to be one of my favorite eMTB’s I’ve taken down the rocky steeps of Christchurch, and I’ve been fortunate enough to throw a few into the dustbowl! The 170mm RockShox ZEB ultimate was an absolute delight—it took minimal time to setup and performed excellently in the chunkiest of rock gardens, and was incredibly stout without feeling too stiff. This made for a comfortable descending experience that excelled on rough terrain; the more technical the trail, the more the bike ate up whatever was underneath it. The mullet setup gave the bike a touch of nimbleness that balanced out its long wheelbase and slack head angle, creating a far more agile ride than I’d ever have imagined for a 20kg, 170mmm eMTB. Whilst the bike is certainly planted and hugs the ground—and therefore tracks exceptionally well—it was still surprisingly easy to jump and move around underneath me. I was also wow’ed with the performance of the RockShox Vivid Ultimate air shock. I’ve tried a range of different shocks in SL eMTB’s and am usually committed to the coil shock cause on my long travel bikes; however, the suppleness of the Vivid and its small bump sensitivity was so confidence-instilling that it’s got me thinking I may re-explore an air shock on my next bike build. Like the Zeb, the Vivid was a once-and-done setup for me, and it provided supple comfort over big holes without the sinking “Lay-Z-Boy” feeling you can sometimes get from bigger air shocks—it sat high in travel, even through the burliest terrain. The short chainstays are also a welcome addition.
This bike eats double black trails for breakfast, and technical blues are a great complementary snack. Make no mistake—this is a BIG bike, and if not pushed hard enough or ridden on terrain that doesn’t suit it—think flow blue trails—it may tend to feel cumbersome and even stiff at times, particularly due to the suspension being on the less active side. For this reason, it’s definitely best suited to a rider who likes to push a trail bike to its limits. For the terrain I often ride, this platform was ideal; for my first foray into the high-pivot world, I was left wanting more as it created an incredibly stable ride that seemed to make the usual bone-rattling, small bumpy sections feel like I was floating on a magic carpet. When combined with the added weight of a motor and big battery, the bike feels incredibly balanced and, as is so often the case on SL eMTBs, I felt more stable—and, as a result, much quicker—on wide-open, fast, chunky descents than on my acoustic bike. People often think an eMTB is reserved for heavy, cumbersome ride feels, but I believe that with the right platform and weight balance, the ride experience is arguably more comfortable. Trek have done an exceptional job designing a platform that’s so stable and confidence-inspiring yet still maintains some degree of nimbleness and maneuverability.
When it comes to contact points, I must admit I was a little skeptical when I noticed the SRAM Maven Silver brakes—a sore point with many stock eMTB builds is underpowered brakes, and constantly battling to control speed is taxing and creates an unnecessarily arduous ride experience, even if they’re great descenders otherwise. I was pleased to discover that this wasn’t a concern with the 4-piston Maven Silvers—when paired with hearty 200mm rotors, I didn’t once feel like the brakes were under-gunned and didn’t suffer from the sore hands I’ve so often had with other SL eMTB’s in the past. This was complemented by the levers being on the larger size with plenty of adjustability—a particularly important factor for smaller hands—and gradual modulation that allowed for increased control, which is well-suited for the steeper terrain that the Slash+ excels on. I was also pleased to report nothing but silence from these brakes, even in dry, dusty summer conditions—a welcome change from SRAM brakes of years gone by!
As was the case with the Fuel EXe, the Bontrager contact points left a little to be desired—the grips were thick, uncomfortable and incredibly slippery when wet, which I unfortunately discovered was compounded by the fact they take a long time to absorb once wet, due to their ribbed nature. Another change I’d be making immediately is the stock Bontrager SE5 Team Issue TLR tyre. Whilst a grunty 2.5” tyre such as this is a logical choice for a bike of this travel and, in theory, should be well suited to the terrain, the compound lacked grip and was a little more skatey on Victoria Park’s loose clay than was comfortable. A few “oh s***!!” moments were had as grip limits were hit a little earlier than preferred. I’m also fine compromising weight and rolling resistance to optimize grip, but this was a little on the slow side with next to no grip gains, and something I’d swap out pretty quickly for a softer compound option. I’m also pleased to say that throughout the Slash+’s tenure in our garage, not a single chain was dropped, and I didn’t experience any significant chain slap, even on the roughest of rock gardens and rooty sections.
Summary
The Slash+ is a heavy-hitting descender that delivers excellent ride performance when pointed down the most burly, technical trails in your backyard. With a bigger range than its younger brother, the Fuel EXe—but without the “chonk” of its bigger brother, the Rail—the Slash+ is Trek’s quietly capable middle child. Equipped with a quiet, subtle motor that’s so stealthily integrated that even the most eagle-eyed eMTB riders will need to look twice to see it, the Slash+ represents a well-rounded eMTB that has your back no matter what it’s pointed down. While you’re not going to lead any eMTB climbing segments on Strava, you will be making gains in your ability to ride more and squeeze in “one last lap”—even when the post-work clock is up against you. I have to agree with Goldilocks, there’s something to be said for things being “just right”, and the Slash+ might just epitomize that saying perfectly.

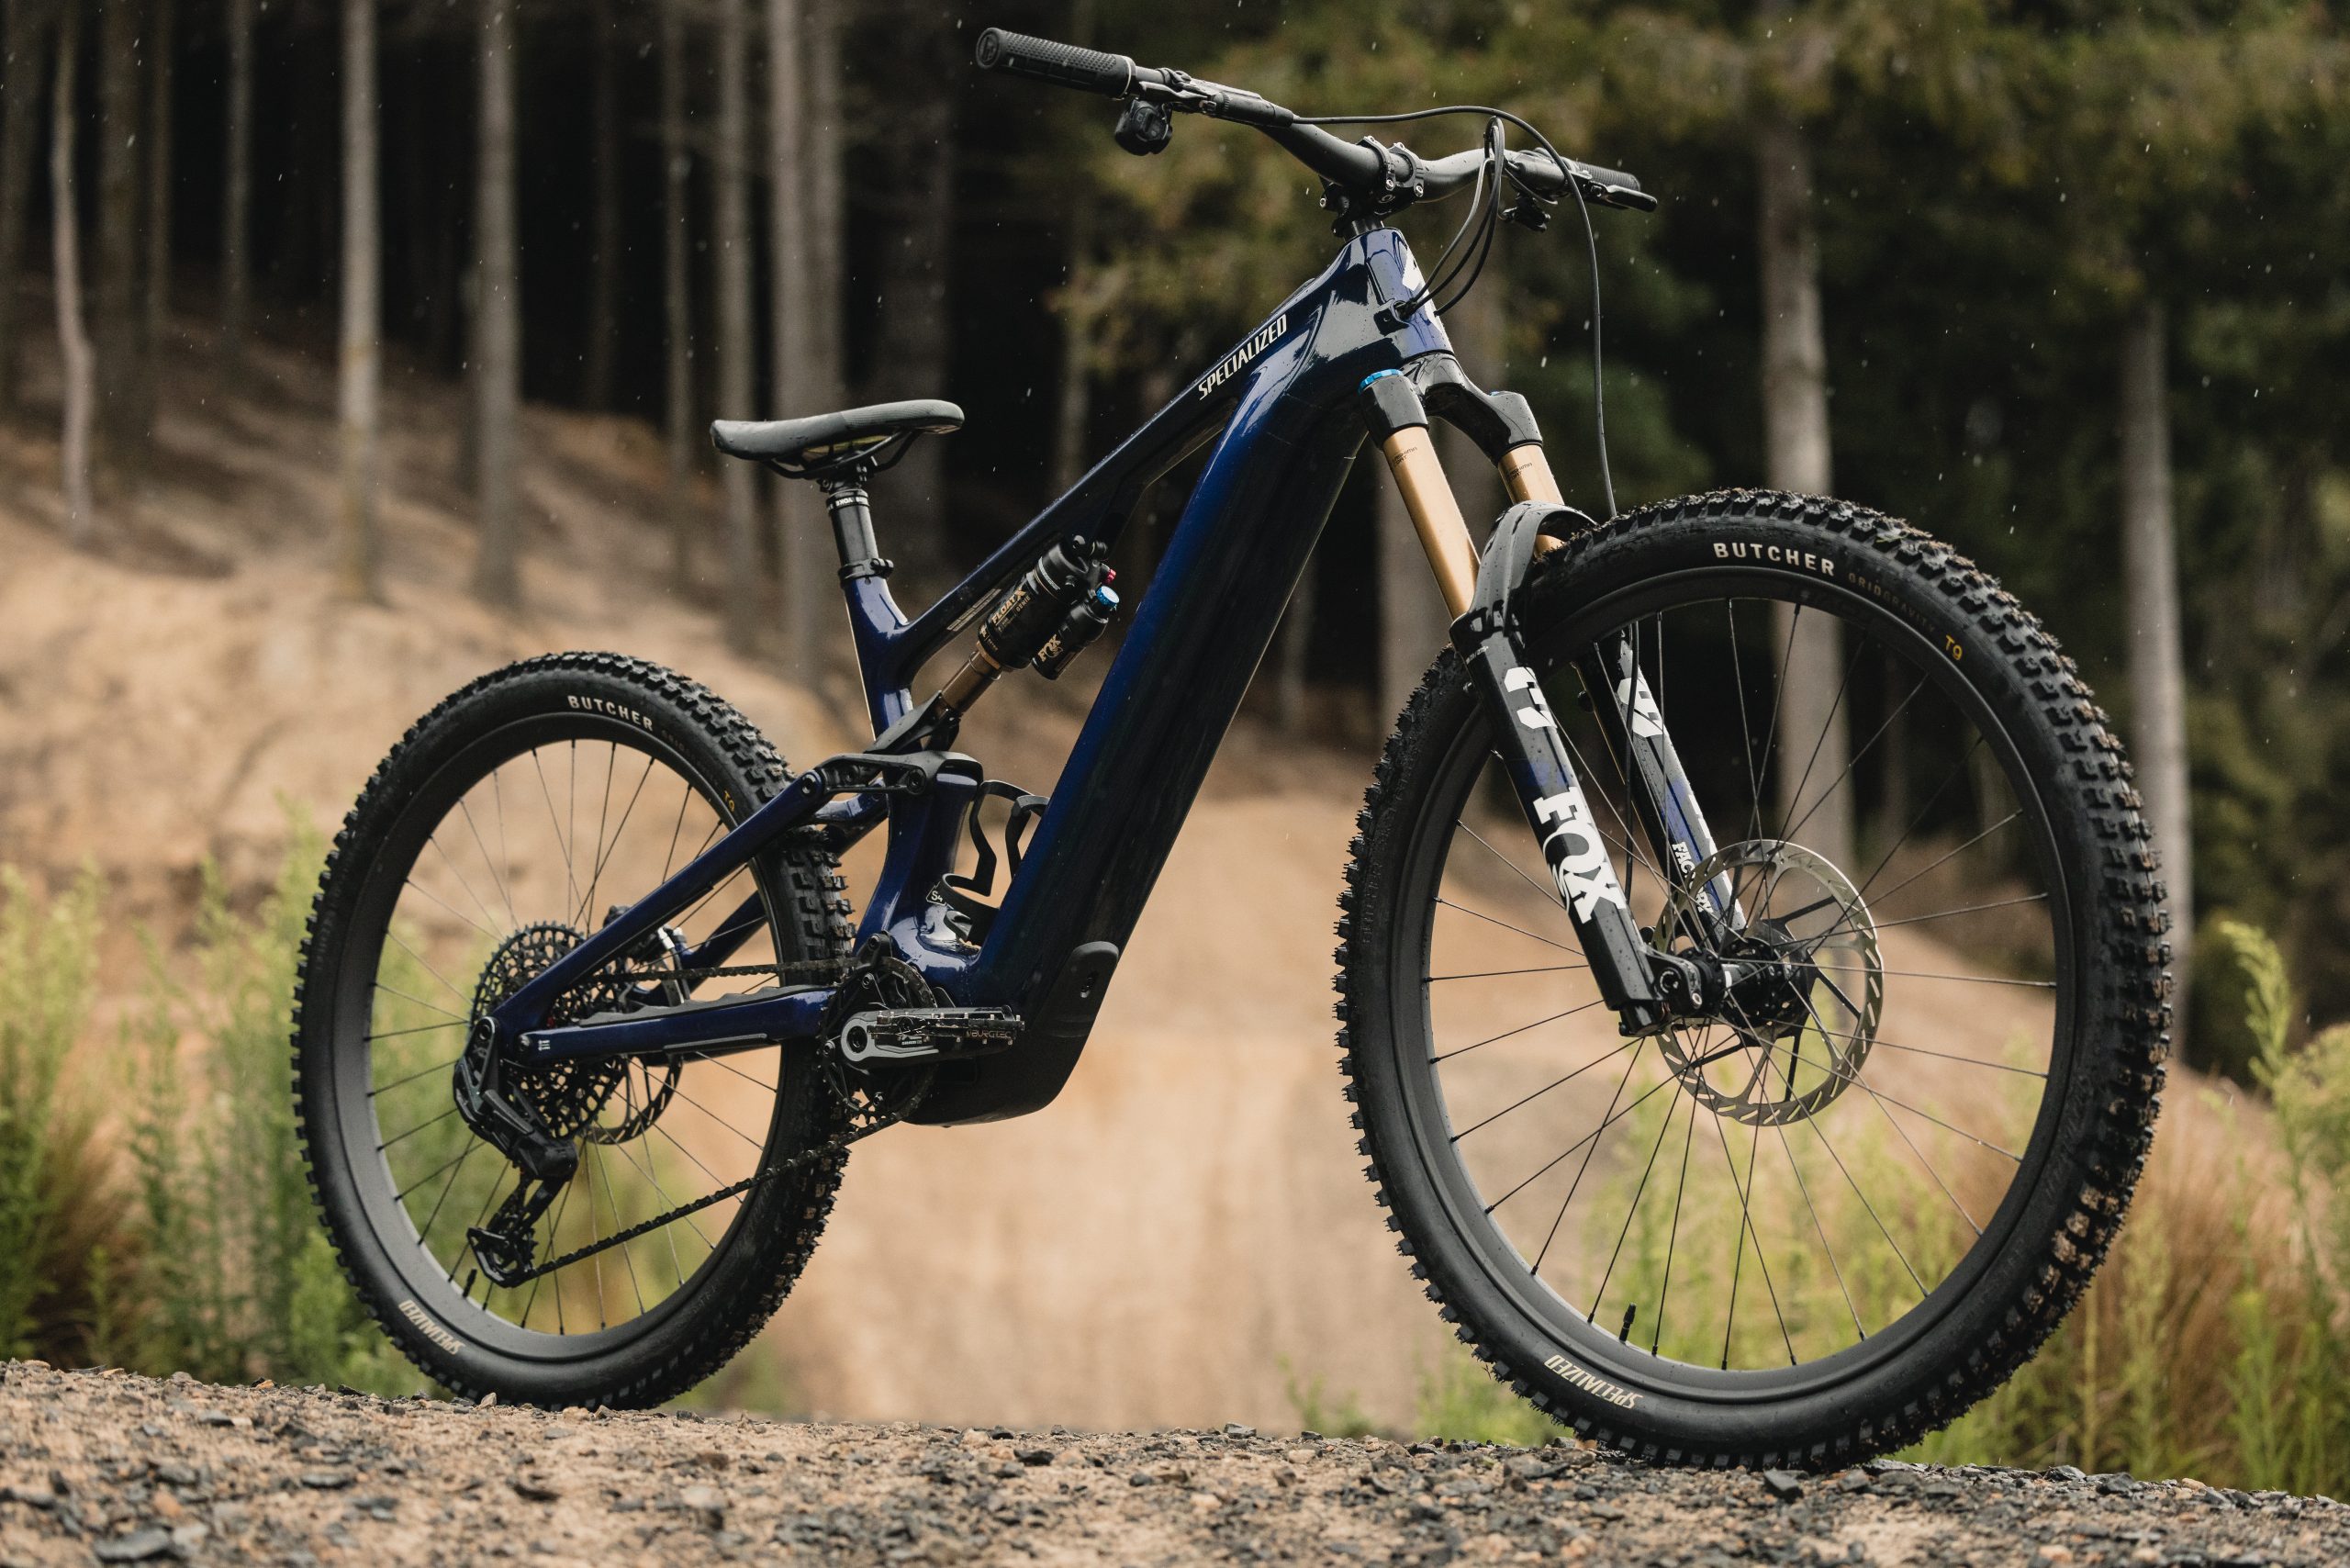
Specialized Levo Gen 4 Pro Carbon
Words Lester Perry
Images Cameron Mackenzie
RRP $19,900
Distributor Specialized NZ
Specialized’s eBike boffins have been at it again – this time with a revision of their marque Levo model. A 150/160mm travel trail bike, the Gen 4 builds on the Levo heritage and considers consumer feedback from riders who’ve previously Levo’d. They’ve ended up with a completely revised bike; almost every aspect has been refined, upgraded or tweaked. It’s evident that all the changes from Gen 3 have been considered and have a purpose; it’s not just change for the sake of it.
The design language is carried over from other recently released Specialized models; the Stumpjumper 15 and the Levo SL2 line. Levo Gen 4 has similar lines to the SL2, albeit with a beefier downtube and motor area, allowing for its larger, more powerful motor and larger battery. Most geometry numbers across the two bikes are within a gnat’s hair of each other. Thanks to this, I found the handling of the Gen 4 Levo very similar to the SL2 and, where characteristics differed, it was due to the extra weight of this full-powered bike. Geometry is comfortable and a great middle ground for all scenarios for a bike of this travel and intended trail use. The reach on an S4 size is 480mm, the head angle sits at 64.5 degrees, the seat tube at an acceptably steep 67 degrees, and 435mm chainstays in the stock short setting. As with the Levo SL line, there’s an adjustable head angle so, with a quick headset cup swap (only requiring an Allen key), the bike can gain or lose a degree of head angle—and flipping the hardware on the lower shock eye drops the bottom bracket -6mm from the stock high position of 350mm high. The rear end can grow by 9mm just by adjusting the chainstay flip chip, adding stability to the ride.
To keep the rear end short and put the lower suspension pivot in the optimal position, there’s no option (or clearance) to run a 29-inch rear wheel, so the bike is offered only in a mixed wheel (27.5/29”) format.
The new 3.1 motor breaks new ground for the Big S. Gone is the vulnerable, noisy internal belt, replaced by metal gears with a HardDrive coating offering increased durability and adding to the motor’s noticeably quieter running than the previous Levo. It sure is quiet – and even after it’s warm, after an hour of hard use, there’s no whining or increase in noise, just a gentle purr. Impressive.
Although it’s now 20% smaller overall, the motor hits 666W peak power across the range, with the baller S-Works edition punching up to 720W thanks to a different motor tune. Torque gets an increase, too, now 101nm with the S-Works getting 111nm. At higher cadences, where the previous Levo’s – and many other current motors – power delivery dropped off slightly, the Gen 4 maintains the peak power through a much higher cadence range.
A small but noticeable change in the width of the motor brings the Q-factor inwards 10mm; it is not massive, but it keeps the Q-factor closer to that of a standard pedal bike. For those who do a fair amount of pedalling and jump between the eBike and other rigs, it brings a more natural-feeling pedal stroke and, in some cases, should ease dodgy knees.

Battery capacity is boosted to 840Wh versus 700Wh on the previous generation Levo. A new internal battery cell layout allows for a shorter overall battery at a similar weight to the previous. A major but not noticeable change is the increase to a 48v system from 36v; apparently, this further increases the efficiency of the battery and electrics, allowing it to be more compact and extend the ride time.
The battery is now accessible from the non-drive side of the down tube; with a few rotations on a five millimetre Allen bolt, the battery door comes off. A gentle tug on a pull loop, and the battery simply slides out the side of the bike. Thanks to the shorter battery, there’s now a cavity up toward the headtube, allowing a SWAT bag to be tucked in place, held there by a magnet. There’s room to stash a tube, CO2, and Allen key in the watertight bag, which is handy.
A 600w/h battery is also available aftermarket, giving those who ride shorter times on the regular a lighter weight option. A 280w battery expander can be slid into the bottle cage in addition to the onboard 840w/h battery, offering a gargantuan 1120w/h for those who want to go on larger missions. Specialized claims an 80kg rider in Eco mode, climbing “significant elevation” could get 5.3 hours out of the system. I’d be happy to ride more aggressively, take it easy on Turbo assist, and get three rip-roaring hours out of the 1120w/h setup.
The new Mastermind controller has significant changes and upgrades from the previous version. The thumb shifter is wired to the screen tucked into the top tube, but both have had some welcome tweaks. The screen is much larger and now square, allowing for data that’s far more visible at a glance than the previous. The controller now has a power button at the top, a ‘toggle’ type lever in the middle, and a Walk Mode button beneath this. Pushing the toggle up or down scrolls the bike through its stock power modes, while pressing the toggle changes the data displayed. For those who want a bit of variation from the stock assistance levels, a long press ‘up’ on the toggle unlocks some fine-tuning options: Micro Tune and Dynamic Micro Tune. Micro Tune essentially lets you select the rider power amplify level in 10% increments, with equal bike input. Dynamic Micro tune is like Micro Tune, but enables you to choose assistance level for efficiency and battery saving while cruising, but automatically jumps back to 100% assistance when you kick up the power on the pedals, giving full assist for surprise pinch climbs or when you need some extra oomph while sprinting into a gap jump. These extra adjustments made possible by the new controller mean you can fine-tune the bike without requiring the phone app while riding—or even a phone at all if that’s your jam.
If you want even more tuning, the Specialized app has a couple of minor, but helpful, additions for the Gen 4 Levo. Overrun is a standard feature on many high-end eBike systems; the drive running on for a short period after you stop pedalling—this helps keep the bike moving forward, particularly when climbing technical trails where it’s necessary to stop pedalling over a trail feature so as not to clip a pedal or smash a crank, it also helps while climbing through high speed swooping turns, continuing to drive even when you need to stop pedalling for fear of bottoming a crank out while leaning into the turn. The ability to adjust how long the Overrun period is via the app (through Min, Default and Max) gives some interesting options for those trying to maintain maximum speed on rough, technical trails. It would be ideal for racing once you adapt your riding. I think it would take a bit more time to figure out what level is best and how to get the most out of the feature, so I was happy with the Default (middle) setting.
Cadence Coach is an interesting new feature that can be enabled in the app. When turned on, a rider can view their pedalling RPM on the Mastermind screen. As cadence changes, a circle around the RPM number changes colour and arrows appear, suggesting you should speed up or slow down your cadence to stay in the optimal zone. It’s an interesting feature for those with a history in cycling but likely a real eye-opener for those newer to the sport who are still figuring out ideal cadences. Provided a rider sits in the optimal cadence range, their battery will last longer, and power will be applied more efficiently. They’ll have to shift to the correct gear to keep their cadence ‘in the green’, minimising chain wear and saving the highest (smallest) cogs on what is a very expensive cassette.
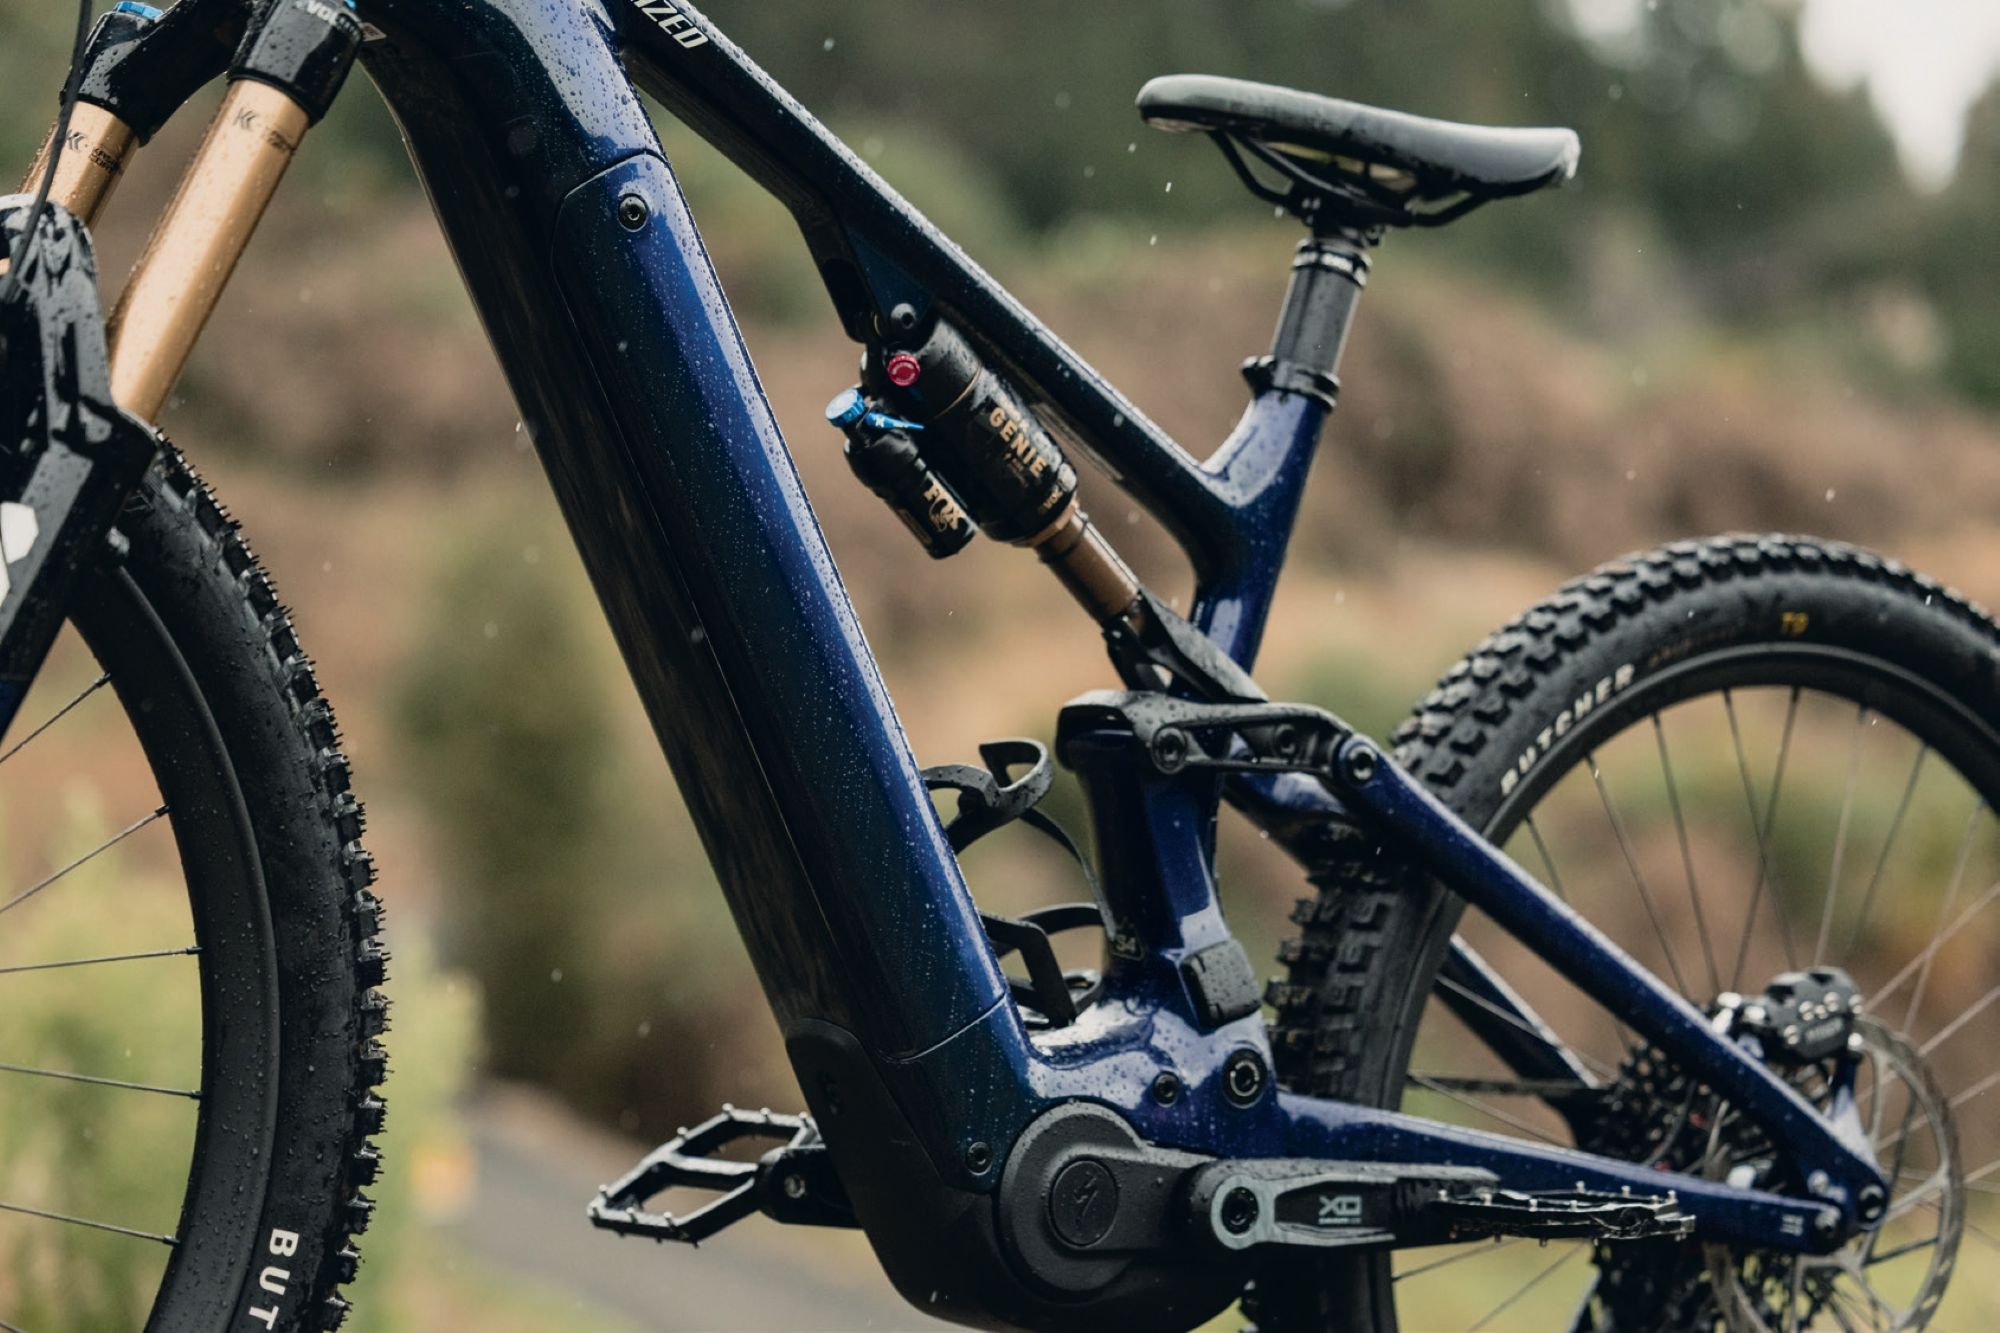
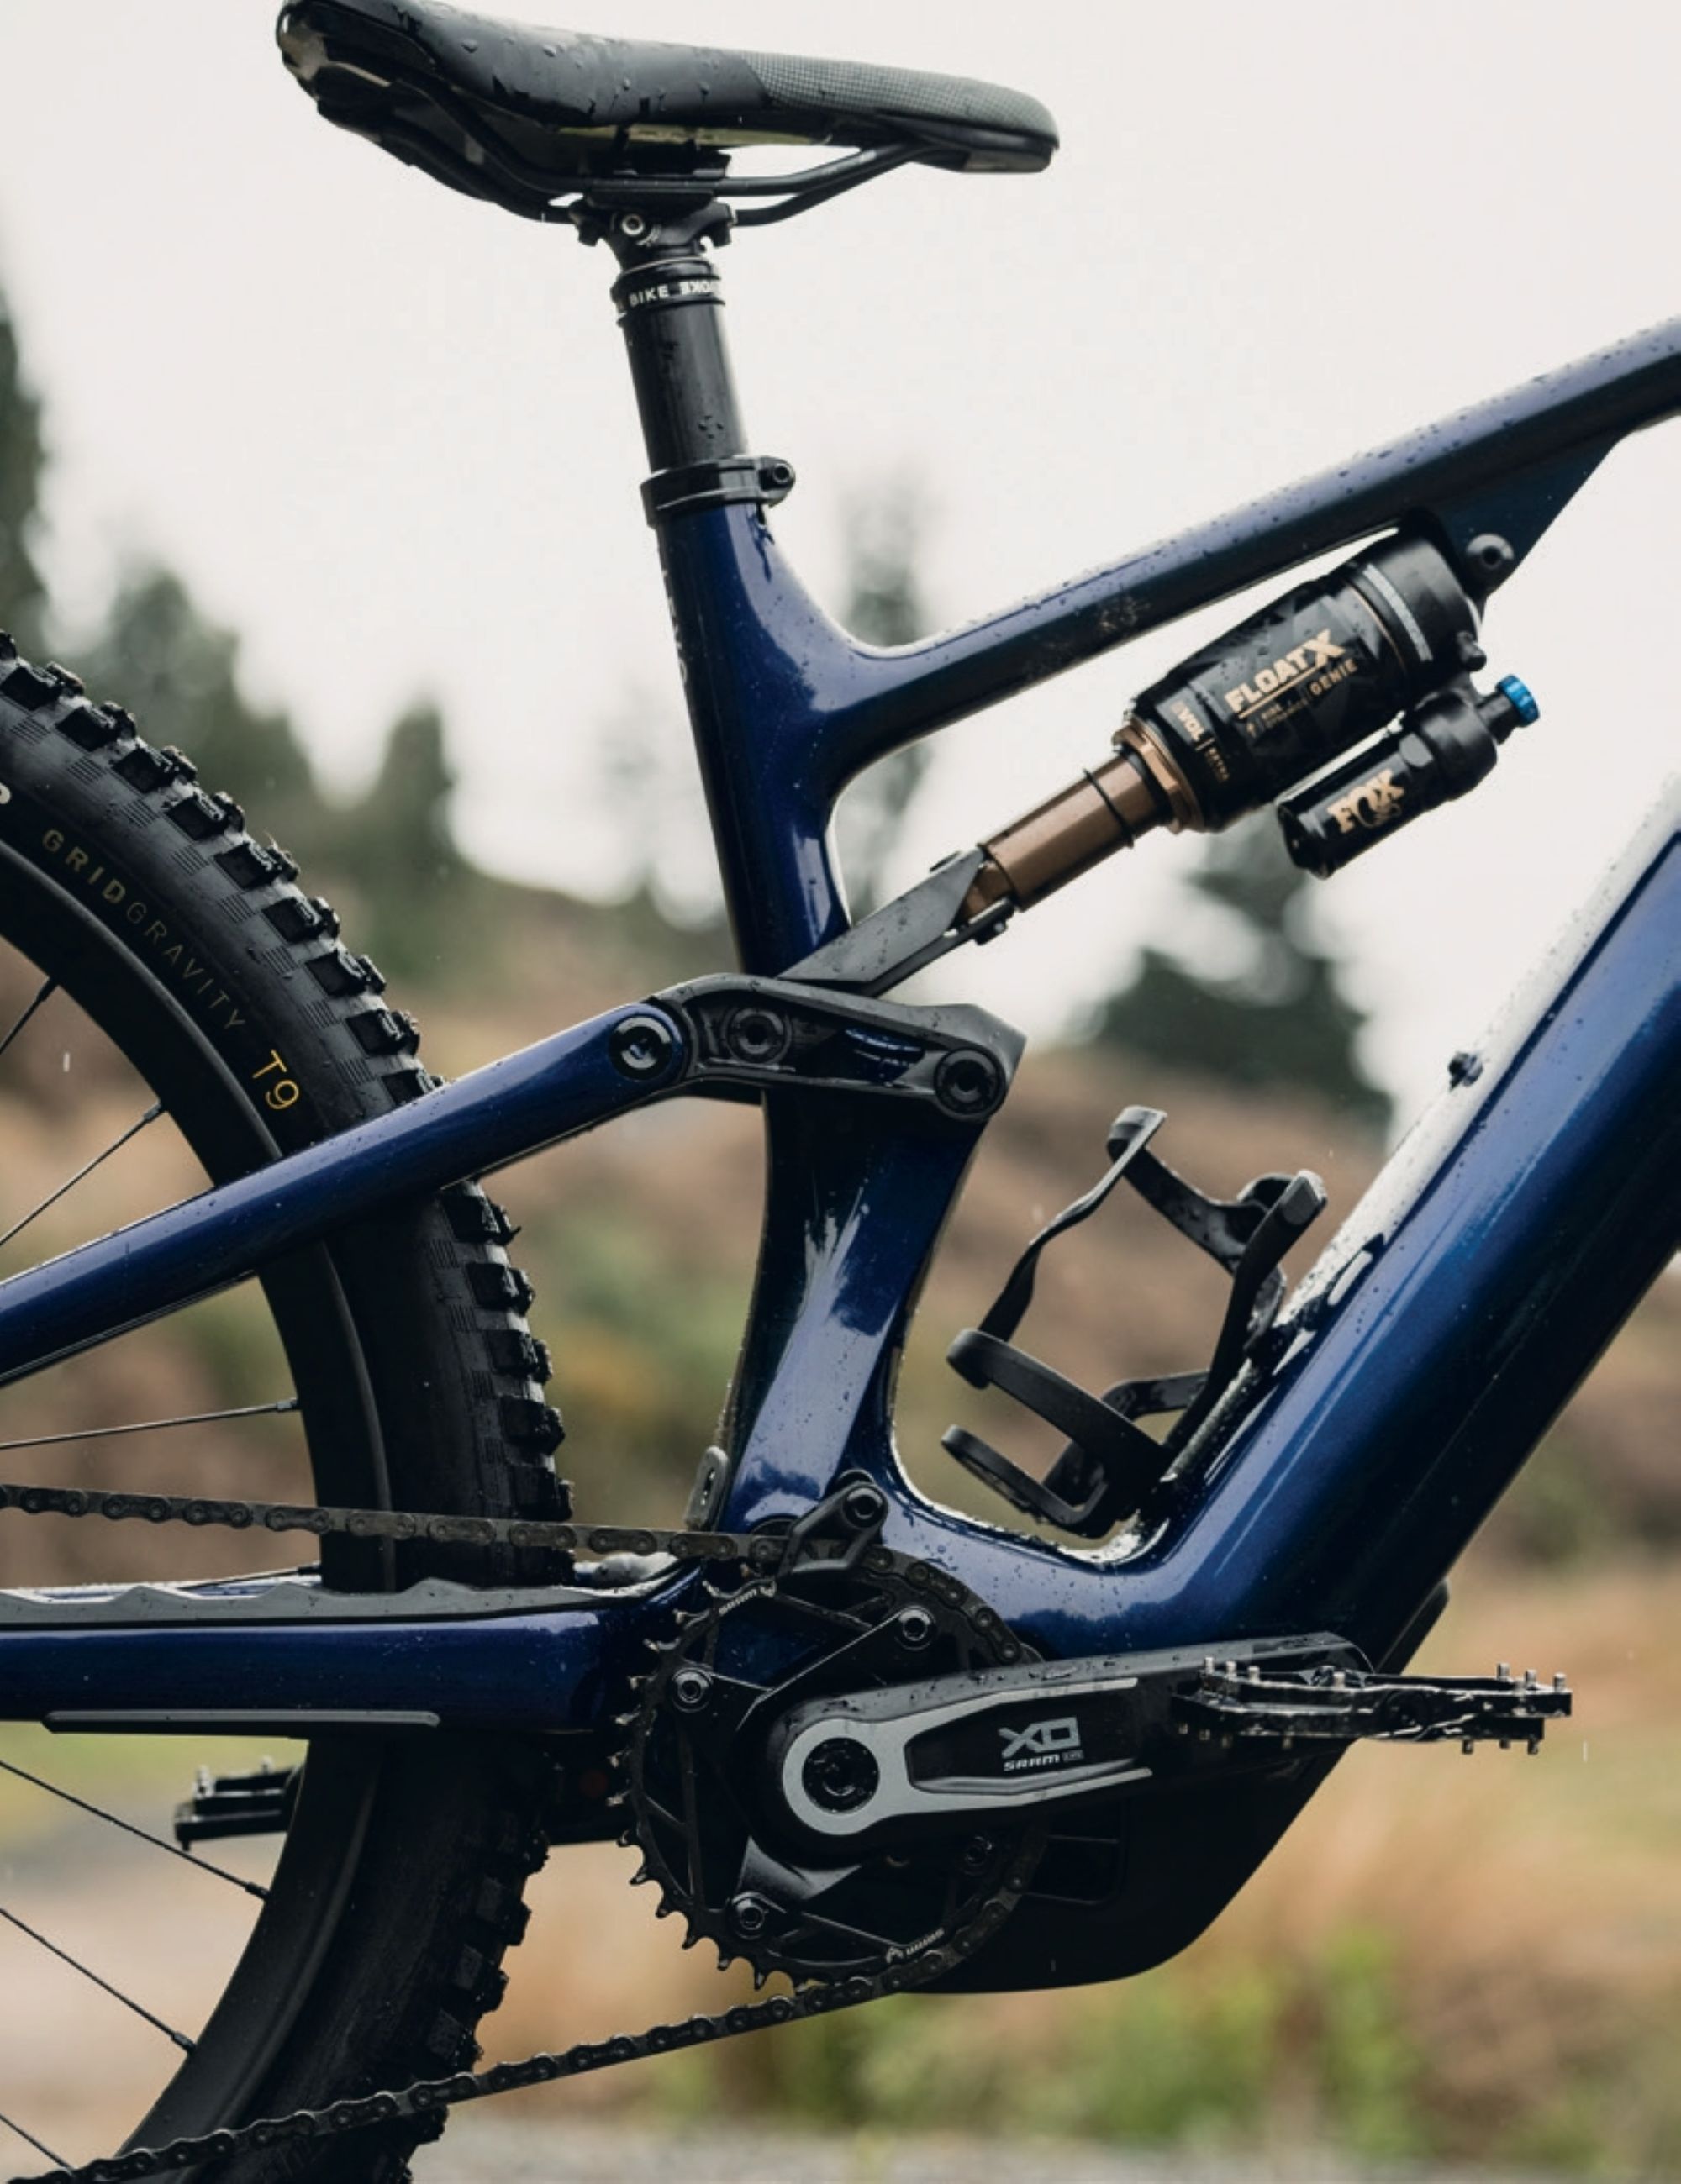
The Specialized developed Genie Fox Float X2 takes care of rear suspension duties. The shock features standard metric 210mm x 55mm sizing, allowing for whatever aftermarket shock you would like to run, including a coil. I’m unsure why a change would be necessary, as I’m well impressed with the Genie’s performance on this bike and put time in on it during my SL2 review. It’s simple to set up and tune and has a coil- like feel. Suppleness early in the stroke helps maintain traction across all surfaces, but with enough support to still pop off and pump trail features. The bike I rode had the shock set up in its stock format but, like the SL2, I’d probably add a couple of bands into the main air spring to give a bit more support earlier in the stroke. Fox also takes care of the fork; a tried and proven Fox 38 Factory adorns the front of the bike – the perfect partner for the Genie shock, and stout enough to handle the weight of bike and rider.
Overall, the component choice is ideal for the bike, and I struggle to pick any holes. The SRAM XO Transmission drivetrain is the perfect choice for an eMTB. As stated previously, the Maven brakes are hard to beat. Dropper post duties are performed admirably by a Bike Yoke 170mm post. Handlebars are a wide Specialized option; they’re a 35mm clamp and, although the shape is comfy, I did find them harsh. Given more time with the bike, I would have swapped in a 31.8 stem and bar for comparison.
I have reservations about carbon wheels on eMTBs but, visually, these look like they’re probably up to the task. They’re plenty wide, and their 4mm thick beads should help ward off pinch flats and cracked rims. Being wrapped in the Gravity casing tyres should help, too. I guess time will tell.
Riding the Gen 4 Levo
I spent a solid couple of days putting the Gen 4 Levo through its paces and, although this gave a great window into the bike’s characteristics, it doesn’t give any idea of its longevity. My first day was on prime, dry trails in Christchurch’s Adventure Park and Vic Park. I made some minor air adjustments to suit my weight and riding style, sped up the rear end and slowed up the fork a couple of clicks. After this ride, I was happy I had a good baseline to start tweaking from. My second outing was in the Craigieburn range—firstly, a classic lap up the nice singletrack climb with some technical crux moves (no dabs!) to the Luge trail, followed by Dickson’s downhill. I dropped my fork and tyre pressure a fraction, then we were back down the road and up the gravel climb to Cheeseman’s trails for a lap of Cockayne Alley followed by Cuckoo Creek. Conditions were damp, and I was glad to have an eBike to quickly lap back up the climbs, spending minimal time outside the shelter of the tree canopy.
The more bikes I ride, the more I appreciate an easy setup; I just want to get on, adjust a couple of clicks here and there and go ride the damn thing. Granted, an eBike’s weight helps it feel better than a lousy setup or lower-end suspension may suggest, but there’s something to be said for a bike that just performs as it should without any significant effort put into setup.
Although I don’t imagine the Gen 4 is any lighter than an equivalent spec Gen 3 model, the bike doesn’t feel portly to ride, and the weight feels less on the trail than other equivalent-weight, full-powered eBikes I’ve ridden. It rides just like a similar trail bike but with more heft. I never felt that the bike had taken control, leaving me merely a passenger clinging to an overweight bike with luck choosing where it would go. I’ve been in this scenario on some bikes, and it’s a scary time.
The Gen 4’s geometry and suspension help keep things on line and in control. I found the bike to be stable and predictable over chunky rock sections, not getting deflected or pinged off-line. The bike inspired confidence when coming into steep chutes on trails I hadn’t ridden before. In a couple of these situations, I had to haul anchors to get my speed to a comfortable level; the SRAM Maven brakes highlight my thoughts that brakes can make or break an eBike riding experience. In this case, one of the most powerful brakes on the market, and massive rotors, are more than enough to bring the weighty combo of the bike and my weight to a stop in the steepest or sketchiest situations, even in the wet and on long descents.
During my two battery-draining rides, I cleaned some technical sections that were undoubtedly a stretch, and tested bike and rider to the limit. Thanks to the short 165mm cranks and the Run On mentioned above, I only bottomed out a crank once. Power is nothing if your back wheel is losing traction while climbing, and I was impressed that even on slick roots, clay or gravelly steep pinches the power in application is so smooth and consistent that it maintains traction longer than I expected—and no doubt longer than other bikes I’ve ridden in similar situations. I was impressed that even in Turbo mode, the power was applied so that it didn’t feel like it would tear my arms from their sockets, and there was no jerkiness or surprises. My whole experience with the motor, I’d term as ‘controlled’.
The Craigieburn Range trail conditions were less than ideal; heavy rain in the hours preceding our ride—and continual rain through the day— left puddles and standing water over anything flat, and descents were slipperier than ideal, with treacherous roots ready to claim anyone not 100% on the game. Bikes and riders were saturated, but the bikes didn’t skip a beat. If there were limits to the waterproofing on the bike or motor, we would have found them.
Specialized offers annual suspension pivot bearing replacement for the original owner’s lifetime. A great way to keep the bike performing at its best, particularly after a wet winter—although the tinfoil hat wearer in me thinks it may be a convenient way to get customers back into a Specialized shop more regularly. Judging by how little servicing my own bikes get, this is a good thing!
The bike’s balance was evident while flowing down some of Christchurch Adventure Park’s jump trails. It’s a predictable and confidence-inspiring bike to jump or even bunny hop. As with the Levo SL2, the Gen 4 rips turns; they’re easily initiated and the bike switches direction intuitively, no doubt a product of short chainstays, and the 27.5” rear wheel.
Fellow test rider, Nathan Petrie, had ridden this bike before I did and commented that the bike should have been specced with a 200mm dropper post, not the 170mm supplied. Nathan is a decent amount taller than me, and although a 200mm drop would be optimal for him, the 170mm drop was spot on for me. Sure, a 180mm drop would have worked for me, but that’s just splitting hairs. What would be ideal is a post with some travel adjustment, keeping everyone happy.
The Specialized Butcher Gravity T9 tyres specced on the bike I tested have been superseded since this bike was assembled. A newer version was recently launched but missed this production run. I’m glad to hear the bike will eventually come with the newer, better tyres as, although these were reasonable, they weren’t fantastic and did suffer in the wet. I’m positive there are better options out there that would perform well across a broader range of conditions. Word on the street is that the new Butcher is a decent step up from these, so hopefully, we’ll find them on production bikes soon.
Now, it’s no secret this bike will cost a buyer a decent wedge of cash and, taking that into account, is it worth all that money? Well, there are other bikes in the market at similar prices, but the few I have ridden didn’t offer the complete package we see here on the Levo Gen 4, from spec to setup to handling.
It’s no exaggeration to say this bike possesses the best overall handling and experience, beginning at setup, of any full-powered eBike I’ve ridden. My only questions regard longevity: outside of Specialized’s own internal—albeit extensive—testing, the new frame, motor, battery and controller are unproven over the long term.
First Impressions: Specialized Turbo Levo
Words: Nathan Petrie
Images: Cameron Mackenzie
As an unashamed fan of eBikes, I’m always pumped when I get the chance to throw my leg over a new offering from a brand in the space. So, when the opportunity presented itself to try out the highly anticipated new Specialized Levo, I knew it was something I couldn’t turn down. The Levo’s a bike that holds a bit of a special place in my heart, seeing as the first generation one was the first eBike I had the chance to ride. Times have changed a lot since then though, and in the rapidly evolving world of e-bikes I was interested to see how this redesigned Levo stacked up! Pulling the bike off the rack, the first things that are noticeable about the new Levo – aside from its Stumpjumper-inspired styling – are the large Geni shock and the stout downtube. But don’t let either of these things fool you into thinking that the new Levo’s just a two wheeled couch like some full-power eBikes can be. A quick bit of carpark tuning later and it was apparent that the Levo had a lively and responsive feel. At a time where riders are facing the choice between a full-power or lightweight eBike, this kind of responsiveness with the power and range the Levo offers may provide some riders with a bit of food for thought.
A glance over the Levo’s geometry chart and travel numbers reveals where this responsive demeanour might come from. The key figures like head-tube and seat-tube angle, chain-stay length, reach and wheelbase were all pretty standard across the board for our S4/Large size test bike. As with many of Specialized’s gravity-oriented bikes, the head angle, chain-stay length and bottom bracket height can also be adjusted to offer a more customised riding experience. On top of this, the travel – at 160mm front and 150mm rear – is a pretty ideal amount for all-round riding. The weight also feels fairly respectable too; impressive given the large 840Wh battery spec’d on our Pro level build. As has been the case for a while with Specialized eBikes, the overall package is fairly well thought out. The remote – while still wired – is fairly slim and very responsive, and the enlarged touch screen is well integrated into the top tube so you can easily keep tabs on your battery level and power setting. Specialized have added to the versatility of the system by giving riders the choice between either the 840Wh battery we had, or a smaller 600Wh aftermarket option.
On top of this, riders can use the 280Wh aftermarket extender for even more range with either battery. This gives a fairly impressive 1120Wh of capacity at its maximum which should offer plenty of scope for the kind of back country exploring eBikes are good for. The Levo also features an eBike-first in-frame storage option, with a SWAT bag that fits neatly above the battery in the head tube area. The build kit on our Pro level model was also largely what you’d expect from a bike at this price point. From the nicely finished carbon frame to the Factory Fox 38 fork, SRAM XO transmission drivetrain and carbon Roval wheels, the build kit didn’t leave you feeling short changed. The frame and motor were nice and quiet on the descents as well, with no annoying motor or cable rattle to speak of. The only possible area for improvement would be consistently speccing a 200mm dropper post as standard on S4 bikes. While many companies seem to be keen on allowing riders to size up, anything less than 200mm on what would be a large bike is just too short for the average buyer of that size.
While the first ride on a new bike will always be a bit of an unfamiliar experience, having that first ride in an unfamiliar location can really highlight how easy it is to get on with a new bike. For me the first lot of riding on the Levo came in the form of a trip to Dunedin to highlight what the city had to offer as a riding destination. The first outing on the bike at Signal Hill confirmed that the bike is pretty easy to just get on and ride. The predictable handling and suspension performance means that, aside from the usual cockpit adjustments, there’s not much of a bedding in period – or any quirks to get used to. The first thing that strikes you on the climbs, is how smoothly and quietly the bike delivers its ample power and torque. Some eBike motors aren’t exactly stealthy when it comes to putting the power down with a noticeable whine from the motor. This was something Specialized put a lot of effort into when developing the new 3.1 motor. The new Levo also has a decent bump in power and torque over the outgoing model, with that power being maintained over a much wider cadence range. While my first ride didn’t feature much in the way of technical climbs, we did head up a couple of fairly steep sections of single (and double) track. Aside from some unrideable clay patches, these climbs didn’t seem to faze the Levo, even in Trail mode.
The responsiveness that was noticeable in the car park was also put to the test early on at Signal Hill, by rolling through a few sets of jumps. Some full power eBikes can be a bit of a chore to get off the ground, especially with flatter take-offs, and can still feel slightly weighty in the air. Not so with the new Levo. On both the high-speed DH style jumps on the Nationals track, and the more sculpted lips on the Jumps track, the bike was more than willing to get airborne. When in the air it was also easy to move the bike around and get some decent shape – once again, not something that is readily done with all full power eBikes. The bike also performed well on the slippery rocks and roots that we were treated to throughout our time in Dunedin. The bike struck a nice balance when it came to frame stiffness, holding its line well in rough sections but not causing the bike to feel harsh or deflect off a wet root or rock. This stiffness, coupled with the suspension and wheels, made for a comfortable and compliant ride in rough and unfamiliar terrain where you’re not always on the ideal ride line. The revamped Specialized tyres also offered plenty of traction in most places and, when combined with the SRAM Mavens, provided a nice sense of control over the slick terrain.
The outing in Dunedin also provided a good opportunity to put the range of the new Levo to the test, with two decent length rides in one day. While these rides didn’t cover a huge number of kilometres, we did get in near on 1200m of climbing across two locations. This left us with around 27 percent of the battery remaining by the end of the day. I also had the opportunity to try the Levo a bit closer to home, in two different situations that eBikes are good for. The first was more of a power hour-and-a-half on the trails of the Christchurch Adventure Park and Victoria Park. The adventure park in particular can be very harsh on bikes, between the stretches of exposed volcanic rock and the hard pack singletrack littered with roots and rocks. Once again, the Levo provided a smooth and controlled ride on a lot of the rough sections and handled the steeps in both locations without any issue. Another run through some jumps on the adventure park’s O-Zone trail confirmed that feeling of predictability and liveliness that came through in Dunedin.
The second outing was more about tapping into the spirit of exploration eBikes in general are great for. This outing in the Canterbury high country largely featured some lower grade grassland, riverbed traversing and hiking trail. While none of this really challenged the Levo from a motor, battery or suspension travel perspective, it highlighted the general-purpose nature of the bike. Even on less demanding terrain at a more leisurely pace, the Levo never felt like too much bike. The same responsiveness was still there, and the motor still offered decent assistance when cruising along in Eco mode. So, after a bit of time in a good range of settings, I think it’s fair to say that the Levo carries on the lineage pretty well. It’s still that same great all-rounder bike that it’s always been, but with some useful improvements to the power, range, frame and suspension performance. It’s a bike that’s easy to just get on and ride in a wide range of terrain and for a variety of ability levels. Like its lower-powered (Levo SL) and unpowered (Stumpjumper) stablemates, it gives riders user friendly geometry, travel numbers and ride feel that makes it an easy bike to feel comfortable on right away. The combination of reasonable weight, good integration, generous range and quiet, responsive motor certainly maintain its place in the top tier of full-power eBikes.
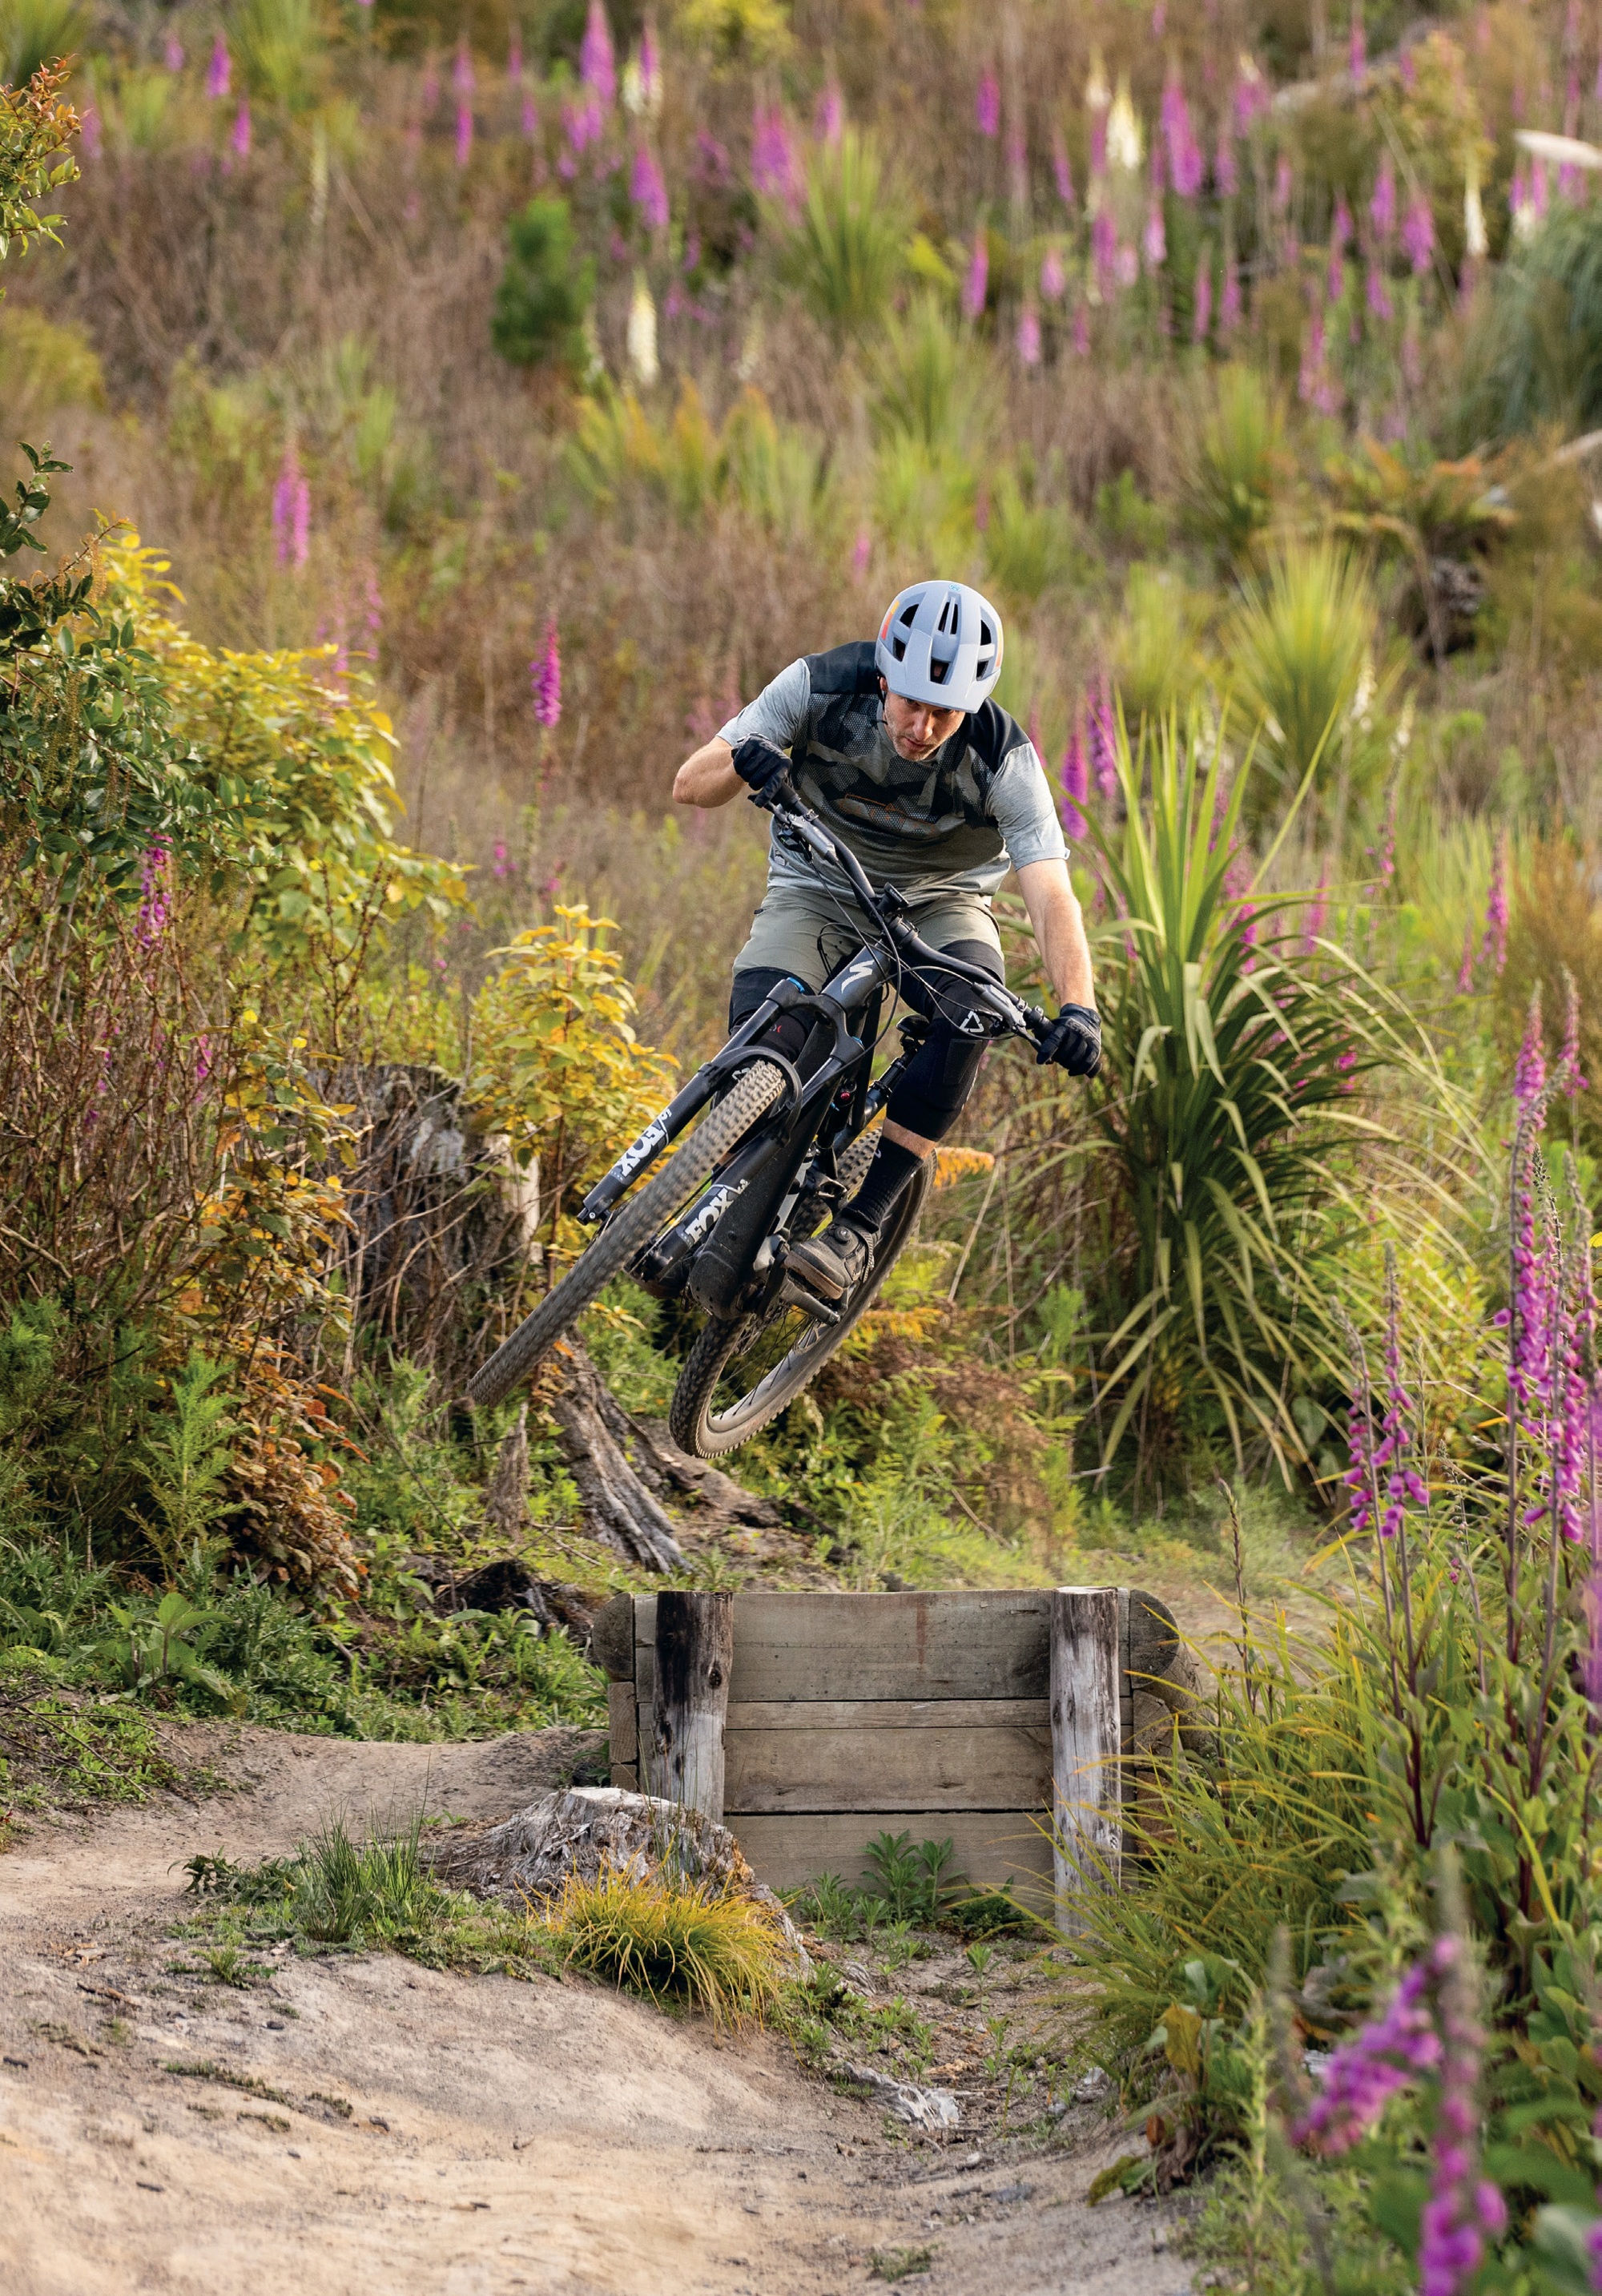
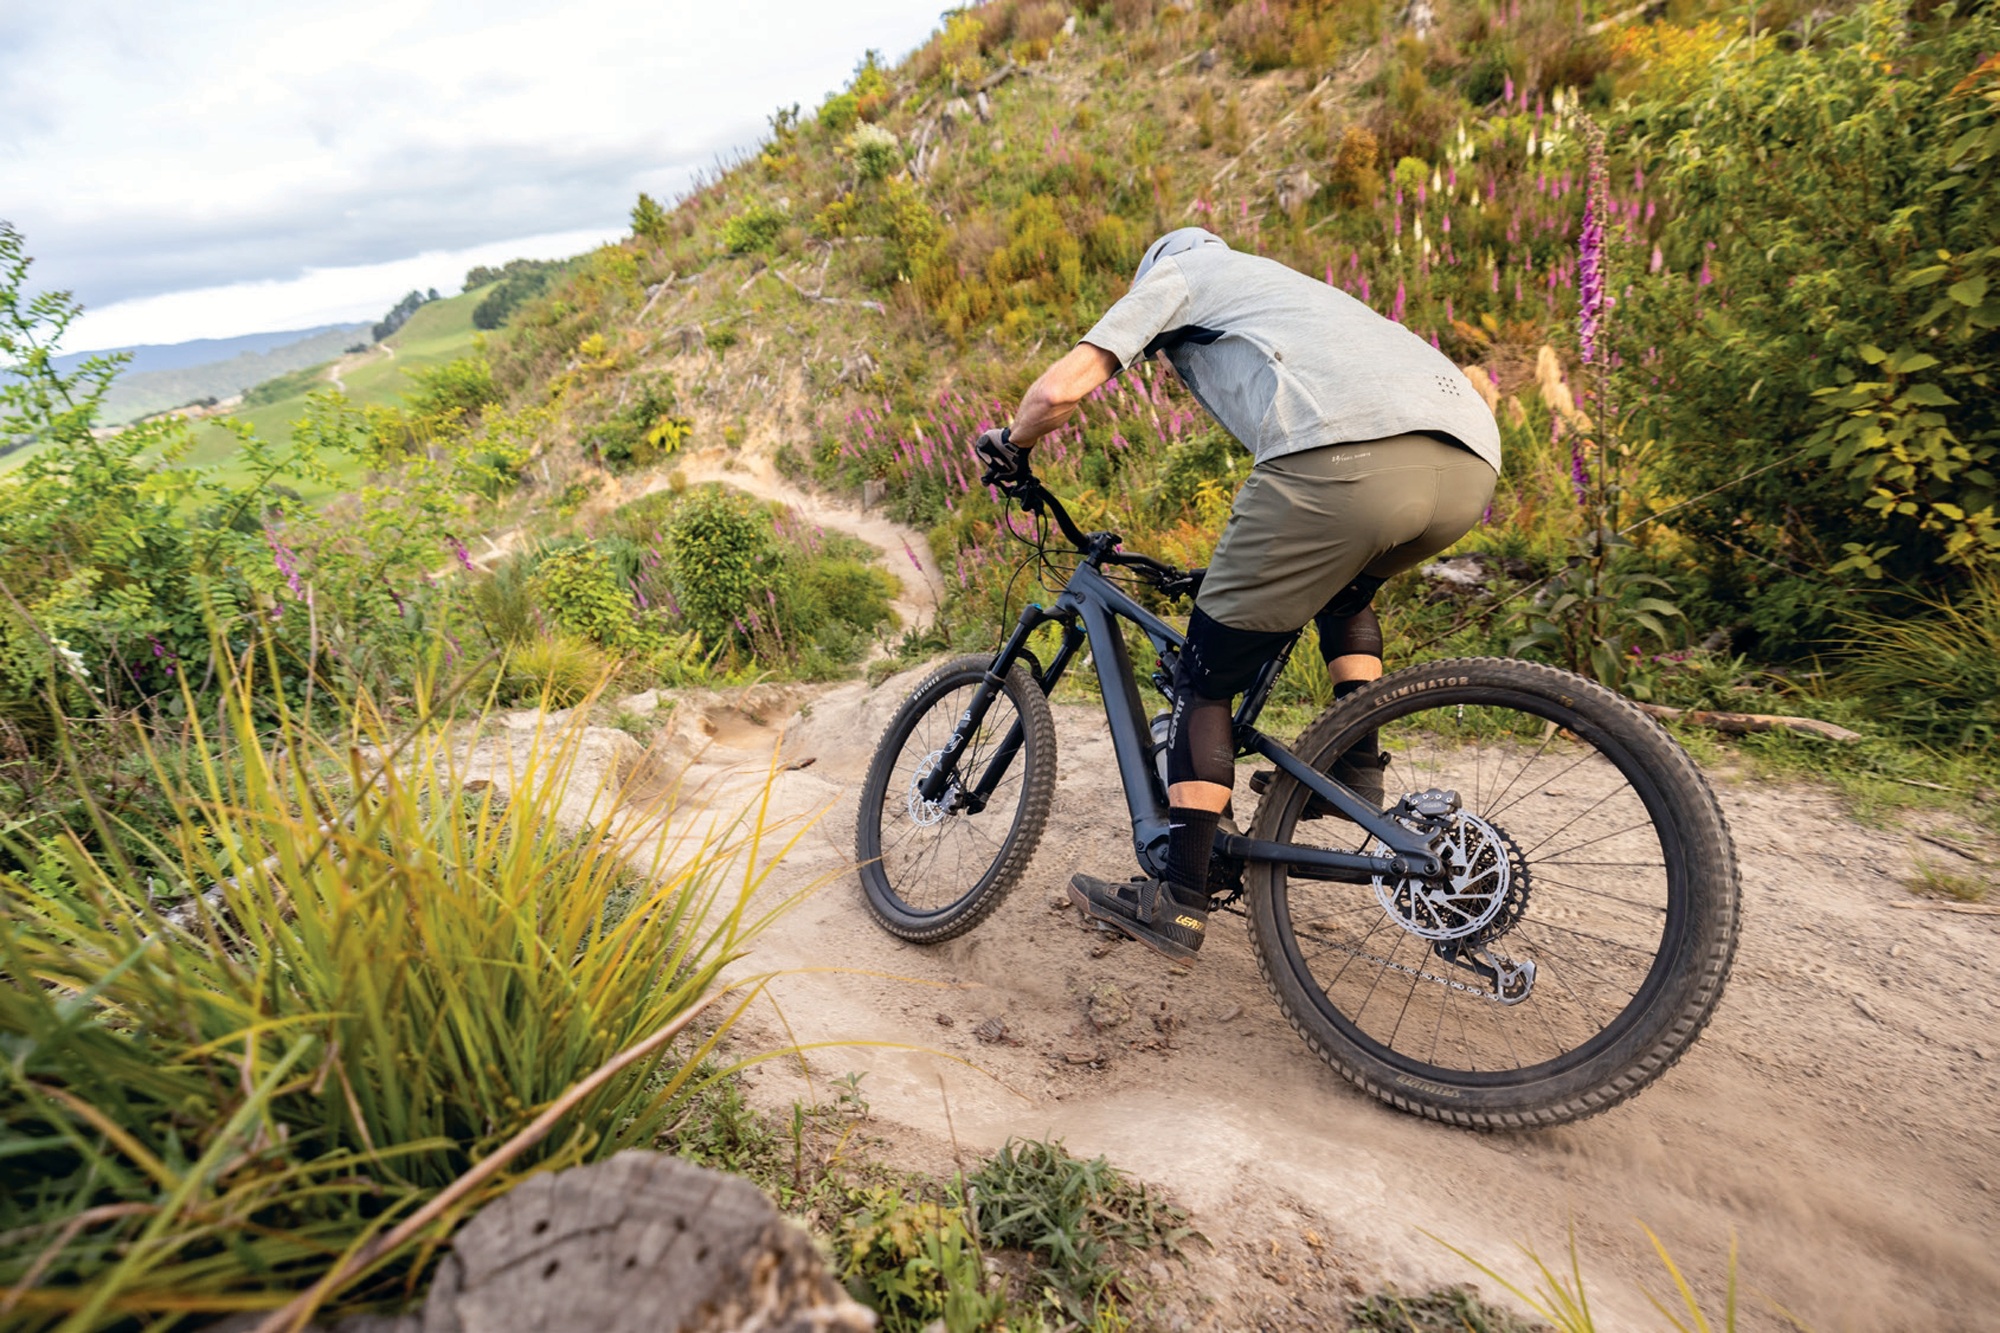
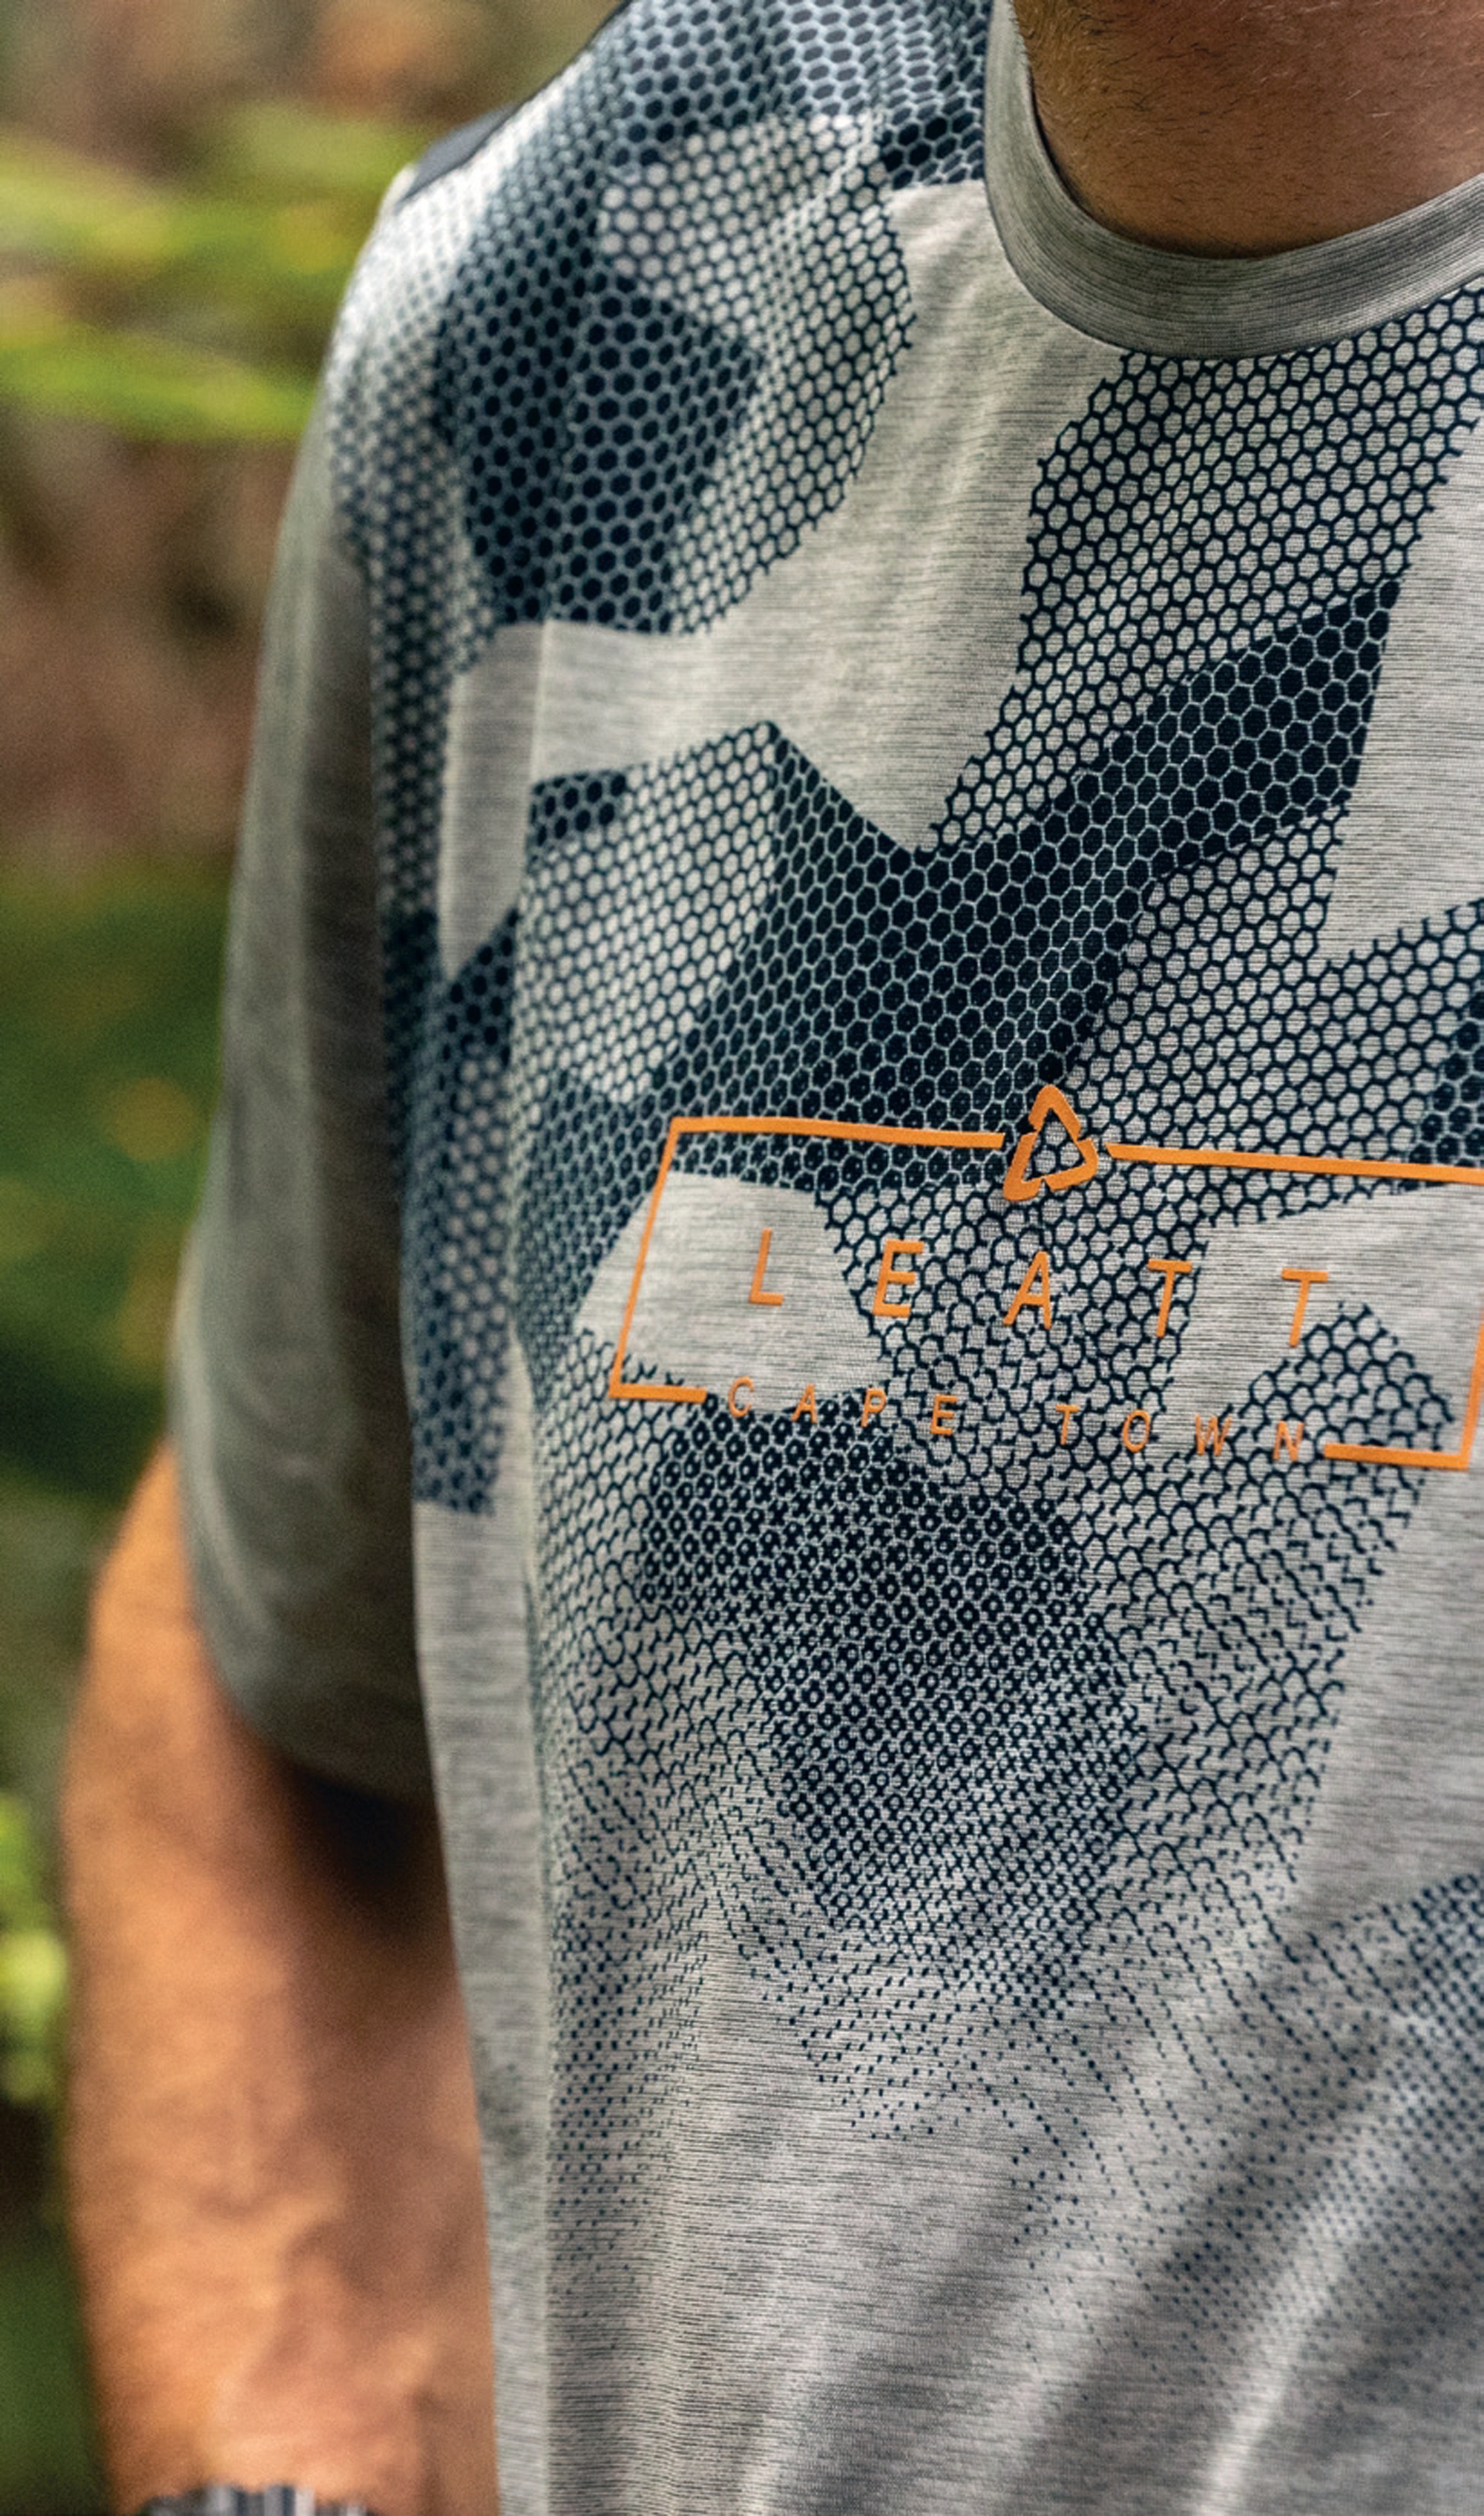
Leatt Products
Words Lester Perry
Images Jamie Fox
RRP $90—Trail 1.0 Short Sleeve Top | $160—Trail 2.0 Shorts | $230—ReaFlex Hybrid UltraLite Knee Guards
$370—Enduro 2.0 Convertible Helmet
Distributor BikeCorp
Leatt is a brand founded on a quest to offer the highest possible protection, through rigorous research, testing and development. Grown from an idea sparked by Dr Chris Leatt’s mission to protect his then four-year-old son from injury while riding motorbikes, Leatt has become a global leader in research-backed protective gear.
After witnessing the death of fellow rider and friend, Alan Selby, from a suspected neck injury in a motorbike accident, Dr Leatt set about working on a solution to avoid neck injuries that are all too common in bike sports. A few years later, Leatt the brand came to be, hitting the market with a neck brace. This revolutionary neck brace quickly became a global phenomenon and was soon adopted for mountain bike use.
In 2015, Leatt launched its first range of mountain bike helmets, and, by 2020, the band dove headlong into the MTB world, offering head-to-toe safety and gear solutions. Now in its 20th year, and with numerous design awards and industry accolades, Leatt recently began a new chapter here in New Zealand. With a new distributor now in place, we’re sure to see this storied brand continue going from strength to strength, becoming a more dominant player locally.

Trail 2.0 Shorts
As with jerseys, we’ve recently seen an influx of riding shorts that do the job but, much like my school report card said; “could do better”. The truth is, most of us are happy to stay in our lane and have no idea what we’re missing out on elsewhere, not keen to branch out from the norm and try a different brand of gear for fear of not liking it.
At first glance, I was unsure about everything going on with the Trail 2.0 shorts. “Is this overkill?” I thought to myself, looking at all the pockets and panelled fabric.
Sizing-wise, I’m a medium or 32” in any type of short and, true to form, the Leatt Trail 2.0 in the medium is spot on for me. With no tension on the hook & loop adjusters on each hip, they’re just right in the waist and, on the off chance I lose some weight, I’ll be able to cinch these up to keep the fit perfect. The length is a little longer than other trail-focused shorts in the market, but it sits nicely over the top of a kneepad and midway down my kneecaps.
The fit is somewhat slim and has a tailored, pre-curved silhouette to suit the riding position of the ‘trail’ riding they’re intended for. The mid-height crotch keeps it from snagging on the saddle, and a double dome snap closure and zipped fly keep the shorts in place and give critical access when needed. Two deep hip pockets ensure what you put in them stays in them, and a zippered cargo pocket on the right thigh has space for anything that won’t fit in the hip pockets. I’ve been surprised at how much I’ve put the extra storage to use, stashing food or a GoPro in there, which in the past would have either been left behind or crammed uncomfortably into a hip pocket. The pocket bags are attached to the outer fabric at their deepest point, keeping them in place so they don’t jump around while riding.
The fabric of these shorts is a lightweight polyester weave with 360° stretch, and most seams are double-row stitched for durability. Key wear areas around the knees and between the legs use a marginally heavier version for increased durability. A softer fabric is used on the inside of the waistband, ensuring comfort against the skin. The inside of each thigh has a small row of laser-cut ventilation, which helps keep things breezy.
The Trail 2.0 shorts come with a snap-in liner short. The main fabric is a mesh weave to keep things drafty, and there’s a nice silicon-backed gripper on the bottom of each leg. Many liners I’ve had supplied with shorts have ended up in the bin after a couple of rides, the chamois being of low quality and ultimately uncomfortable—often leaving me with some decent chafed patches on my undercarriage (don’t ask!). In a couple of cases, literal cuts in my buttocks from the chamois edge! Fortunately, that’s not the case with the Trail 2.0 shorts, which fit well. Even though I initially thought it might be too small, the Dual Density Berenis Chamois is comfortable for lengthy periods, and my undercarriage has no complaints.
What don’t I rate? Given the shape, pockets, and the two weights of fabric used across the short, there are a lot of seams. Granted, almost all of them are a double-row, reinforced type, so there’s probably nothing to be concerned about. However, more seams mean more possibility of one becoming damaged and potentially coming apart during a crash or due to long-term wear. So far, I haven’t seen any issues, but time will tell how the shorts hold up.
All in all, this is a banger pair of shorts. I’ve found the cut comfortable, the storage is excellent, and the liner gets a big tick of approval.
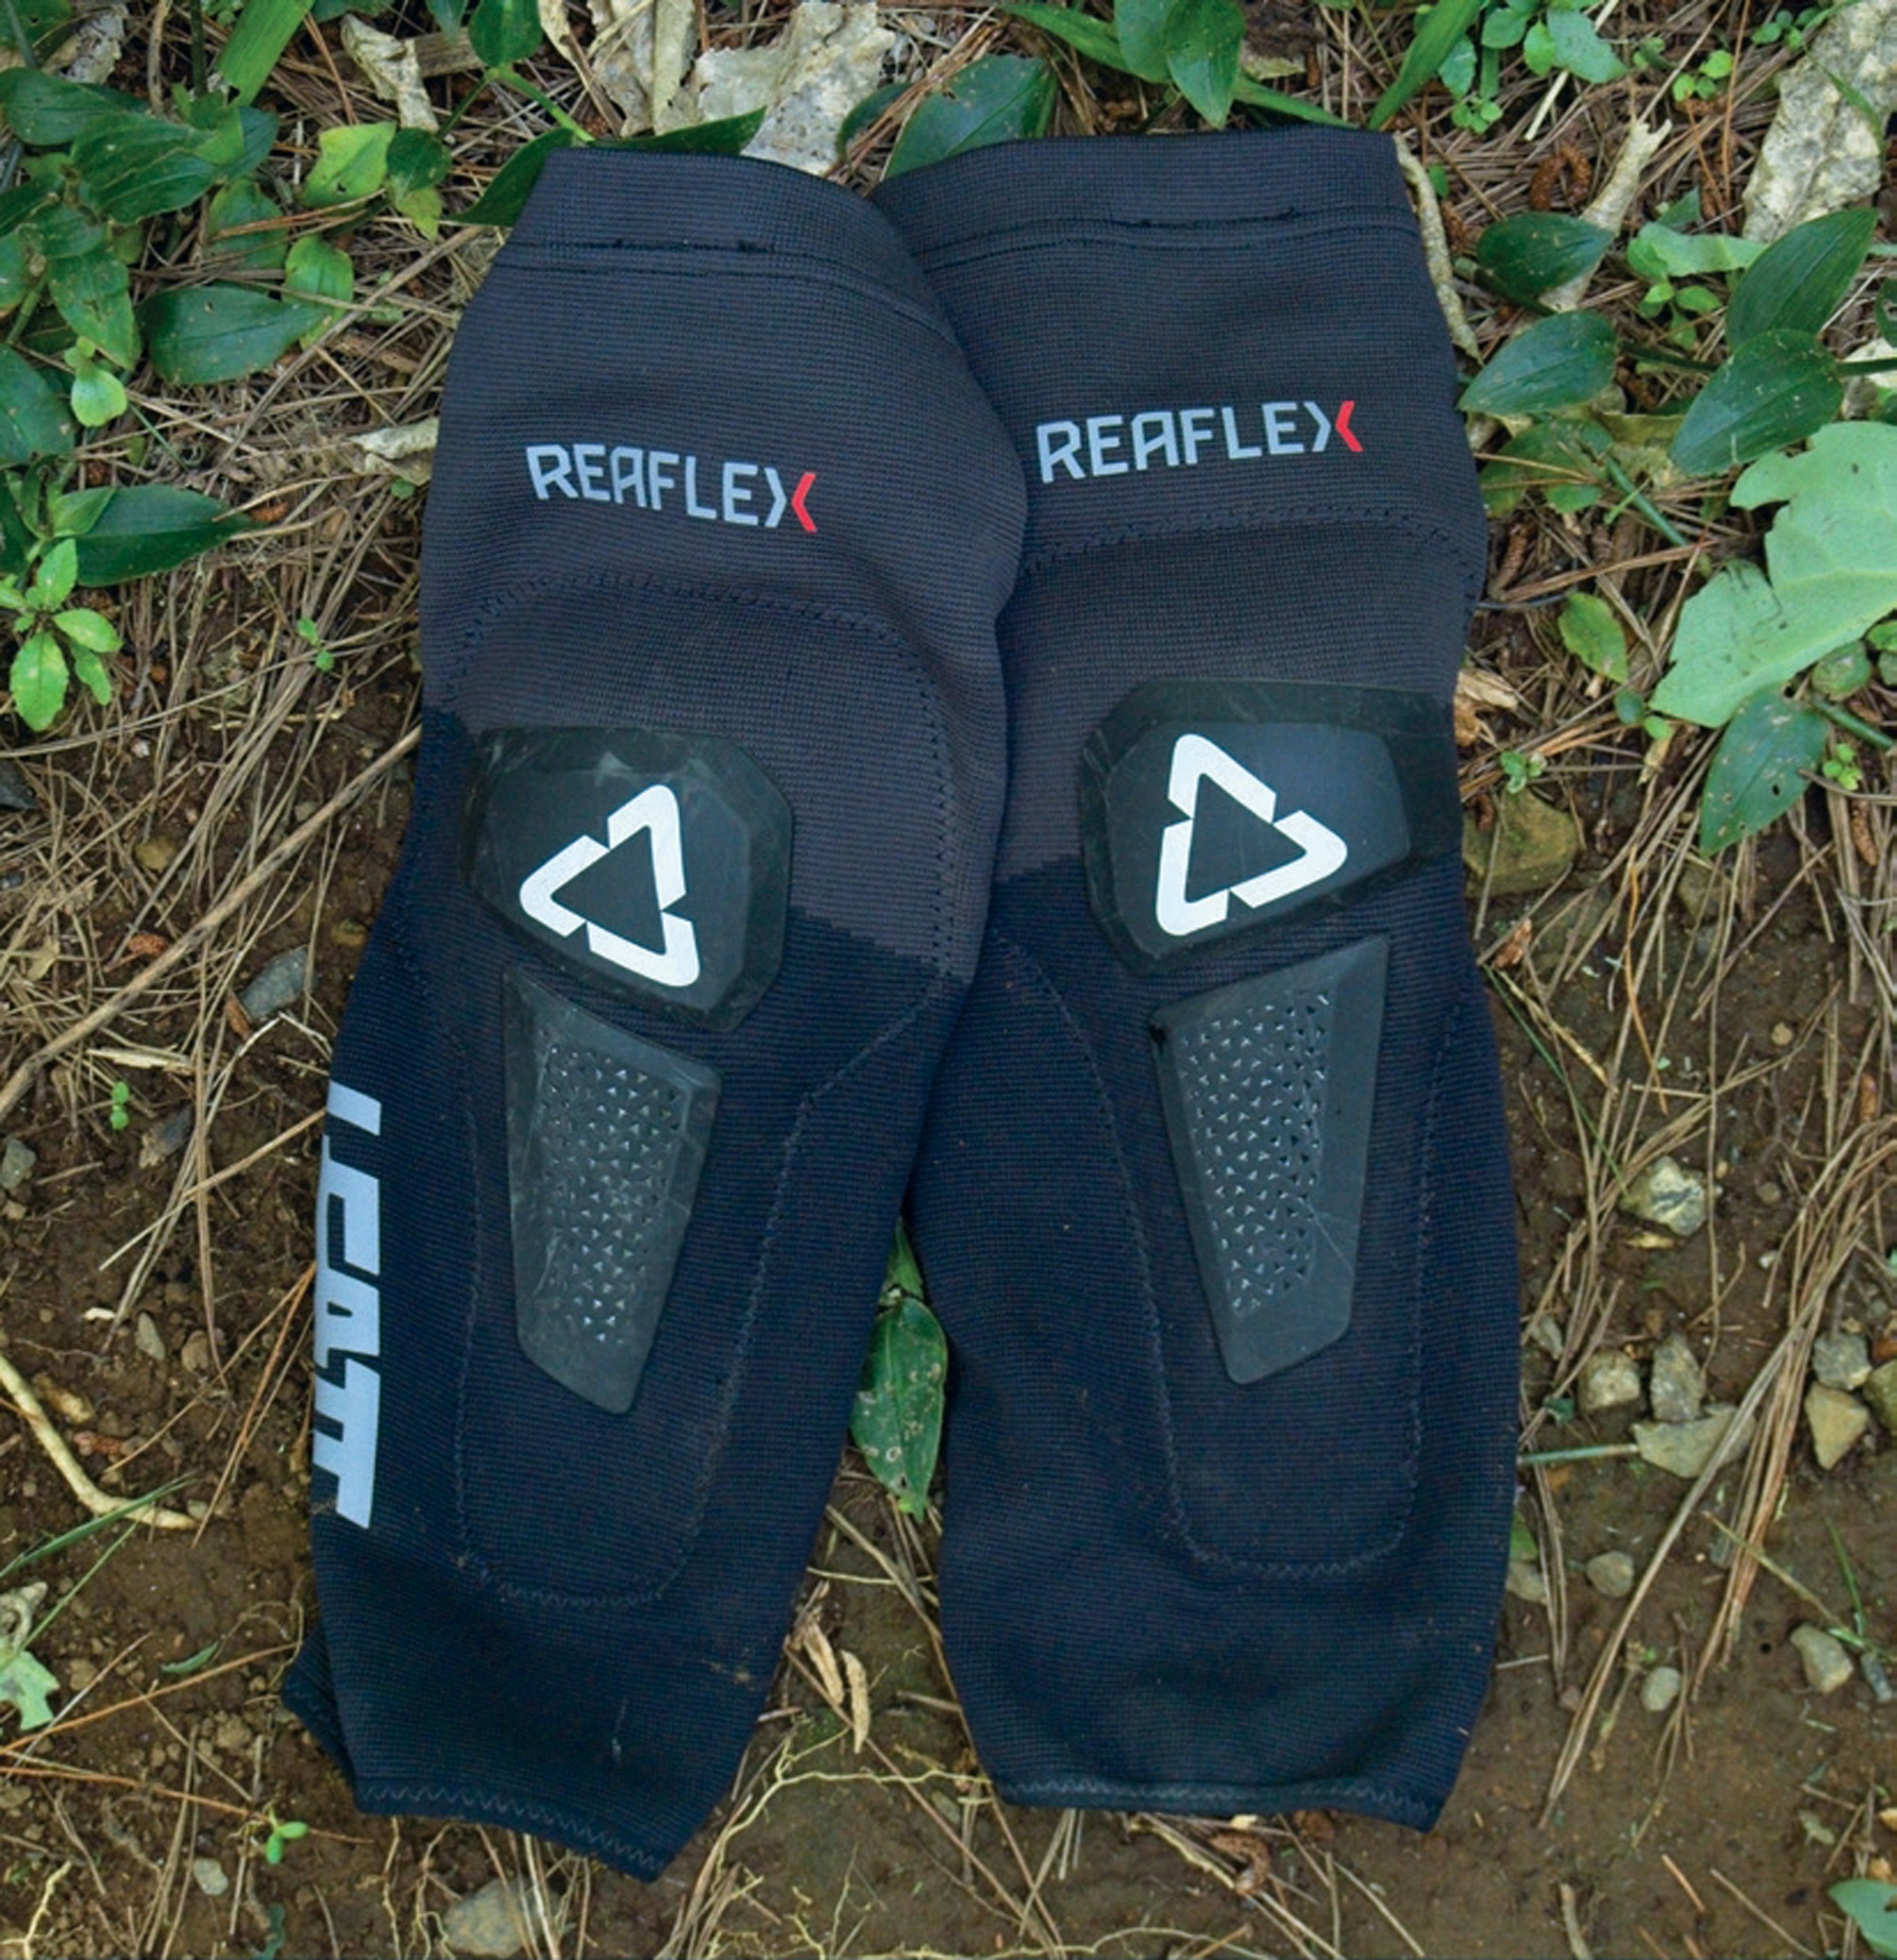
ReaFlex Hybrid UltraLite Knee Guards
Ever since a fateful day three years ago, I’ve worn knee pads of some description almost every time I’m on a bike. Late one afternoon, on a local trail I’d ridden a hundred times, probably more, my bike pitched over and fully committed to a corner. Halfway through the bend, the trail was freshly resurfaced with rotten rock and what was once a grippy turn I could blast through without a thought, was now a loose, jagged surface just waiting for some flesh. Unlucky for me, I was its victim. I had a nasty contaminant-filled gash in my knee, a scrub out at the hospital, a bunch of stitches followed by a few bags of IV antibiotics, and a few weeks off the bike in mid-summer, no less. I’d learned the lesson several times over the years, but this metaphorical straw broke the camel’s back and taught me once and for all. Knee pads are now a must-have on most rides.
The Reaflex Hybrid UltraLite Knee Guards are slip-on knee protection, focused on protecting while out for a pedal, rather than a heavier focus on pure gravity with less pedalling. The guards meet a CE impact certification of one out of a possible two, meaning more protective guards are available, but these do the job as advertised. On the Leatt safety scale, these reach a score of 12 of a possible 25, putting them in the middle of the Leatt range.
The main fabric through the front two thirds of the guards is lightweight (although not as light as some) and sock-like, with a good amount of perforation to aid airflow. The rear third of the guard is ‘AirMesh’, a moisture-wicking, lightweight mesh that helps with breathability. The top cuff features a non-slip silicone printed grip to help keep them in place.
The main padding is provided by ‘ReaFlex impact gel’. It’s soft and pliable while pedalling, and hardens under impact. The outer layer has knee cap and upper shin protection, helping to distribute impact and deflect and slide during a crash.
Although Leatt sells these as “super slim and lightweight”, they’re a fraction bulkier than other “super slim” offerings. Still, the difference in bulk and the gnat’s hair of extra weight is simply because these guards offer more protection than others in this “super slim” category. The ReaFlex impact gel wraps around the knee cap a tad more than some other lightweight guards, although the actual sides of the knee don’t get any padding aside from the sleeve fabric. You’d want to step up to the ReaFlex UltraLite PRO Knee Guards to get this extra side protection.
As with other Leatt products, subtle details make a noticeable difference in the function of these guards. In this case, above the calf is a soft, rubber-backed strip incorporated into the rear mesh. Not only does this offer an element of reinforcement to the lightweight mesh, but it effectively grips above the calf and helps lock the guards in place, not only due to the friction of the rubber, but it works as a ‘cuff’ that sits on top of the wearer’s calf. It works well, and you’ll never know it’s there, although you’d know the difference if it wasn’t.
The fit is comfortable and cosy, and the stretch of the fabric provides an even tension down the entirety of the guards. They breathe well, and I’d put them on par with other similar guards I’ve used. They are not exceptional, but certainly better than heavier weight, bulkier knee pads. Compared to my knobbly knees, I’ve got large calves and quads; even with my lumps and bumps, the guards are comfortable, and there is no pinching, bunching or tight spots while pedalling. My slightly abnormal leg shape (I jest) means the top cuff on all knee pads slides down a little while riding, eventually finding a spot lower down my thigh than I’d like; these ReaFlex’s are no different. They fit fine and work as they should but, like the rest, the cuff ends up lower than I’d like, and there’s no magic sauce to keep them where they should ideally be. My solution is to tuck the cuff of the guards under a liner short leg to keep everything in place.
With five sizes on offer, from small to double- extra-large, there should be a size to suit everyone. A quick measure-up and comparison to Leatt’s size chart gives prospective buyers confidence in their choice.
I rate the Hybrid UltraLite Knee Guards as a level up from most other lightweight offerings. The fit is spot-on and comfortable. There’s an excellent level of protection on offer, considering how light they are, and the outer shells add an extra element of protection that most lightweight guards don’t have.
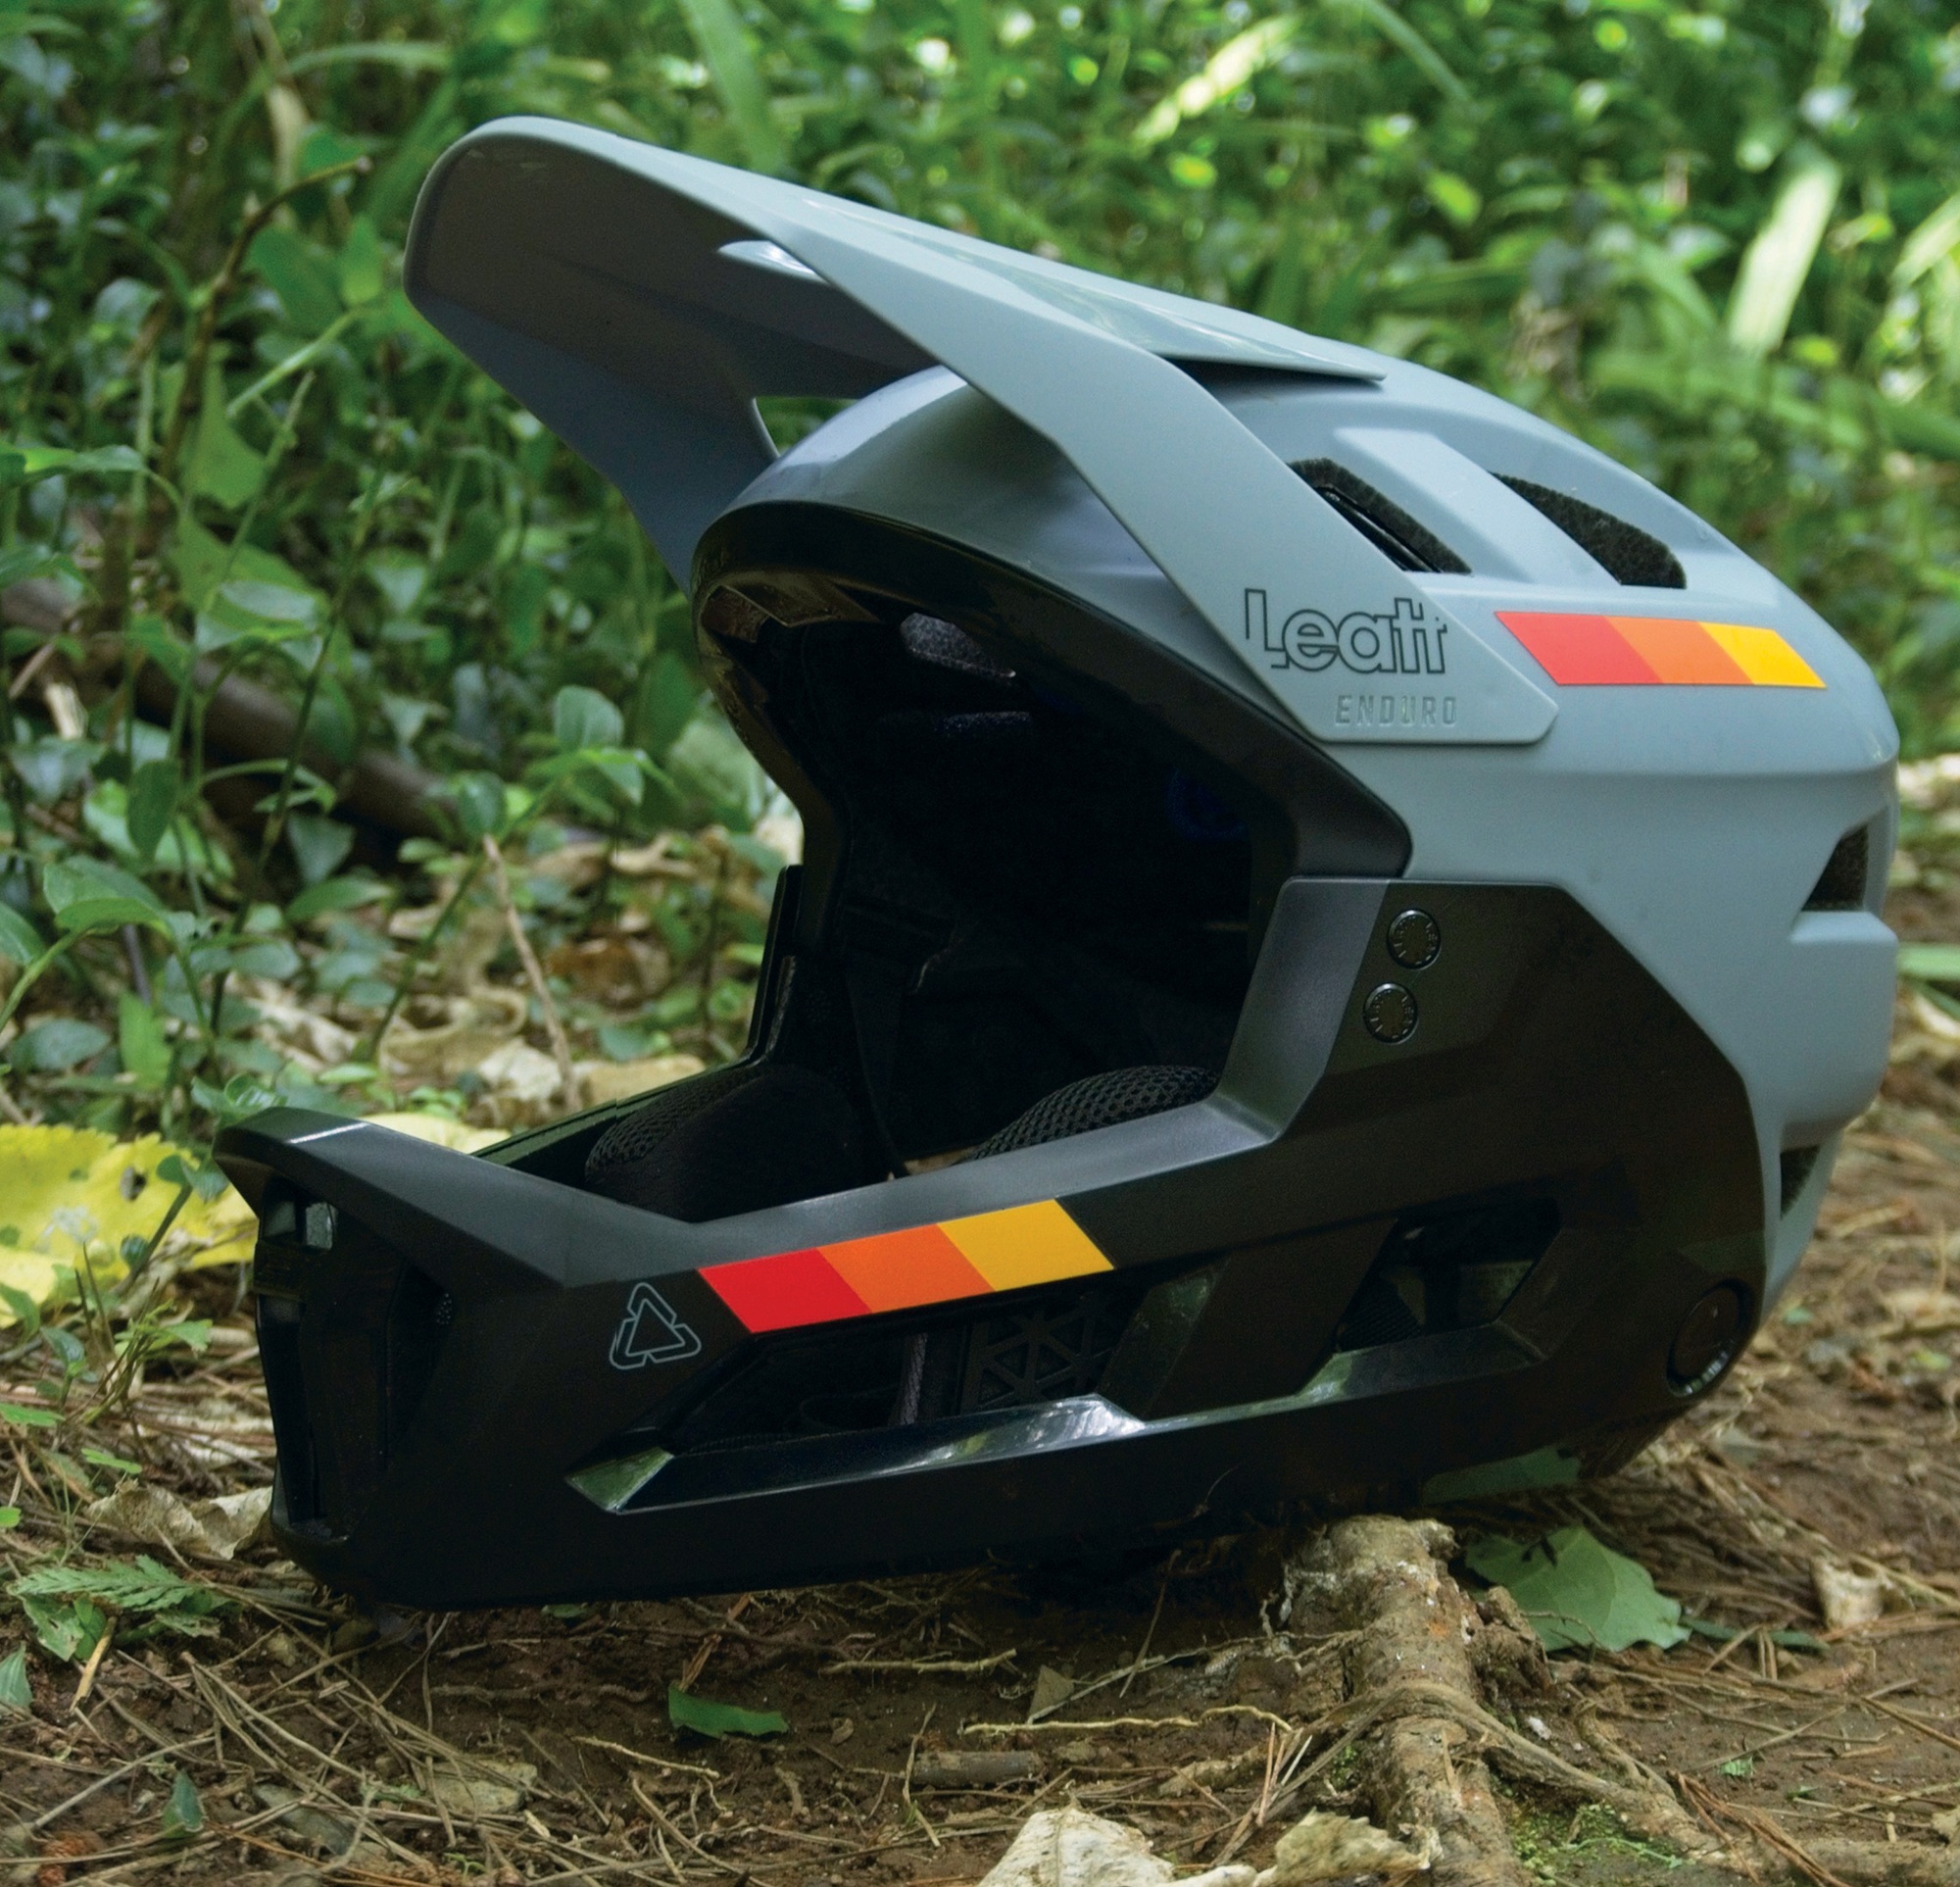
Enduro 2.0 Convertible Helmet
Protecting your body begins at the top. If your head takes a bad enough impact, it doesn’t matter how unharmed the rest of you may be; without a functional brain, you’ll be on the sidelines while your buddies are out enjoying their rides. As concussion becomes a more widely talked about subject, and awareness is at an all-time high, people are taking more interest in what their helmet offers regarding protection. Rather than settling for something that passes a minimum safety standard, many of us are now looking for something that surpasses standards, offering the maximum protection, not just a sticker that says it’s safe enough. Never has there been a more important reason to invest in your head than if you’re riding an eMTB. With a bike that weighs over 20kg, and often up to 30kg, you sure want to ensure your head and face are well protected in case that big rig lands on you.
Full-face helmets have their place but don’t suit every scenario, trail system or ride. Enter the Leatt Enduro 2.0 convertible—a versatile helmet designed to cover all bases from cruisy rollers in open-face mode to gnarly steeps with the chin bar attached. The Enduro 2.0 is at home in most situations—it’s up to you how you dress it; chin bar on, or off.
The main helmet comprises a lightweight polymer shell with Leatt’s patented 360° Turbine Technology fitted (more on that in a bit). Securing the helmet firmly in place is a FidLock buckle and a classic ratcheted dial adjuster on the back, with three vertical positions to get the fit just right.
The 360° Turbine Technology is a crucial technology across Leatt’s helmet line. It’s a group of small disc-shaped rubber ‘turbines’ that twist and compress to decrease peak brain acceleration by up to a claimed 30% at impact speeds associated with concussion, and to reduce peak brain rotational acceleration by up to 40%.
The peak is adjustable and suits the overall styling of the helmet. There’s enough vertical adjustment to put it in the highest setting and have your goggles on your forehead for a climb if that’s how you roll. The visor will break away if you clip it on a low-hanging branch or during a rag-doll of a crash, popping off to save torsional forces being transmitted to your head and neck; safety first, safety second.
The shell has 20 vents to keep the draft flowing and, even at slow speeds, I’ve been impressed with how well it breathes. Strategically placed rear vents double as a sunglasses dock and do their job as they should.
The chin bar is simple to remove and refit with a button on either side just below the ears. Firmly press the button on each side and the chin bar releases. Reverse the process to re-fit it while ensuring the two locators up by the temples line up correctly, and Bob’s your uncle. The chin bar passes ASTM impact testing, offering confidence that it’s up to the task. It’s a sturdy system and is firm once in place, integrating exceptionally with the main helmet, offering some comfort that it will stay put in a crash and protect your face.
Putting the helmet on once the chin bar is in place is noisy. A lot of creaking comes from the junction between the helmet and the chin bar. Fortunately, once the helmet is on, the noise disappears, although it was pretty disconcerting the first time I put it on!
Given the extra engineering and structure required to incorporate the removal mechanism and chin bar safely, the Enduro 2.0 in open-face mode is a touch heavier than regular open-face helmets at 409g in a medium size. The chin bar itself doesn’t weigh much at all at 245g and, once fitted and in full-face mode, the helmet’s complete setup weighs 654g, putting it at the lighter end of convertible helmets.
The Enduro 2.0 is comfy on my head, and the padding is quite thick compared to similar helmets. There are no hard points anywhere, and the overall shell looks normal when worn; no giant mushroom here. Before wearing it, I thought the Turbines might touch my head while riding, but I haven’t noticed this. This helmet gets a big tick on the comfort front. As with anything fit-related, different head shapes suit different helmets, so I’d recommend trying before you buy or at least checking returns policies when purchasing online.
When it comes to testing the actual safety of the Enduro 2.0, alongside the legal safety standards they meet, I can only rely on Leatt’s testing and their force reduction claims; some heady statistics proved not only in Leatt’s research lab but also by people I’ve met who have firsthand experience with the safety of Leatt helmets.
I’d recommend the Leatt Enduro 2.0 convertible helmet to anyone doing all sorts of riding, perhaps travelling to unfamiliar areas to ride and not sure what to expect. You’ll have the right helmet for the task wherever you end up. If your riding crew decide to do a lengthy trail ride: Chin bar off and open-face mode. A last-minute decision to punch out shuttled laps? Chin bar on and full-face mode engaged. For eMTB riders, adding a chin bar is an absolute no-brainer, but there’s still the versatility to run the helmet without the chin bar for a cruisy lap with the kids or a nip to the shops.

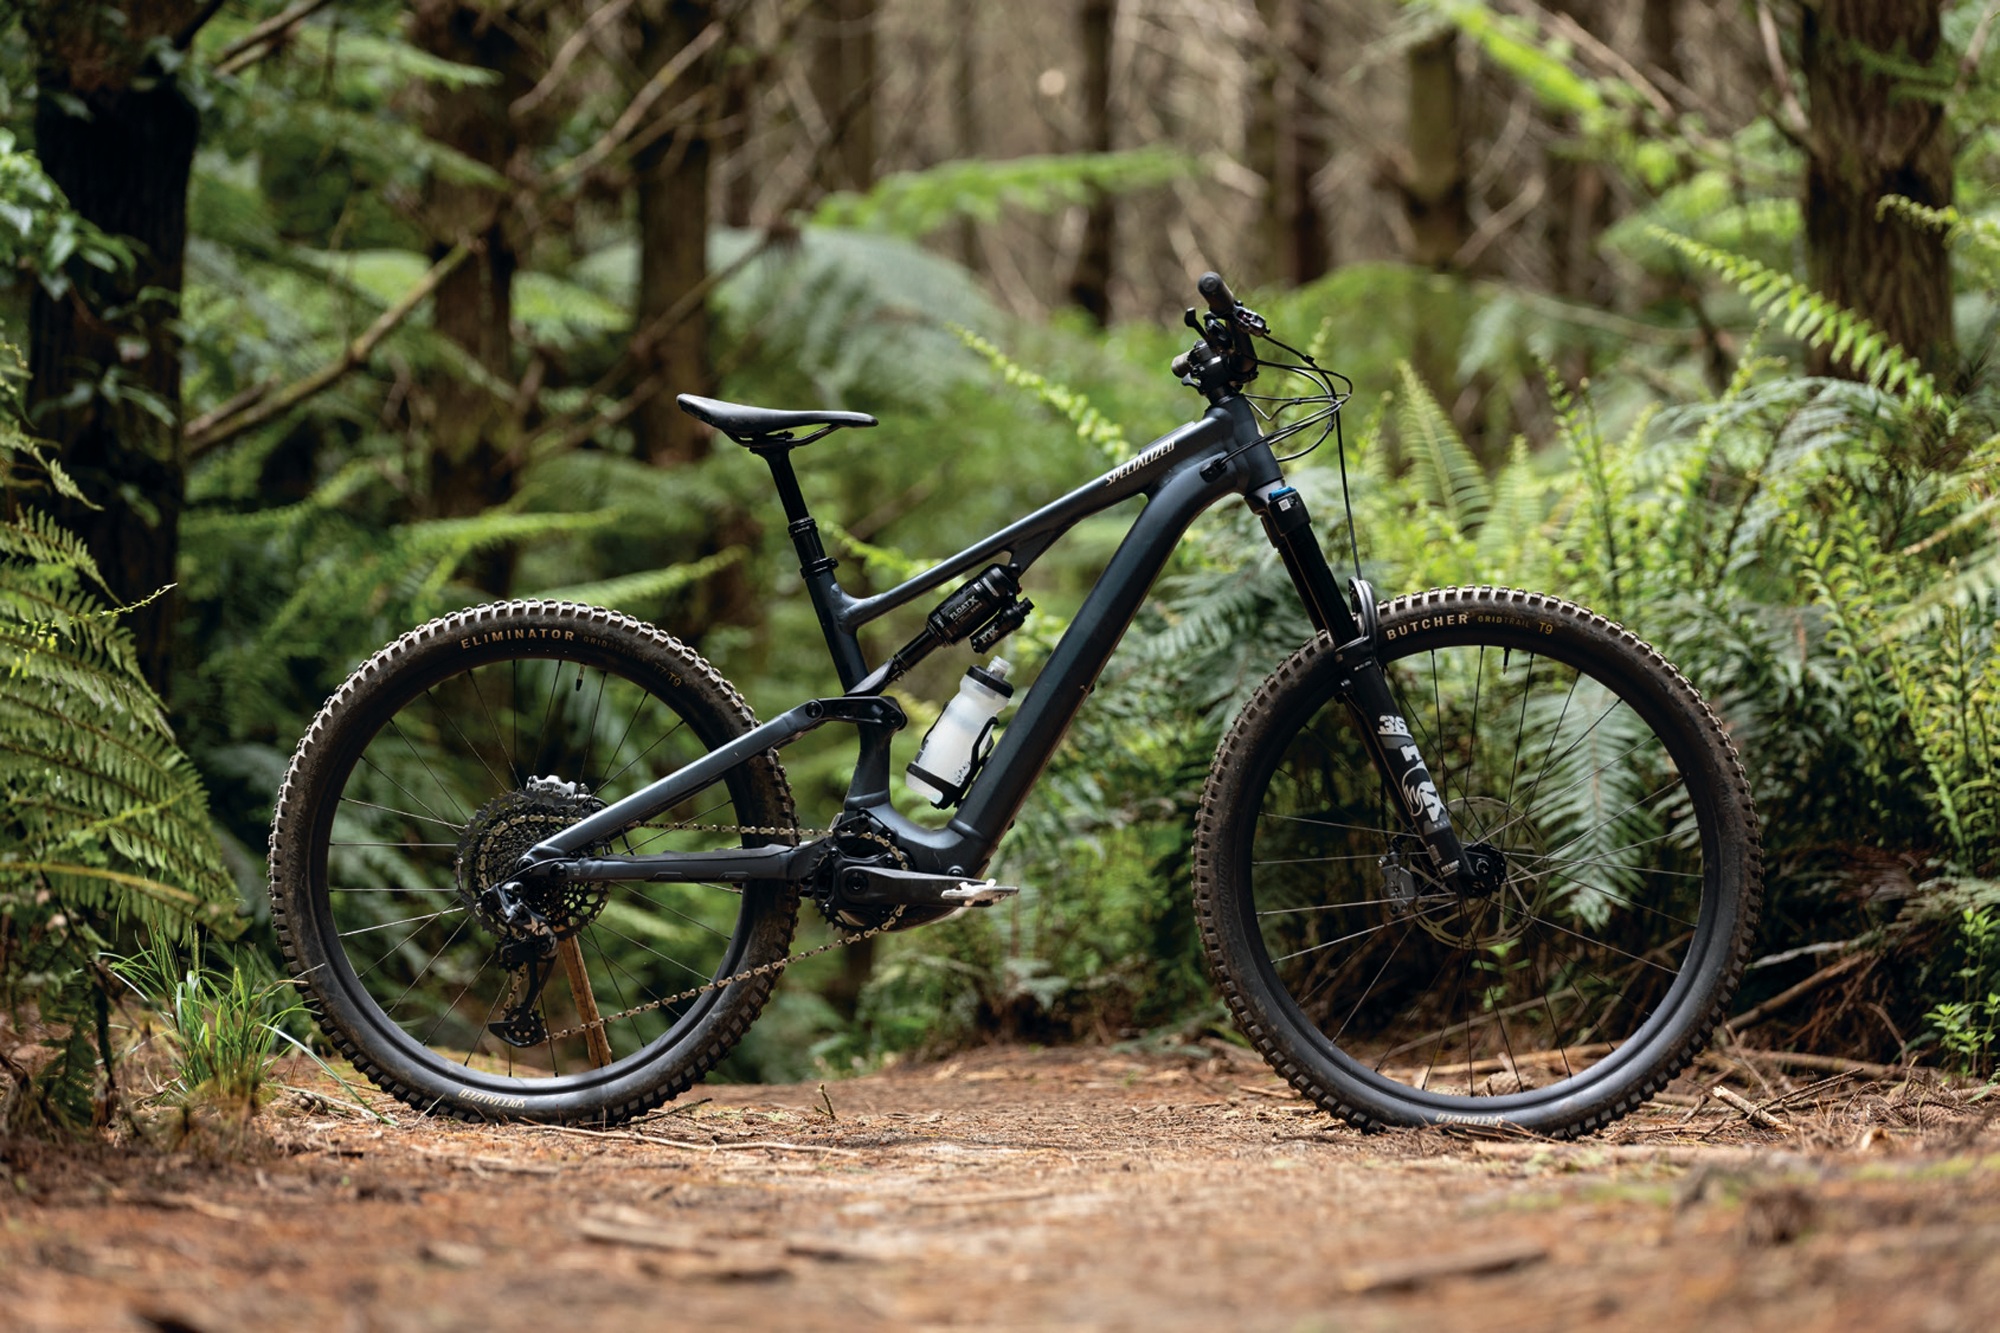
Specialized Levo SL Comp Alloy
Words Lester Perry
Images Jamie Fox
RRP $11,500
Distributor Specialized NZ
The Specialized Turbo Levo SL debuted in 2020. With its discreetly integrated battery and motor system, it looked more “normal” than the competition’s eBikes at the time. The Levo SL set the standard for eMTB aesthetics and was a lighter, more agile alternative to the standard Turbo Levo, Specialized’s full-powered bike that launched five years earlier.
Now in its second generation, we’ve seen an evolution in suspension, updated geometry and improved motor efficiency. I’ve spent roughly two months with this bike, changing its many adjustments and razzing it around my local—and some not-so-local—trails.

Chassis
The SL2 Comp Alloy is the gateway into the SL lineup. With its alloy frame, it’s what I’d call the heavyweight of the SL range; the frame comes in at a kilo heavier than the carbon equivalent, so although there’s not a vast difference between the two, a kilo is a kilo. Considering the motor and battery are identical to those of its higher-end carbon brothers, the Comp Alloy would be an excellent platform for future upgrades; decreasing its weight (although not by a drastic amount) and adding to the overall ride experience with better components.
With a 160mm front suspension fork and 150mm travel in the rear, the Levo SL2 strikes a healthy balance of brawn and butterfly. There’s enough travel and the geometry is designed to not hold you back on the nastiest of descents, yet the bike is light and nimble enough to pick your way through tech, rapidly change direction, and even bunny hop or manual through sections with surprising ease.
This bike could be viewed as a couple of different bikes, able to be configured in a number of ways thanks to the breadth of adjustment available: the head angle is adjustable between 63 degrees (slack), 64 (stock), and 65 (steep). Adjusting this is almost as easy as replacing a headset bearing; remove the stem, headset top cap, compression ring and bearing, and lift out the upper headset cup. No tools are required. Drop in the supplied ‘adjustment’ headset cup; depending on its orientation, you’ll either get down to 63 degrees or up to 65.5 degrees. Refit the headset components—and job done. There’s no need to touch the lower headset cup at all.
The bike has a mullet wheel configuration, a 29-inch wheel up front, and a 25.7-inch out the back. Thanks to a flip chip on the Horst pivot (near the dropouts) that lengthens the chainstays by 10mm, the rear wheel can be swapped out for a 29-inch if you want more roll-over capability without nuking the machine’s handling. The bottom bracket is adjustable to a minor degree by flipping its off-centre lower shock mounting hardware and raising the bottom bracket by 5mm from stock. It’s a scant amount but will offer a smidge more clearance for the pedals and motor housing over technical terrain, although I haven’t found this to be needed in the stock ‘low’ setting. It’s worth noting that each adjustment made will affect all geometry numbers. Specialized have a chart in the manual explaining what the numbers look like with different adjustment configurations.
I toyed with the head angle a little, riding with it in the stock 64 degrees to begin with, then in the steeper 65 degree setting. The stock 64 degree setting was a good middle ground for most trails, although it felt a fraction slacker than ideal on flat or mellow trails. So, I fitted the adjuster cup, setting it to 65 degrees. The one-degree steeper head angle increased the manoeuvrability on anything mellow and tight, but it wasn’t as stable on choppy descents. I never felt the need to slacken the bike to 63 degrees, but if I were headed somewhere to ride steeper, faster trails, say Queenstown or Nelson, the slacker setting would be ideal. The stock 64 degrees seems to be the perfect middle ground for general riding.
Given all the adjustment options, this bike can adapt to optimally align with your riding style and the trails you ride.


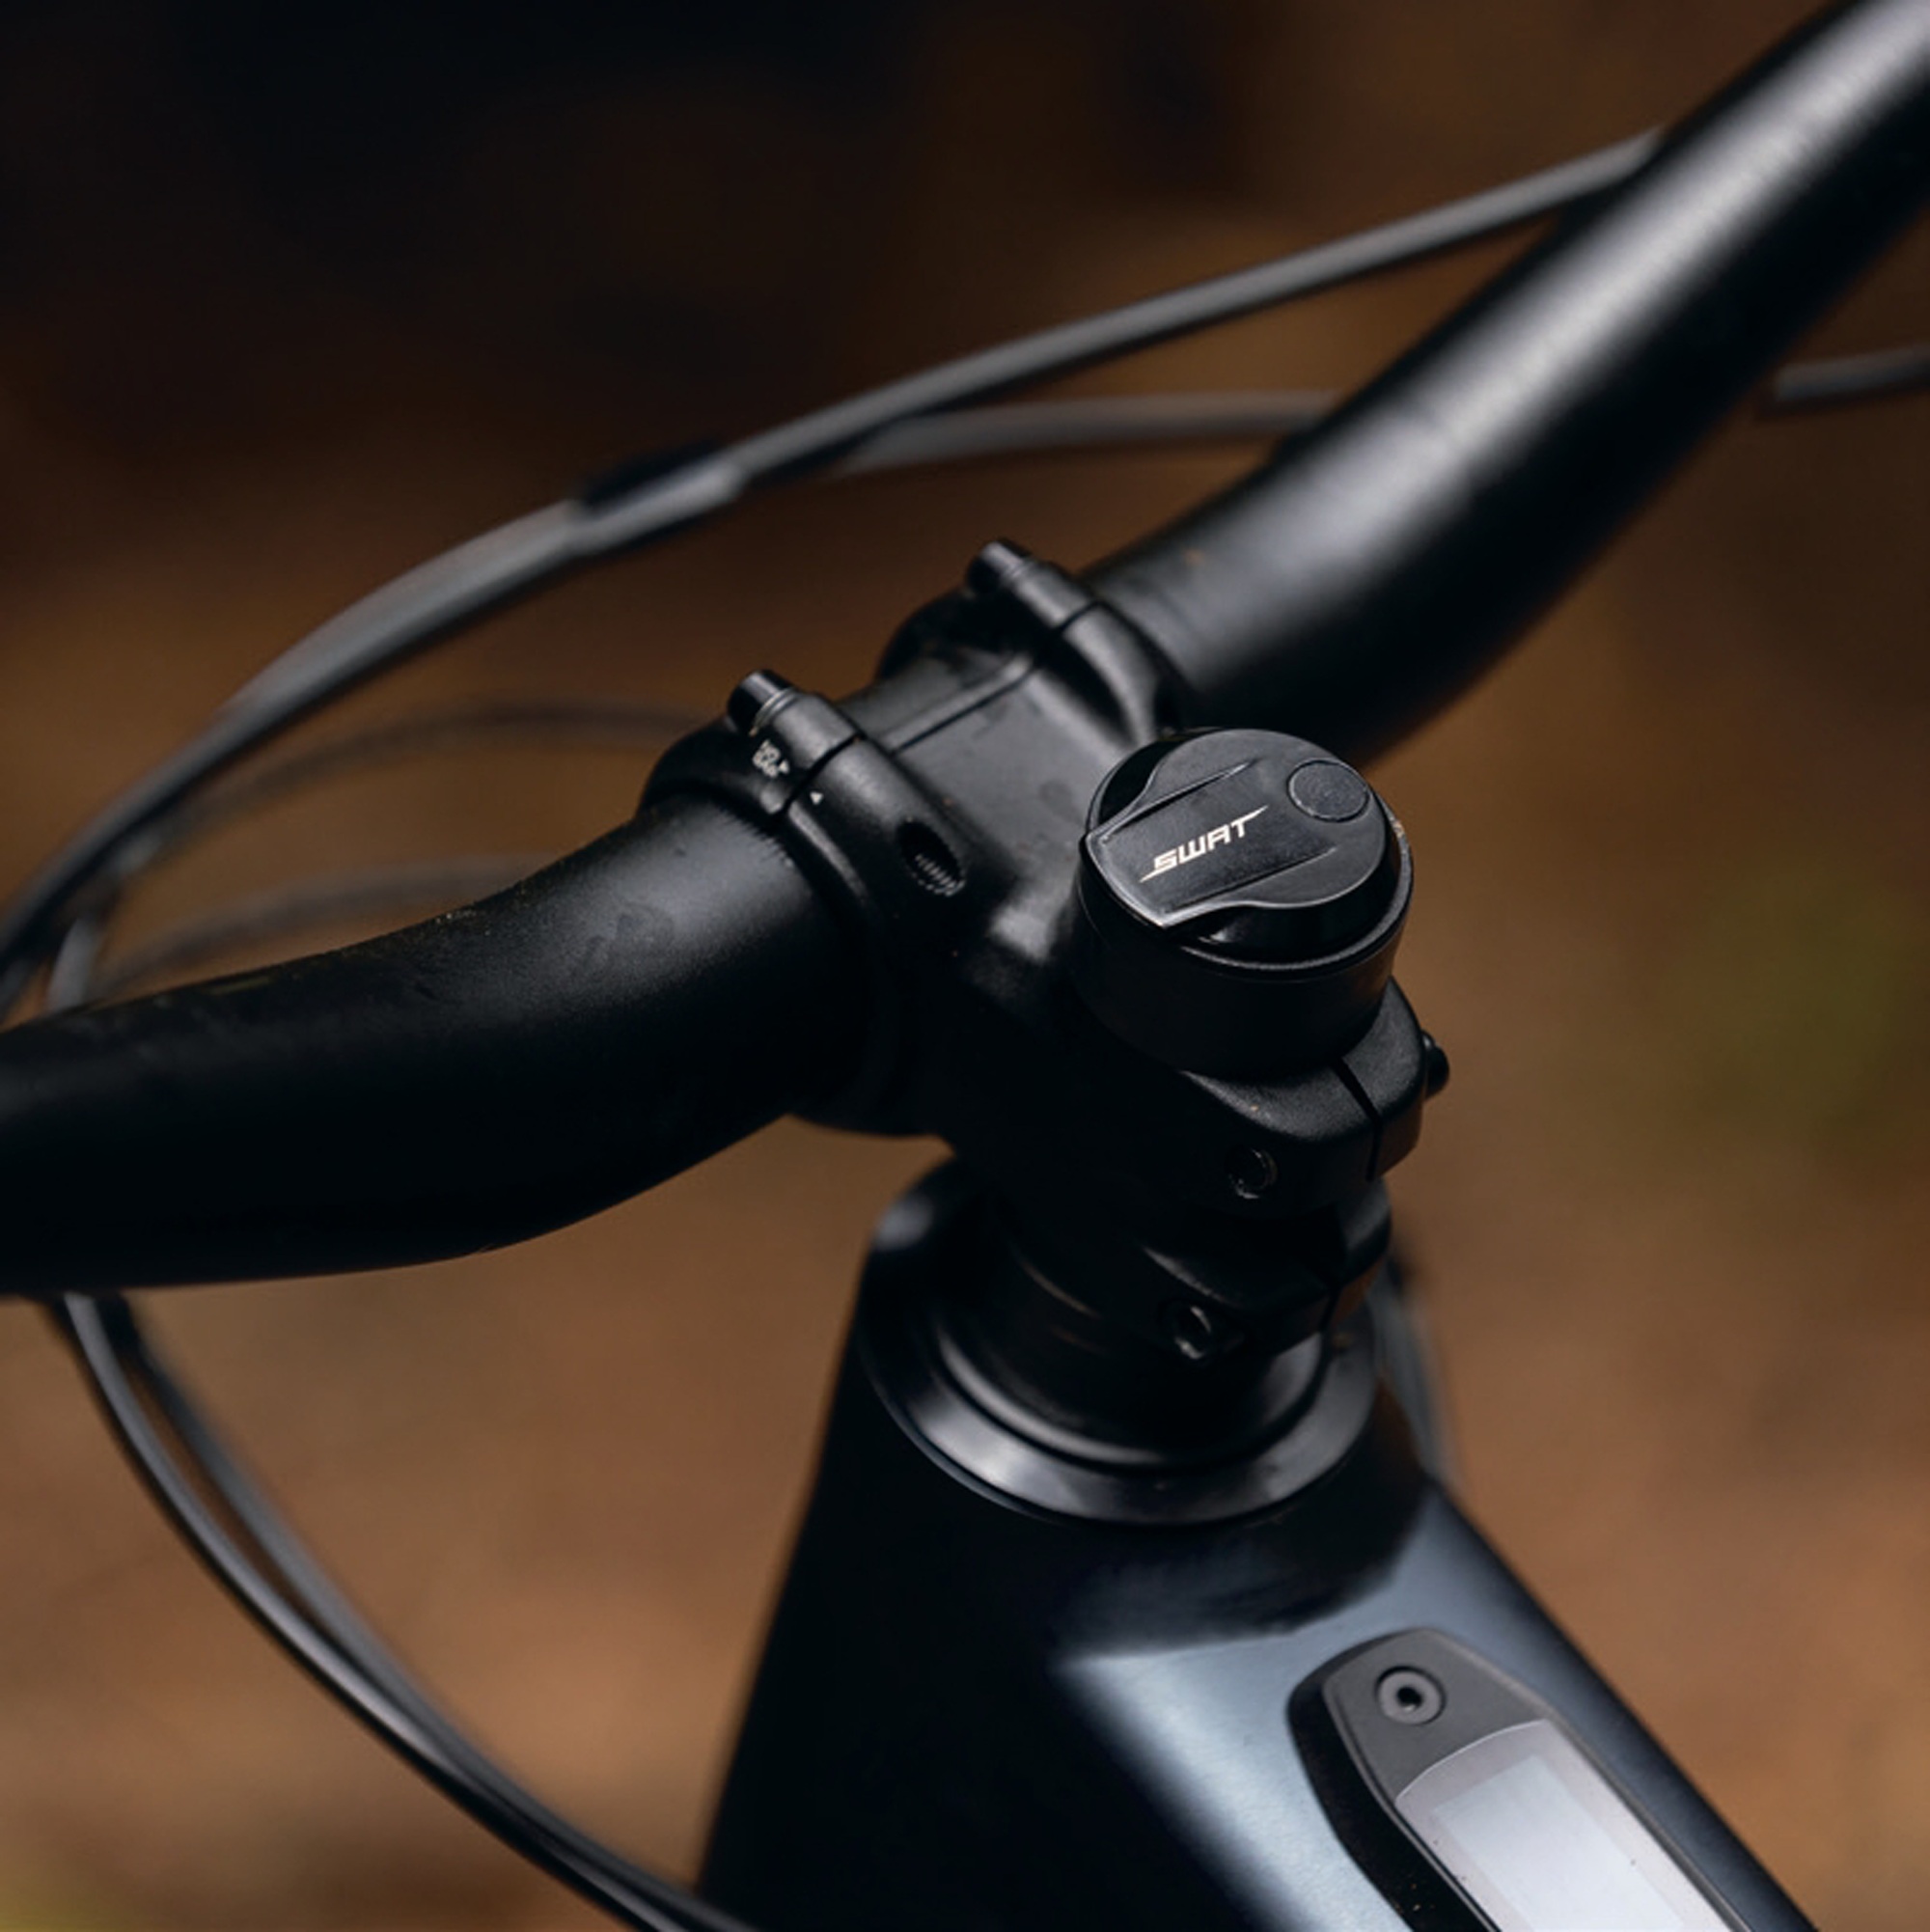
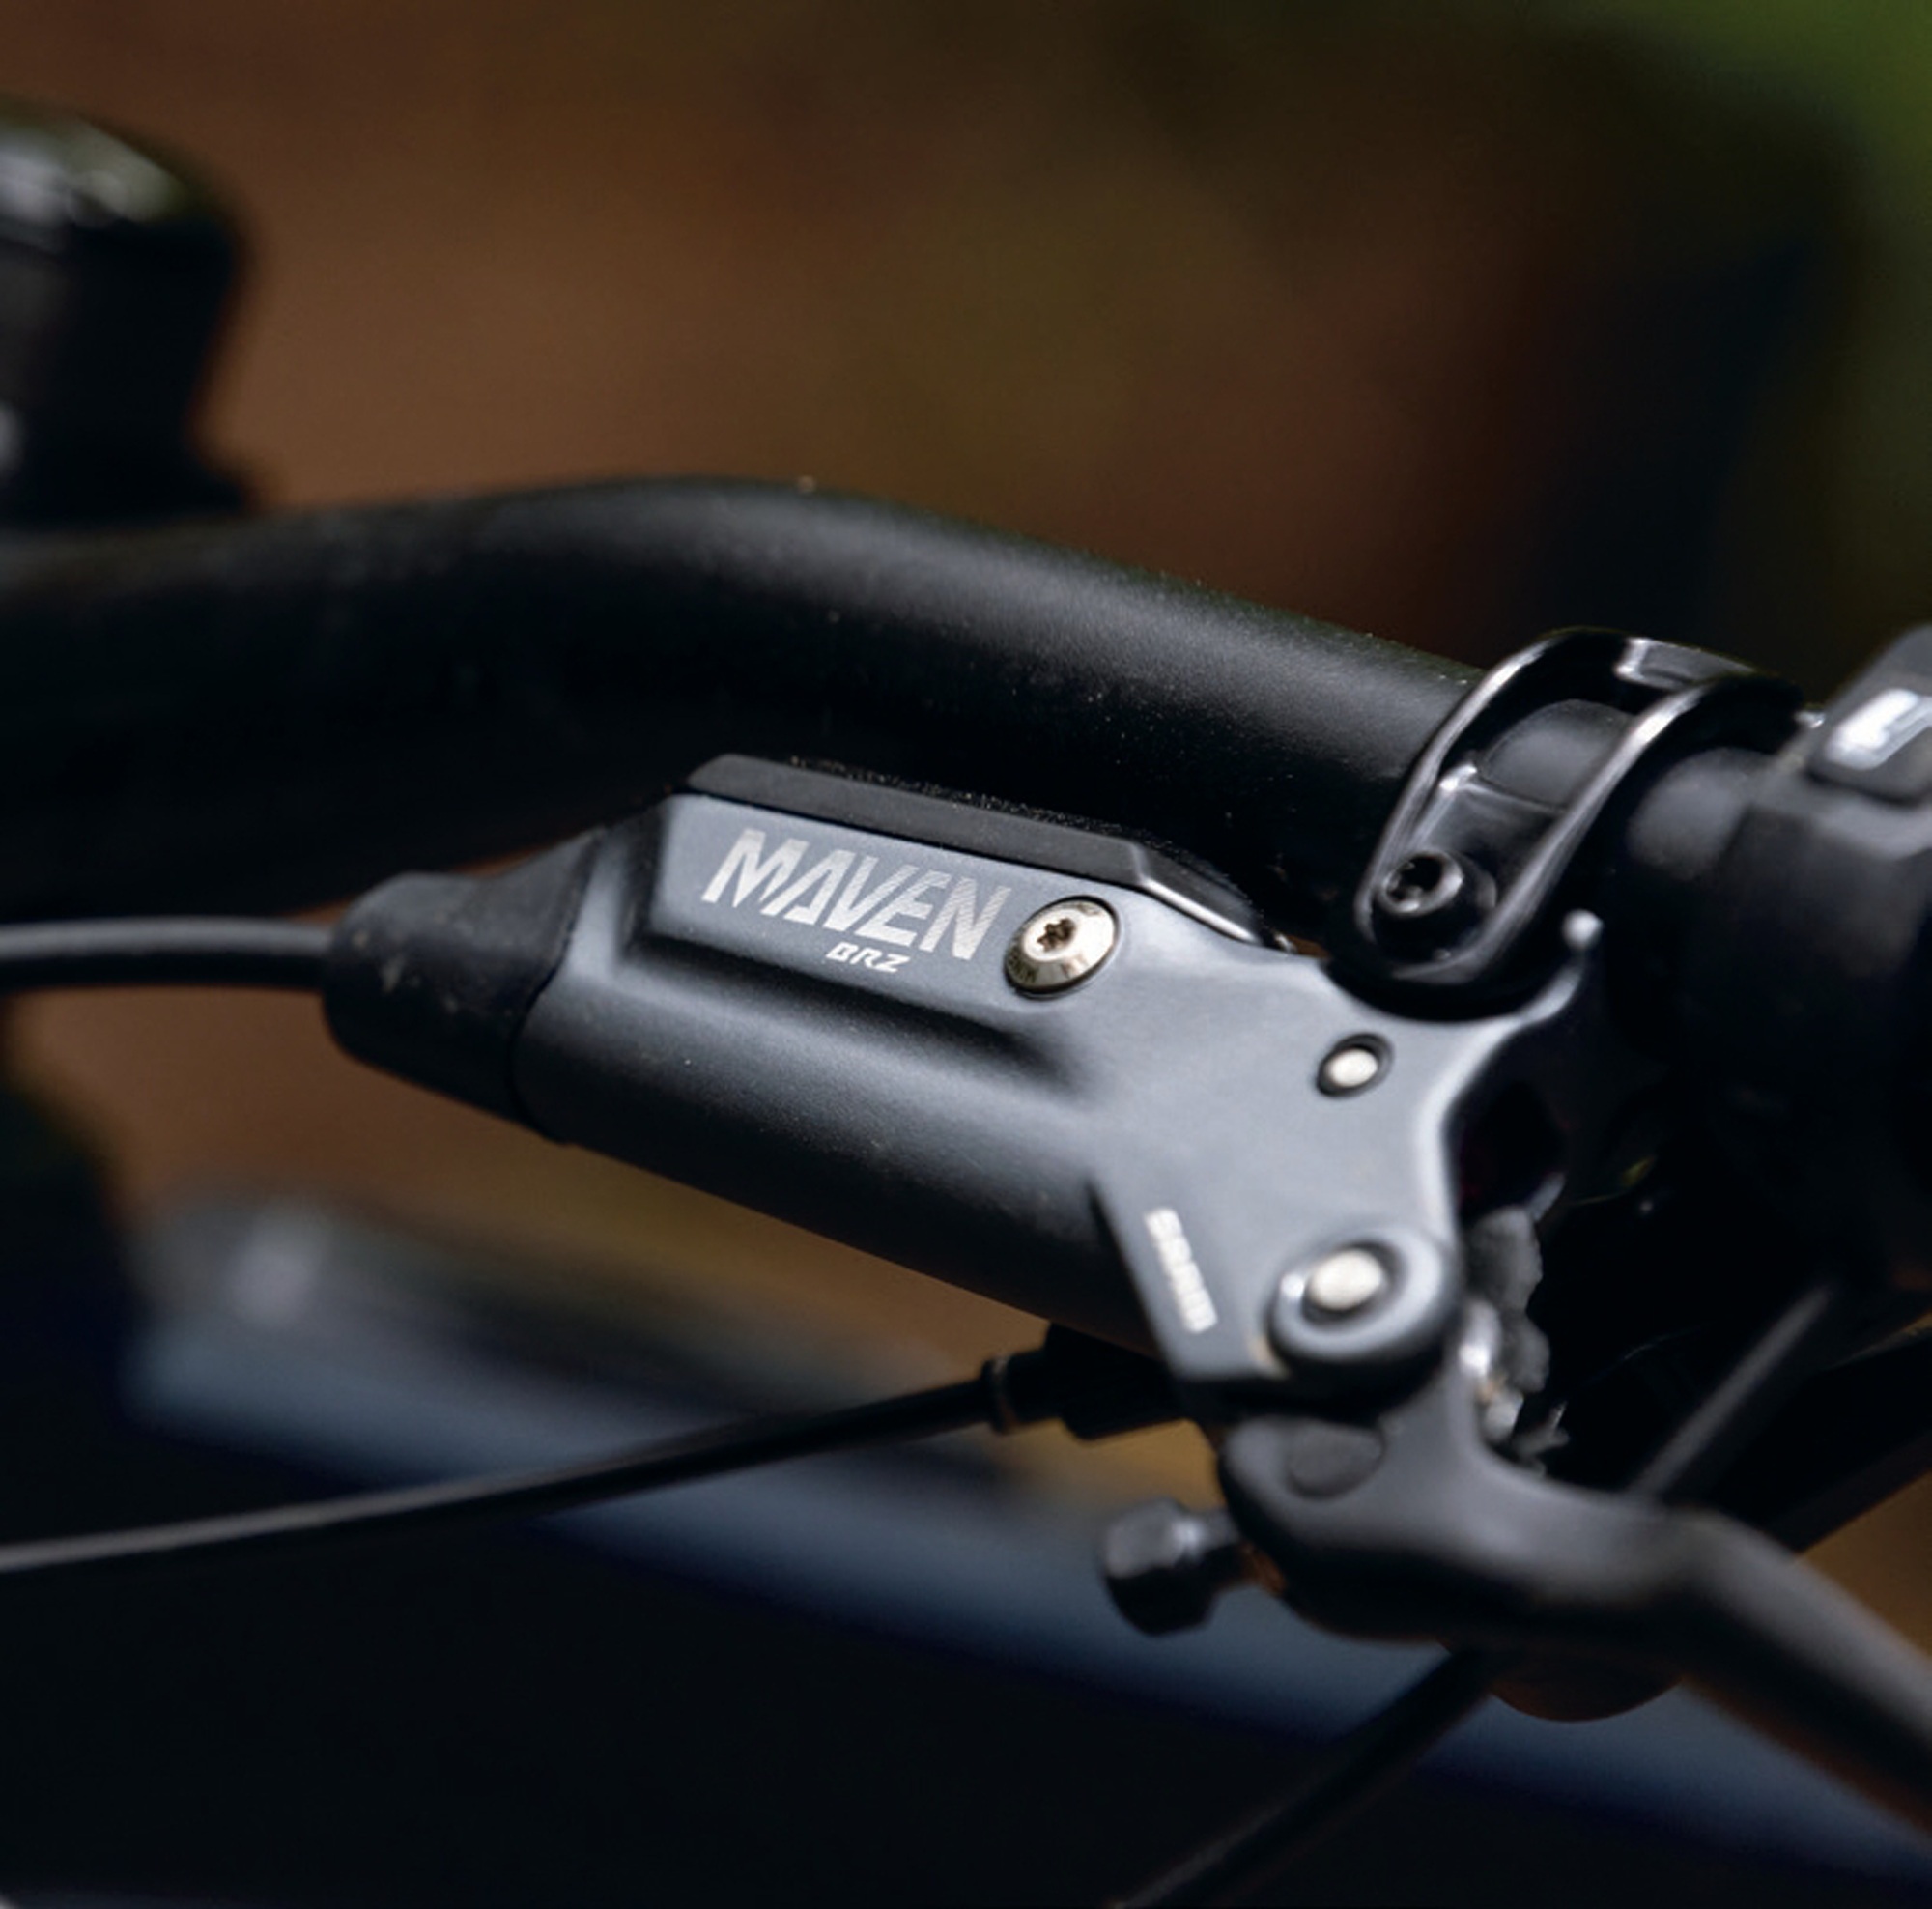
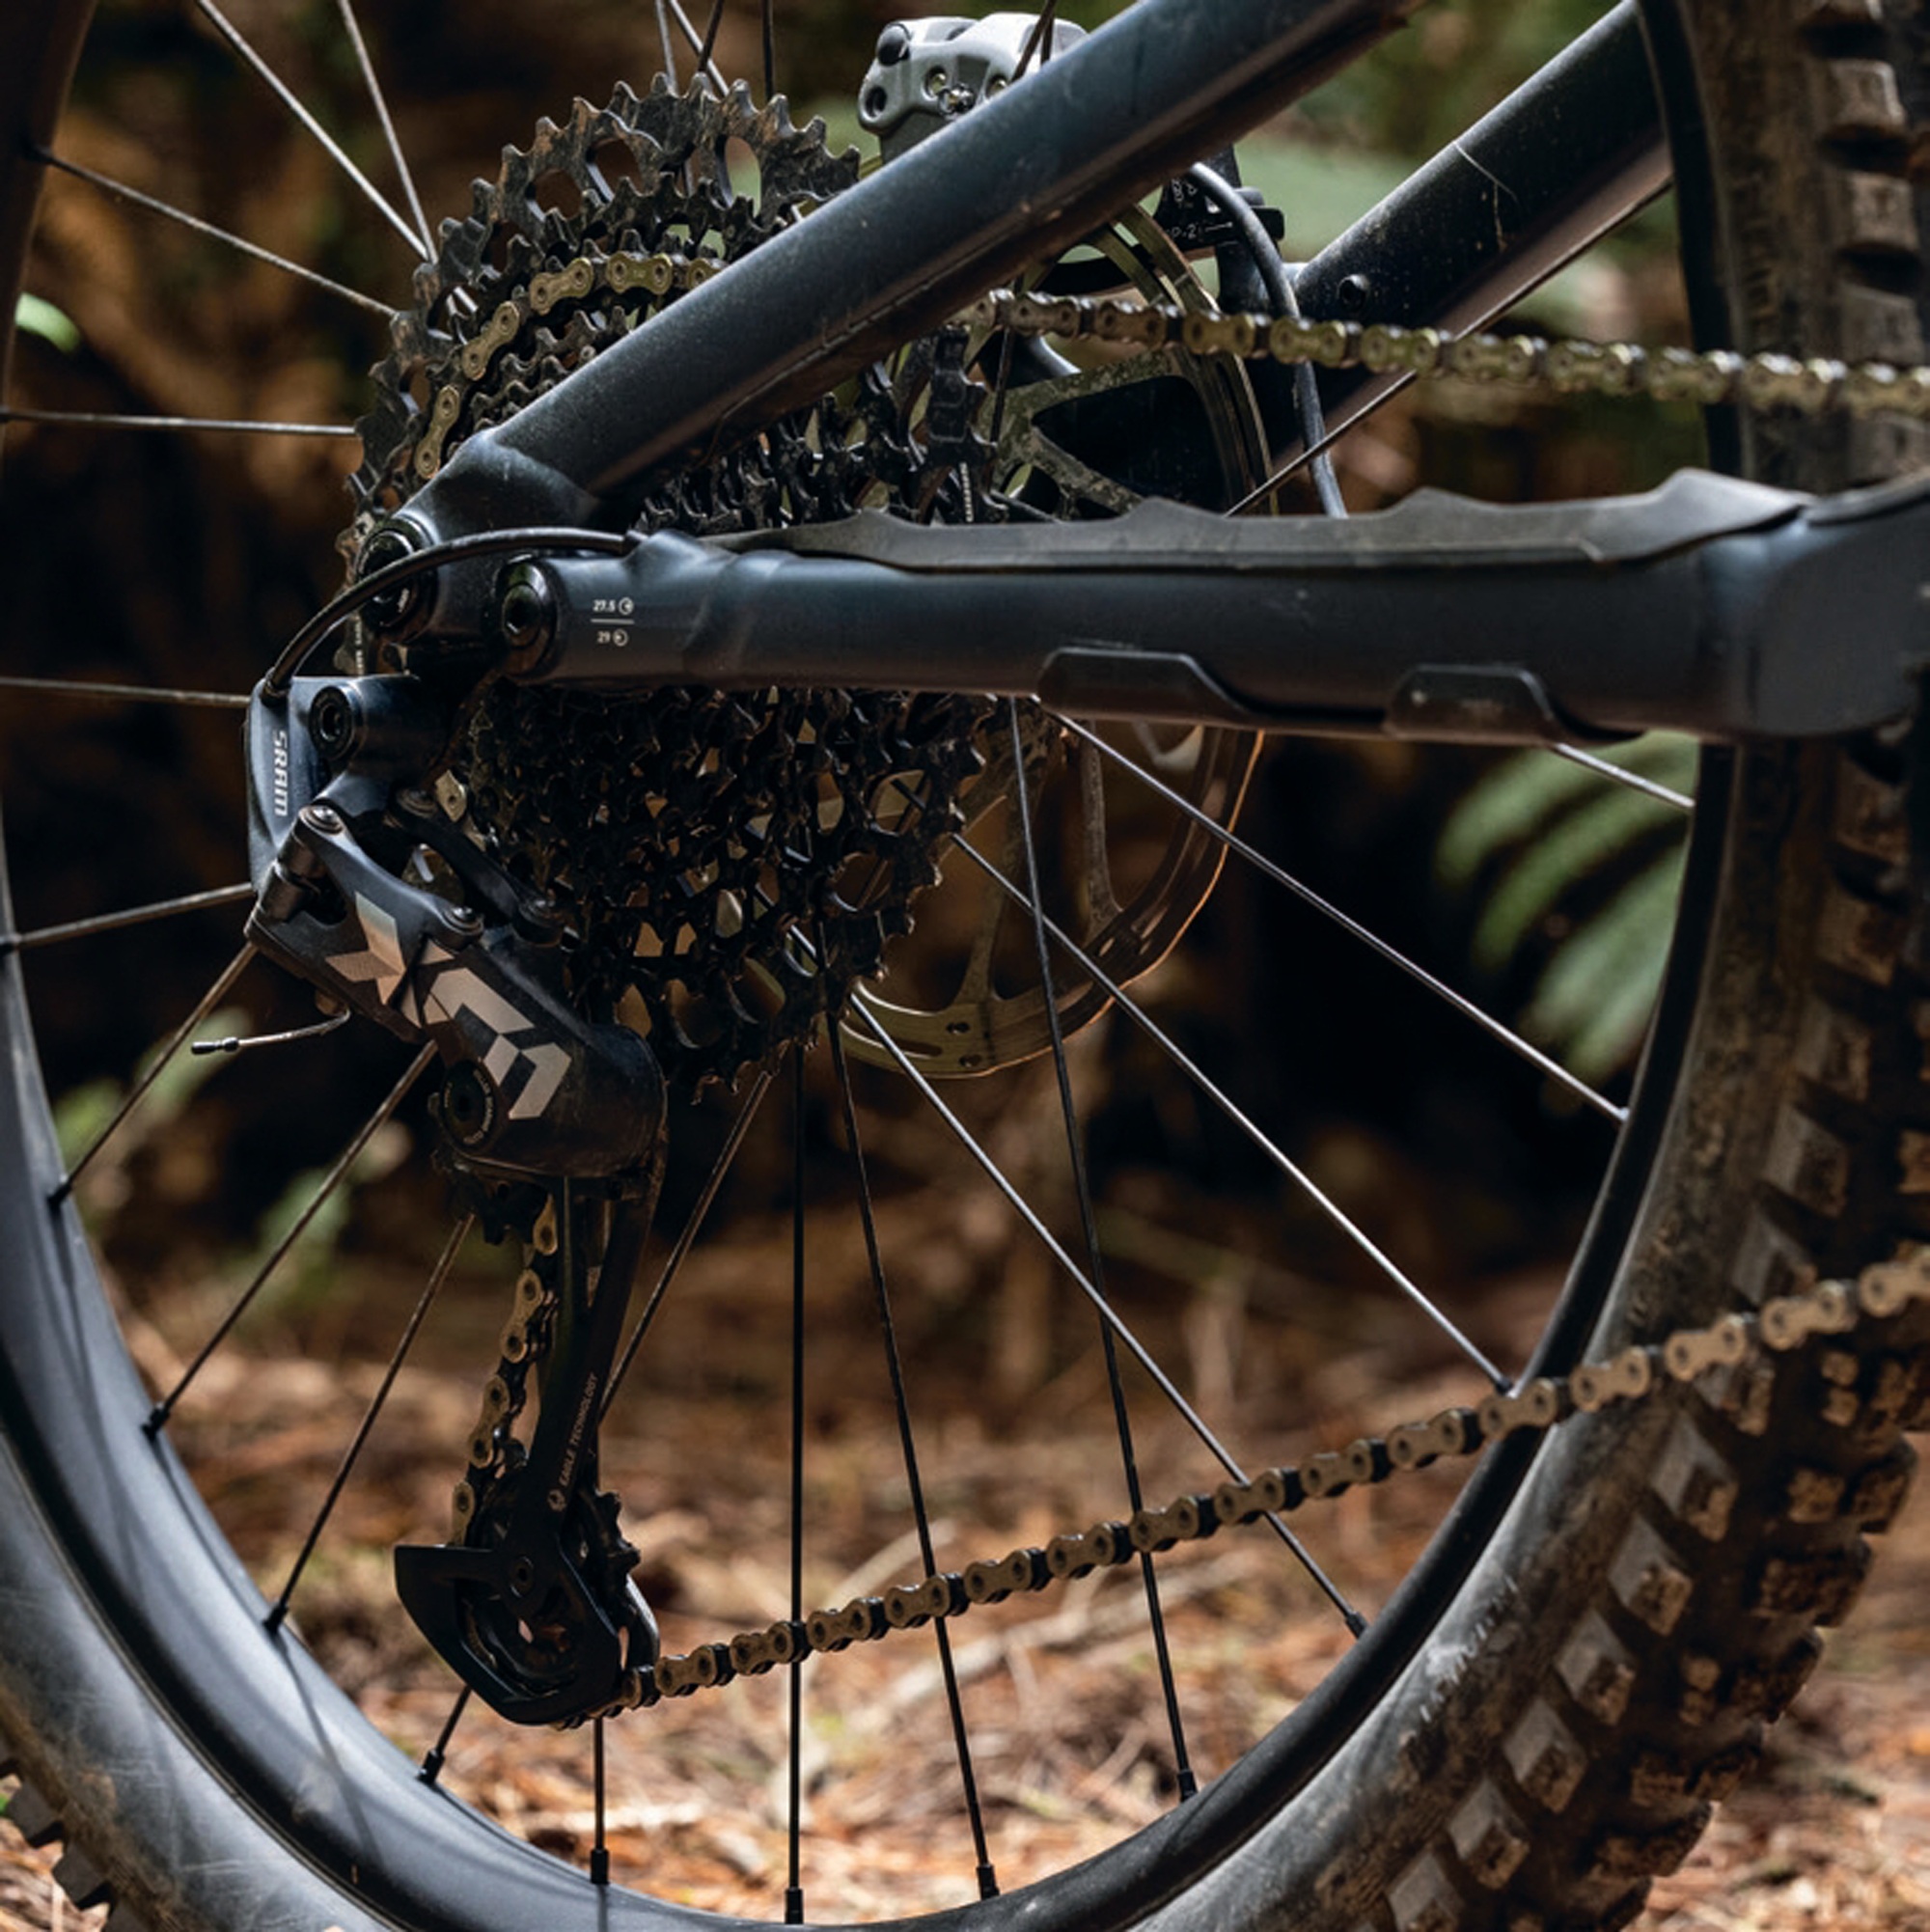
Genie Shock
This latest iteration of the Levo SL features the Specialized developed, Fox-manufactured, Genie shock. This unit launched to fame on the latest Specialized Stumpjumper, claiming a coil-like feel and a tuneable mid- and end-stroke.
By making the main air spring larger, they’ve enabled the shock to maintain small bump sensitivity and relatively linear progressivity through the first 70% of its stroke. With 30% of the stroke remaining, the shock closes off most of the total air volume, essentially creating a smaller volume air spring active for the end of the stroke, causing a much steeper ramp-up and drastically increasing bottom-out resistance. On a bog standard air shock, in most cases (depending on the bike design), you sacrifice small to medium bump compliance and sensitivity to achieve decent bottom-out resistance, and vice versa. Bottom-outs increase once you soften the shock in a quest for buttery small bump and mid-stroke sensitivity. The Genie manages to deliver small bump sensitivity while maintaining super end- stroke ramp-up, and bottom-out resistance.
After my first ride on the Genie, I was amazed at how linear the shock felt, and it certainly delivered on the coil-like claims with a buttery smoothness. Although it performed well, I wanted a bit more support to push against while pumping and jumping, and felt it was moving through more travel than was necessary, causing it to wallow at times. Mid-stroke tuneability is in the shape of plastic volume bands fitted in the air can, much like many other shocks. They’re simple to fit and equally easy to remove. Let all the air out of the shock, pick off the snap ring that holds the air can on, slide it back, snap the two halves of a volume spacer together over the shock body, slide the air can back into place, refit the snap ring, air it up and hit the trails—all you need is a small pick—or in my case, a tiny screwdriver from my son’s tool kit that worked as one—a shock pump and five minutes.
Once I slid the air can off, there were no bands to be found, which explained the overly linear feel. I fitted three bands of a possible four, aired back up to 33% sag, and confirmed my choice with some front-yard testing. It wasn’t until I hit the trail that the extra support really brought the bike to life, increasing how playful and lively the bike was on the track.
The end-stroke is also tuneable by adding circular chips to the shock’s interior air chamber. It’s a slightly more involved procedure, but it can still be done without removing the shock from the bike. The end-stroke ramp up and bottom-out resistance was fine for me in its stock setup, so I didn’t change anything here.
Once dialled in, the shock performed like the literal magic carpet Specialized intended. Thanks to the Genie’s effectively softer-than- normal spring rate early in the stroke, the small bump sensitivity was impressive, and there’s an amazing amount of traction on offer, it’s really noticeable how well the rear wheel tracks across bumps while pushing through a rough section or corner, compared to many other bikes.
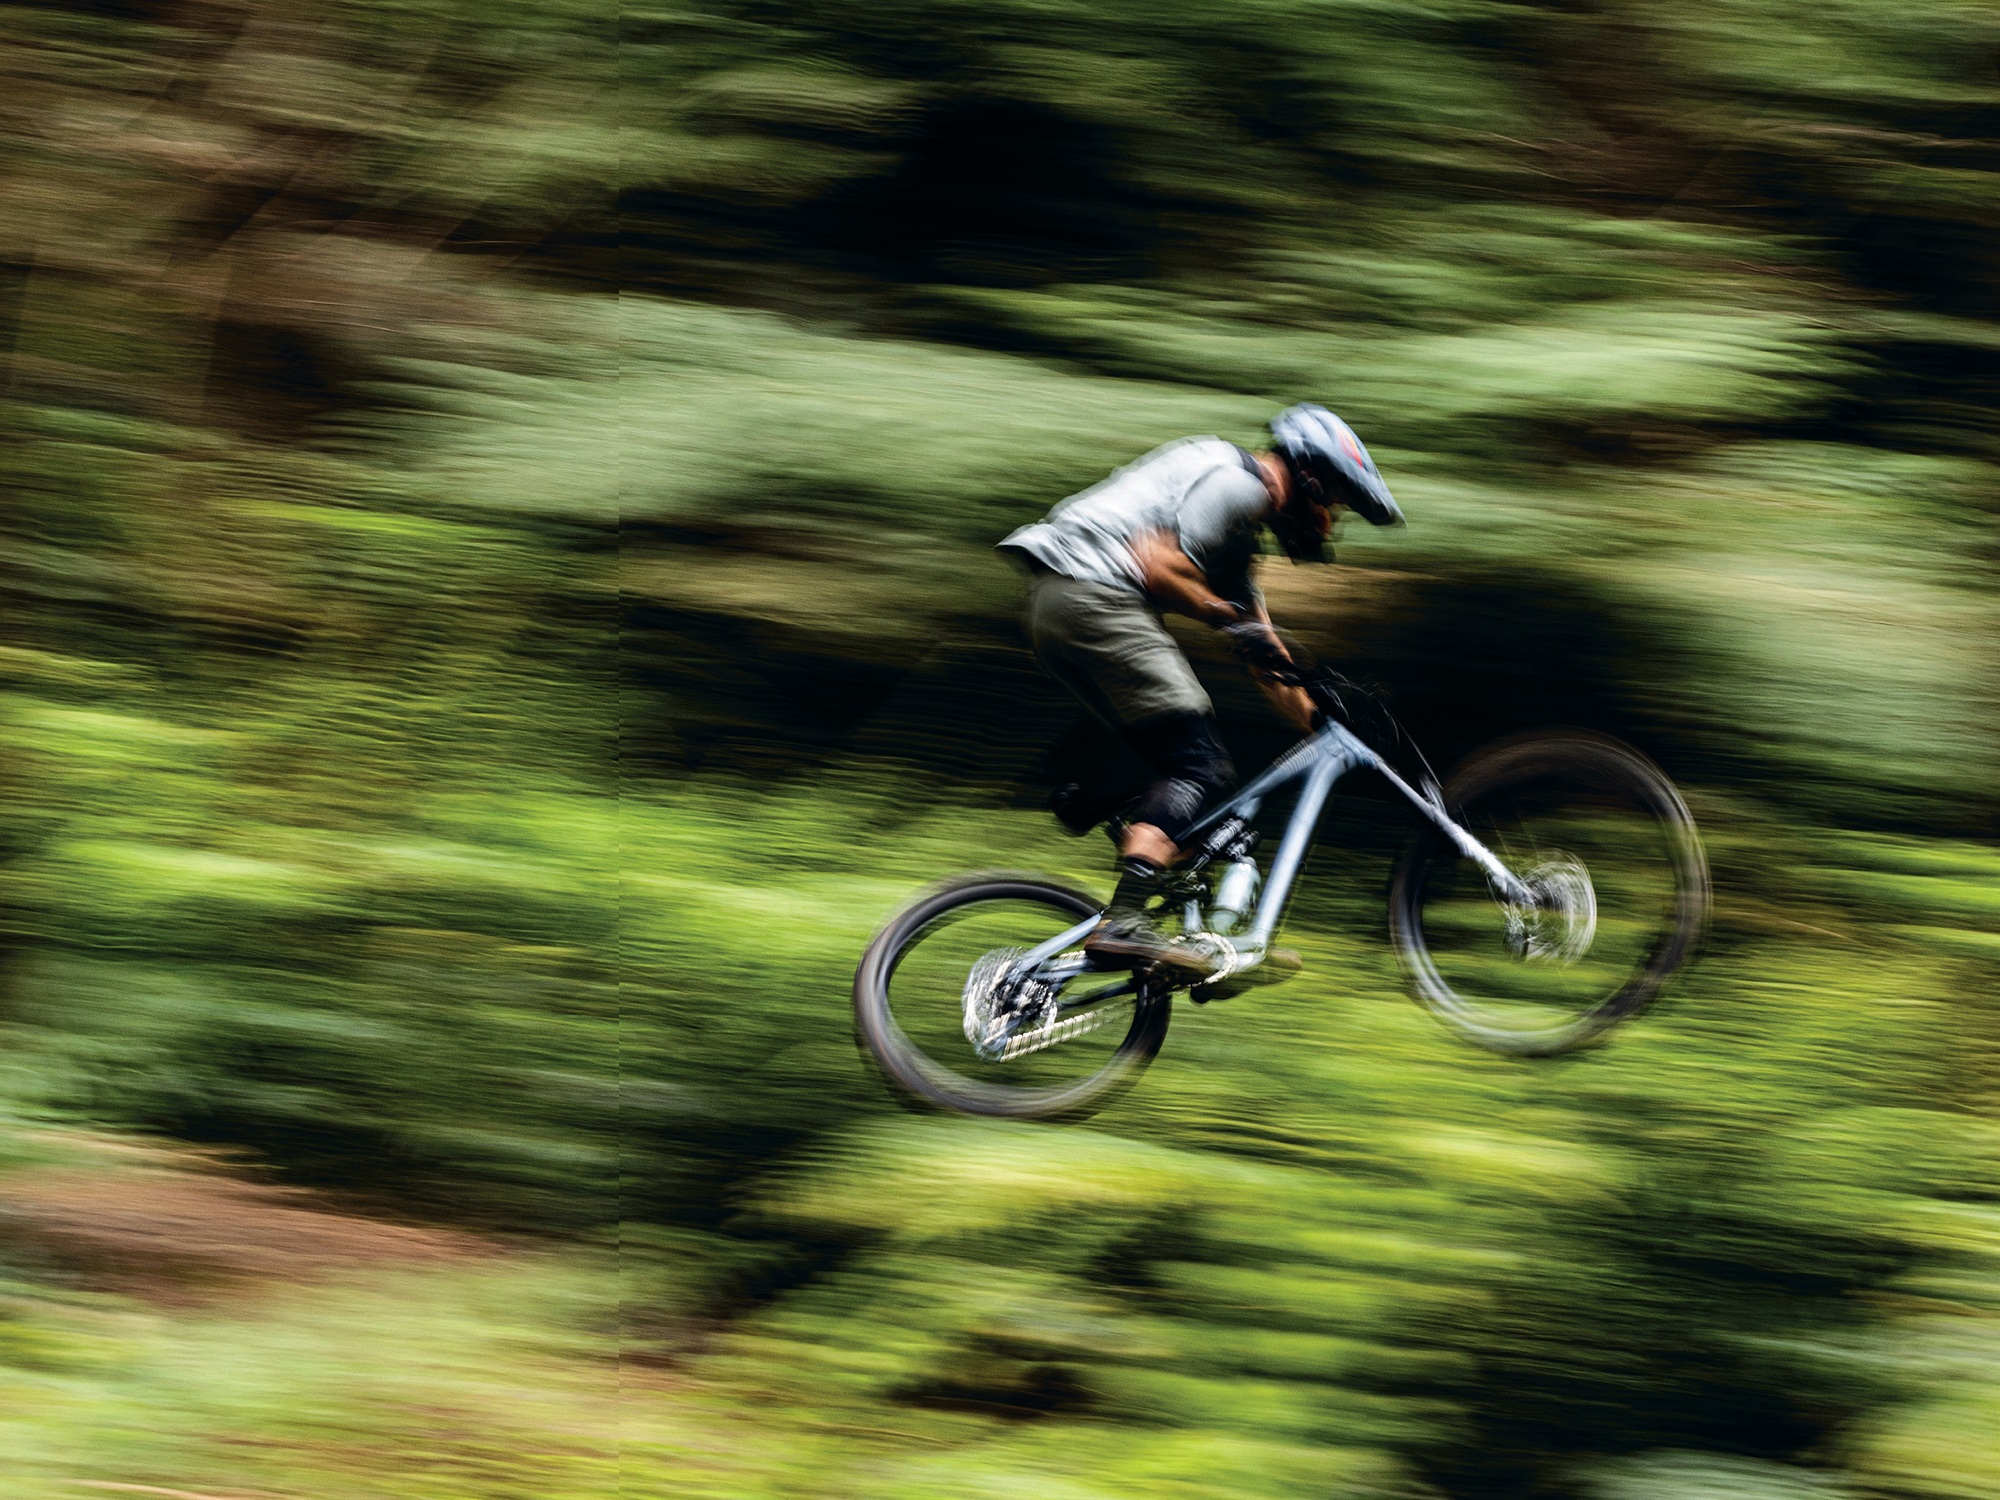
Spec highlights
Fork: Fox Float 36 Rhythm | grip damper 160mm travel. The fork is stout enough to handle the heft of the bike, and did an adequate job, but could benefit from better damping and adjustment. A worthy upgrade, or step up through the SL range to get these benefits. Brakes: SRAM Maven bronze | 200/200mm rotors. Mavens get the big tick from me, the power and consistency are amazing and they add a level of confidence to an eBike that I don’t think can be gained by any other single component. Drivetrain: SRAM GX eagle shifter, chain and cassette, coupled with a SRAM X01 derailleur. Does the job admirably. Once it eventually wears out, I’d replace this with a SRAM T-type system as it’s far superior on an eBike.
Crankset: SRAM S1000, 165mm length. Short cranks are the best on eBikes, and 165mm is a great choice.
Wheels: In-house Specialized alloy rimmed set. They do the trick but, considering that the bike had hardly any use when it turned up but the rear wheel already had a small flat spot in it, I’d say that much like many OEM specced alloy wheels, these rims are on the softer side.
Tyres: Front—Specialized Butcher | grid trail casing | gripton t9. Rear—Specialized eliminator | grid gravity casing | gripton t9/t7. No complaints here. Reality is that, with the extra weight of an eBike, most tyres perform pretty well. Good to see a heavier Gravity casing specced on the rear, although with their softer compounds, the square edges are worn from the knobs quite quickly.
Cockpit: We get some plain Jane—but effective—alloy parts here. The handlebar has 20mm rise and a comfortable shape—no real complaints, but an easy place to upgrade.
Seatpost: X-fusion manic 170mm. This post fits the price point well, there’s no noticeable play in the post and it’s nice and smooth, but the return is a bit slower than ideal.

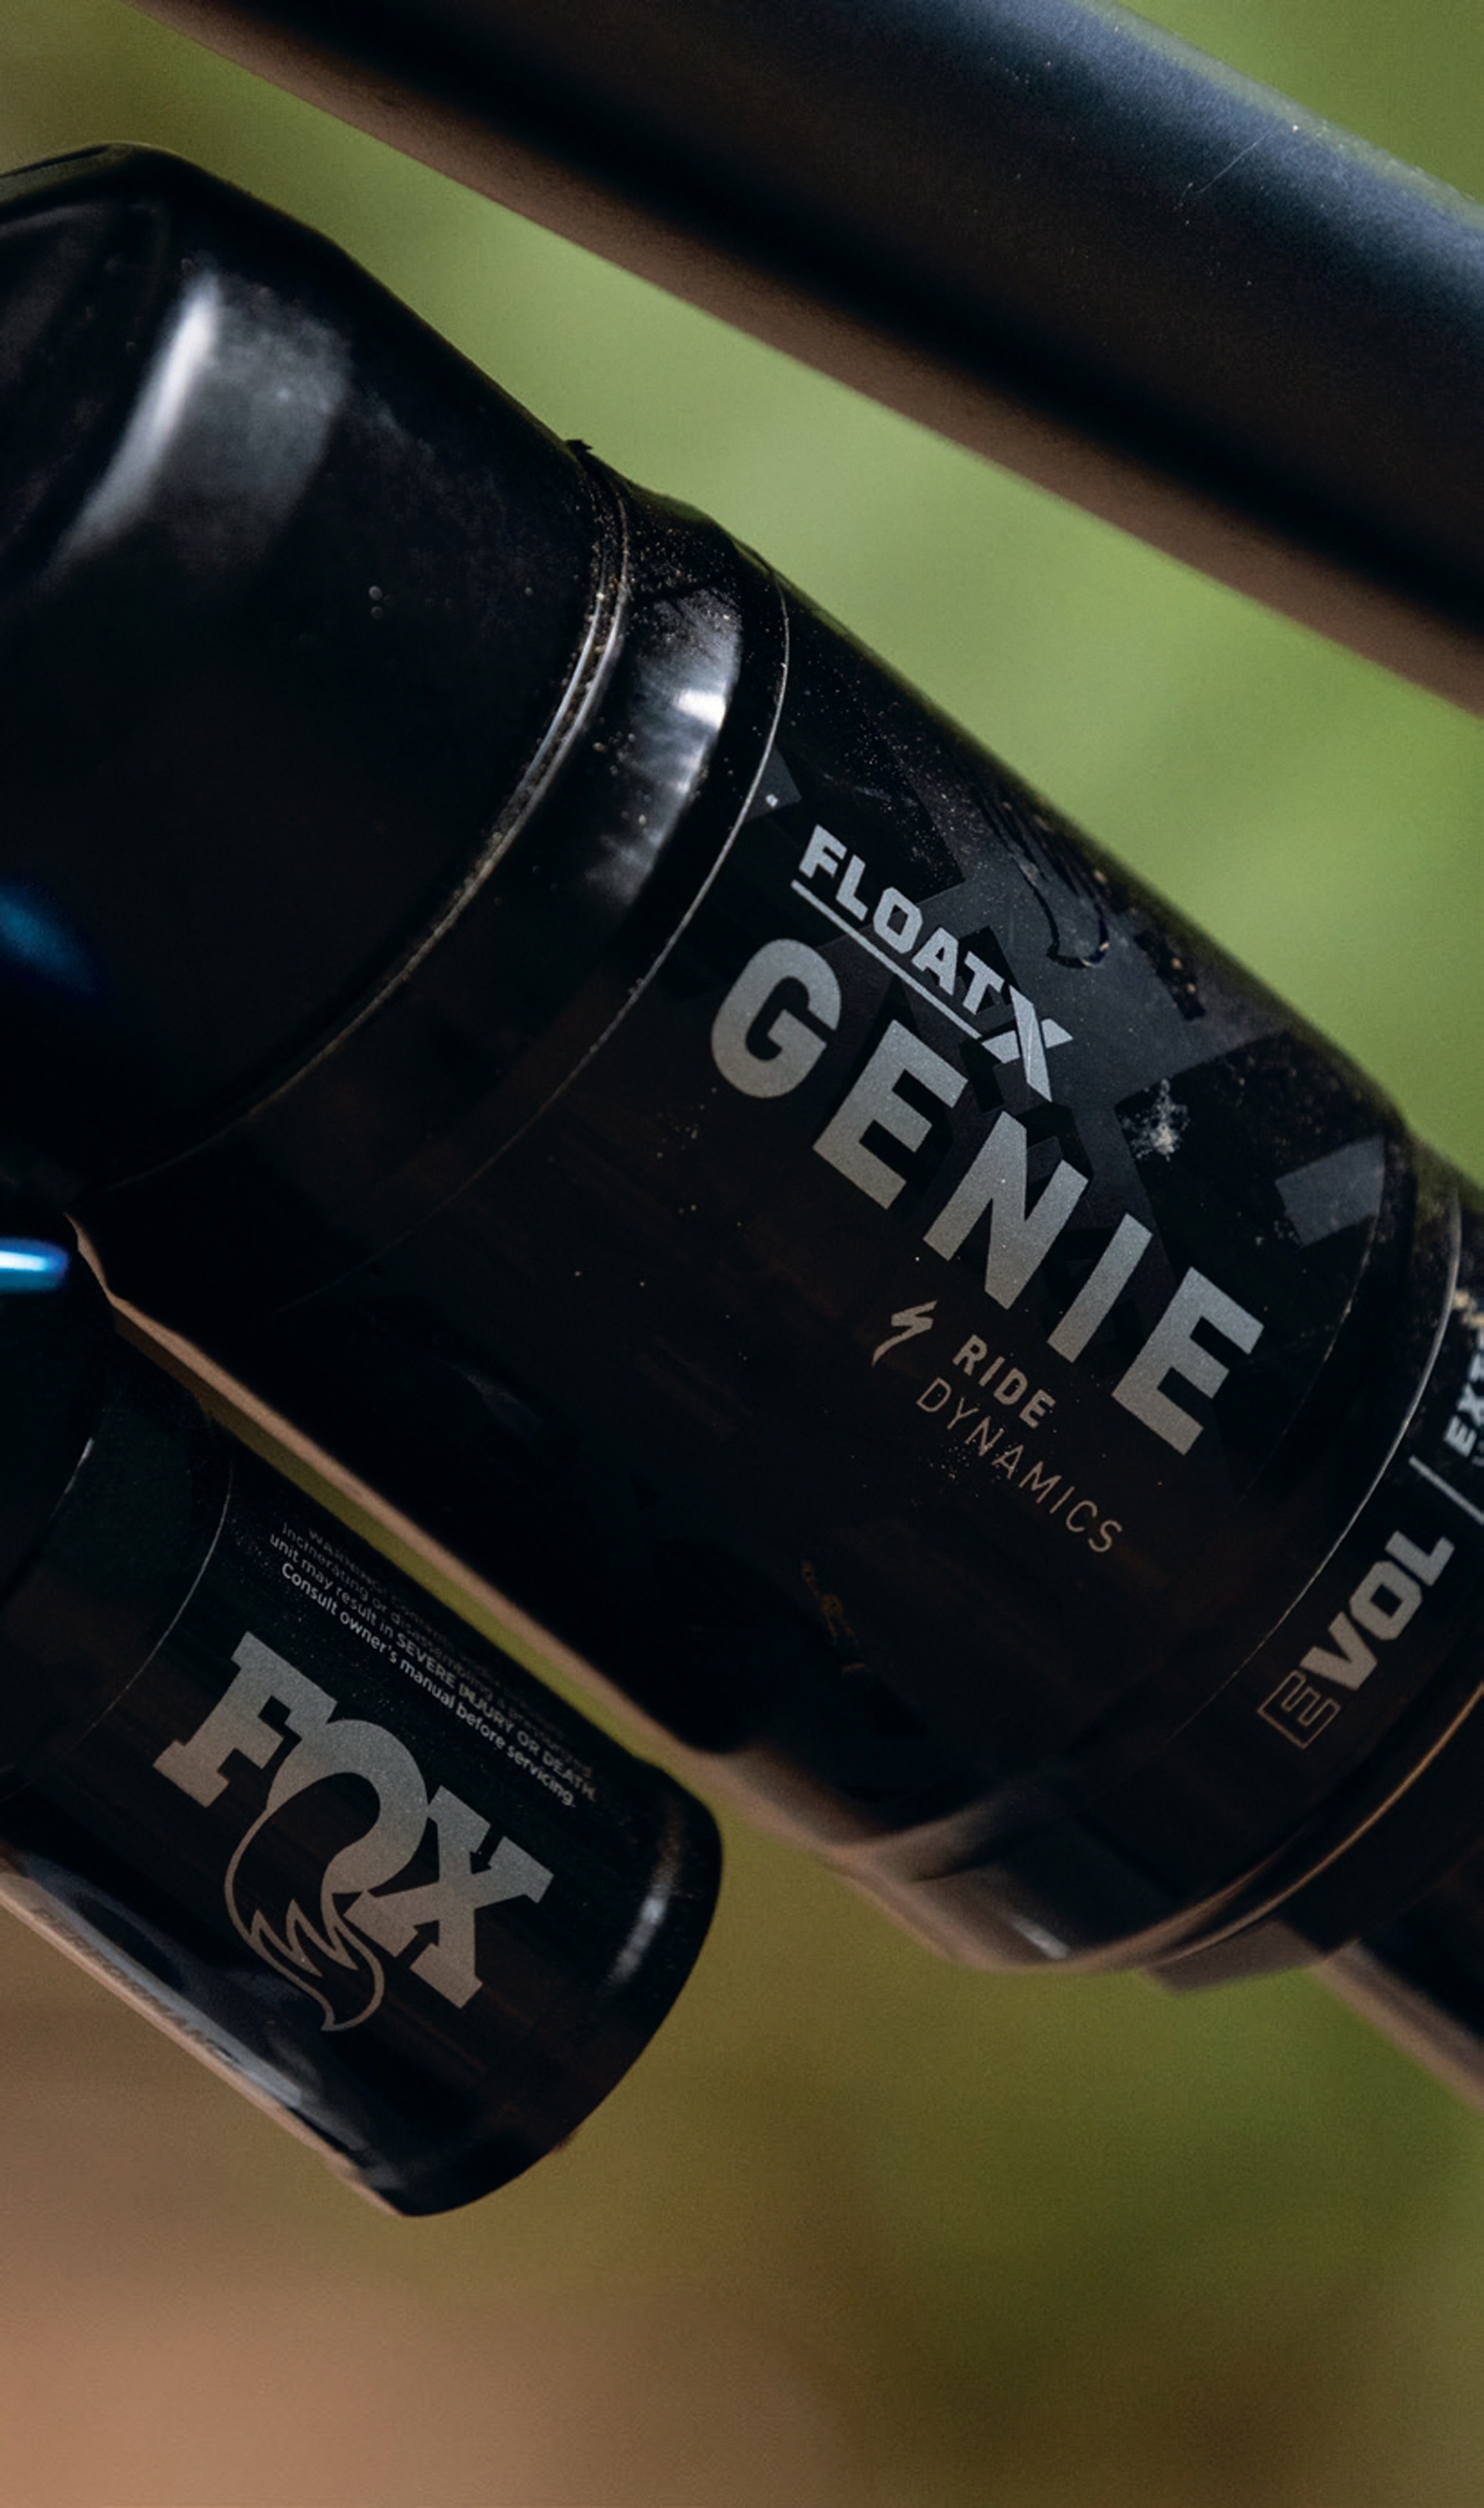
Motor unit
At the heart of the Levo SL2 is the new SL 1.2 motor, Specialized’s latest—and a noticeable improvement on the previous SL 1.1 generation. It offers a quieter, more natural-feeling ride, delivering 50Nm of torque, up from 35Nm previously, with 320 watts of power. Although there’s enough power and torque to get you through most scenarios, the light weight comes with the feeling that the motor is not doing all the work, you’ve got to play your part too.
The SL2 has a 320Wh battery, and a 160Wh extender is available. The SL series bikes are lightweight in all aspects of the driveline, compared to the standard non-SL Turbo Levo models, which are powered by the Specialized 2.2 motor pushing 90Nm, with a 700Wh battery. The range extender can also be used on the full-powered bikes.
The burning question everyone has regarding eMTBs is; “how long does the battery last?” The answer inevitably is always; “it depends”. There are so many variables at play that it’s hard to compare even the same bike between riders, let alone different riders on different bikes. I’ll put a stake in the ground, though, and you can make some assumptions from there. Fully kitted, I’m pretty well bang on 80kgs, and my local trails are either up or down; there’s a minimal amount of flat ground, so I’m either climbing or descending.
The climbs are pretty steep, and there’s sporadic pedalling down most of the descents. On a ride where I used Turbo most of the time while climbing the gravel road climbs (some very steep) and Trail mode everywhere else, I can get 1:45 to two hours out of the battery. The variance in time is solely down to how hard I’m riding; a solid, fast pace, and I’m looking in the vicinity of 1:45, but a little less effort on the climbs and I can get to two hours. On the same ride, if I backed the assistance down and asked a bit more of my legs, 2.5 hours or three at a stretch, may be attainable. For rides made up predominantly of flat sections, if I stuck to Eco mode, I think I could hit the 3.5 hours Specialized claim is achievable. The truth is, though, I don’t want to ride like that, so I budget my rides at 1:45 hours ride time and go from there. Once the battery is down to 10% charge, the bike will slide into Eco mode to help you limp home.
The power delivery is very natural; there are no surprises or sudden accelerations, and the motor simply does what it should and multiplies your power with a smooth ‘acoustic bike’ feel. There is a slight lag when initially putting effort into it, and this took a little time to adjust to, but I soon adapted to it. The SL1.2 motor rewards a cadence of around 75-90rpm for those looking to get the most out of each pedal stroke, so if you’re one to rely on the torque of a motor to get up a pinch, rather than shifting to a lower gear—this bike’s not for you.
Mission Control App
I didn’t faff with the app too much; I just synced up my phone with the bike, pushed some assistance settings to ‘max’ and got stuck in. I wanted to ride this like a standard bike and not get bogged down with tweaking, tuning and apps. It’s nice to have the ability to fine-tune assistance levels simply, and if a user wanted to maximise battery efficiency, one could nerd out with the settings. Software updates for the bike are done via a connected app, no need for cables.
MasterMind TCU
An upgrade over the SL gen 1 is the use of the MasterMind TCU (Turbo Control Unit). The screen is seamlessly integrated into the top tube and comfortably readable at a glance. Modes and screens on the TCU are controlled via the simple-to-use handlebar remote. It’s a nice touch to be able to micro-adjust through assistance levels in 10% increments if you want to get specific assistance while out on the trail, rather than relying on the pre-programmed three settings.
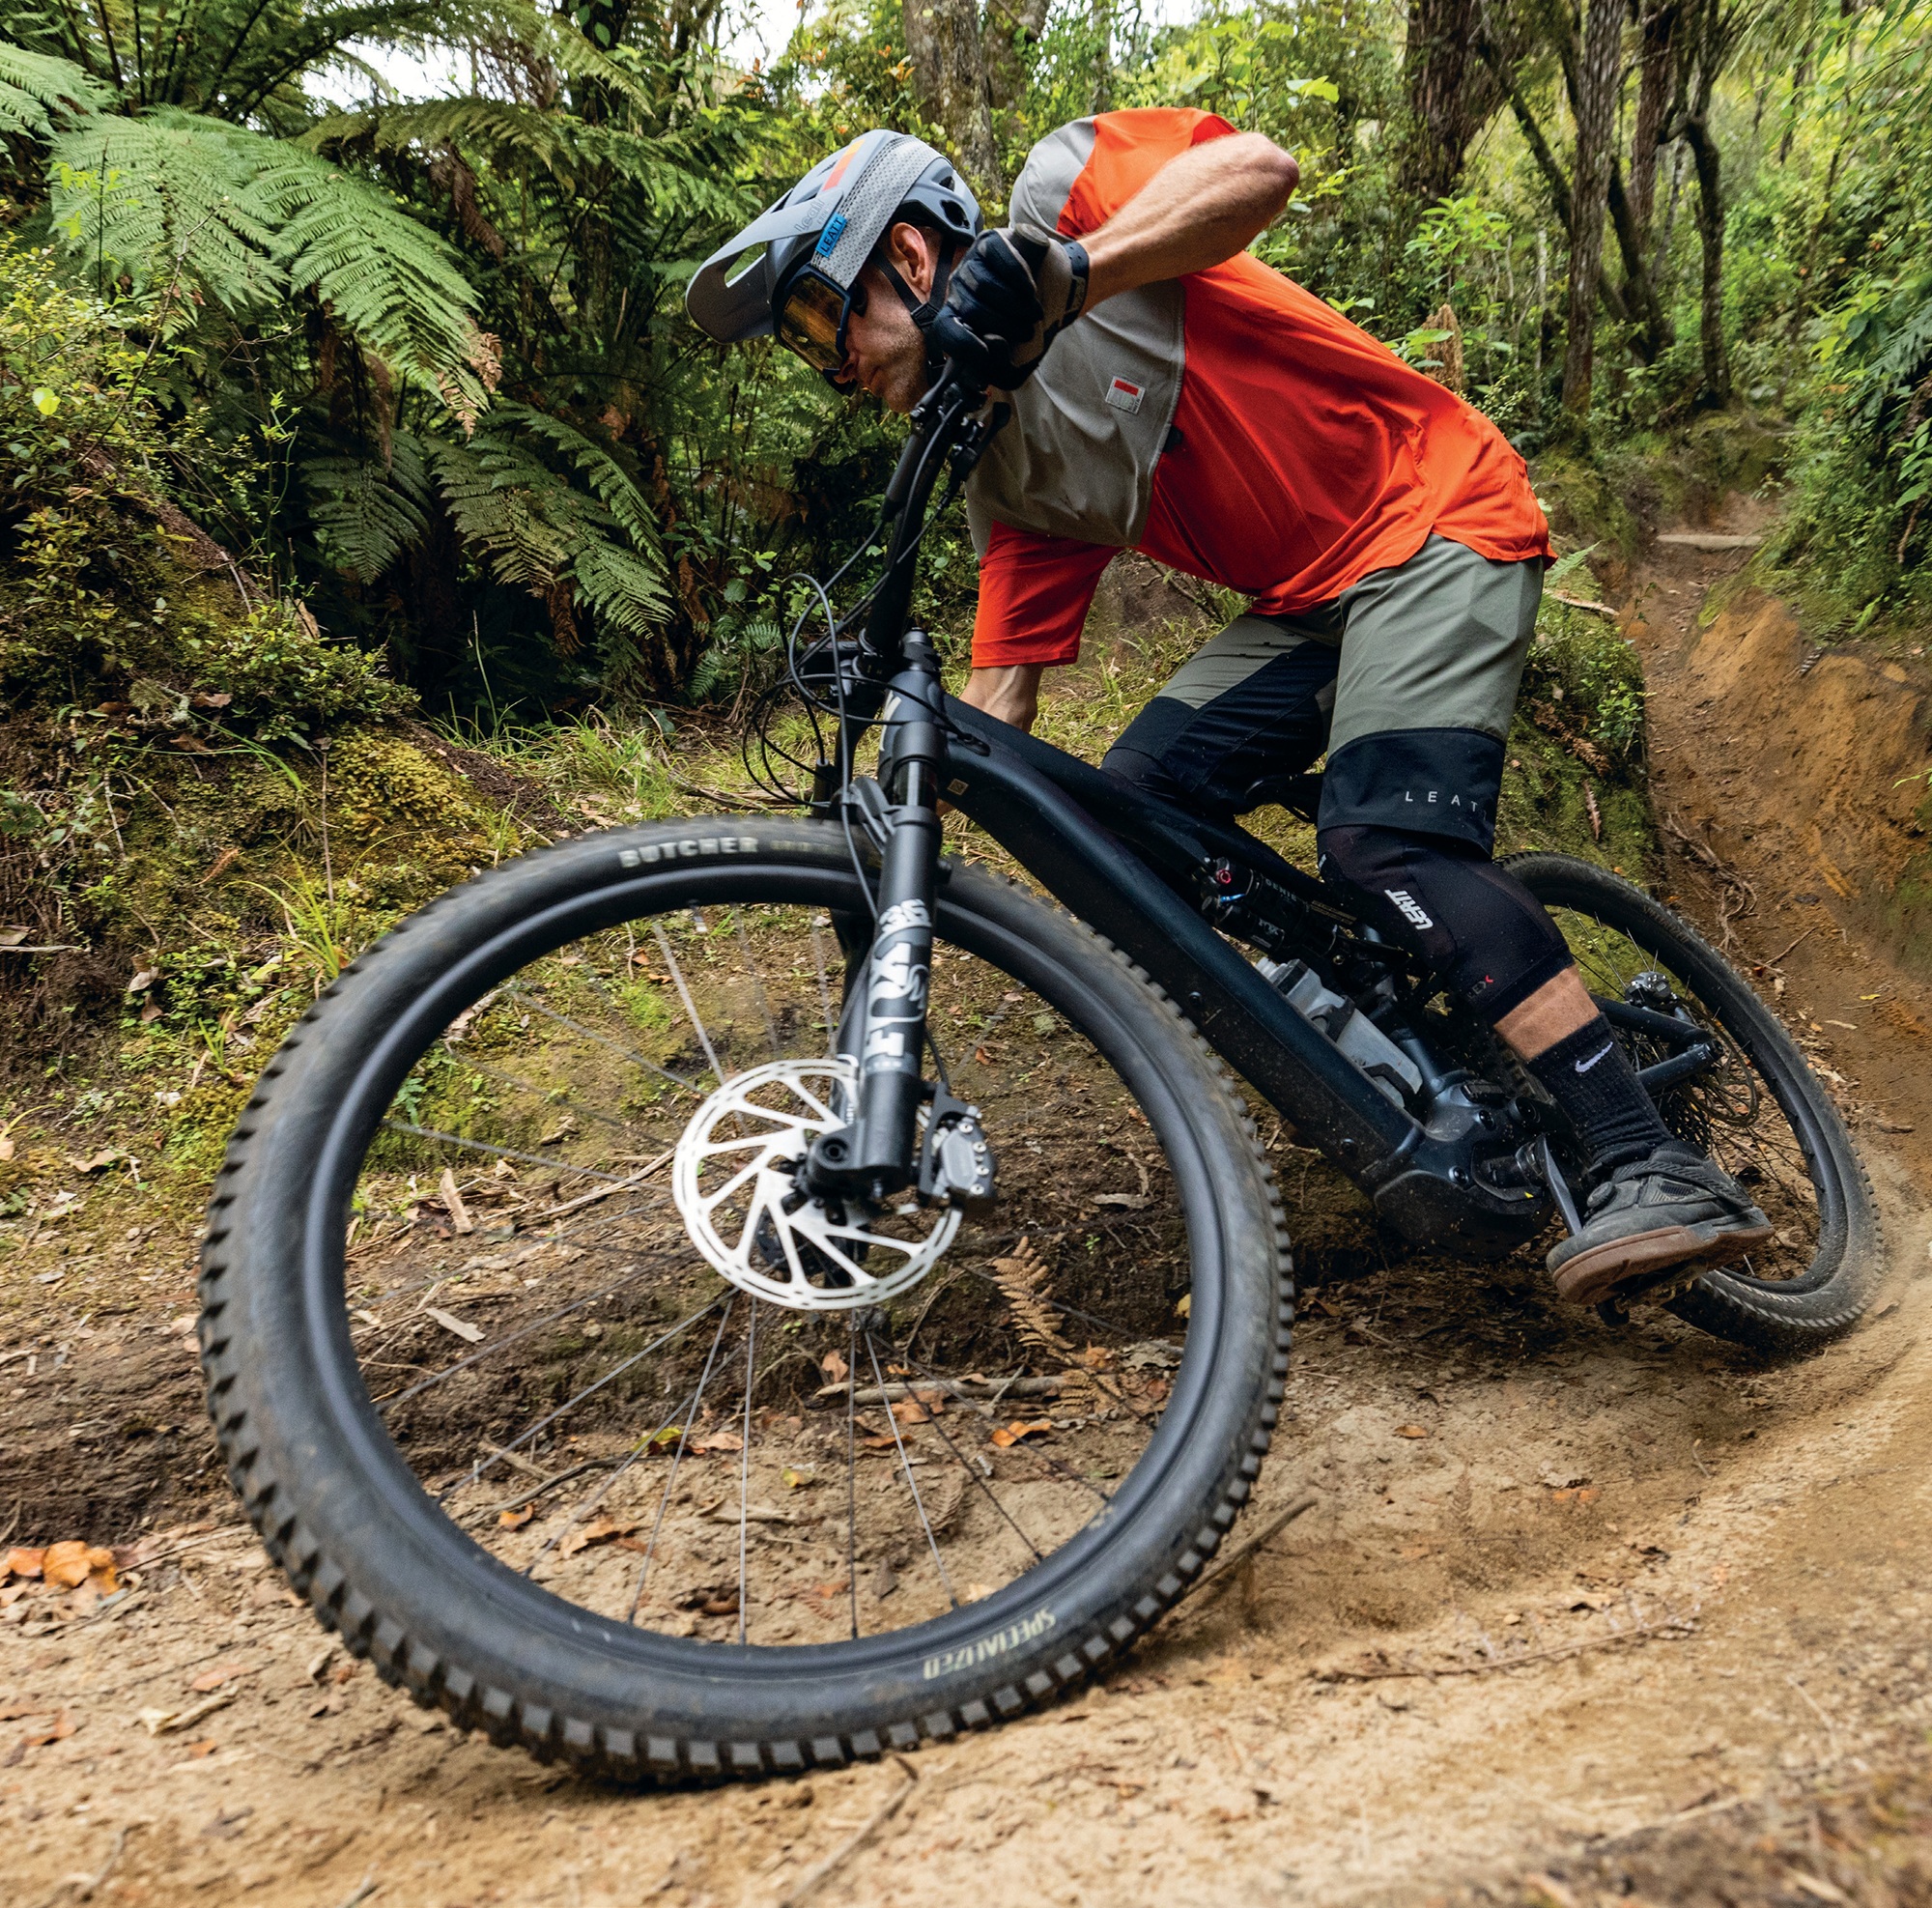
The ride
The Levo SL2 is the first lightweight, low-powered eBike I’ve ridden. So, my observations are compared to full-powered eMTBs and regular old pedal bikes.
Taking the SL2 for its first ride, my immediate thought was; ‘damn, this actually handles like a normal bike!’ My main gripe with full power bikes in the past has been that they don’t suit my riding style, they’re fun in their own way, but their weight means they’re more like a cruise liner than a jet boat… and it’s a jet boat I want! Precise, nimble, manoeuvrable, responsive, confident and playful are the current acoustic bike marketing buzzwords, I guess. Unfortunately, most of these boxes can’t be ticked on a full- power, full-weight eBike – as mentioned, their characteristics align closer with the cruise liner.
Descending on the SL2 takes the best from an acoustic experience and couples it with the best from an eMTB. The SL2’s higher weight than a normal bike combined with its capable suspension gives insane stability and predictability while descending but, being lighter than a full-powered eBike, combined with its balanced geometry, means it’s drastically nimbler and more precise down a hill than its overweight brethren. The ability to change lines and unweight through sections really sets this lightweight bike apart.
The more I rode the SL2, the more I was amazed at how well it corners. I didn’t need to change any components or make any adjustments at all to make it perform; I just got on and rode. Even in its stock setup, it handles turns exceptionally. Balanced geometry is a piece of the turn- shredding puzzle, and so too is the lower centre of gravity of an eMTB, but the traction on offer sure makes a difference, too; part of this will be thanks to the weight of the bike (over an acoustic one), but the suspension is up to the task. The SL2 is a leap above any other eBike I’ve thrown a leg over in the cornering department, and it is better than some trail bikes I’ve reviewed.
Jumping on the SL2 is great, and surprisingly so. The weight is nice and balanced, and it is predictable taking off everything from lumps and bumps to larger, steeper lips.
The bike cruises along flat trails where there’s no need for high power similar to a full-fat one, just more nimbly and playfully, not weighed down by additional motor or battery heft.
Compared to high-powered eMTBs, the SL2 didn’t give me superpowers to tackle super steep climbs—you know, the ones where you can barely keep the front wheel on the ground, even with your weight right over the front. Instead, the SL2 meant I could make it further up super steep pitches than I would on a trail bike, before I ran out of steam but, unlike a full-powered bike, I definitely felt like I needed to use my own strength, rather than just chopping into Boost mode and have the bike ‘pull’ me up the hill.
Without the power, torque or battery capacity of a full-fat eMTB, the SL2 still takes some effort to ride, and I found I can still get a similar workout to a regular bike while riding it, just covering more ground and not blowing myself up to maintain higher speeds. Riding a full-powered eBike I find I’m still getting a decent cardio workout, and it’s quite normal to be sitting up at high heart rates for long periods, but most of the time (unless I’m sitting in Eco mode), it feels like there’s not much leg strength necessary. The SL2 hits a sweet spot and, thanks to coupling it to my Garmin, I could see my own power input and proof that I was pushing similar watts to a normal bike, just going faster for them.
The SL2 let me ride how I like to ride. It’s light enough to be playful, but hefty enough to offer the composure and stability only extra weight can give while descending. Until this bike, I wouldn’t have considered owning an eBike as my only mountain bike but, after a couple of months aboard the Levo SL2, I may have found the bike that would make me switch sides.
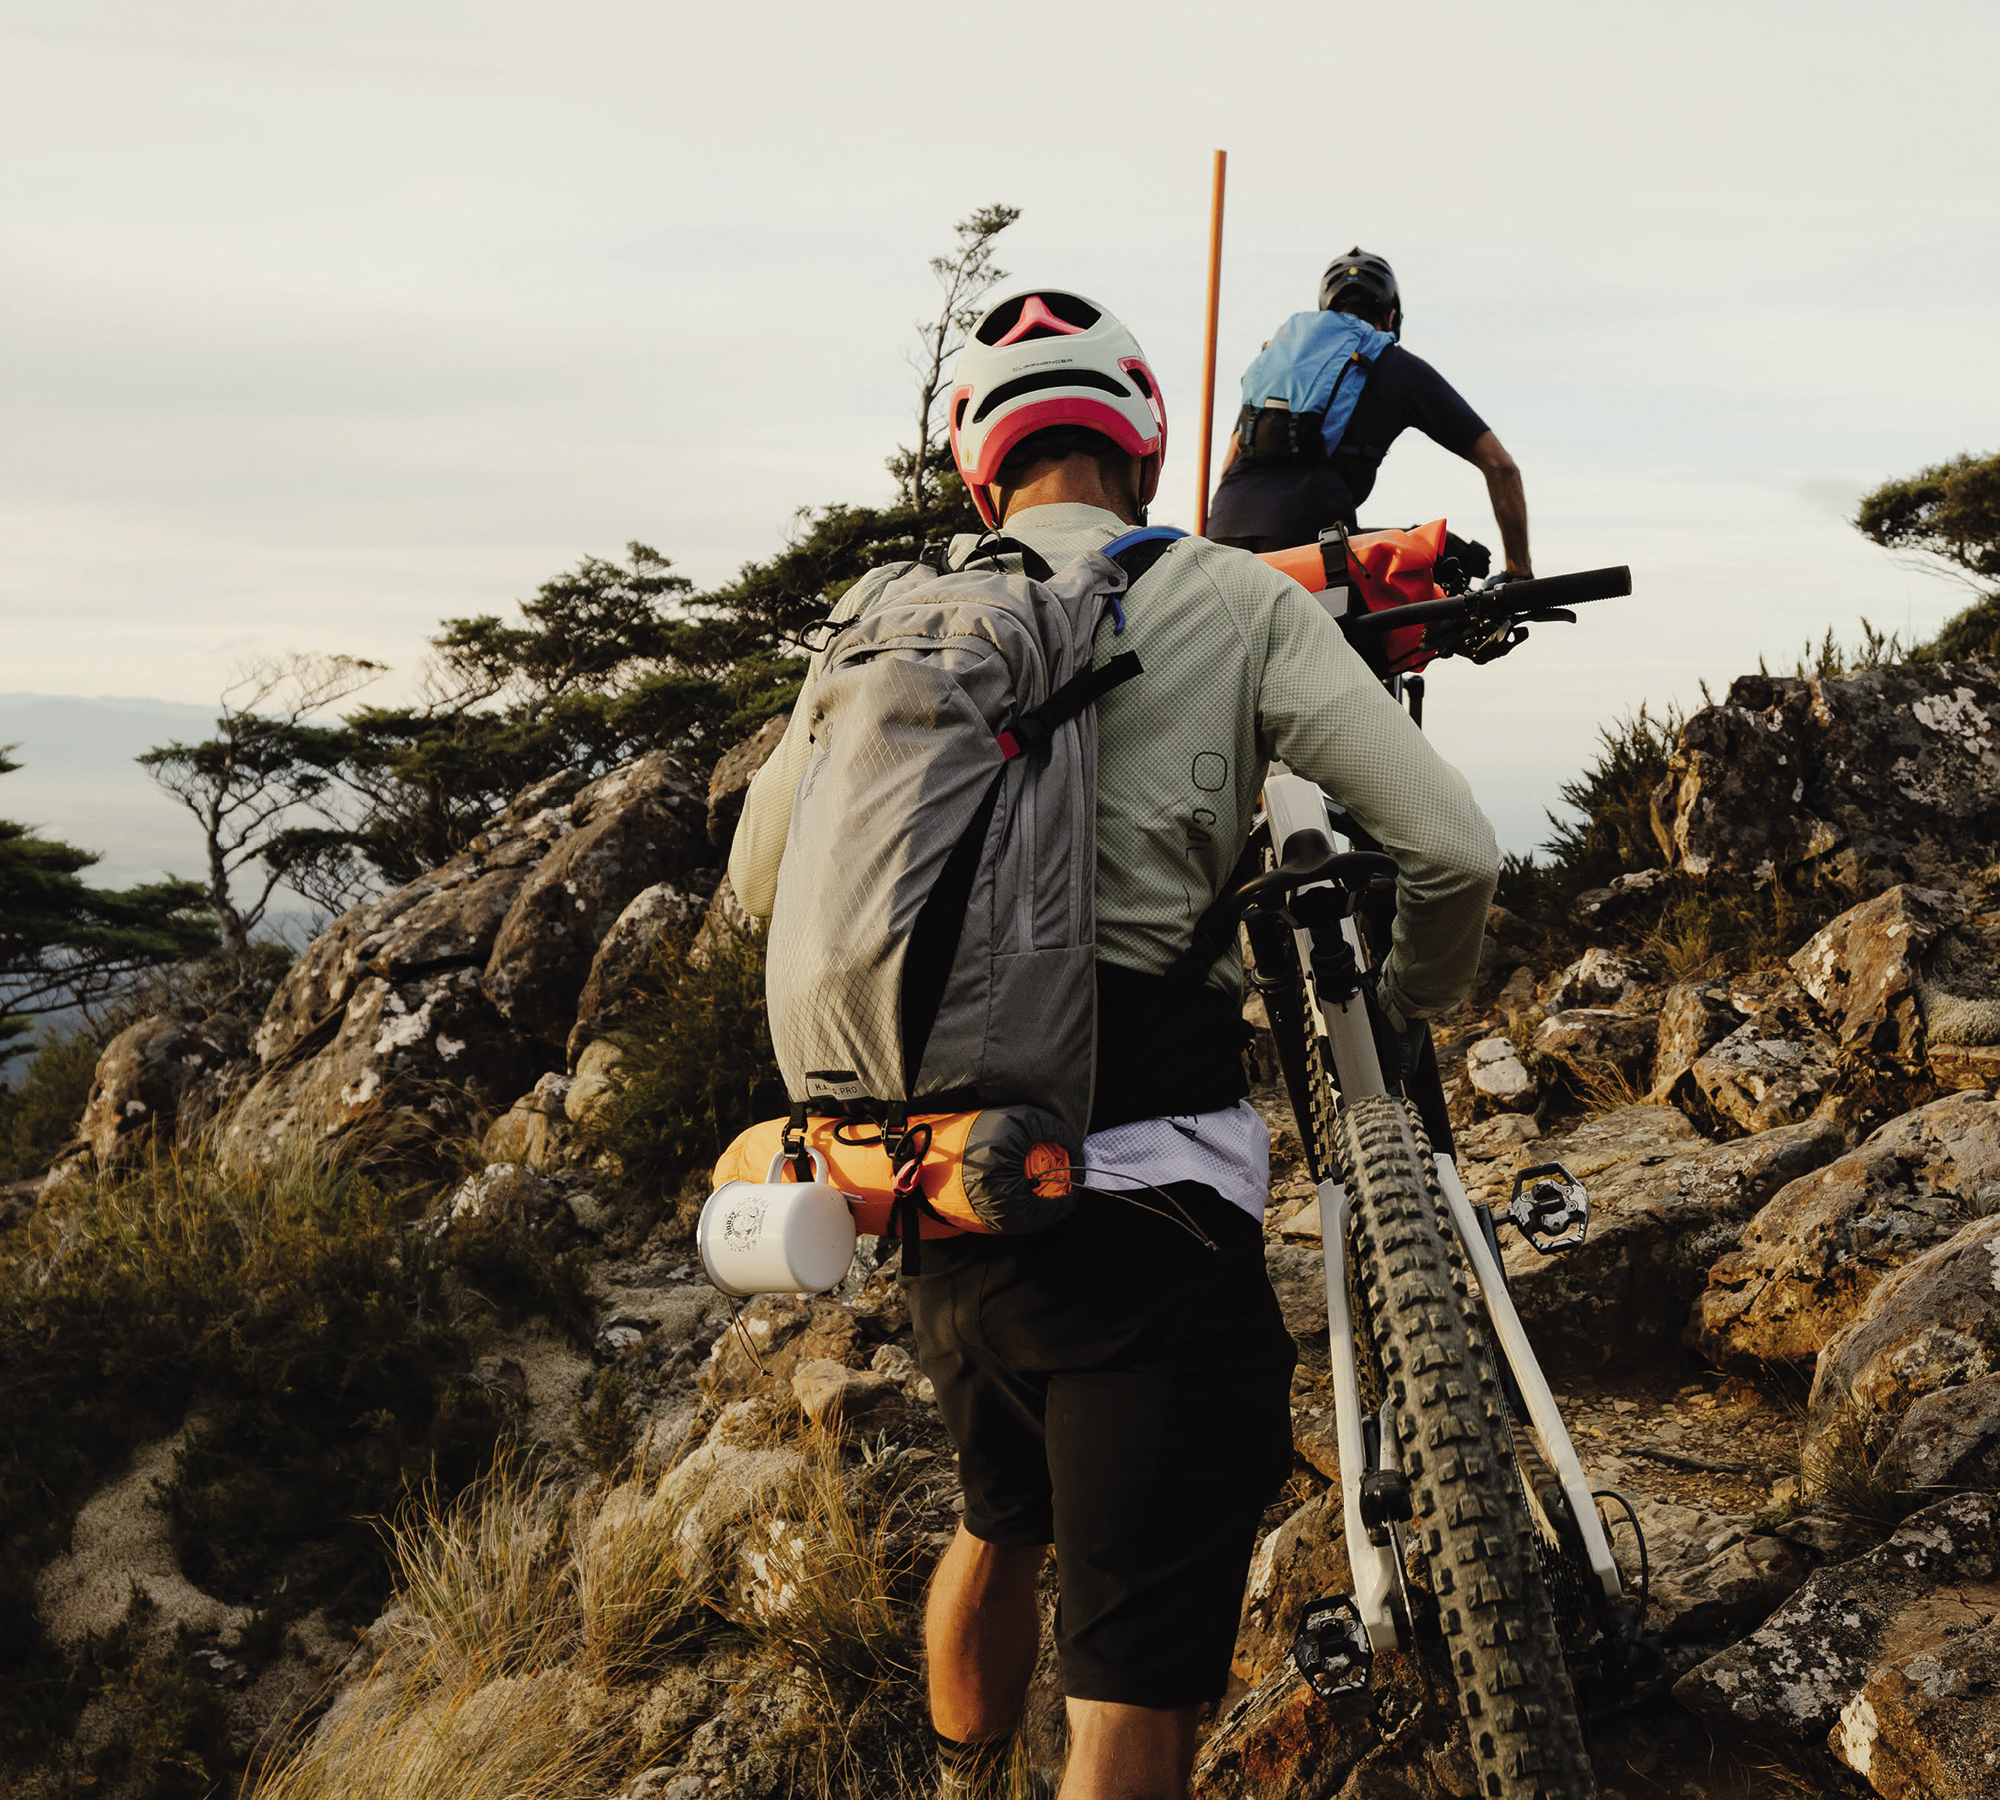
CamelBak H.A.W.G Pro 20
Words Lester Perry
Images Henry Jaine
RRP $299
Distributor Southern Approach
There’s a particular style of trip where bike bags strapped to your frame either aren’t suitable for the route you’re attempting or simply don’t provide enough capacity for the required gear.
When Kieran Bennett and I took on our ‘Starevall or Bust’ two-day mission in the summer of 2024, we had an Aeroe handlebar cradle and dry bag each. That was handy — but with the trail being steep and technical in many places, the option for a rear rack was off the cards, and frame bags would have had to be custom made for our full-suspension rigs (and even then, wouldn’t provide the capacity we needed). CamelBak’s range of Packs was the answer — in my case, the H.A.W.G Pro 20, while Kieran went with a similar, but smaller, MULE Pro 14.
The H.A.W.G pack is designed precisely with missions like ours in mind. Twenty litres capacity, supplied with a 3-litre bladder, and room for another if needed. I opted for a single 3L bladder and a water filter, which, if you’ve read the trip report, you’ll know was a necessity!
Stowage is split into three main areas; nearest to the body is the hydration bladder sleeve. Outside of this, another large ‘full’ pocket features two large internal pockets, one of which is designed to hold a spare eBike battery if you’re that way inclined. In this section, there was enough capacity for me to stow a dry Merino top, a pair of shorts and a couple of freeze-dried meals. A smaller zipped pocket is on the left side of the back panel, down near the waist belt, although I didn’t use it on our trip. It would be ideal for smaller bits you may need to take with you but do not necessarily need easy access to — for example, a wallet or passport.
The next layer out has a medium-sized pocket featuring a couple of smaller zipped mesh pockets to store little items — in my case, tools and spares behind the zips, and some snacks in the main compartment. Across the top, there’s a fleece-lined pocket that is ideal for stowing glasses – and is large enough for goggles.
The outside of the pack features a stretch compartment, ideal for items that you might need quick access to — in my case, a jacket and bag of trail mix, and a First Aid Kit that we fortunately never required. The clips on either side have small hooks to clip helmet straps to for carrying.
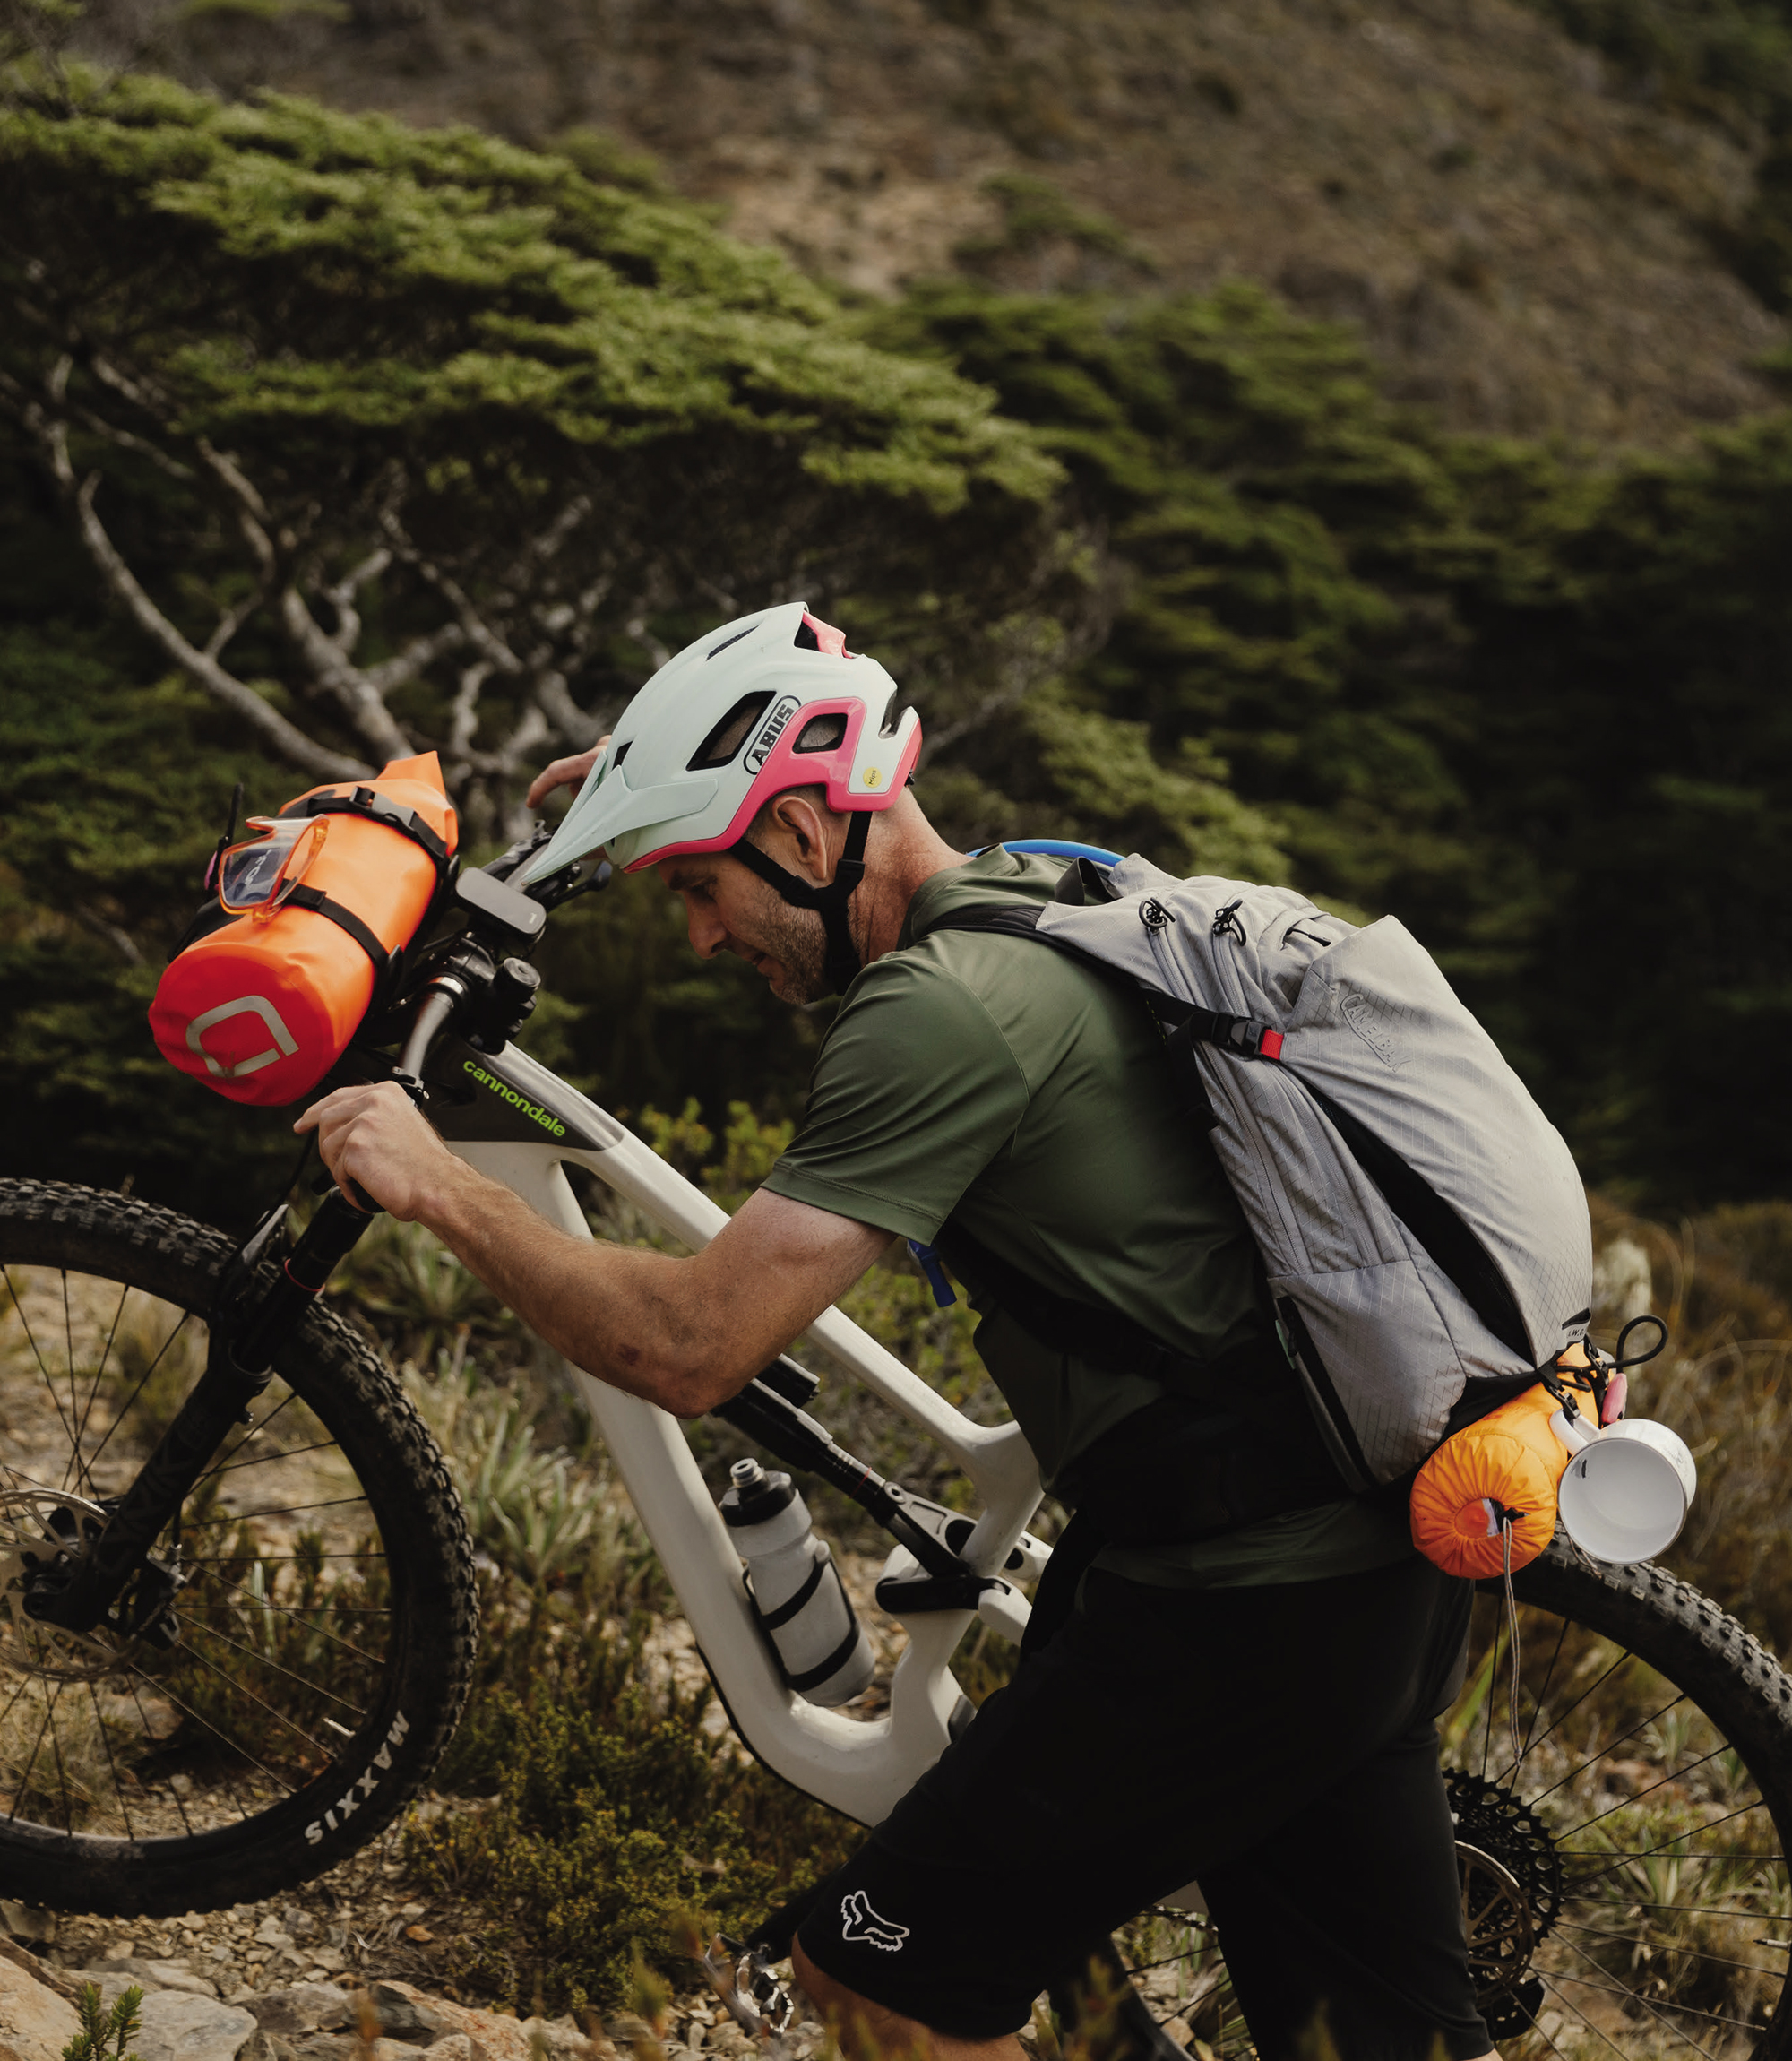
Weight is supported on the hips with a sturdy waist belt and, handily, there’s a zipped pocket on each side for quick access to gear when you don’t want to remove the pack to access. There’s a good amount of room in these pockets. I stashed a disposable camera on the left side for quick access and, on the right, I had some lollies, a multi-tool and a tyre plugger.
The H.A.W.G Pro is the first pack I’ve used with the Air Support Pro Back Panel — a 3D mesh back and harness that supports the bulk of the pack, holding it away from your body as much as is feasible, allowing for maximal airflow between the wearer and the pack. Although it’s still noticeably warmer than no pack, thanks to the Air Support back panel, it feels much cooler than some smaller, more traditional packs I’ve used. The back panel provides a level of rigidity to the whole system and, combined with the harness setup (including the sternum strap), secures the entire pack nicely. It’s well supported, even while fully loaded and tackling rough terrain. Thanks to the secure fit and rigidity, the top of the pack works well for resting the bike on while carrying over hike-a-bike sections — something we spent hours doing while hiking up Mt Starveall.
Two straps wrap around the base of the pack and, once cinched down, they help compress the load, helping keep everything in place; handily, they’re long enough to strap on more gear. In my case, I secured my Thermarest Sleeping Mat to the base and saved valuable volume in the pack itself. There’s myriad uses for these simple straps: tent poles, rolled-up jackets, or (most importantly) baguettes — the possibilities are endless.
The pack is supplied with a snazzy little tool roll and, while it’s great in theory, I found I couldn’t get my preferred selection of tools and bits to play nicely with it. The tool roll stayed home while on the Starveall mission, and I brought my small tool bag along.
As far as hydration goes, I can’t fault the 3-litre ‘Crux’ bladder. Although I’m not a super fan of the huge screw top, it does the trick and is long forgotten once it’s tucked safely into the pack. CamelBak redeemed themselves with their market-leading (in my opinion) bite valve and “magnetic tube trap” that keeps the drinking hose nicely secure when not in use, and snaps easily back into place.
The only niggle I’ve found with the H.A.W.G is on the outer stretch compartment. The clips that secure each side and help compress the load are not a traditional bag clip design, I assume, to allow for the helmet hooks. More than once, I had issues getting the clip to close correctly on my first attempt; unless the clips are aligned perfectly, one side can stick out and not be clicked into place correctly. This led to the clips popping open a few times on our trip. It’s annoying but not the end of the world. With some attention, they work fine and are secure when clipped correctly.
When all’s said and done, I’m a big fan of the CamelBak H.A.W.G and its versatility. It’s large enough for an overnighter, and once cinched down, it’s compact and lightweight enough for just a few hours in the backcountry without feeling like you’re carrying a flappy, half empty pack.
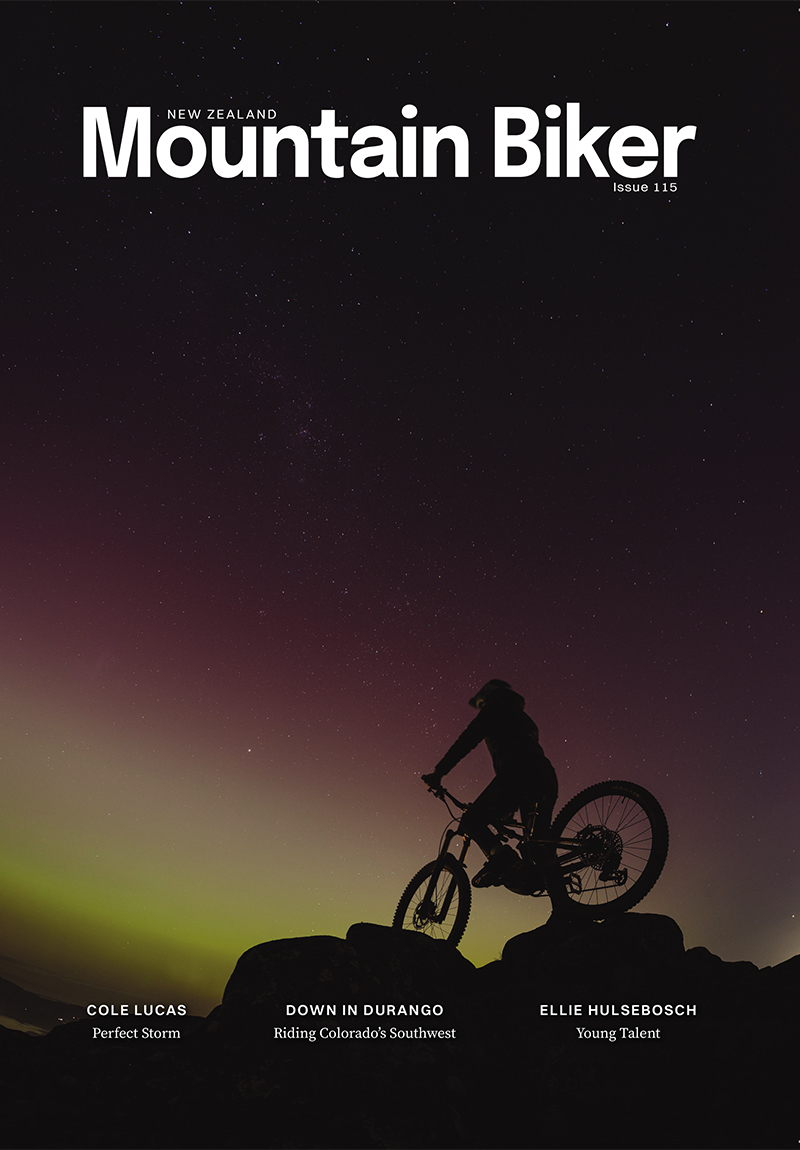
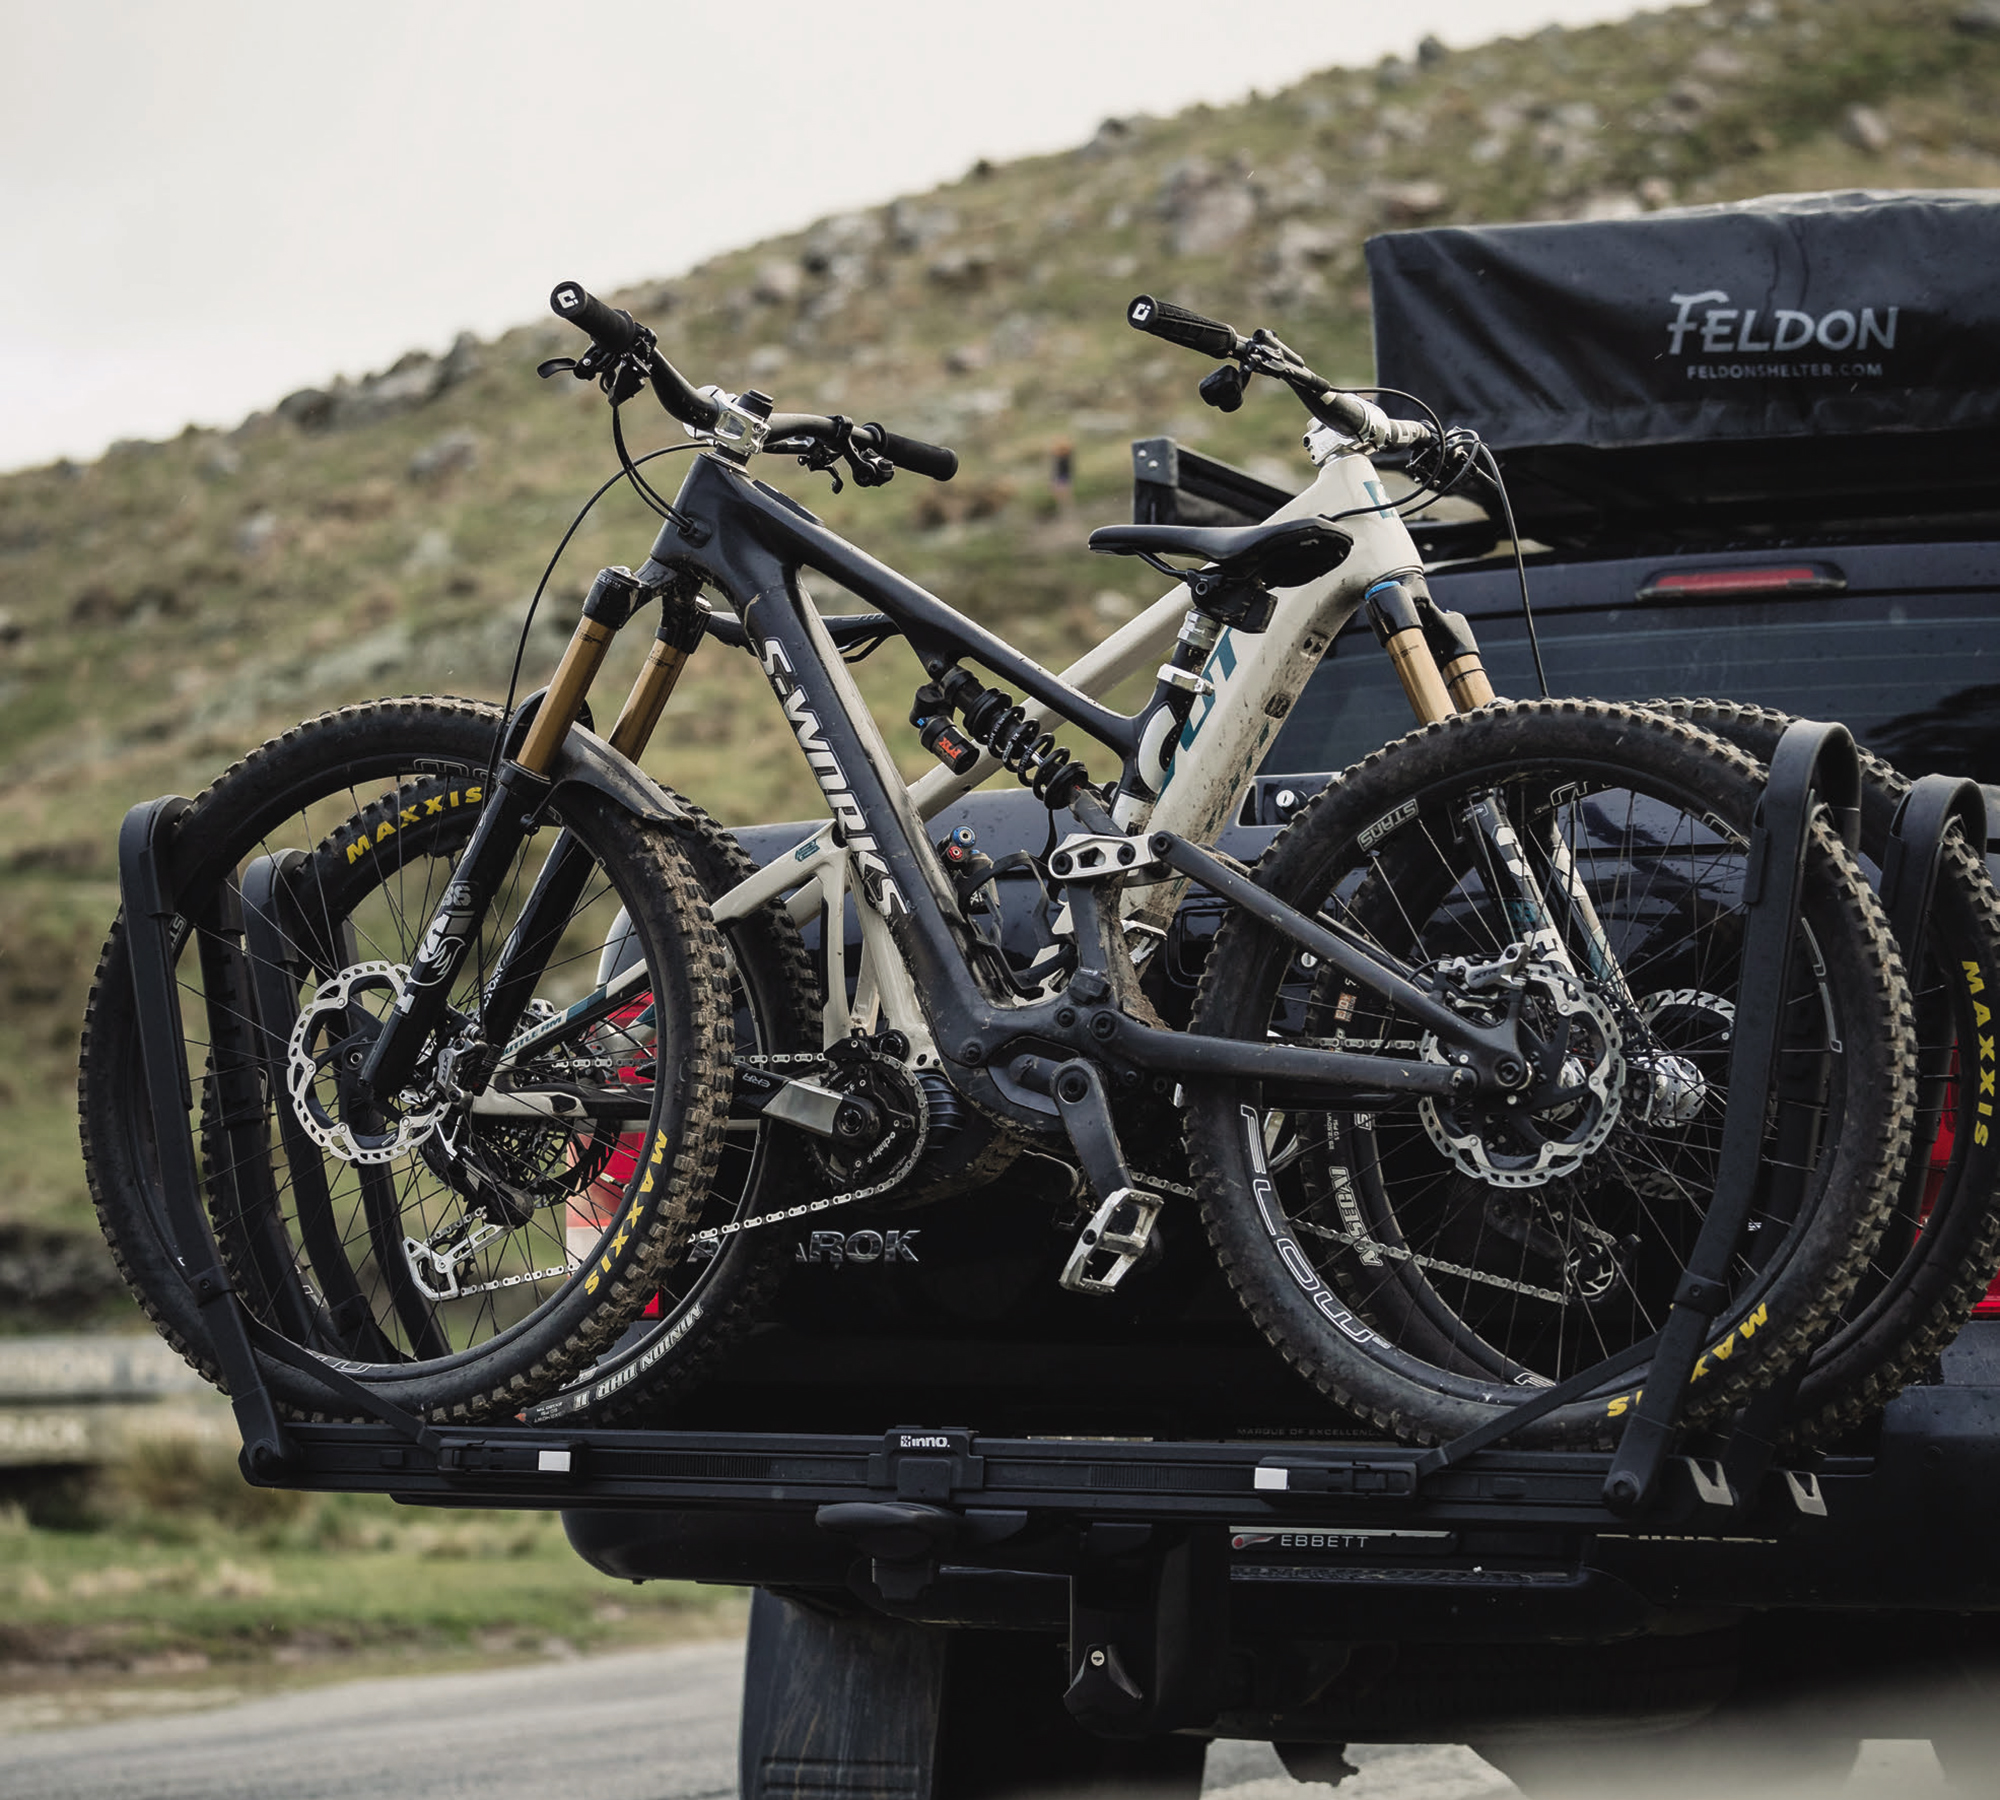
Inno Tire Hold HD Rack
Words & Images Cameron Mackenzie
RRP $1249
Distributor Racks NZ
The concept of a platform bike rack is nothing new, with many of today’s mainstay manufacturers producing several different models each.
Whilst common, there’s seems to be a new brand on the block every other month, each offering a bigger, beefier and “better” option than the other guy – and Inno’s no exception. Up until recently, Inno is a brand I’d not heard of, let alone knew was available in the local market, but I quickly took notice when I stumbled upon their latest Tire Hold HD rack, offering what looked to be a significantly sturdier rack than anything else I’d seen thus far.
Bike racks have been a pain point of mine over the last few years – never seeming to get more than two years out of a Yakima rack before it bends, breaks and/or rusts past the point of safe use. Whilst the way I use it – leaving it attached to the back of my truck year-round and lapping the country in search of the perfect MTB photo – may be a hard life for a rack, they’re a tool, and I expect more. I mean, who has the time or strength to be lifting their 25+kg rack on and off the car and into the garage for storage between weekend Woodhill trips?
Inno’s latest offering, the Tire Hold HD rack, steps things up, offering large weight carrying capabilities, a wide range of tyre size compatibility, and a design that removes any frame contact – one which, up until 2015, was unavailable on a rack outside of the US.
Fitting Inno’s rack onto my truck was a relatively straightforward affair, although, it did require a few small mods to make it all play nice. The rack features a little depth stopper that helps hold the hitch in the same place – presumably for easy alignment as you take it in and out – which I had to remove in order to get the pin holes to align. Their locking pin has a moulded plastic handle, but is of such a size that it prevented it from being able to be threaded in. Removing the plastic handle from the bolt (albeit forcefully) sorted the problem, and it now threads in easily utilising the 8mm hex key head.
As my bike quiver has evolved, so too have my requirements for a bike rack, so the idea of a rack built largely out of aluminium, with the ability to carry up to 34kgs per bike, hold strong and handle off-road use held big appeal.
The strength of the rack is clear when looking at the size of the hardware and pivots featured throughout. The main pivot, which allows the rack to fold, features no-play and is actuated by a smooth and easily accessed grab-handle at the further-most end of the rack. Whilst elements of the plastic components used throughout make me a little nervous, the cowling encasing the main pivot is a welcome sight, helping to keep a lot of the nasty road grime and dust away from one of the key parts of this system.
Loading bikes is where this system shines. With the way in which the ratcheting arms work, the arms stay put once extended, allowing for one arm to be set in position, a bike rolled or placed up against said arm, and the last arm folded up and tensioned using one hand.
Unloading requires a little more coordination and the use of both hands. I find you need to pull the arm back towards the centre of your bike to take the pressure off of the ratchet, and have your other hand depress the release switch on the tray. My only gripe with this is that the ratchet mechanism requires you to keep the level pressed in whilst you slide the arm back, at times leading to you ending up in some creative body positions.
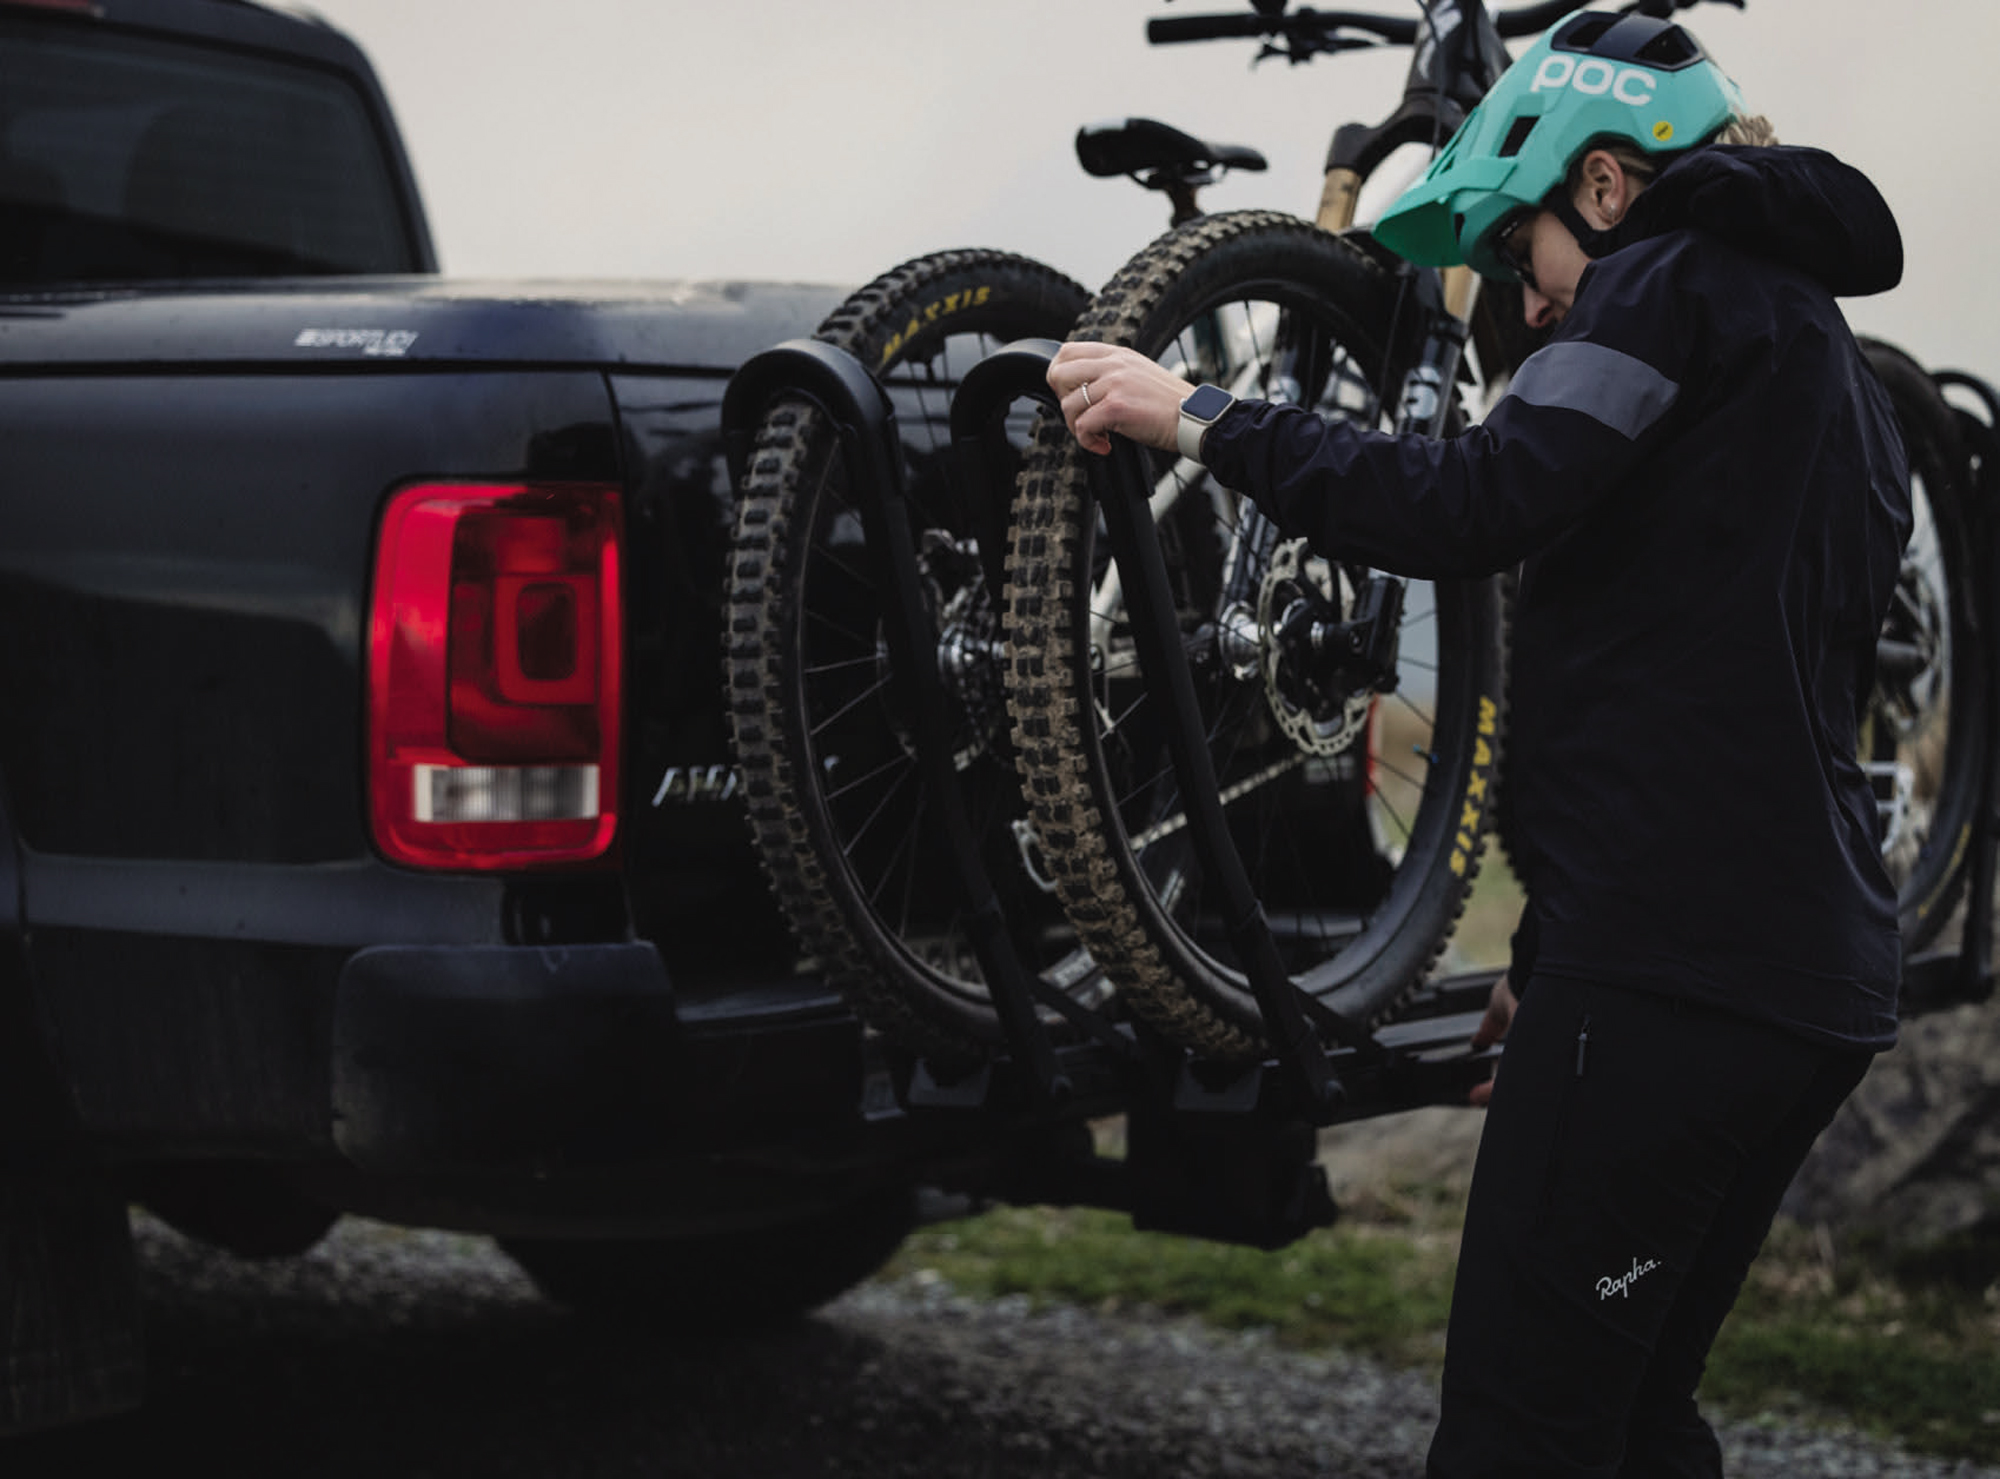
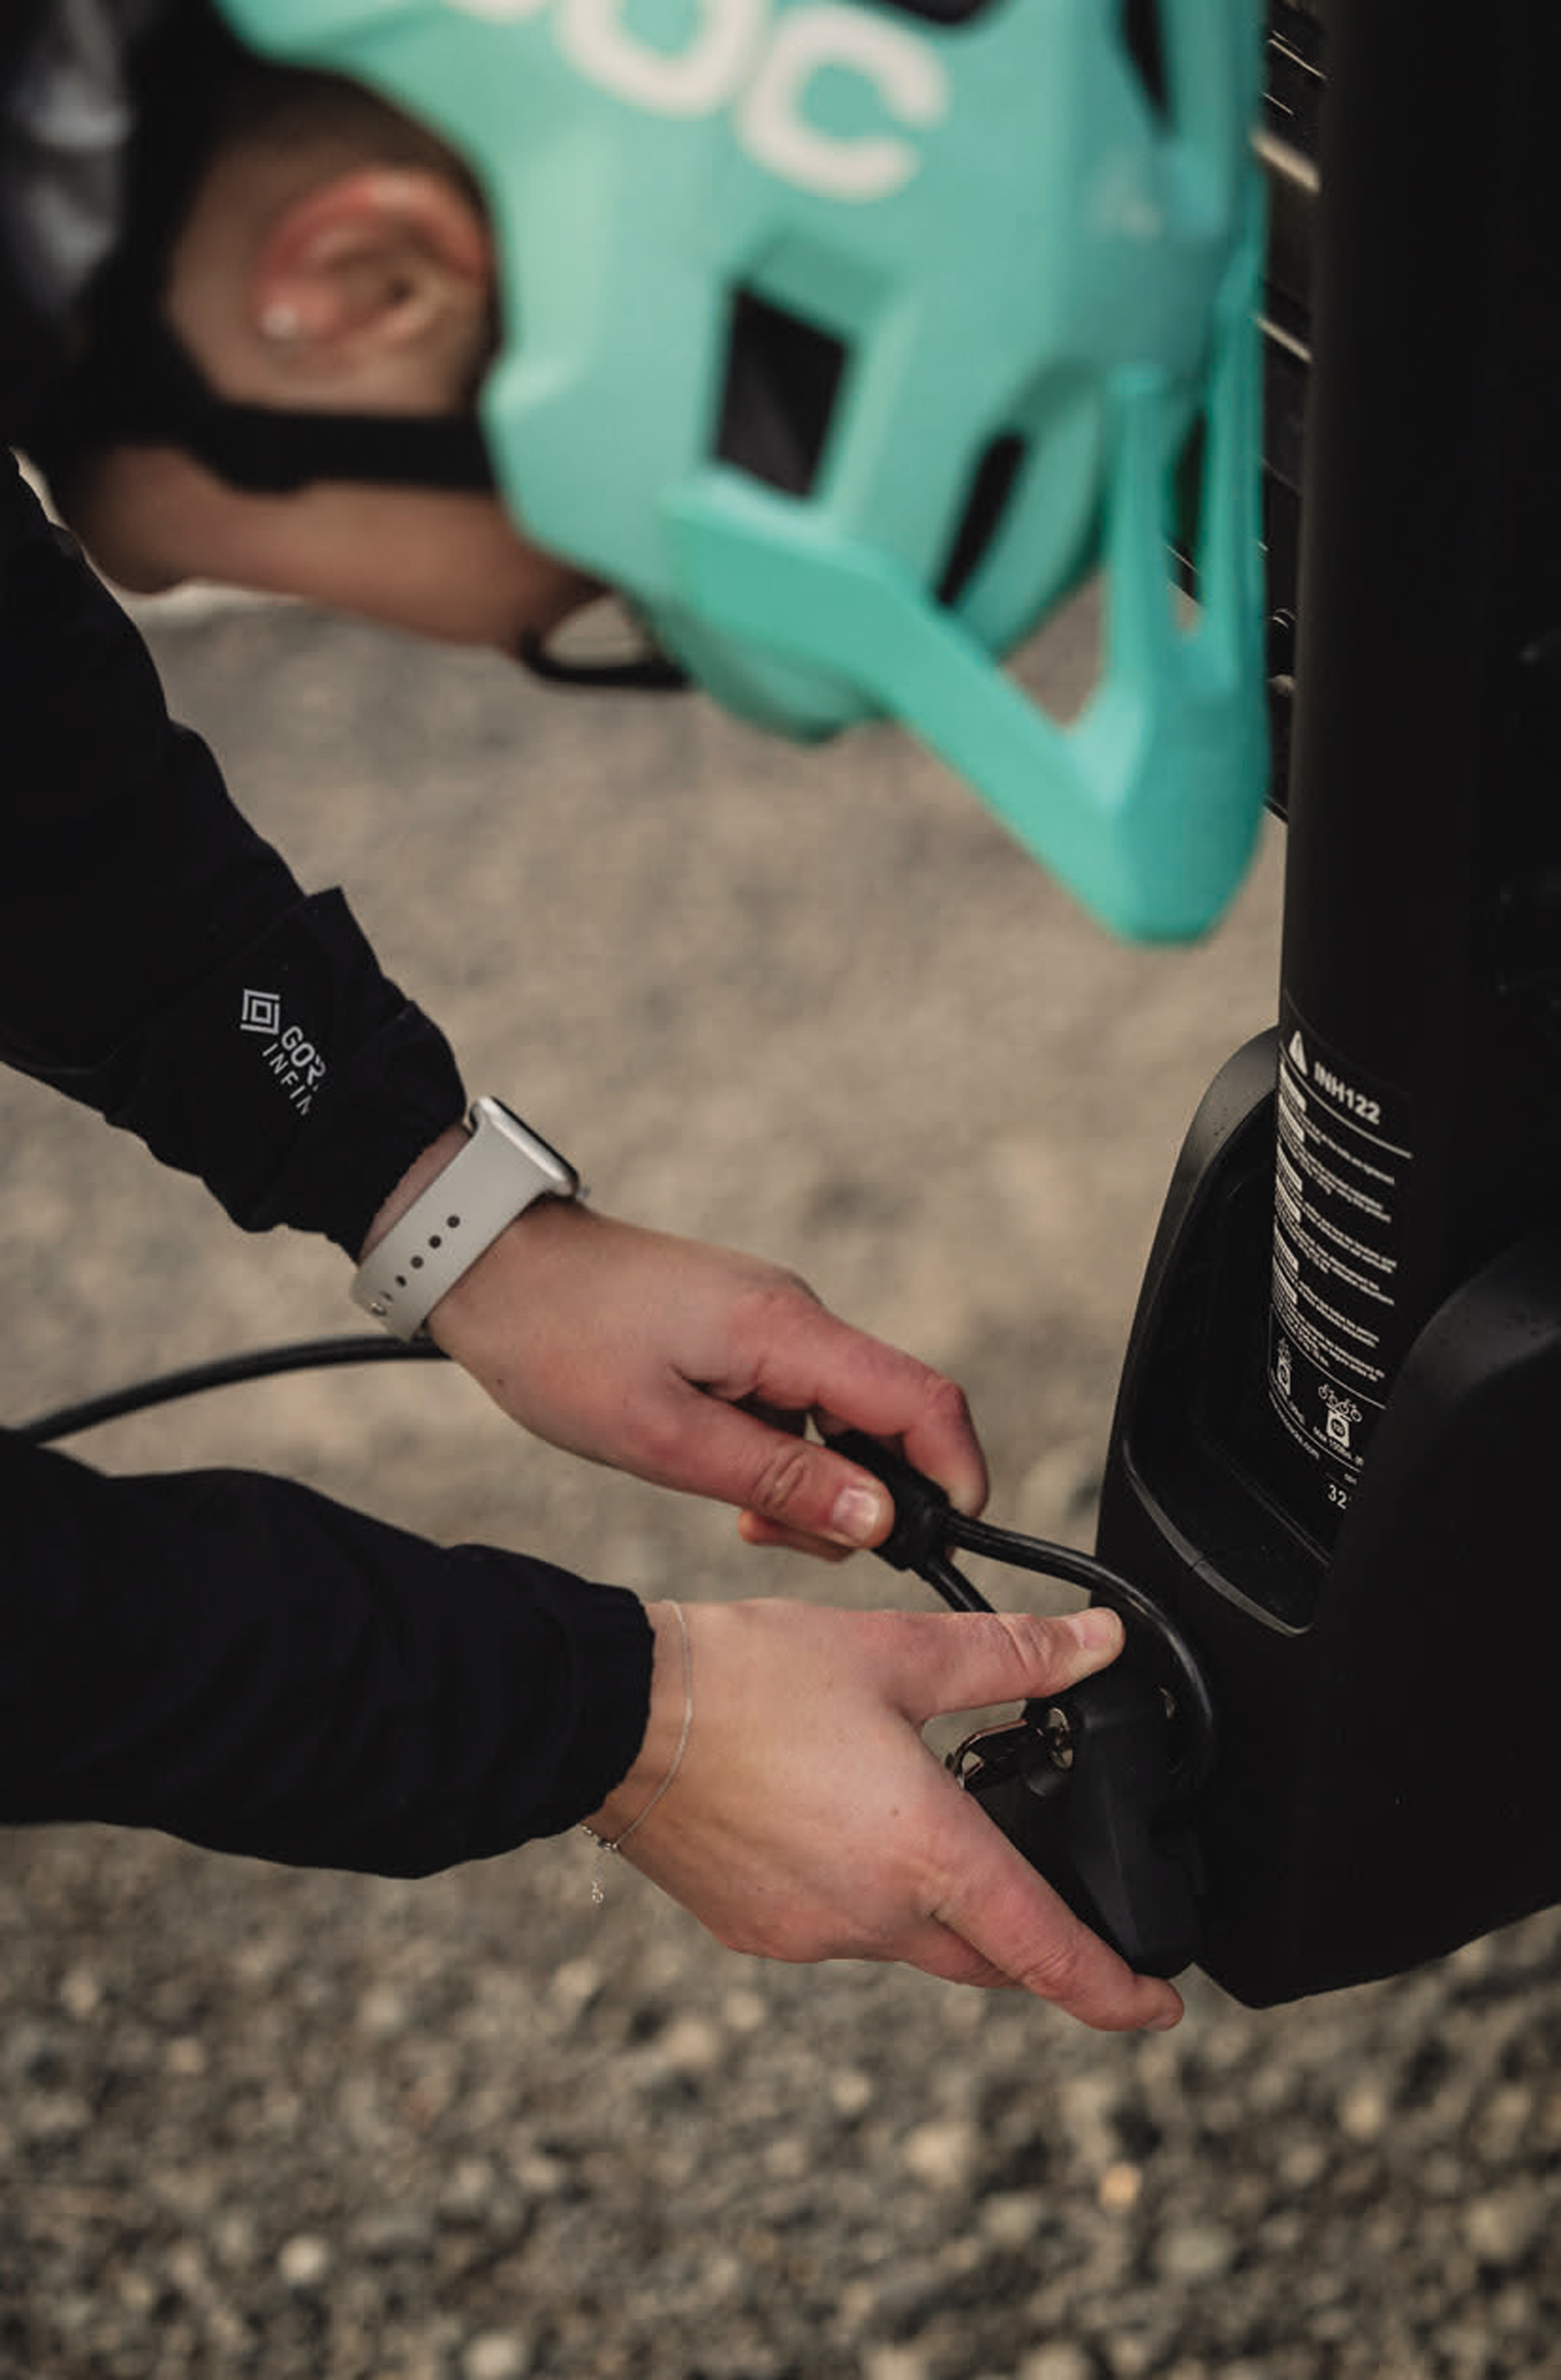
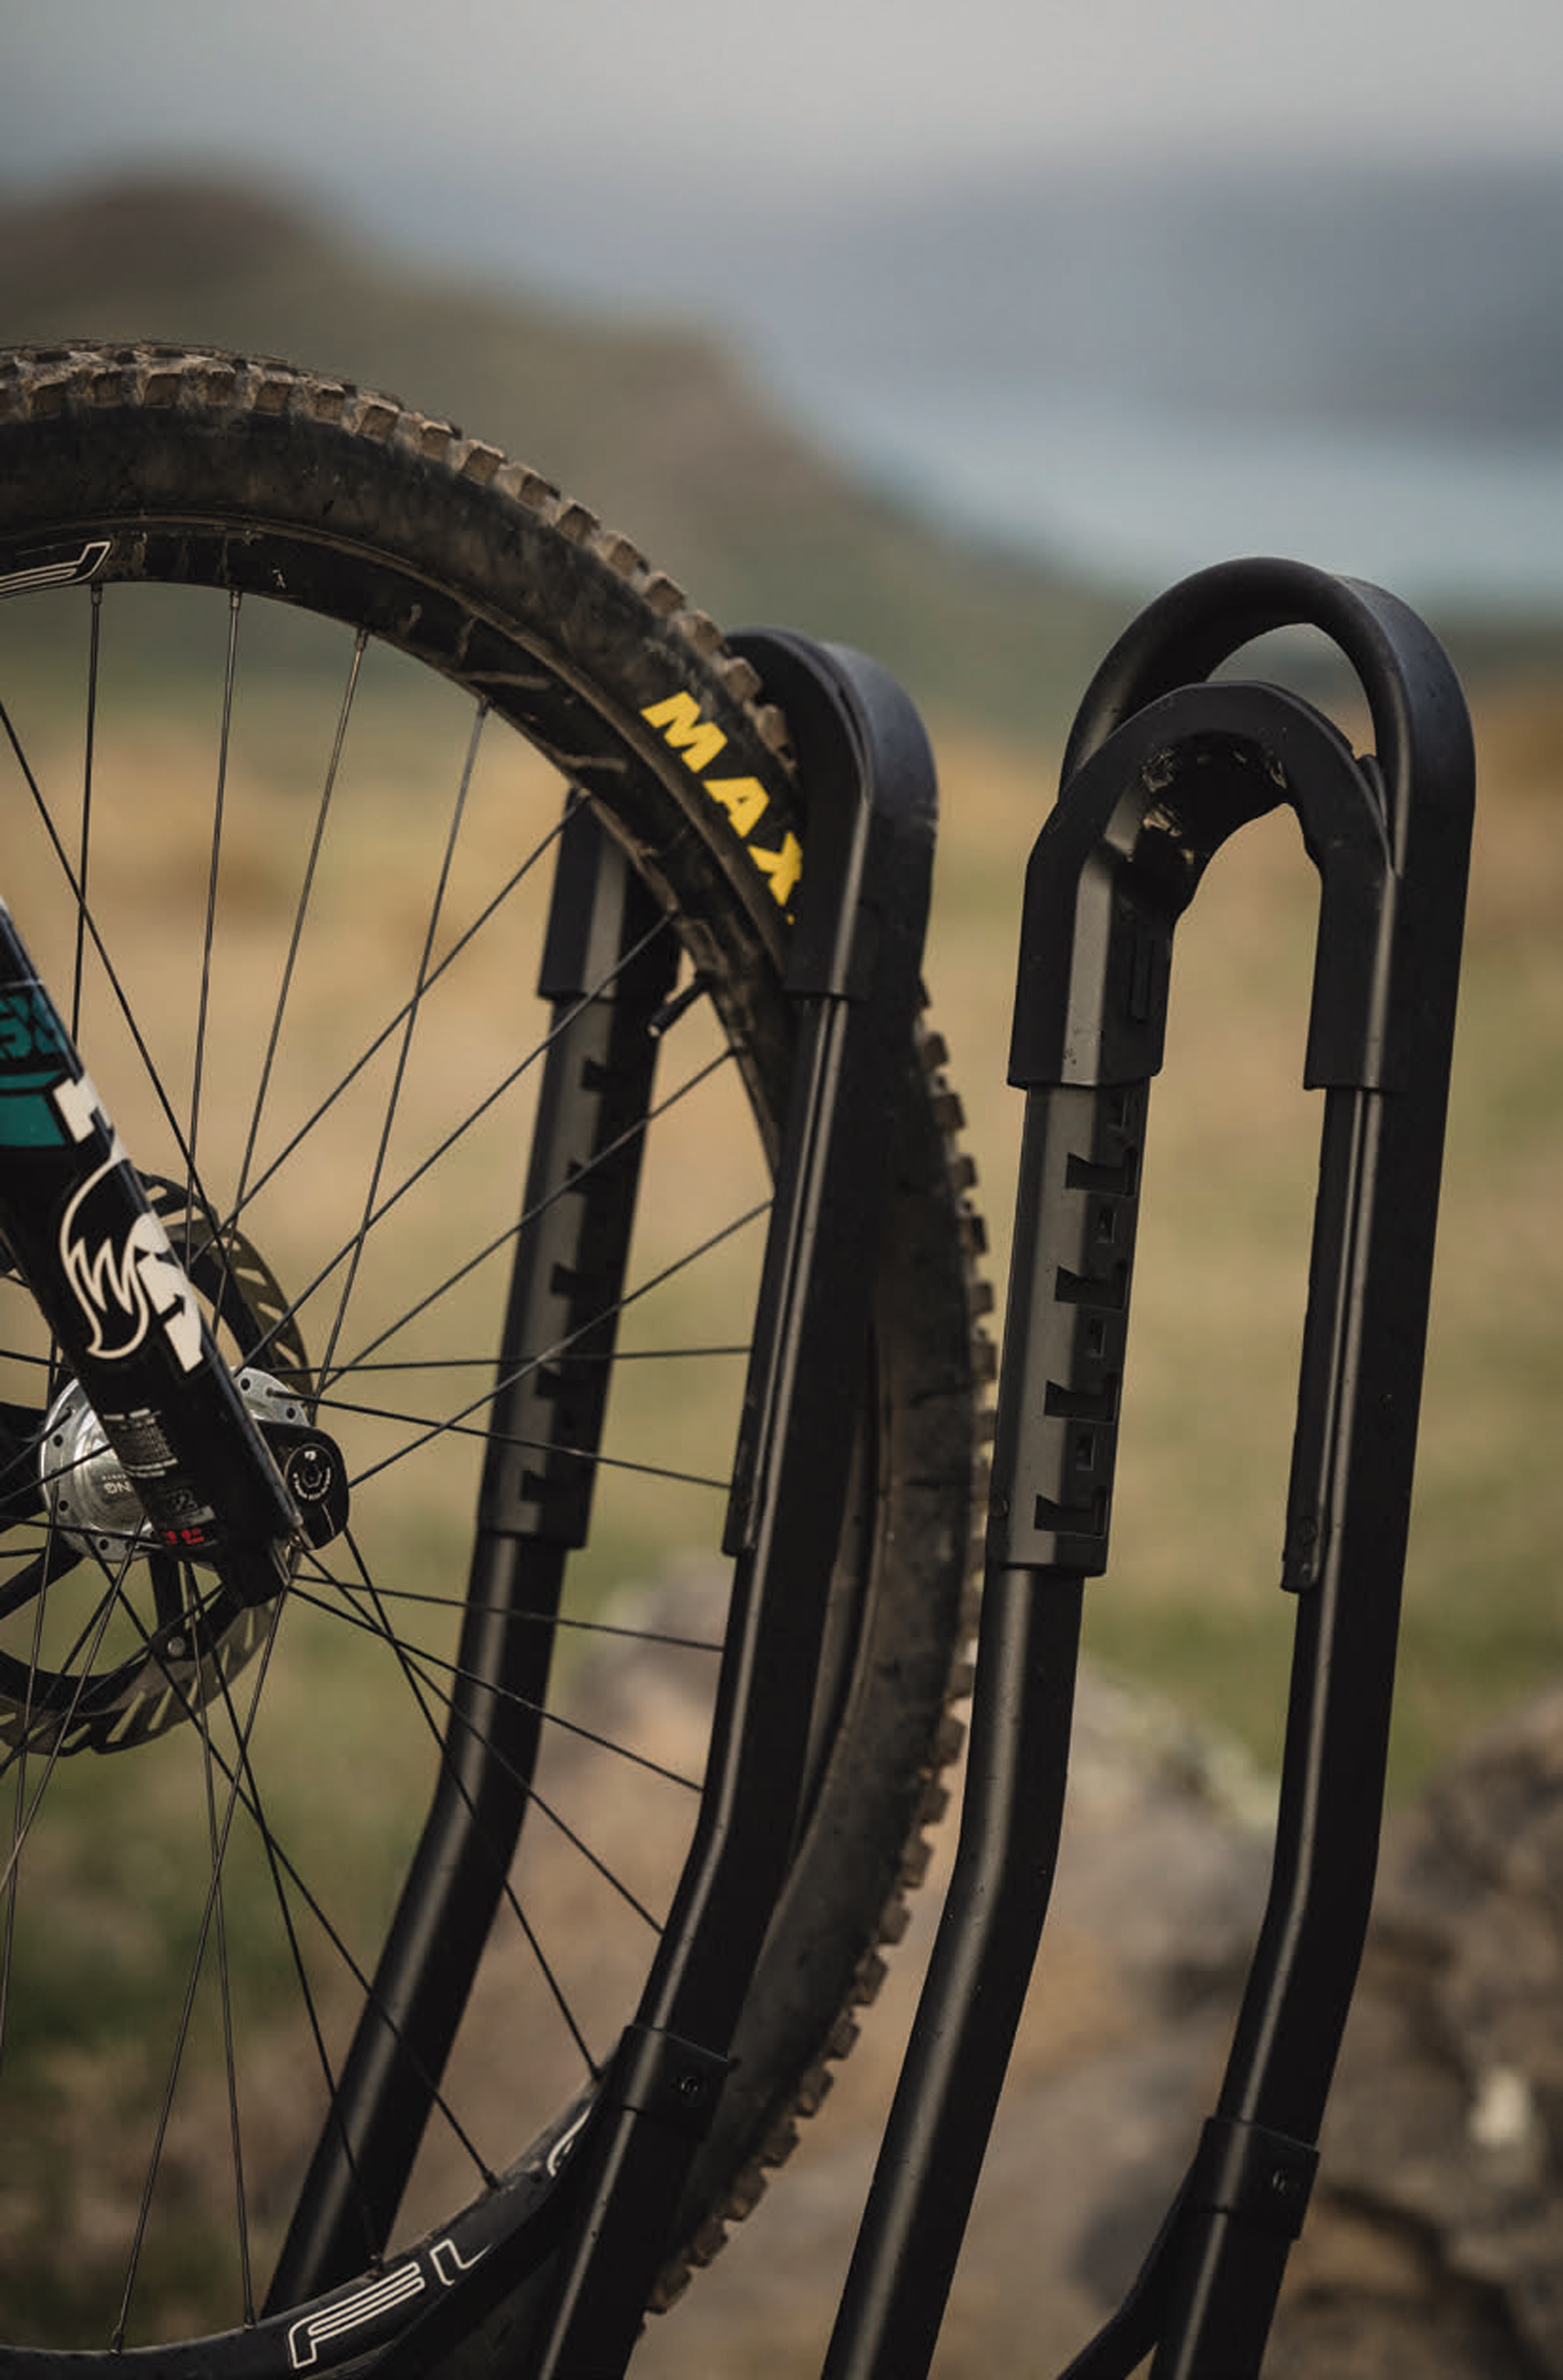
The tyre holders/arms feature a hard-plastic cup which acts as the key point of contact against the tyres and needs to be adjusted depending on the size of your wheels. Doing so is straightforward, but isn’t something you’d want to be doing each time you load your bike. As in our case, if you have a mullet-wheeled bike, or ‘his and hers’ with varying wheel sizes, you find yourself placing the bikes on the rack in the same order and orientation each time to avoid any hassle.
Each carrier bolts onto the main arm of the rack using a t-track style system (similar to what you’d find on roof rack type bike carriers), which allows for close to 30cm of fore-aft adjustment. This range of movement in pairing with the ability to place your bike anywhere on the carrier and adjust the balance of the arms to affect its position means the days of bikes mating is all but over.
Where other racks would creak and rattle, Inno’s HD rack hasn’t made a peep. Even with 45kgs of carbon and lithium swinging off the back down rough, corrugated gravel roads and mild 4×4 tracks, the bikes held rock solid and would barely wobble even, as the truck bounced around. Long journeys are much the same – hassle free and without movement.
The Tire Hold HD is designed exclusively around a 2-Inch hitch, so for those using a smaller hitch receiver or a tow ball, you’re out of luck when it comes to running this heavy-duty bit of kit. Inno offer similar models using a lot of the same materials and construction, but only for those whose vehicles don either a 1-1/4” or 2” hitch. For the towballer’s, sadly you’ll be needing to look elsewhere for the time being.
The ability to lock your bikes onto your rack is a feature you tend not to utilise all that often, but is one which you want to be well thought out and reliable when you need it. Unfortunately for the Tire Hold HD rack, the locking solution is the one feature which really lets it down. Their solution to security is a basic double-loop cable which requires being fed through itself on one end, and the other being clamped down by the hitch’s expanding wedge handle. The cable itself is something out of a primary school bike rack and wouldn’t take much to cut through or pull out of the locked handle. With the bike rack loaded, locking the cable in place would require you reach underneath the rack and fiddle around with a small key, realigning the handle on a small spline, and clamping said cable loop in place.
An easy solution would be to buy an aftermarket bike-lock and chain the bikes together, but for $1249, you’d hope they could come up with a better solution – perhaps wheels locks like the ones found on the Rocky Mounts or 1Up models.
My only other peeve of Inno’s rack is the inability to expand the carrying capacity after the fact. The Tire Hold HD is available in a two or four bike model, but neither option can be changed with the purchase or removal of an extension. Having that ability is helpful both ways – being able to shorten it for around town when it’s just you, or being able to take a car full of friends on riding trips, without the need to have two racks sitting in the garage.
Time will tell how well the Inno rack lasts but, for now, I’ll be keeping this one fitted, at least until I need to carry more than two bikes – and will be carrying my own lock.
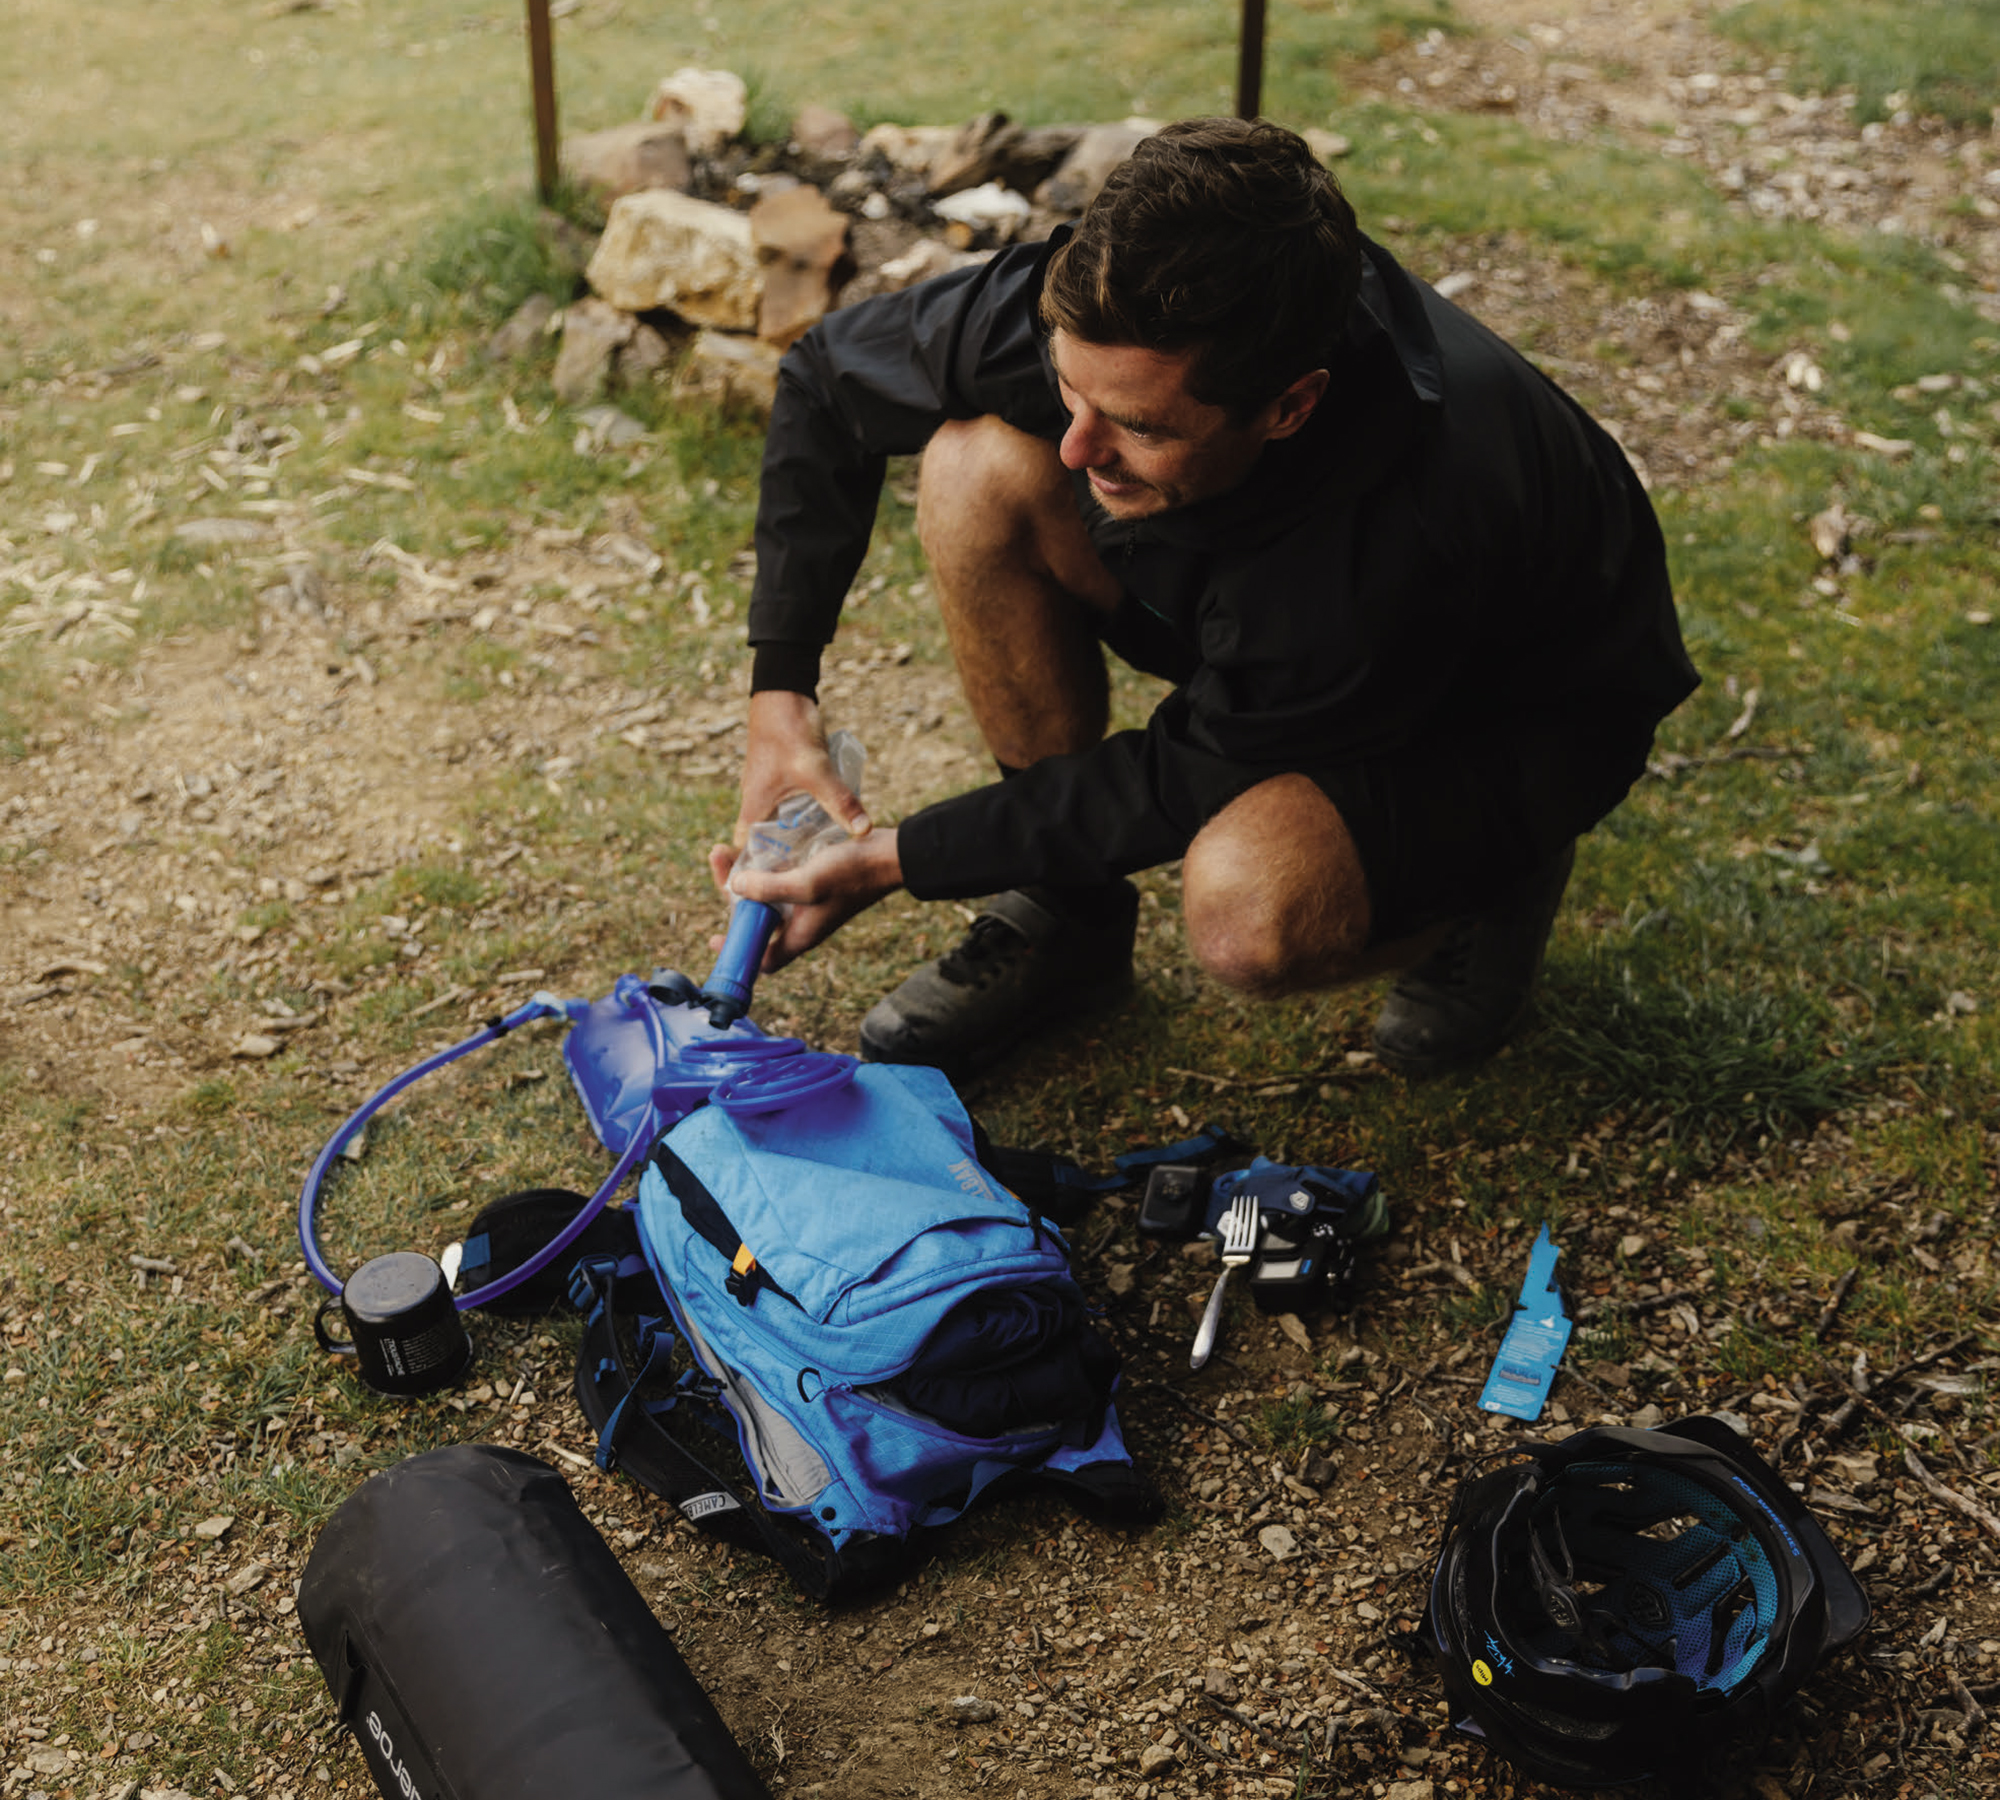
CamelBak M.U.L.E Pro 14
Words Liam Friary
Images Henry Jaine
RRP $279
Distributor Southern Approach
I’m always scheming or planning an overnight trip, particularly during that time between the clocks springing forward and winding back again (boooo!). How much gear we actually need on a trip, and what we are going to use to carry it, is always a big consideration.
I don’t mind having some weight on my bike, but I always like to try and keep it free to move, so having a decent backpack with enough storage is an absolute must. Extra hydration is also key when pedaling off into the backcountry for hours and days at a time, making a reservoir a must have. For these trips you need to pack ya meals, snacks, layers, jackets, power bank and locator beacon at the very least, along with other essentials.
The M.U.L.E Pro 14 is aimed at big days out and comes with loads of genuinely useful storage arrays. The back panel is most excellently called ‘Air Support’ and really does help reduce sweaty back syndrome. It also features the brilliant Crux Reservoir which holds three litres of water. As well as a compartmentalised main storage chamber, the M.U.L.E. Pro 14 has a hip belt with cargo carrying capability (another must) and a removable bike tool organiser wrap thingy. You can also insert optional ‘Impact Protector’ spine protection armour into the pack.
When loaded up and out on the trail, the CamelBak M.U.L.E. Pro 14 isn’t that noticeable — and that’s a good thing! For a very spacious pack, it’s just so damn comfy – no pesky annoyances. The combo of stability and security is adequate without having to wrench the bag around my torso. My overnighter stuff was all packed into the CamelBak M.U.L.E Pro without hassle and if you need to pack a sleeping bag you can do that, thanks to two straps that have little hooks on them; I used these to secure my sleeping bag to the bottom of it. Again, when riding, the bag felt snug and secure — I could feel its weight, but it was well distributed. All contact points for the bag have been carefully considered, with each strap being made up of a cross-hatched mesh, along with a sponge centre for maximum ventilation. The traditional shoulder straps have a runner system for easy adjustment of the chest strap too, which reduces that cutting sensation on the armpits which can be a bloody nuisance with an ill-fitting and heavy backpack.
The M.U.L.E Pro 14 hosts a very spacious 3L bladder suitable for whatever your trail adventure. The reservoir is easily accessible via a full-length zip down one side of the bag — the bladder can be removed and refilled with ease, thanks to its helpful handle design and large opening towards the top. The quick release hose connection reduces faff in feeding it in and is great for cleaning as well. The drinking tube has a magnet on it, so it stays secure while you ride. I think the magnet is great for making a solid connection but, when riding and moving, you need to twist it – which can be a touch difficult.
Overall, the light open mesh absolutely lets the back breath whilst remaining secure. The hip straps and lumbar pad really help distribute the weight nicely. A handy addition is the mesh pocket on either side – big enough for a multi tool or snacks for quick and easy access. The best pocket, though, is the sneaky one on the left-hand side of the pack where the waist strap meets the bag. This little pocket is well protected and will fit your cell phone for snapping memorable moments. It meets all my requirements for storage space and stows enough water. The comfort reigns supreme and it does its job very well. Now, I just have to find some more time for backcountry missions?!