

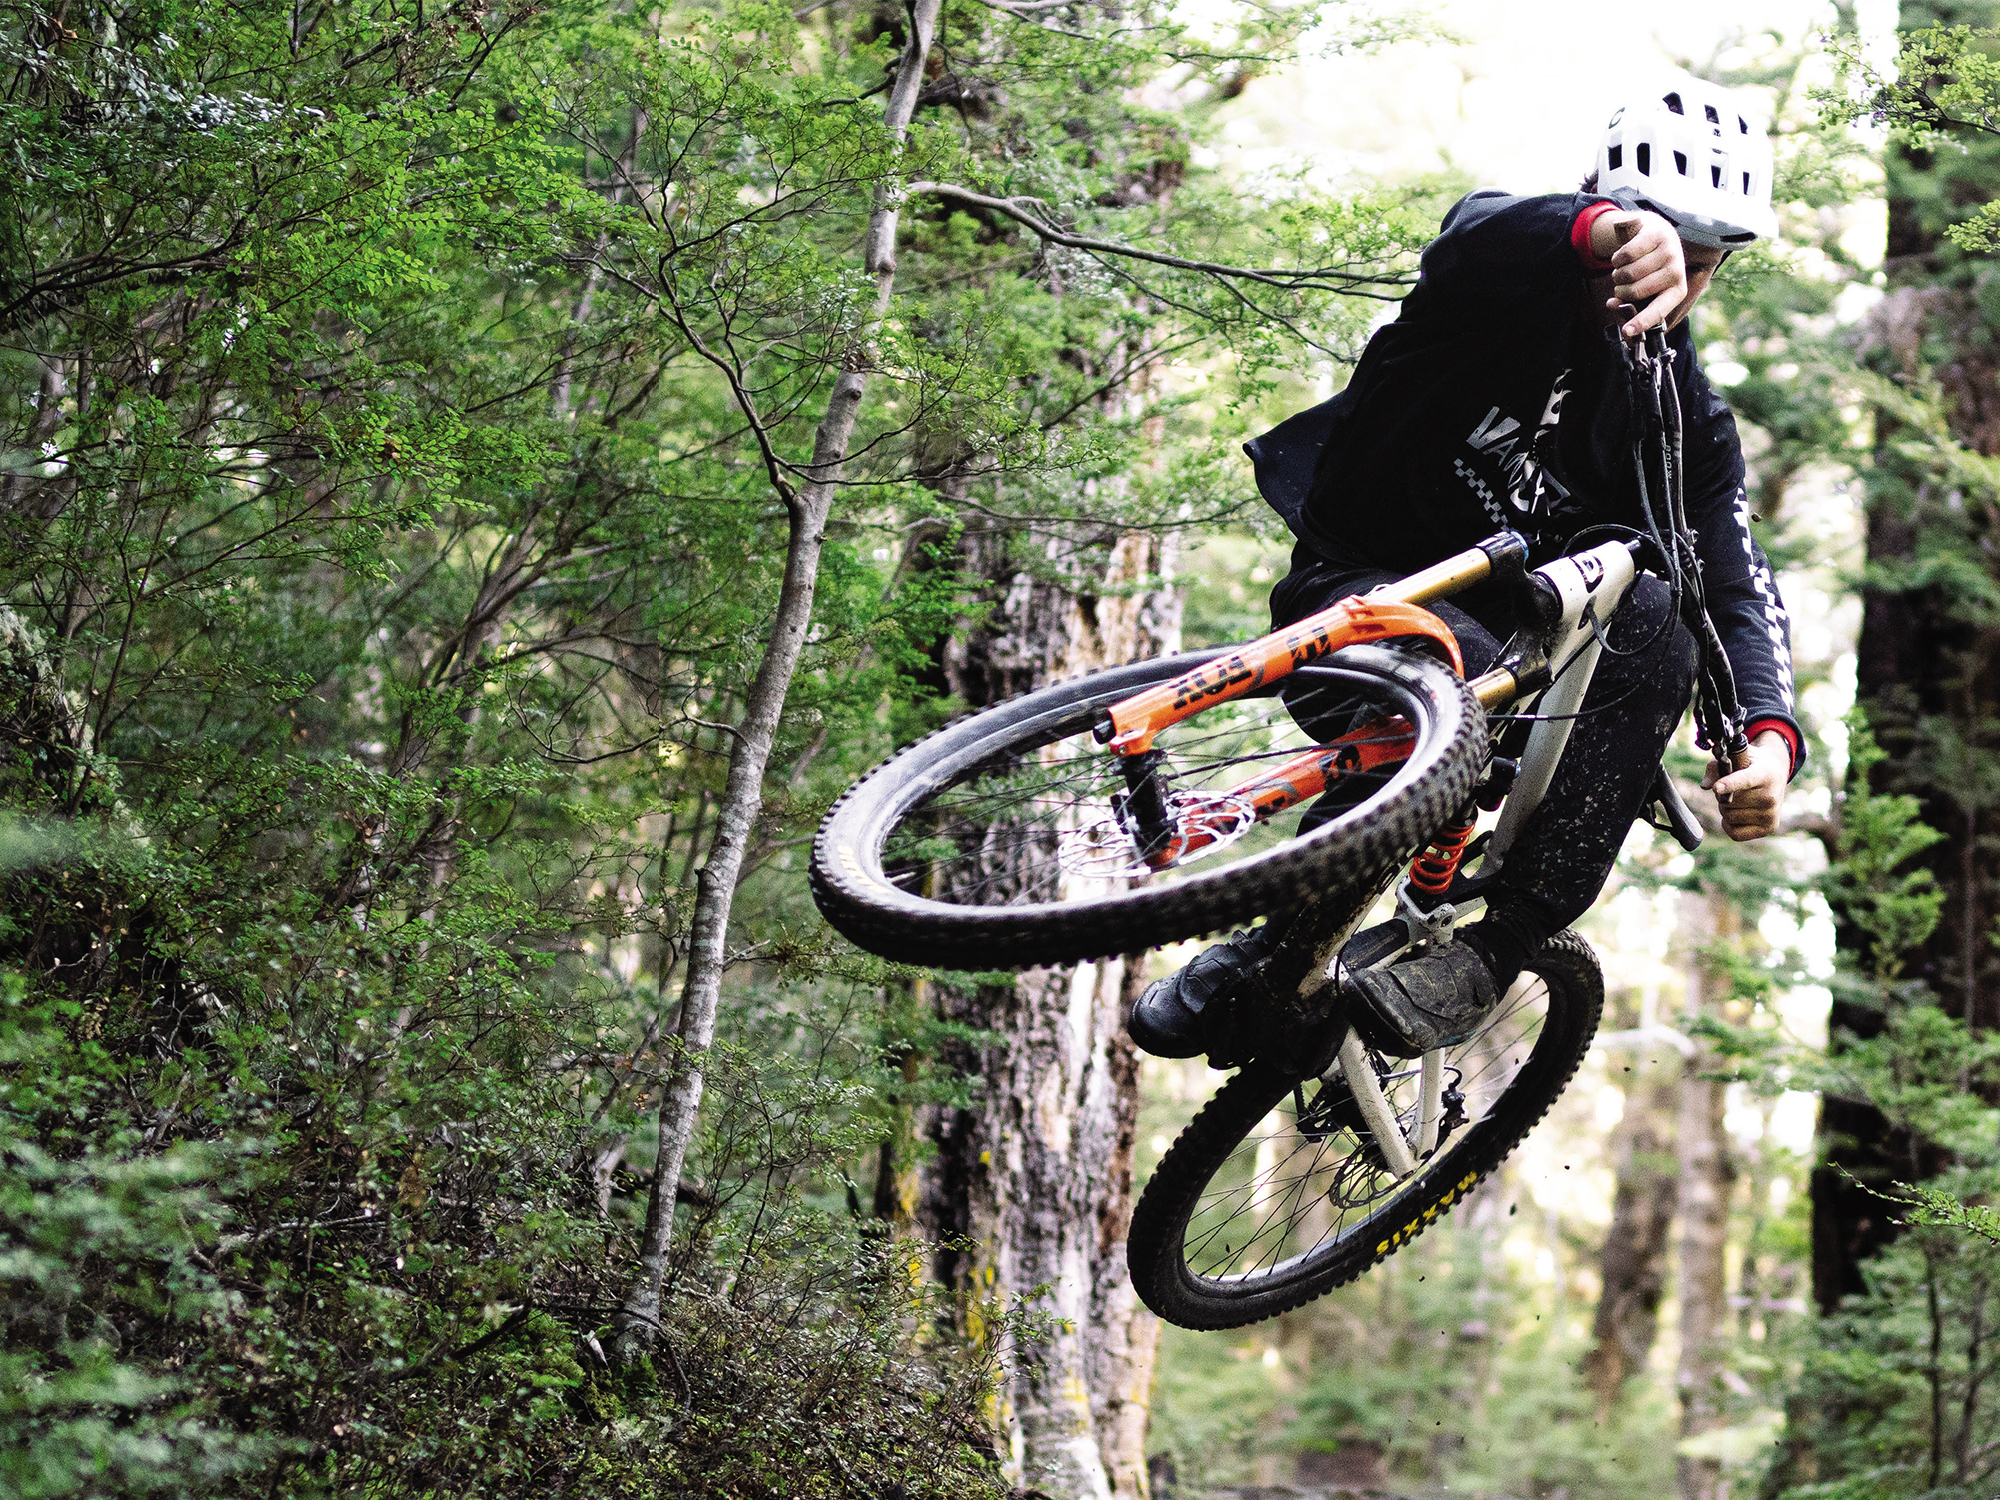
The Maker, Sam Baker
Words Lester Perry
Images Finlay Woods & Sam Baker
How the collision of illness, art, and bikes changed the course of Sam Baker’s life.
From afternoons spent scouring roadside inorganic collections, either for parts or entire bikes, to digging jumps in the back paddock, Sam Baker’s childhood was pretty ordinary for a Kiwi kid in the late 90’s. His earliest years are but a puzzle piece of the guy known as ‘Sam’ to many, ‘Baker’ to others, and ‘Vacation Studio’ to the many brands he now works alongside. Needless to say, the journey of life from those early days in his backyard of Waimauku, to now living in Wanaka, creating graphics and art for many current ‘it’ brands, is a great yarn. Even after knowing Sam for a long while, it’s only now, after working on this feature, that I’ve filled in the blanks and can see how he has ended up doing what he does and why he does it. None of it was by accident, apart from a few pivotal years of illness — but we’ll get to that part of the story.
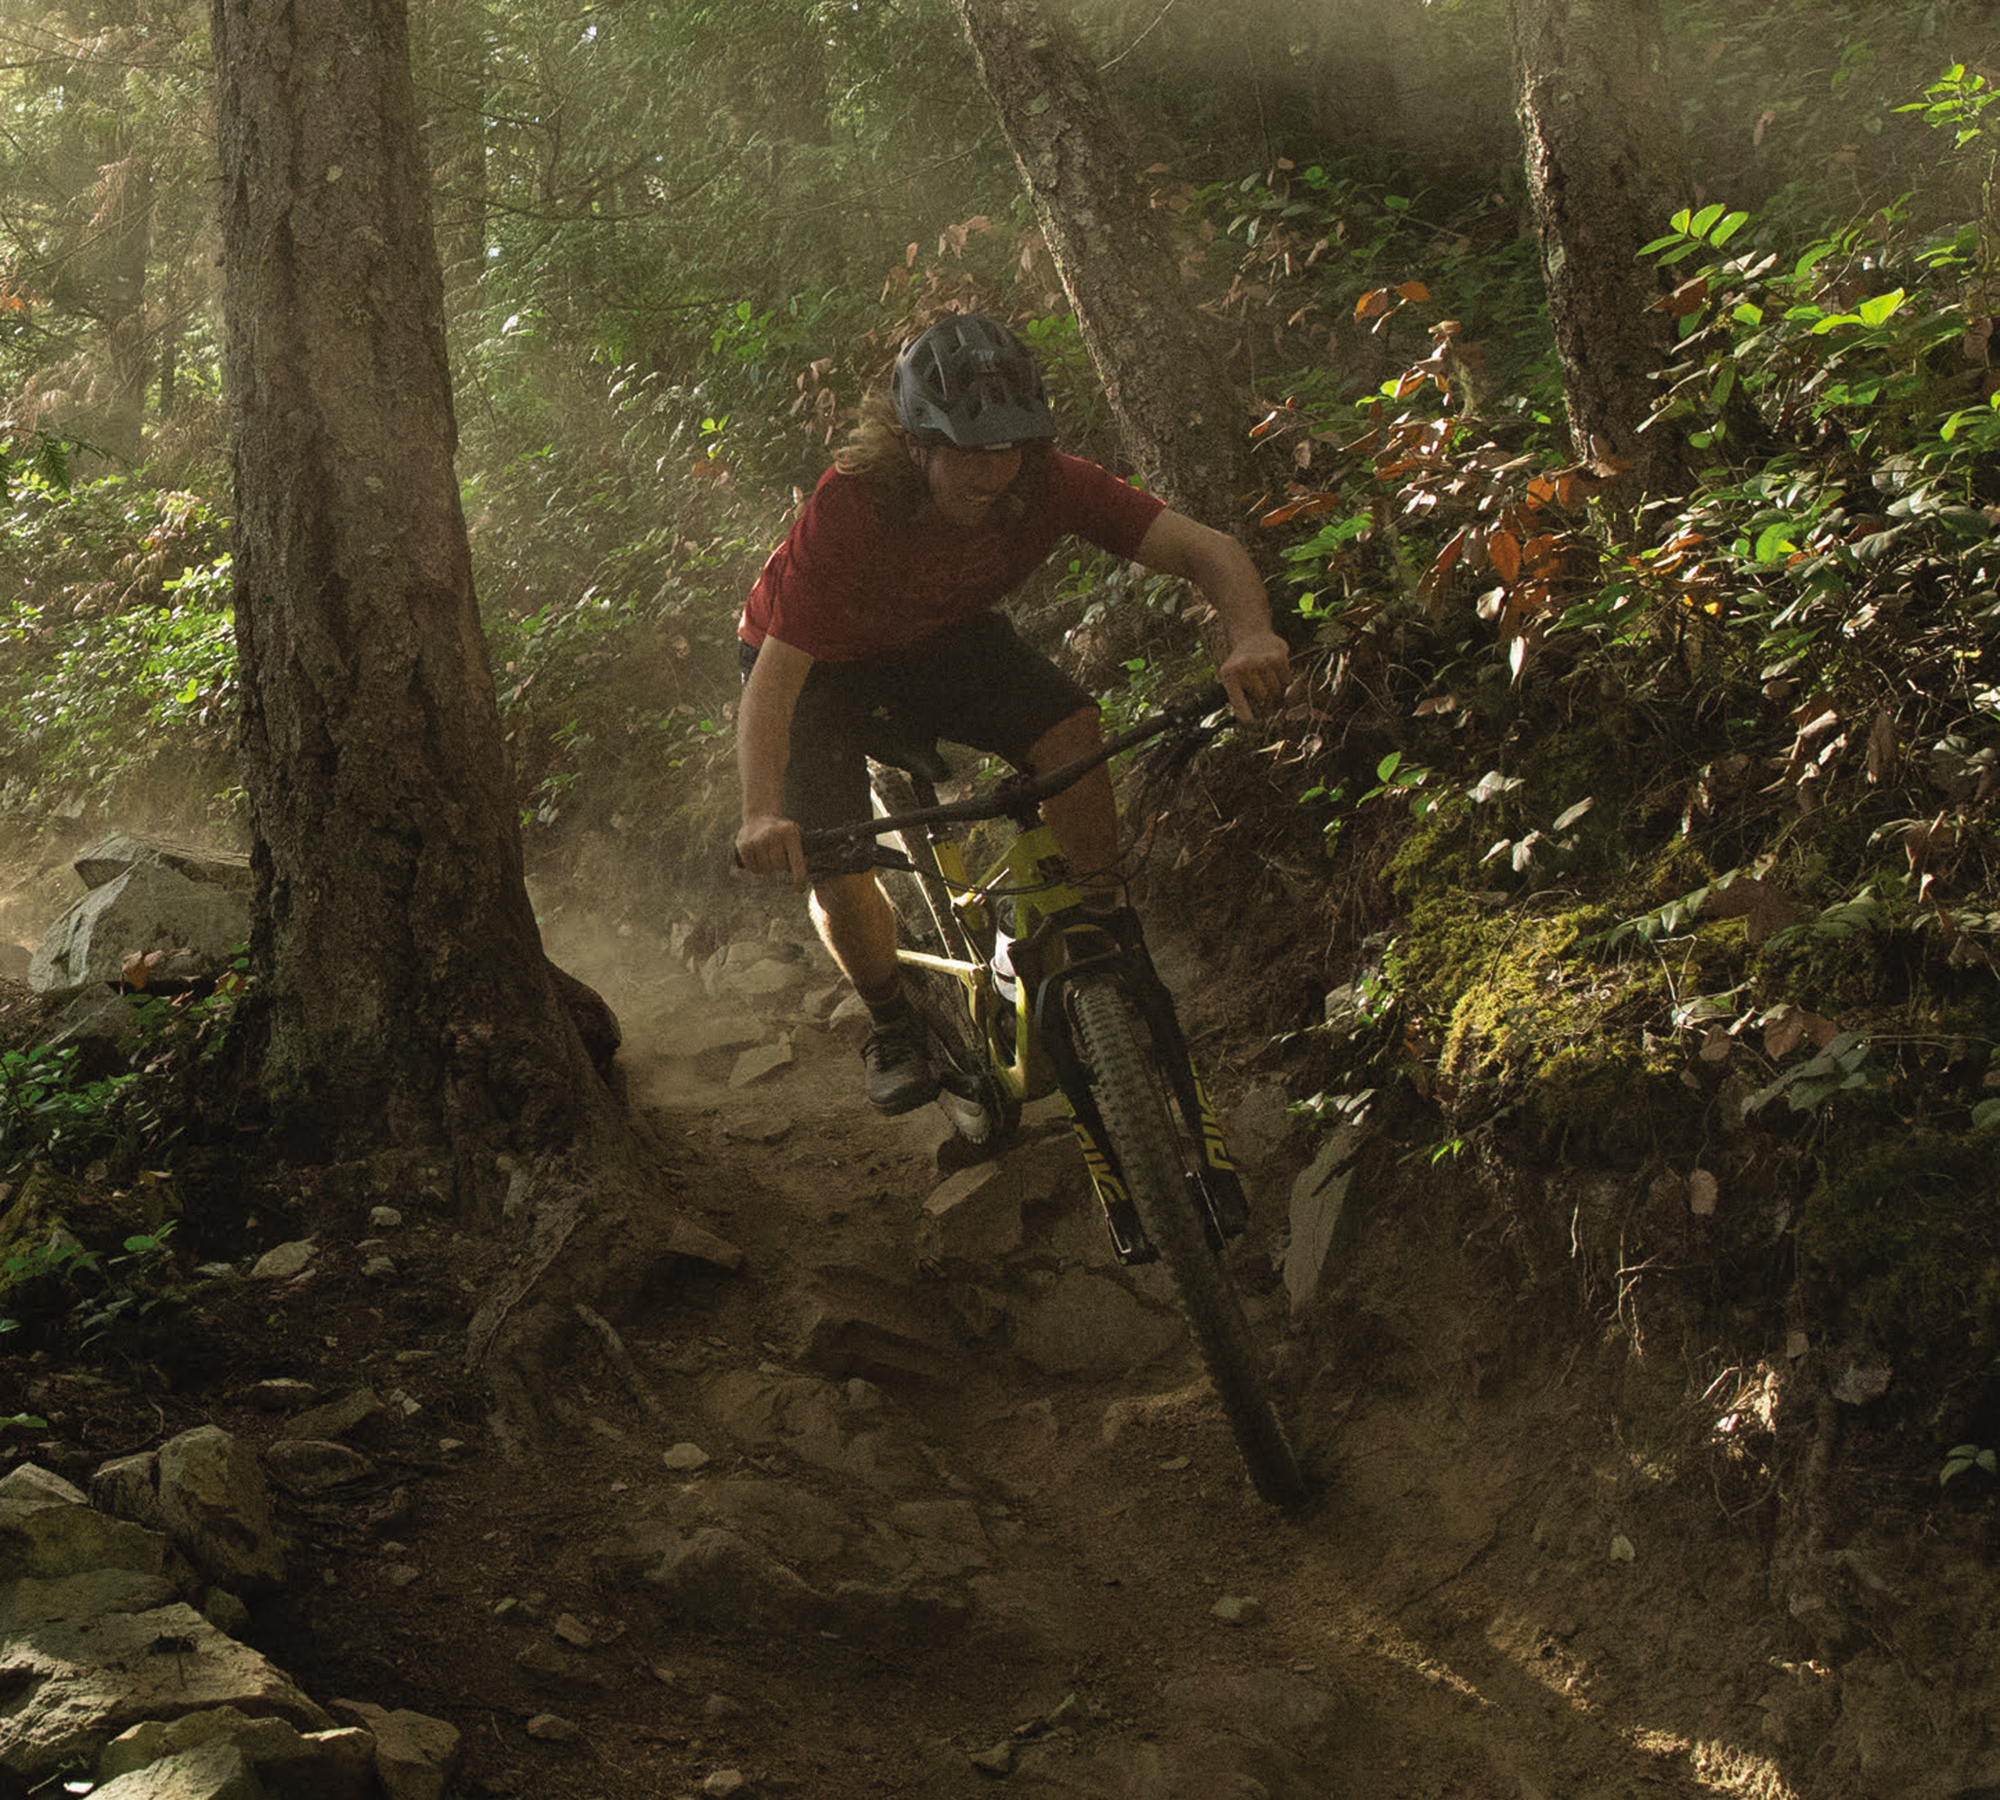
Raised on a ten-acre block of land in Waimauku, 45 minutes north west of Auckland, Sam’s school and friends were a car drive away, so he and younger brother Zach spent their days racing each other aboard their latest inorganic collection Frankenbikes, unwittingly laying the foundation of their riding skills. With Riverhead forest on their doorstep, the brothers’ lust for playing on their bikes drew them to the area’s notorious trails. “Good in the summer, horrendous in the wet, I kind of just grew up riding there. I was on a 16 inch BMX bike until I was probably 13. That’s all we had. We would just go into the forest on these back-brake only bikes and just bomb huge chutes. And it was pretty wild.”
Aaron Fernandez, now owner of Alta stores in Queenstown, was a key figure in downhill racing in the Auckland area, and a friend of Sam’s father. Seeing how keen he was on riding, he encouraged Sam to broaden his horizons by taking on the Auckland Downhill Series. Now on a larger, better suited bike, a Kona Scrap hardtail, Sam dipped his toe into racing across the Auckland region and so began his journey towards a full-blown bike addiction.
Competition between the brothers helped refine their strengths on the bike. “Especially when we were doing jumps, one of us was learning tricks and stuff, or maybe more style-based; Zach was always way more naturally styley, but I was probably more ballsy, doing bigger stuff. One of us would always be wanting the other person’s (attributes). I could do a bigger jump, but he would do it way nicer, and I was always really angry that he could do it way nicer than me. Then he was angry that I could go bigger or something. The jumps we were building were so sketchy because dad wasn’t building them, it was just me and Zach, a hammer and a couple of nails. And it would be a huge piece of ply with four nails at the top, it would sort of flex like crazy and just springboard you into the air! I look back now (and think) how did mum let it happen? But it was pretty good really, it kind of teaches you to ride anything.”
With access to a digger, the brothers built trails in the yard, eventually building a monstrosity of a pump track. “It was probably like an acre of a pump track. We would just go and add lines that had every possible line option. It was a pretty perfect place to grow up. And I think with it being wet 70% of the time, I look back and I’m kind of thankful for all those wet days because now I love riding in the wet. It’s the best! Whereas generally people kind of hang up the bike for winter.”

With the boys now keen on racing, their next port of call was the infamous Levin Secondary Schools MTB Champs, a three-day competition that drew riders from around the country. They pitted themselves against each other in uphill, downhill, and cross-country, usually using the same bike across the disciplines. This became an annual trip for the Baker family through the high school years. The excitement of racing his peers ramped things up a notch and, after a second place at SS Champs, Sam secured his first sponsor: Bruno at Cyclexpress who helped him to throw his leg over his first proper downhill bike, the iconic Ironhorse Sunday.
By 2007, Sam and Zach had caught the downhill fever. With parents in tow, what was previously their yearly trip to Levin was now a full national race series trip. “We just dove straight into it, really, we went and just did the full series first crack. That was our family holiday. The olds bought a tent and the whole family just camped for like six weeks or whatever it is, down around the whole South Island, just doing the races. I was maybe 16 or 17 when I first did a national series, and I did it every year until 2012, just driving around.”
Sam was selected for the NZ team during his first year in the U19 category in 2009, hoping to represent NZ in Canberra a few months later at the World Champs. Unfortunately, soon after selection, Sam crashed and broke his wrist. With theoretically enough time to recover before Canberra, he set to work making the most of a bad situation. “I was just hedging all my bets on Worlds in Canberra that year. It was a pedally track, and that certainly wasn’t my forte, and I ended up having another huge crash there. My first year under 19 wasn’t what I was hoping it would be; I missed going over to Europe and doing the full trip and everything. I kind of was just sitting at home with a cast training for Canberra, really.”
Putting his lacklustre 2009 season behind him, in 2010 Sam headed for an entire season in Europe, hoping the trip would be a step towards World Cup domination or at least some decent performances. It shaped up to be another year of discontent. “I met Josh Bryson in 2008 (Josh went on to be a high-profile pro) when he came over with his family and did a New Zealand series here. So we’d stayed in contact, and then that was our base initially. We flew into Manchester and stayed with Josh for ten days or so. We used his driveway to build out the van we’d brought, he’d given us a car to go and look at vans and stuff, and we’d go riding with him at the local woods around there, which is pretty sick. Looking back now to see where he’s come from, what he’s done and where he’s gone, is pretty sweet.”
“We were there for maybe three months, we got an apartment in Morzine, based ourselves there, and kind of just picked and chose a few races around and did all the World Cups we could. I remember the first one being Fort William, and that was just so eye-opening, dropping straight into this famous, huge, rough track. Just so stark in comparison to what we have in New Zealand.”
“It was an experience of a lifetime, and I loved it, but I was just at a bit of a crossroads. Like, do I go to Uni? Do I chase it for another year? It took me ages to decide, but in the end, I was like, I’ll go to Uni and get that out of the way, then I can always come back to bikes. It’s kind of crazy; over that time at Uni, the whole mountain bike world sort of changed. There wasn’t enduro racing; there wasn’t any of that stuff back then. Enduro was taking off, and that seemed way more appealing. The travel aspect of Enduro, going into different, more backcountry areas, is a bit more exploratory as opposed to just flat-out downhill race runs. I wanted to do that way more.”
“I wish I could go back and do it again, but I’d teach myself to actually do a job. If I were to talk to my son or something, I’d be like, ‘be something’. Be an engineer or something. I just went and studied marketing; I studied a subject that just evolves and changes so much. I’d always done art and design at school, and I kind of was thinking, oh, you’re in marketing. You’ll be like, the creator of the ads. You’ll be able to make some cool stuff. But marketing just grooms you to be a sales rep, which is not what I wanted to be. In the end, it was great for the experience and developing as a person. The biggest thing Uni did for me was shape me as a person. It narrowed down what I liked and what I didn’t because, coming out of school, I still didn’t know the world. It’s pretty hard to get out of school and choose what you want to do. For me, it was all about bikes at the time. Then I had this other side of me, which was always into making stuff. It was my first time fending for myself, and that kind of aspect of Uni was good, but actually coming out of it with a marketing degree — maybe not so much. I did marketing and economics, majored in both, but haven’t used it since.”
By 2013, and with World Cup MTB dreams behind him and degrees underway, riding was taking a back seat and, unfortunately, so was his health. A trip to the bathroom one day resulted in Sam spotting blood in his stool, the first symptom of his Crohn’s disease and a crucial turning point for everything in Sam’s life.
“At the time, all you think of is, is that cancer? What is that? You’ve got no idea. And it took them quite a while to figure out what it was. I went and saw people; whatever they initially thought it was, it wasn’t. There’s Crohn’s and ulcerative colitis, which are virtually identical symptoms but have vastly different treatments, which is a pain. So they were treating me for ulcerative colitis, which is kind of curable, I guess, whereas Crohn’s is incurable.”
For the next couple of years, Sam underwent treatment, surfing waves of feeling okay, almost normal, then having flare-ups. The disease sapped his energy to the point of being bedridden. “Your body’s fighting this internal battle. It’s like an autoimmune disease, Crohn’s, and so your body is just sending all these white blood cells and pretty much running your body down while trying to fight this imaginary disease. It’s like it’s attacking your digestive tract, basically thinking that the digestive tract is a virus, and it just eats your insides out.”
“I had maybe two years or three years of just kind of, like, blindly thinking that it was getting better, but in my head knowing I wasn’t, and ended up having a huge flare-up. I don’t know what you call it, but it’s basically your body going into shutdown because it’s on its last legs, and you just kind of collapse into nothing. And that wrote me off for a whole year. I just kind of lay in bed and never really got out. I could sort of walk to the letterbox, and that would flog me for three days. I just couldn’t do anything. Yeah, it was pretty wild.”
Unable to work, Sam figured he could expand his horizons. With his previous interest in design and art, he downloaded the Adobe Creative Suite and set to work teaching himself how to use the software. “Every day, I would just sit on YouTube. I’d think of something that I wanted to do, Google it, or watch it on YouTube. Yeah, you can just teach yourself to do design, which was cool, but it also caused a good shift in perspective.”
“The recovery process was crazy. Well, it’s incurable, but you can manage it for the rest of your life. You’re on crazy drugs. It’s all chemotherapy drugs and that sort of thing. The drugs roll you just as much as the actual disease does. I was taking these crazy high dosages, and they wouldn’t operate to take out the part that’s being attacked until you’ve been through every possible drug option. It lasted like a year and a half of trying all these drugs before they’d operate, and I was just getting worse and worse.”
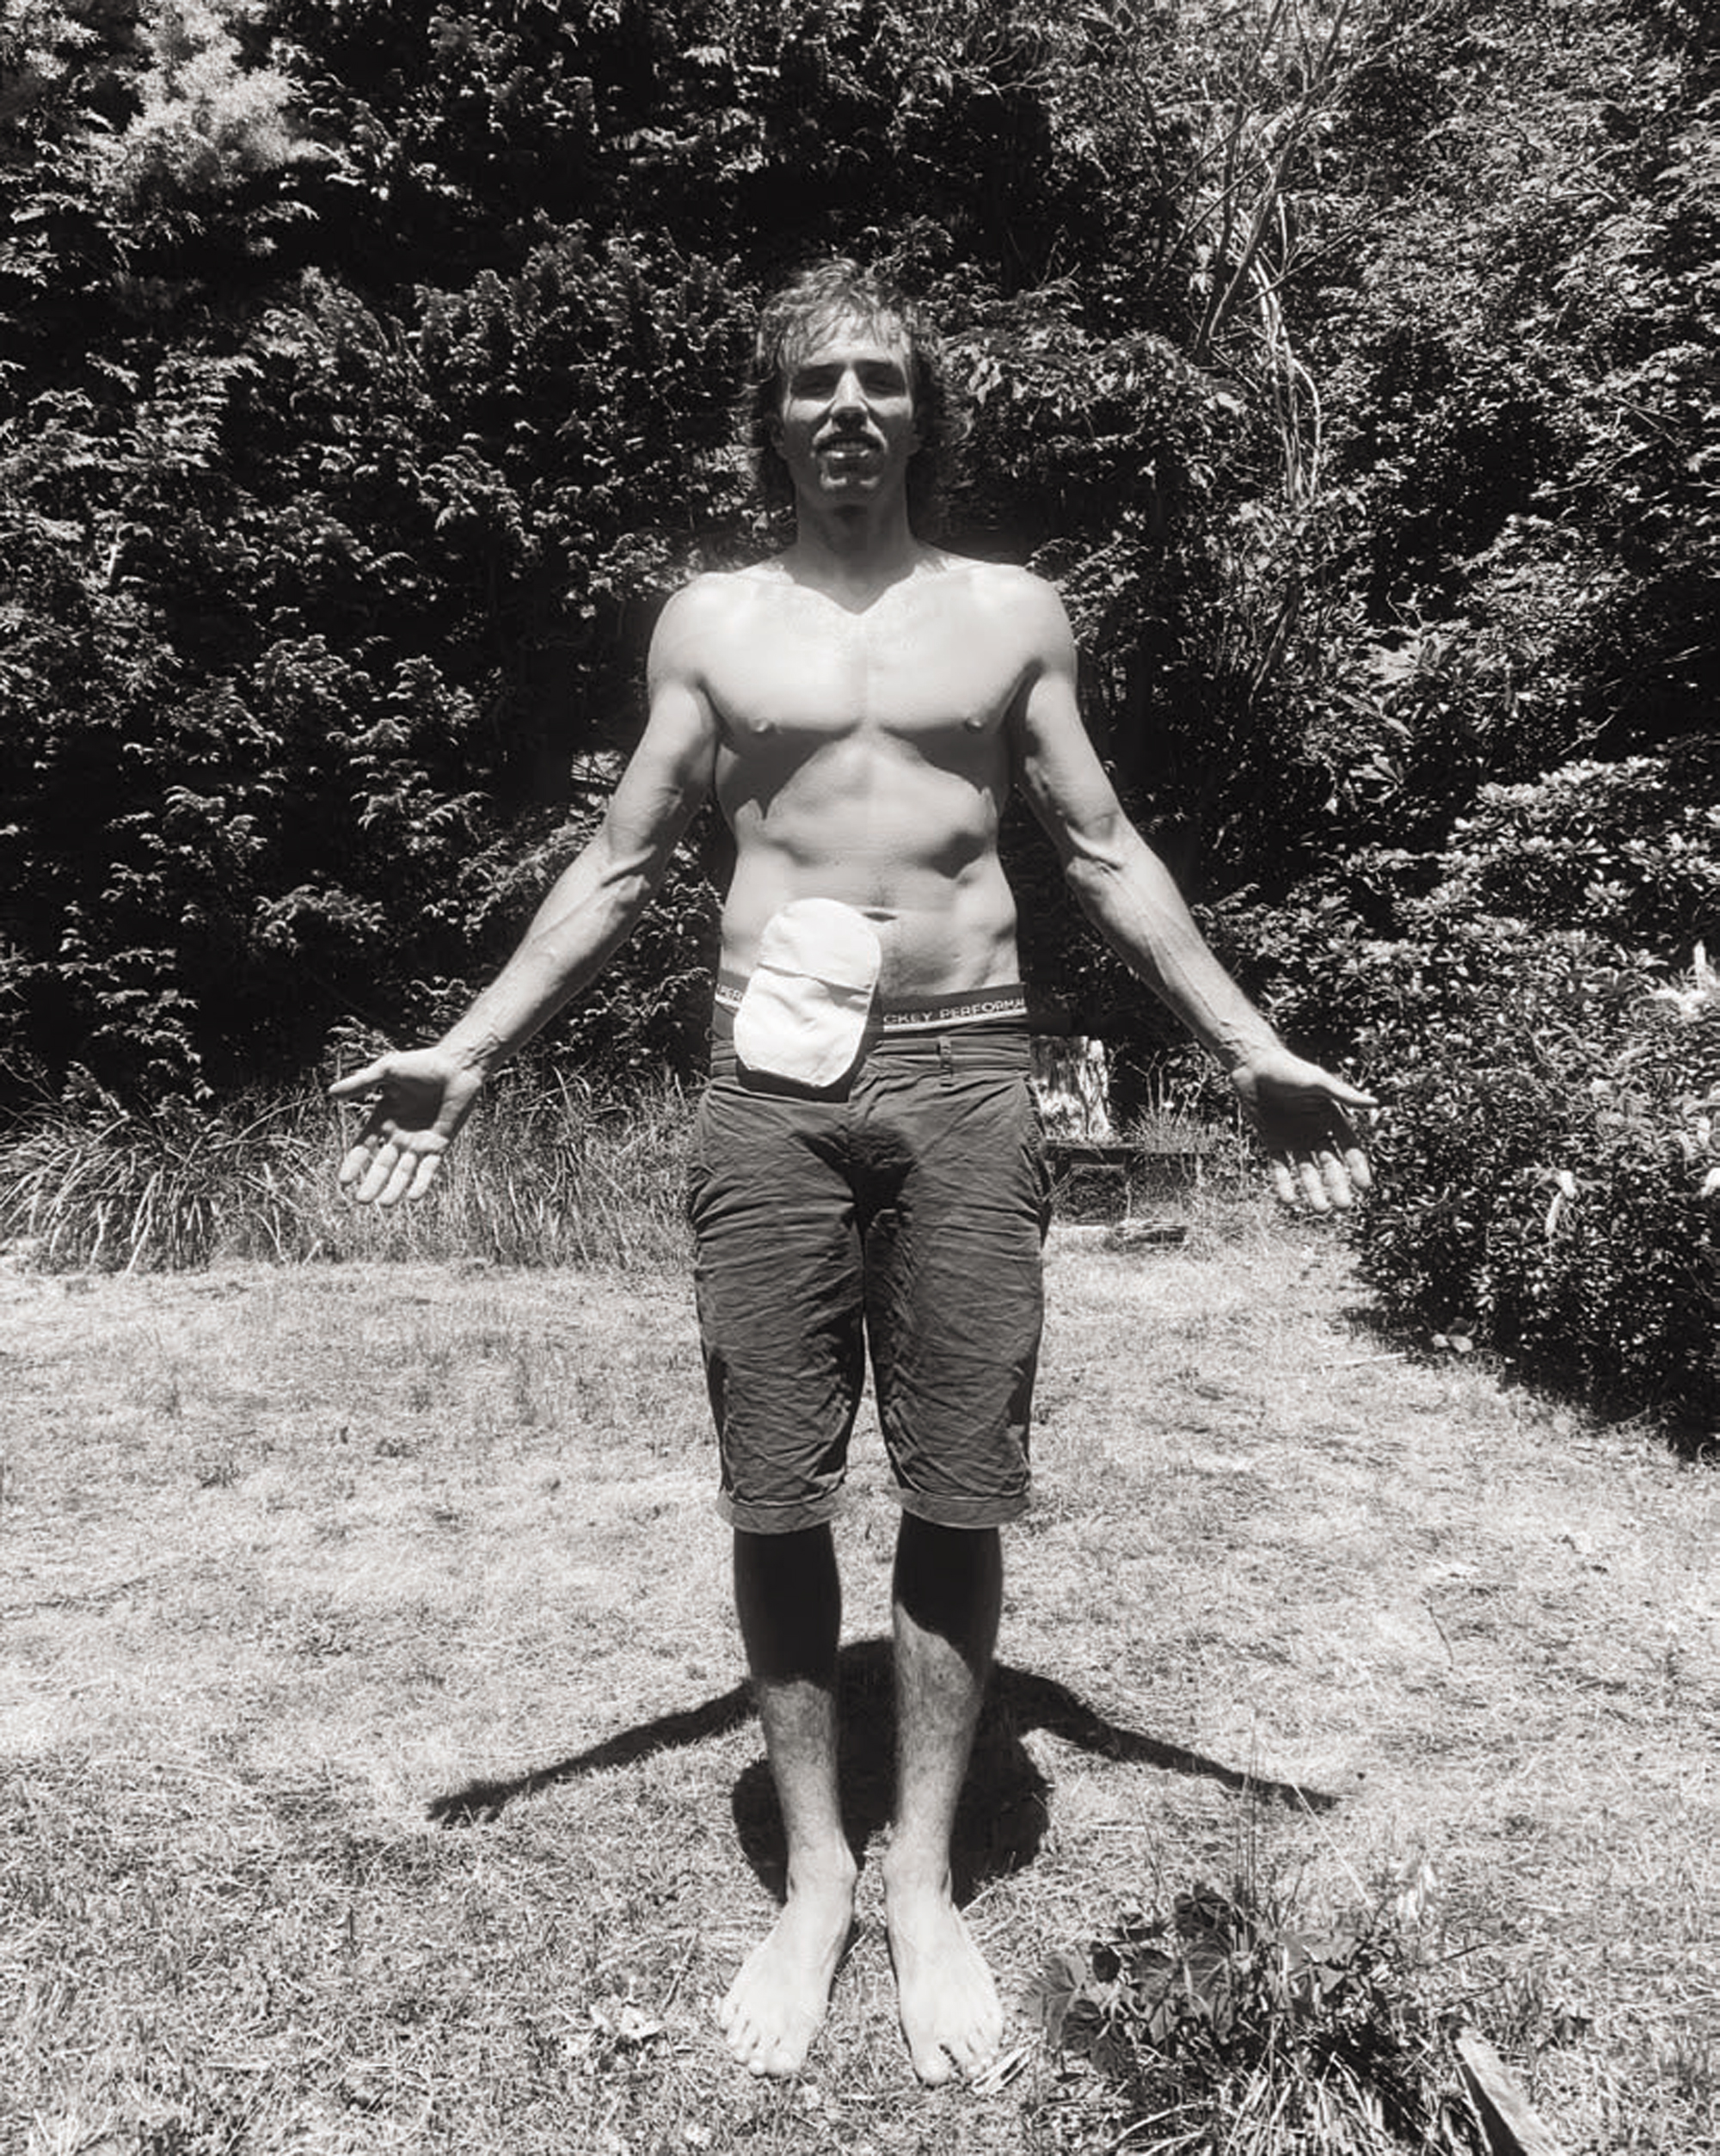
“I was just bleeding out my arse all day, not getting any better. Finally, they said, all right, you can have the operation and cut the affected part out. They ended up having to take out my whole large intestine and give me a colostomy bag. Before I went in for the surgery, my whole body was riddled with scabs because I was so run down. Pimples and all sorts going on, just terrible skin. I woke up from the surgery, and all of that was gone almost instantly. Just straight up. Mum was like, holy hell, I can’t believe this.”
“The recovery process after I got that out was so quick. It had been over a whole year of having no energy, couldn’t do anything. Then, within a month, I was surfing again and out riding bikes. It was just a night and day difference, which is pretty nuts.”
He’s not one to delve too deeply into the dark times of his treatment and recovery, but coming close to death a few times had Sam reevaluating how he looked at most aspects of life, questioning what he wanted to do and how and where he’d like to live. “It was a whole outlook shift, focussing on making every day really good, which I hadn’t done before.”
“You can just get swept up in this whole rat race; get a good job, get a house, follow the normal path, but it’s not necessarily the happiest or most rewarding. So it was kind of a cool shift to make every day feel like a holiday, which is how the name Vacation Studio came about. It’s about just enjoying yourself, I guess.”
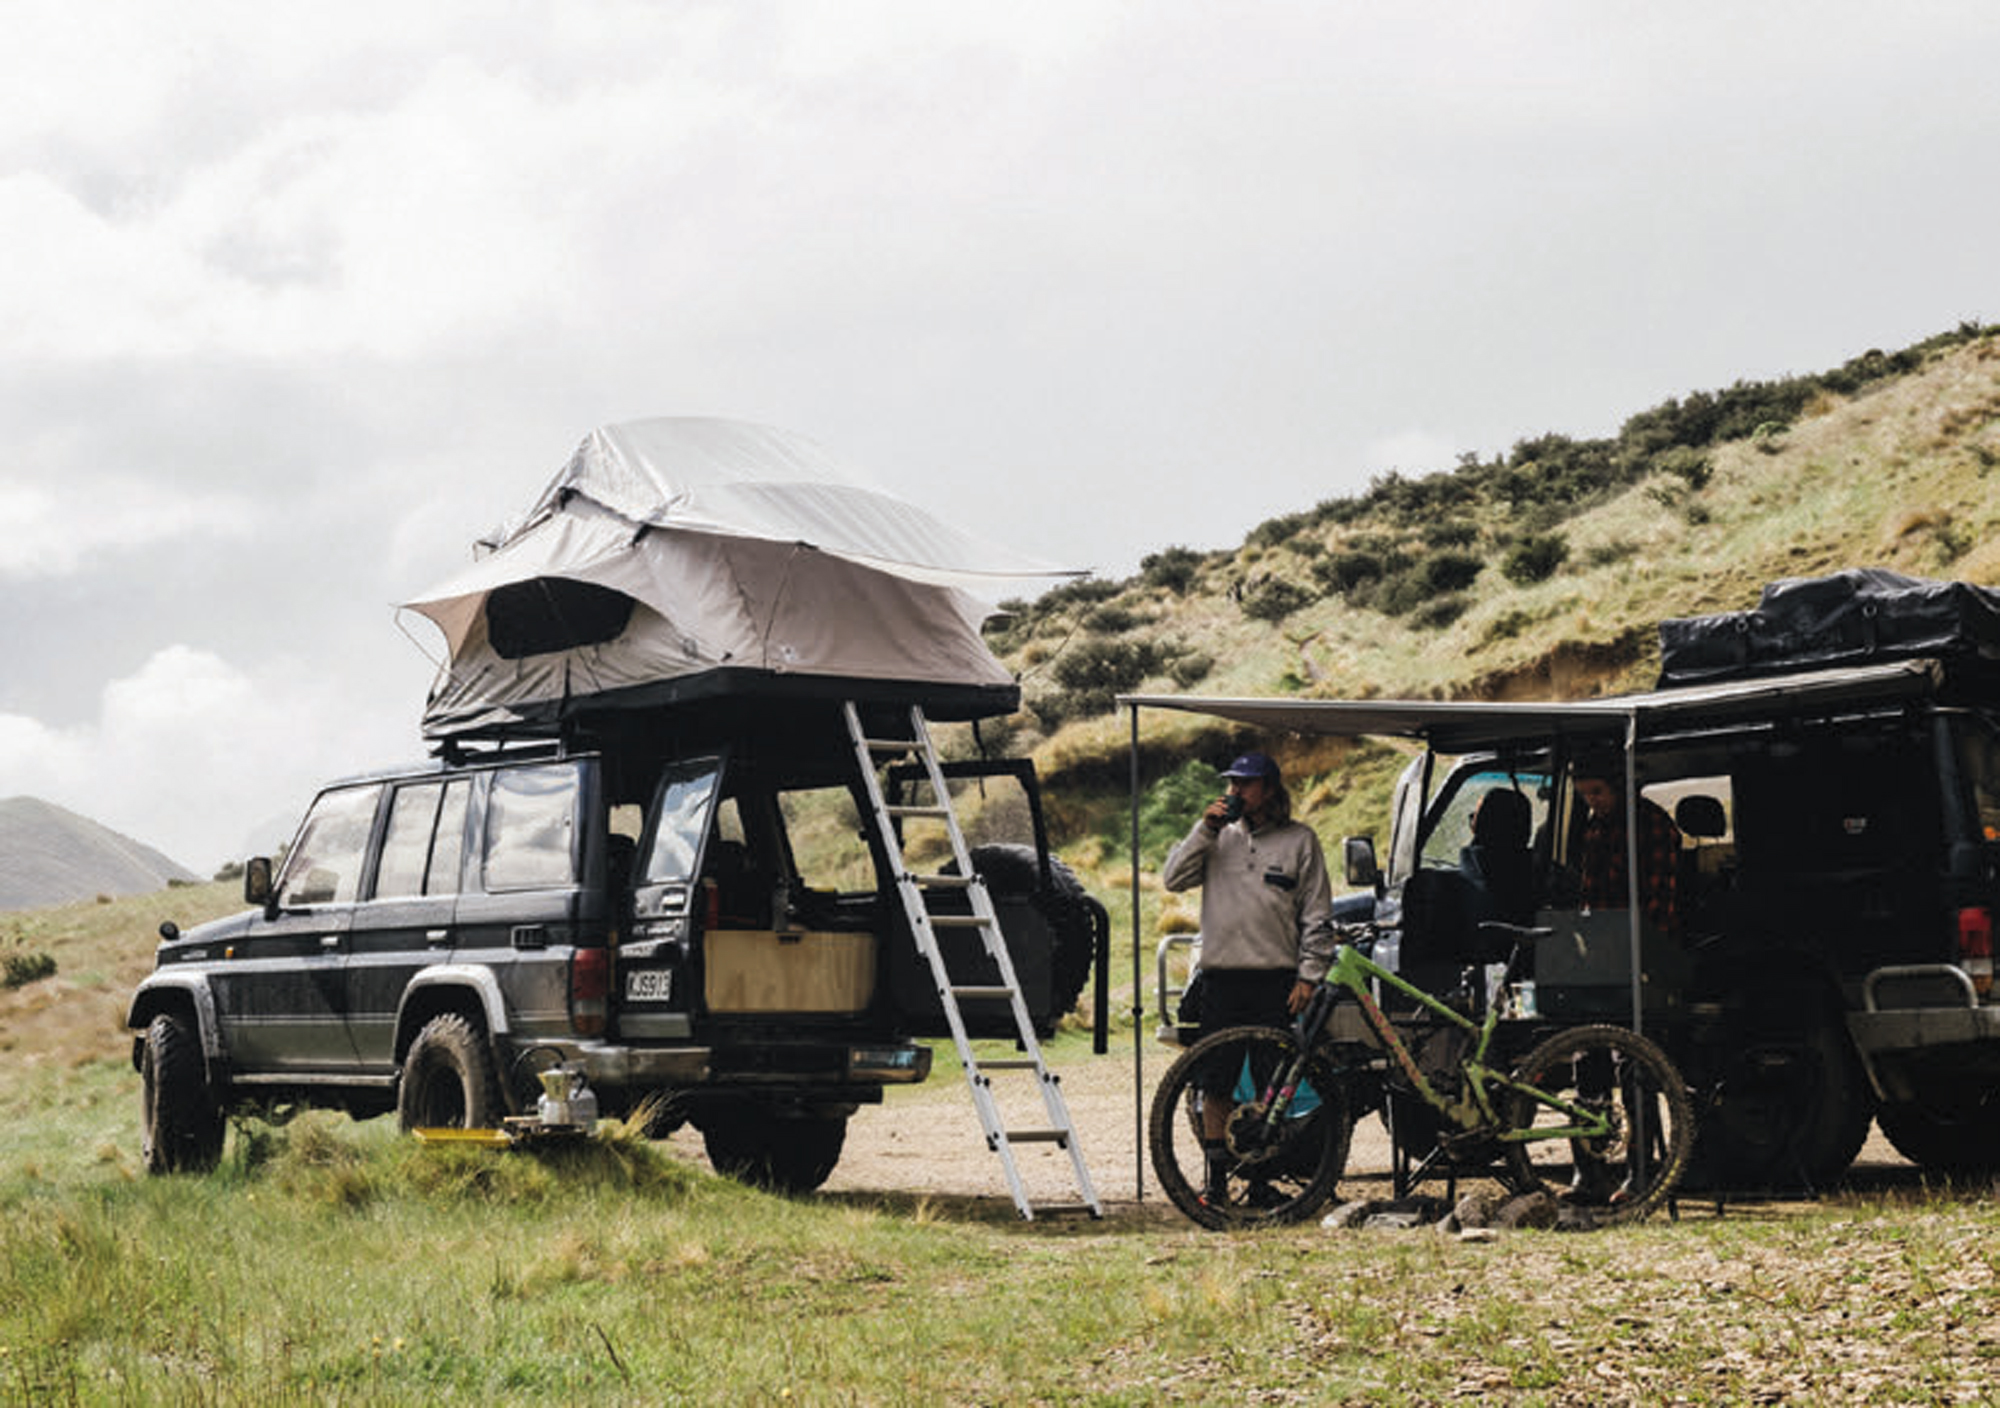
Back to feeling himself, and with a new lens on life, Sam moved to Mount Maunganui in 2015, primarily to chase the surf, but having Rotorua’s trails just over the hill was a huge bonus. He began working for George & Willy, a homewares brand started by a couple of his school friends. “I was doing all their woodworking stuff, building all their desks and their wooden stuff, and looking after the warehouse. Just living a really easy, simple life and doing my design stuff in the evening. Then, in 2018, I became intrigued by Wanaka. I’d always kind of skied a little bit, and had done some riding in summer down in Queenstown. I thought it would be good to come down to Wanaka for six months and see what it’s like. I’ve been here for six years. Never left.”
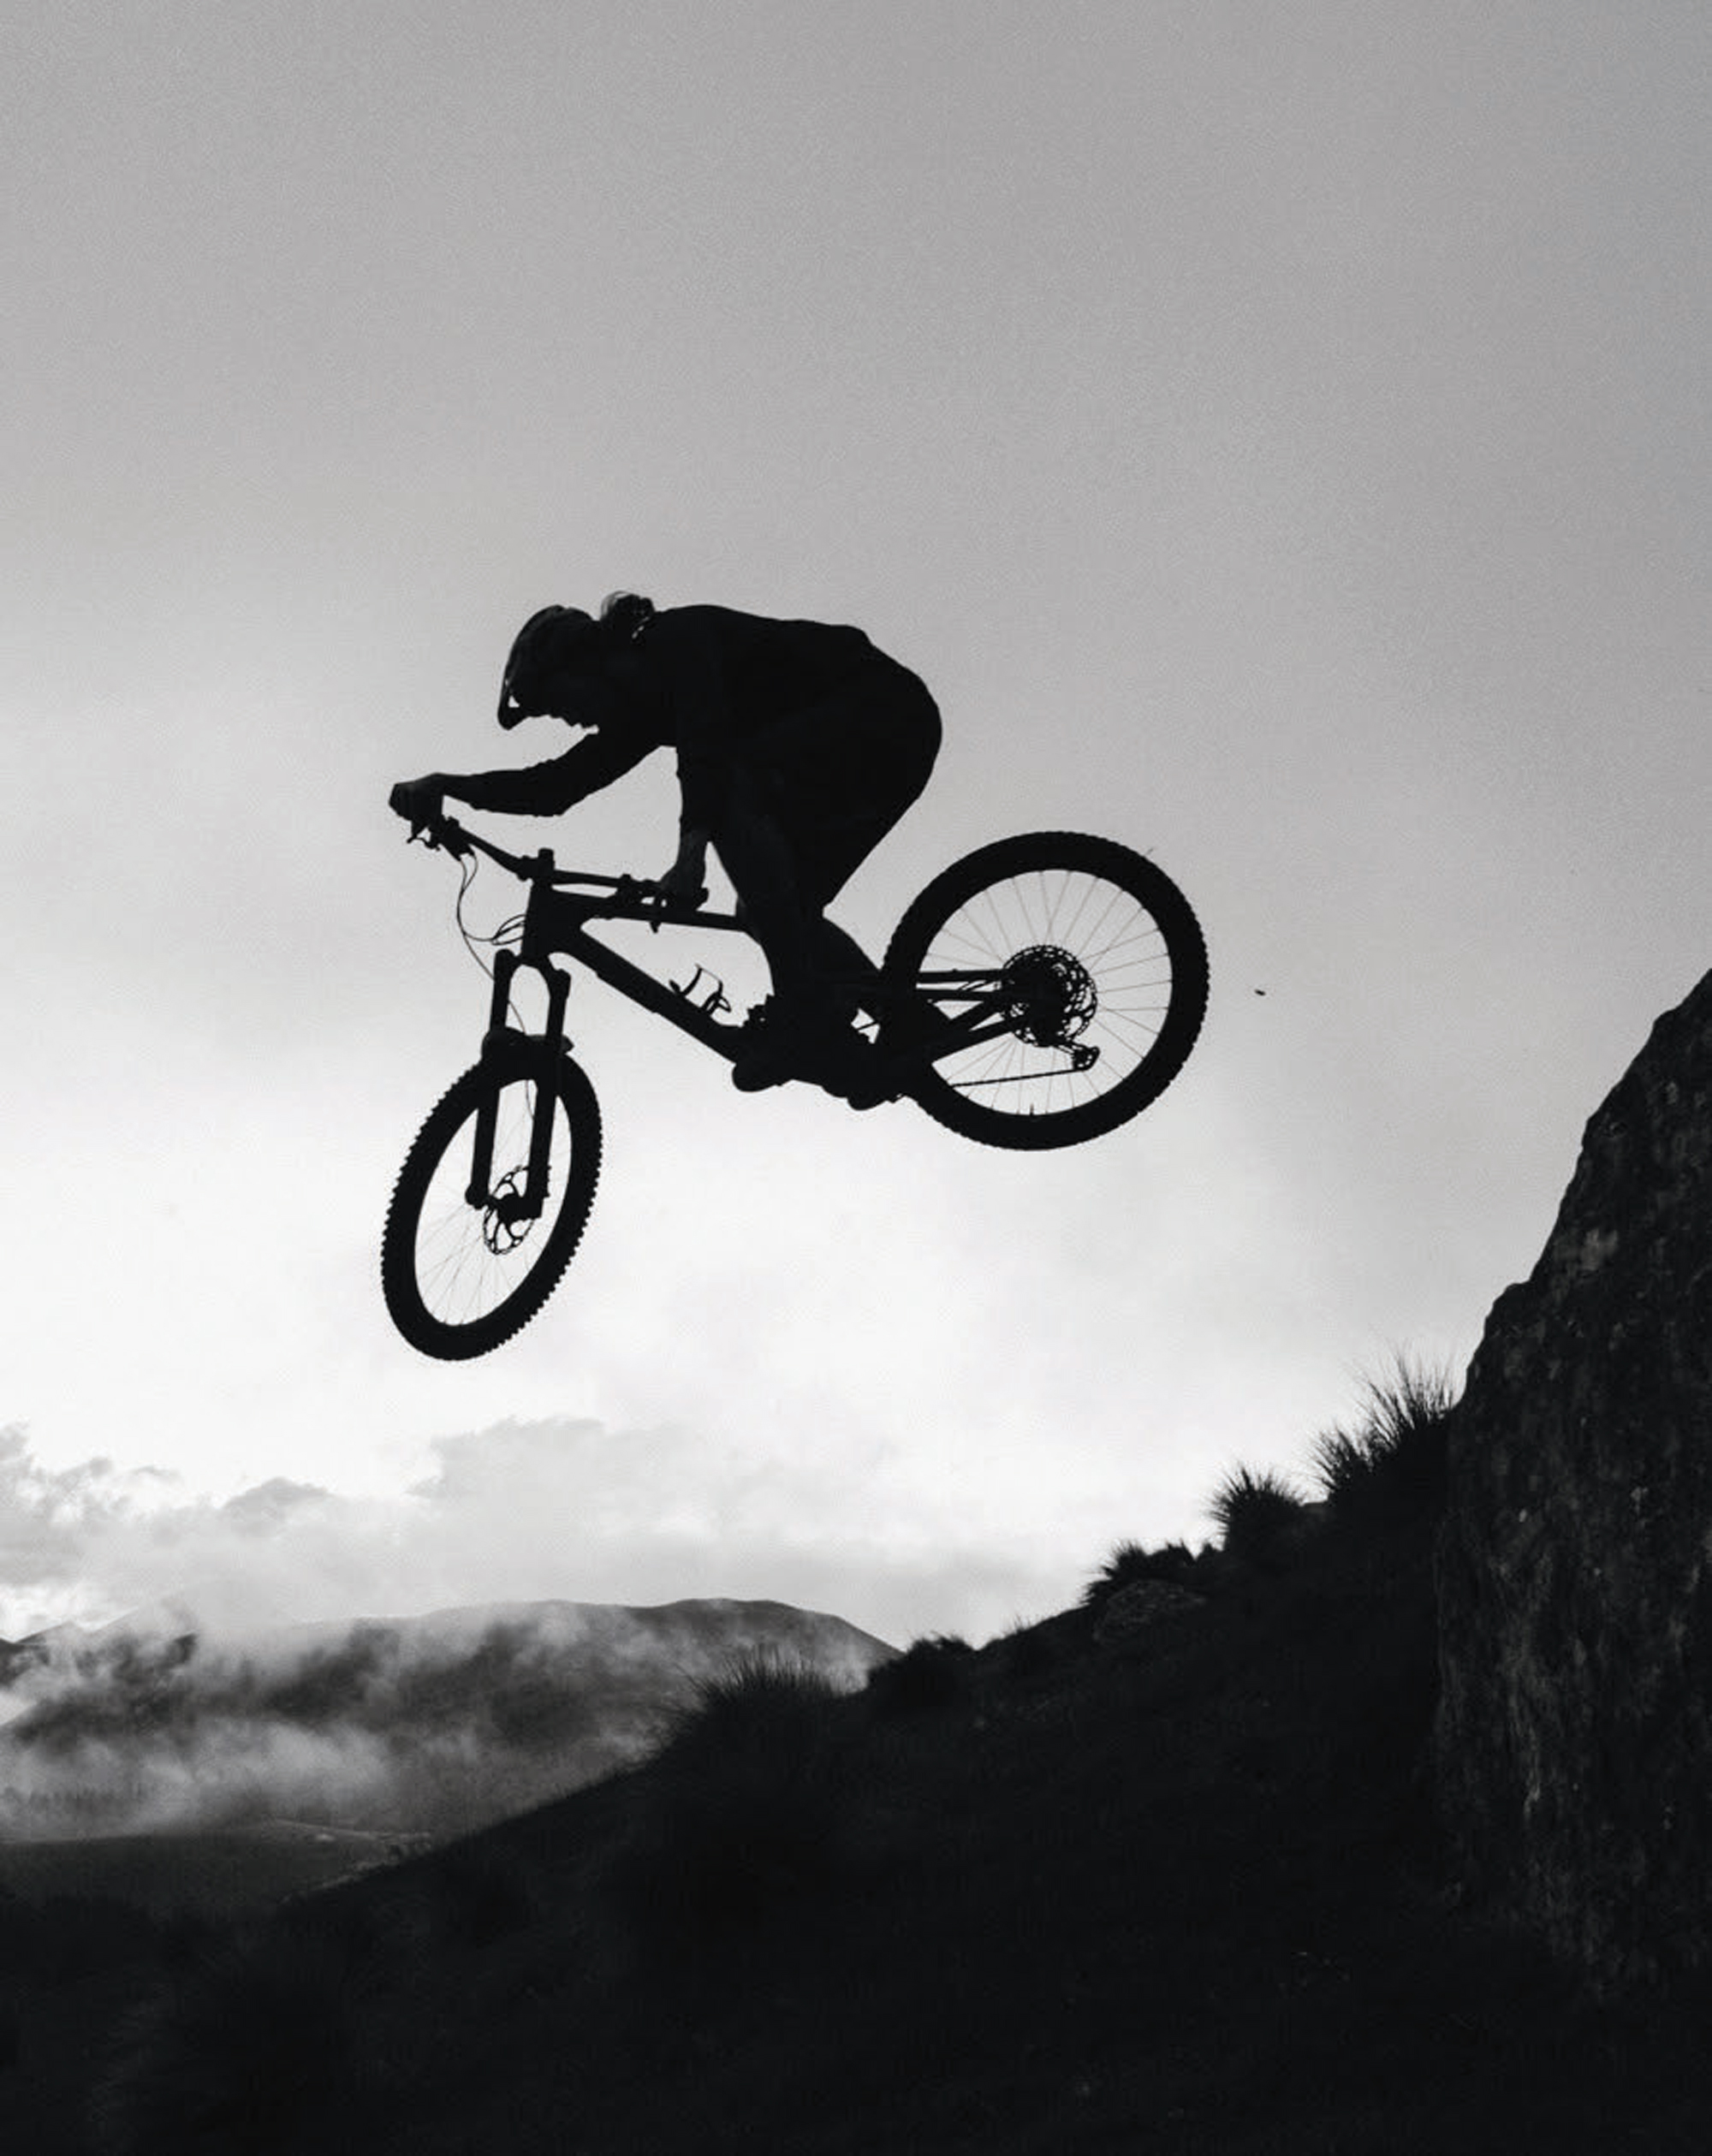
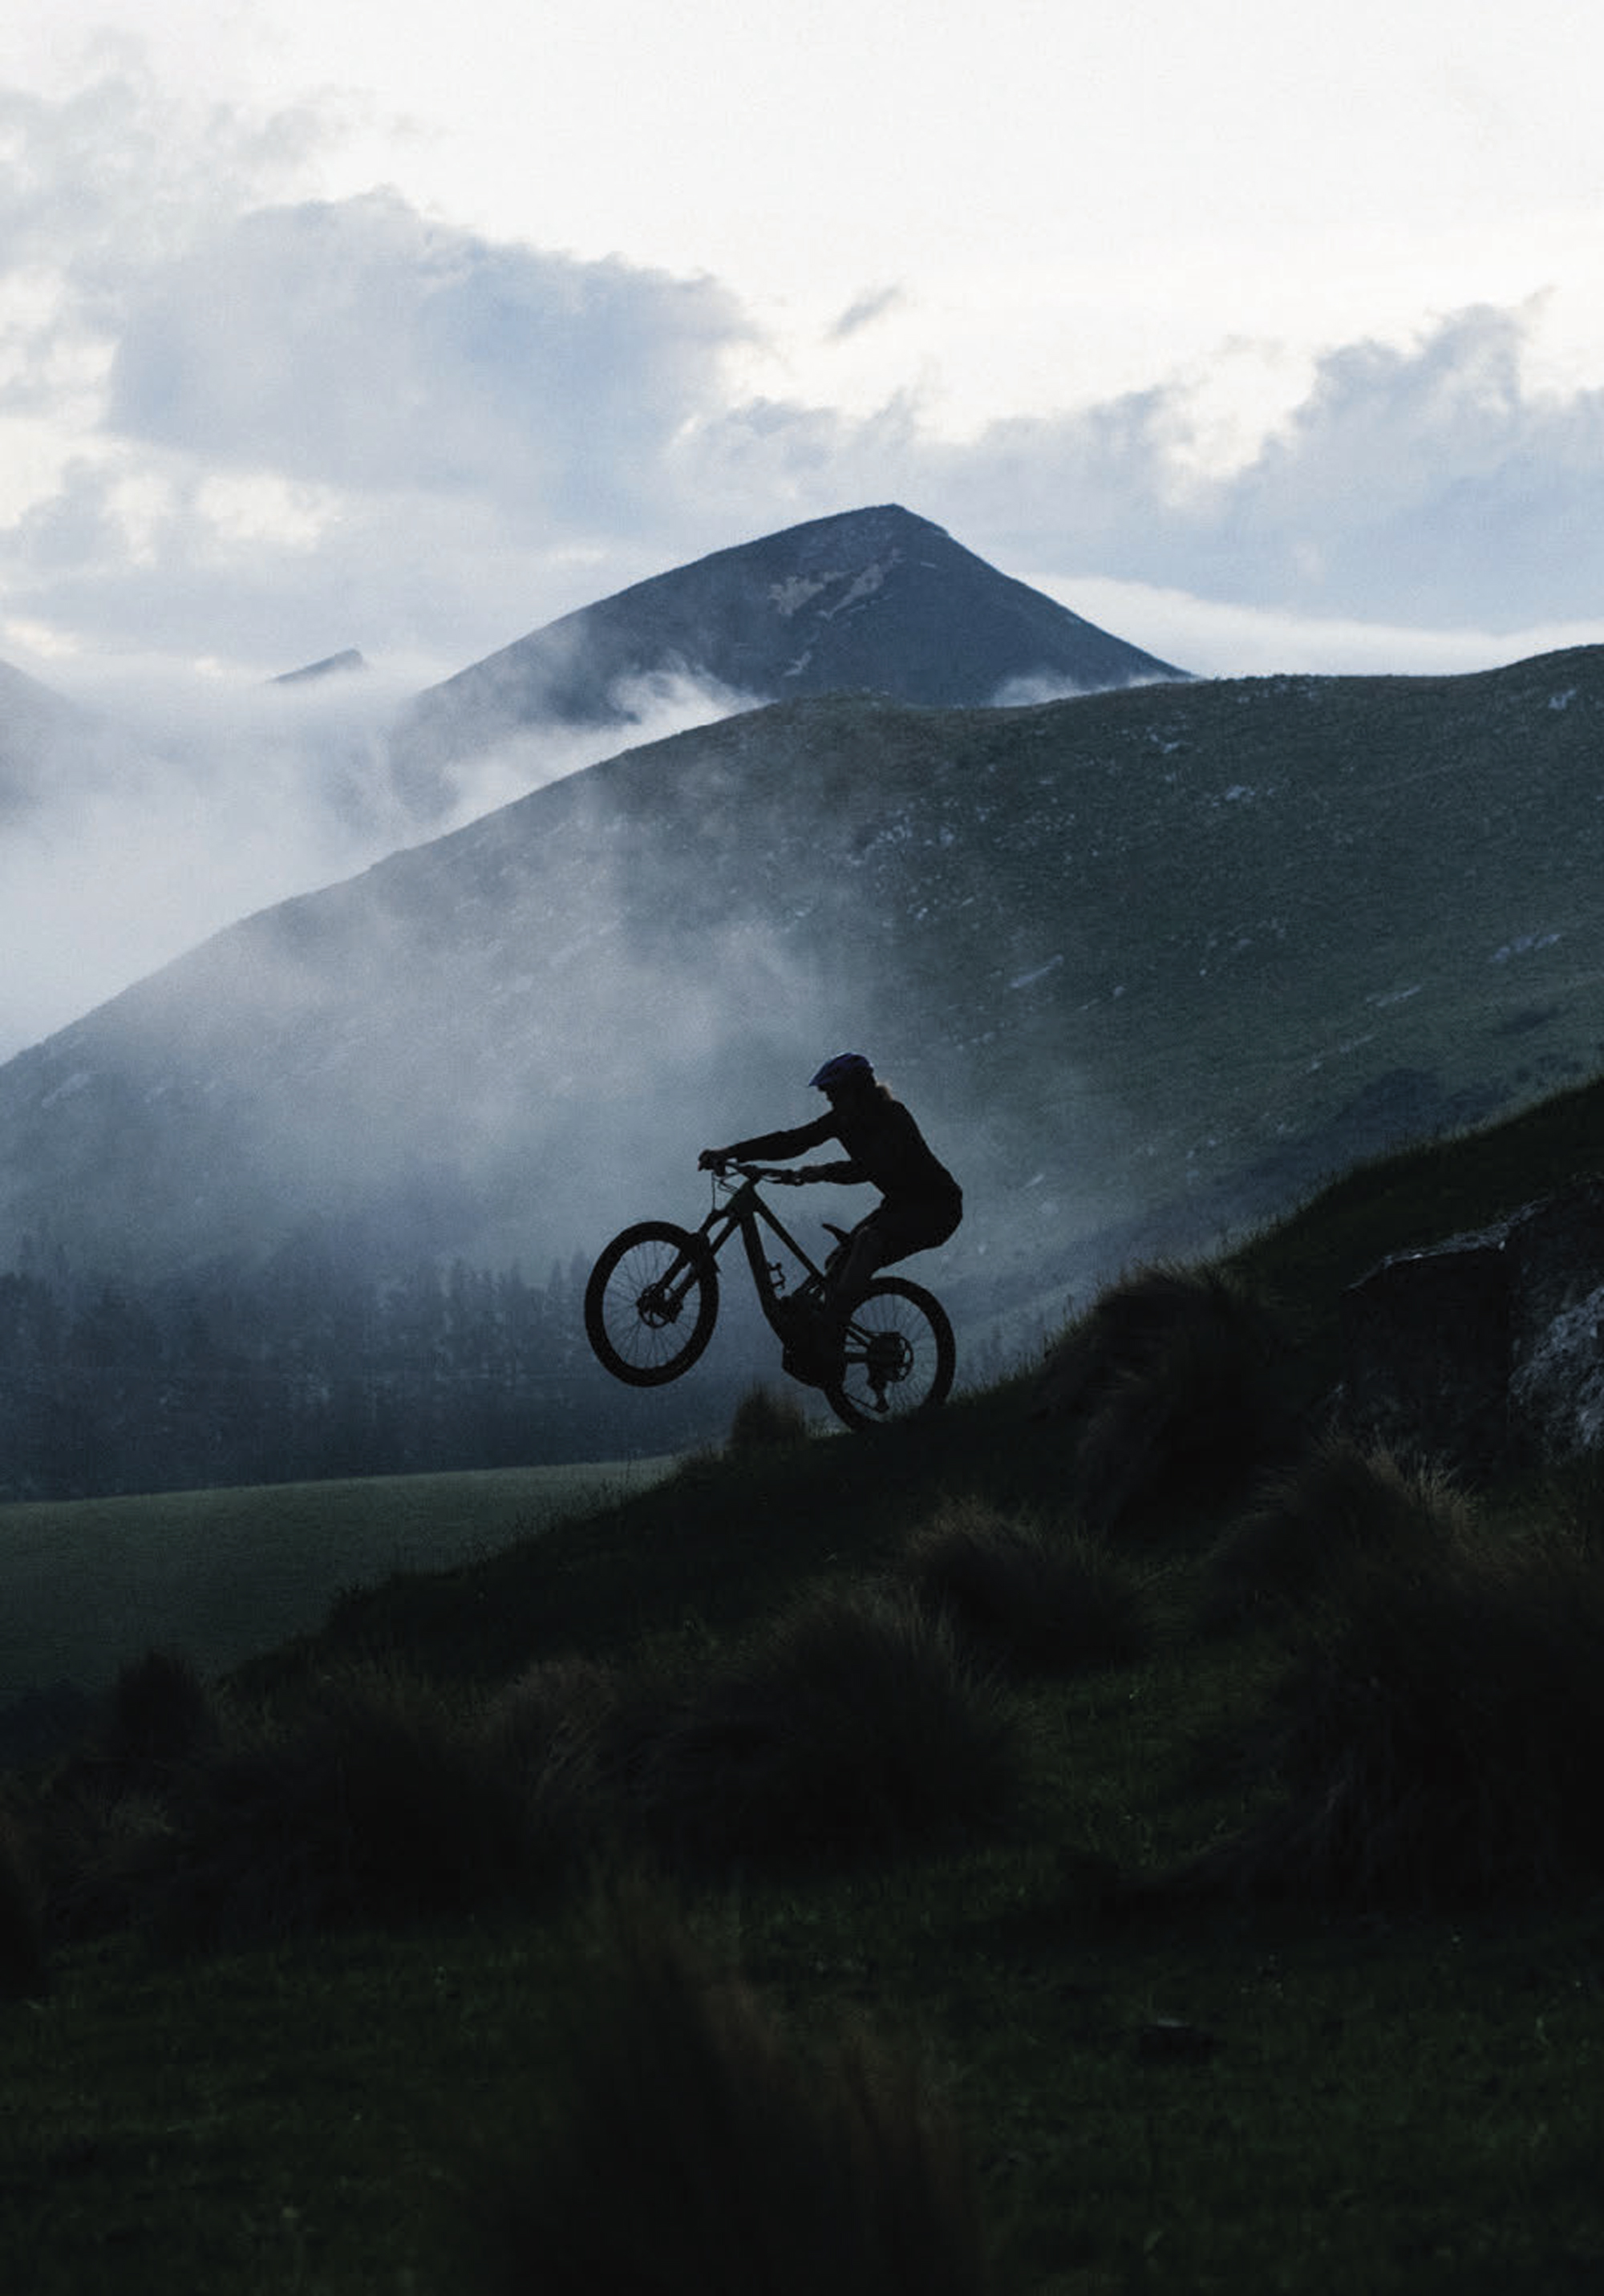
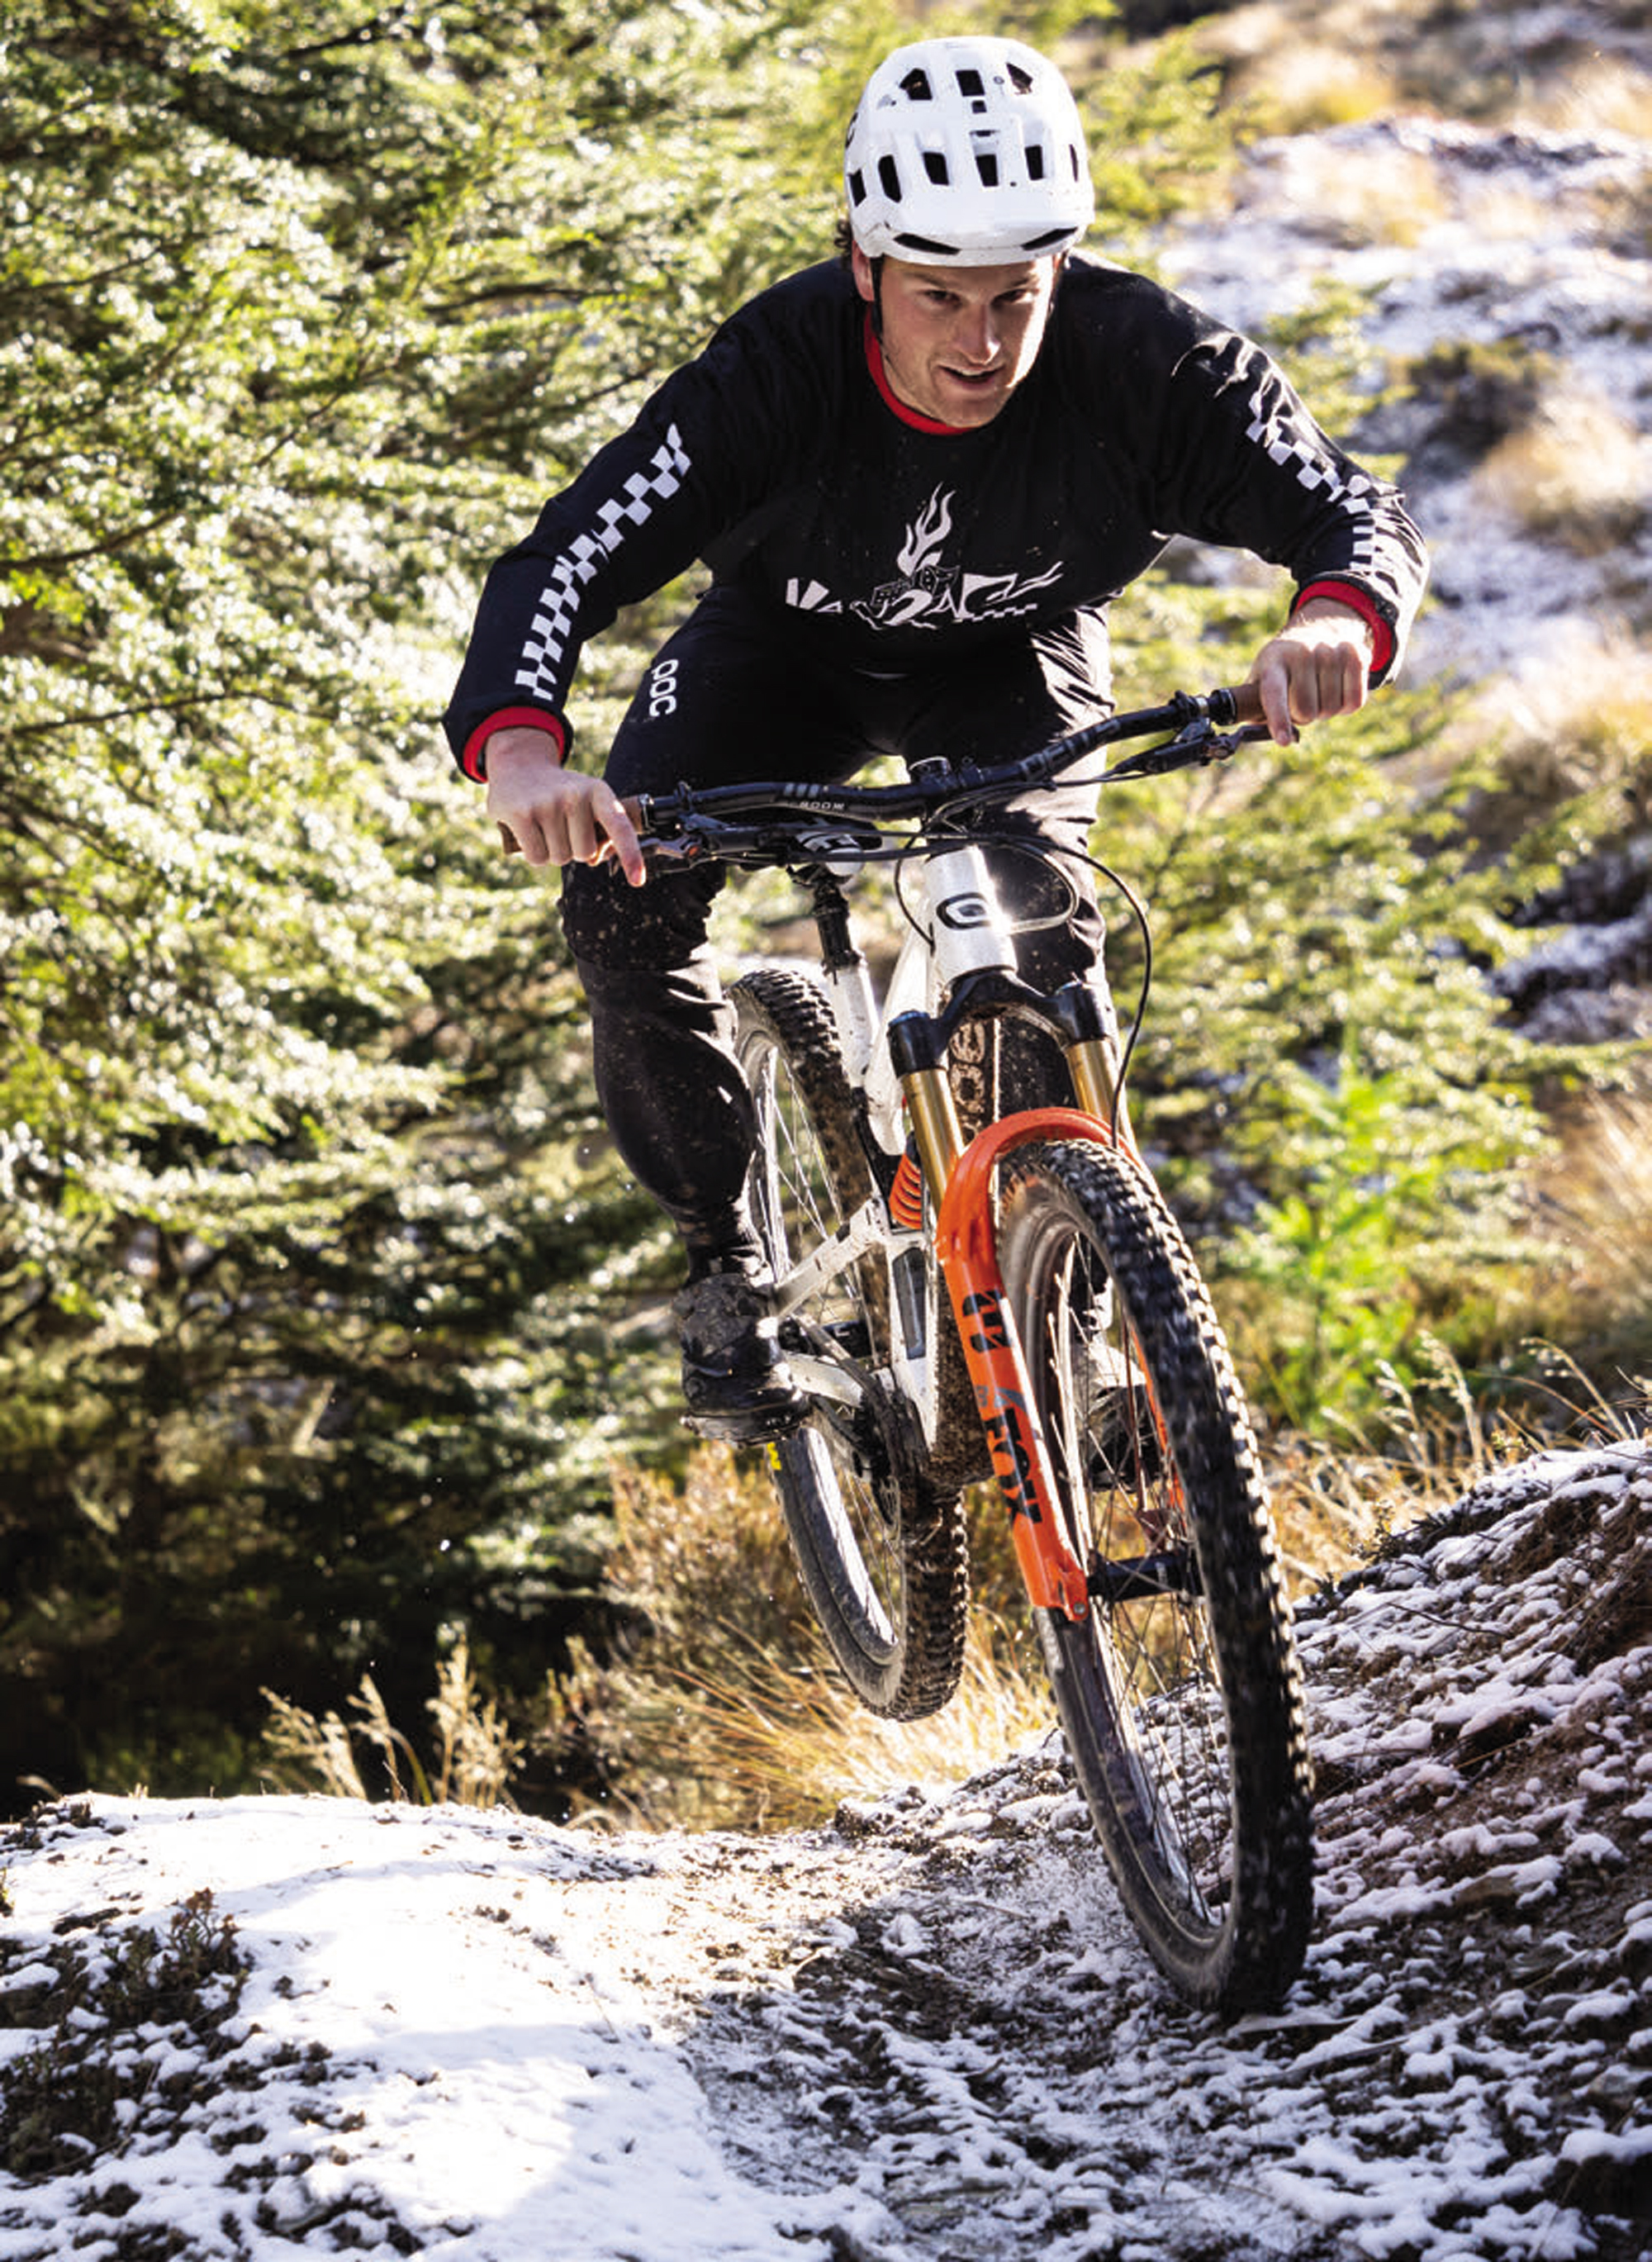
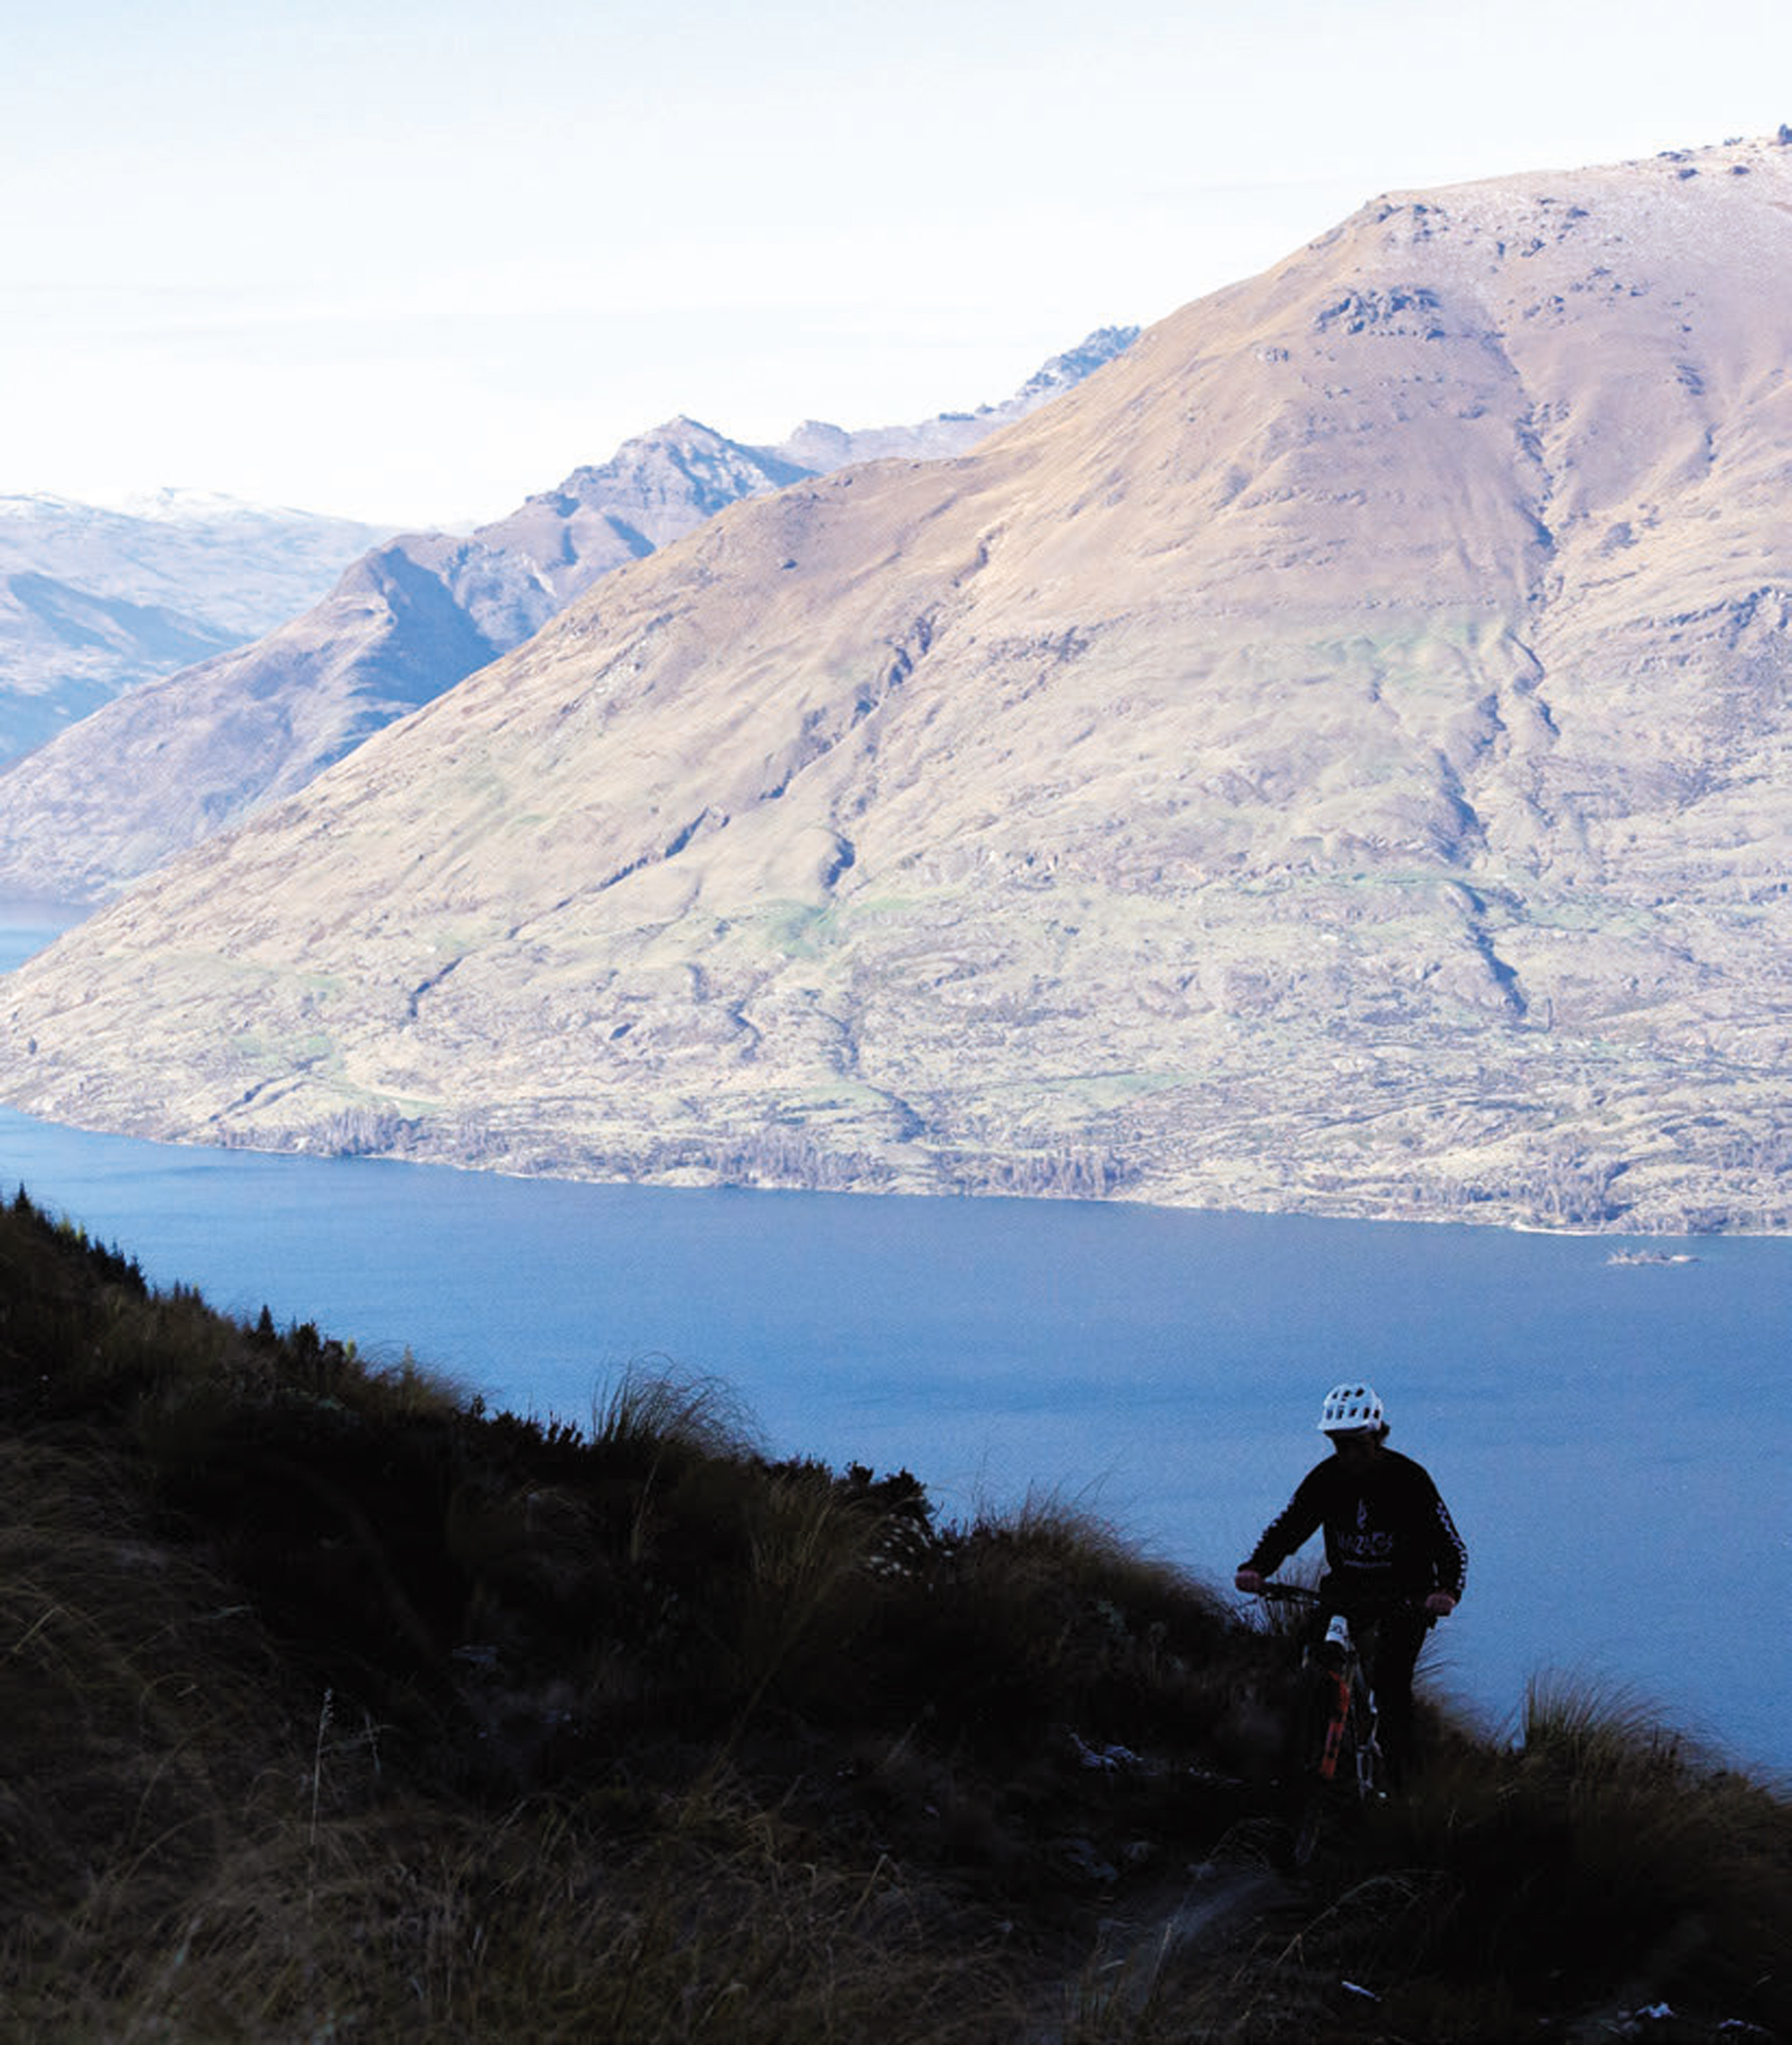
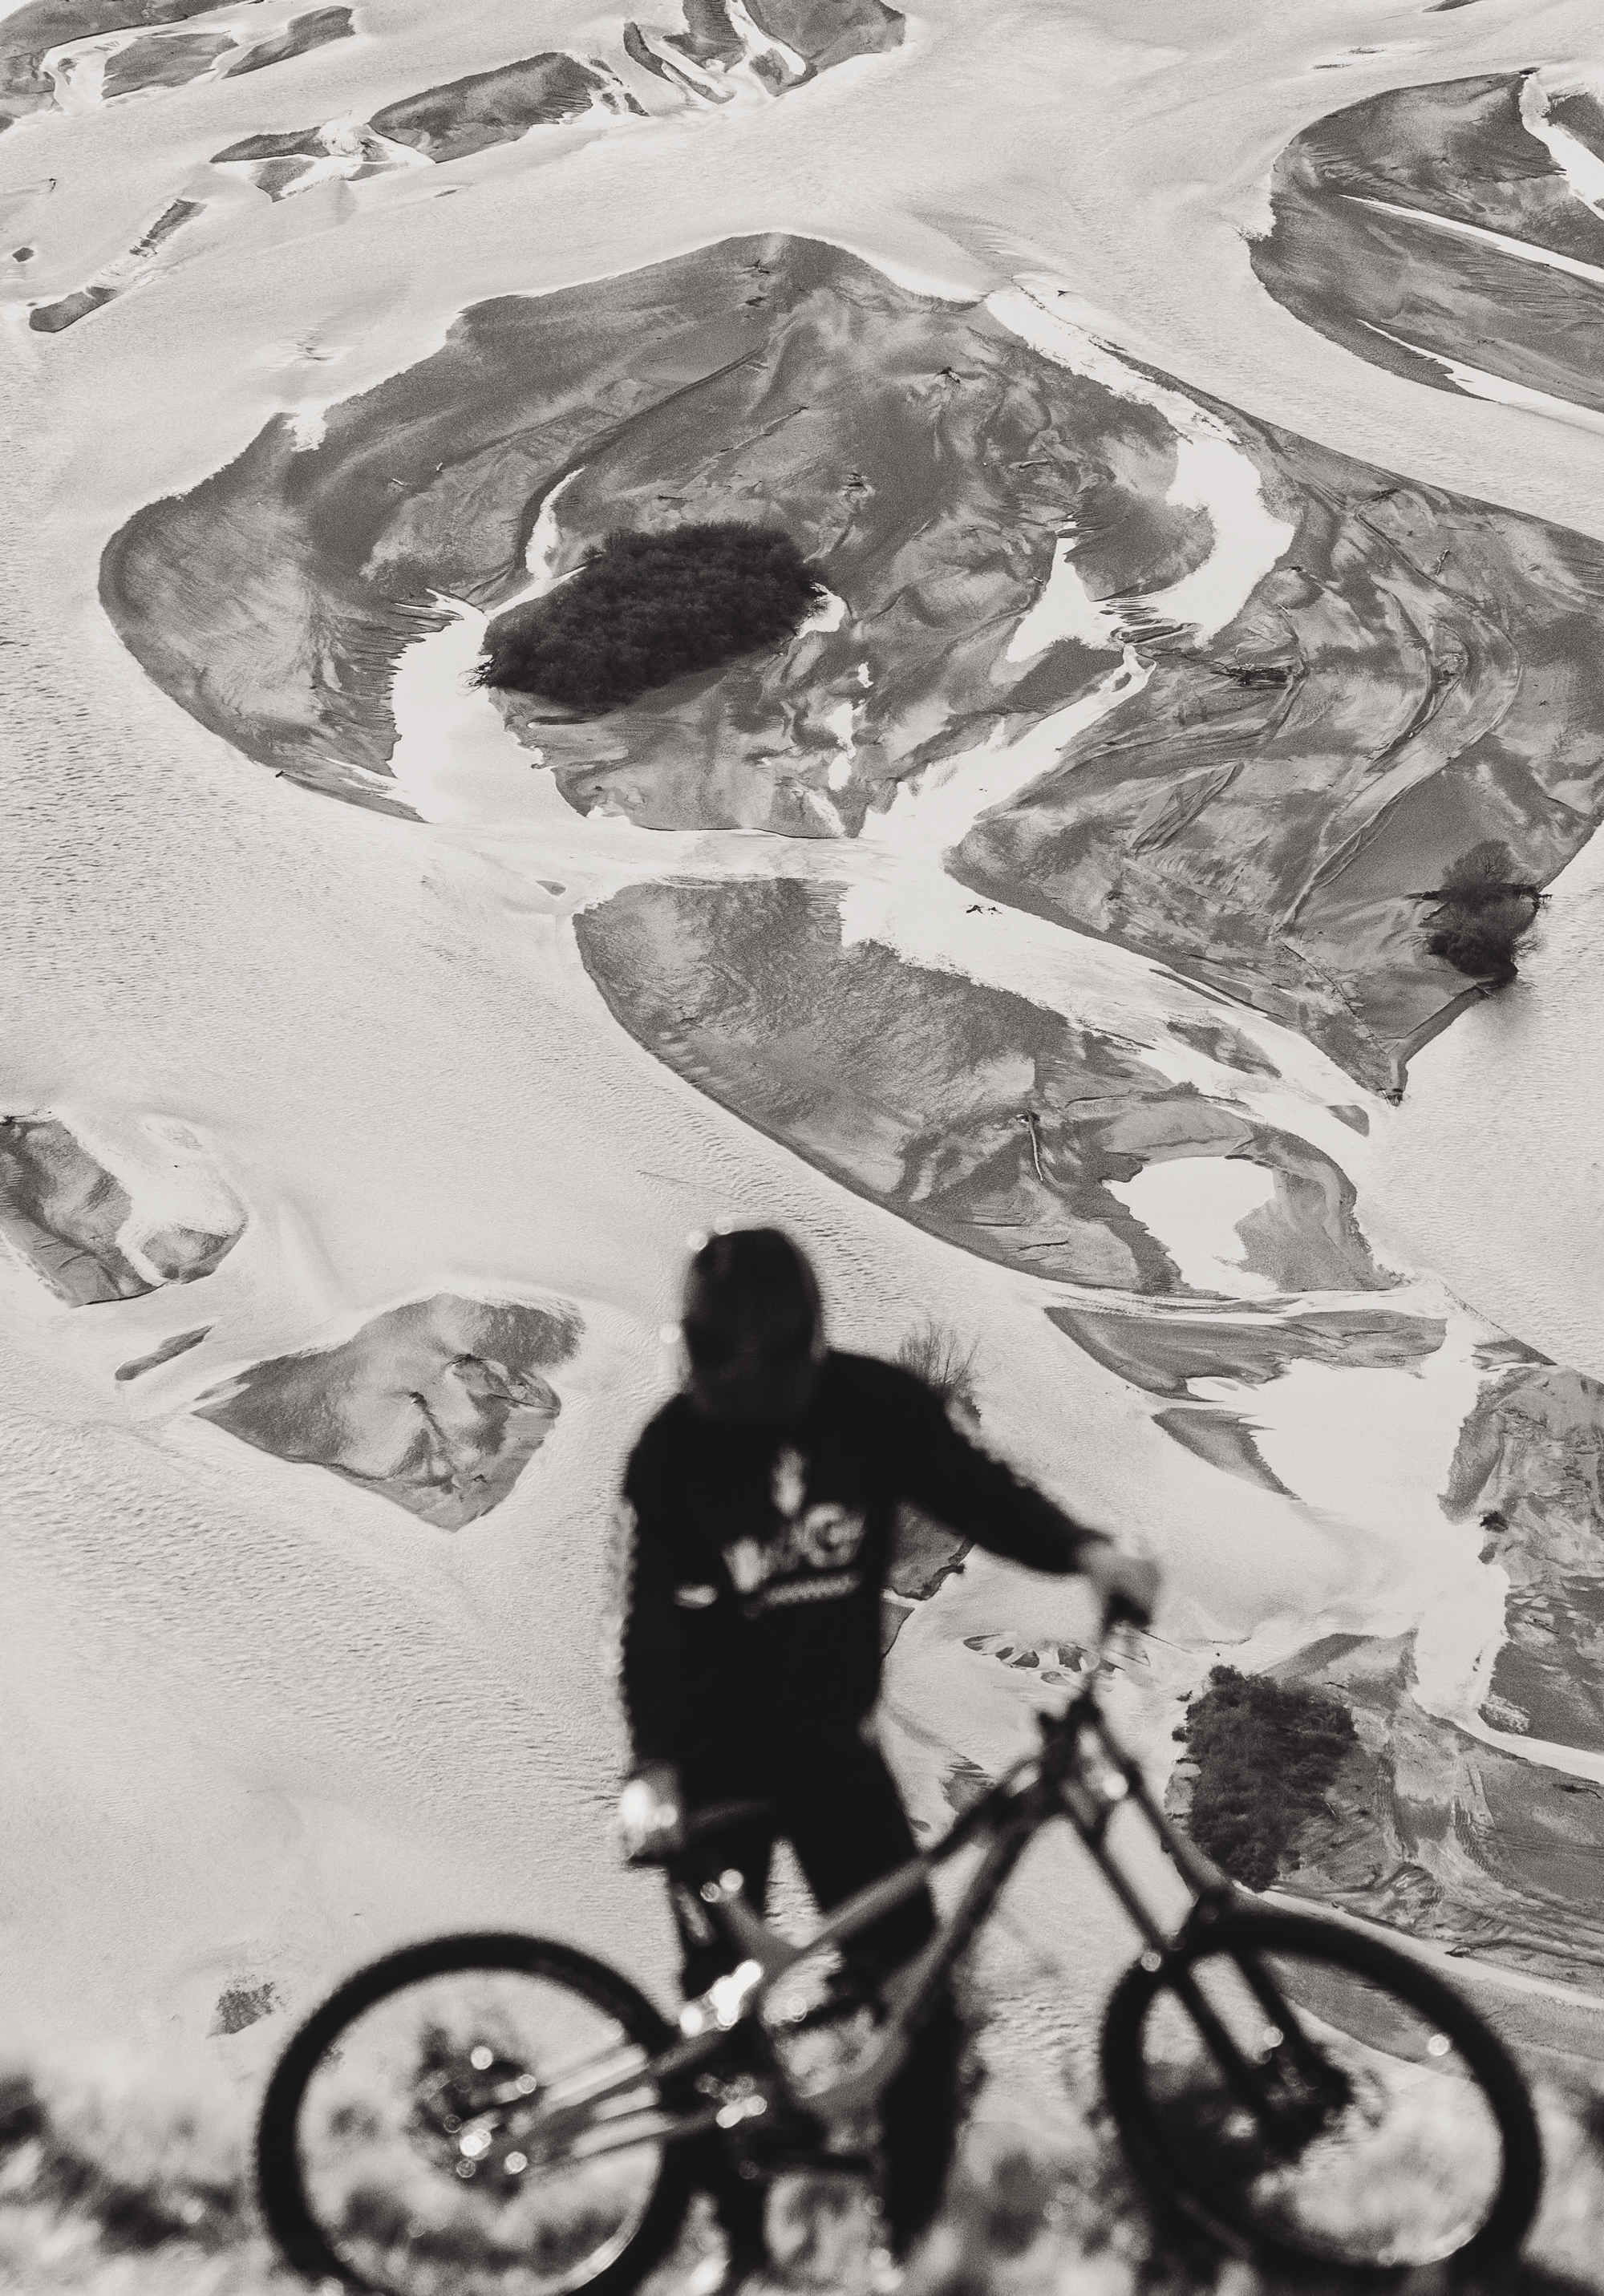
Like everyone who’s moved to Wanaka, Sam has embraced the outdoor lifestyle, and every moment he’s not creating something or working on a project, he’s out in the mountains. Bikes, skis or feet, Sam’s out there getting amongst it. Regardless of what time of year it is, bikes are still at the top of the list, and although his roots lie in the gravity side of cycling, these days, he’s exploring new horizons on the gravel and backcountry tracks surrounding his new home, keen to push his physical and mental limits.
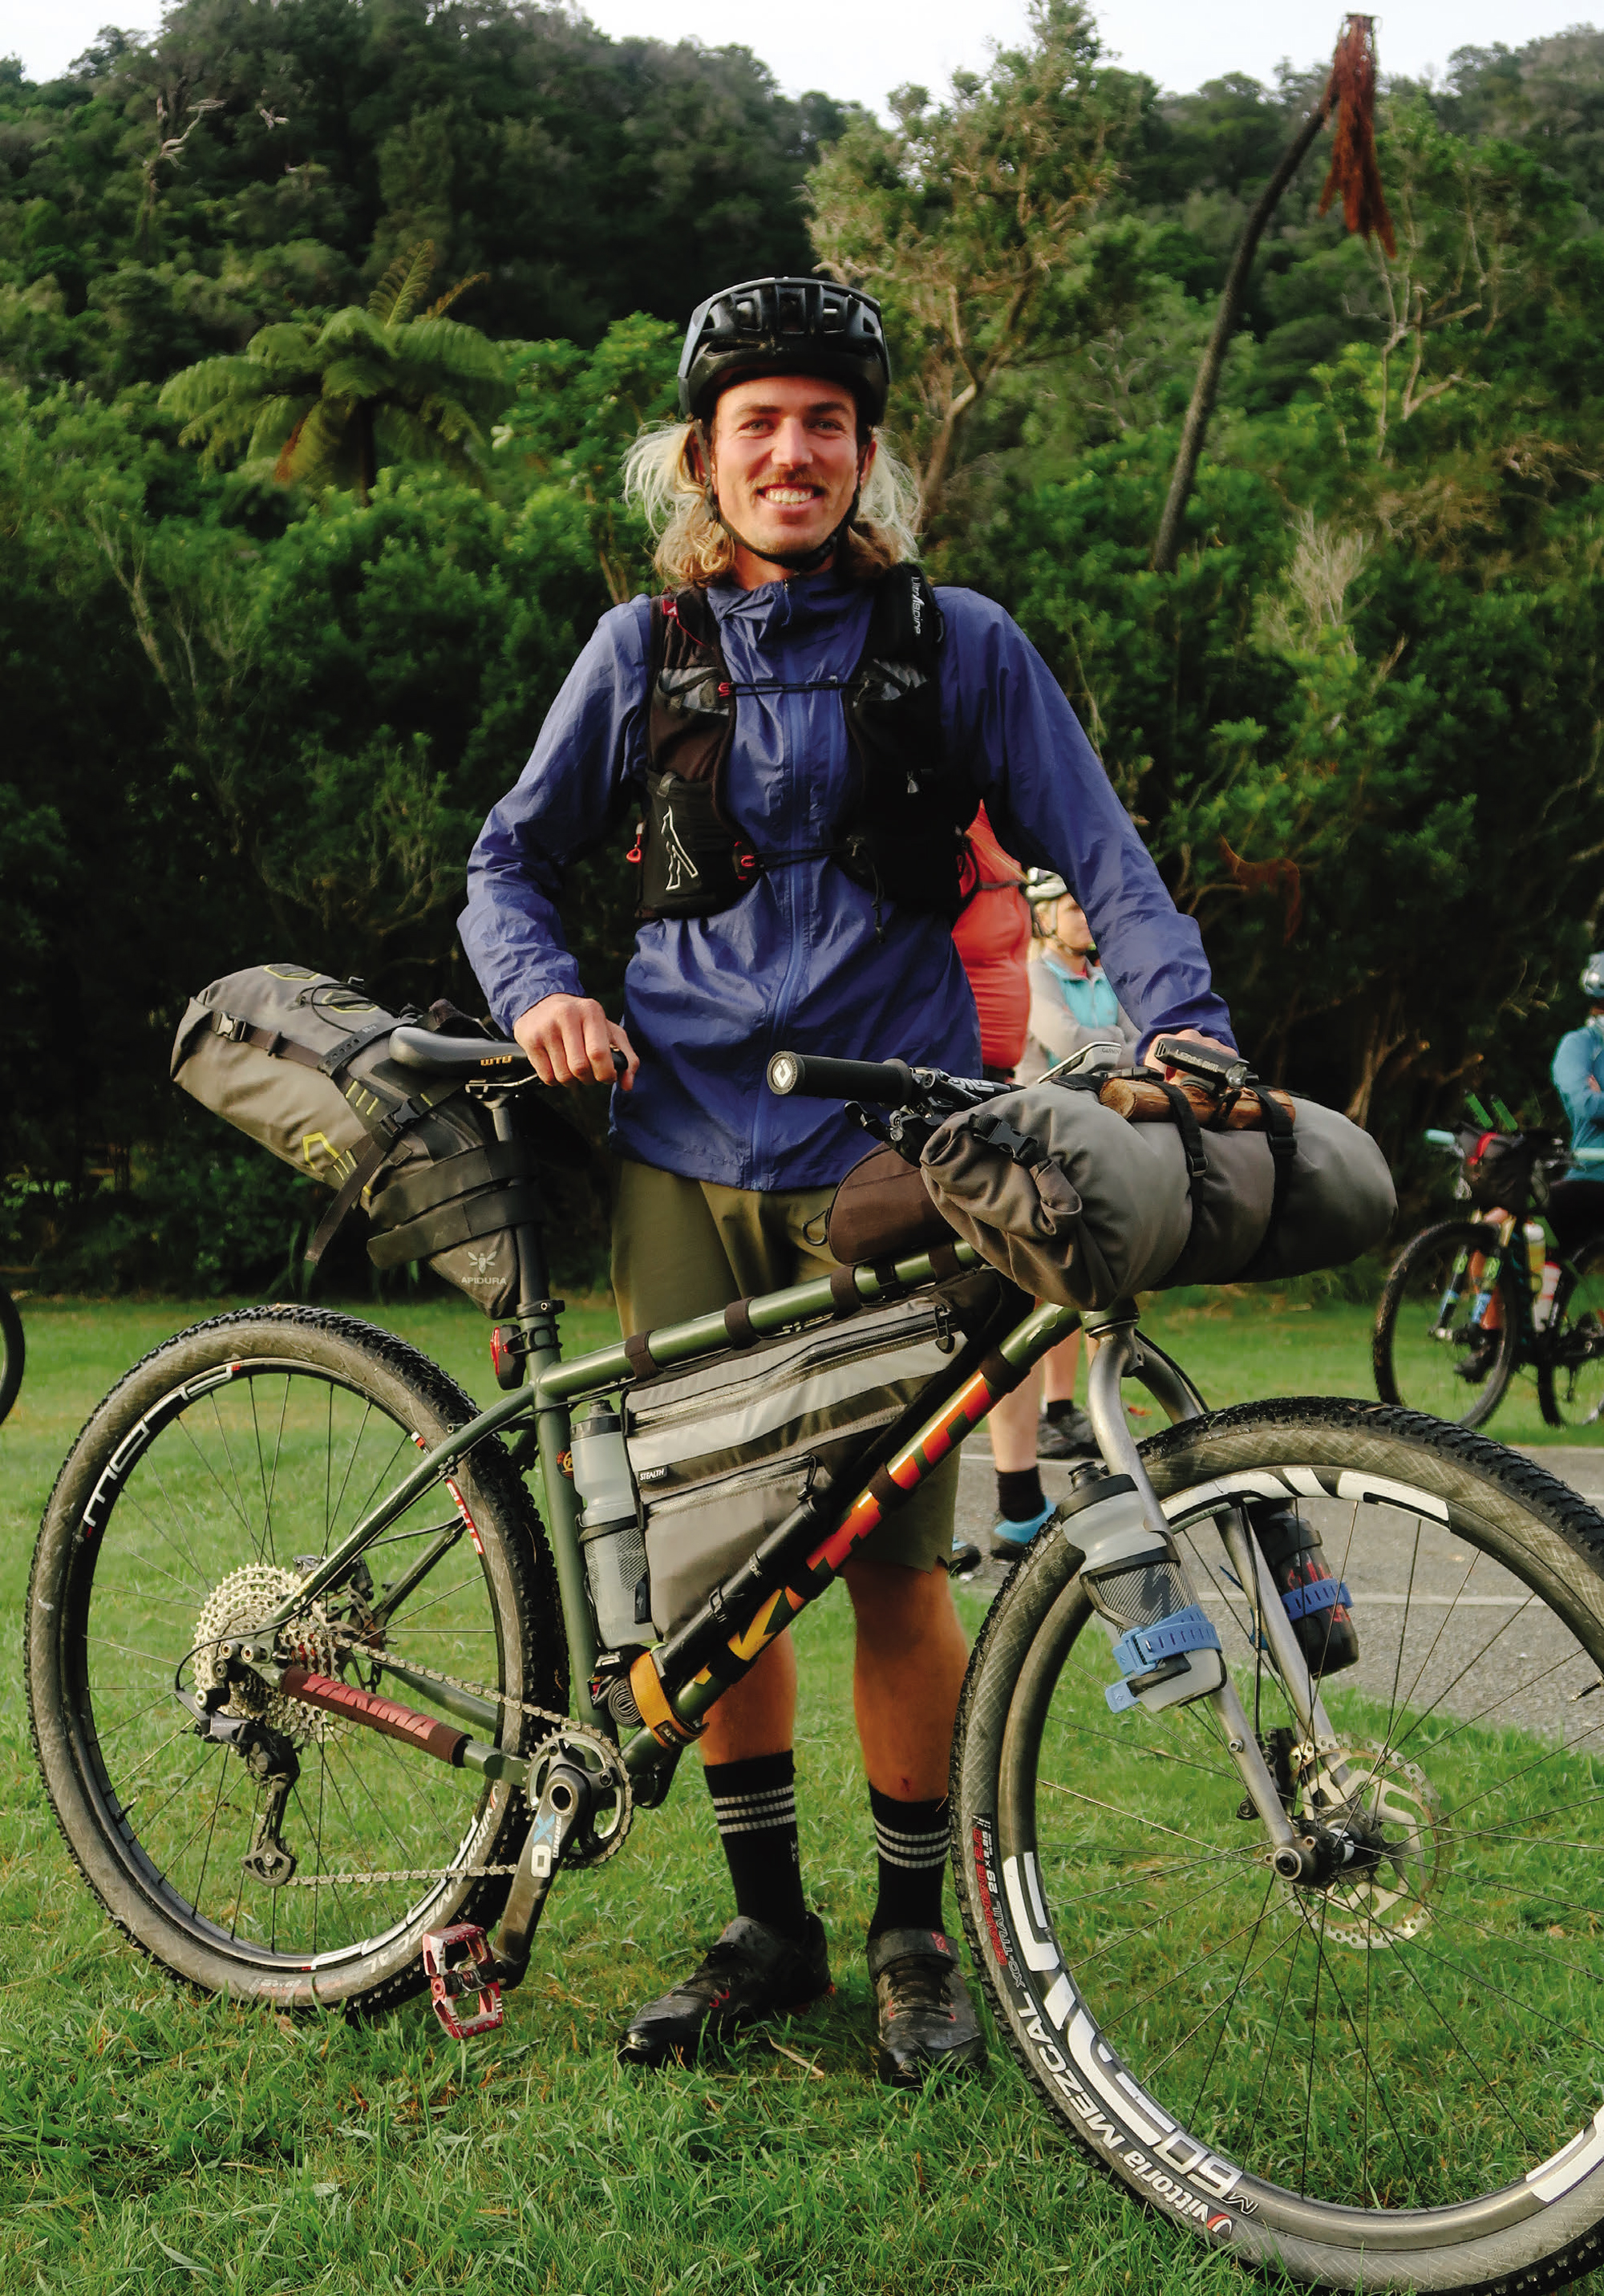
In 2022, as the South Island’s COVID lockdowns were lifting, Sam took on his first multiday bikepacking event: the Sounds 2 Sounds, from Marlborough Sounds to Milford Sound. “The ability to slow things down and simplify life is underestimated in this fast-paced world. There is so much to see, and the humble bike allows you to see it in such a unique manner. This was my first multiday bikepacking adventure and, as I rolled into Milford Sound and marvelled that I got there with my own two very worn legs, I realised I’d be back. I quite like my bike.”
Riding 1450km in six days was one way to break new ground and discover what he was really capable of. Riding the road from Te Anau to Milford and not being passed by a single car is an experience he’ll remember forever — and likely no one will ever be able to repeat!
On December 22nd 2023, Sam continued a yearly tradition of breaking personal boundaries and digging deeper to find his limits and took on an Everesting. He was intrigued by the idea and keen to see if it was as brutal as people make out but, more than that, he just wanted to know if he could do it.
Completing seven laps from the Cardrona Valley floor and climbing to the top of the McDougall chairlift at the top of the ski field brought his total ascent to over the 8,848m threshold. Keen to avoid the monotony of descending down the gravel road, he opted to ride down the Peak to Pub trail with a small bomb down the gravel road to finish each lap.
Sam didn’t have a support team or even a plan for how the day should go; he just loaded some food and his bike into the car, drove out to the hill, and got it done — most of it solo. Twenty-two hours and 30 minutes later, he’d knocked it off. Going deeper than he’d imagined, he’d proved to himself that there was another level of suffering he could reach and discovered that even when in immense discomfort, the body kept giving and kept going.
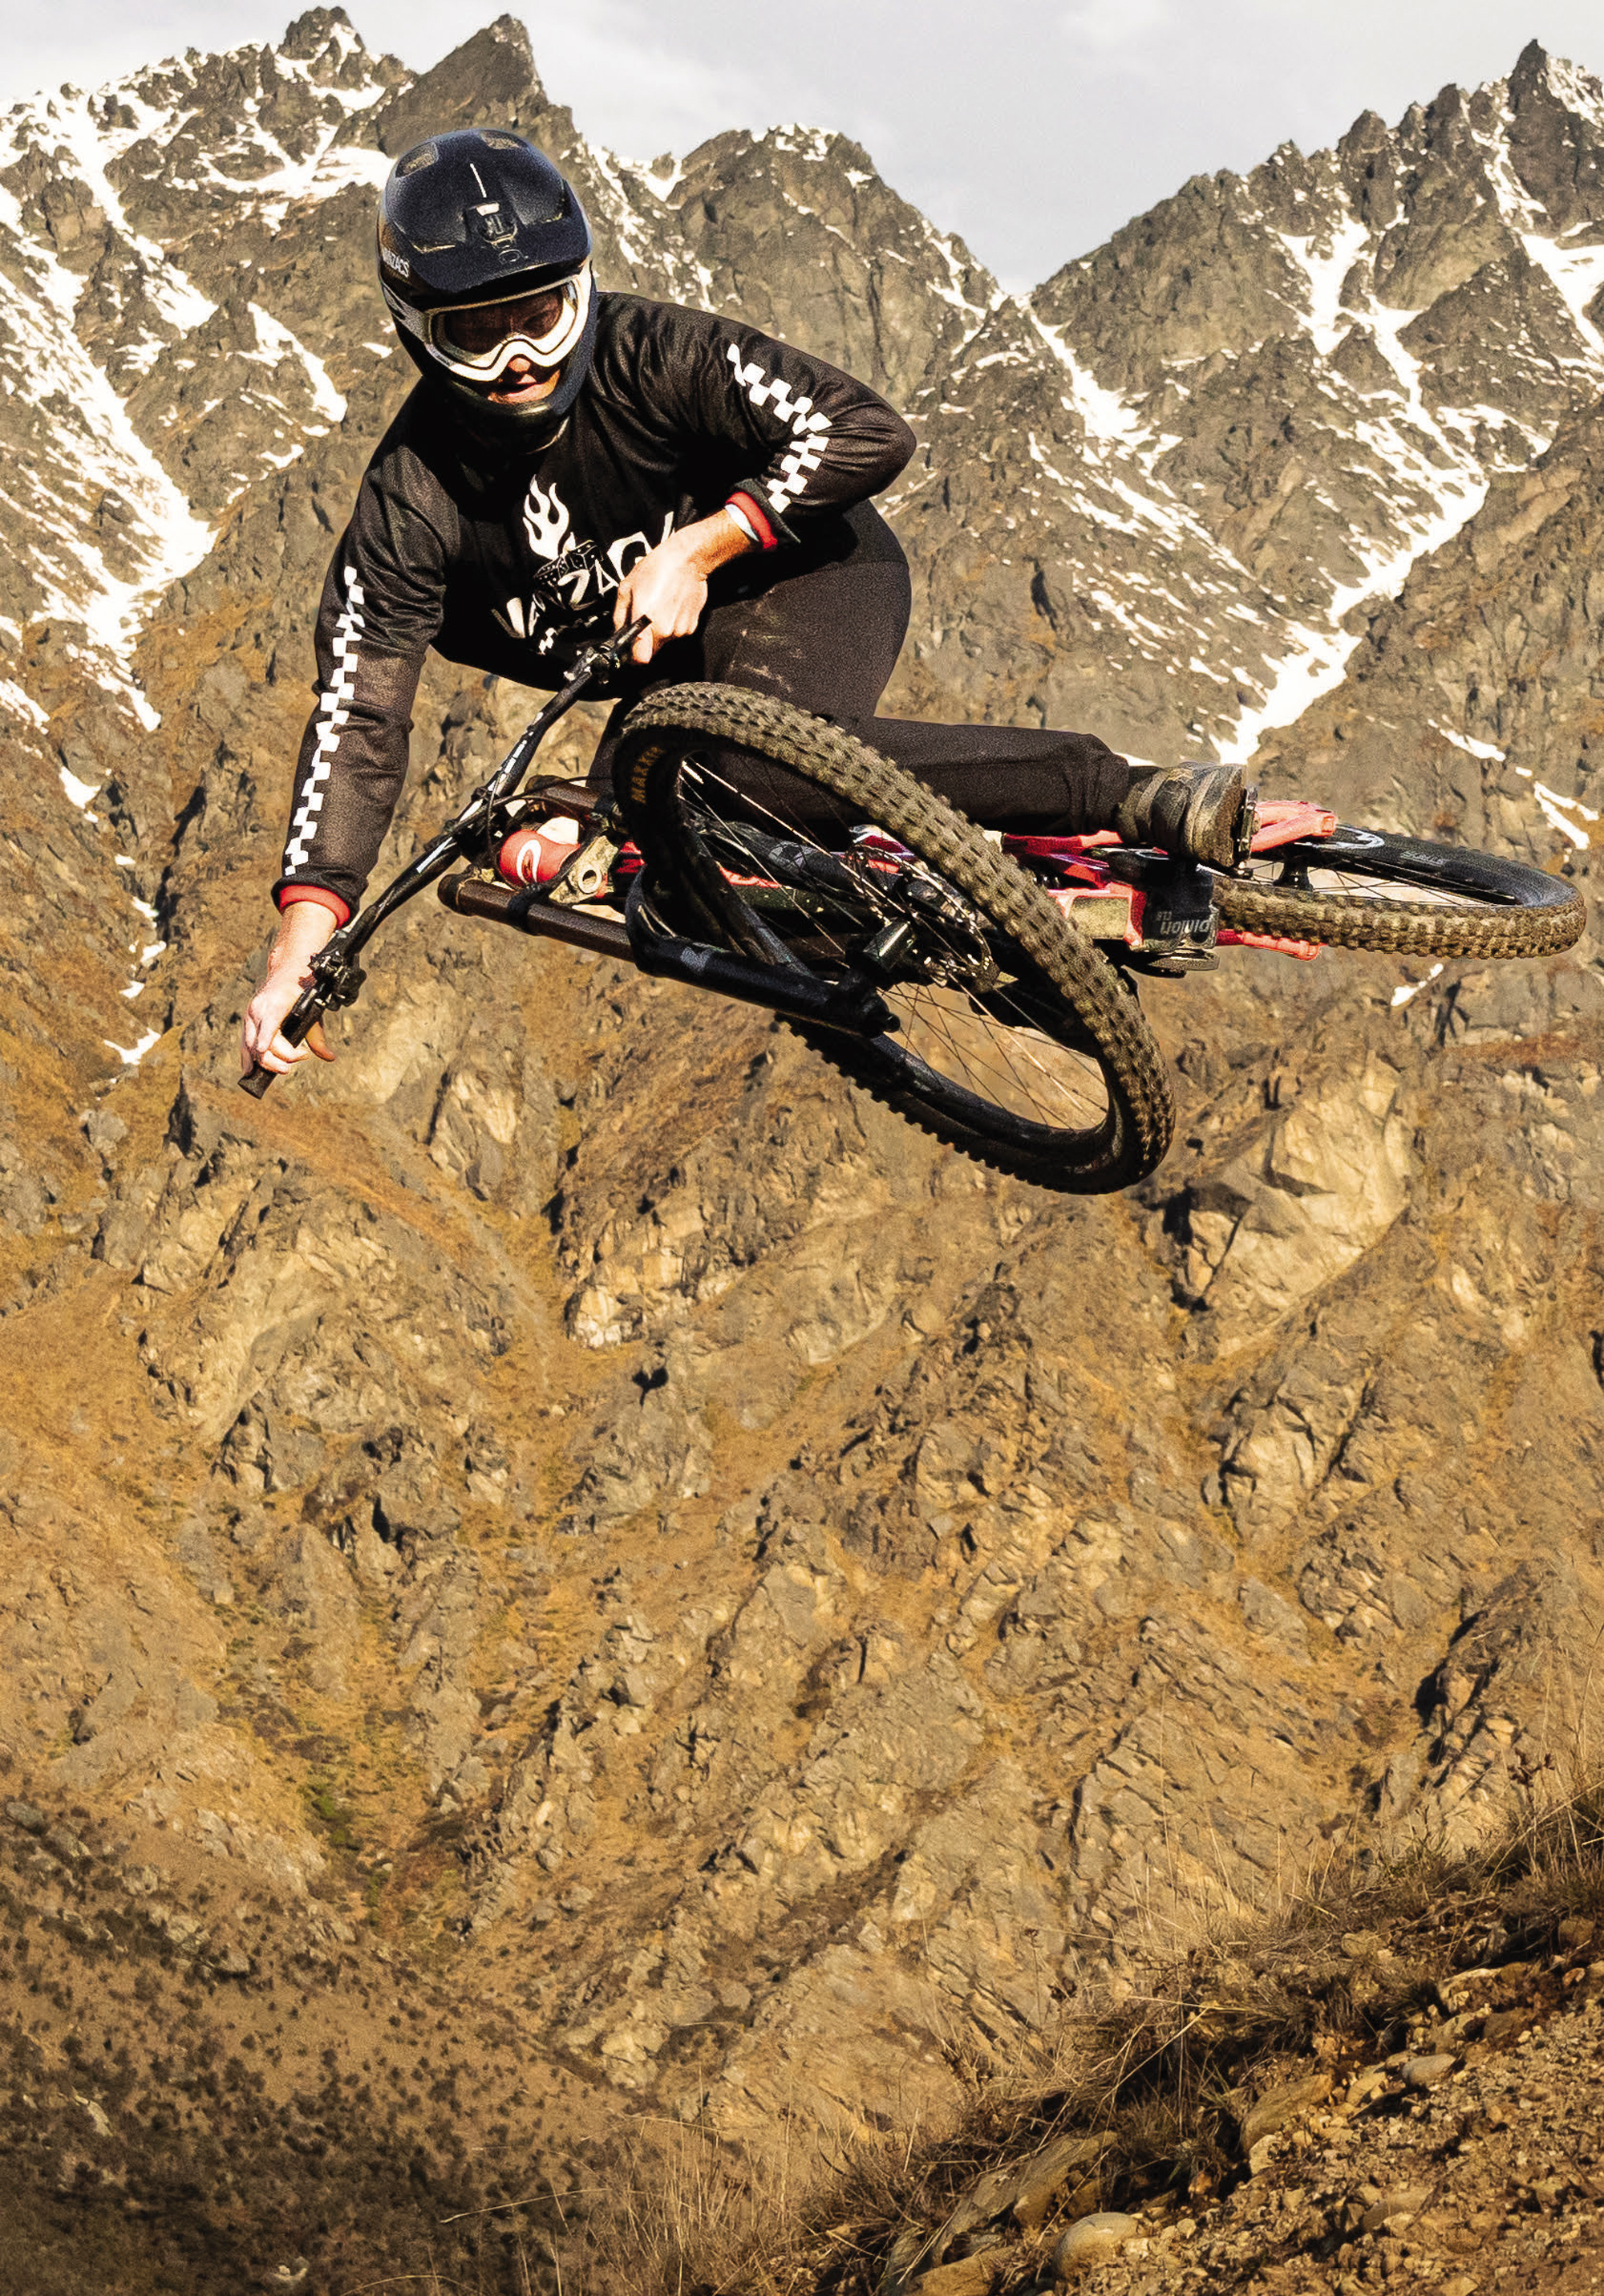
Sam’s riding style lies between two distinct ends of the spectrum. At one end is his gravity side, where he goes fast, rides new lines, and interprets the trail in his own unique way, 100% focused. And, at the other end of the scale is a more thoughtful, subdued, and relaxed style, almost contemplative. This is where he exists when riding gravel or simply exploring an area by bike.
“I love the gravel side of things. For me, it’s like just riding a bike purely for the sake of riding a bike. Because mountain biking isn’t that. You get a gravel bike out to simply just go for a ride. You’re so much more present, and for me, it’s so meditative. You’re not thinking about what you’re doing. You’re literally just turning the pedals and looking around. It’s a time when I can really process things. It’s a time when I’m doing my thinking, I guess. People always ask me, oh, what do you think about when you go on these 100km rides? And I don’t actually even know. I don’t even know if I am thinking at all.”
“It’s just so meditative that anything and everything that’s coming at you, you’re taking in, and whether it’s subconsciously or not, it comes back out. I’ll reflect back on that when I’m drawing or looking at something down the track. The way that stream ran, or the way those trees were, or how the light hit that rock or something, it’ll come back at some point. If you’re mountain biking, you probably would just fly past it. You wouldn’t know at all.”
“Even if I’m riding at the same place every week, I can still find a new thing to look at and a new angle on something. I just like looking at things from a different perspective, I guess. And that’s what I like about art, photography, design, and all that sort of stuff. I’m just taking my unique view on things and making stuff, I guess. It’s basically just pure enjoyment out of both (riding and art).”
“I’m just really addicted to making things in a bad way! Every possible thing that I need. I think that’s why I’m so into design, it’s the process of taking an idea and making something that someone then puts on a t-shirt or whatever. “Or whether it’s building stuff out of wood or sewing or painting, or anything that requires patience and an idea turning into a form. That’s what intrigues me the most; taking raw materials and then coming up with something new at the end of it is cool.”
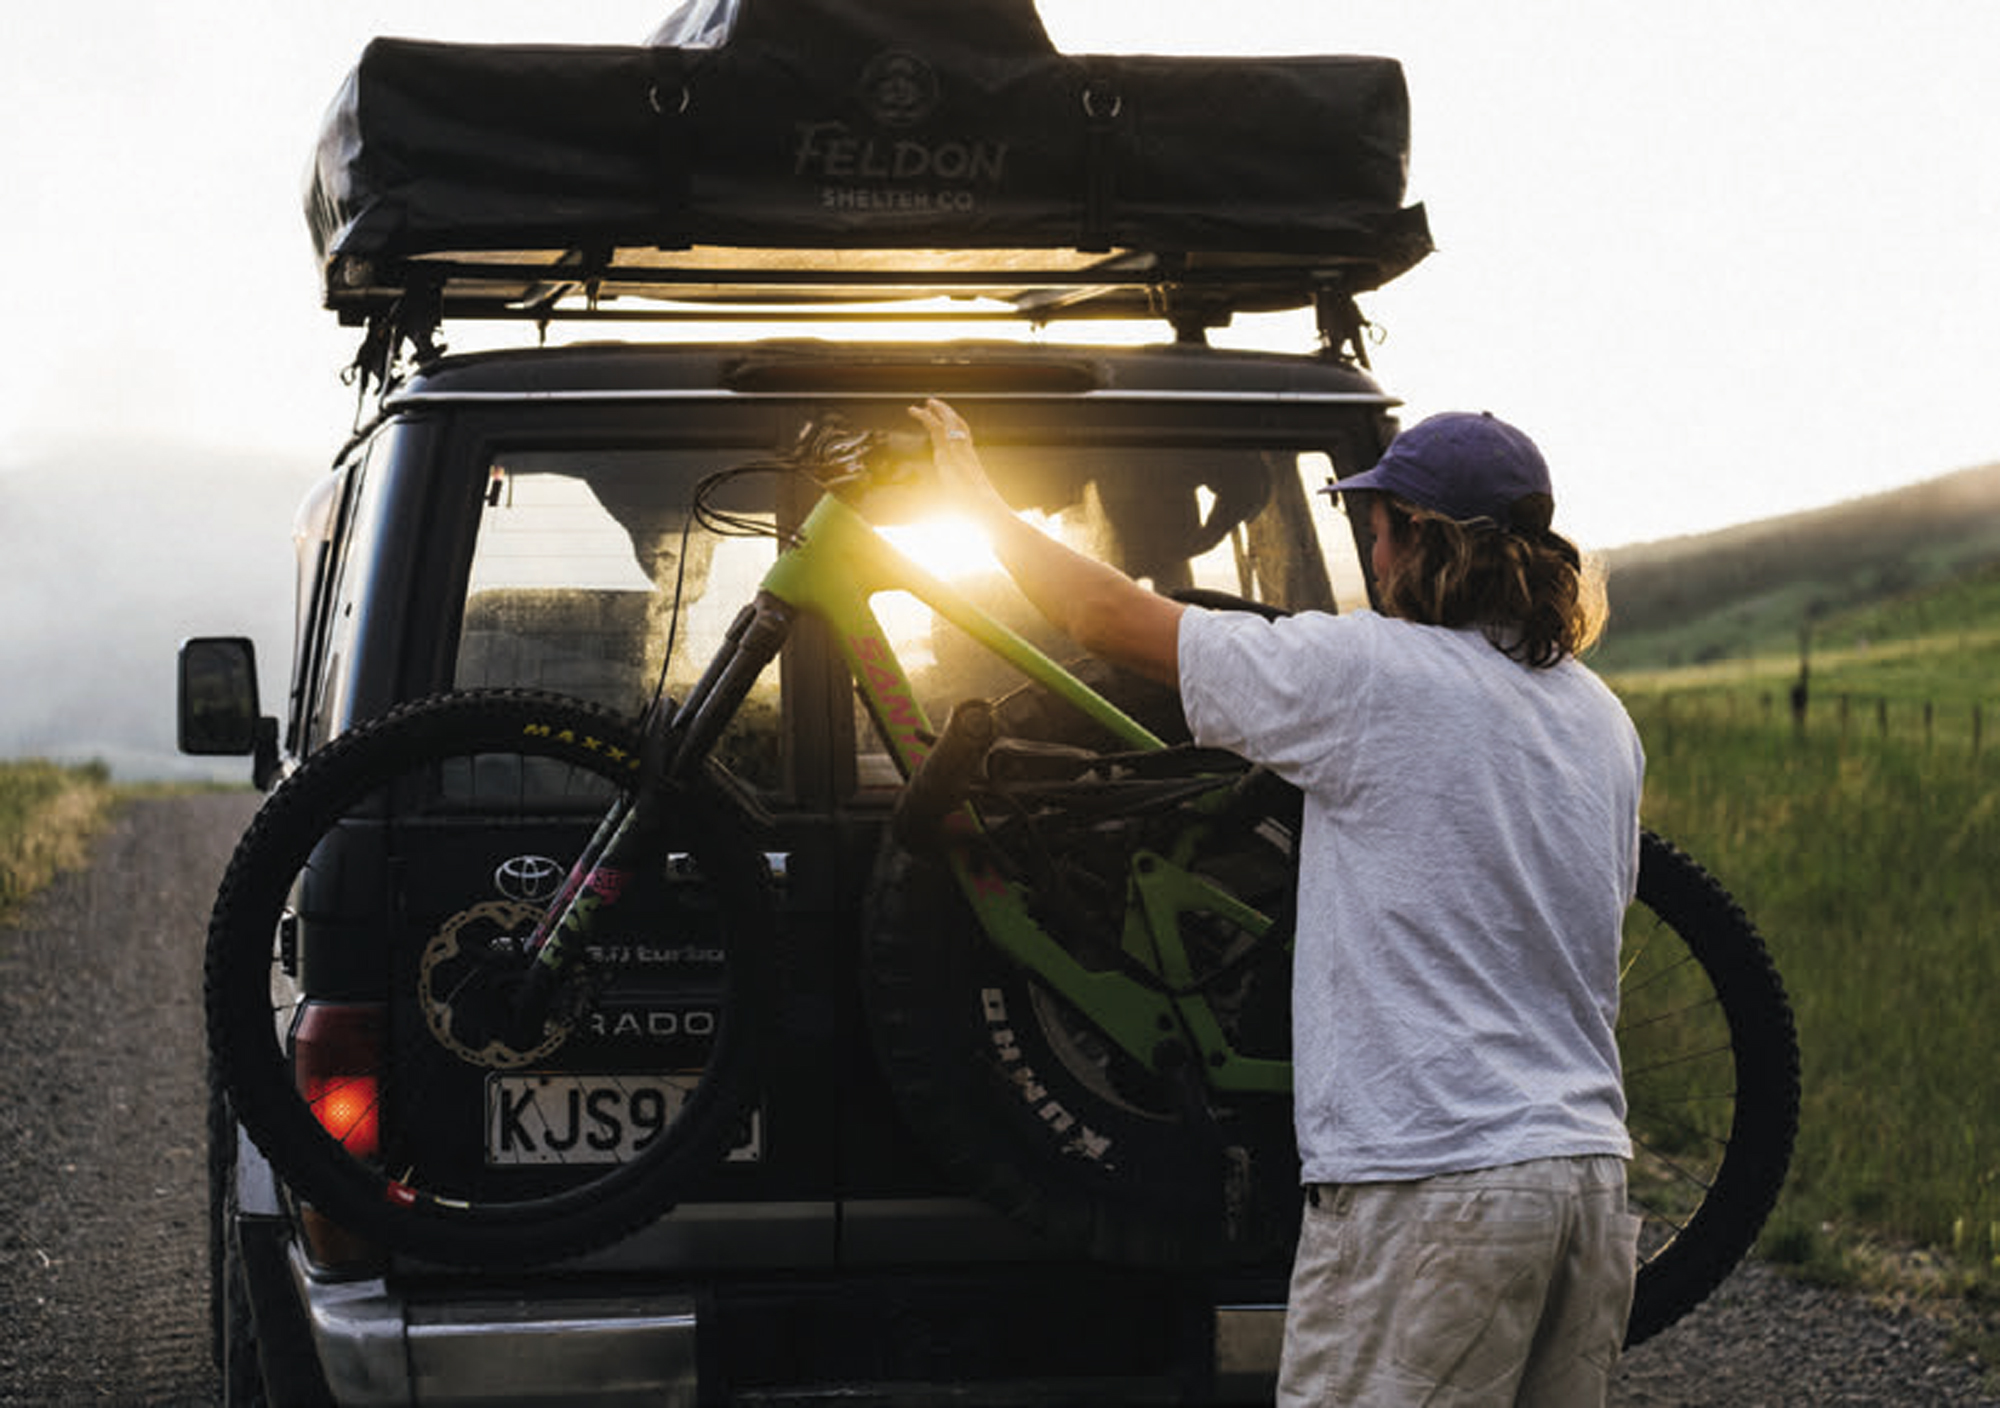
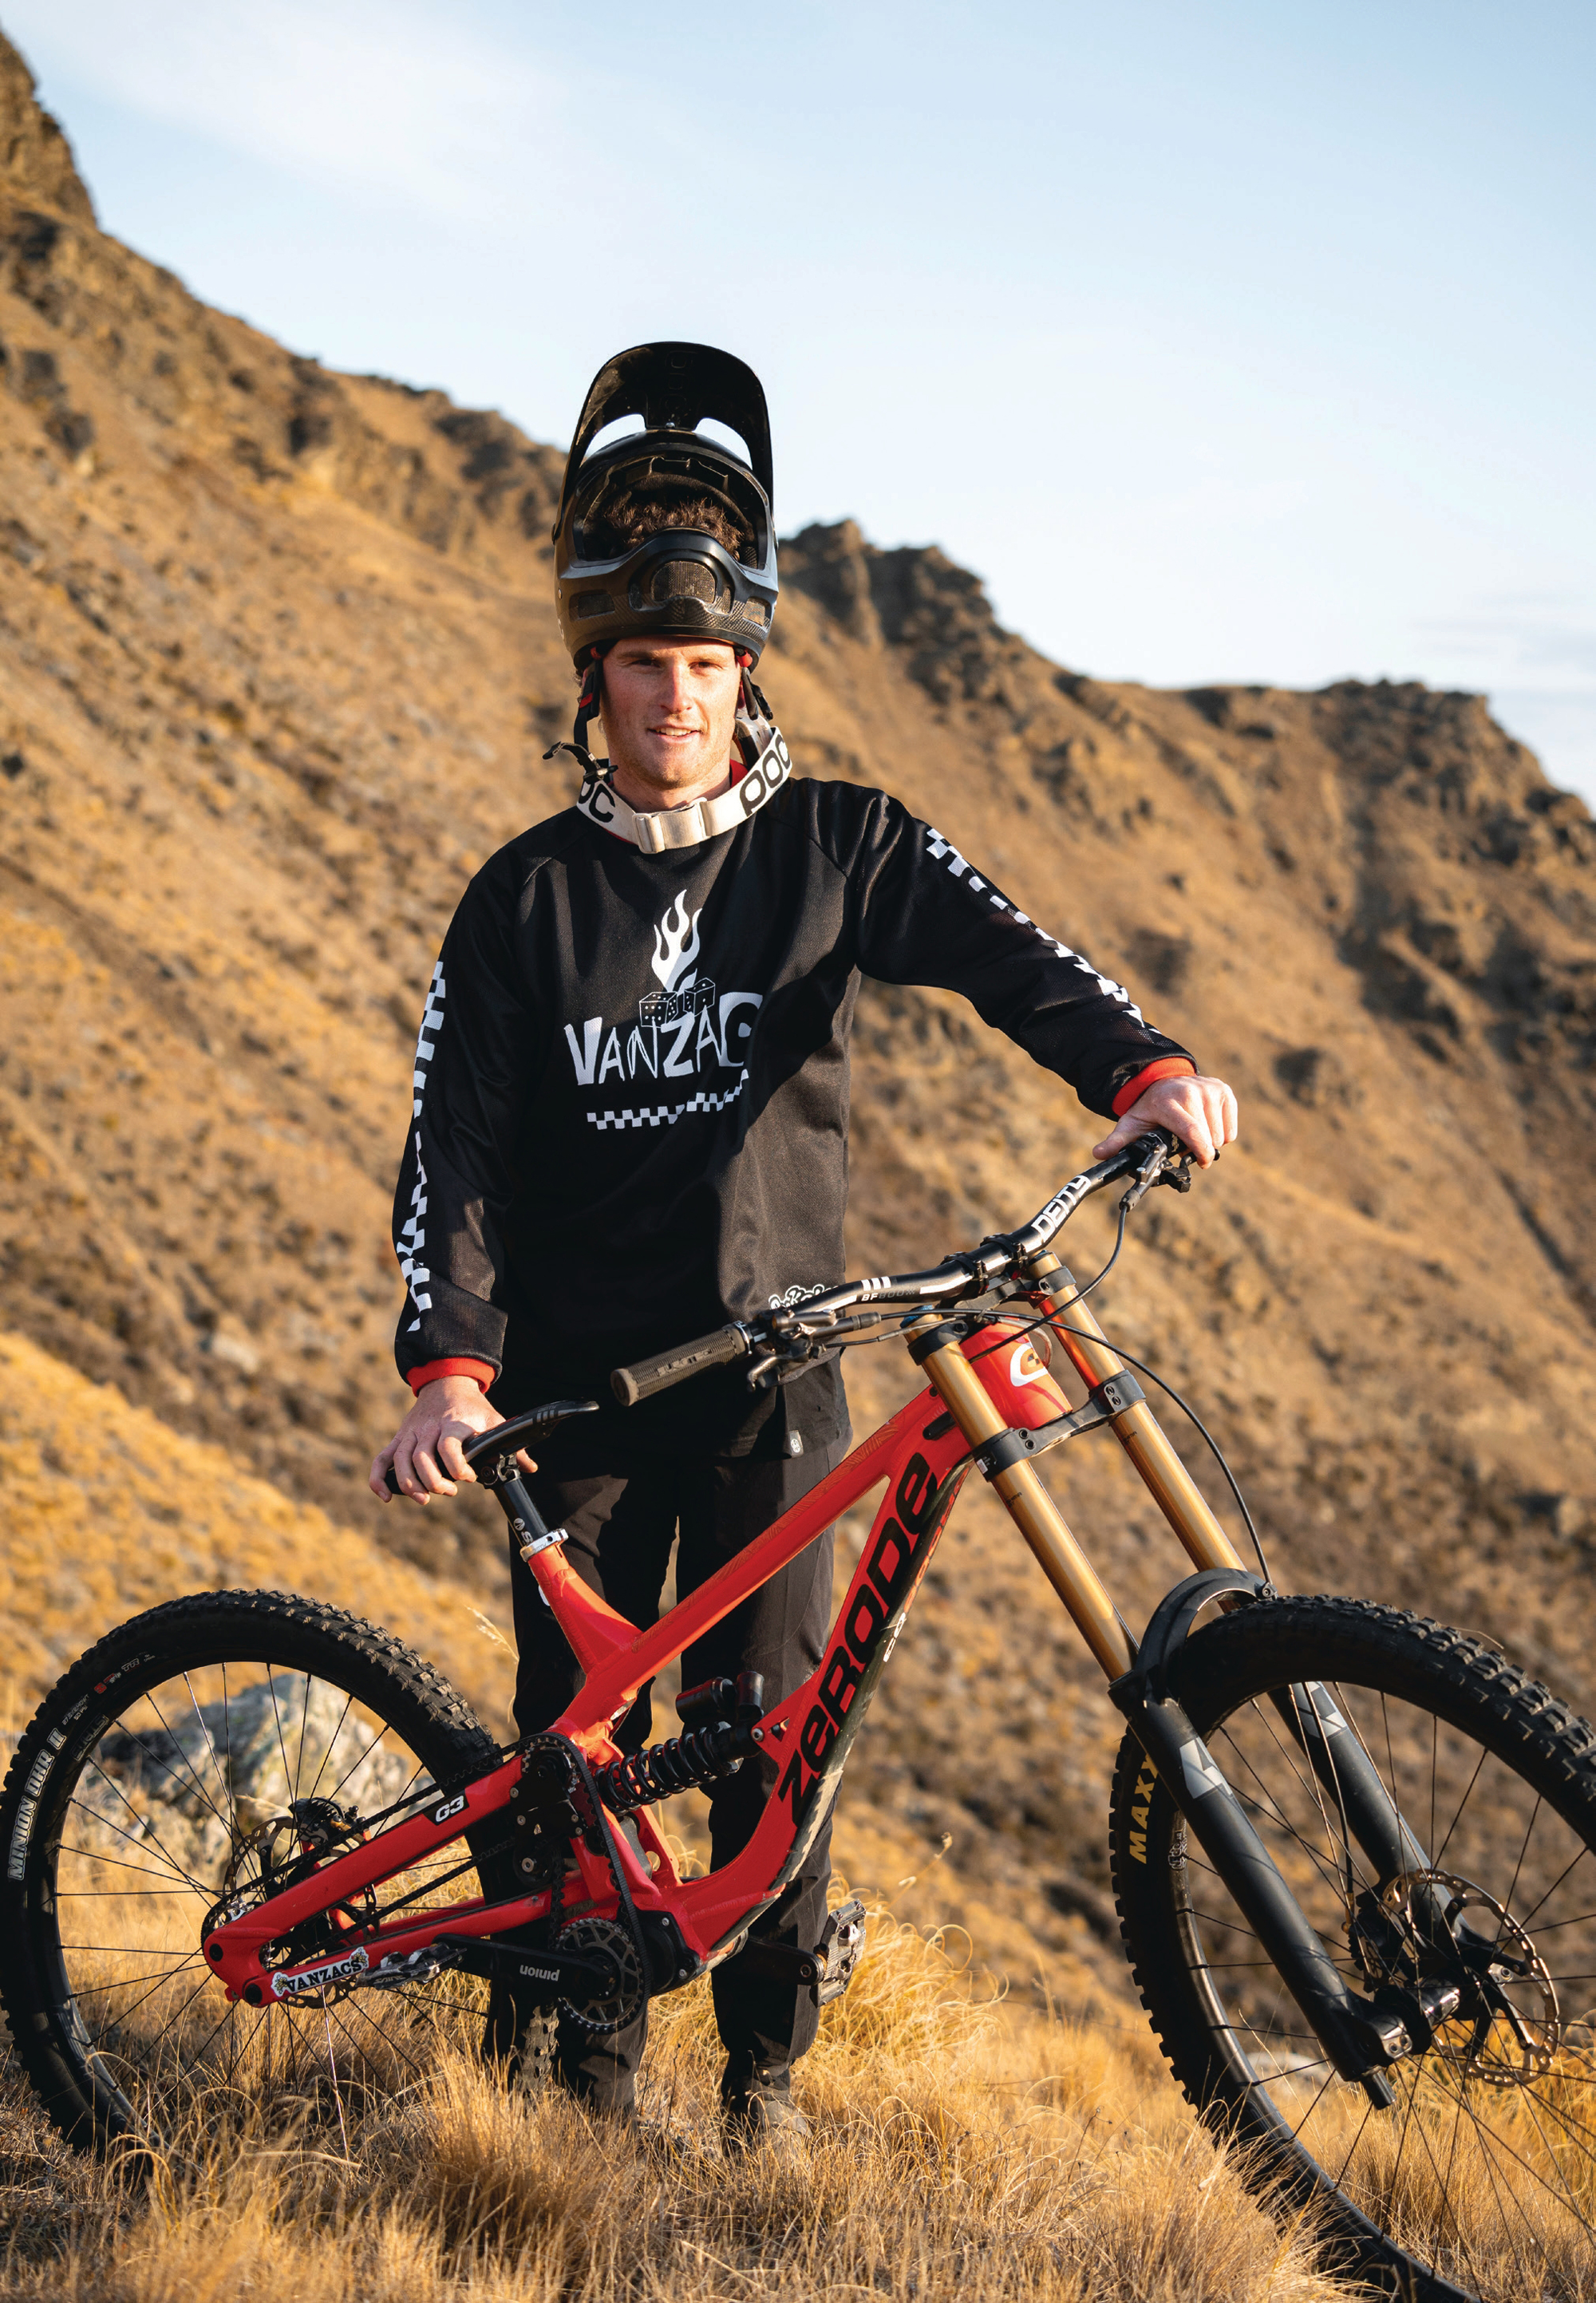
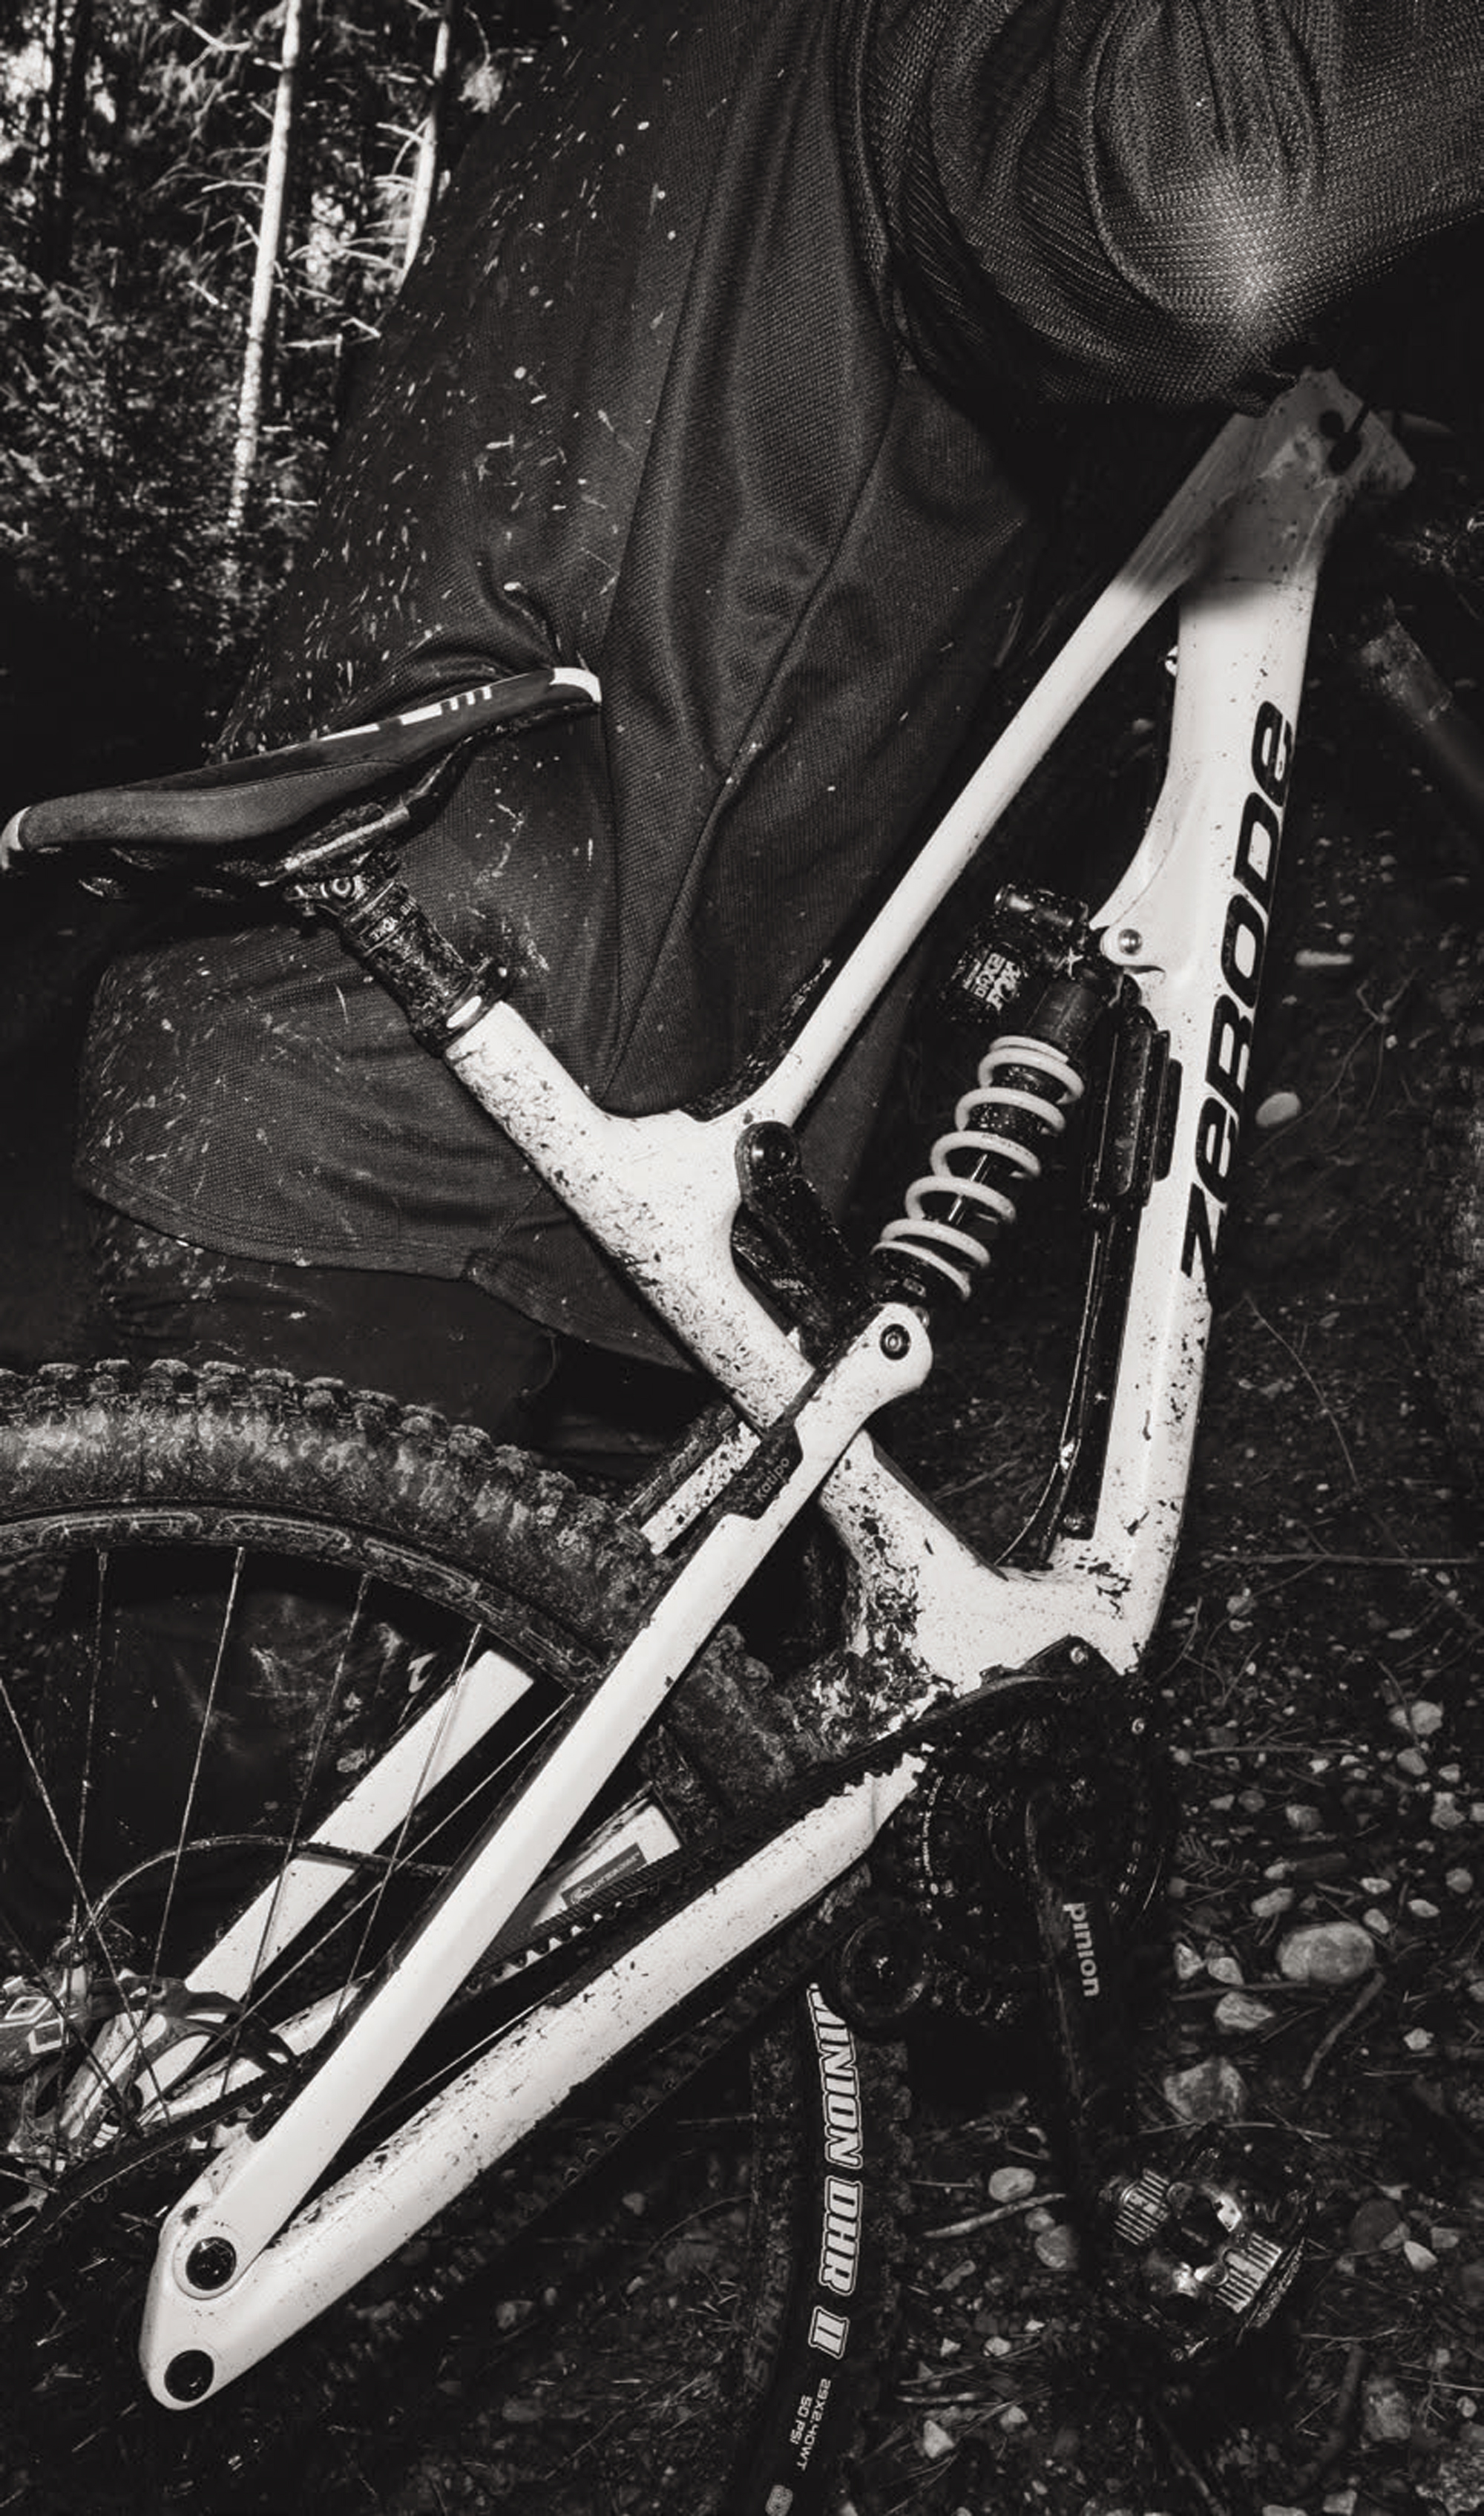
A glance at any of Sam’s bikes confirms his addiction to making things. Each of his bikes has unique and subtle twists that make each his own. Some of his fleet has echoes back to his childhood and the inorganic collection Frankenbikes – hunting out obscure framesets from back in the days when he was a kid, cobbling them together with unique, often used, parts. From a twenty-six inch single speed dirt jump bike, to high-performing all-mountain trail bikes and retro-commuters, Sams’s bike rack spans the spectrum of cycling genres and a vast timespan.
Sam’s friendly, relaxed, unstructured, and colourful hand-drawn style catches the eye of many an art director. After getting exposure from well-known and large brands, like Pals drinks, among others, his phone has been running hot with enquiries from people who like his style and want something similar to tie their brand to.
“It’s quite hard to replicate yourself over and over. Like for Pals, for example, they’re a big one I’ve done (work for). So many people message me asking, can I get something that’s similar to Pals? I don’t want just to keep repeating myself; it just becomes boring. Whereas, with Good Lids (a Hemp headwear brand), I get the chance to develop myself and try new techniques and styles that I’ve thought about or want to express. I don’t always want to stay in the same rut and become a repetition guy. My Good Lids work is probably the most rewarding. But every client has their own merits. (Good Lids) just trusts me. He’s just like, right, it’s time for another round of designs. You know what to do. I’ll just send back, like three pages of concepts. Probably 50 drawings, and he’ll just pick and choose. But he just gives me complete creative freedom with it, which is pretty cool.”
“I’m pretty lucky to take it from where it was, just working at home, pumping out my own stuff, to now full-time for the last few years. It’s pretty cool.”
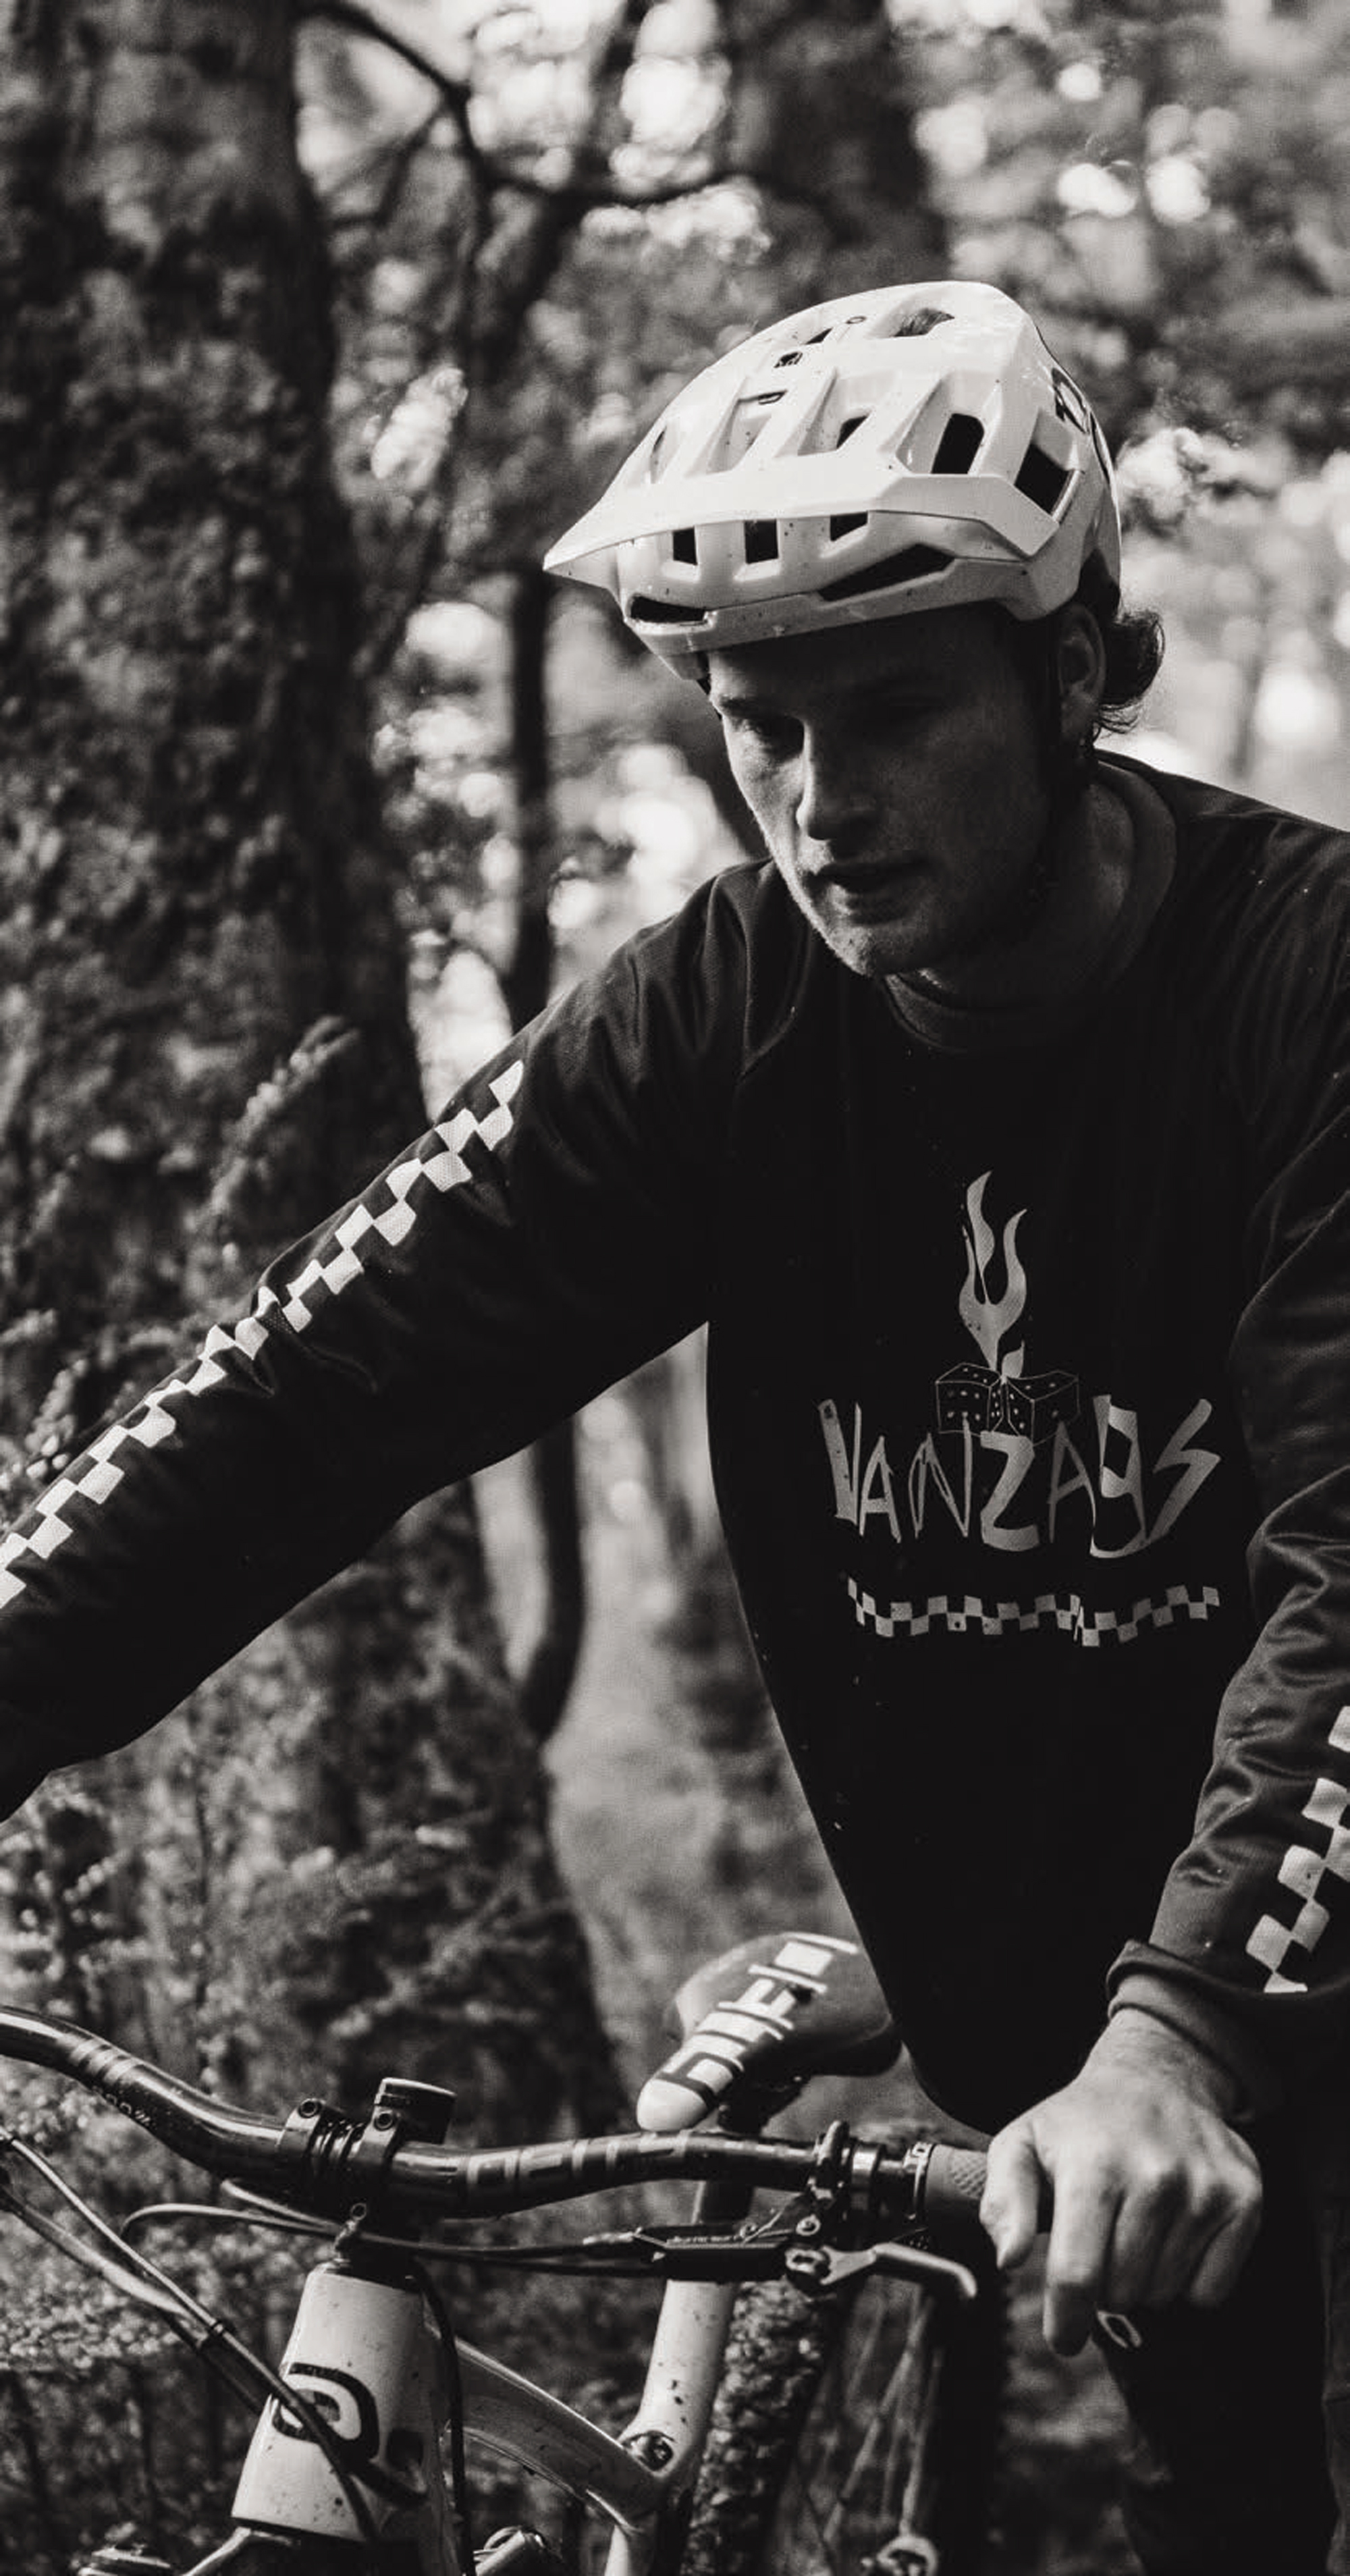
Sam’s a pretty low-key guy. He’s happy to go about his business, and although his work is seen all over the country and abroad, he’s still the same old, down-to-earth, chilled guy. All he wants is to live like he’s on vacation, chill and ride his bike while creating some fun projects, whatever they may be. Sounds like some solid life goals to me!
This abbreviated piece written by Sam summarises his thoughts on his condition and gives a window into his quiet intellect.
I have Crohn’s. I have no large intestine, and my small intestine comes out of my stomach and into a Colostomy bag. I’ve had this since 2015 and will have it for the rest of my life. I accept that. It saved my life, but that doesn’t make it my friend. I get tired of it. Some days are good, and other days I cry. Lots of days I’m embarrassed, if my bag leaks in my wetsuit or into my sleeping bag. It’s not fun, and I hide. And I don’t want to.
It has taught me so much about myself, and for that, I’m thankful. Life is short. Try things, be brave, be uncomfortable, be happy, be kind. It’s hard, and I struggle, and I hide, I’m not brave and not comfortable. But I want to try to be better and show others who battle with themselves that they can try too, they can talk, and they can grow. If you want to talk, ask me.
I’ve been to most places in my head, and I know them all very well. This isn’t a sob story. I don’t want sympathy, but I just want to be braver and more comfortable with who I am. I just want to be Sam — me.
Southern Double Dip
Words & Images Gary Sullivan
We decided to head to the South Island for a holiday because I had just got back from a holiday in the South Island.
I wanted a repeat.
It had been a long five years since we’d last crossed the Strait with our little caravan, and it was an easy sell: Glen is always up for a road trip, and she really loves the West Coast. We booked the first ferry we could get a slot on, hooked up the bach-on-wheels, and hit the road.
That first holiday goes something like this…. Thirteen years ago, a trail was opened that roughly follows a route through the mountains, imagined by gold miners in the 1800s. It’s called the Old Ghost Road, and is a bucket list ride for any keen mountain biker. In fact, it’s such a bucket lister that I rode some of it before it was finished, and could tell back then that it was going to be something special. Nearly everybody I know had managed to organise the time and logistics to get down there, but I hadn’t. Things I thought were more important at the time got in the way. Work stuff, other great rides elsewhere, illness, house building. I just hadn’t got around to it.
Last year, I met up with a friend from Queensland who mentioned he was organising an upcoming junket with some other people. The plan was to do some riding around the top of the South Island, including the Old Ghost Road. I jumped on board.
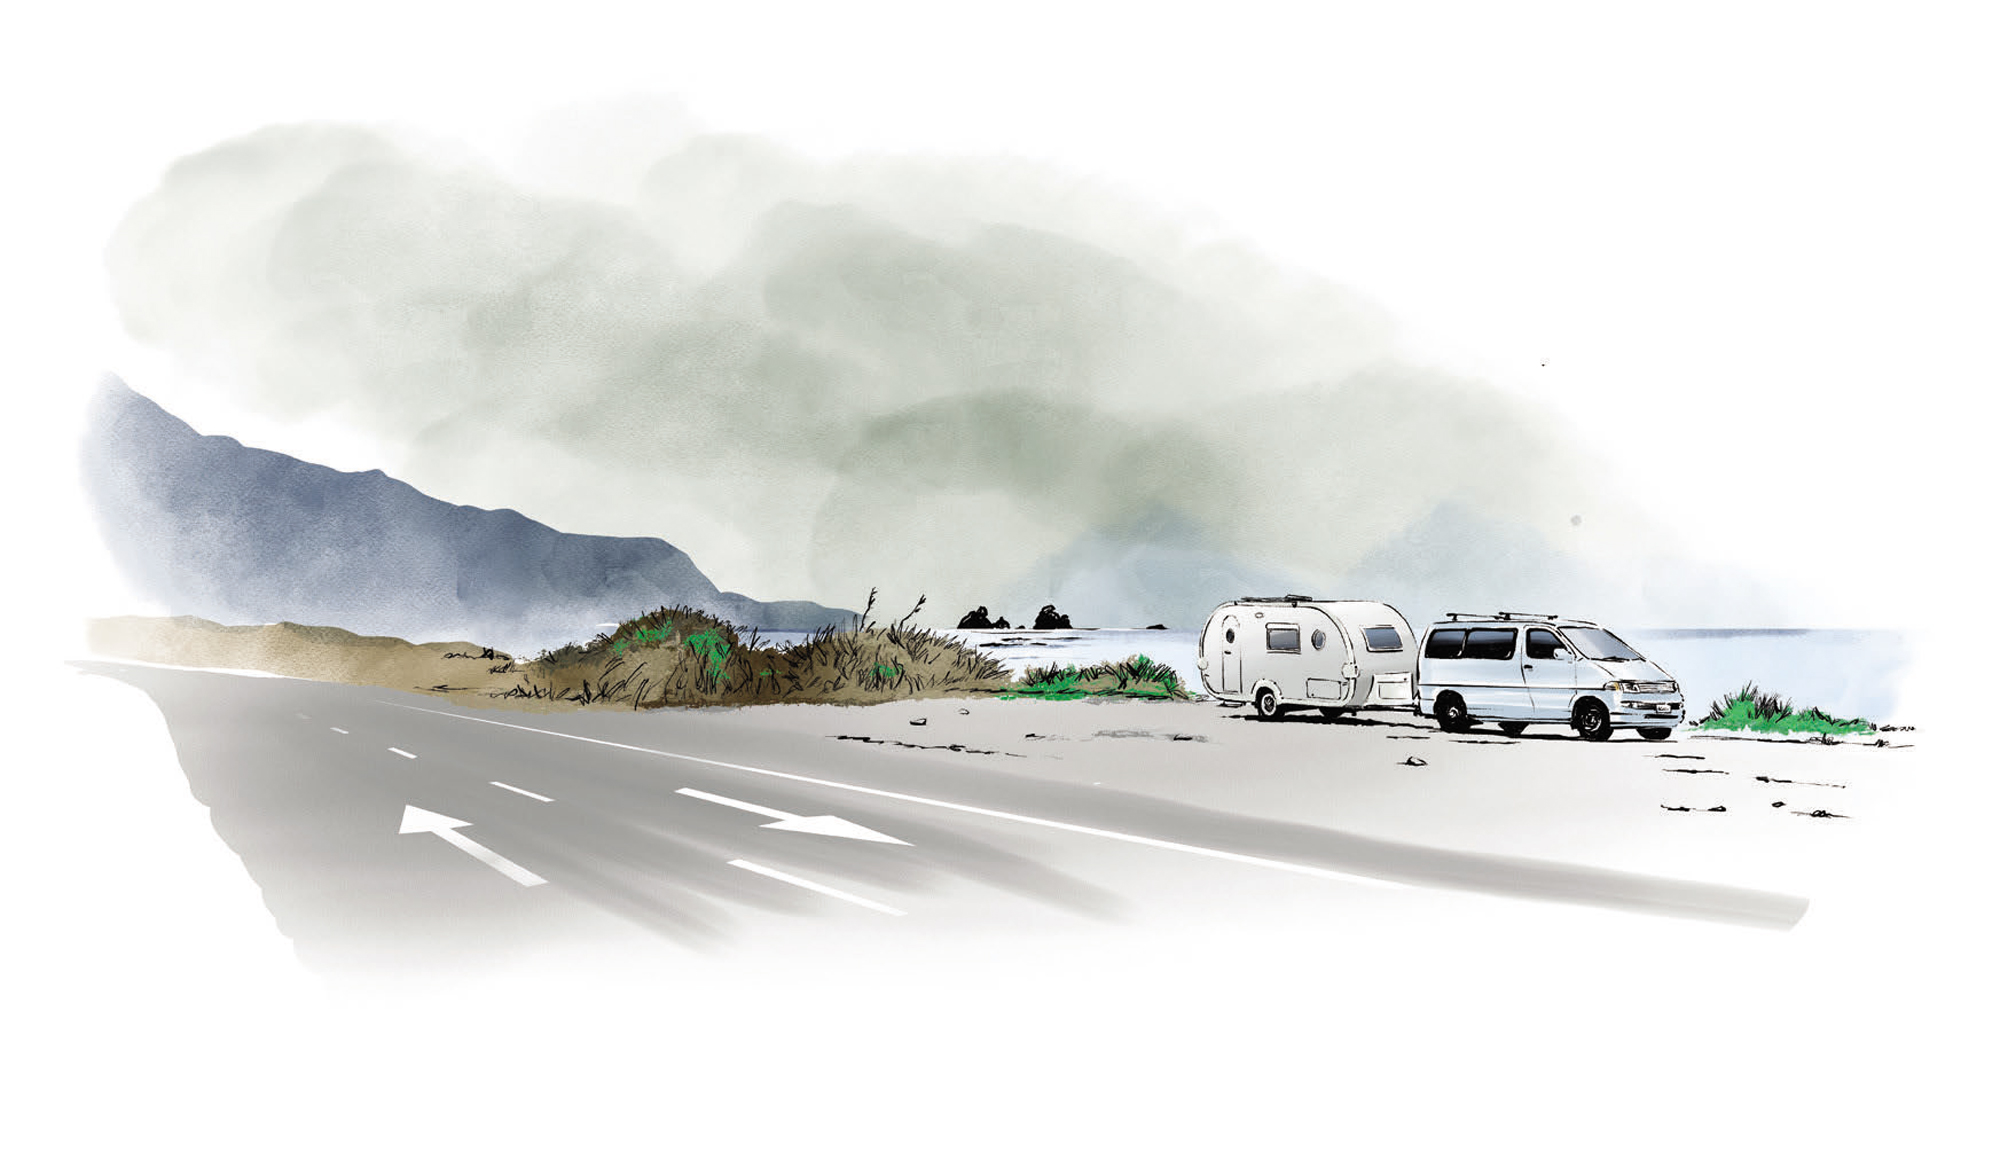
I met the gang in Wellington the day before we were to make the Cook Strait crossing. John had hired a vintage Toyota Hiace and a trailer for the bikes and bags, which made things simple for me. Get myself to Wellington and ditch my own van at a mate’s place, then relax and ride.
As a bonus, we had time to get a ride in at Makara Peak in Wellington before going south.
I have ridden a bit around Wellington but to my everlasting shame had never made it to Makara, even though it has been in development for something like 25 years. Well, I have now, and it won’t be the last time. It was amazing, and we only dipped a toe in the Makara offering.
The trail builders of Makara hew their routes out of difficult terrain – there is a lot of solid rock to be hacked through. Pedaling out of the main car park, we climbed the sublime Koru trail. It really is a work of art; a climbing trail that is actually fun is a rarity around my way.
Once we reached the summit of the park (which felt like the summit of Wellington), we were treated to massive views, an info station mounted on an outsize bike chain, and even a couple of charging stations for eBikes. I didn’t stick a fork in them to find out, but they looked legit. Just who would cart a charger up there to re-energise for a ride back downhill was not clear, but I guess somebody must.
We took a very entertaining intermediate level run back to where we started, then climbed the thing again via a slightly more taxing route. A few of us took a loop around the high point then jumped on a flow trail back to town. We finished on what some of us reckoned was one of the best bits of trail in our entire trip: it’s called Starfish, and ticks a lot of boxes.
The trip to Nelson took most of the next day, but we still had time to hook up with Mick, a local contact who showed us how to get to Codgers, the trail network closest to town. He led us up another surprisingly pleasant climb to a couple of what Nelson riders consider basic trails. A good way to get oriented, figure out where we were in relation to the riding, and get a taste of the dry and rocky terrain. Back in Rotorua, we have a few rocks in the forest – and we can count them all without having to use our toes. Down here, rocks are everywhere; some are attached firmly to the planet, many are not. In a mellow 18km we still managed an overall up- and-down totaling 726m – that would rank as a big ride back home. Down here, at the ride’s high point, we got a great outlook over town, but also had to crane our necks to look at the peaks behind us, allegedly full of more trails.
There is a mind-boggling selection of riding options down that way, and a couple of days was nowhere near enough to ride even a small fraction of them. We headed out to Cable Bay Adventure Park the following morning. After signing on at a very nicely set up hub, we hooked up with Mick again and crammed 741m of up- and-down into a scant 13km of distance.
We only tackled trails that are tame by local standards, but provided plenty of challenges for me, thank you very much. The first downhill run was called Broken Gnome, and according to my GPS dropped 210m in less than a kilometre. If I wasn’t following a local, I might have chickened out in a few spots but I was already starting to trust the available traction as long as I could stay on the rocks that were firmly anchored. It was steep, and fun. The rest of that ride was a blur, but followed that theme. I have been hearing about a ride near Nelson called the Coppermine Loop for what seems like forever. I was hoping to fit it in while we were stooging around the region. I didn’t expect anybody to suggest doing it late on the same afternoon of the Cable Bay day, but that is what happened.
We headed out at about 4pm. The ride starts with a climb that covers about 20 kilometres at a railroad grade, because that’s what it is. Some 150 years ago, a crew mined Chromite high in the hills behind Nelson, and they used a simple tram line to send the ore down to a depot in town. Horses would pull the empty wagons up to nearly 900m above the town, they would be filled with ore and return using gravity, with a brakeman controlling the pace.
We performed a similar routine, only without horses. And, we used gravity to descend via a much steeper route into a different valley.
The descent into Maitai Valley is half an hour of maximum fun. The trail is dual-use, with signs everywhere reminding you to watch out for walkers. The descent features dozens of beautifully bermed corners which are begging to be railed. There are also lots of rocks. We didn’t see any walkers.
We got back to the motel in the dark, a really big day complete.
Our next destination was Kaiteriteri, a short drive from Nelson and the jumping off point to Abel Tasman National Park. A beautiful spot crawling with tourists and day-trippers, but also hiding a very cool little mountain bike park. Small in area, but with plenty of elevation, it is worth a visit if you are down that way. We started early the next day, to get to the Wairoa Gorge Mountain Bike Park. A visit to this place was another compelling reason to join this junket. It was created, in large part, by a good mate of ours who died way too early. Dodzy was a force of nature, and when he connected, by chance, with a very wealthy guy with an interest in mountain biking, a short-lived phenomenon was born. It’s a whole other story you probably already know, but Wairoa was one of the projects executed by the company formed to develop trails on land the guy owned all over the planet. He moved on from mountain biking, and now Wairoa is owned by New Zealand and leased to the Nelson Mountain Bike Club.
It is probably the most exclusive MTB park in the world. The shuttle-only access to the 70+ kilometres of hand-built trails is usually maxed out at 27 people; the day we visited, there were 18. Two nine-person truckloads of people in a massive slice of forested mountain is pretty much nobody – we felt like we had the place to ourselves. The shuttle is long, and gets riders to about 1200m. The descent is MUCH longer – at the pace I could manage, each run took over half an hour. The trails are graded, and routes have been created using a numerical system to let riders figure out a way down that suits their skill set.
A few of us who rode together, dropped four times – and two hours of riding downhill on fresh trails takes more energy than you might think.
There are three options at Wairoa for accommodation, we were in the largest – a very nice chalet near the base of the gorge. Two other huts higher up look really good too. If you have a gang keen for a weekend away, the Gorge is worth a look.
We tackled the Old Ghost Road as a two-day trip, staying for a night at Ghost Lake hut. There are four huts managed by the Lyell-Mohikinui Back Country Trust which can be booked at the official Old Ghost Road website. There are also two DOC huts, which are first-come, first- served. The LMBC huts are top-notch, and have kitchen facilities with everything you might need except ingredients; there are firebox heaters with wood provided, basic showers, toilets – they are well-insulated and have great locations.
The first day for us was a climb…. 27 kilometres of climbing to Ghost Lake. There is a brief respite halfway up, at Lyell Saddle. We dropped in to the Lyell hut for a snack and a sit-down on the sunny deck, with a huge view over the ranges to the north. A gang of excitable women had chosen Lyell as their first stop on a five- day walk, and they were all either laughing or yelling at each other at once. There were more of them en route, so we were kind of glad to be staying further along the trail.
The highlight of the ride, for me anyway, was the section before Ghost Lake where the trail reaches its highest point at 1344m. Well above the tree line, it sidles along the faces of a ridge, with massive views. We were lucky to have two bluebird days and the outlook from those heights will always be a strong memory of the first day’s ride.
A short drop into the trees brought us to Ghost Lake hut, perched on a ridge and overlooking the distant town of Murchison, where that morning we were buying extra trail food, eating pies and drinking coffee.
I had the foresight to cram a can of beer into my overloaded pack, and I was relieved to find it hadn’t been pierced by anything along the way. I inhaled it on the deck of the hut, feeling extremely fortunate and grateful for everything about the day. It was already cold, and pretty soon it was freezing – literally: when I ventured outside at about 2am for a pee, there was ice on the ground.
John had organised a helicopter drop of food and sleeping bags; the food was freeze-dried and, with the addition of boiling water, turned into something edible. The sleeping bag was absolutely perfect.
Our second day was hard to fault.
The trip from Ghost Lake hut to the finish is 56 kilometres by my count, and descends 1200 metres. There are some seriously cool sections of flowing trail through exceptional forest scenery and I forced myself to stop a few times to look at it. There are also 827 metres of climbing, so it is not an easy day.
The Old Ghost Road was a perfect exclamation point on a quick sampling of the riding in the top of the south.
So perfect, in fact, that I couldn’t wait to do it again. Literally, I could not wait. So I didn’t.
And that is why we headed south a few days after I returned from the first trip.
One of the common themes of the last decade has been a recurring conversation with Graeme, a riding mate. We have talked about riding the Old Ghost Road every summer, and every summer we didn’t get there. Now I had sneaked off and ridden it without him. Another easy sell: we are going down there, we will have a vehicle, let’s get this done.
He signed on, and we set a dateline for the project.
Looking back, it is hard to believe I only got five rides done in a month of wandering around the top of the South, but we were so busy doing bugger-all that that’s all I had time for. Reading books for a start. We try to read books when occupied with normal life, but the luxury of reading one in a single gulp with no stops for any annoying responsibilities is very good. And having a pile of them to get through is even better. We found a reconstituted refrigerator in the main street of Takaka that had become a free book exchange, and we hung around in Golden Bay for a week of bad weather making full use of it.
Loafing along deserted beaches also chopped out extensive periods of time. We are so lucky in this little South Seas paradise, there are so many places that are easy to get to with nobody else in attendance.
Then there are the simple pleasures of doing stuff in a small caravan. Everything takes a bit longer than it does back home. Those are my excuses, but while the rides turned out to be few and far between, they were stellar.
I did a birthday lap of a trail in Whites Bay on our second day in the South Island as a sort of warm up, then spent a few days slacking.
The next outing was another tilt at the Coppermine Loop. The feature of that day, for me, was the feeling that comes with a seemingly endless vista of mountain ranges away to the south of the Coppermine Saddle. There is nothing man-made in view except the trail, and even though Nelson is very close it is hidden and therefore out of mind. It is a ride, but somehow more of an adventure than doing a similar distance and elevation back home.
We visited Kaiteriteri again, had another outing in the great little bike park there, explored Golden Bay between rainstorms, and ended up getting as far south as Hokitika.
The best night of the trip was a simple roadside pull-off, perched on the side of Highway 6, a couple of steps from a wild and windswept stretch of rocks, sand and surf.
My main target for the West Coast leg of the expedition was the Paparoa Track.
We parked up at Punakaiki Campground, an absolute bottler of a place to hang out. Another spectacular beach to explore, Paparoa National Park near at hand, all overhung by massive jungle-strewn cliffs straight out of King Kong.
The campground operates a daily shuttle around to Blackball, where the Paparoa starts. I booked a trip for the following day, and we holed up while the West Coast did what it does fairly often: rain.
The forecast for the next day looked pretty dire, but the day after was not so bad. I switched my booking, and we spent the spare day hiking around in the rain.
When the day arrived, I was up early, packing everything I thought might be needed for a solo ride in remote country. The Paparoa is doable as a single day mission, and that was my plan, but I carted along a pile of food, spares and extra layers just in case it turned into something longer.
The shuttle got me around to the start by about ten. By the time I got underway, it was steadily raining. The rocky trail was drenched. The first ten kilometres is in the forest and, after a short descent, there is a climb to about 1000m that doesn’t let up.
Just before I reached the tree line, I came upon an apparition: two little girls in festive- looking outfits, walking down the trail towards me. They were about six or seven years old by my estimation, and were incredibly cute. One of them politely said, “good luck, you’re nearly there!” I was briefly mystified, but round the next curve was their mother, with an even younger offspring, and carrying an enormous pack. Parenting done correctly.
Soon enough, the trees opened up into the sub-alpine tussock. At about the same time, the clouds lifted, and the first hut came into view.
From there, the trail follows a ridge for what I reckon was the best part of 20 kilometres. It is not easy, constantly rising and falling as it switches from one side of the range to the other; in some places it sketched along the very top of the ridge, only a few metres wide.
Long views back into the Brunner Valley were swapped for expanses of the coast, as the trail stitched a course along the spine of the Paparoa range.
The eventual descent through cloud forest and down into the rainforest below was a highlight of an amazing day. Threading its way down through huge boulders, waterfalls, and crossing a really cool swing bridge, the trail becomes an easy run through some regenerating forest following the Punakaiki River. The final sting in the tail comes with five kilometres to go, a steep little climb that is relieved by the beauty of the forest it clambers through.
We spent a couple of days getting ourselves up to the amazing Gentle Annie campground on the north bank of the Mohokinui River mouth, handy to the end of the Old Ghost Road.
A fairly simple logistical exercise was then executed: I met up with my mate Graeme at Westport, and we drove up the Buller Gorge to the start of the OGR. We ditched the van there, depositing the keys in a locker box for the very accommodating Buller Adventures team to collect and deliver to the other end of the ride.
Our first day on the OGR was a mirror of the ride I had done a month earlier, with the added feature of some constantly mobile clouds in the valleys making the vistas from the tops even more interesting.
Our night in the Ghost Lake hut was entertaining; it was almost at capacity with an even split between riders and walkers. The main topic of conversation was the weather – the cloud closing in as darkness fell looked ominous, but a young fella doing the ride with his parents assured us that if we could get through to the end before 2pm the next day, we would be dry.
Graeme went outside at 2am and came back in to report that it was pissing down.
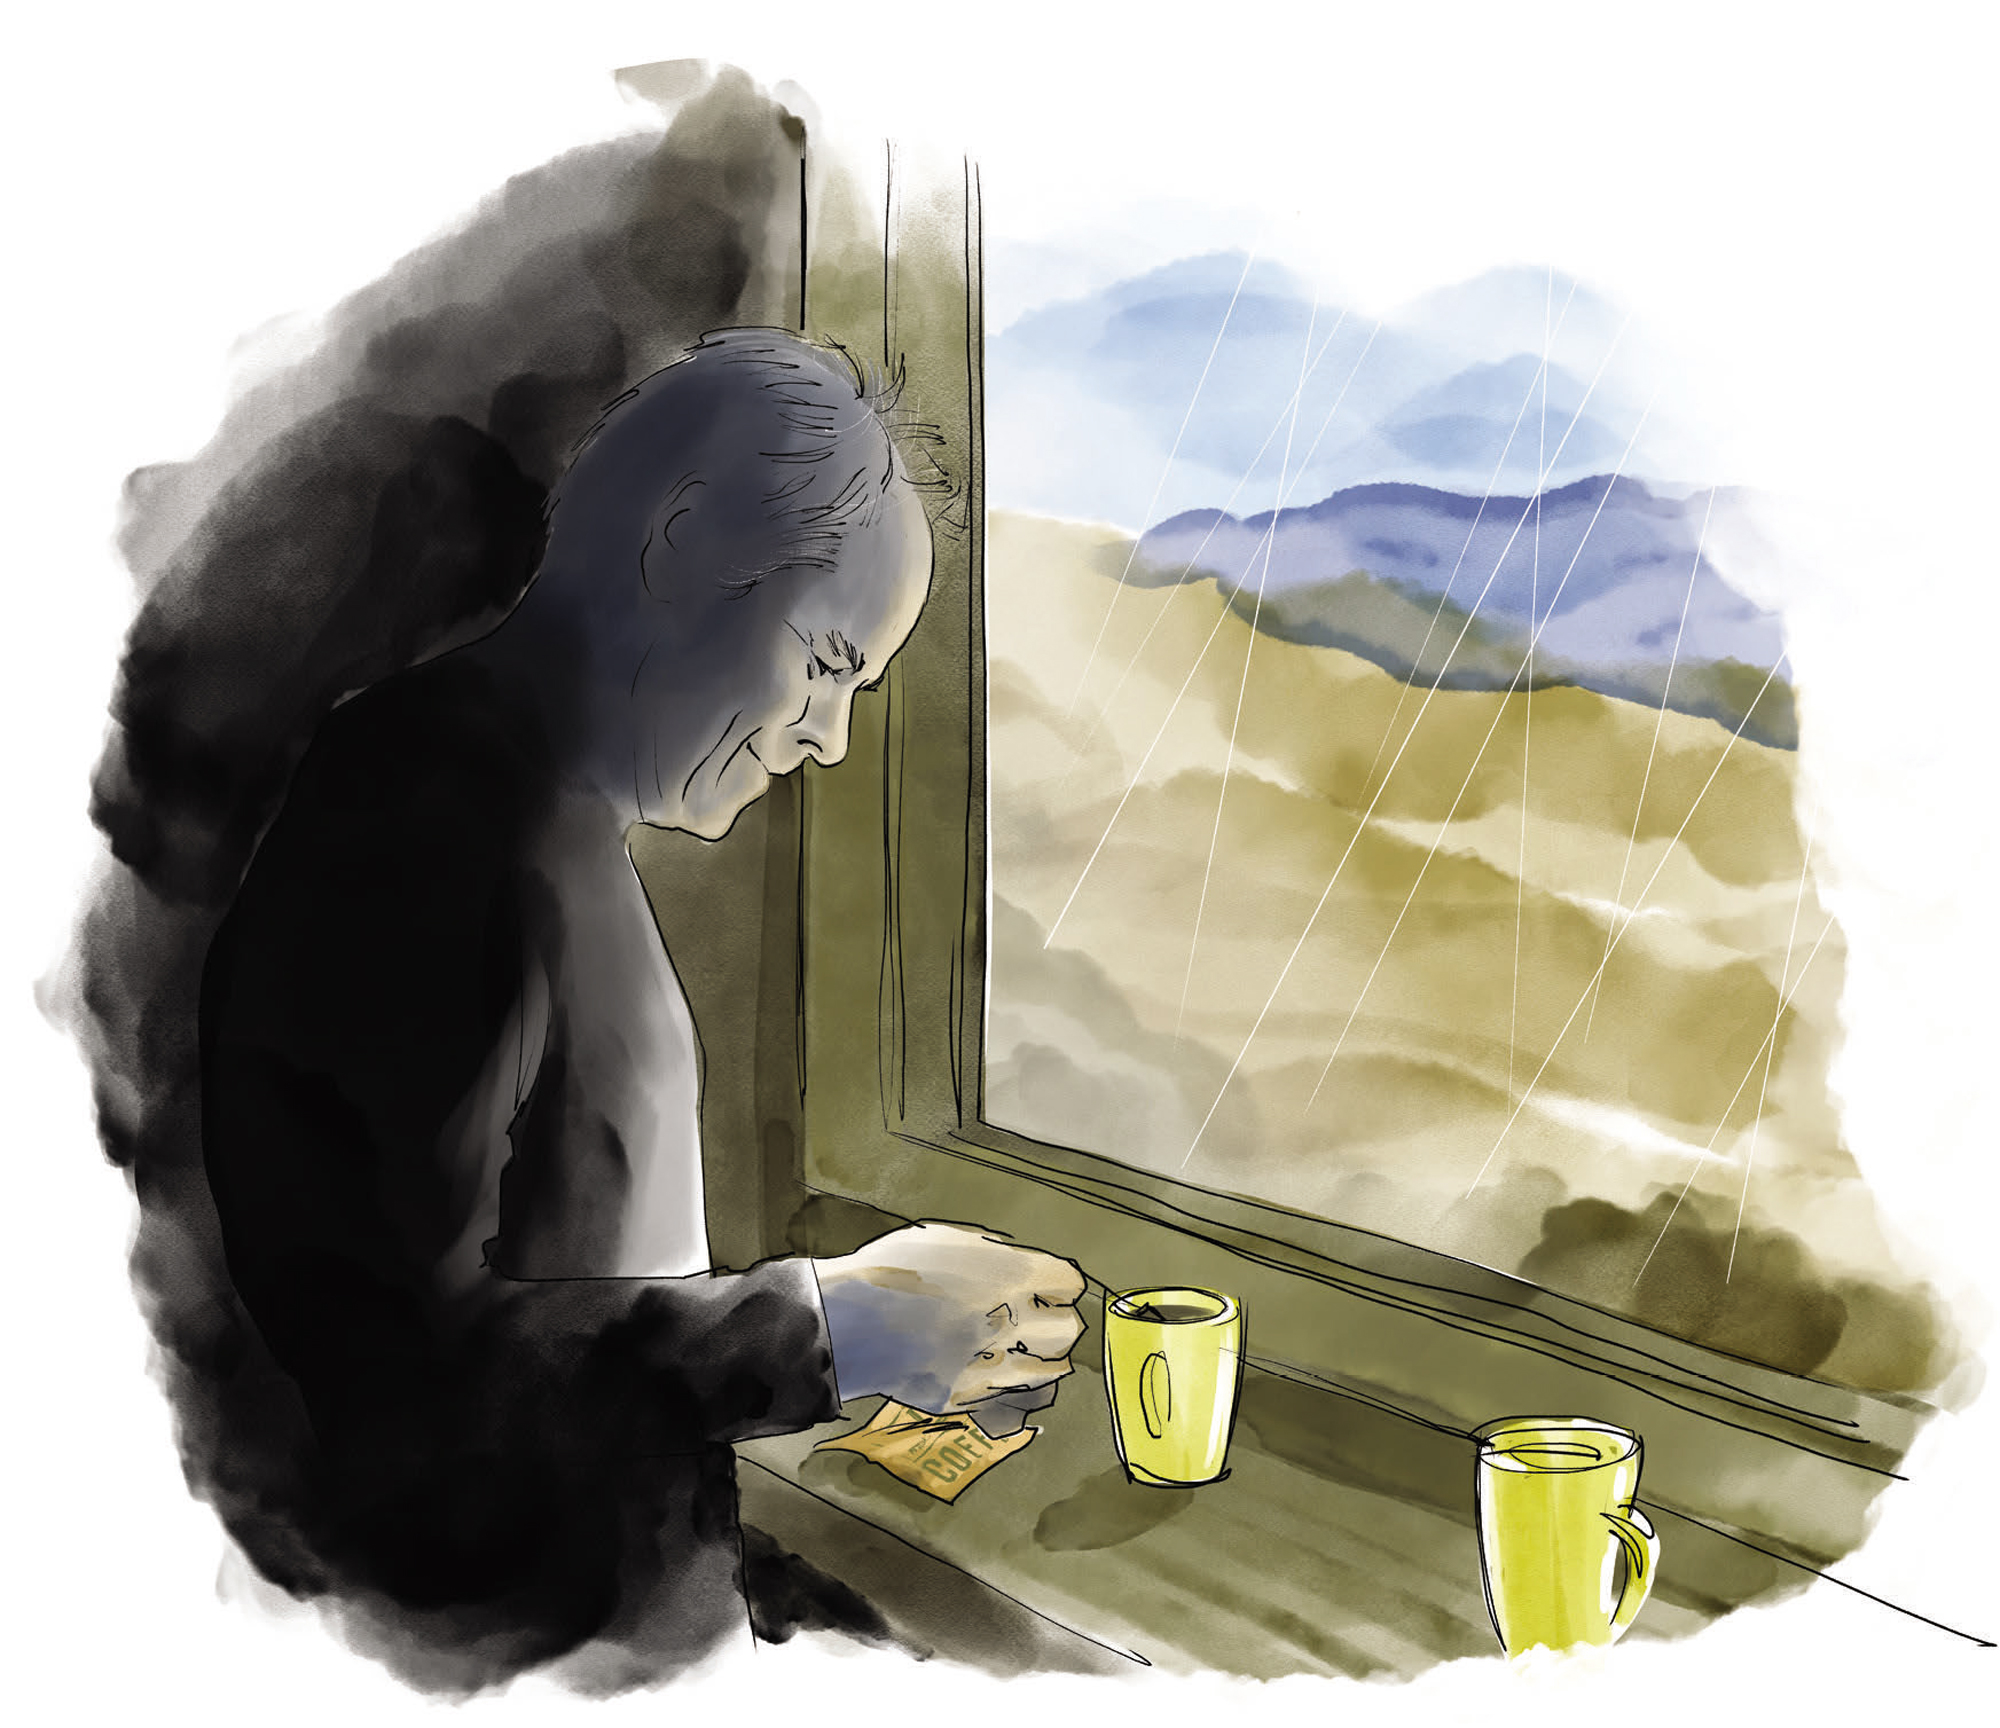
The dawn was grey and wet. We had a slow start, lingering over coffee while we peered out into the gloom, but eventually it was time to go.
As soon as we were on the trail, the weather became irrelevant. The look of the place was completely transformed. Shifting cloud exposed glimpses of the terrain, just enough to confirm we were on an exposed spine with dramatic spaces below.
After clambering down the very awkward stairs, the ride through the forest was so different to my previous trip that it was like a strange new planet. Everything was wet. Water was everywhere, running down small courses and across the trail, dripping off every element of the forest, and completely soaking us. The trail can handle it, rain is a regular part of the west coast and everything that can be washed away probably already has been, and the rocky trail was never a problem.
In the entire day of bucketing rain the bikes ran like clockwork. At a riverside stop for refueling, we noted how amazing mountain bikes have become. Everything worked, gears shifted, brakes slowed us down, suspension floated us along, seat droppers dropped and returned to their original position. We swapped recollections of bikes that ceased to function on days like this.
Somehow, the weather put an extra layer of meaning on the day. The ride seemed much longer than the dry version, and just as memorable. The van was waiting for us in the carpark at the trail terminus, and I backed it under the little shelter so we could get into some dry gear and pile the dripping carnage of the day into the back for the run back down to Westport with the heater going full blast.
I dropped Graeme off and headed back up to Gentle Annie, where I had a long and very satisfying shower.
I consider myself very fortunate. Besides winning the life lottery of being born in Aotearoa, I have managed to ride my bike in some cool places around the planet. I can honestly say, the opportunities we have here at home are as good as anywhere else I have been.
Cole Lucas: Perfect Storm
Words & Images Riley McLay
Sport can be glorious, but it can be equally as cruel. The constant adversary of staying at the top level, let alone reaching it in the first place, can become a sport in itself.
In a short period, Enduro racer Cole Lucas went from being a household name among the top ranks in Enduro to not having a professional ride for the 2024 season, ultimately leading to his exit from the EDR circuit entirely. A perfect storm of injury battles, economic struggles within the industry, and a race series in a state of limbo had created a challenging environment for racing success. Once celebrated as the exciting new frontier of mountain bike racing — with thrilling spectacles on some of the most beautiful trails in the world — now feels so much like the ‘awkward cousin at the wedding’ that even new race organisers don’t know what to do with. This shift is particularly surprising given the thriving grassroots movement and Enduro’s status as the most accessible racing format, which best captures the essence of a great day out on the bike. This uncertainty has led many racers to take a hard look whether the time and resources they invest will be worth it.
Cole’s introduction to push bikes started with humble beginnings, chasing his two older brothers down the local BMX track in his hometown of Hamilton. Naturally, this led to race plates being slapped on at club races, where Cole could prove once and for all who ruled the roost at the dinner table. While his relaxed yet competitive personality thrived in the racing environment, Cole had his sights set on bigger things. The BMX was eventually traded in for a dirt jumper, and weekends were now spent at shuttle days in the Rotorua Redwoods. Even with just one brake, the dirt jumper wasn’t going to hold Cole back. He had caught the downhill bug. “There was always a good crew to ride with, and we loved to push each other. There was no place I’d rather spend my time at that age” says Cole. In one of Cole’s very first downhill races, he secured second place in the under-15 category at the Oceania’s in Rotorua, proving that he could transfer the skills he’d honed on the BMX track to this new discipline. Multiple NZDH rounds followed, where Cole would dominate for a majority of his years in the junior ranks. This was matched by strong results at both National Cup rounds and National Championships. He was no longer chasing his older brothers but had found himself amongst the pointy end of some of the top talent coming out of New Zealand. Racing support was difficult to find in his junior years, but Cole received backing from development teams put together by 3 Sixty Sports and Wide Open, who recognised his talent. Working part-time for his family’s roofing business — and their support — also helped fund his racing aspirations and provided the flexibility to fit in training and bike time.
Cole was given the opportunity to represent New Zealand at the Junior World Championships in Vallnord, Andorra, in 2015. This was Cole’s first taste of international racing, and he made the most of the opportunities by gaining valuable experience and competing in several World Cup rounds across North America and Europe in the lead up. In just his first year in the junior category, he achieved a flurry of top-20 results, culminating in a 23rd place finish at the World Championships. During this time, fellow downhill racer, Eddie Masters, also saw the potential in Cole, taking him under his wing and helping him navigate the World Cup circuit. Eddie’s role as team rider/team manager allowed Cole access to the Bergamont team pits and the odd bit of technical tweaking from team mechanic and fellow Kiwi, Kurt McDonald. The privateer life isn’t always the optimal environment for consistent results, however, witnessing other Kiwi’s getting the job done on the world stage with what they had to work with was empowering for Cole. Even more so was the camaraderie, as fellow Kiwis understood the commitment to time, training, and resources required for success.
Although Cole had always focused on downhill races, he also had a passion for trail riding, which was often incorporated into his training. The growing popularity of the Enduro World Series (EWS) had caught his attention – now not just racing for retired downhillers, but as a competitive series to further build upon his racing skillset. During a break between World Cups in 2016, Cole decided to give an EWS round in La Thuile, Italy, a go, where he surprised even himself by finishing 13th in the under-21 category. “Enduro felt just like my training; going out for a day of riding with a good crew, but we were riding some of the best trails in the world,” says Cole. The following year, he competed in several more EWS rounds, securing a podium spot with a 3rd-place finish at his home race in Rotorua, as well as at the Carrick round in Ireland. Cole backed this up by qualifying for his first-ever World Cup race in the elite category. Unfortunately, the following week, a crash in Leogang, Austria forced him to return to New Zealand for surgery, causing him to miss the rest of the season. Cole reached a turning point in 2018 as he grappled with the challenge of qualifying for downhill World Cups. Already a consistent threat in EWS rounds, he shifted his focus toward the overall. This move paid off with an impressive 3rd place finish. The advantage of staying in the under-21 category in Enduro, compared to being pushed out of the under-19 junior category and into the increasingly tight times of the elite field in downhill, worked in Cole’s favour and allowed him more time to adapt and flourish in the Enduro format. He found continued mentorship from downhill racers Eddie Masters and Matt Walker, who were also shifting their careers toward Enduro racing. Cole tagged along with the extended Pivot factory team, who hooked him up with a frame and pit support at races. Although many riders were increasingly leveraging their own social media following to promote themselves and the brands that support them, Cole was determined to let his results speak for themselves.
Cole’s impressive momentum continued in the Open Men’s field. With the support of the newly established NZ Arapi Enduro Team a New Zealand program created by Brendan Clarke to provide better opportunities for Kiwis to compete in the EWS — he secured two top-10 finishes and one top-20 finish in 2019. His arrival to the top ranks of EWS didn’t go unnoticed, and by the end of the season, he was offered a contract to ride for Ibis Factory Racing. “It was honestly a dream come true. I had been working towards it my whole life, and after doing it for so long, I was over the moon that it had finally worked out,” says Cole. All of a sudden, Cole found himself whisked away to a team camp in Italy, where he was focusing on fine-tuning bike settings and race strategies. Gone were the days of sleeping in vans and using ‘set and forget’ bike setups. Even though Cole would admit he was very green to being a part of a factory team, he found a whole new perspective to racing that he was keen to implement. That was, until the world stopped. Only a stone’s throw away from where the camp was situated, the very first cases of Covid-19 appeared in Italy. Cole found himself back in his flat in Rotorua, under quarantine and waiting out the lockdown with the rest of us. Despite the disruptions to daily life in 2020 and 2021, EWS managed to continue racing. Cole grew frustrated with a slump in results, feeling they fell short of his expectations. However, the team still never pressured him. Instead, their unwavering support allowed an environment for him to grow as a racer.
Ibis team manager, Robin Wallner, masterminded a new Enduro-specific training regimen for Cole and, with a move to Queenstown, closer to quality trails and training partners, he put himself in the best position for success. Knowing it was time to put his mark on the circuit, Cole came into the 2022 season firing with six straight ‘top ten’ results. Everything was clicking. That was, until he broke his knuckle causing him to miss the next round in Switzerland. With only one round remaining in Loudonville, France, his overall standing had dropped to 8th. Desperate times called for desperate measures. Cole taped his broken knuckle, which just happened to be his left braking finger, to a splint and attempted to race the final round. The pain was unbearable, and he was forced to withdraw, slipping further back to 12th place overall. Even though it was Cole’s best overall season result, he couldn’t help but think about what could have been; but he felt relieved his speed was there. Unfortunately, Cole’s injury troubles continued after returning to New Zealand where, whilst out training, he suffered a fractured spine and a concussion. Just when he thought he was out of the woods and back on track, he misjudged a berm while riding in the Queenstown Bike Park, resulting in a Grade 3 shoulder separation. Suffering this injury just weeks before the season opener in Tasmania was far from ideal, but Cole was determined to push through and deliver a result. Although he managed to get through the majority of the first day of practice, a crash on the final stage forced him to withdraw from the race. This string of injuries was a “huge kick in the guts” and wasn’t helped by a series of crashes, mechanicals and poor results throughout the season.
2023 saw the EWS integrated into the UCI calendar, establishing the UCI Mountain Bike Enduro World Cup (EDR). The new organisers, Warner Brothers/Discovery, did not inspire confidence in the new race series. This was evident through a reduced number of rounds, poor communication and promotion of events, and a perceived attitude that EDR was meant to play second fiddle to its downhill and cross- country counterparts. This uncertainty spread throughout the industry as, along with economic pressures following Covid-19, bike brands were forced to reassess their marketing strategies, particularly their ability to support race teams. As expected, rumours circulated rapidly and, like dominos, brands announced they would be withdrawing support from the EDR. Still a surprise to Cole, he was informed mid-season that Ibis Factory Racing would too be dissolving at the end of the 2023 season. Being a contract year and having a down season results-wise created the worst timing possible. After reaching out to several brands, including major household names that were significantly scaling back their current operations, Cole was forced to announce that he would not be racing in the EDR for the 2024 season. The financial costs to return as a privateer were just too great, contrasted with too much unknown of how, and even if, the series was going to continue into the future.
“Absolutely gutted” Cole took the time to step back from racing and reflect on his achievements, now looking toward a life not revolving around racing. He understands better than anyone the dedication and effort required to reach the top level of the sport, and he’s come to terms with the fact that sometimes things just don’t go as planned. Cole is deeply grateful to those who helped him reach where he is today and is excited to still enjoy the hobby that has given him so much. He’s also looking forward to working with Zerode, a Kiwi brand he feels he has grown up with, and to compete in a series of local races, including the inaugural New Zealand Enduro Series. Taking things as they come, while aiming to have as much fun as possible.
It's Ellie Hulsebosch but who's the boss will do
Words Lester Pery
Images Cameron MacKenzie
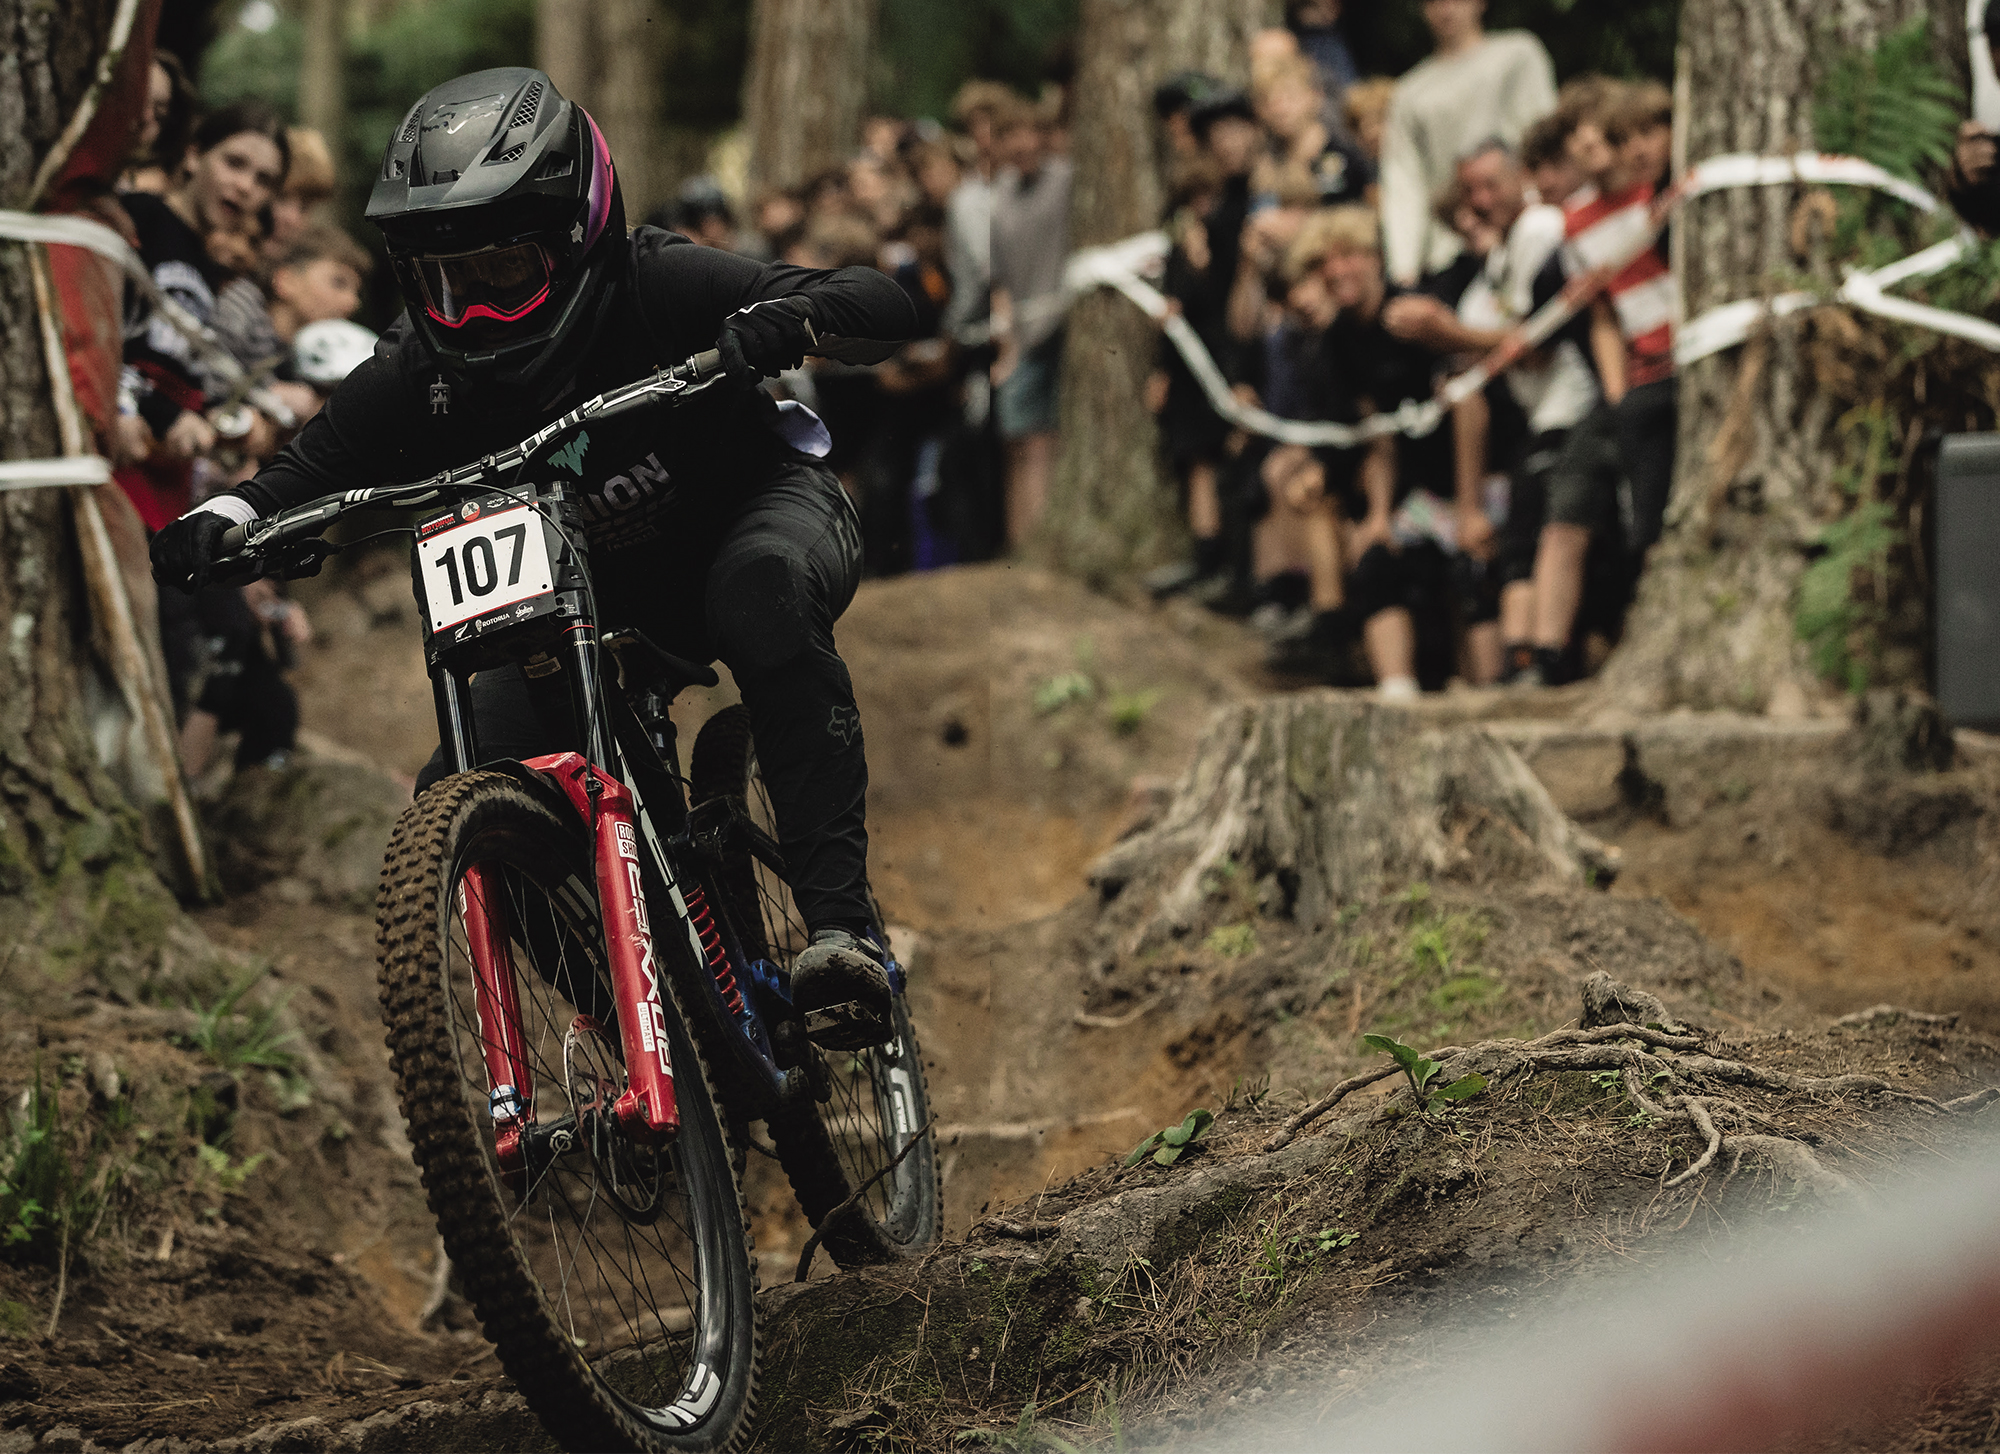
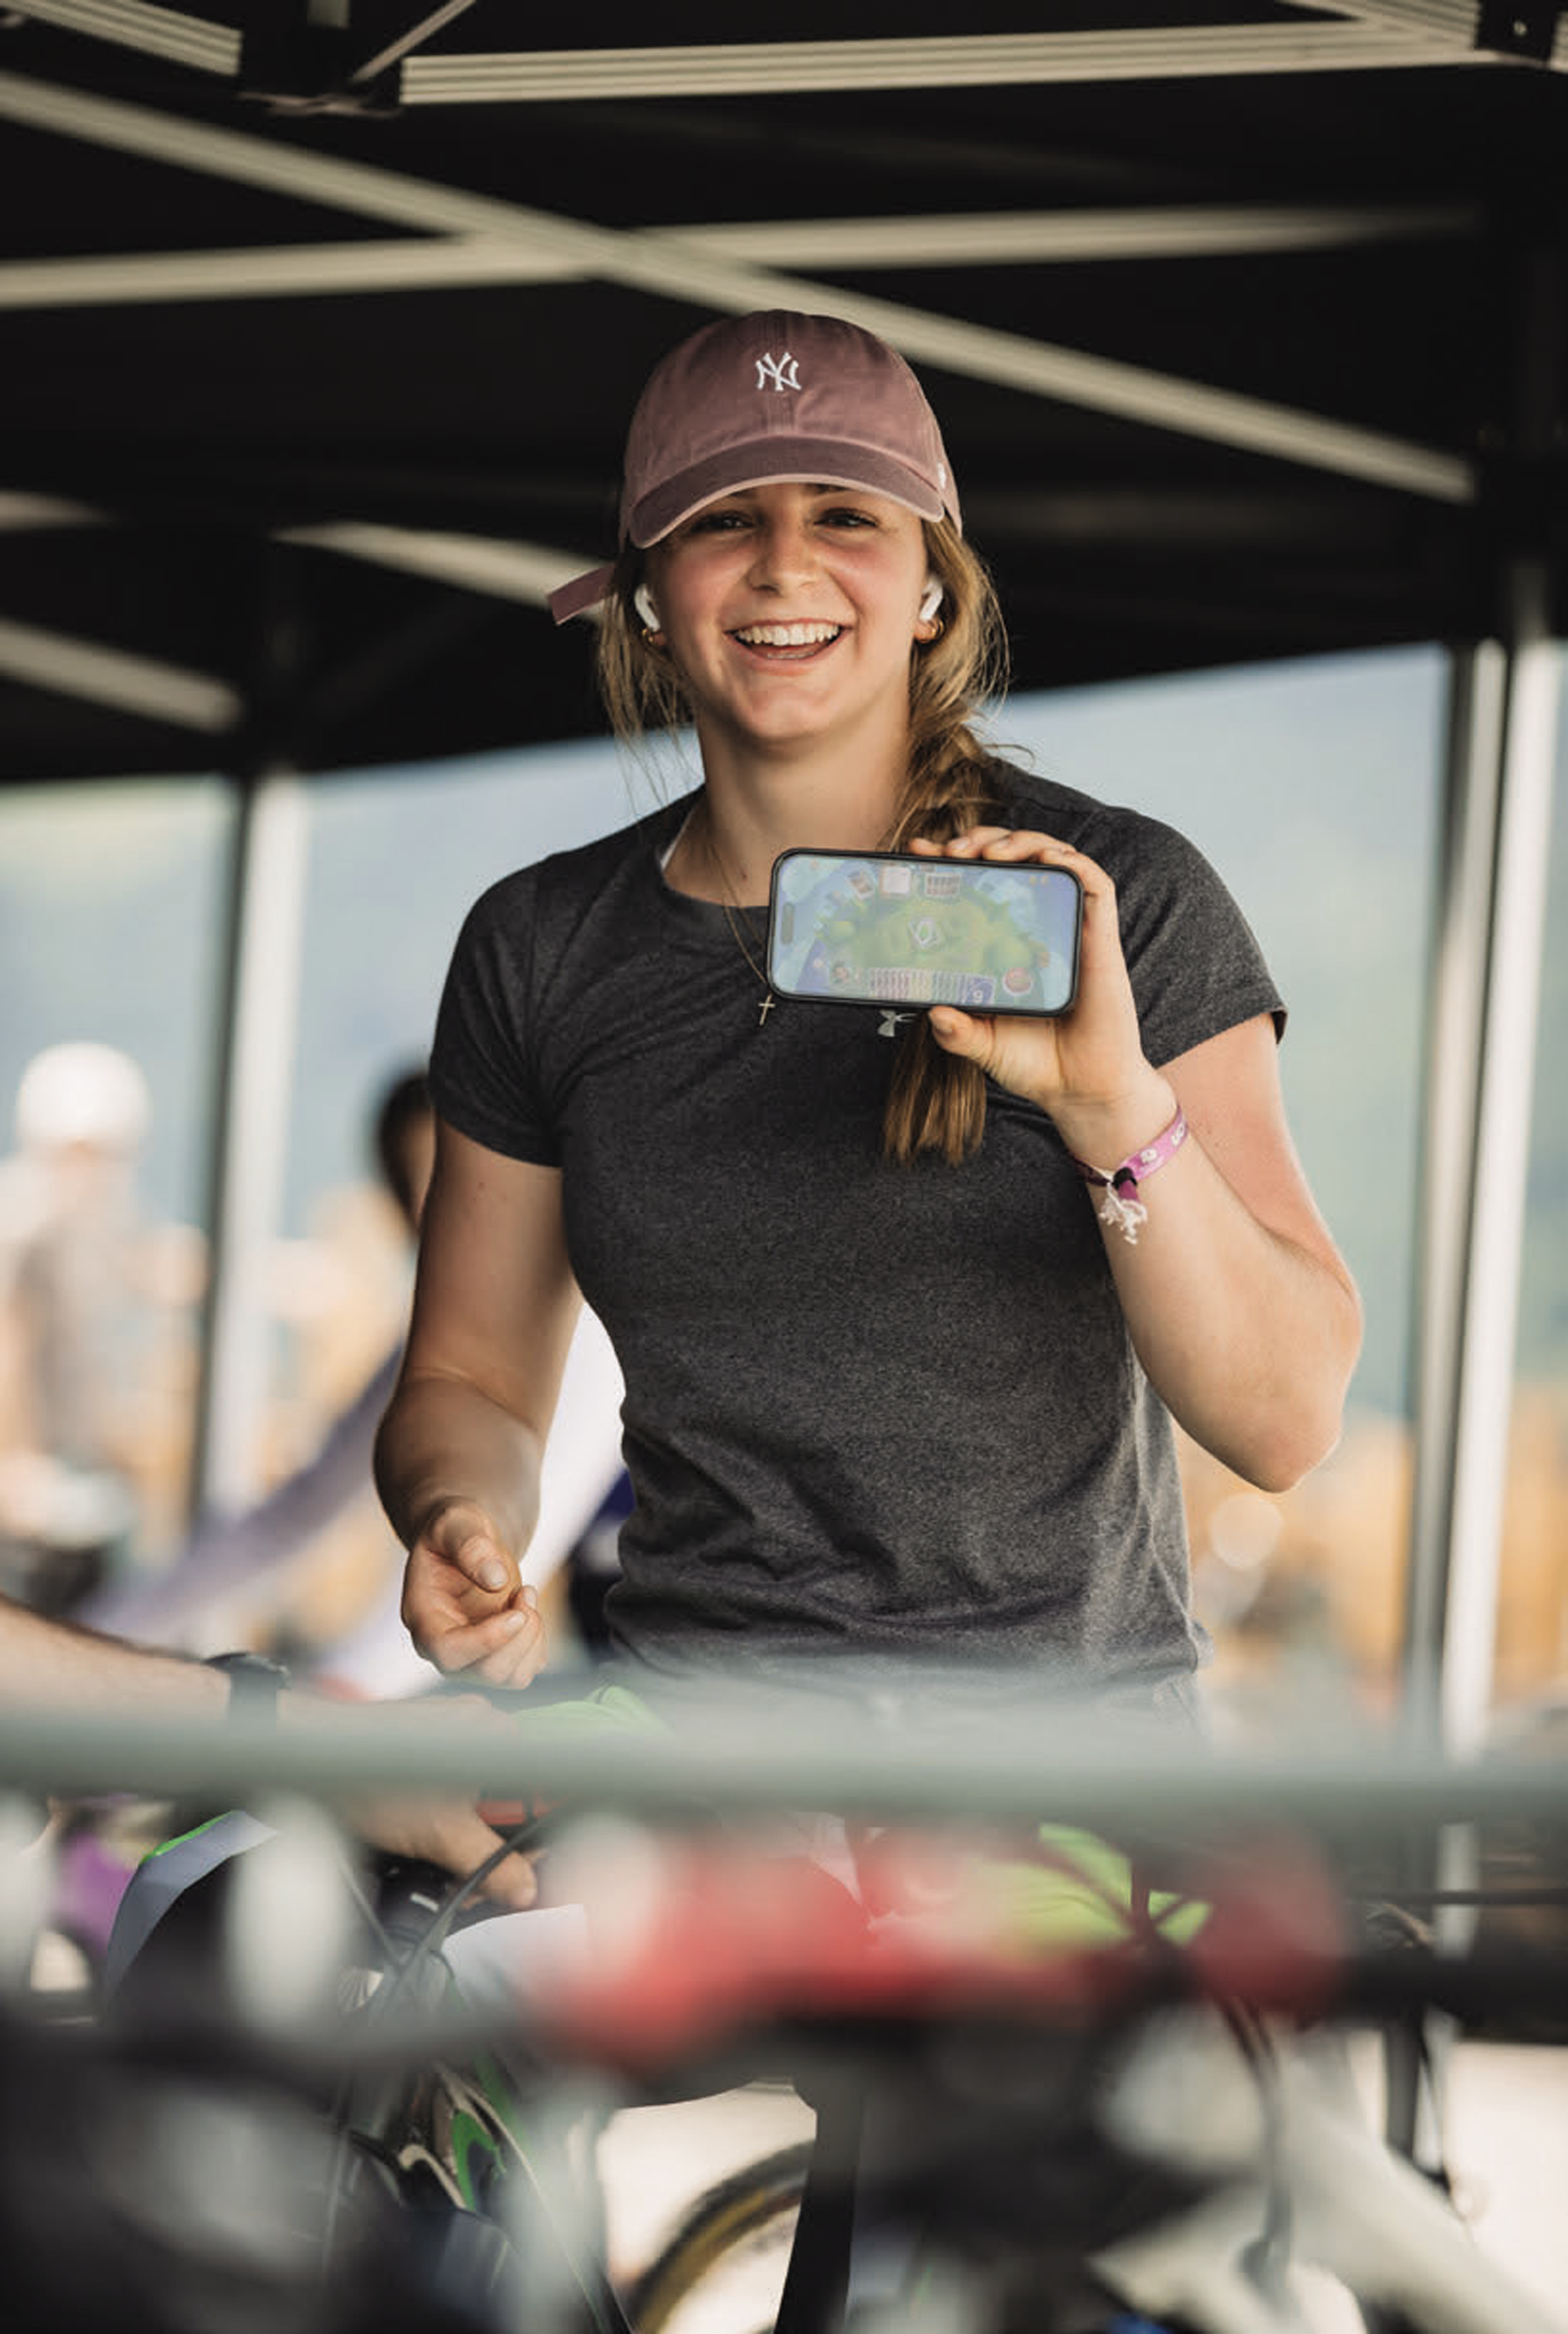
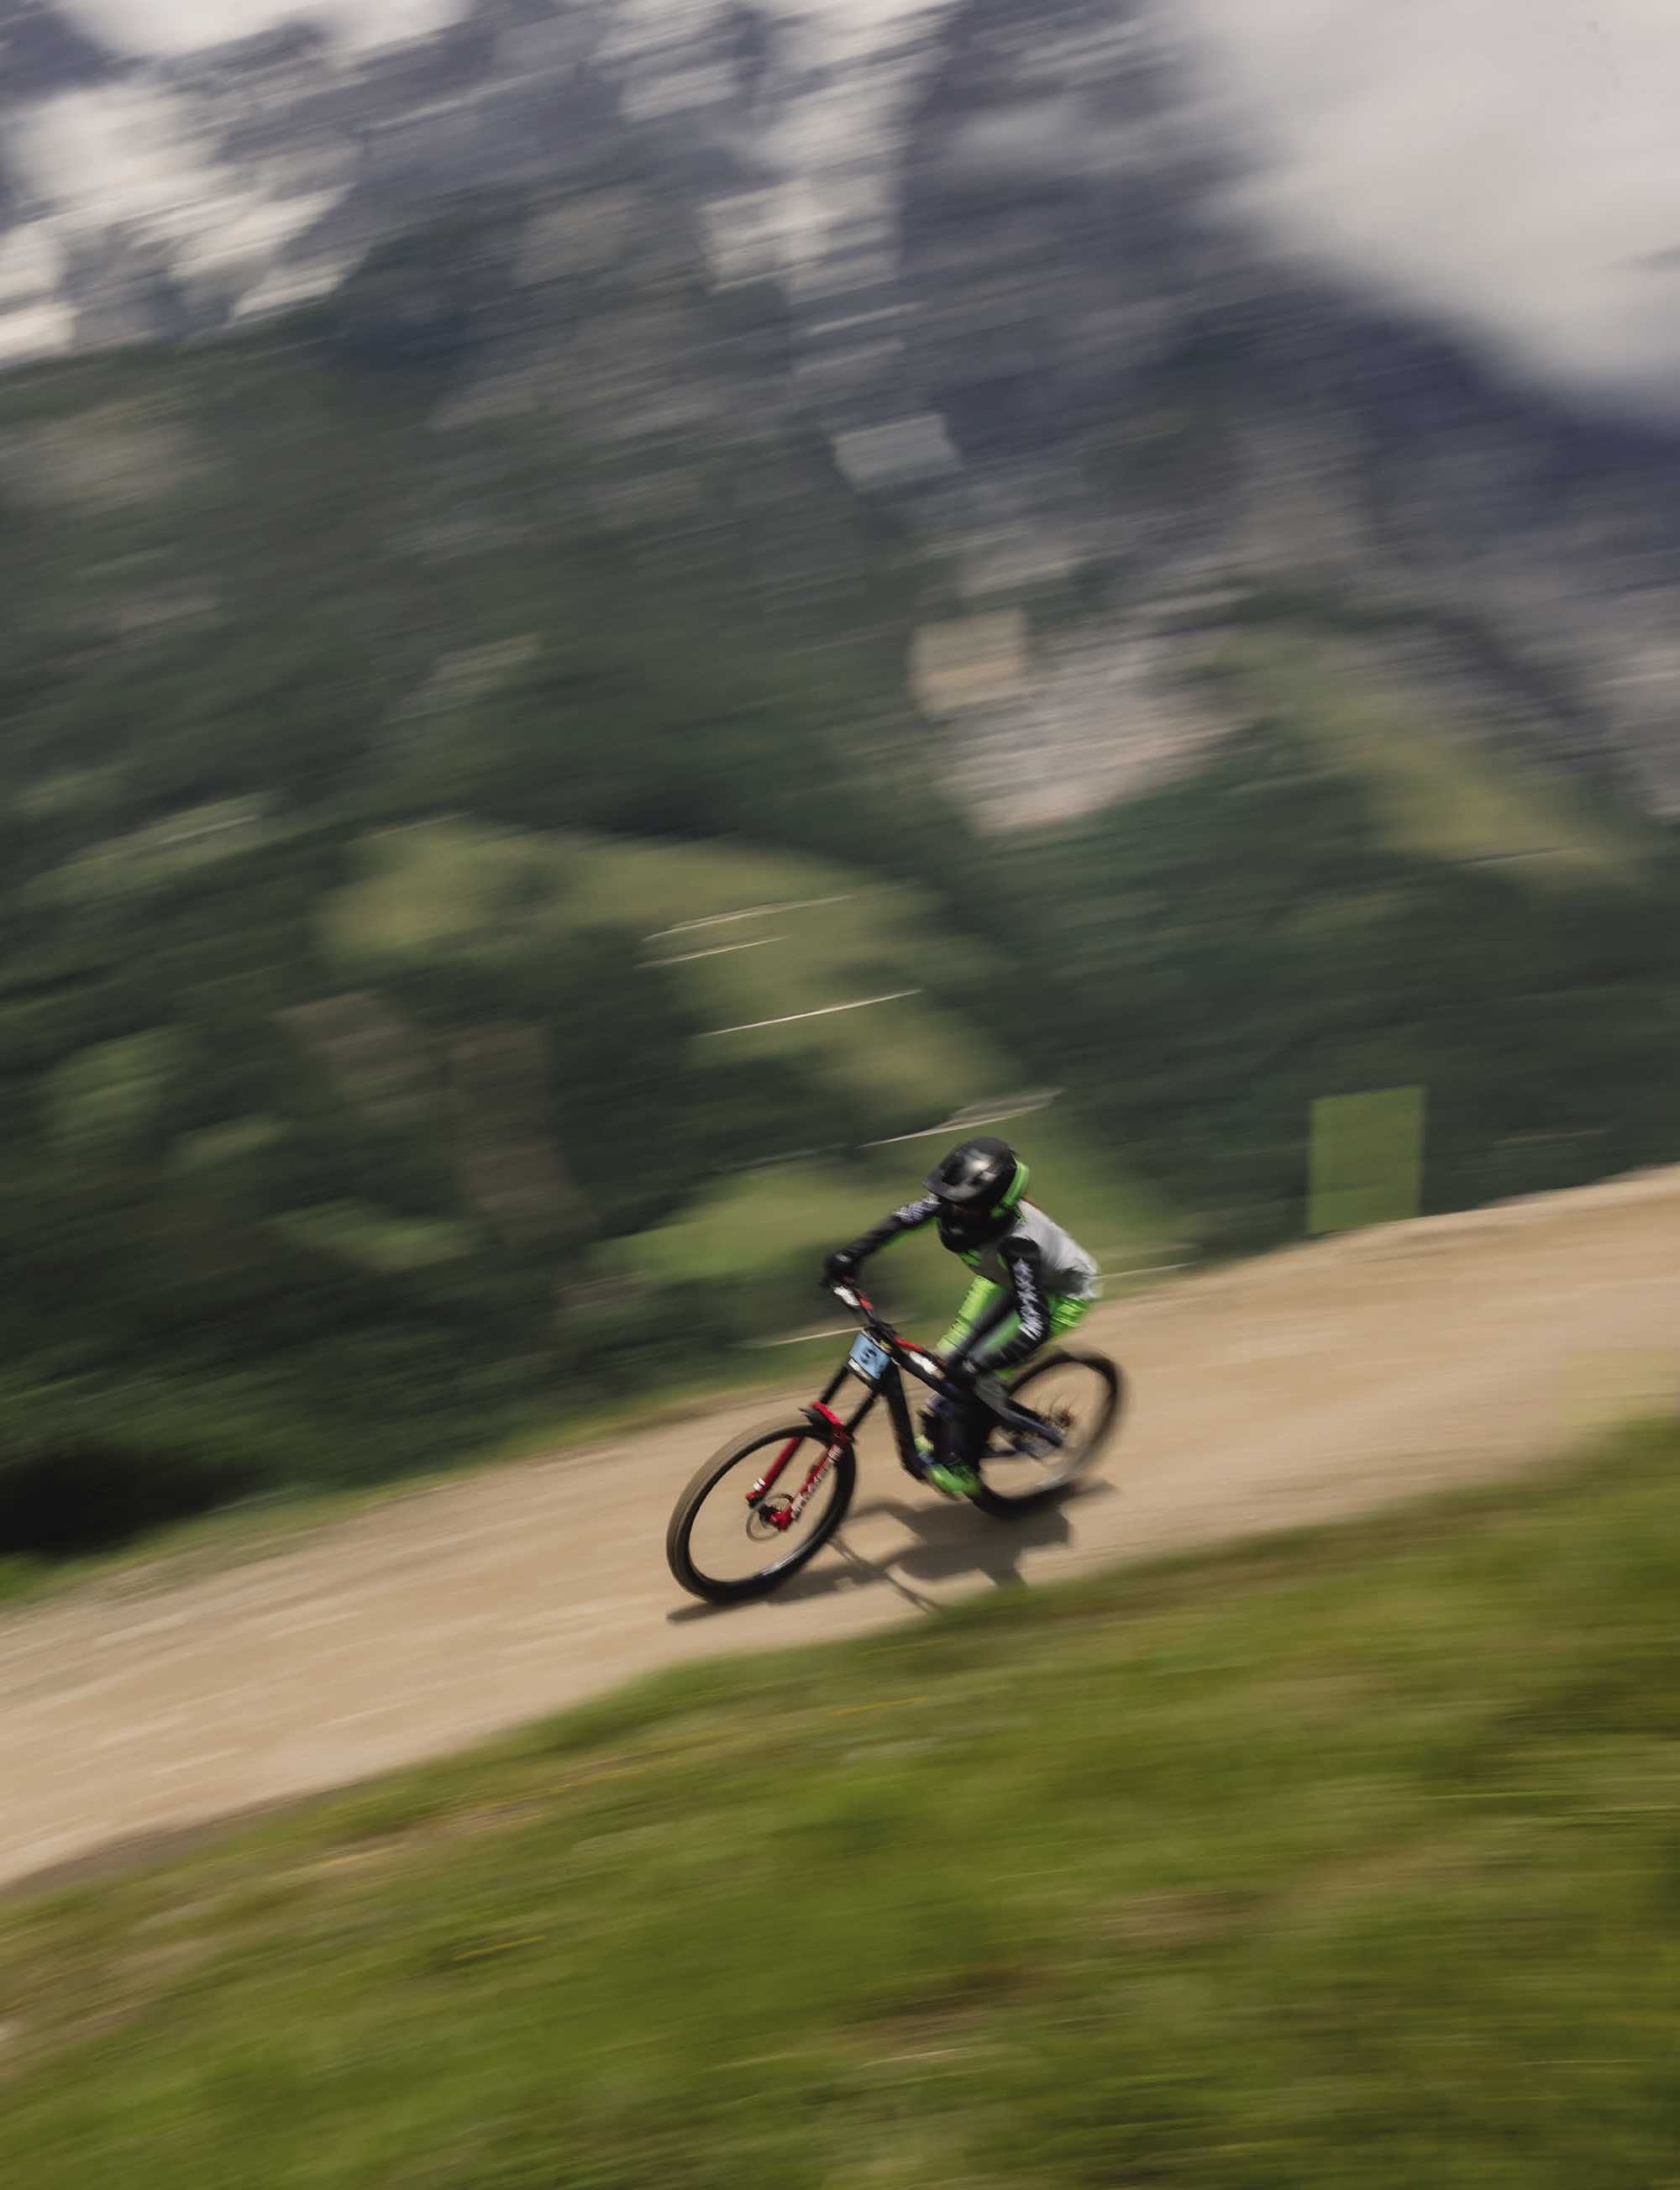
At just 16 years old, Ellie Hulsebosch has chosen the path less trodden, in a quest to dominate downhill racing. For the next few years, she will opt for less school and more sport, working to complete her schooling while travelling the world, chasing her dreams.
She makes no secret of wanting to be the best, inspired by ex-world champ and fellow Bay Of Plenty resident, Vanessa Quinn. Seeing Vanessa out on the trails and knowing her history, Ellie was all ears when Vanessa offered up any tidbits of advice: “To be the fastest girl, you have to be the slowest boy” was one such quip, motivating Ellie to ride with her brother and his mates. Ellie points to Rachel Atherton as an inspiration in this vein, a strong woman riding with a host of the fastest guys around: her brothers.
Brought up in a tight-knit, supportive family, Ellie acknowledges their input in helping her push through the hard times to keep progressing towards her goals, no matter what she’s going through. While growing up in Tauranga, Ellie and her family got stuck into all sorts of outdoor sports, but after a stint of motocross, she eventually picked up a Canyon Spectral and took to mountain biking, “because Mum could do it too”.
Keen to satisfy her competitive spirit, Ellie jumped straight into racing. “My first downhill race was in late 2019, for Crankworx in Rotorua. I remember walking the whole track, getting a 7-minute time on a 3-minute track, and being smoked by all the other girls.”
Through 2020, Ellie dabbled in some Enduro racing, winning two rounds of the 2w Gravity Enduro. Then, through 2021, she switched focus to the NZ National Downhill Series, trading blows and podium positions with Erice Van Leuven and Sacha Earnest throughout the season. It wasn’t until November 2022 that Ellie broke cover and launched herself into the limelight with a win in the U17 category at the 2022 Crankworx Rotorua Taniwha Downhill, in a time that put her third fastest woman overall on the day.

By late 2022, she was firmly focused on dominating the downhill game, and got serious about training heading towards the 2023 season. A clean sweep of the summer National DH Series under 17 division was a massive boost of confidence. Unfortunately, her luck ran out on her final run at National Champs, Coronet Peak, in late February. A crash resulted in a stable compression fracture to her T5 vertebrae and ligament damage to her thumb. Fuelled by adrenalin and close to the finish line, she managed to pick herself up and break the timing beam in second place. She finished her NZ season with a National Series win, a silver medal at NZ champs, and some time off to let her body heal before jetting to Europe for her first stint of international racing later in the year.
“Verbier was the first race, and it was my favourite; the track was proper as well.” Straight to the podium’s top step in Verbier was the perfect way to begin her international career. A couple of races followed at Schladming, an iconic World Cup venue that was visited for two back-to-back races. “Schladming was really fun, but they had tapped off all the hard lines, so there were a lot of corners. I wasn’t too happy with how I went there, so as soon as I arrived home, I signed up for BMX.”
Wrapping up her time in Europe at Bellwald, Switzerland, Ellie won the Open division and was the fastest woman down the hill that day. Although she was on the other side of the world in foreign territory, Ellie had become a podium threat at every race she attended, and heads were turning.
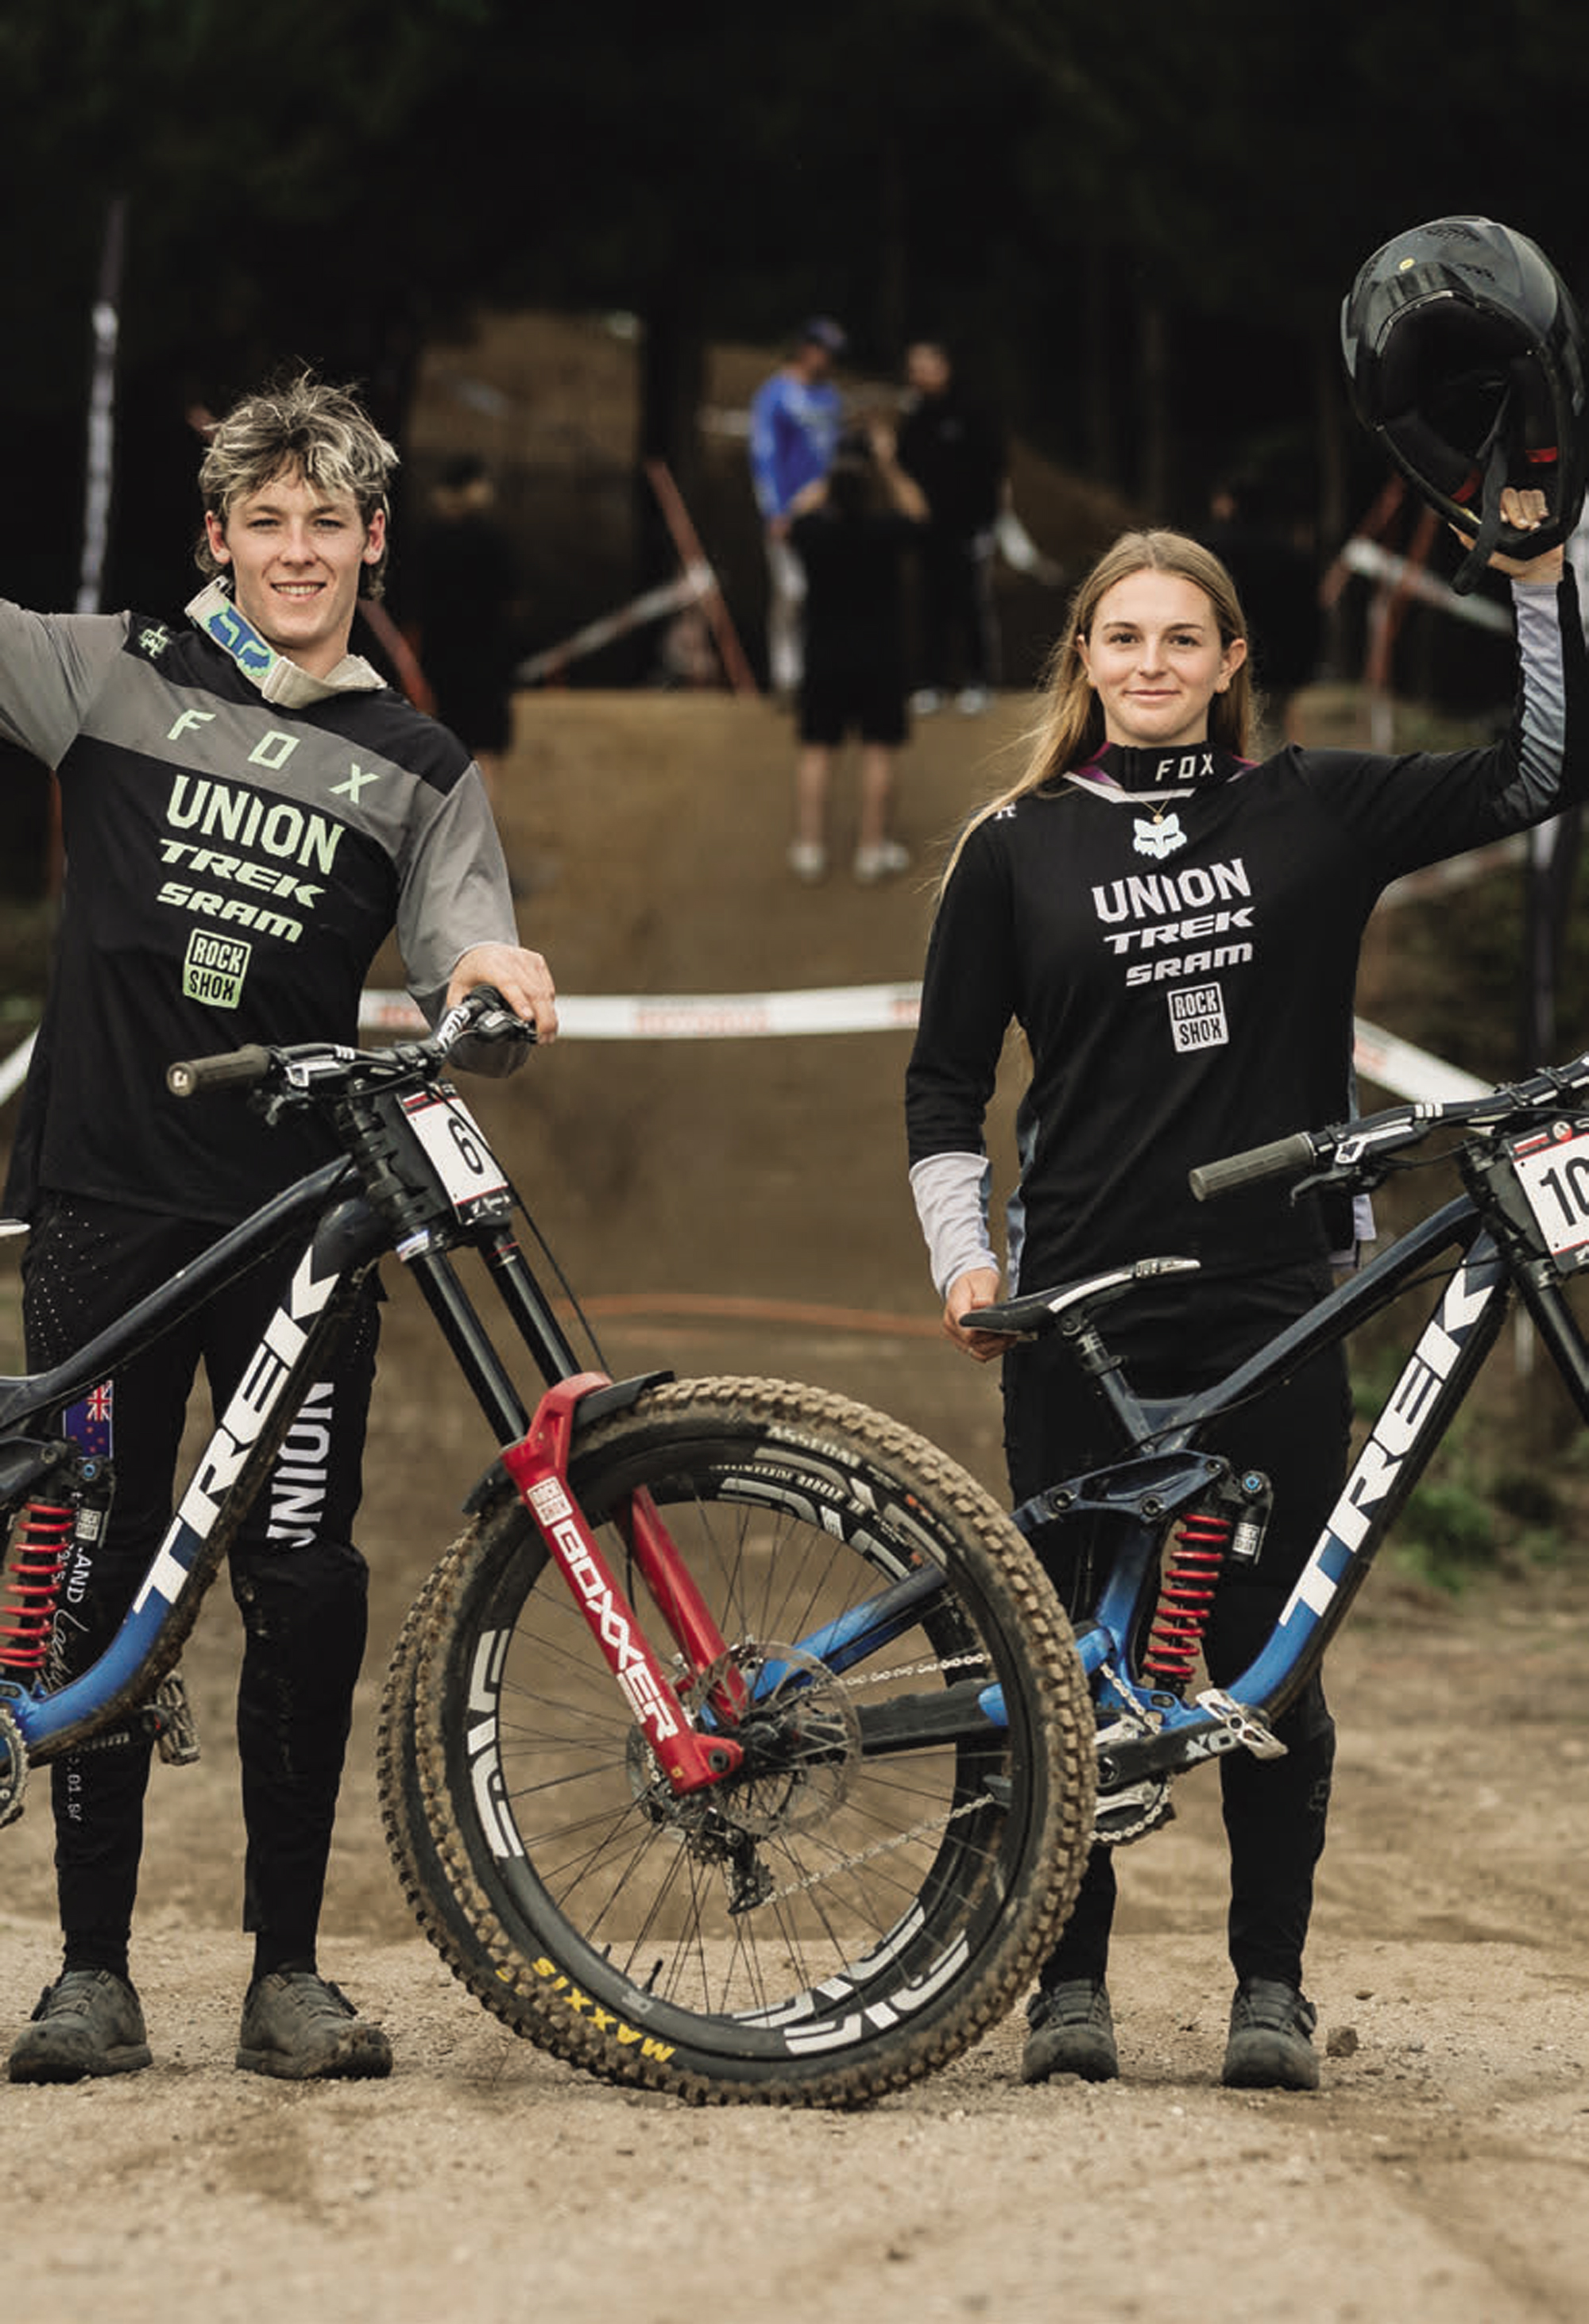
In late 2023, Ellie had an email from Joe Bowman, owner and manager of the Union team, and over a few months, a deal was struck that would see Ellie join them for 2024. Joe gave us some background to Ellie being selected for the team: “We’ve always had a soft spot for Kiwis, and I think the whole Union ethos kind of fits helping out people from New Zealand and Oz, because you guys have it a lot tougher, coming over to Europe to race and being away from home so long, that you need a good level of support even to give it a go, let alone to actually try and race at the top.”
“I’ve always kept an eye on Kiwi national results because of Lachie (Lachlan Stevens-McNab), Tuhoto (Tuhoto ariki Pene) and Finn (Hawkesby- Browne) back in the day, and always saw Ellie’s name popping up at the top, through youth categories. When it got to the middle of last year, it was tricky times because we’d lost a bunch of sponsors and money and didn’t really know what was going to happen with the industry. But, at the same time, you’ve got to keep moving on. And we needed to fill a gap and wanted to get a junior woman. Ellie was obviously on the list. I’d also started to hear from a couple of other people about her. Sven Martin mentioned her and actually sent a message on Instagram that I never got until after the fact, that’s pretty funny. That says a lot. And I think just looking at the margins she was putting into people and where she was stacking up against the elites and juniors at Kiwi nationals, kind of said enough.”
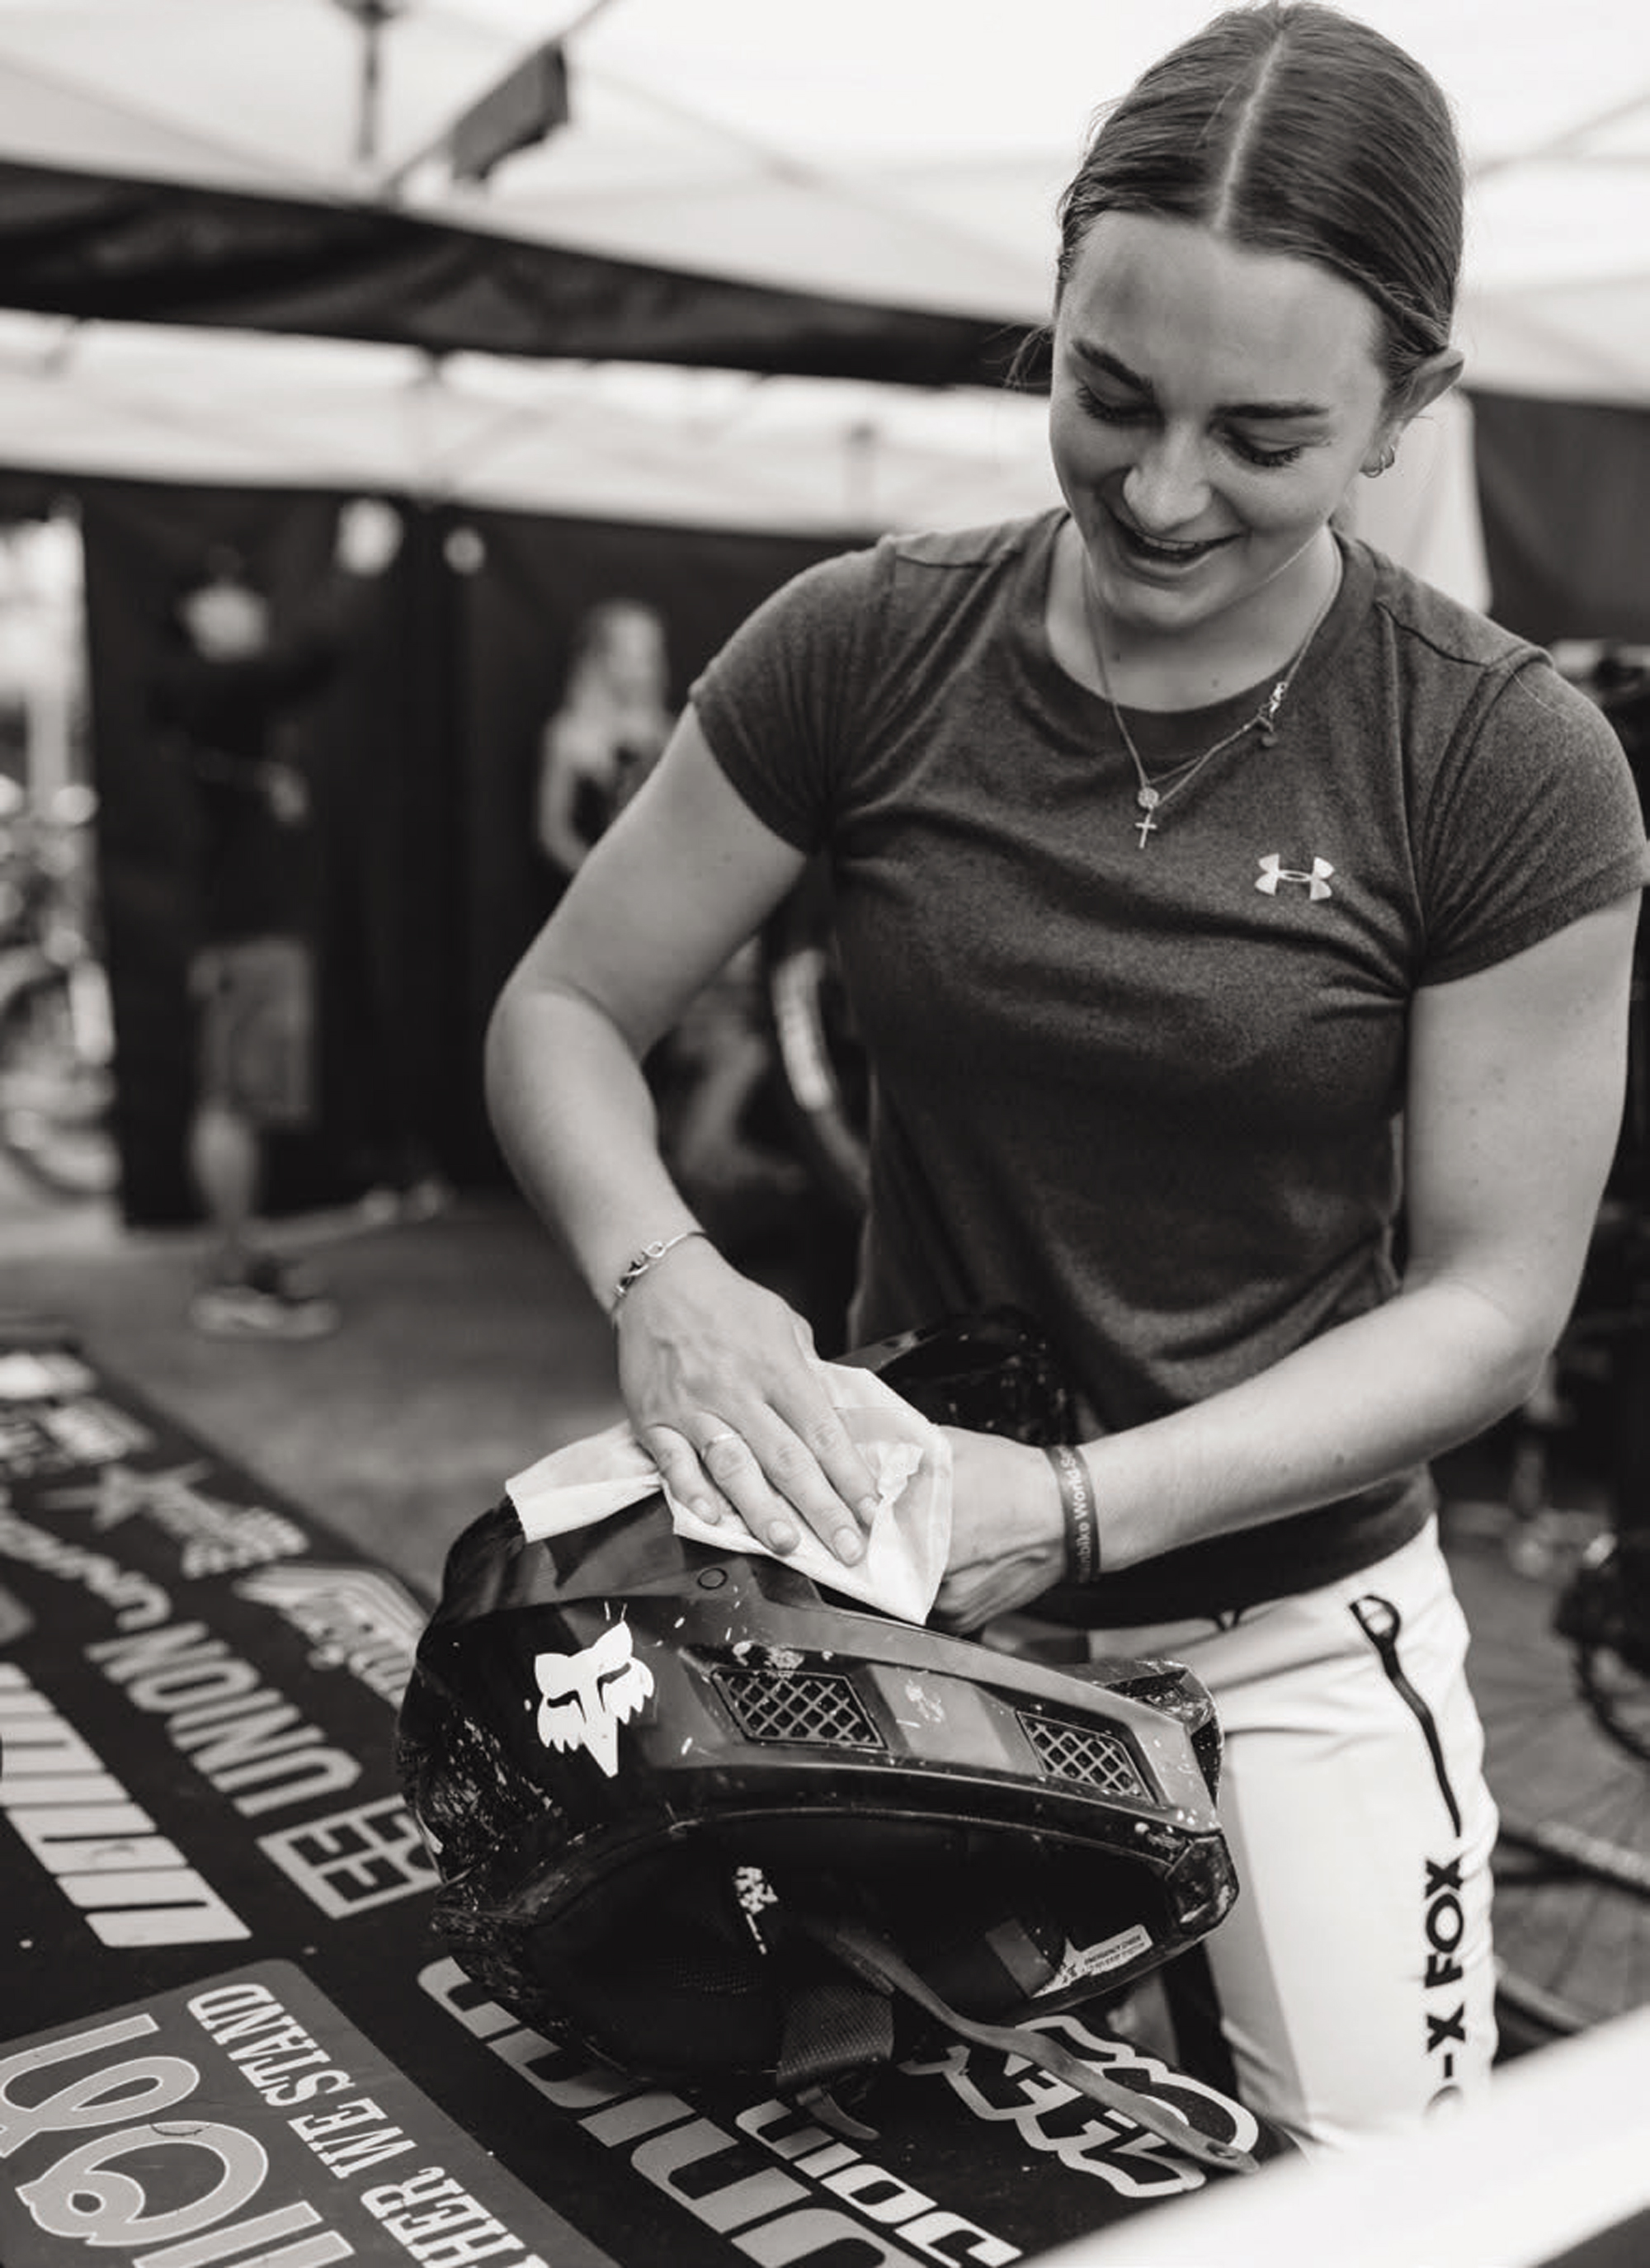
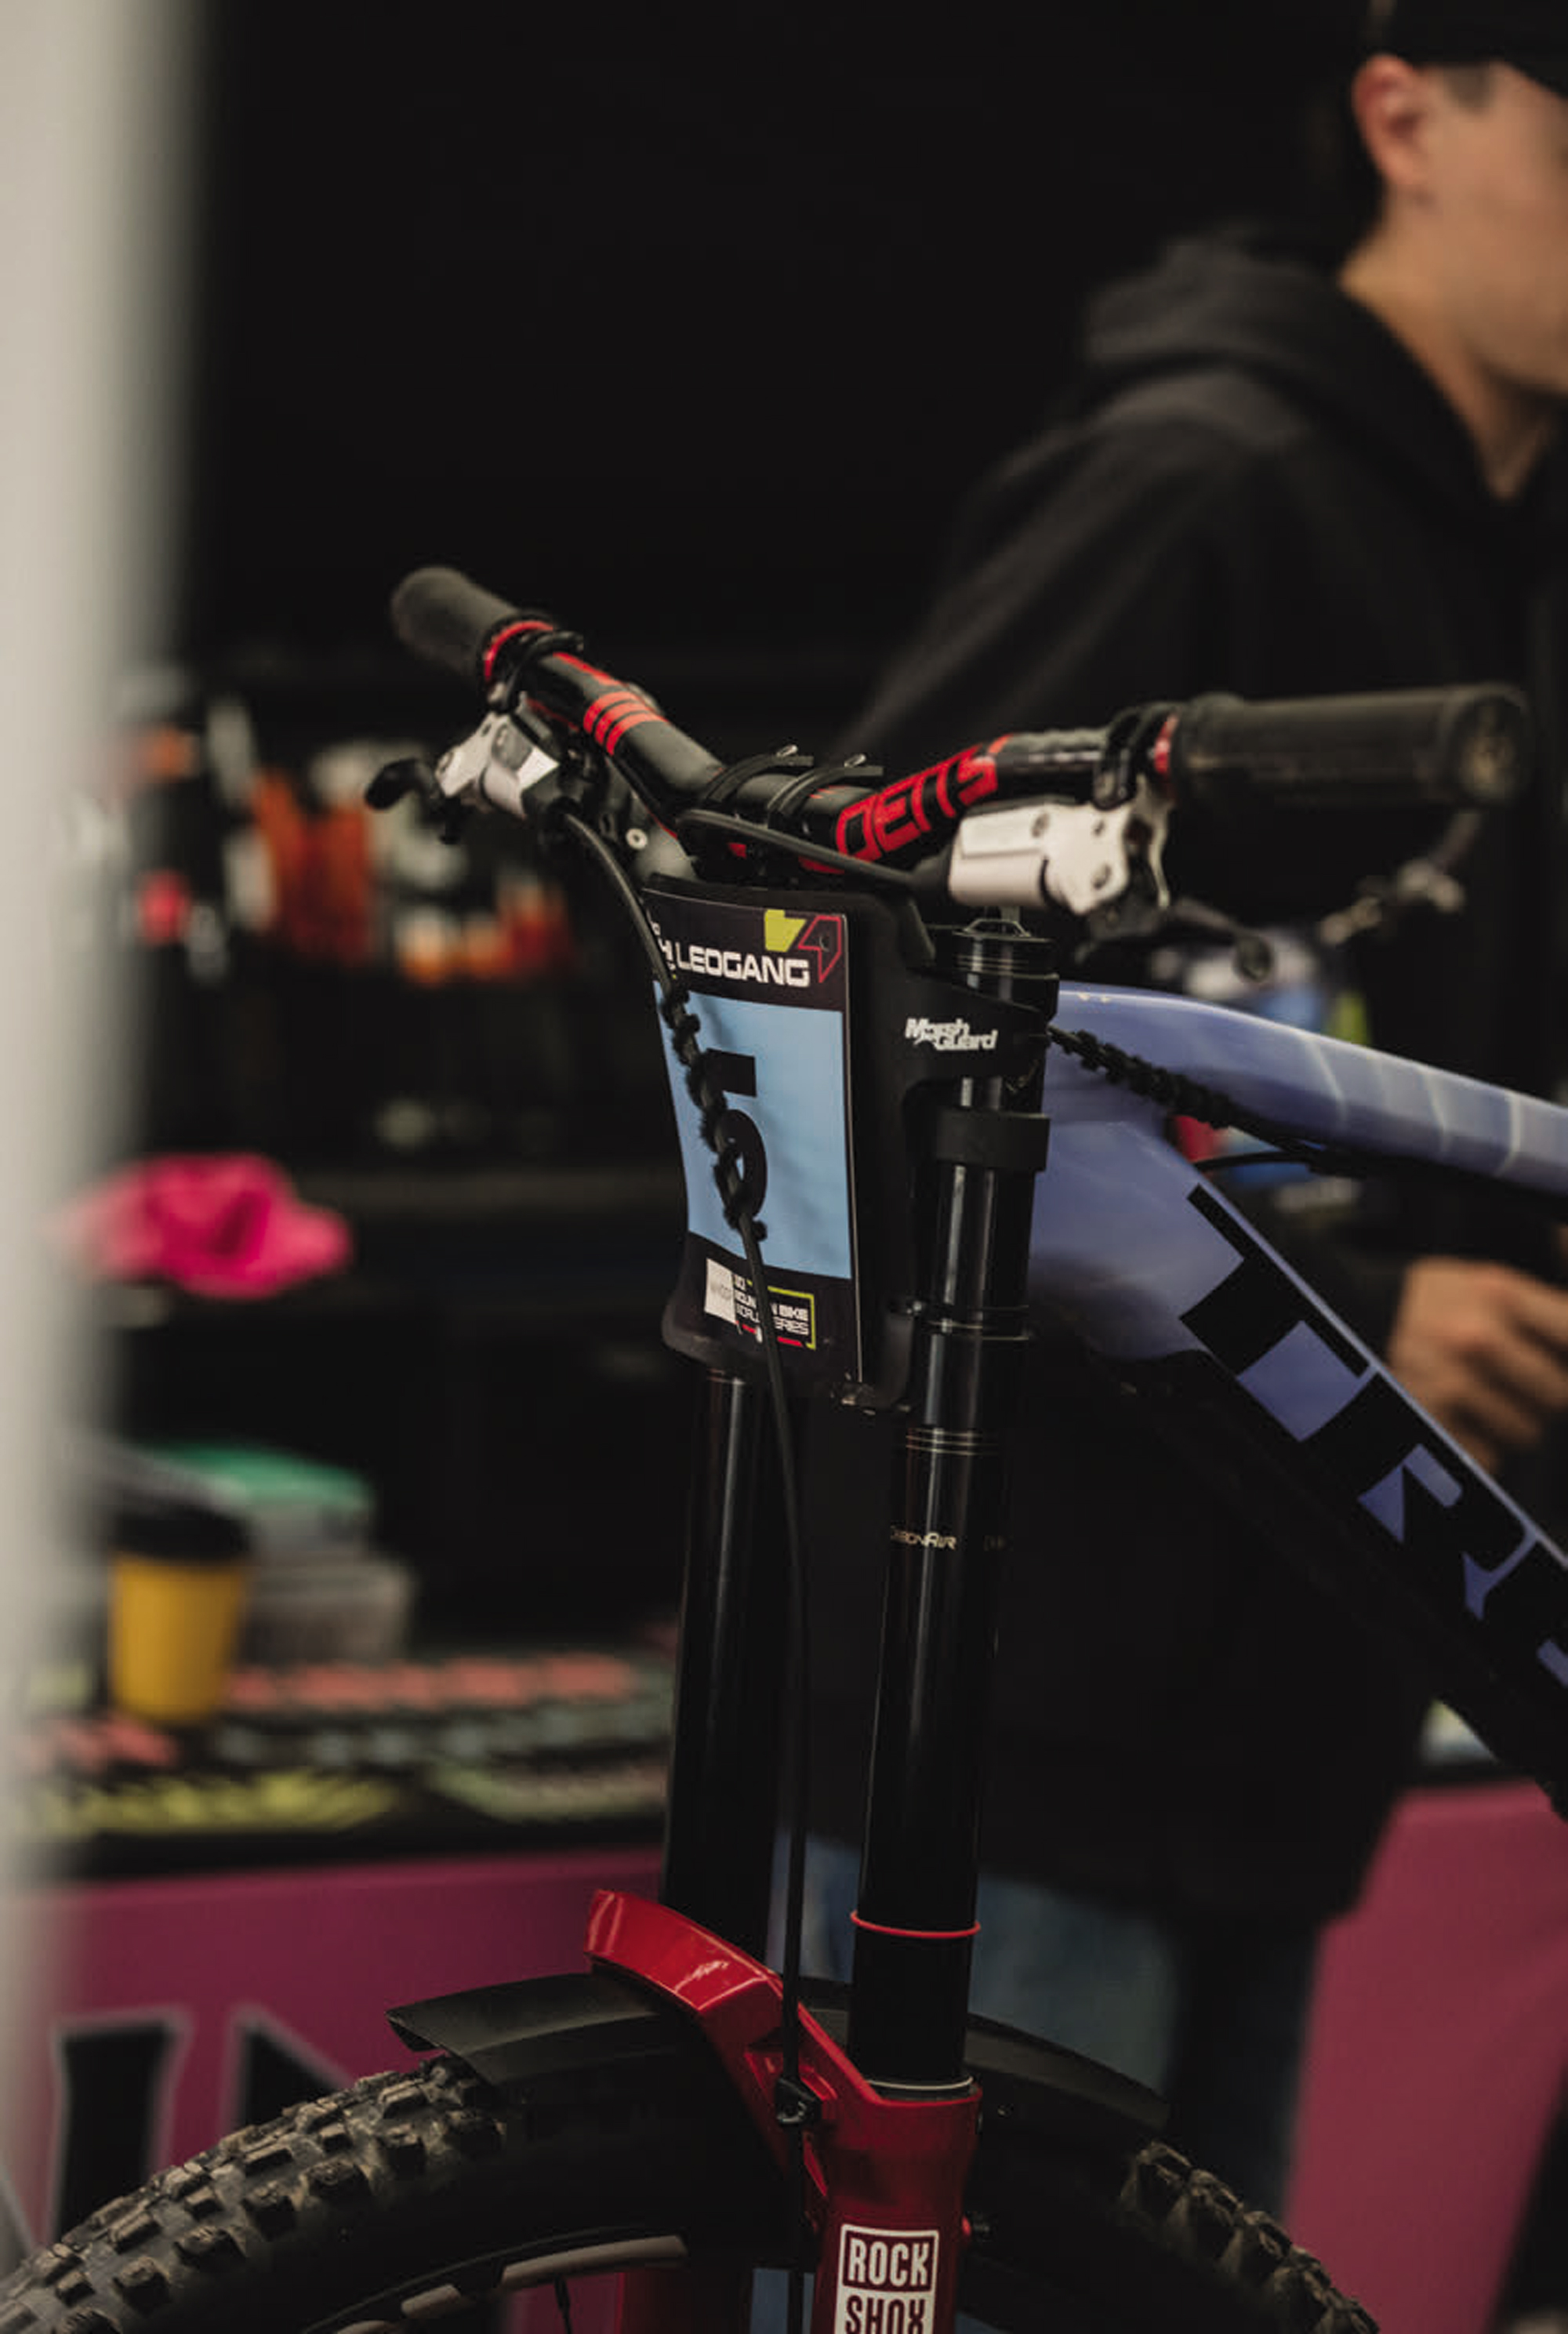
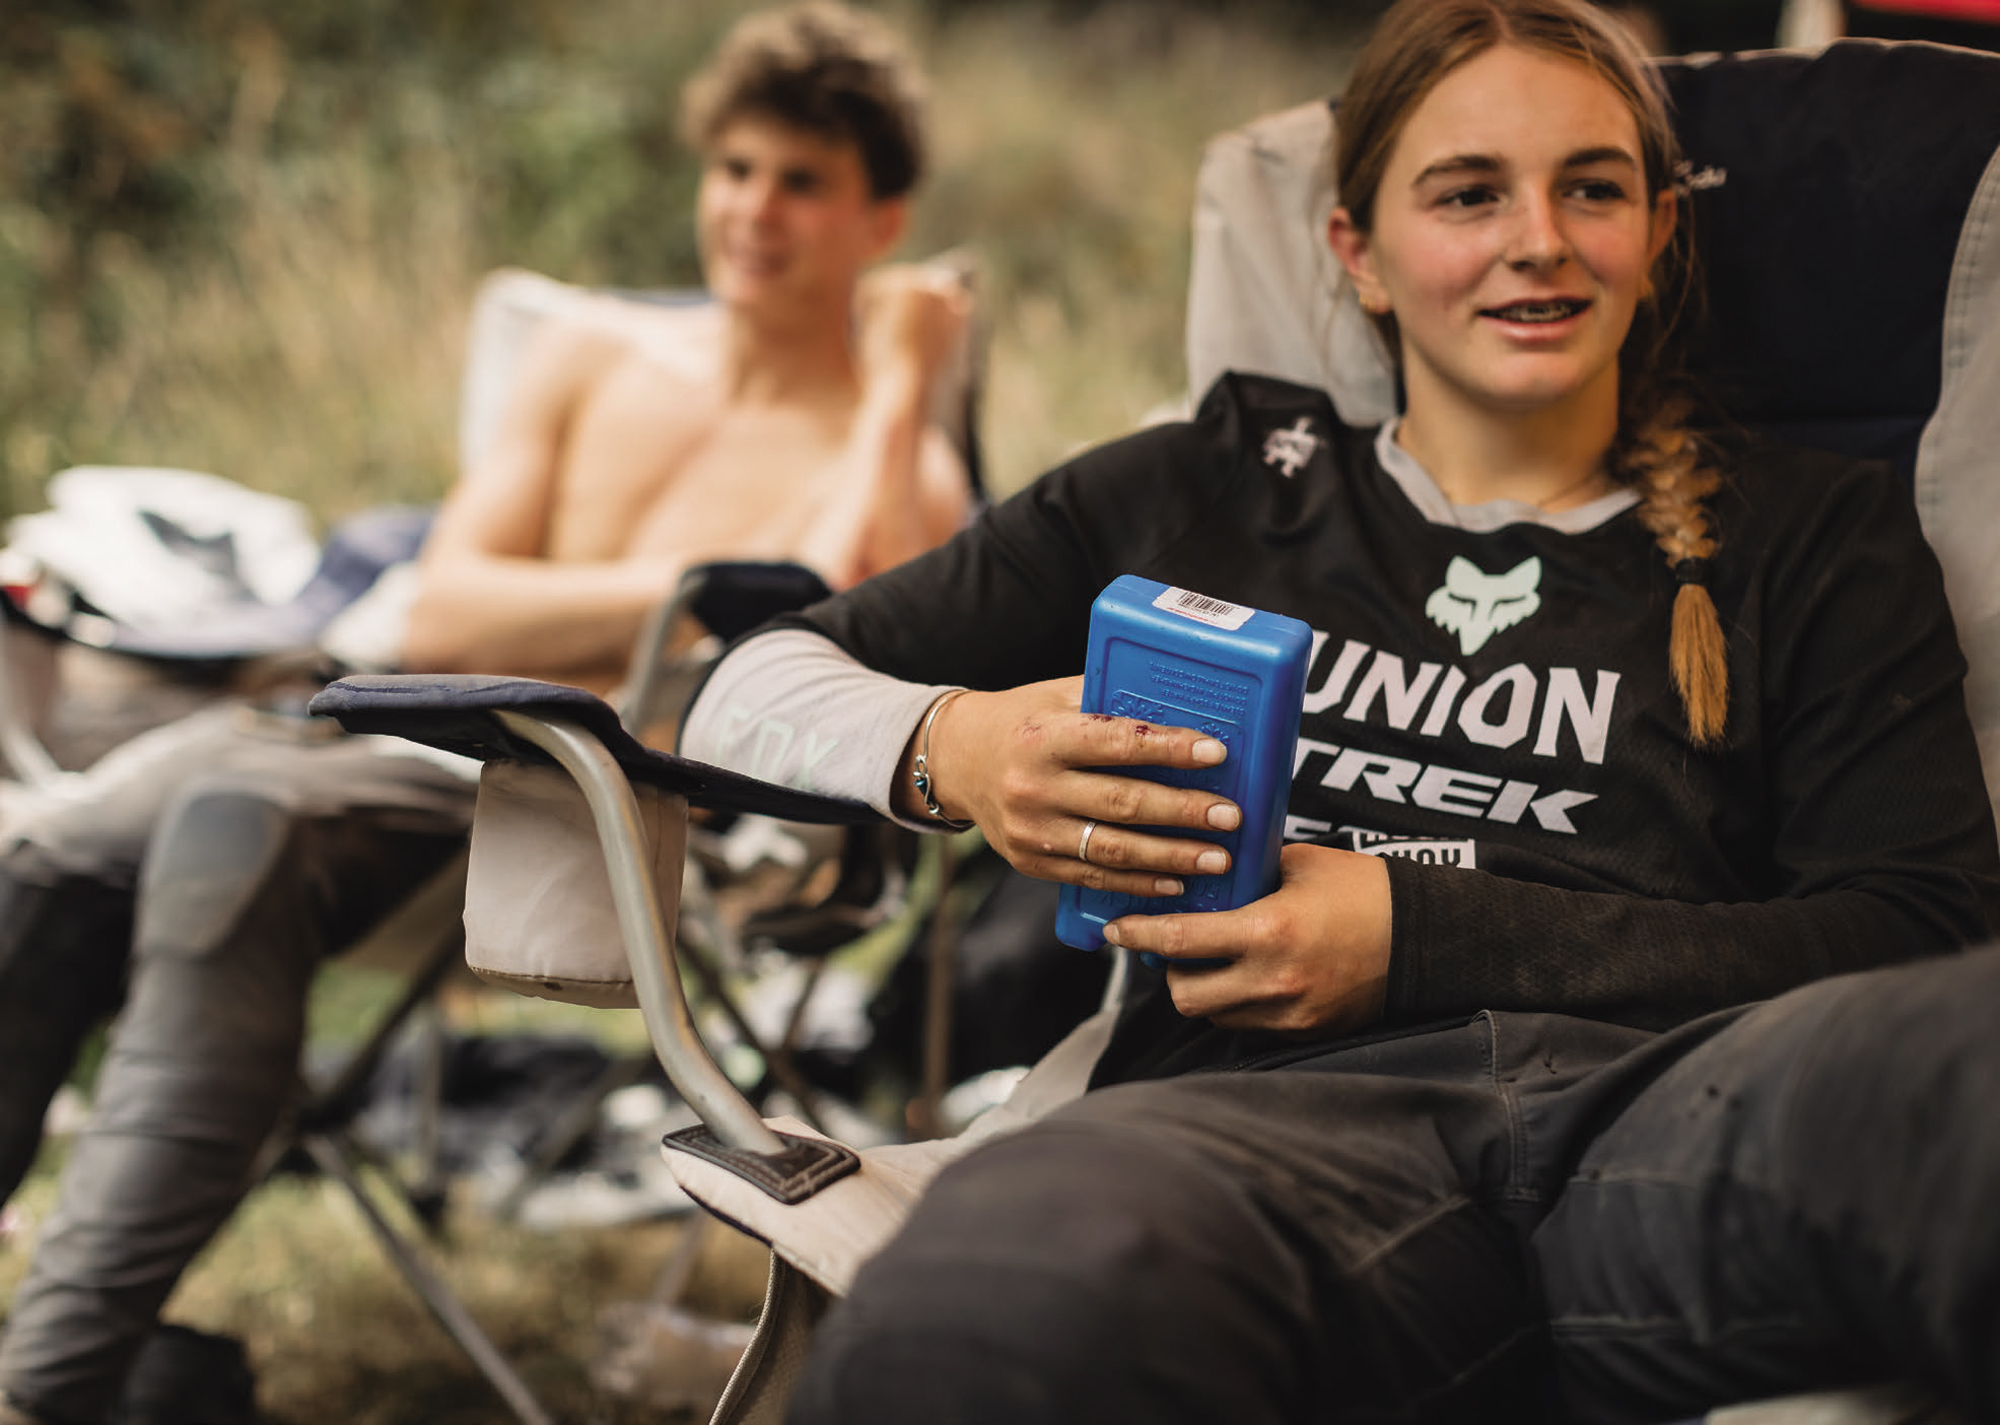
After the industry took a dive post-COVID, Joe scrambled to secure new sponsors and funding as The Union headed toward the 2024 season. He couldn’t promise what gear they’d be using, but he was confident the puzzle pieces would fall into place on time, and they did. For 2024, The Union had a complete shake-up regarding their gear, eventually signing to ride Trek frames and Sram/Rock Shox components while decked out in Fox apparel. It was go time!
Joe continues, “I’ve been stoked character-wise. She’s a funny one. She’s kind of a mix of this super confident, smart young woman who’s crazy mature for her age in some ways, but then she’s also definitely still a kid, a teenager, and deals with all the usual stresses of racing and definitely has had some nerves creeping in, which have affected a few races. Just normal racing stuff. She is super smart and loves a yarn!”
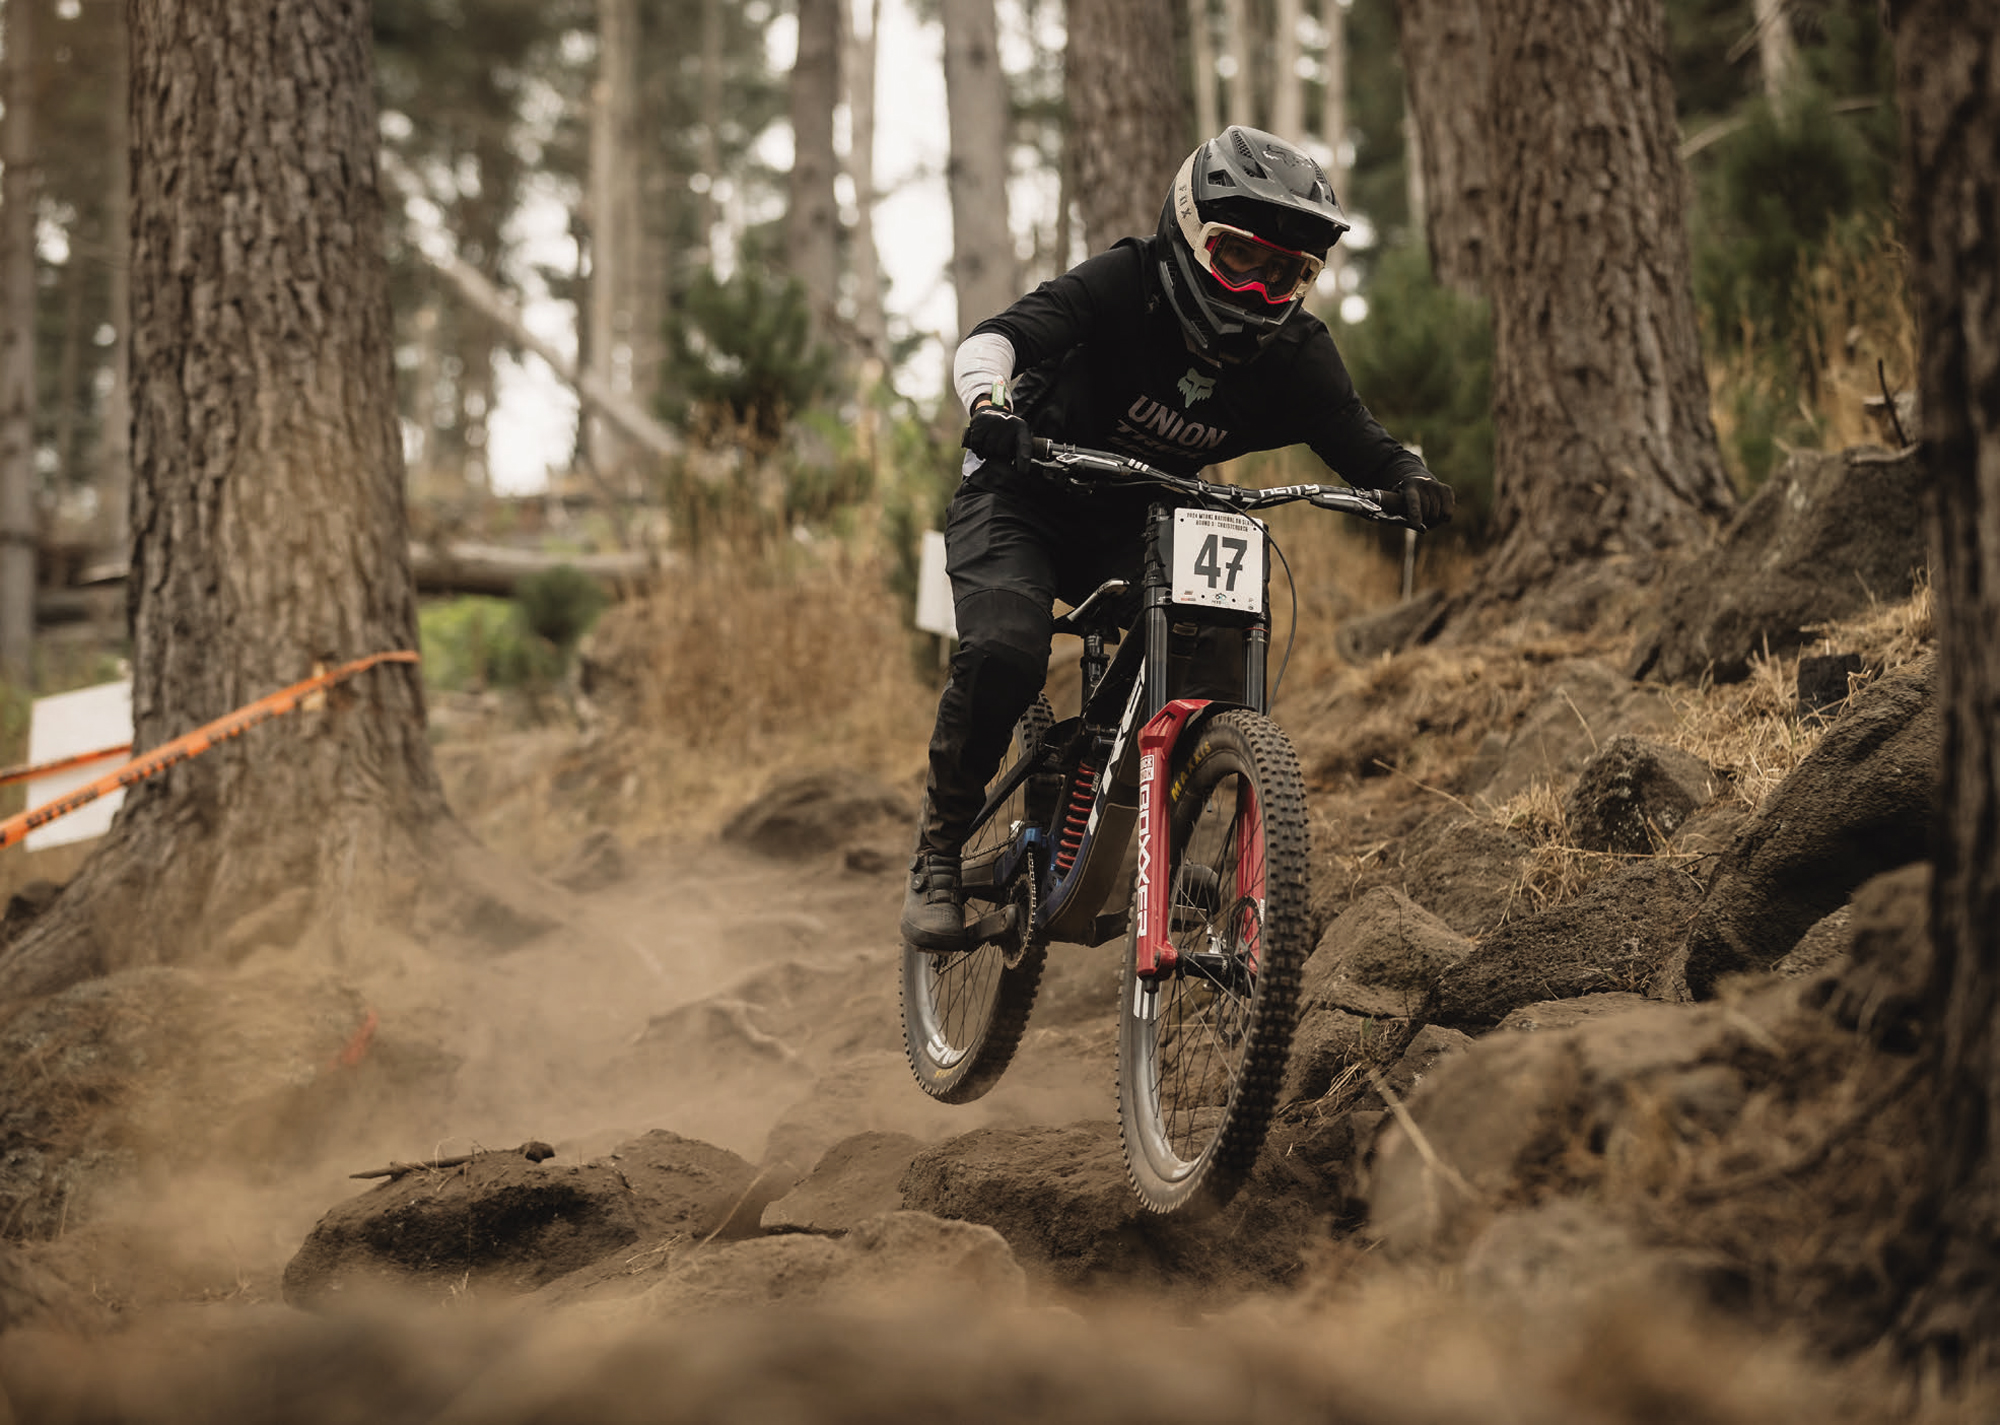
Beginning the 2024 NZ season with National Series wins at Whangamata and Rotorua; things came crashing down in Christchurch during round three. A crash in the infamous rock garden while racing “The GC” left her sidelined with a broken knuckle and injured hand. Considering the consequences of crashing in that section, Ellie was glad to come away relatively unscathed and able to continue to fight for the remainder of the NZ National Series.
A sturdy strapping job and some painkillers helped her battle through the Cardrona National series round for round four, once again racing to the top step of the podium. A week later, she backed up that performance to win the National Championships at Coronet. A hard-fought race on a “one-dimensional” track was not one of Ellie’s favourites; she got the job done despite carrying her injuries from only two weeks earlier.
Crankworx Rotorua began Ellie’s journey into Downhill racing. By March 2024, she had gone from walking the track just four years earlier to walking to the podium, taking the overall women’s downhill win on Rotorua’s famed Taniwha downhill track.
With the NZ summer coming to a close, hours in the gym banked, sprints ticked off, a National Series overall win, a National Championship title, and armed with all the tools she needed to succeed thanks to her new team, Ellie set her sights on the World Cup Series and headed to Europe.
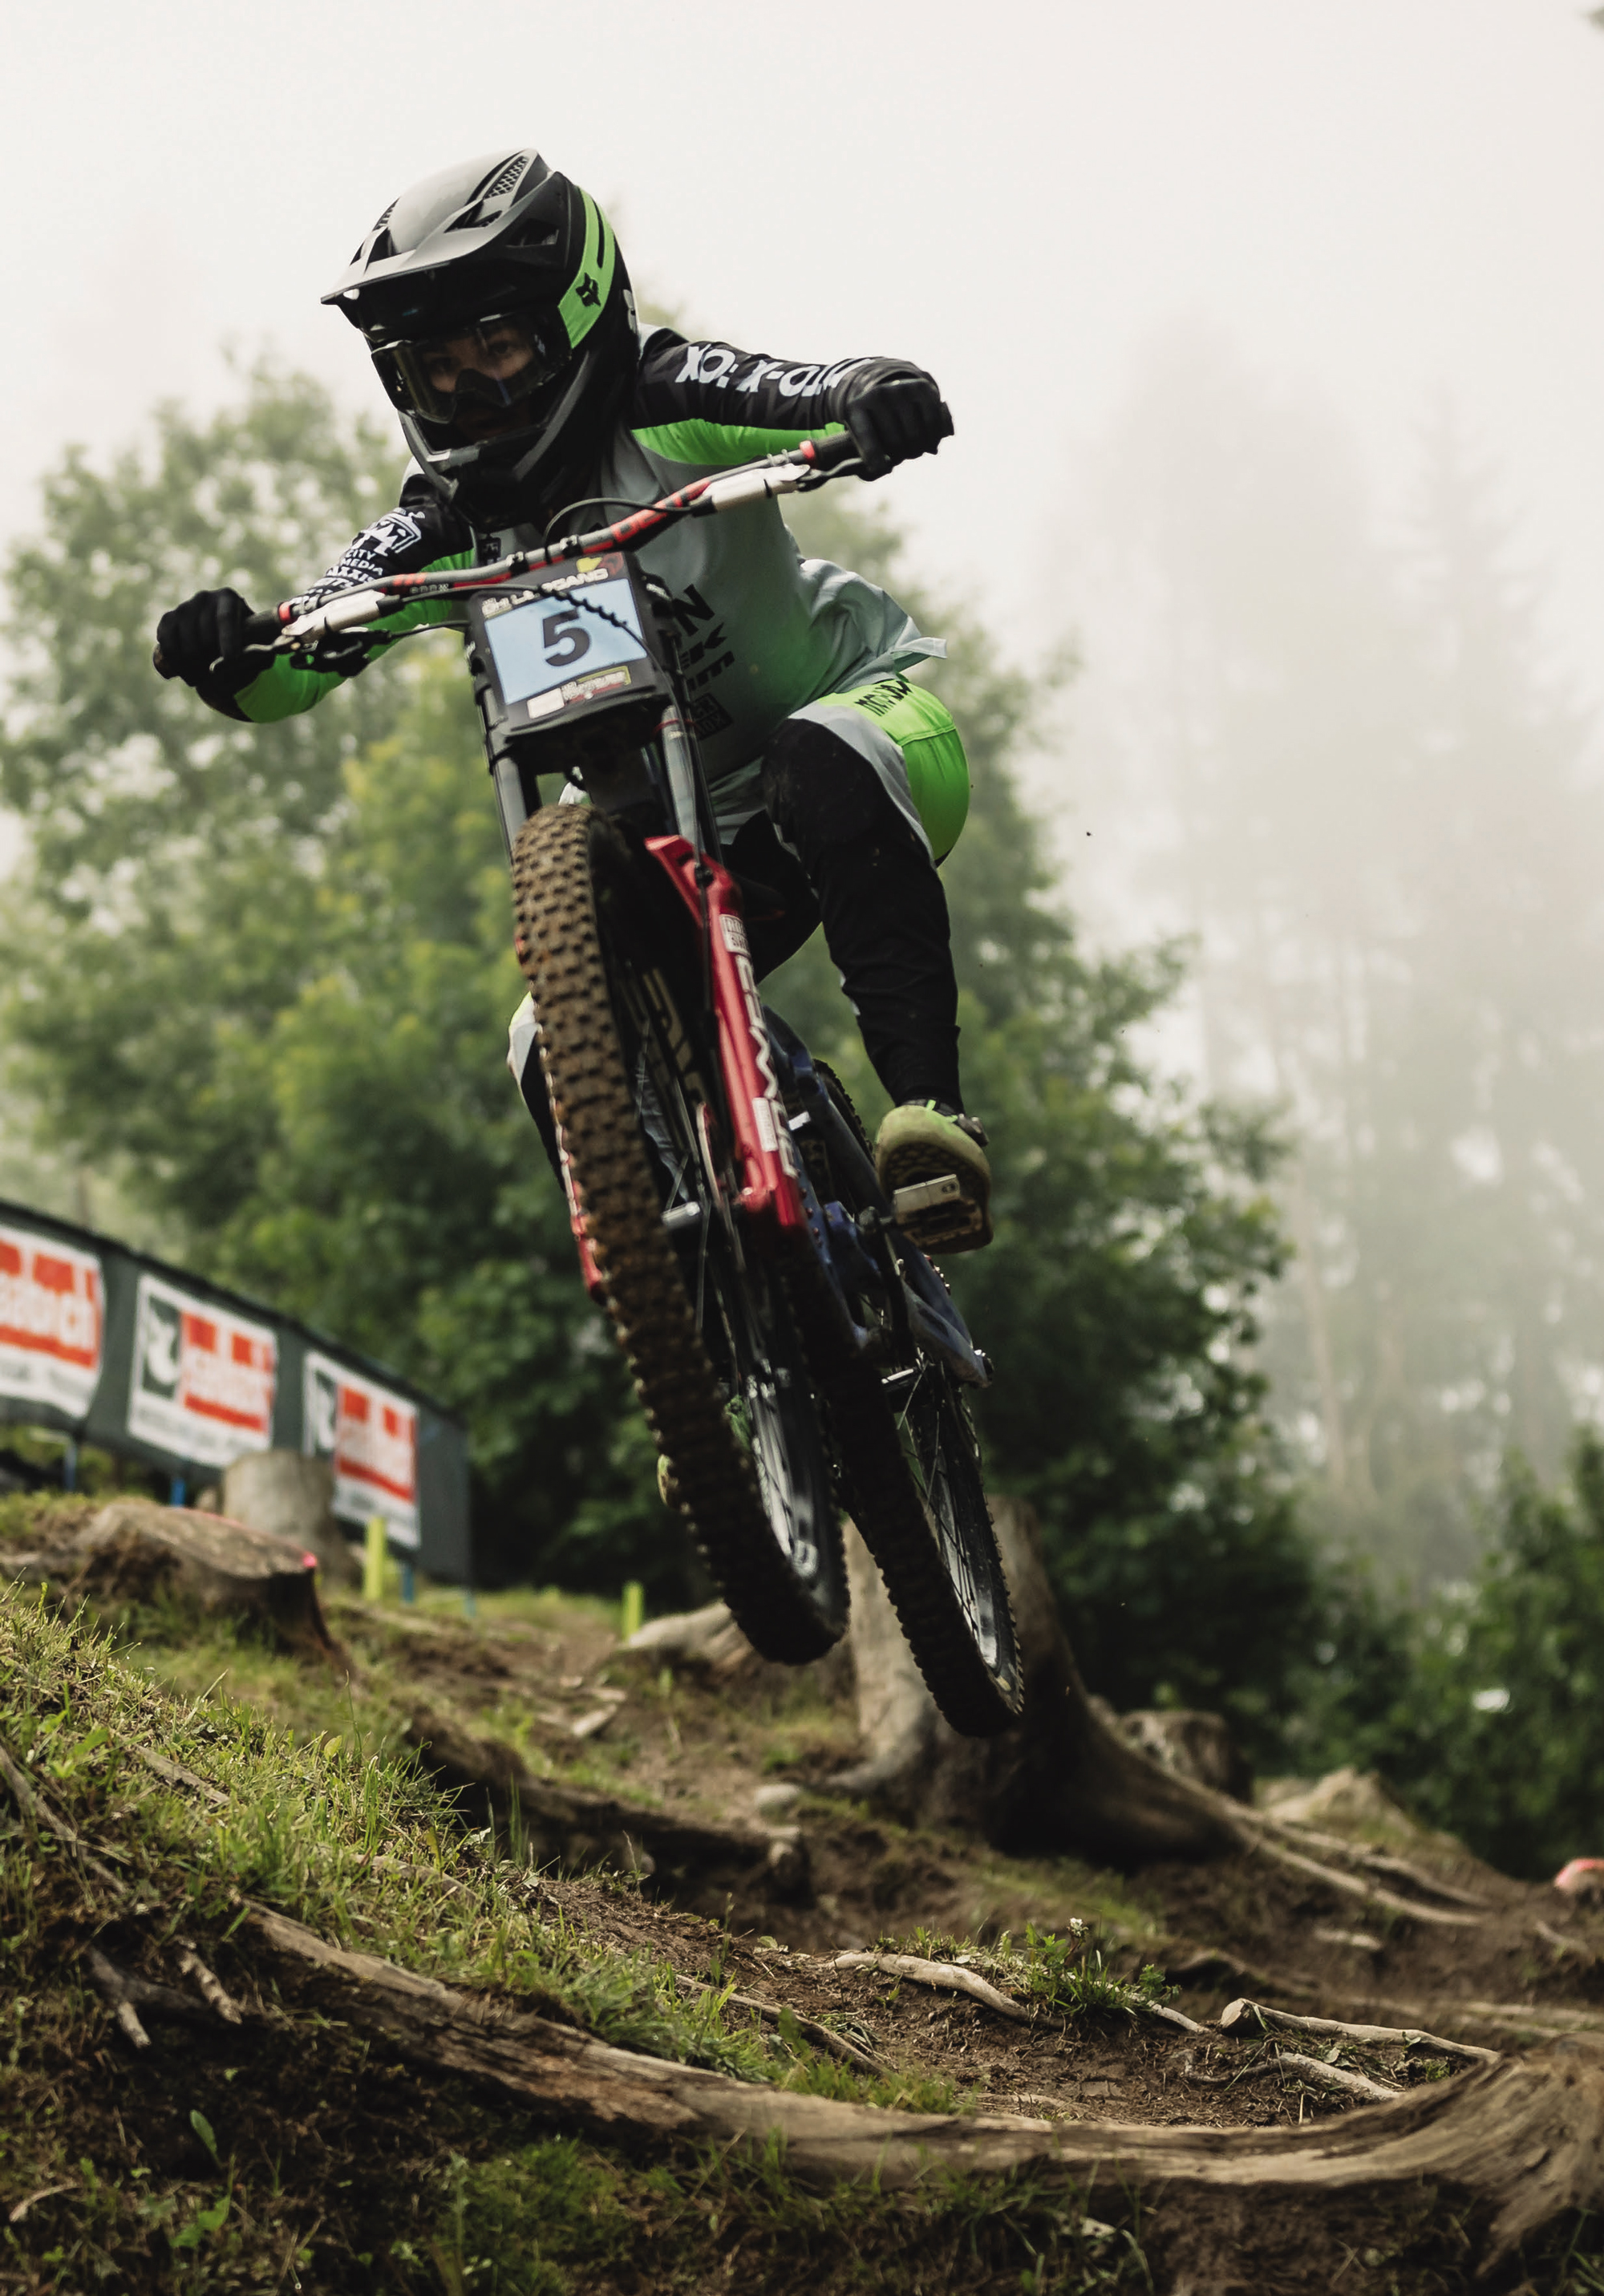
Ellie’s debut on the World Cup stage was the Fort William, Scotland opening round. Initially unsure of what to expect, her apprehension disappeared once she arrived at the venue and got stuck right into the thick of things. “Everyone is actually really nice and not nearly as big as they seem on TV, so it’s been pretty cool to talk to people who I look up to, and have them help me out — everyone in the scene is so nice.” She delivered a strong performance despite the challenging conditions. The notoriously rocky, wet, and foggy course can be a brutal monster to tame. Although leaving with third place was not what she wanted, it was a great start to the season.
After that solid start, Ellie headed to Bielsko Biala, Poland, for round two. Conditions were difficult, with wet and wild weather impacting the course and making for unpredictable and difficult-to-read track conditions. Despite her best efforts, Ellie didn’t have an ideal day, falling just short of the podium, under a second back from Kiwi compatriot, Sacha Earnest, who was third.
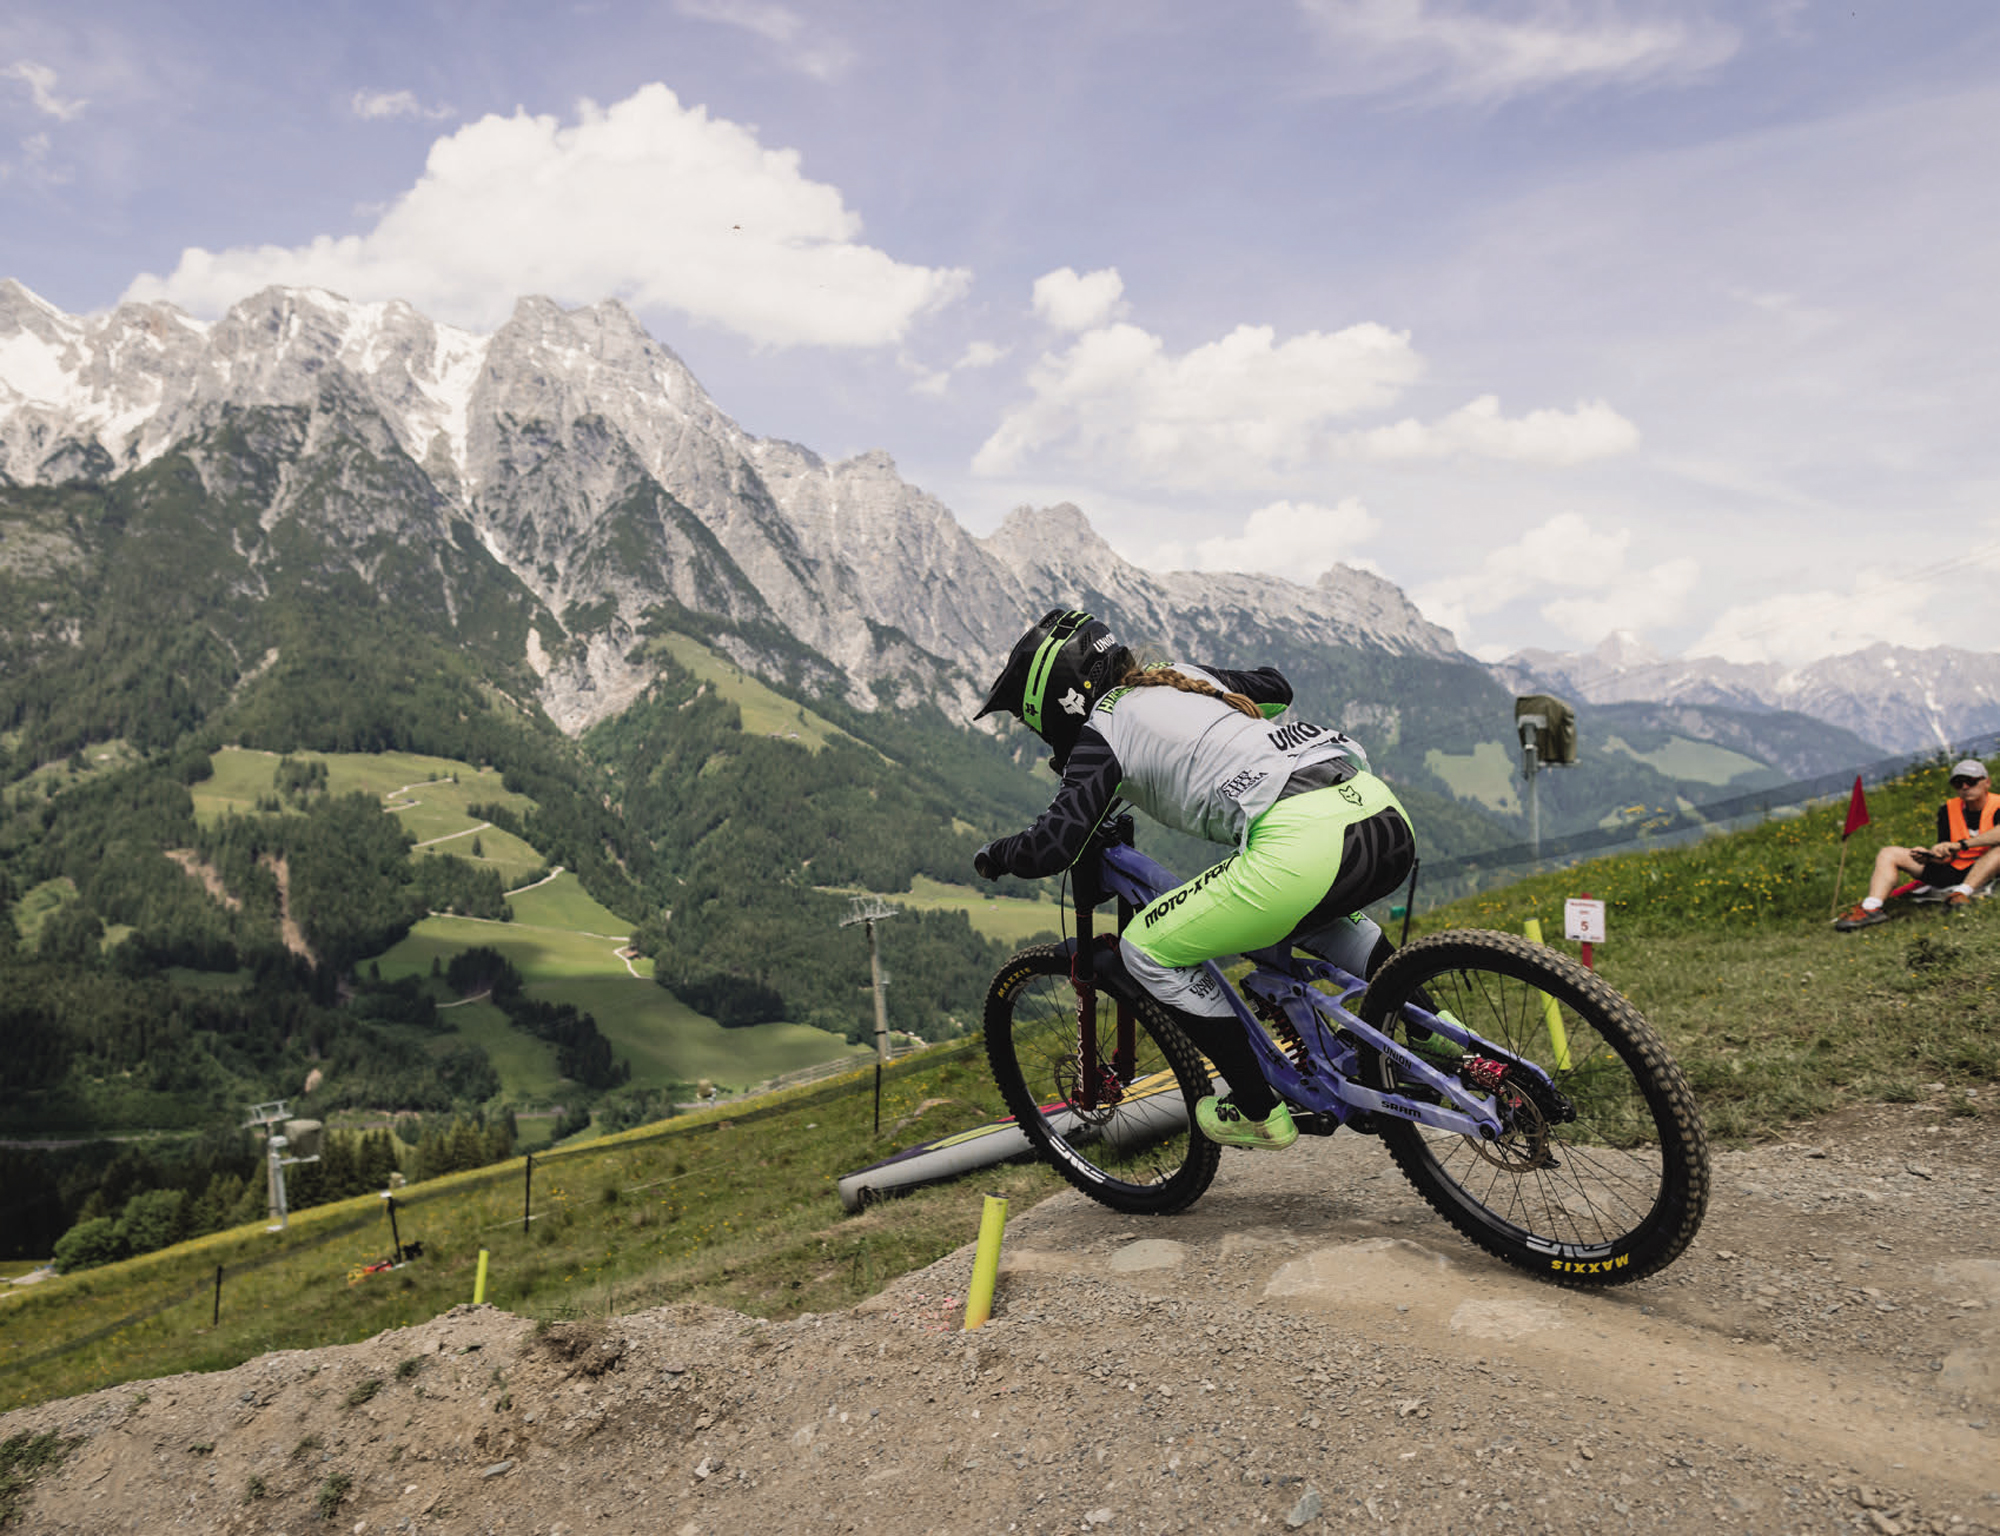
Another wet and unpredictable track greeted racers to round three of the World Cup Series in Leogang, Austria. A first-place qualifying run banked her solid points for the overall series standings but, like most, Ellie had some bobbles in the steep wooded sections during her finals run, rodeoing her way through the first steep section with both feet off. All was not lost, and even after nearly going over the bars, then getting off line and all but stalling out on the second steeps, she regained composure and got back on the pedals through the wide- open lower sections, finishing second behind Lower Hutt shredder, Erice Van Leuven.
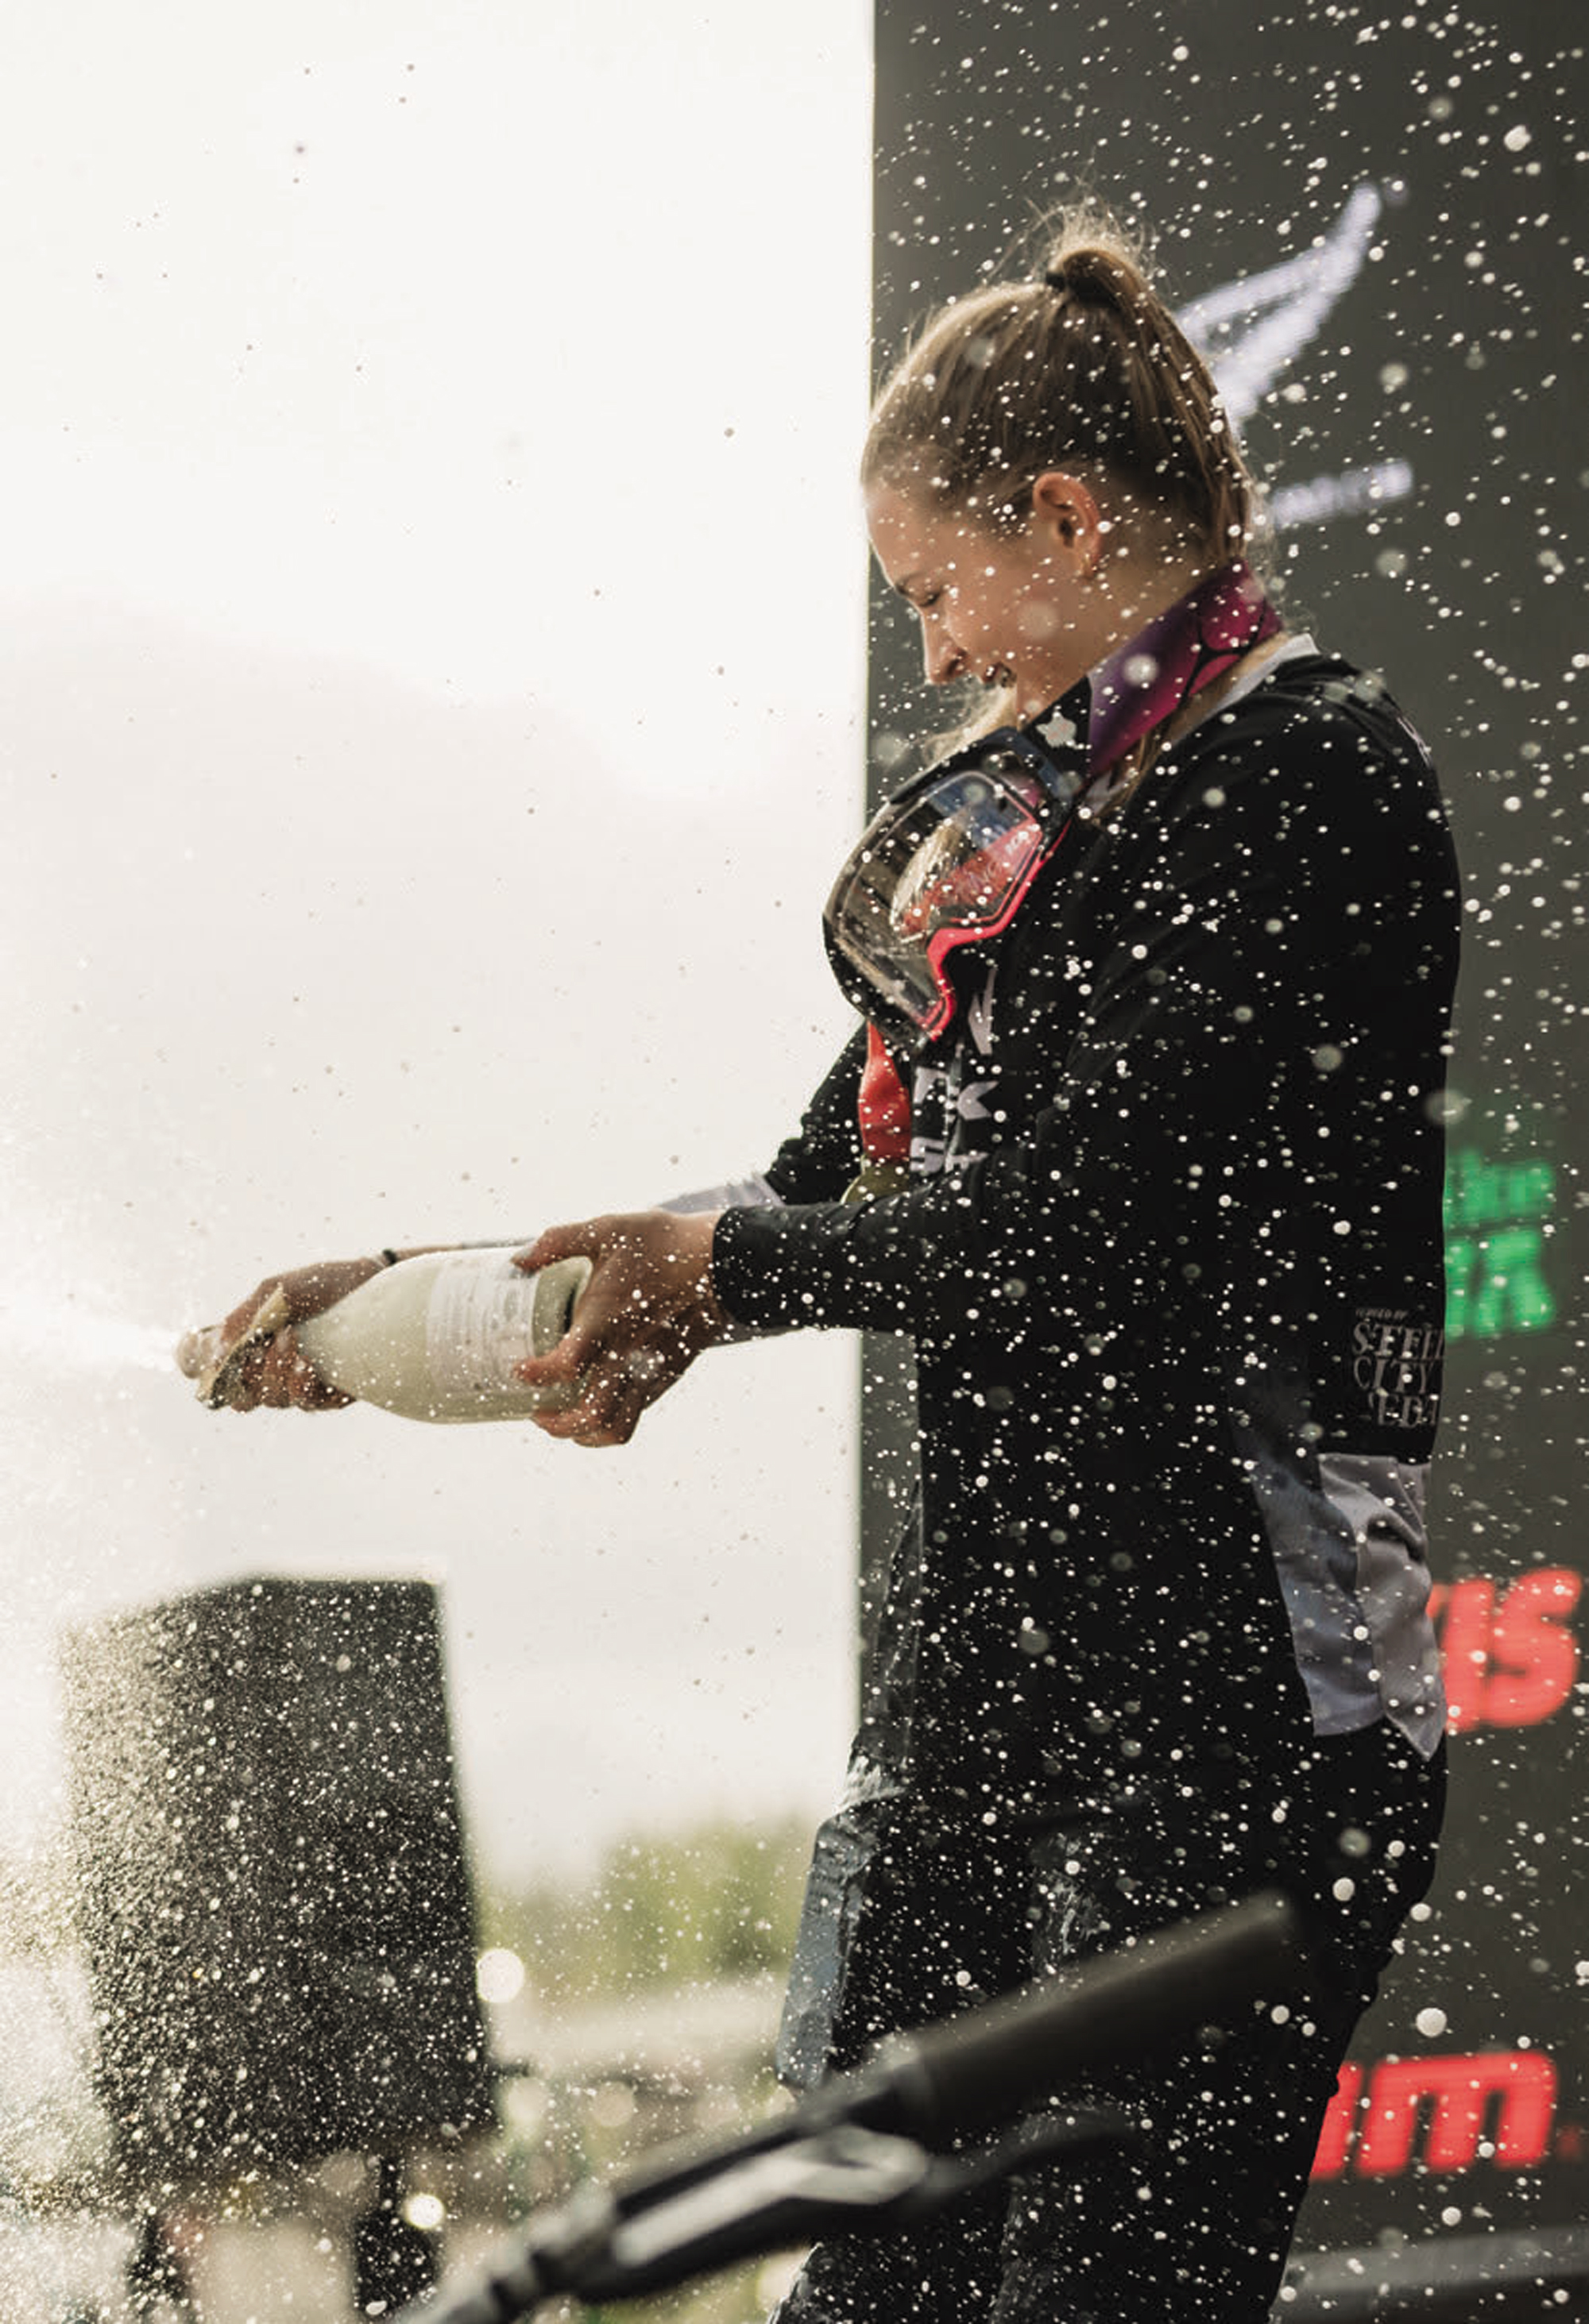
Jumping back over to Italy, Ellie lined up for round four of the World Cup. Val Di Sole’s “Black Snake” course has a reputation for being one of the most challenging and physically demanding courses on the UCI World Cup circuit. The track is four and a half minutes of mayhem, requiring racers to deliver both physically and mentally, putting the risk and pain of the effort out of their mind to deal with the high-speed, technical course. In a pre-season interview, she voiced that the “Black Snake” of Val Di Sole was one of her favourite tracks, foreshadowing events to come. On June 15, 2024, Ellie stamped her authority on the sport with her maiden World Cup win, cementing herself firmly as one to watch for the future.
“There have only been highs this year so far. Things definitely haven’t gone the way I wanted them to sometimes, but I have been learning to make the most of every situation — take the positives and use them to grow — which has really helped when life throws obstacles at you…. which does happen a lot when you are flying down a hill!”
As you’d imagine, racing overseas is not a walk in the park for Ellie as she comes to grips with the pressure and stresses of racing on the world’s biggest stage. “The first few races (of 2024) were pretty hard, just getting really nervous, not eating and, for almost every race, my GoPro (from practice) was faster than my race runs. So I knew what mentally needed to change, and it was just trusting the process and remembering all the work I had done. At Val Di Sole, I just mentally felt good, as well as on the bike. I was starting to ride like me again after working on some stuff in the break between races, so it all came together.”
Round five of the 2024 World Cup saw the circus head to Les Gets in the Haute-Savoie region of France, an iconic, fast and technical track that Ellie would typically thrive on. During an early practice run, she misjudged her speed into a corner in the top sector of the track, ejecting herself over the back of the turn. The resulting yard-sale could have easily taken her out of the race before it even began. With a battered body, she had a slower build-in pace towards her final run than she would have hoped, but she was confident the speed would come when the time counted.
Qualifying on a mediocre run, feeling optimistic for a strong performance, she knew she could tidy things up and find more pace come the finals run. Frustratingly for her, the Juniors race was cancelled after heavy storms hit the area, leaving a saturated and slippery track deemed unsafe to race by officials. Ellie and fellow juniors had to settle for their qualifying positions as a final finish, leaving her in third.

“I think the hardest part has been not having my parents at all the races; they have always come to all my races and helped me, even just having a laugh or when I need a hug.”
Before the World Cup racing kicks off again after a nine-week summer break, Ellie will head to Pal Arinsal/Vallnord, Andorra, to take on the World Championships at the beginning of September. The 2024 Champs will be Ellie’s first visit to World Champs. Following the 2023 Junior Women’s podium sweep by the Kiwis, there’s quiet confidence around the scene that the Kiwis will once again be battling for that top step, and Ellie’s name is firmly in the mix as a contender for the win.
“I love training just because the harder you work, the luckier you get, and no matter what happens, no one can lie about that; if you don’t give up, it will show. It’s also my way to still get benefits but also to have a rest from biking and clear my head.”
With two rounds remaining, Ellie leads the 2024 World Cup at the time of writing. Fellow Kiwi, Erice Van Leuven, is a scant 10 points behind her, and the UK’s Heather Wilson is just another five points back; the season is still wide open, and we’re expecting fireworks come early September in Loudenvielle, France, and the final round at Mont-Saint-Anne, Canada, a month later.
What does the future hold? Well, it seems even Ellie isn’t entirely sure. “For now, I am going to focus on riding my bike and doing well as an athlete and see what opportunities open up for me, and we will see where I go from there.”
During a pre-season training camp, while answering questions on how her surname is pronounced, Ellie grinned and replied, “Ellie Hulsebosch, but Who’s the Boss will do”. This single sentence showed so much about her character, aspirations, and confidence. One to watch for the future, for sure!
Where is the grass greener?
Words Liam Friary
Image Cameron Mackenzie
Recently, I had the privilege of being able to travel overseas again, far from home. It was bloody splendid! Yet, at the same time, it made me grow even fonder of our antipodean home. The thing that struck me most was the ultra-strong community within biking – regardless of where you are in the world. I was picked up, driven around, put up, fed, shown through incredible trail networks, and often had bikes thrown my way. All of this was made simple by people involved in the bike industry who weren’t just doing their job, but were all-round good folk, too. These people make this trade even more special; their passion carries through all aspects of life and is what binds us together, thanks to one common denominator: bike riding. I am incredibly thankful to those who have made time, beds, van space and garages available – it was great to share rides together.
The thing is, in these current tough times, everyone says the grass is greener. And wherever it is that they want to be, that’s the grass that is greenest. Depending on your own reality, there might be some truth to the old adage but, after a few months on the road, trippin’ around North America, I can tell you Aotearoa isn’t a bad place to be. Don’t get me wrong – my time away was fantastic. But it just showed me that we have so much packed into our little country and, with a smaller population, there seems to be a tighter bond. Of course, I am the first one to peek over the fence to look for greener grass, but I always end up reflecting on the pure beauty of our motu.
I am reminded to stay grounded in these times and think about what I have, not what I don’t have. For me, bike riding is one thing I’ll always have – it’s a major part of my lifestyle and gives me so much more than just employment. As always, I’m thankful for the places it has taken me and the people I meet along the way – both overseas and right here in our own backyard.

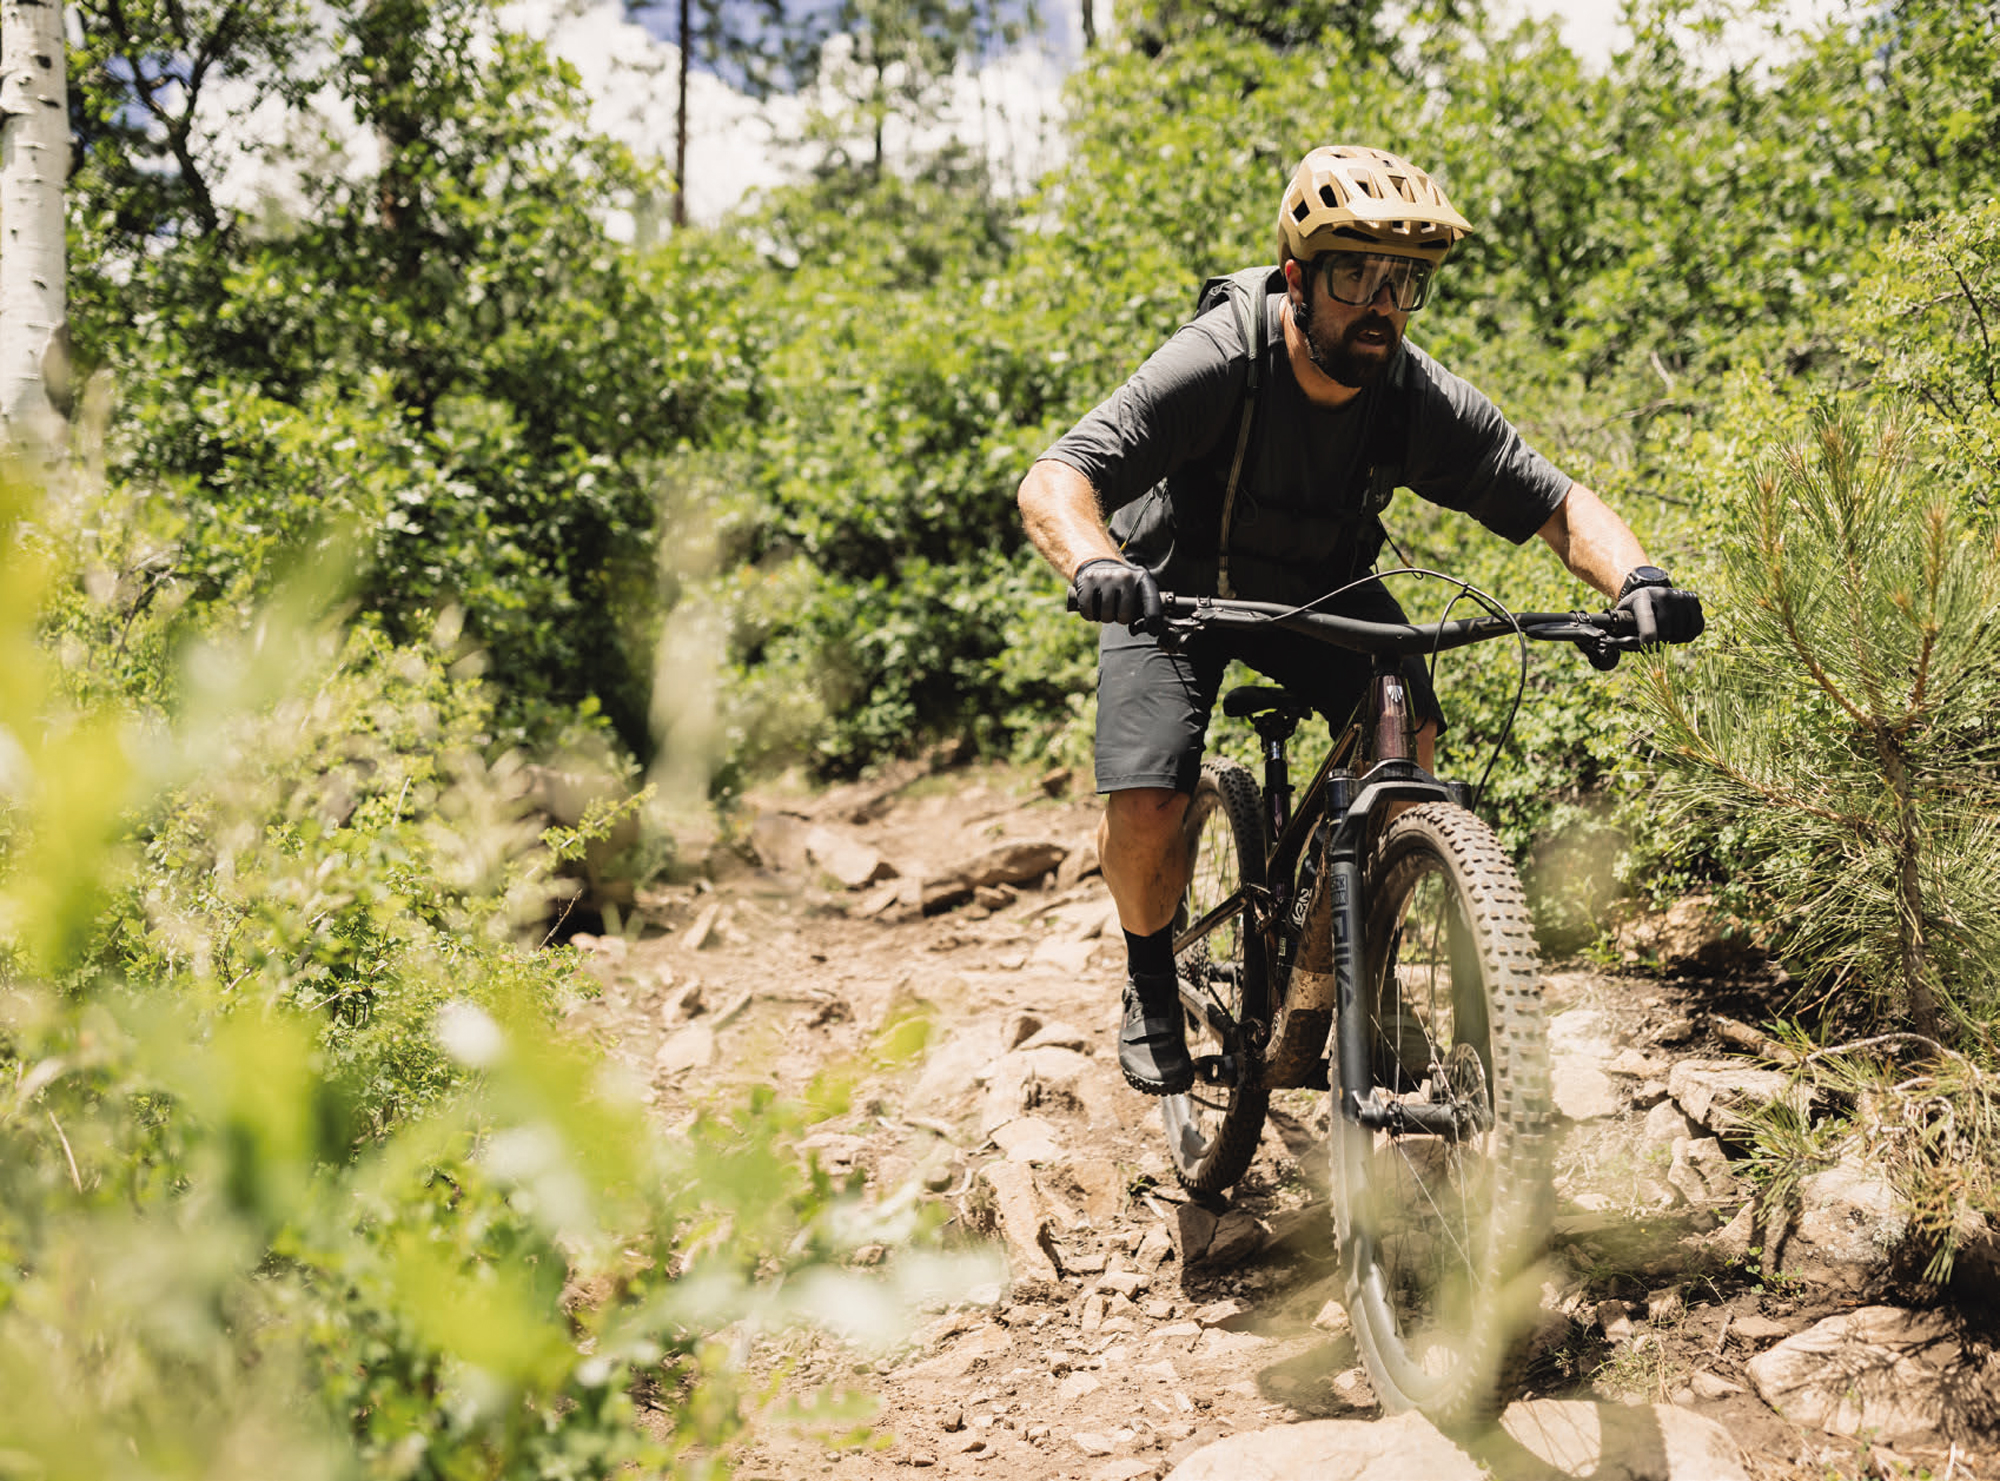
Trek Top Fuel
Words Liam Friary
Images Cameron Mackenzie
RRP$15,499
Distributor Trek New Zealand
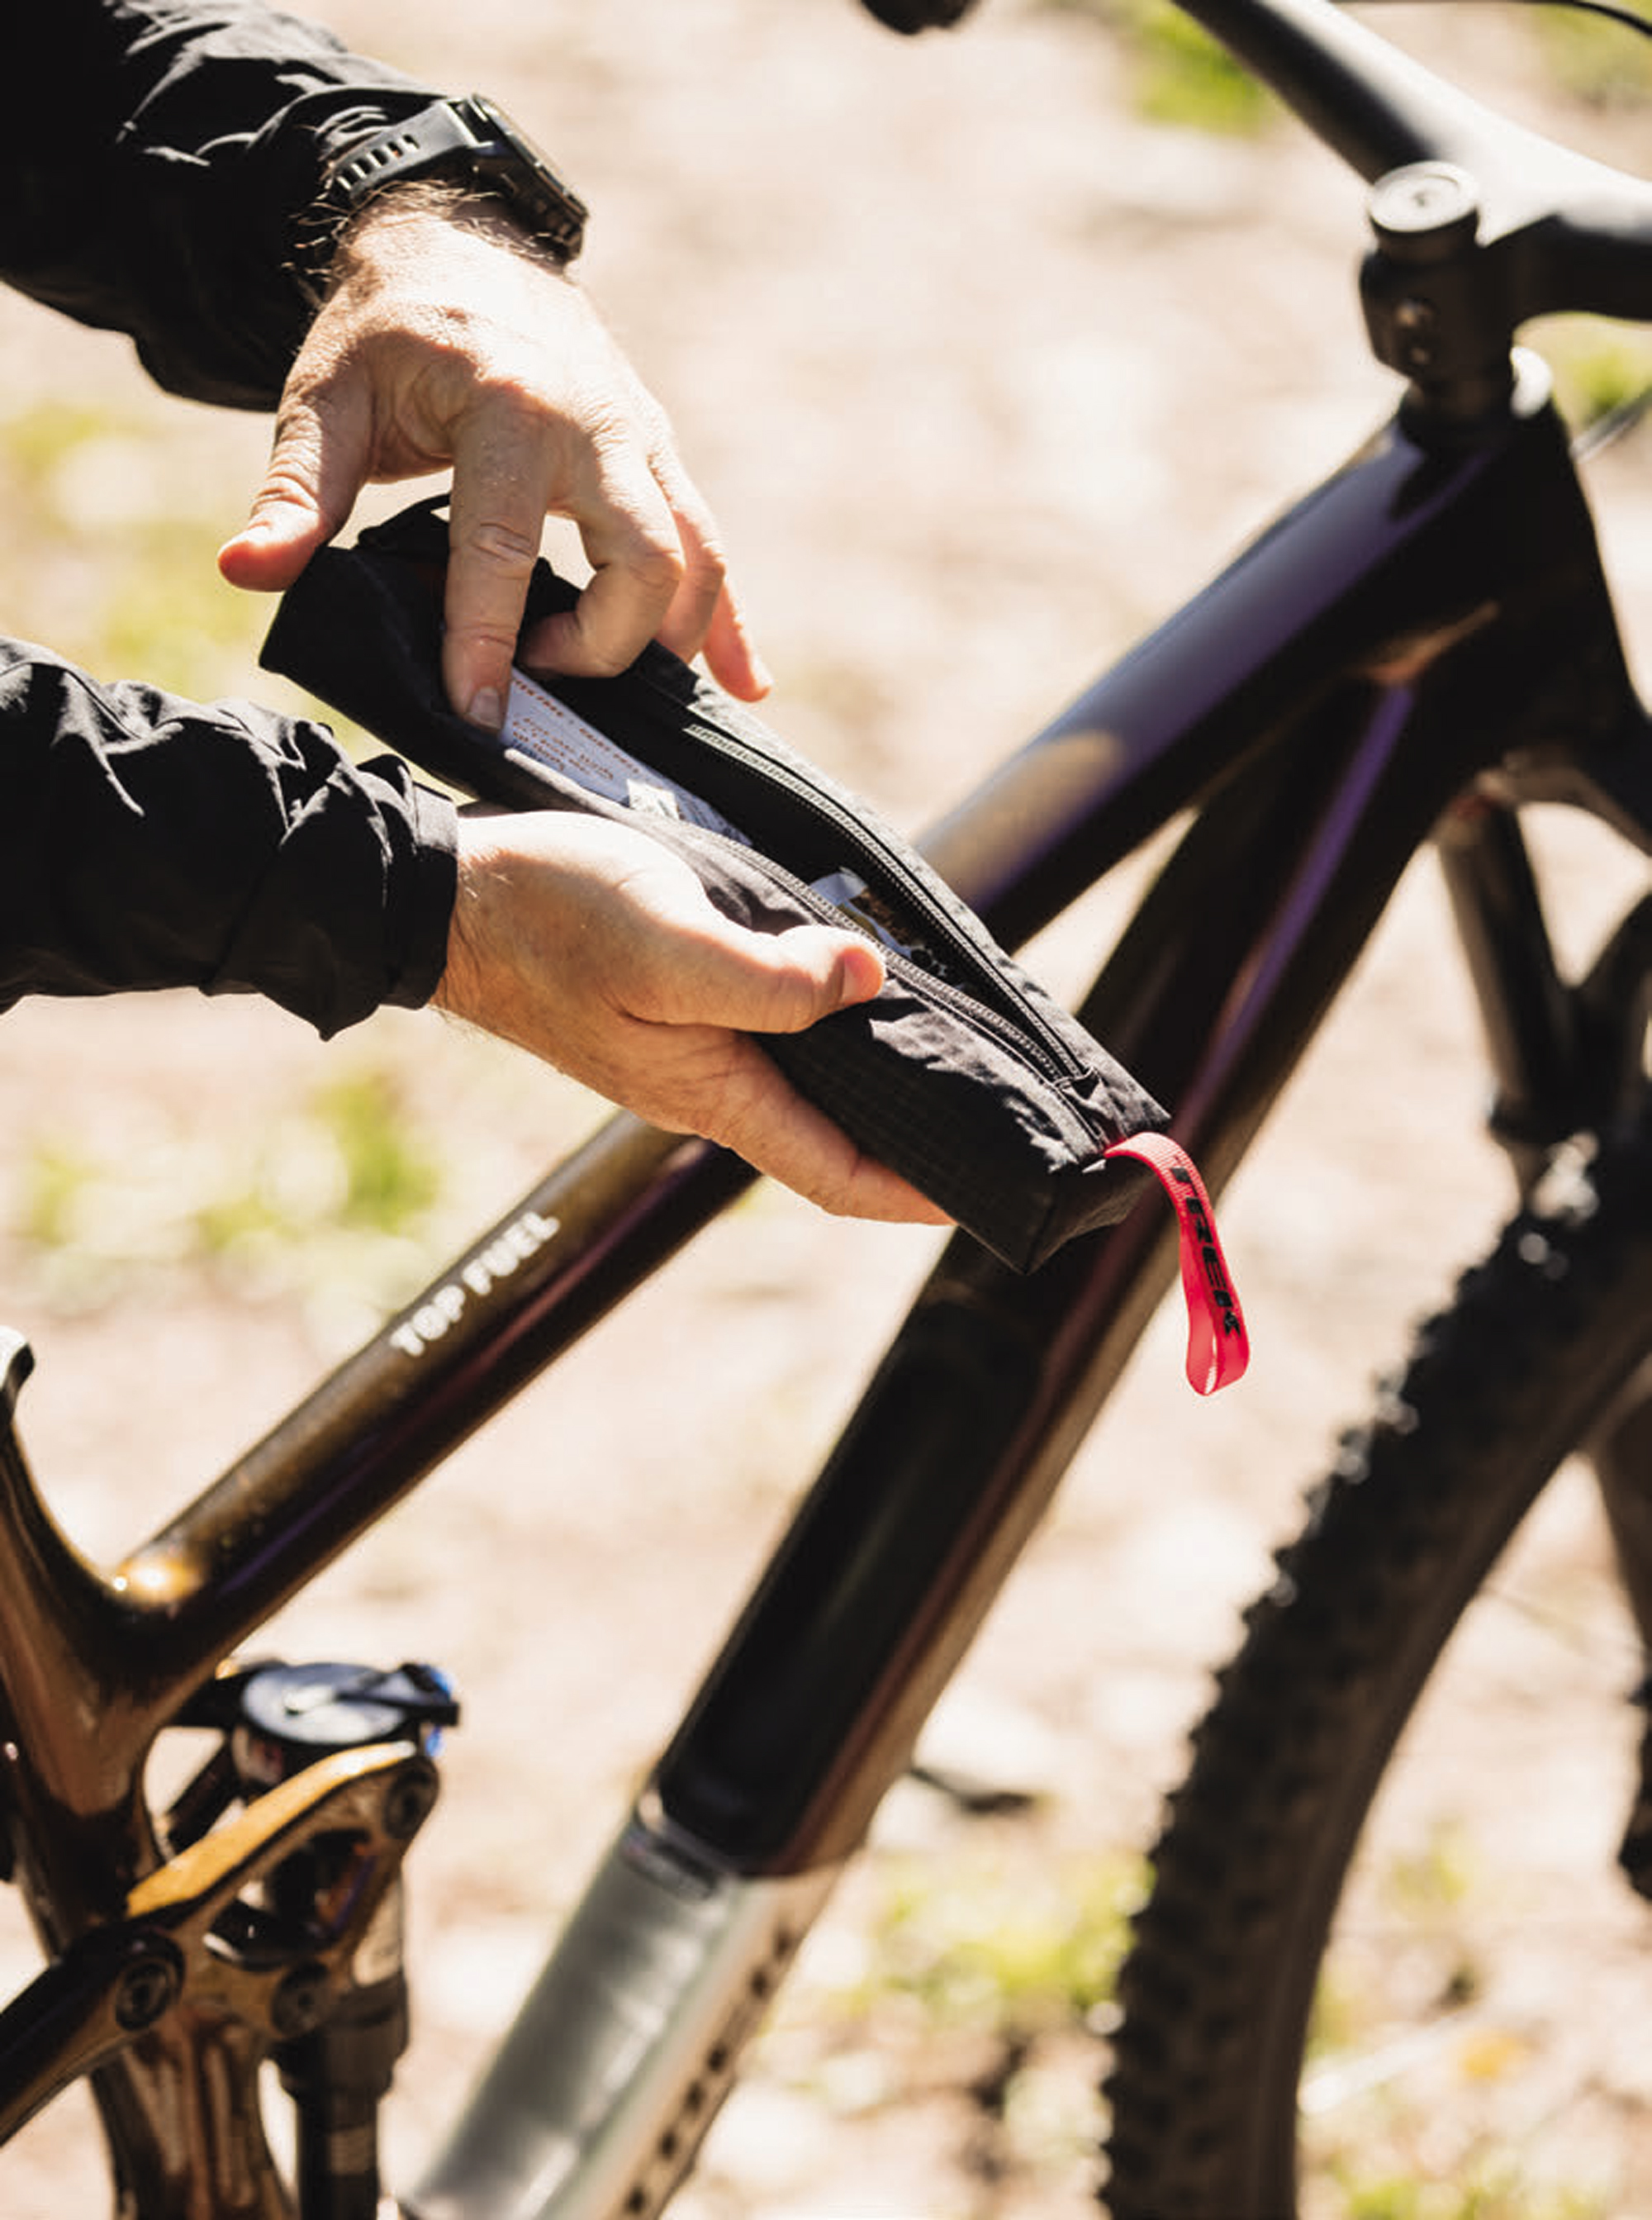
The lines are somewhat blurred between an XC long-travel bike and a lightweight trail bike but, regardless of categorisation, the bike is designed to be super-adjustable with a redesigned frame and a 4-position Mino Link. There’s also a ton more you can customise, like wheel size, geometry, and suspension travel, making it super appealing for everyday trail riding, or even XC racing duties.
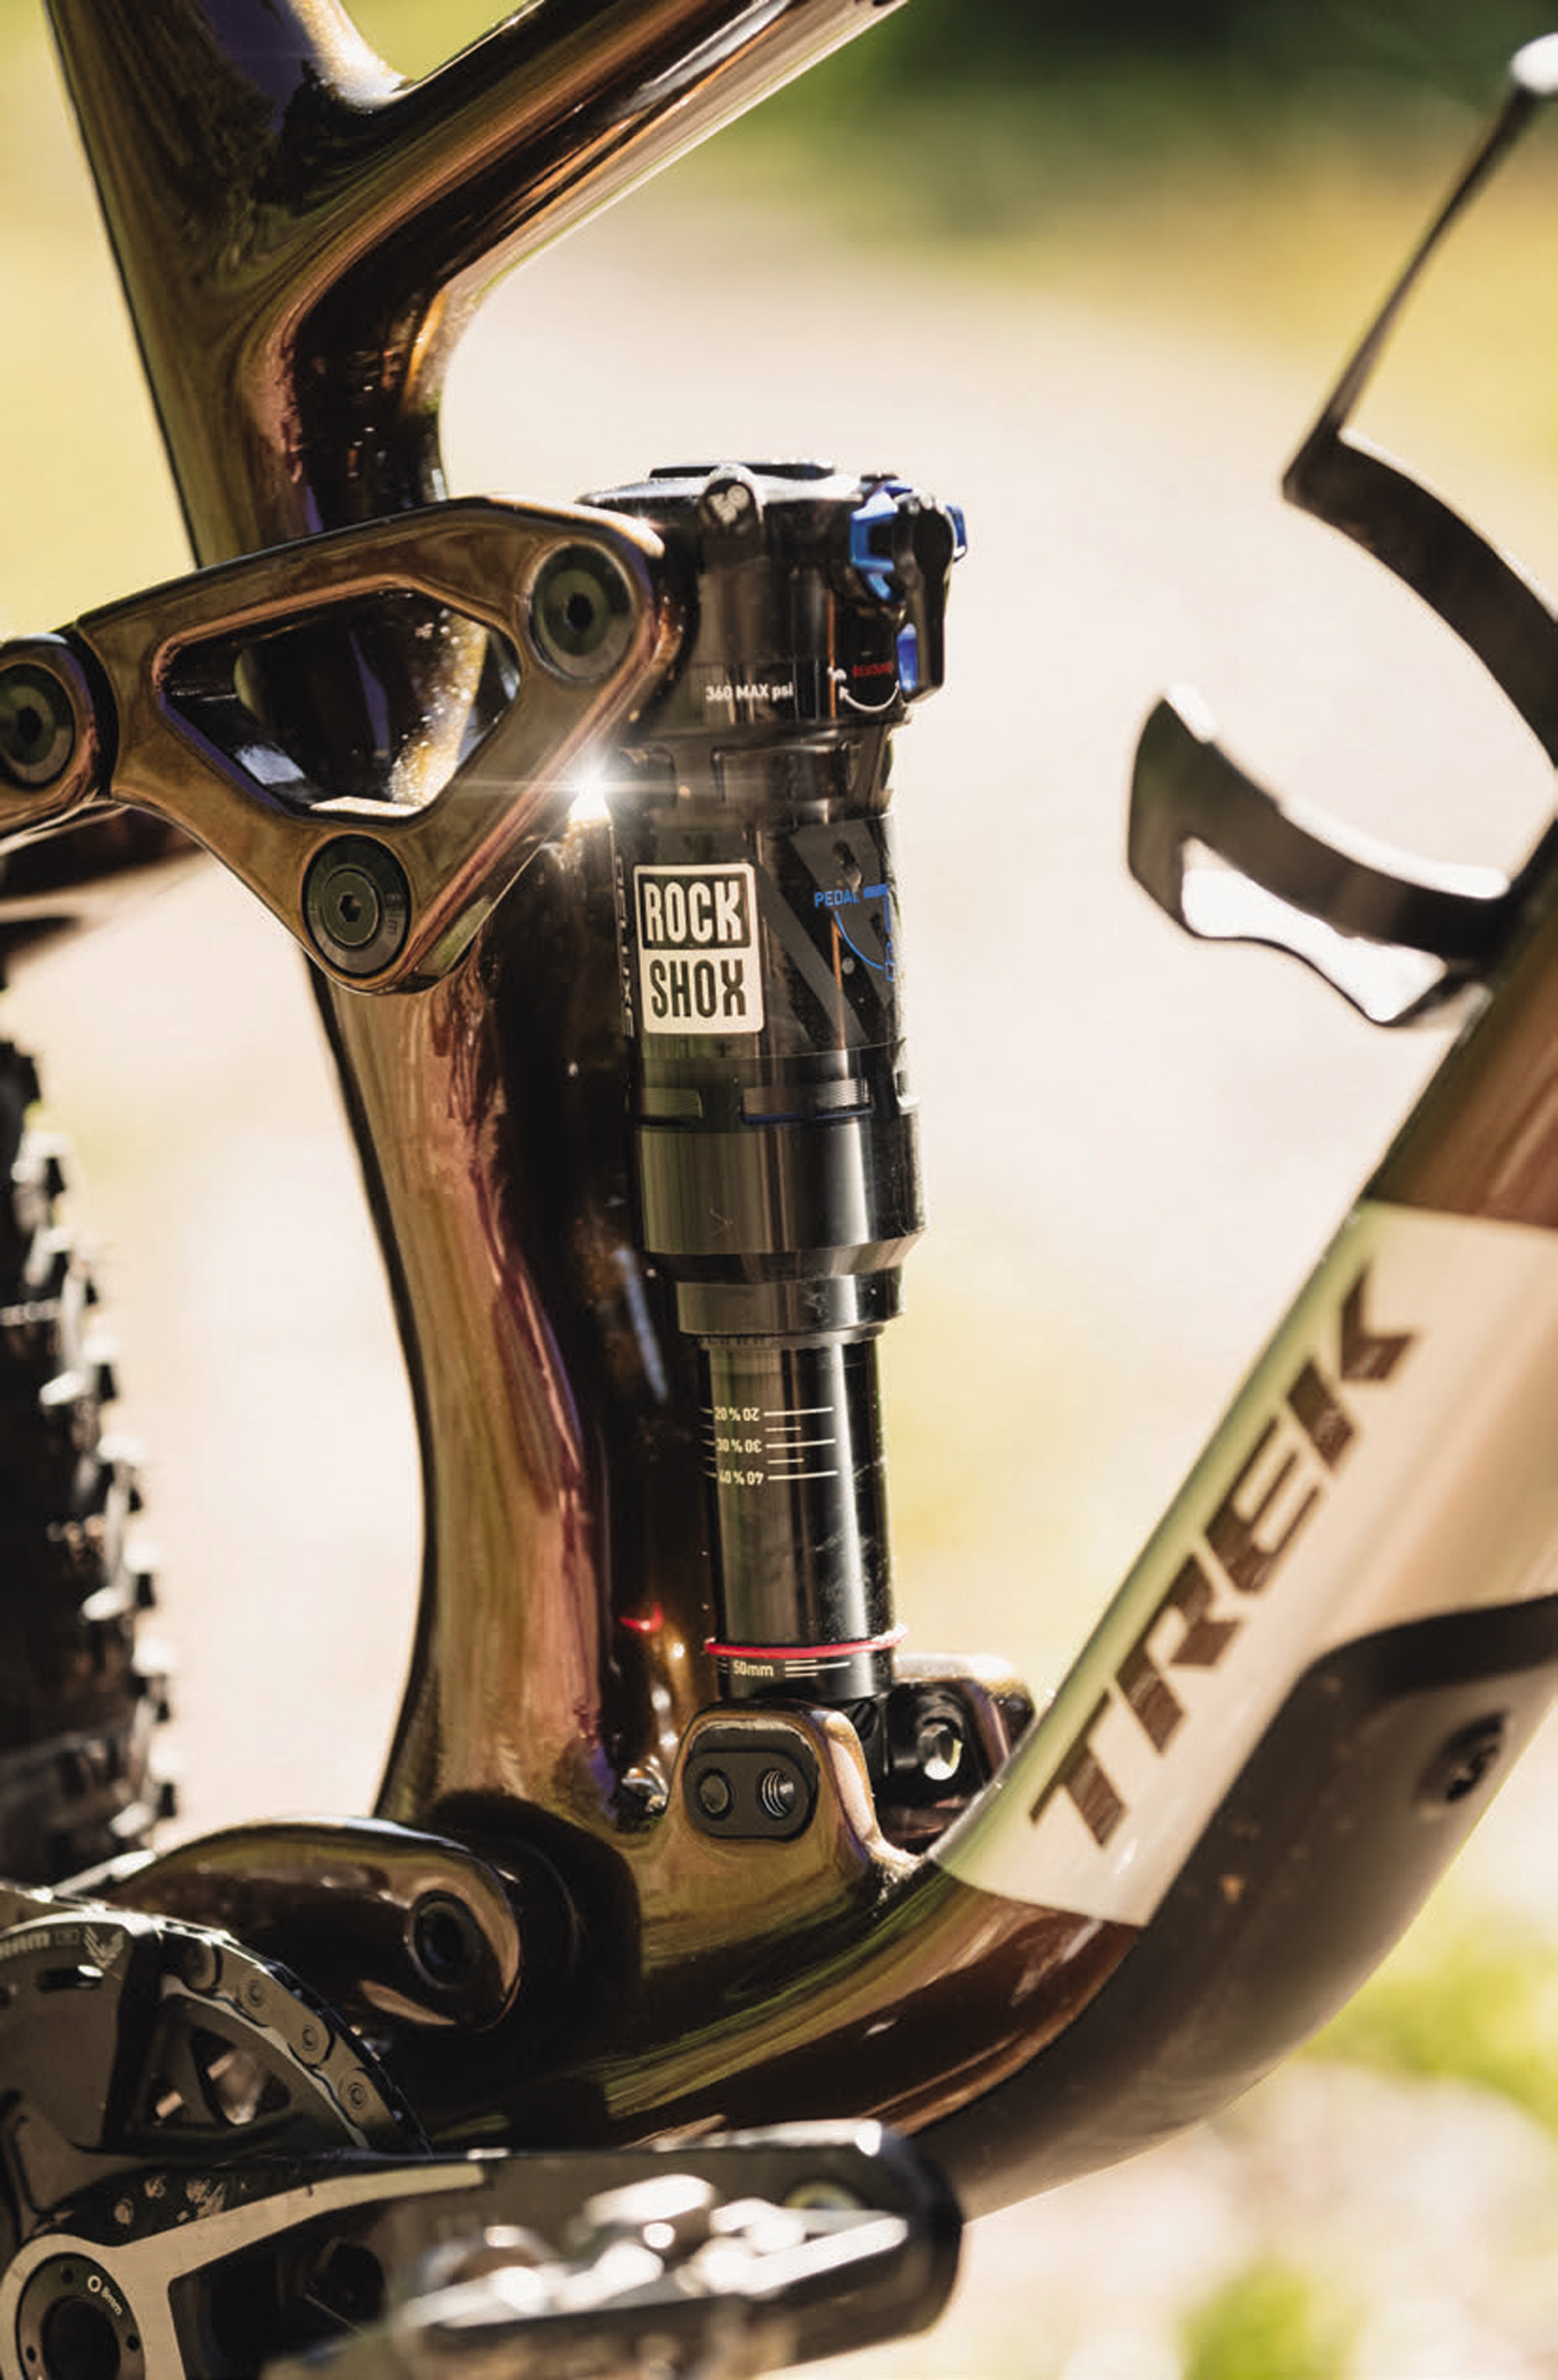
Trek has opted for refinement rather than revision – a trend the industry is increasingly embracing. Generally, bikes are in a good place regarding geometry numbers, so there’s no need to reinvent the wheel – at least for now. While the new Top Fuel looks similar to the previous generation, it has gone on a slight diet with about a 100g savings in the carbon frame, and employing slimmed-down tubes across the entire frame. The new 4-position flip chip, used for adjusting the bike’s geometry or the amount of shock progression, is located at the lower shock mount. This flip chip offers High/Low geometry settings that modify the angles by 0.5° and change the BB height by 6mm. Additionally, you can move the suspension leverage rate forward and backward with the flip chip. The forward position offers 14% progression, while the rear position offers 19%, providing more ramp-up at the end of stroke. I rode mainly with the rear, more progressive position and found it better suited to my riding style and the terrain where testing was done.
I appreciate the ability to change out the rear and front travel if desired. The rear shock is built around a 185x50mm shock, but you can increase the stroke to 55mm and boost travel to 130mm. The frame is rated for a 120-140mm travel fork, which allows for different setup options, such as an XC whippet with 120/120mm travel or a rowdier trail bike with 140/130mm travel. I’m inclined to build the latter so, hopefully, I’ll have more on that sometime soon. If you wanted to have a mullet setup with a 27.5” rear wheel, that’s also possible with this new platform.
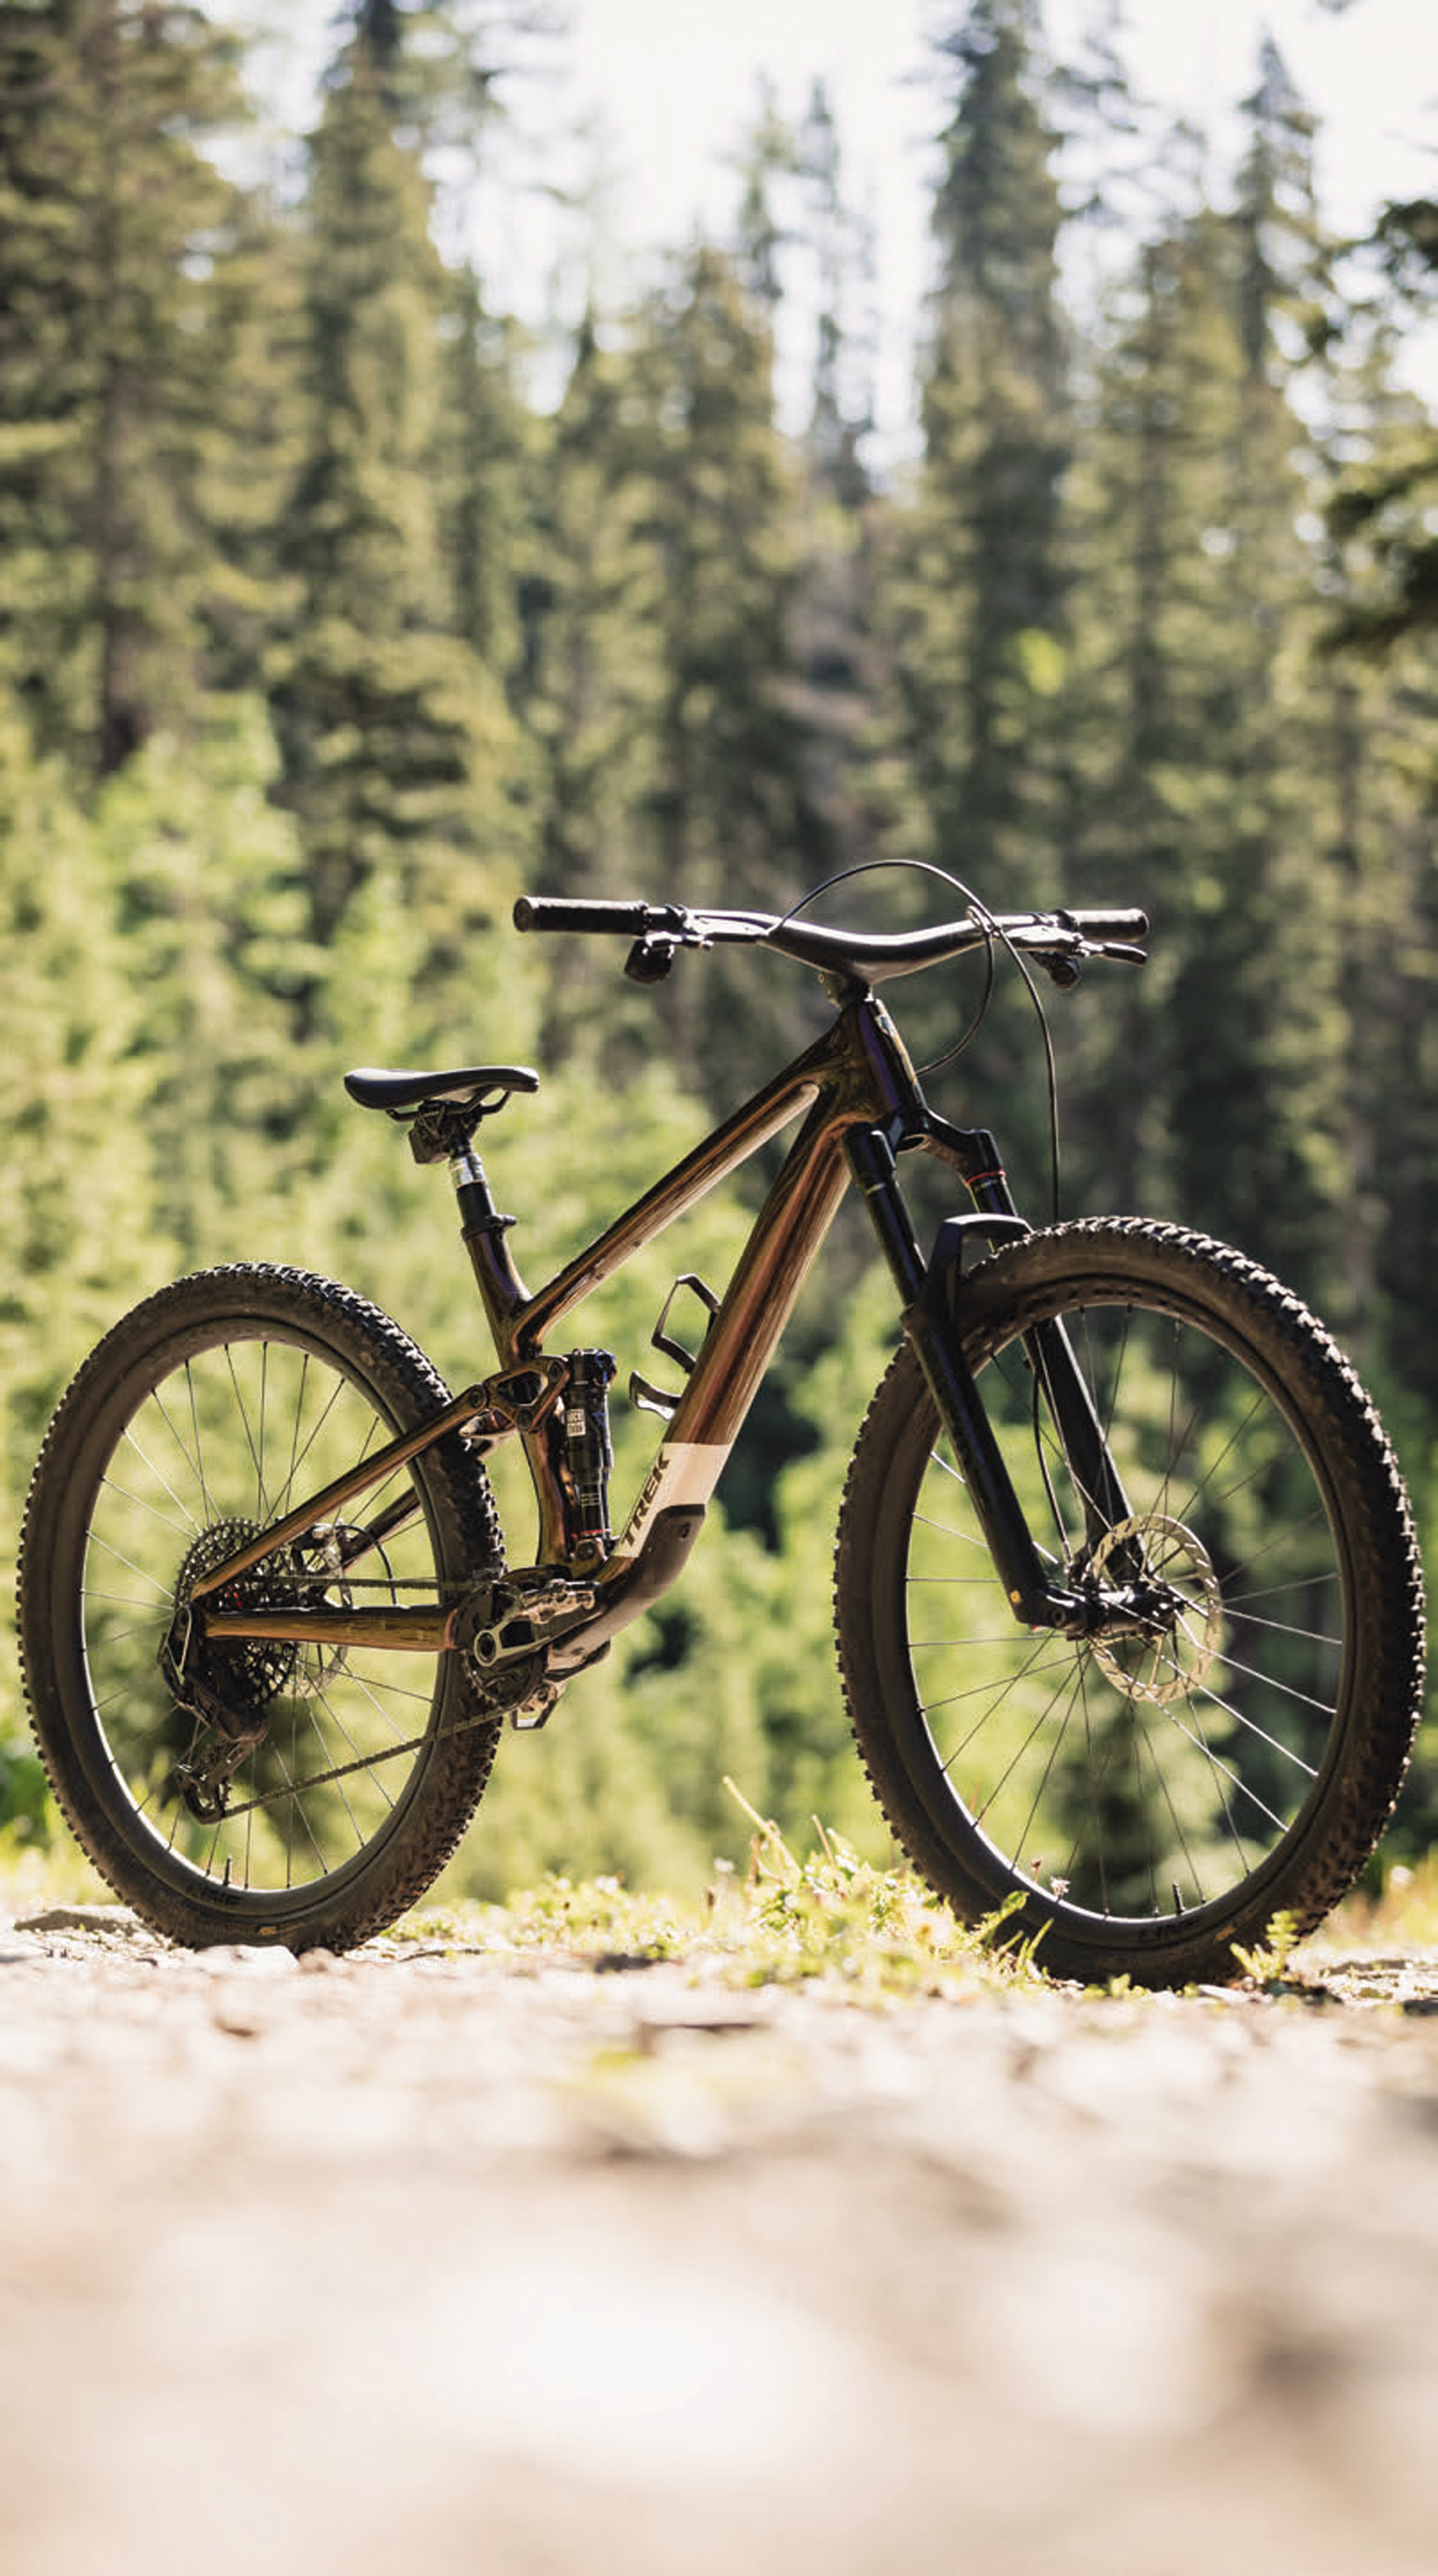
Returning to small refinements, the new Top Fuel is slightly more progressive than the previous generation and has a tad more anti-squat. Rear travel is kept at 120mm and comes with a 130mm travel fork up front. 29” wheels are standard on all frames except the small, which is built around 27.5” wheels. The internal storage has also been updated with larger openings and better weatherproof sealing, and cables have been kept out of the way to minimise snagging. Trek has won the applause of shop mechanics by keeping cables out of the headset and eliminating the Knock Block headset. A tried-and-true threaded BB is used, as well as bolt-on downtube armour and a rubber chainstay protector.

While there are slight changes to geometry, the 65.5° head angle remains consistent across all sizes. The effective seat tube angle ranges from 75.2-76.9°; Trek lists this angle based on a specific saddle height for each size. Another update is the size-specific rear centre lengths, which vary from 435mm (smaller frames) to 445mm (X-Large frames).
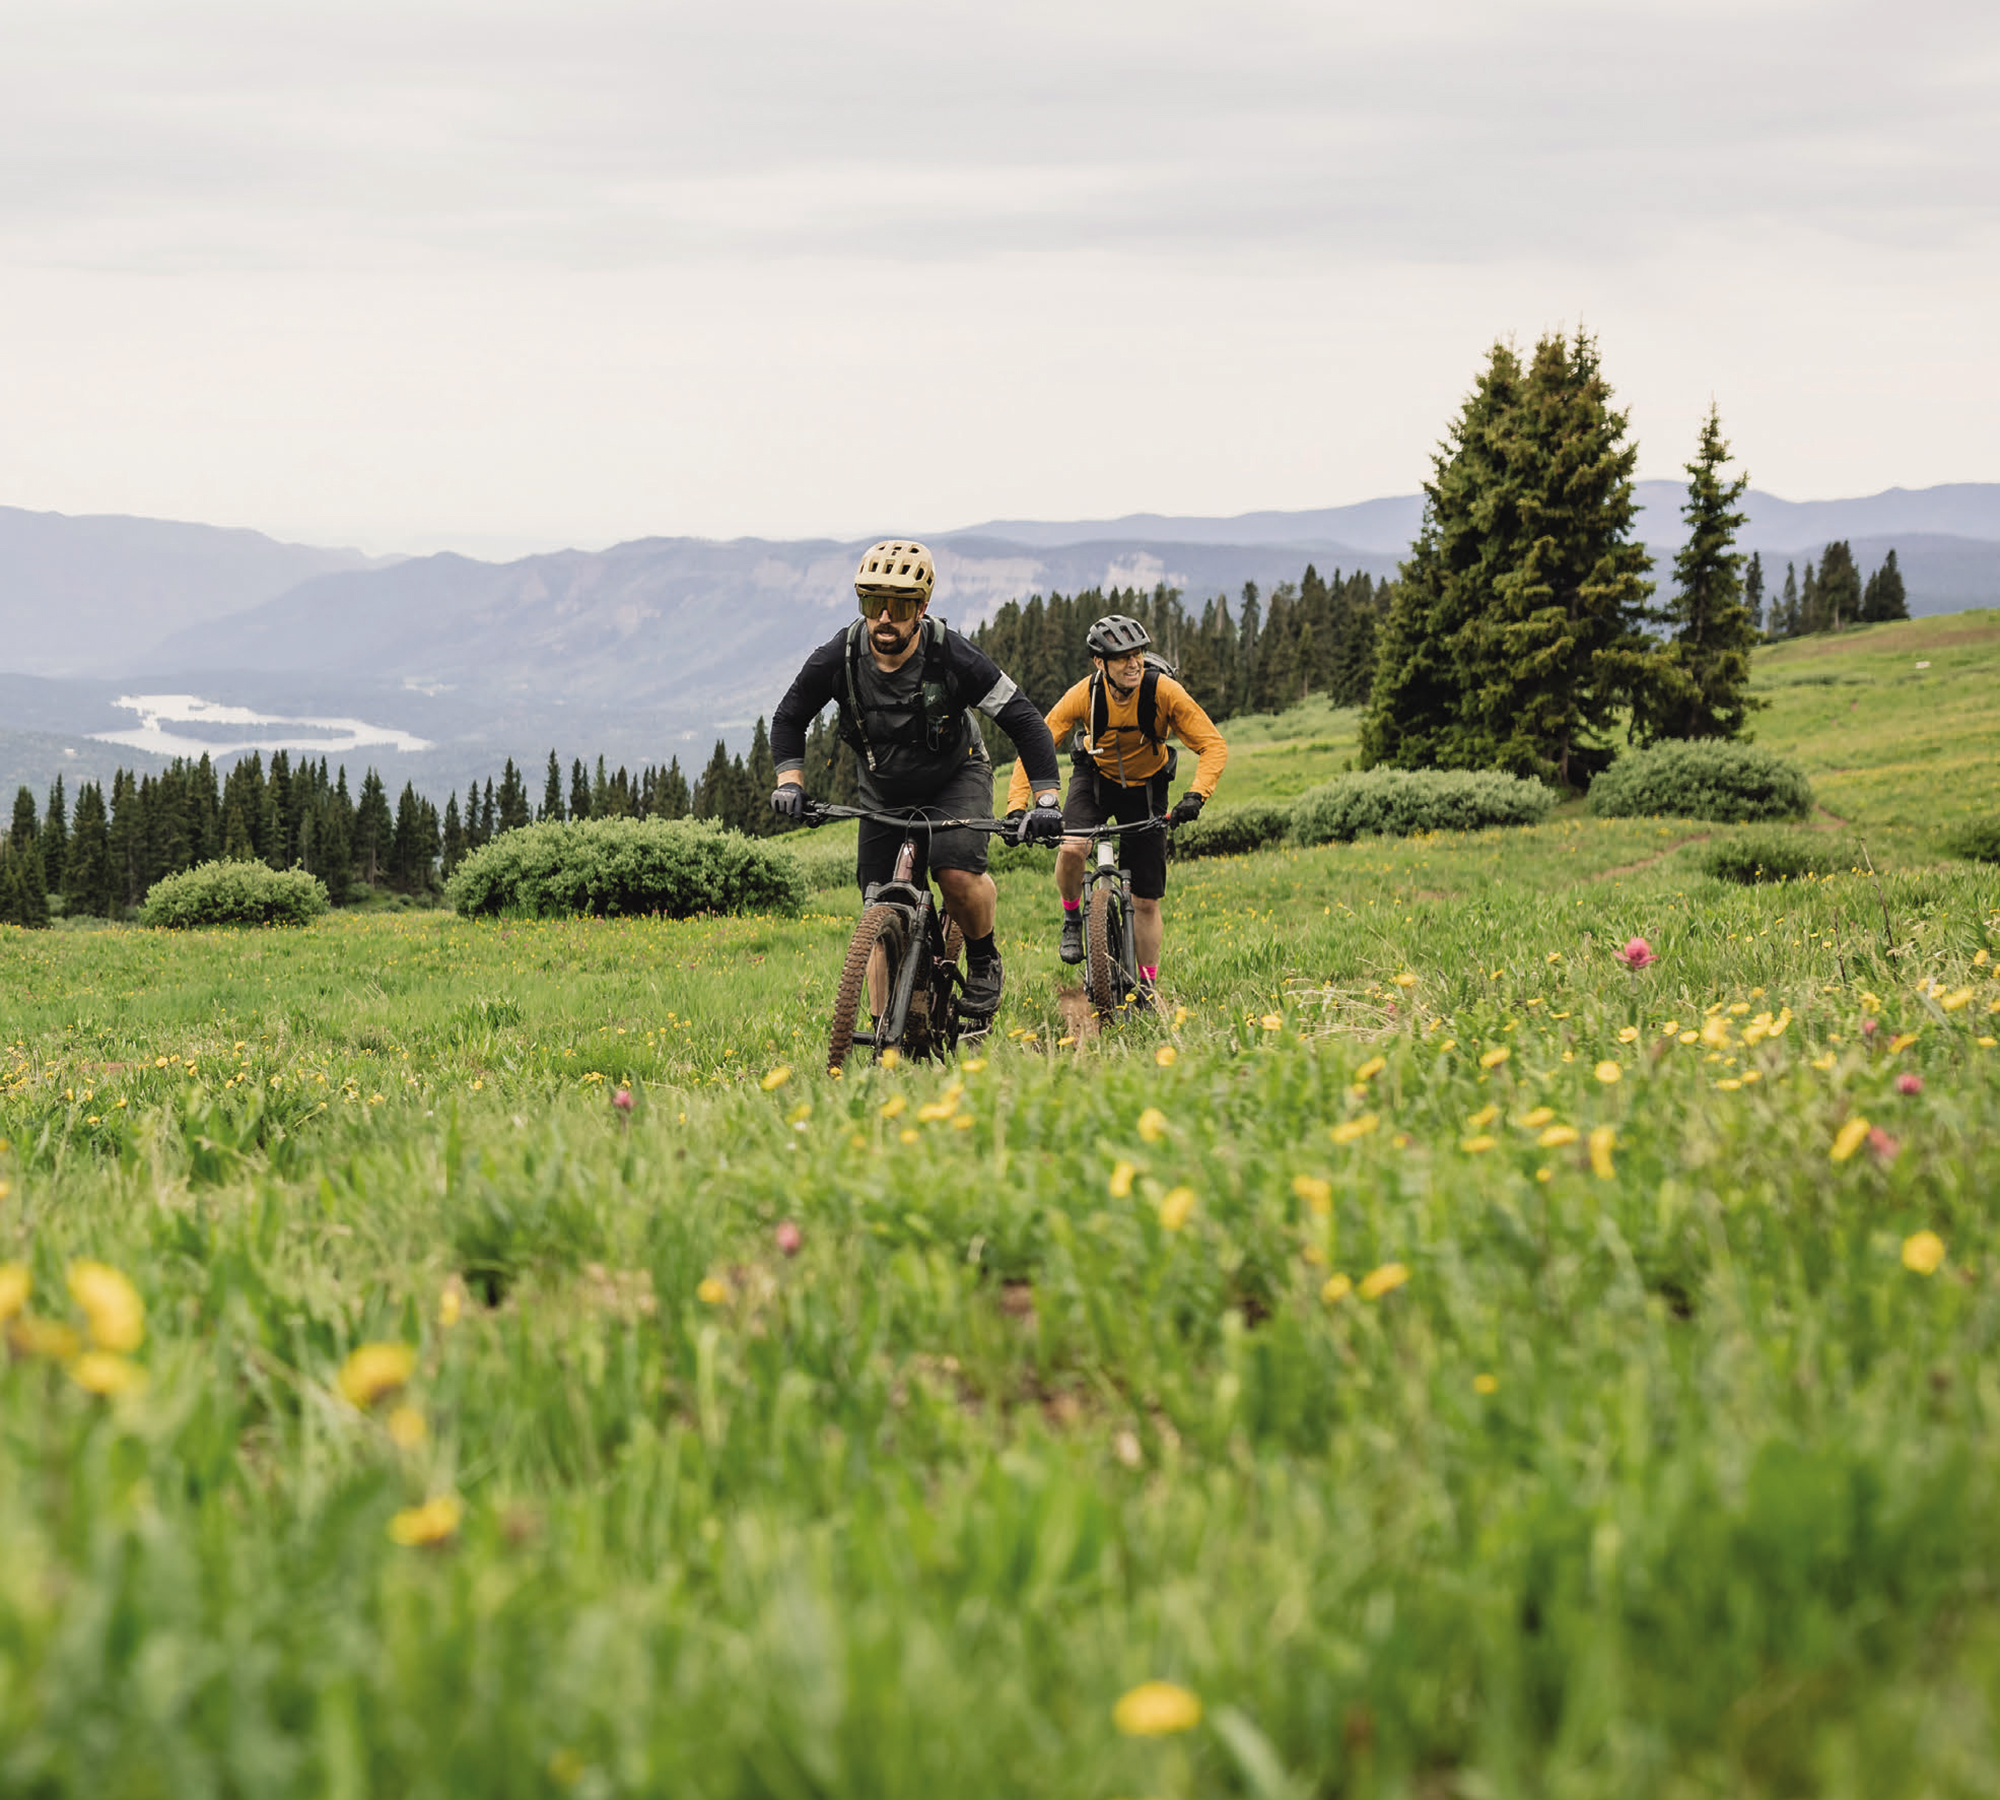
I had the pleasure of riding the new Top Fuel in Durango, Colorado, USA. Having more than a week based in Durango meant I could get very familiar with the bike, logging over fifteen hours of ride time. There’s plenty of pedalling needed in Durango, and often you’re either riding long climbs, flats and descents that have pedal sections. I thought this bike was well suited to the terrain. The first thing that struck me was the pedalling efficiency and overall zippiness of the bike. I rode twice a day locally and had two high-country long ride missions as well. On all occasions, from road to gravel to trail, I didn’t feel the need to hit the lockout lever, as it pedalled great with it wide open. The bike feels swift and light and climbs exceptionally well.
The Top Fuel’s adaptability is the new four- position Mino Link at the lower shock mount. Effectively, this set of flip chips allows riders to choose between permutations of high and low geometry, and more linear or more progressive suspension curves. Initially, for the first few days of riding around the mountain bike parks of Durango, I had the Top Fuel’s flip chip in its default ‘low, less progressive’ setting. As we headed for longer high-country rides, a simple flip of the chip meant I could steepen the head tube angle by .4° and raise the BB by 6mm. I found this setting was ideal for ramping-up. It offered adequate dampening and felt comfortable even after several hours in the saddle. The more progressive setting reigned supreme across rowdier terrain on the longer descents in Colorado’s high- country. The bike moves very swiftly, especially over long rides. I’m a big fan of the flip chip!
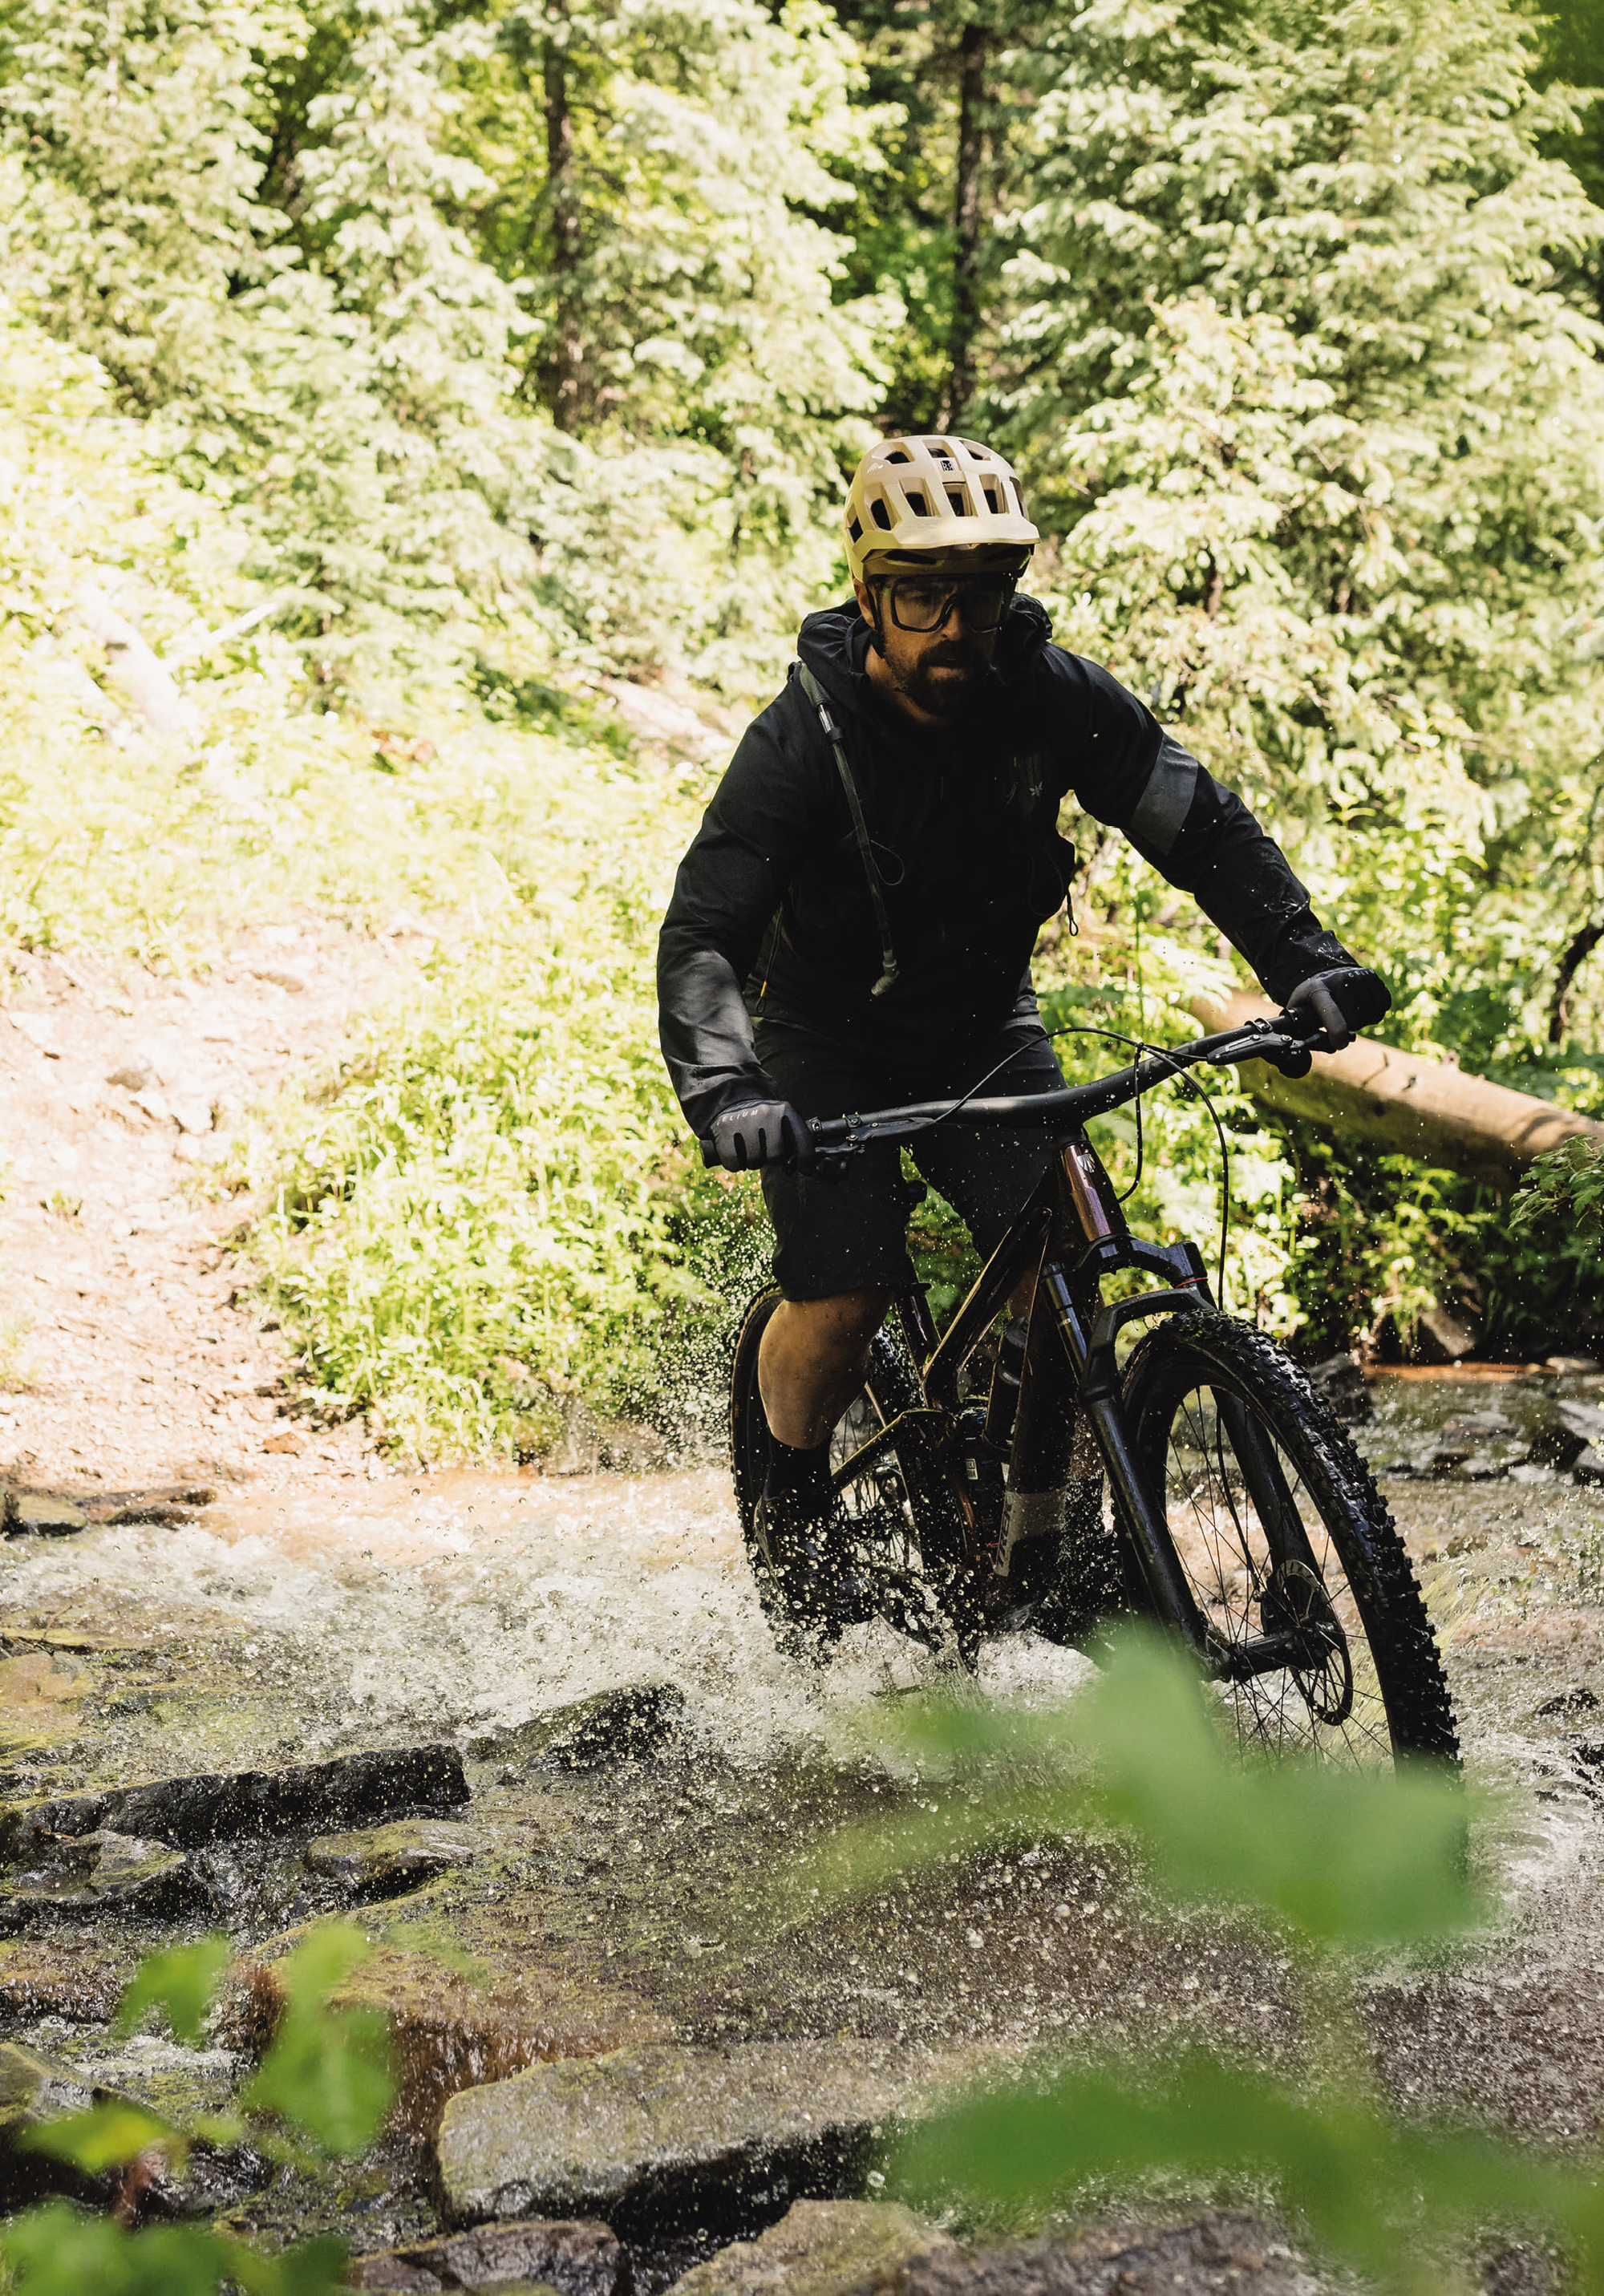
While the RockShox Pike fork nods to more trail-oriented riding, there’s something about the overall frame that makes it more compliant than the white paper stats indicate. This compliance was evident when we ventured into the backcountry, which made for lengthy and rowdy descents. These rides were often long – around three hours or more – so having a compliant frame was welcomed. These rowdy sections are when the bike feels burlier than presumed. Again, on descents, the Top Fuel chassis is bloody solid; with the bike’s light weight, this is a little surprising. But, when you throw that together with the progressive rear kinematics, it’s confidence inspiring. Bear in mind, when things get really real – rough and steep and you need to pick your line – apply a bit more effort to stay cantered and weight both axles. That said, the newly designed compliance of the frame and separate linkages means smoother, grippy moments when it matters most.
On the shorter, punchier rides in and around Durango’s extensive trail network, the bike was super smooth and sprightly. Heck, simply making your way to the trailhead, the Top Fuel is just as sharp – sprinting forward eagerly as soon as you put the slightest pressure on the pedals. Uphill, it’s just as powerful and lively. From more XC-oriented loops to bike park-style jumps and berms to rock slabs, with sketchy rocky descents, the rear end stays active, even under brake load. I think the key component is the four-bar suspension platform over a single- pivot flex-stay, which offers superior grip both uphill and downhill. There’s suitable snappiness, and the bike generates speed very well.
Standing is fine but, for seated climbing, the Top Fuel is a beast. It soaks up big roots and rocks without losing traction or bouncing you offline. On rockier technical climbs I would normally not make it, but it would clear them. Although it’s not technically an XC race focussed rig, the Top Fuel is a super capable climber. And, with it being so well balanced, you can pick your way through more technical sections without having to carry a lot of momentum in. Cornering aboard this rig is bloody fun too. Leaning into flatter corners and railing berms is awesome. The balanced ride pays off here – keeping an ideal amount of weight on both wheels which keeps it easy to judge traction.
The Bontrager Line Pro 30 OCLV Mountain Carbon wheels do a great job. They’re sprightly and engage swiftly. These wheels are laced with Bontrager Gunnison up front and Bontrager Montrose out back – these tyres keep in fitting with the bike’s lightweight theme. I found them super supple and quite zippy but, on gnarlier rockier sections, I had to choose my line. Whilst they didn’t give me any grief on rockier descents, choosing the best line was imperative, as I was a tad worried about snagging them. I can understand the thinking behind choosing to spec these tyres, but if the bike remained with me, I’d prefer something a little beefier – even with the weight penalty. In saying that, they did hook up well – and impressed me on faster rolling sections. I suppose it really depends on your application for this trail bike, as it’s up for wide interpretation.
Keeping with the parts and component’s theme – the RSL MTB Handlebar and Stem comes equipped on the Top Fuel. On trail, I found the RSL handlebar/stem combo to be quite comfortable. It wasn’t overly stiff nor super compliant; it sat in the middle somewhere, which was kind of great as meant I could focus on the ride. I quite liked the RSL bar’s good feel, with enough damping to keep your hands from taking too much abuse. It provided reasonable comfort and was plenty stiff when accelerating out-of-the-saddle. The sweep and rise were dialled for me, as I usually run a slightly forward roll on my bar, but it won’t suit everyone. Although I do love the super tidy aesthetics and feel of the Bontrager RSL integrated bar and stem, I do think perhaps a more traditional bar/stem combo would possibly suit more riders. As the rest of the bike has quite a lot of adjustability, it would be good to have the same within the cockpit. Such as swap a shorter stem for gravity focused days and a longer one for long ride days or racing.

SRAM’s XO Transmission does a flawless job of shifting. I did break the chain, however, and luckily we had another chain-link with us in the backcountry. But that can happen at any time, to any groupset. I have XO Transmission on my personal bike and it’s super robust, shifts flawlessly and you never have to faff with it! I think if you’re spending your hard-earned cash on a new bike, then having Transmission is definitely worth your consideration. SRAM Level Silver four- piston brakes, with 180mm HS2 rotors front and rear are on stopping duties. I did find these brakes fairly good for some of the riding, mainly around the mountain bike parks of Durango with shorter descents. However, on longer descents in the backcountry they weren’t powerful enough. Keep in mind, that was mainly on super long runs with chunder sections throughout. I have been riding SRAM Maven’s on my personal bike, so am a bit partial to a heavy hitting brake. Again, if the bike was mine, I would upgrade to a bigger front rotor and possibly swap these brakes to SRAM Codes.
This bike is bloody fun! Hands down one of the best bikes I’ve ridden this year. It’s sprightly but super capable. The balanced ride inspires a ton of confidence. It pedals everywhere super efficiently – dances uphill, generates speed across flats and shreds going down. Its more bike than you think and makes a strong case for having a shorter travel bike! Of course, there’s a few nit bits that could be addressed as I’ve mentioned but, overall, the new Top Fuel is all class. I’m very keen to build this bike as a burlier 140/130mm trail bike, so hopefully we can make that happen soon.
Down in Durango
Words Liam Friary
Images Cameron MacKenzie
URANGO, COLORADO, IS A TOWN STEEPED IN RICH HISTORY AND VIBRANT CULTURE. ORIGINALLY ESTABLISHED AS A MINING TOWN IN THE LATE 19TH CENTURY, DURANGO’S PAST IS STILL VISIBLE IN ITS WELL-PRESERVED VICTORIAN ARCHITECTURE AND THE NARROW- GAUGE RAILROAD THAT ONCE TRANSPORTED PRECIOUS METALS FROM THE MOUNTAINS. NOWADAYS, HOWEVER, THE TOWN HAS EVOLVED FAR BEYOND ITS MINING ROOTS TO BECOME A MECCA FOR OUTDOOR ENTHUSIASTS, PARTICULARLY MOUNTAIN BIKERS.
Outdoor lifestyle culture is second nature to its inhabitants. The biking culture, in particular, reached its peak in the 1990s when Durango played host to several high-profile mountain biking events. During this era, the town produced and attracted legendary riders like John Tomac, Ned Overend, and Missy Giove. These athletes not only put Durango on the map in the mountain biking world, but inspired a generation of riders and helped shape the town’s identity as a premium biking destination. These days, many mountain bike pros and outdoor athletes of all types either reside in, or come to train in, Durango.
What truly sets Durango apart is how deeply the cycling culture is embedded in the town’s day- to-day life. The hospitality extended to riders is remarkable, with the town fully embracing its reputation as a biking hub. This acceptance is visible everywhere you look — bike racks are ubiquitous, and cycling paraphernalia adorns the streets. Whether you’re grabbing a coffee, enjoying a meal, or having a drink, you’re likely to spot bike-themed decor or fellow riders pedalling down the street.
The backcountry surrounding Durango is nothing short of spectacular, offering an extensive network of trails that seem endless. The high- altitude terrain above the tree line presents both a challenge and a reward, with lung-busting climbs leading to breathtaking alpine views.
My arrival was delayed by one day due to an issue with the plane’s exit door at my departure airport (Calgary). I didn’t complain — I’d much rather have door problems on the ground than in the air! Upon arrival, the airport reminded me of a regional airport in New Zealand, instantly making me feel at home. The landscape featured high desert terrain surrounded by endless mountain vistas. During my Uber ride into town, I noticed the countryside was dotted with large ranches, big barns, and hefty pickup trucks. The historic town itself matched this character, boasting beautifully restored brick buildings from bygone eras.
I checked into The Leland House, which is a building dating back to 1927 and considered one of Durango’s historic landmarks. It has been lovingly preserved to maintain its vintage charm while offering modern amenities. This boutique hotel is in the heart of downtown Durango, with Lola’s Place just next door, which hosts a variety of food and drink vendors in a laid-back environment. This spot provided the ideal base for my stay in Colorado’s Southwest. A week in town provided ample time to get a handle on Durango and its offerings. To shake off the travel fatigue and acclimatise to the higher altitude, I opted for in-town riding. This taster also gave me an understanding of the terrain I’d encounter further afield. Durango boasts multiple MTB parks in town, including the new Durango Mesa Park, Horse Gulch, Twin Buttes, Overend, and Animas. All of these are accessible and rideable from downtown, where my accommodation was based. A few hours of riding can cover a significant number of trails in this extensive network.
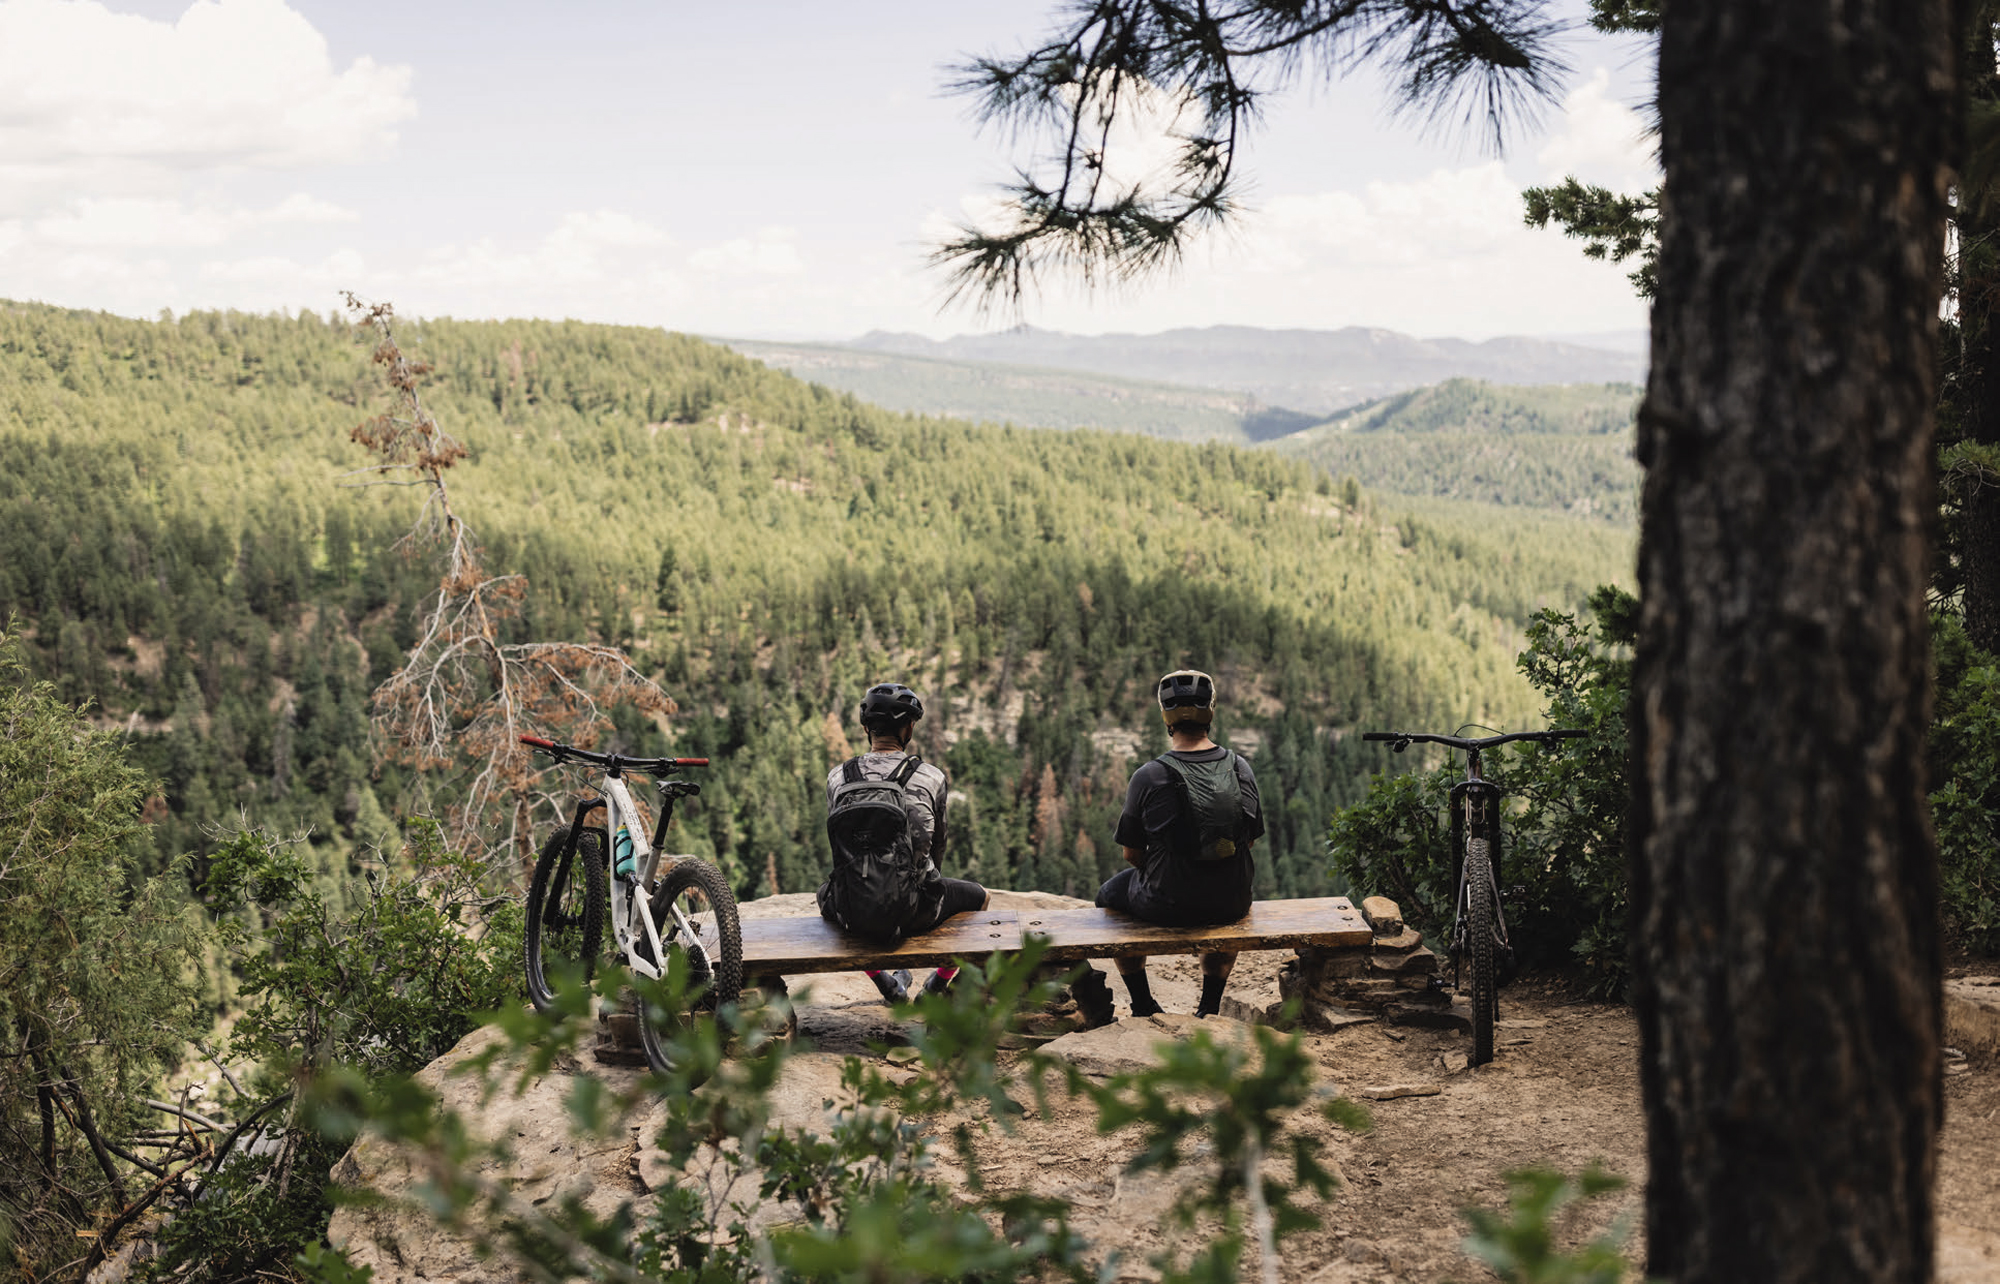
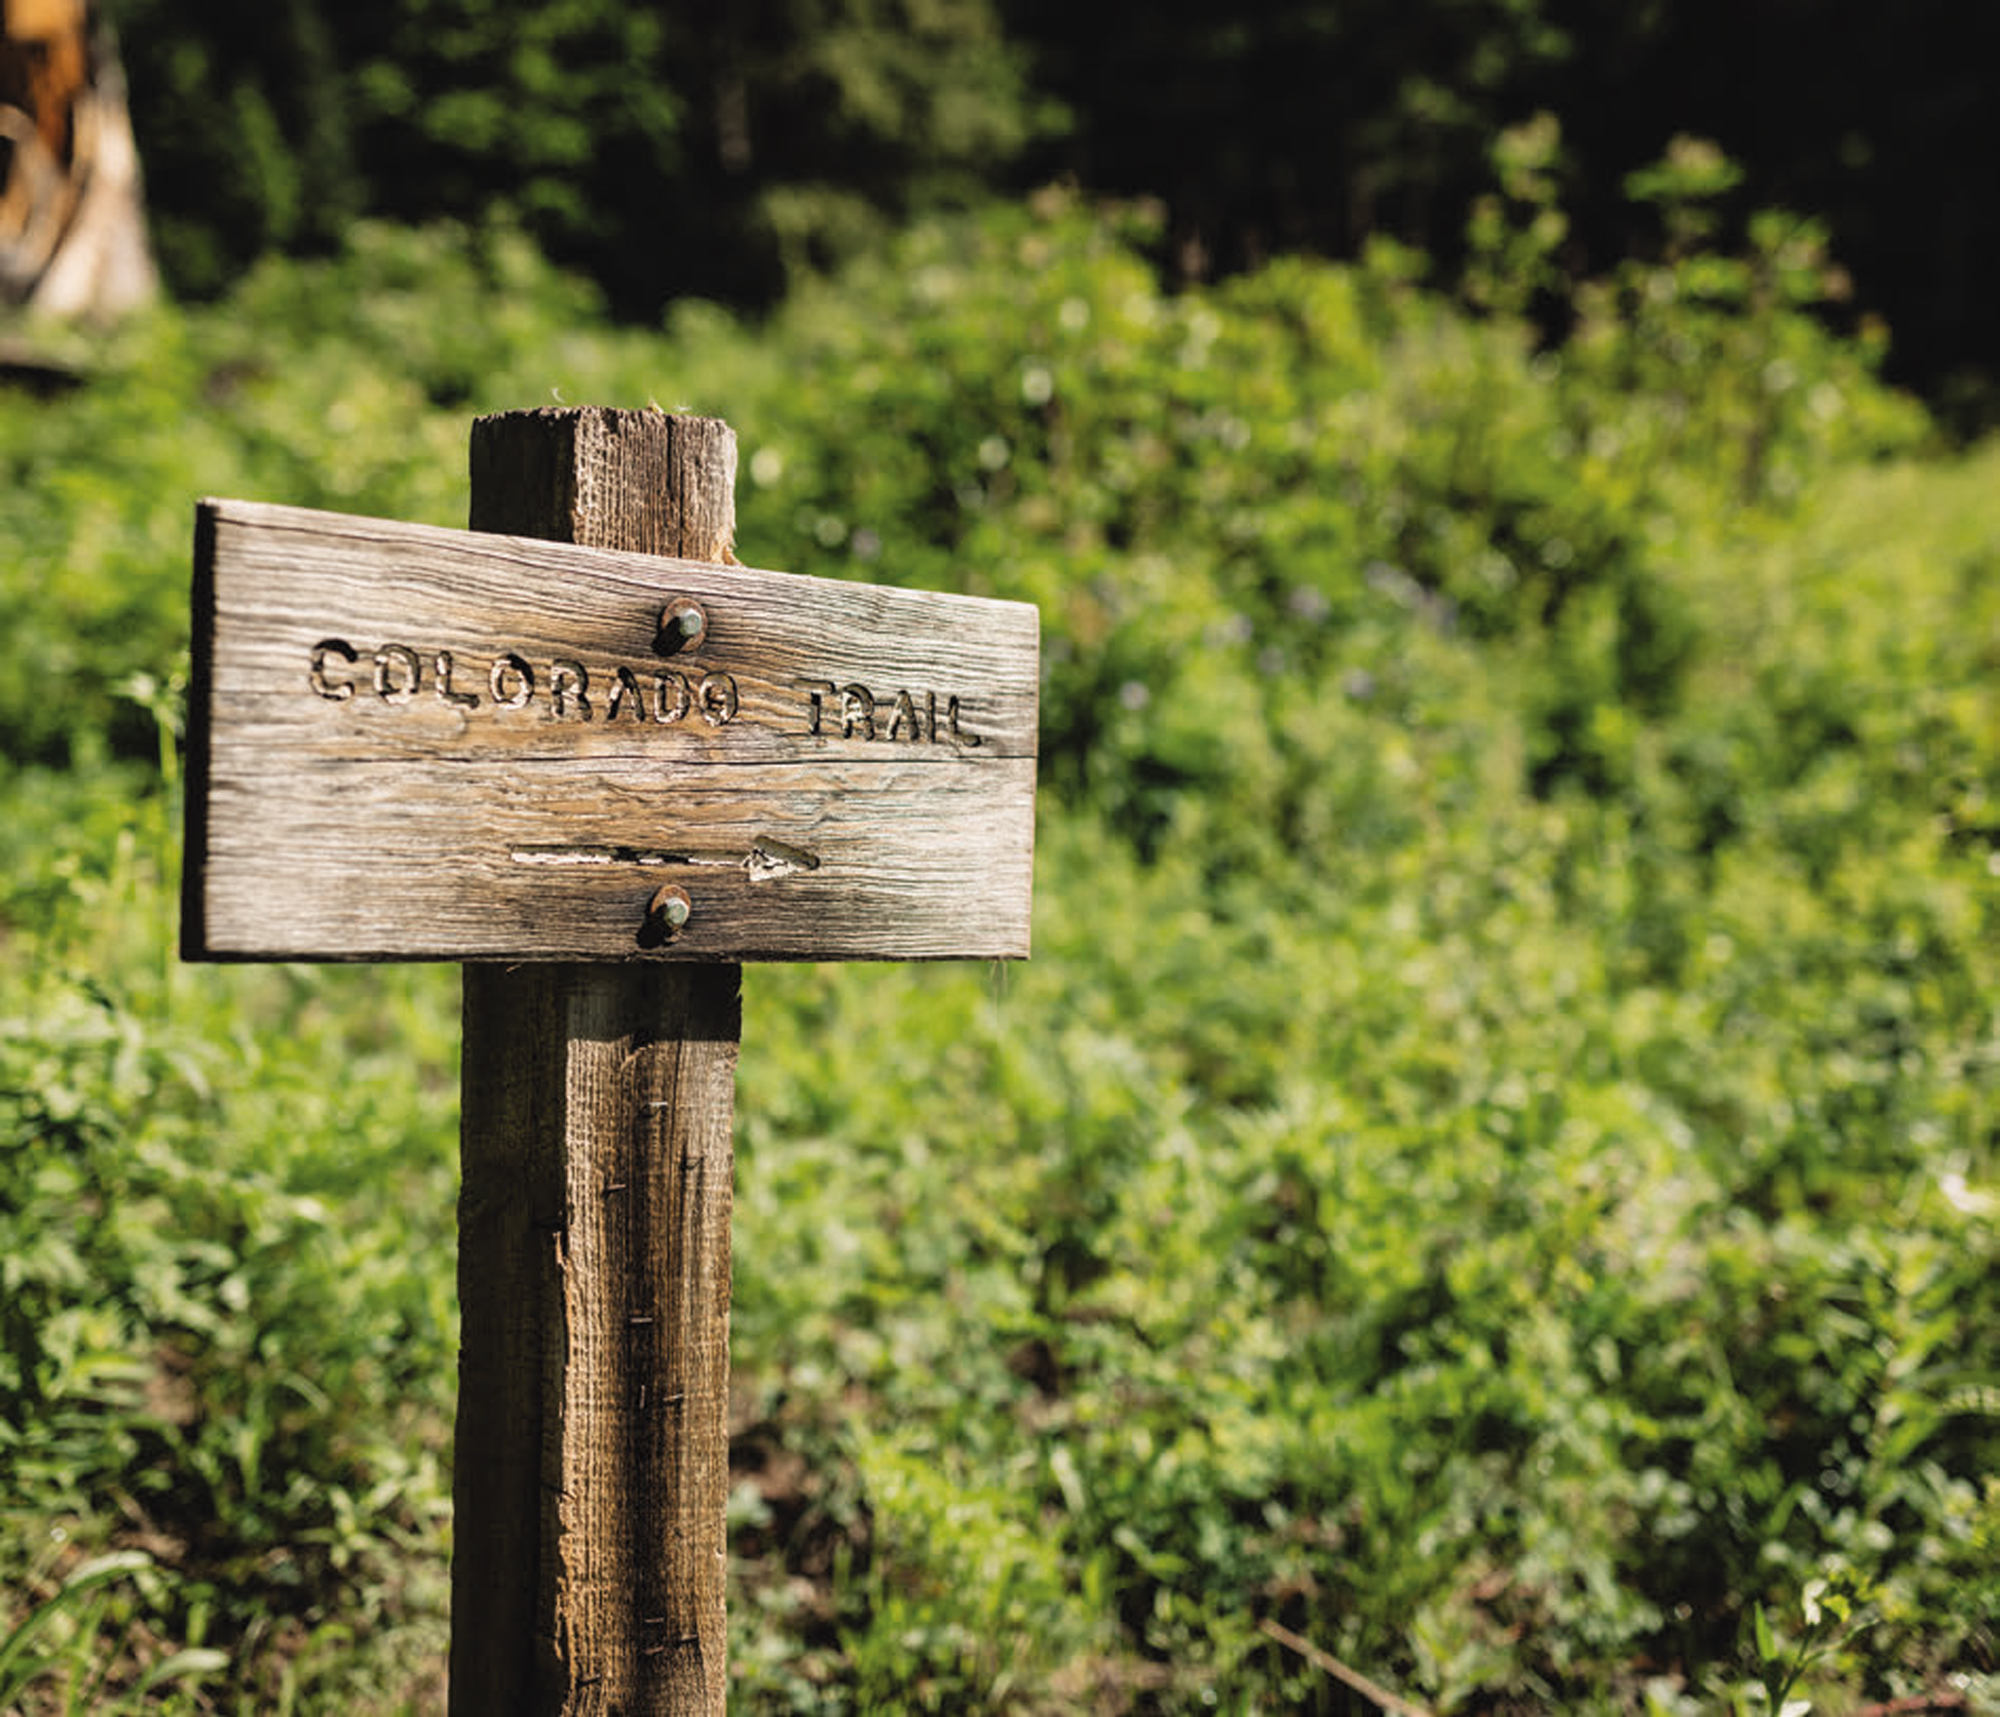
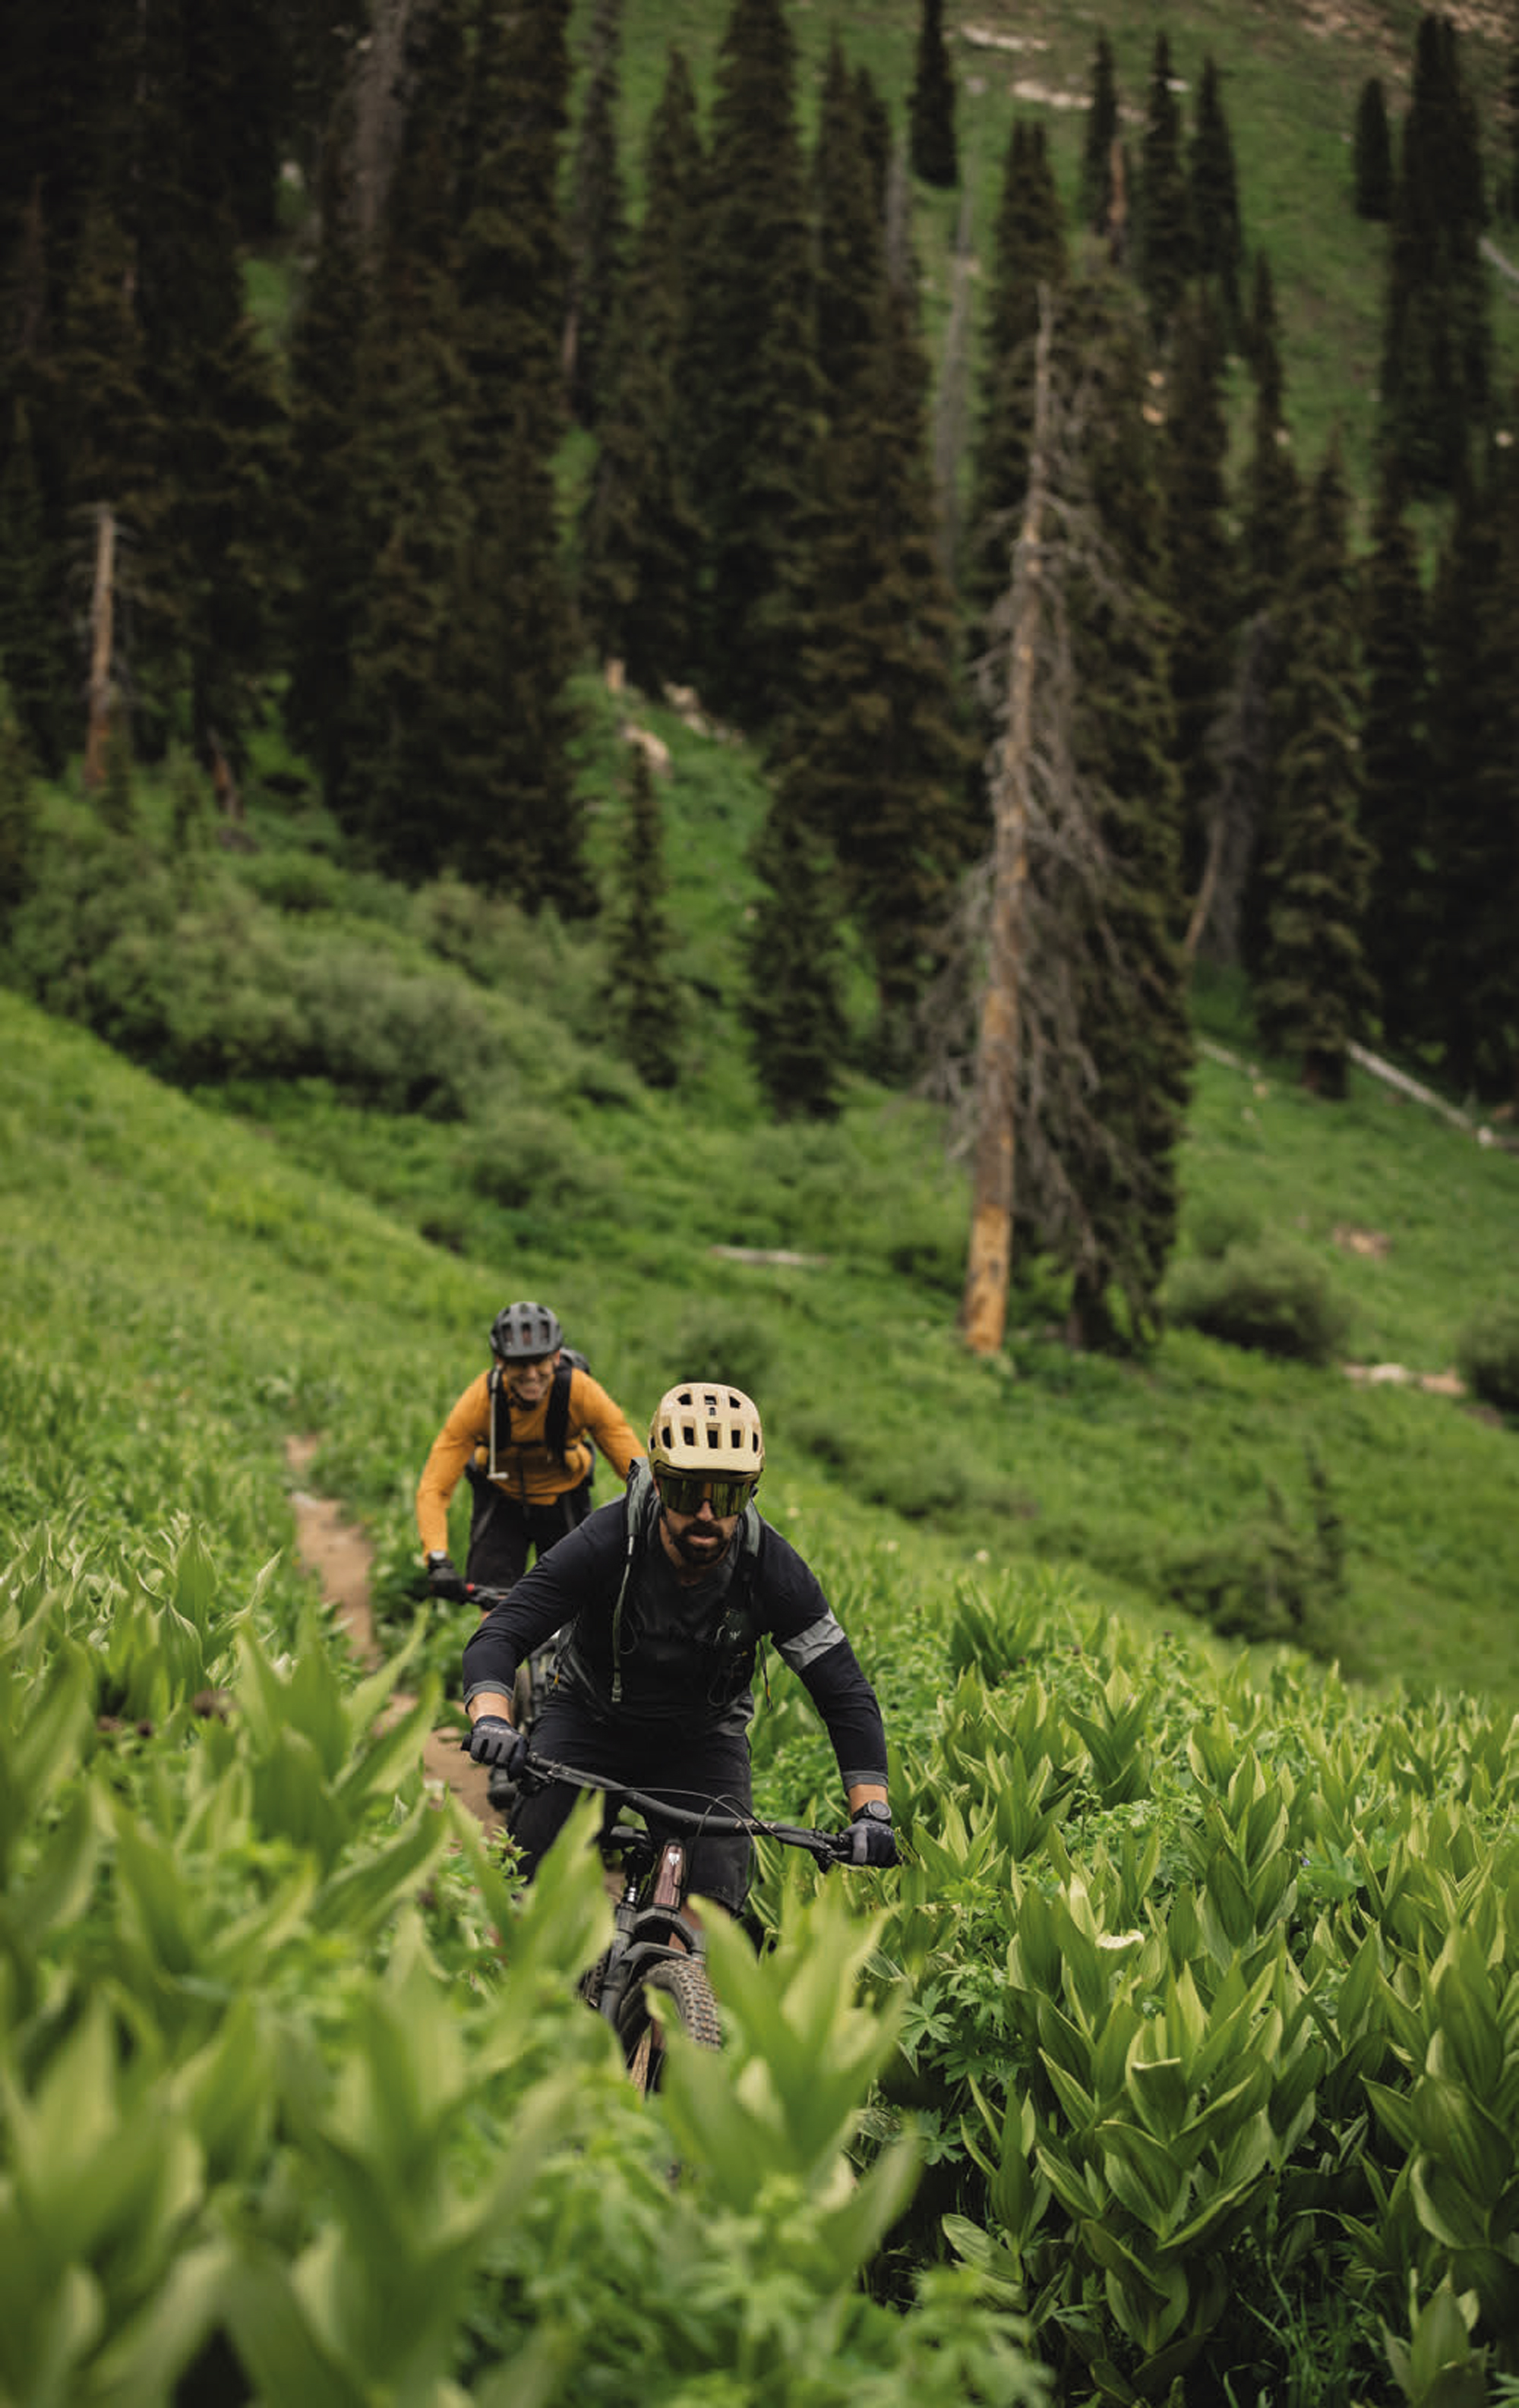
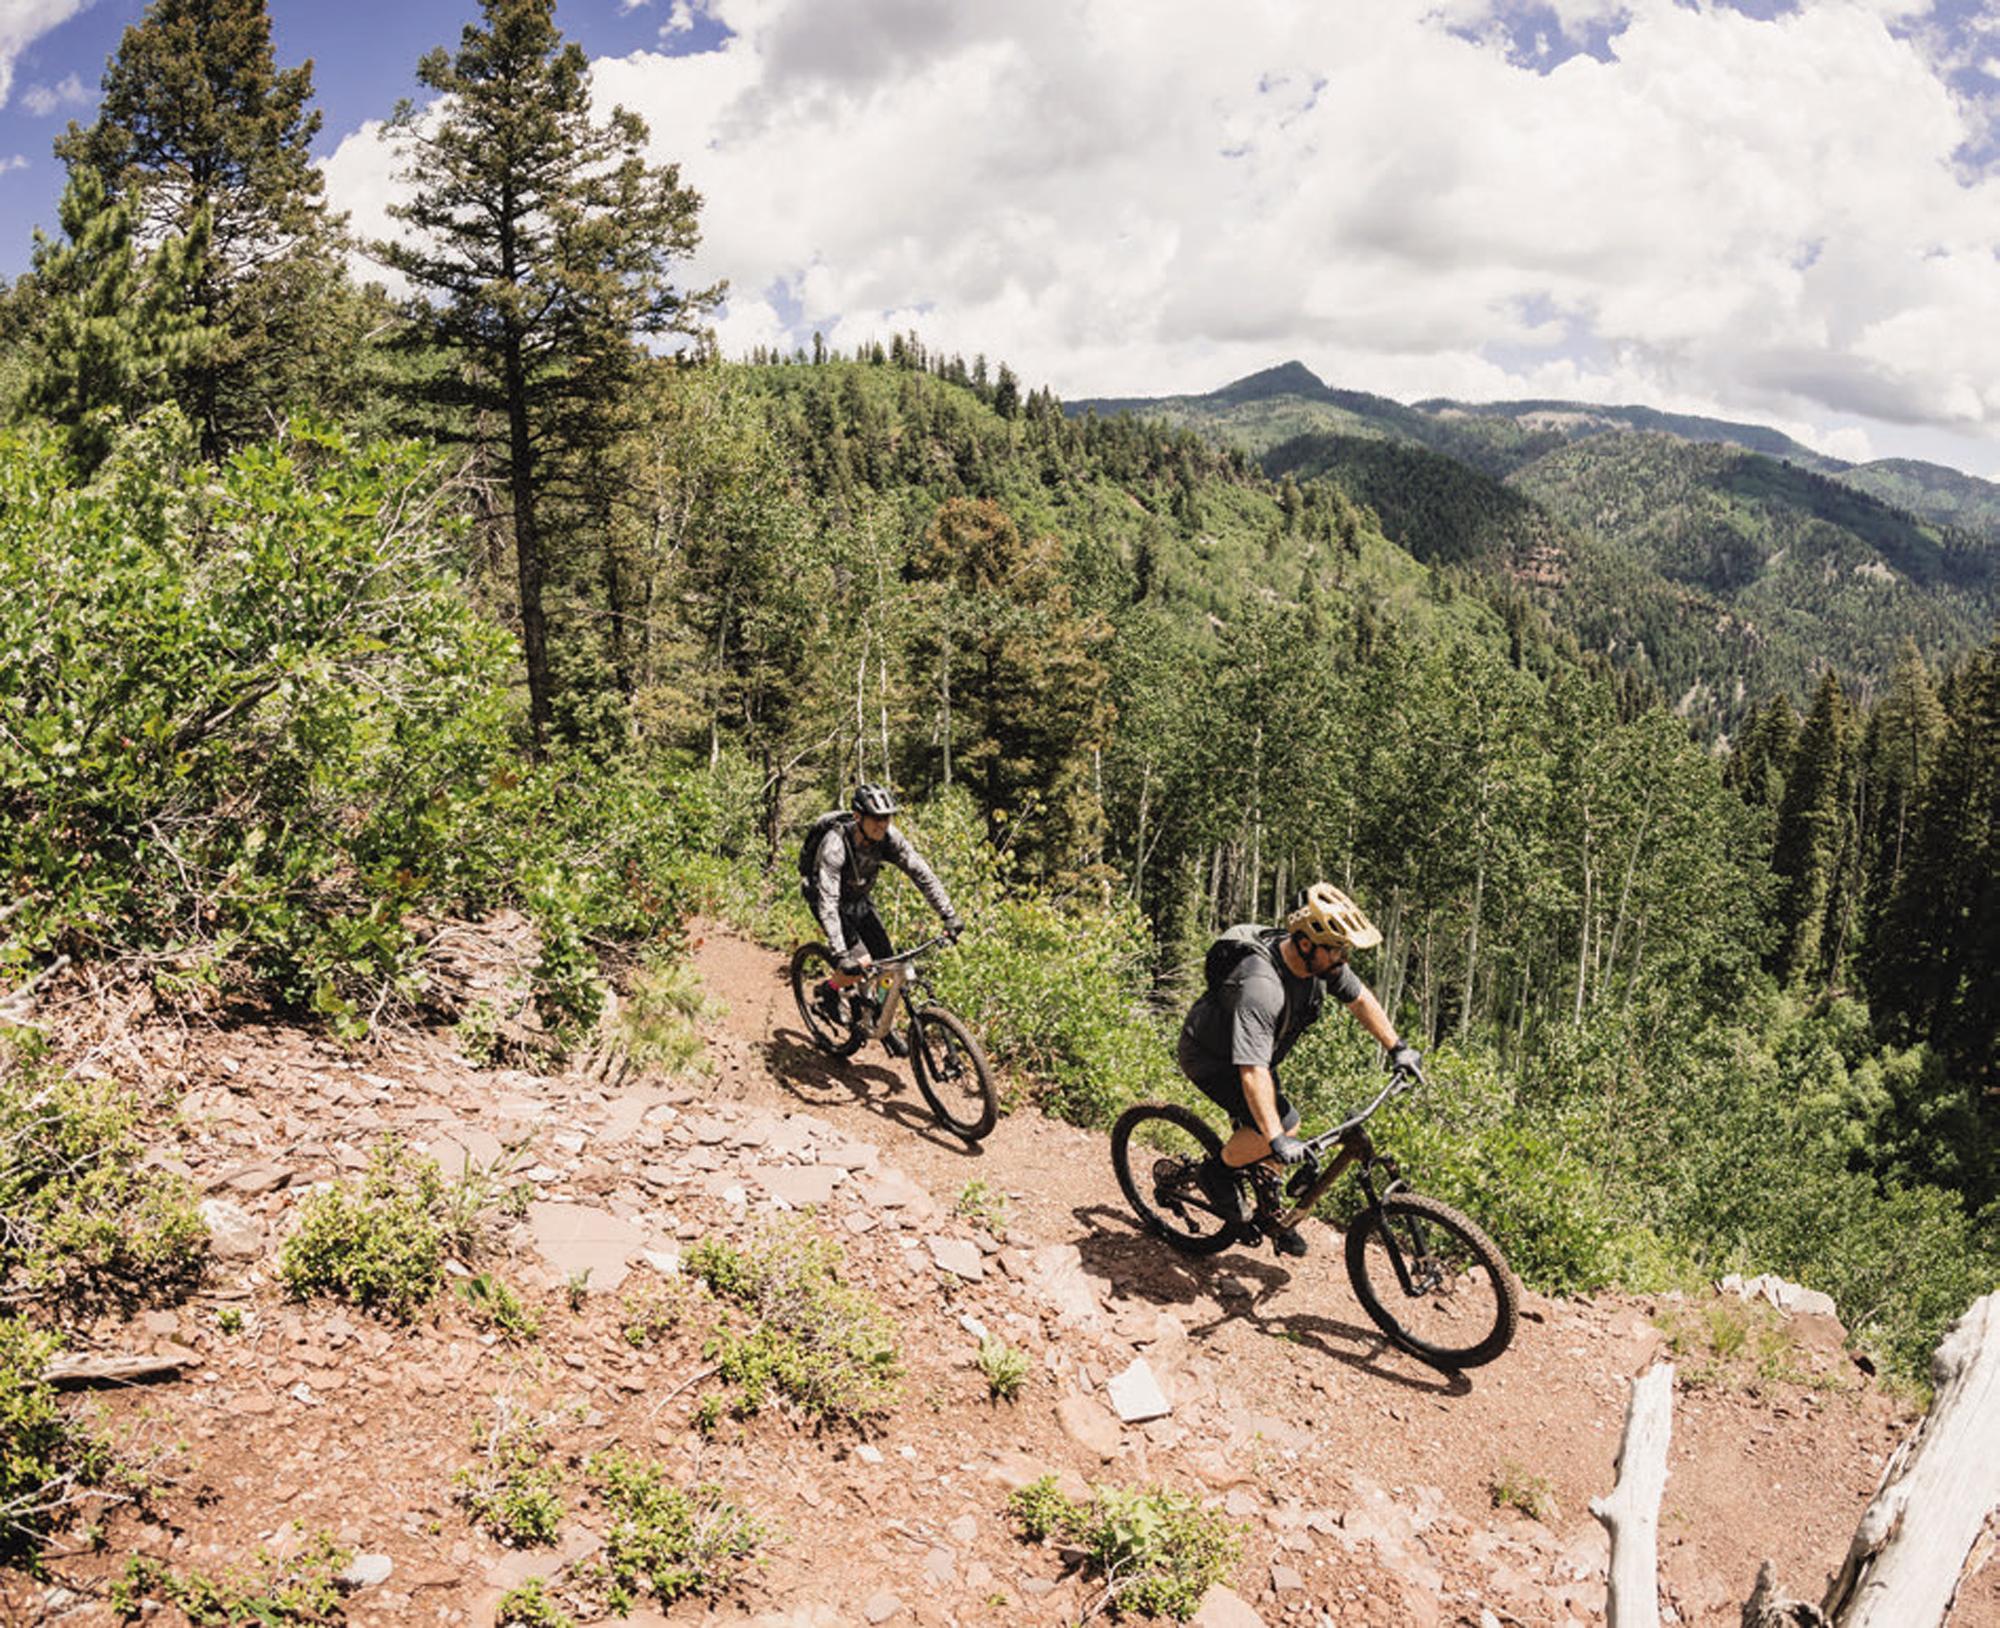
Travis Brown is a legendary figure in the world of mountain biking. A professional cyclist since ‘91, Brown has left an indelible mark on the sport through his impressive competitive career and ongoing contributions to bicycle technology. He’s best known for representing the United States in the 2000 Sydney Olympics, but has also claimed multiple national championships in both cross- country and marathon disciplines. Beyond racing, he’s been instrumental in product development for Trek Bicycles, helping to innovate and refine mountain bike designs. His expertise extends to bikepacking and ultra-endurance events, further cementing his status as a versatile and respected figure in the cycling community.
I exchanged a few messages with this local legend, and we agreed on a location for a bike drop-off. I would be riding the new Trek Top Fuel for the duration of the trip, which seemed like an adequate fit for the pedal-friendly terrain. While I had previously met Travis in digital realms, this would be our first in-person encounter. He’s a good dude; our conversation flowed instantly, and he was eager to show me around his beloved hometown of Durango. Brown’s passion for the sport, and intimate knowledge of trail systems —particularly around Durango—make him an invaluable resource for both recreational riders and aspiring professionals. I wasn’t familiar with all the riding zones he mentioned, but I quickly learned about them. By the time our conversation ended, I was thrilled about the rides ahead of us.
The first local ride was a few afternoon hours in Mesa. The pedal from town was short—in fact, just three minutes—before I hit the singletrack climb. Durango town soon lay below as I climbed further into Mesa. An open meadow offered panoramic views, and I took the time to take everything in while sipping water, as the day was quite warm. Turning around, I spotted the Animas mountain range on the other side of town, encapsulating it. The bike proved to be the perfect portal for exploring a new location, allowing me to take in all my surroundings relatively quickly but still at a human pace. I pedalled up the trail and dropped into a new flow/jump line. This was the ideal opener for me to gain confidence with the bike and terrain. I lapped a few more similar trails before heading back to town for a quick shower and dinner.
At dinner I met up with Travis, his wife Mary, from Durango Trails, and Rachel Welsh from Visit Durango. The restaurant atmosphere was nice and relaxed as we talked about the riding history, culture, and development in Durango. The story behind Durango’s extensive riding networks is really about trail advocacy and passionate people, such as Mary and Travis plus countless others.
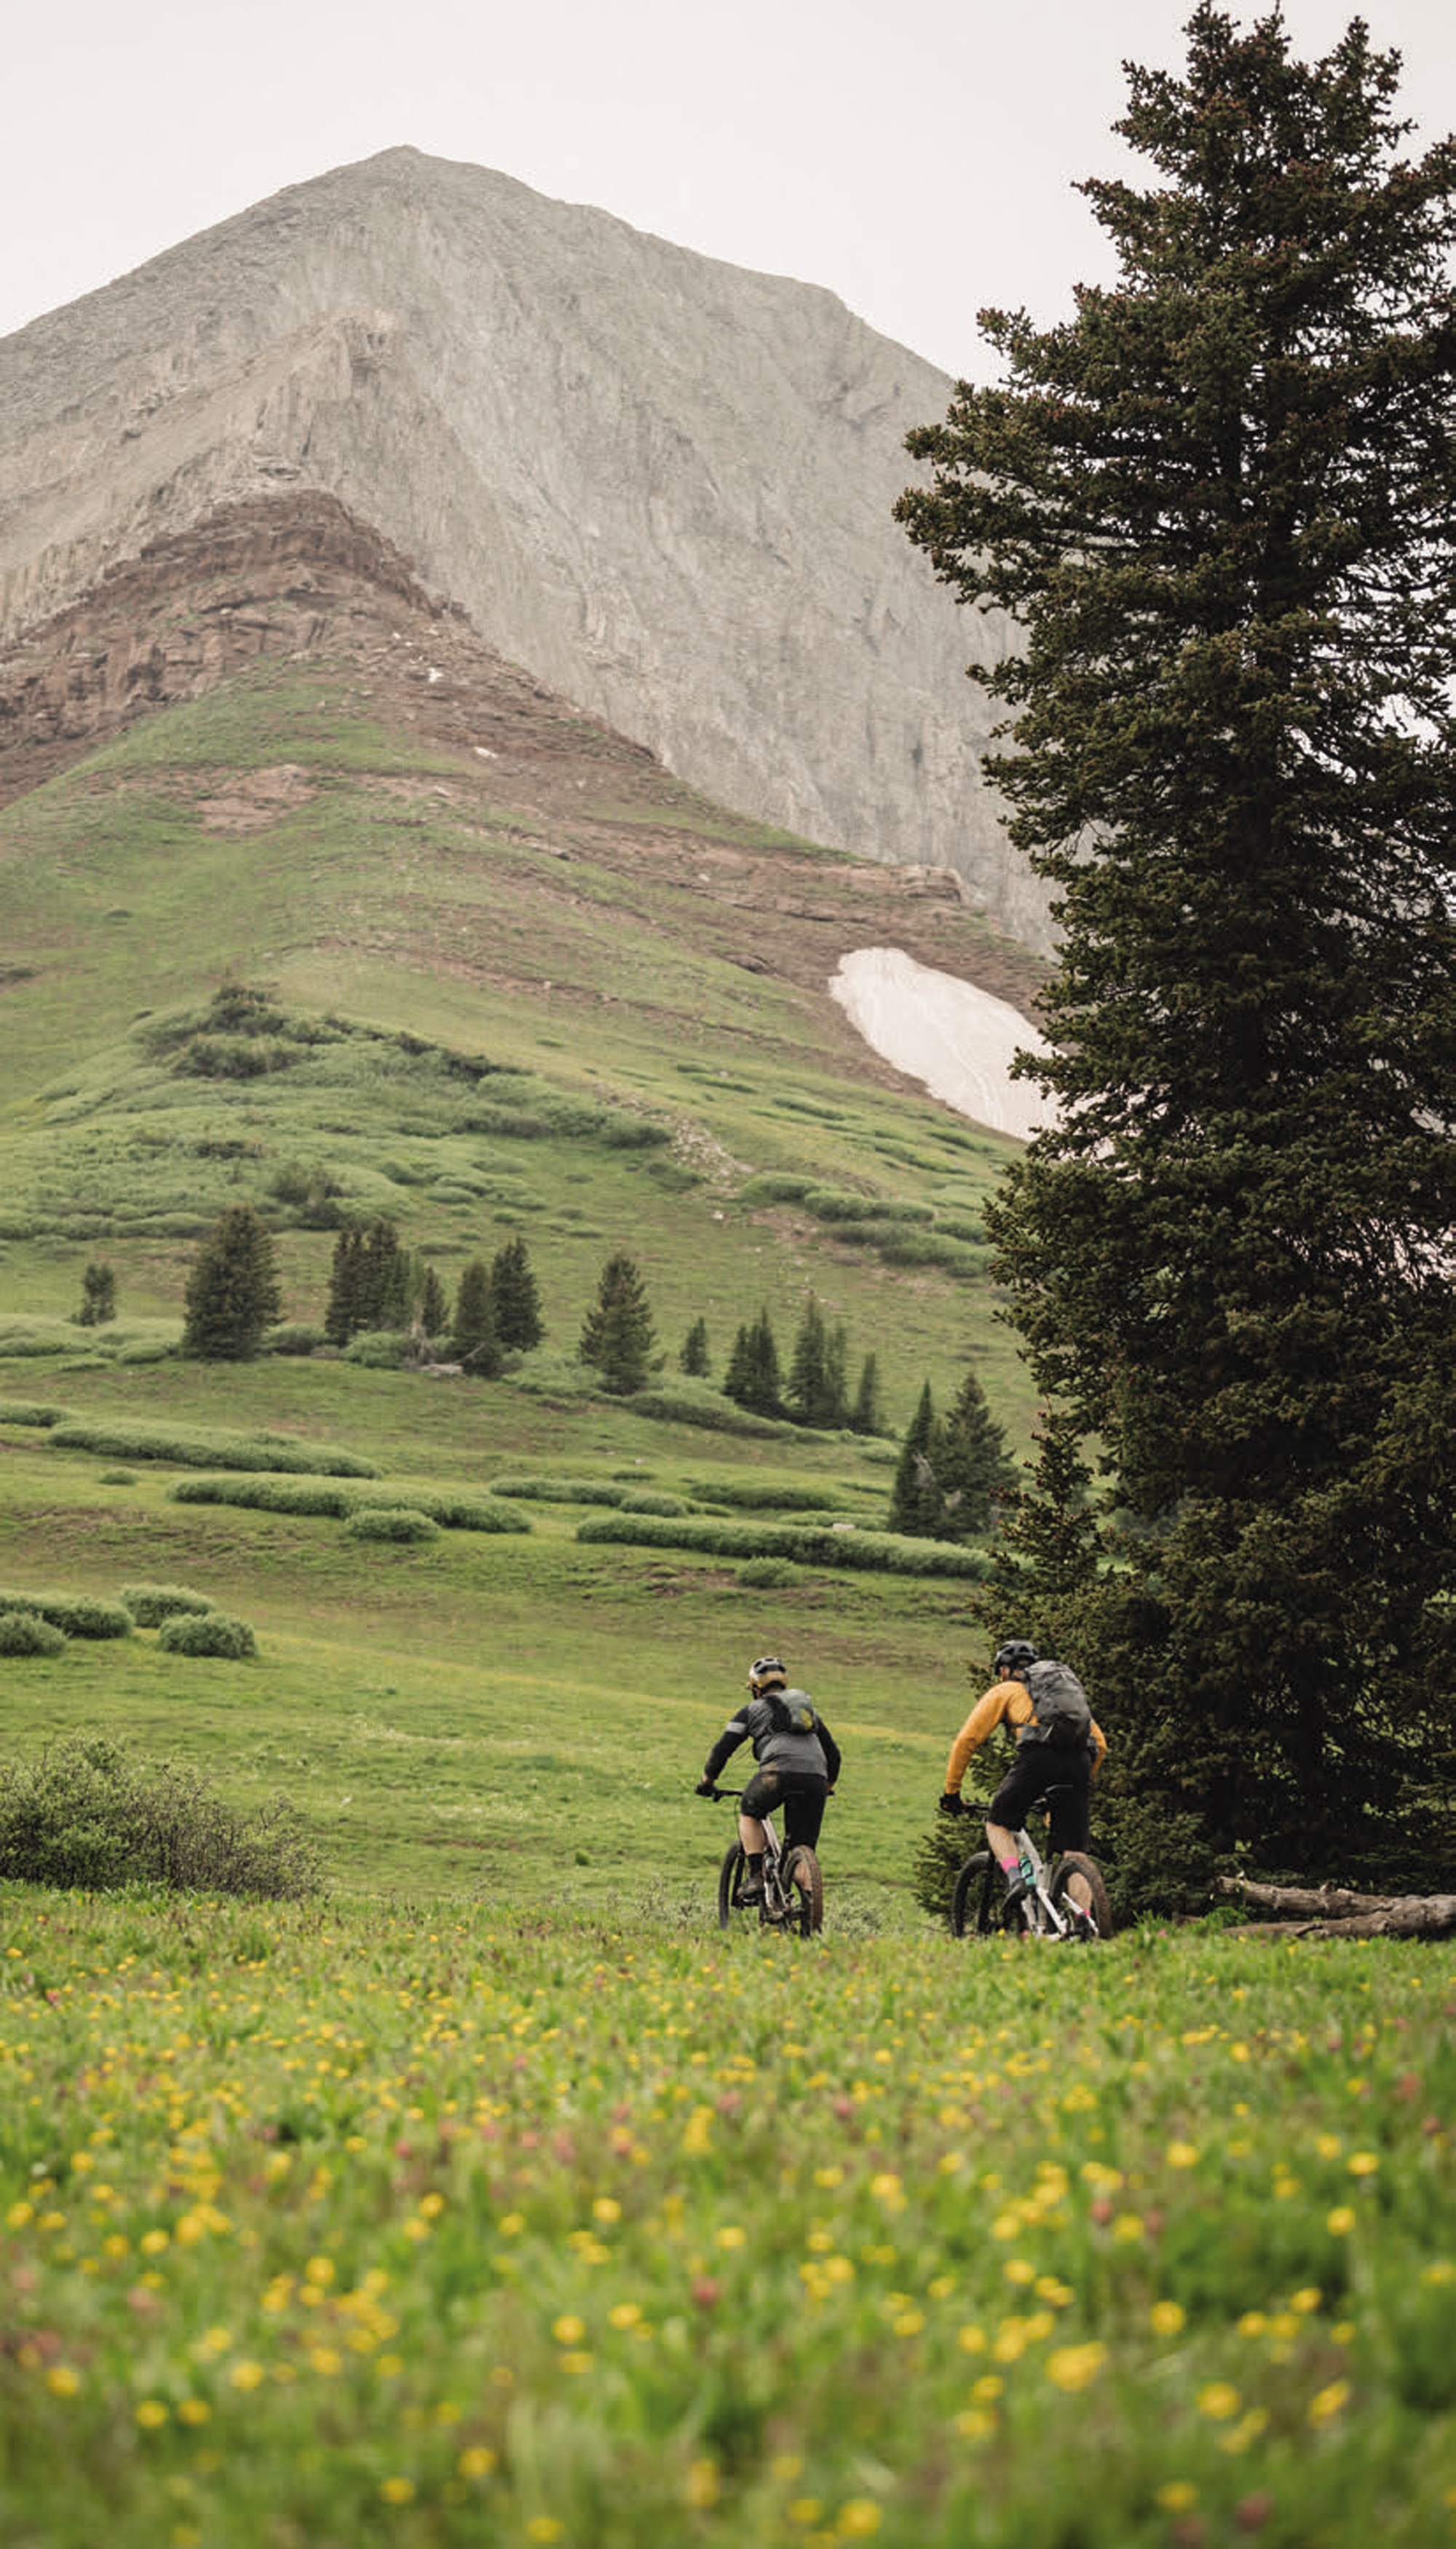
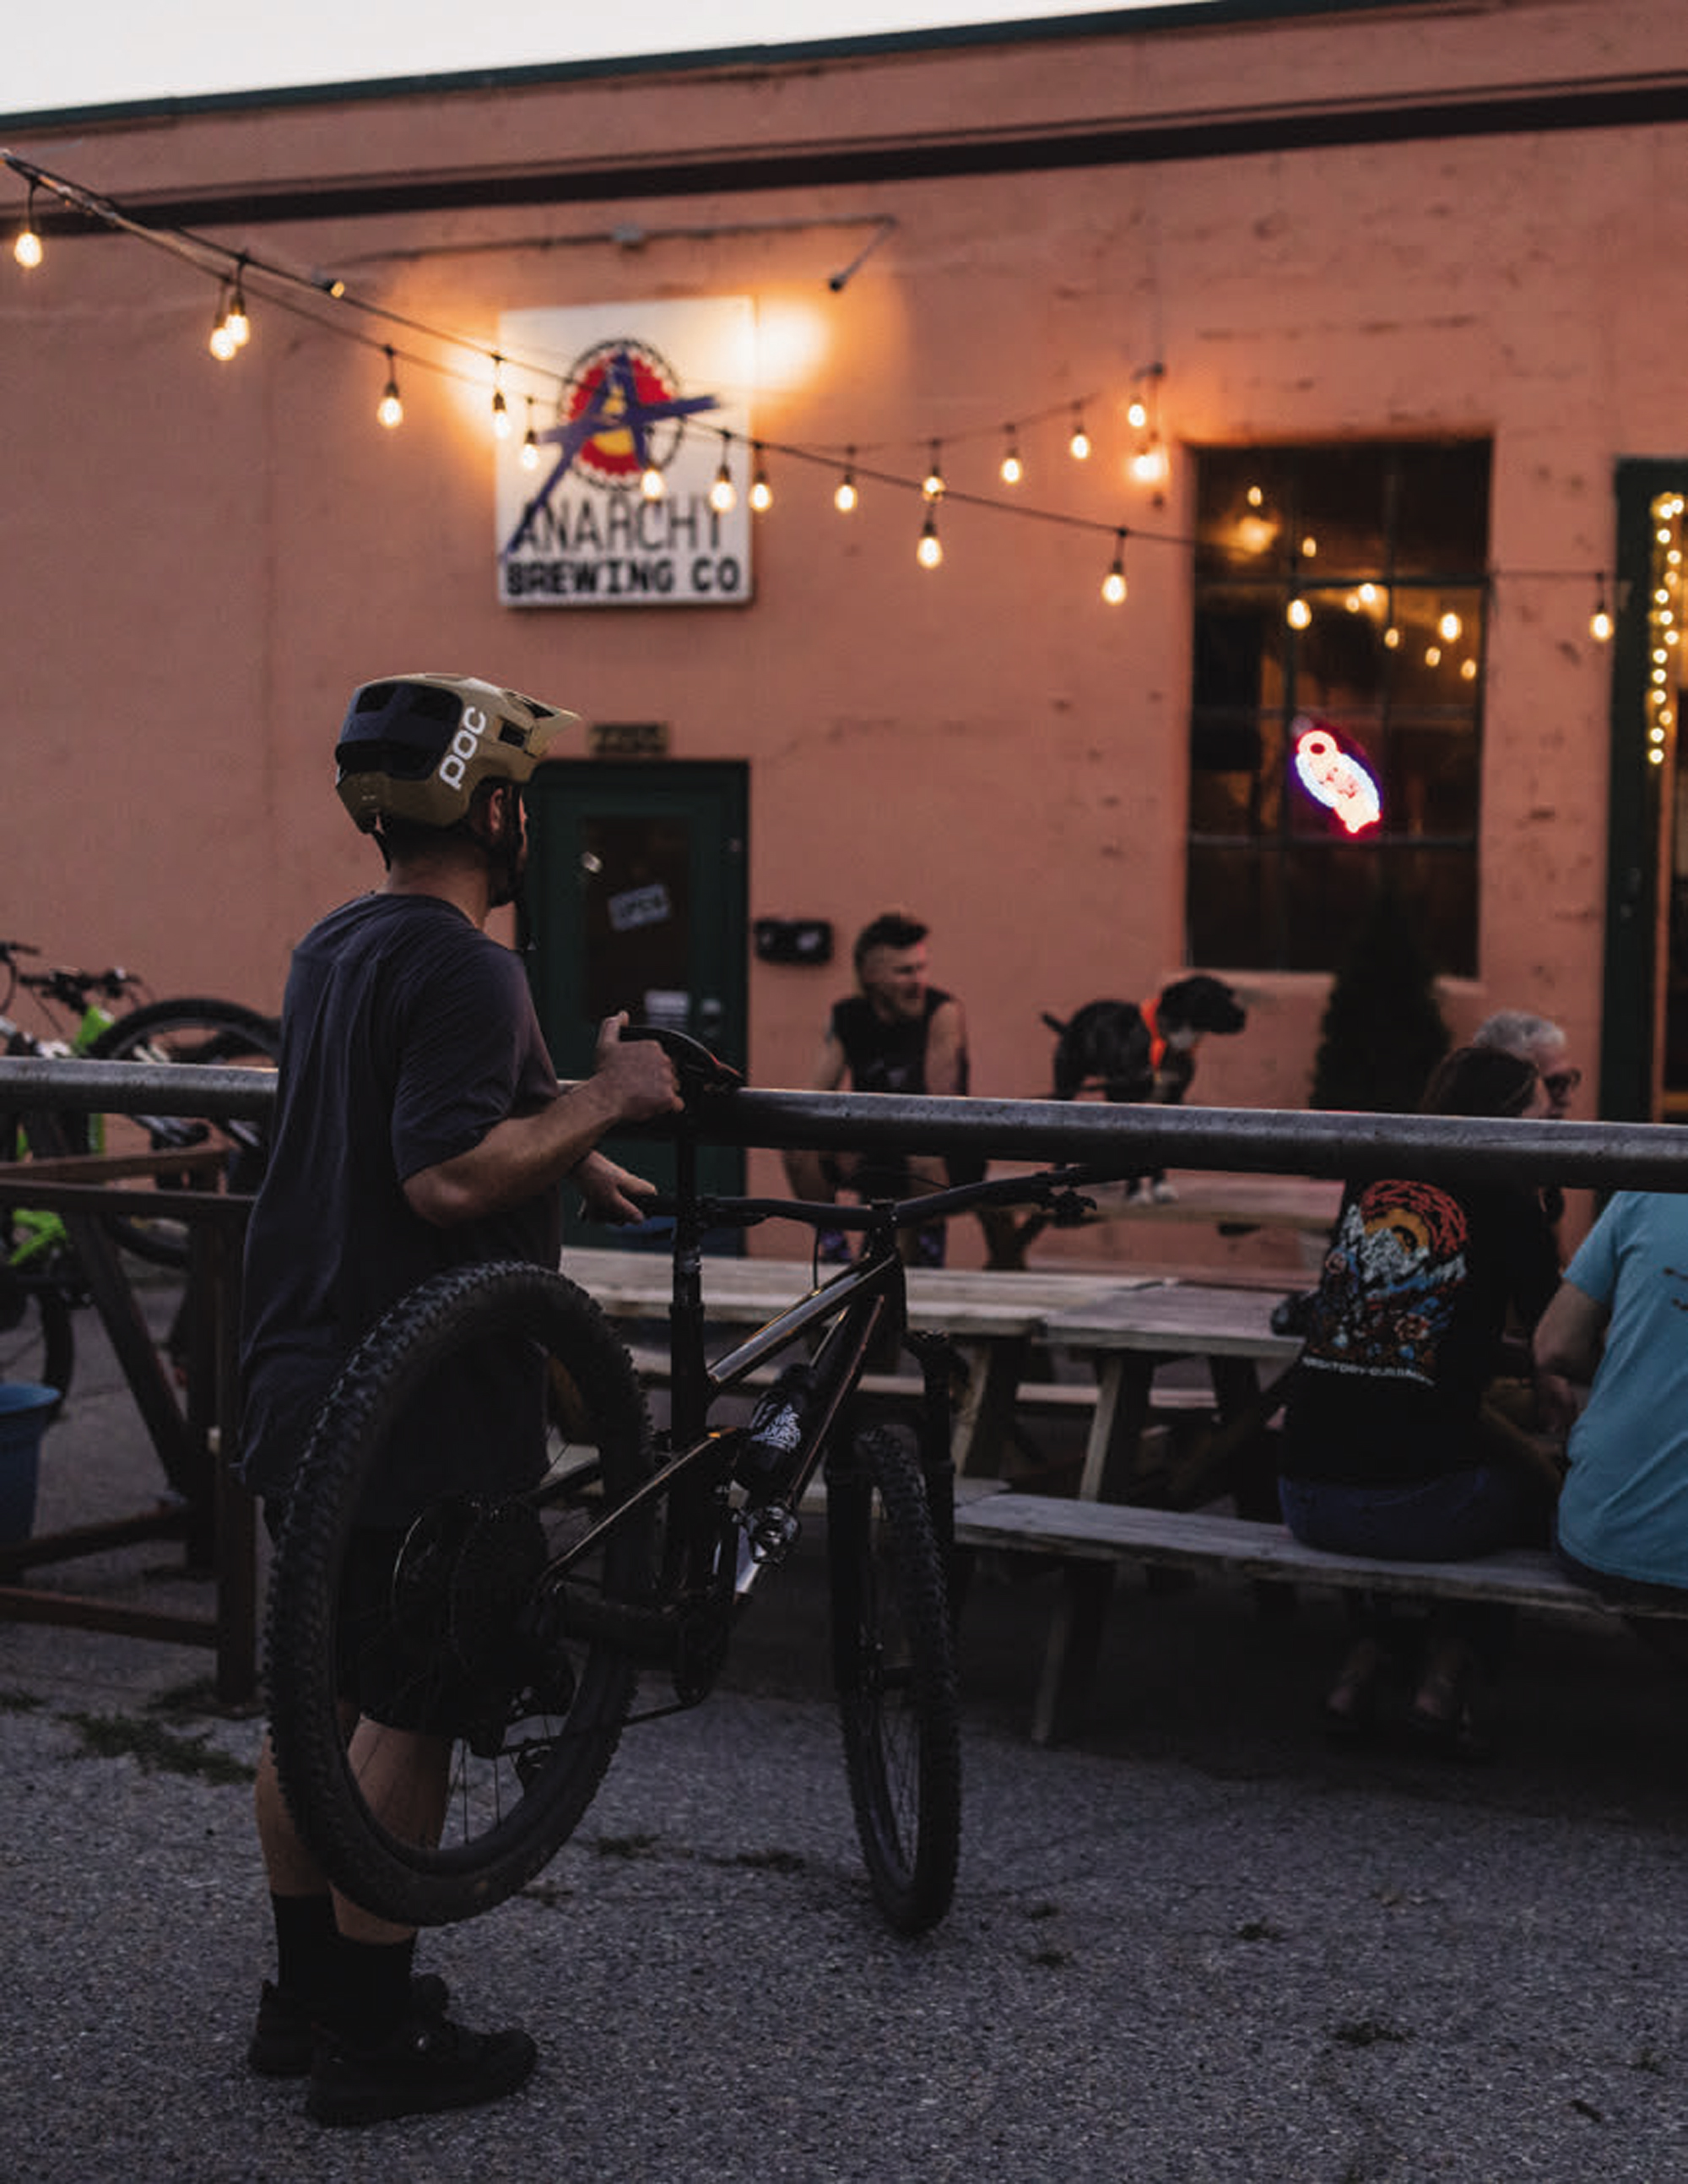
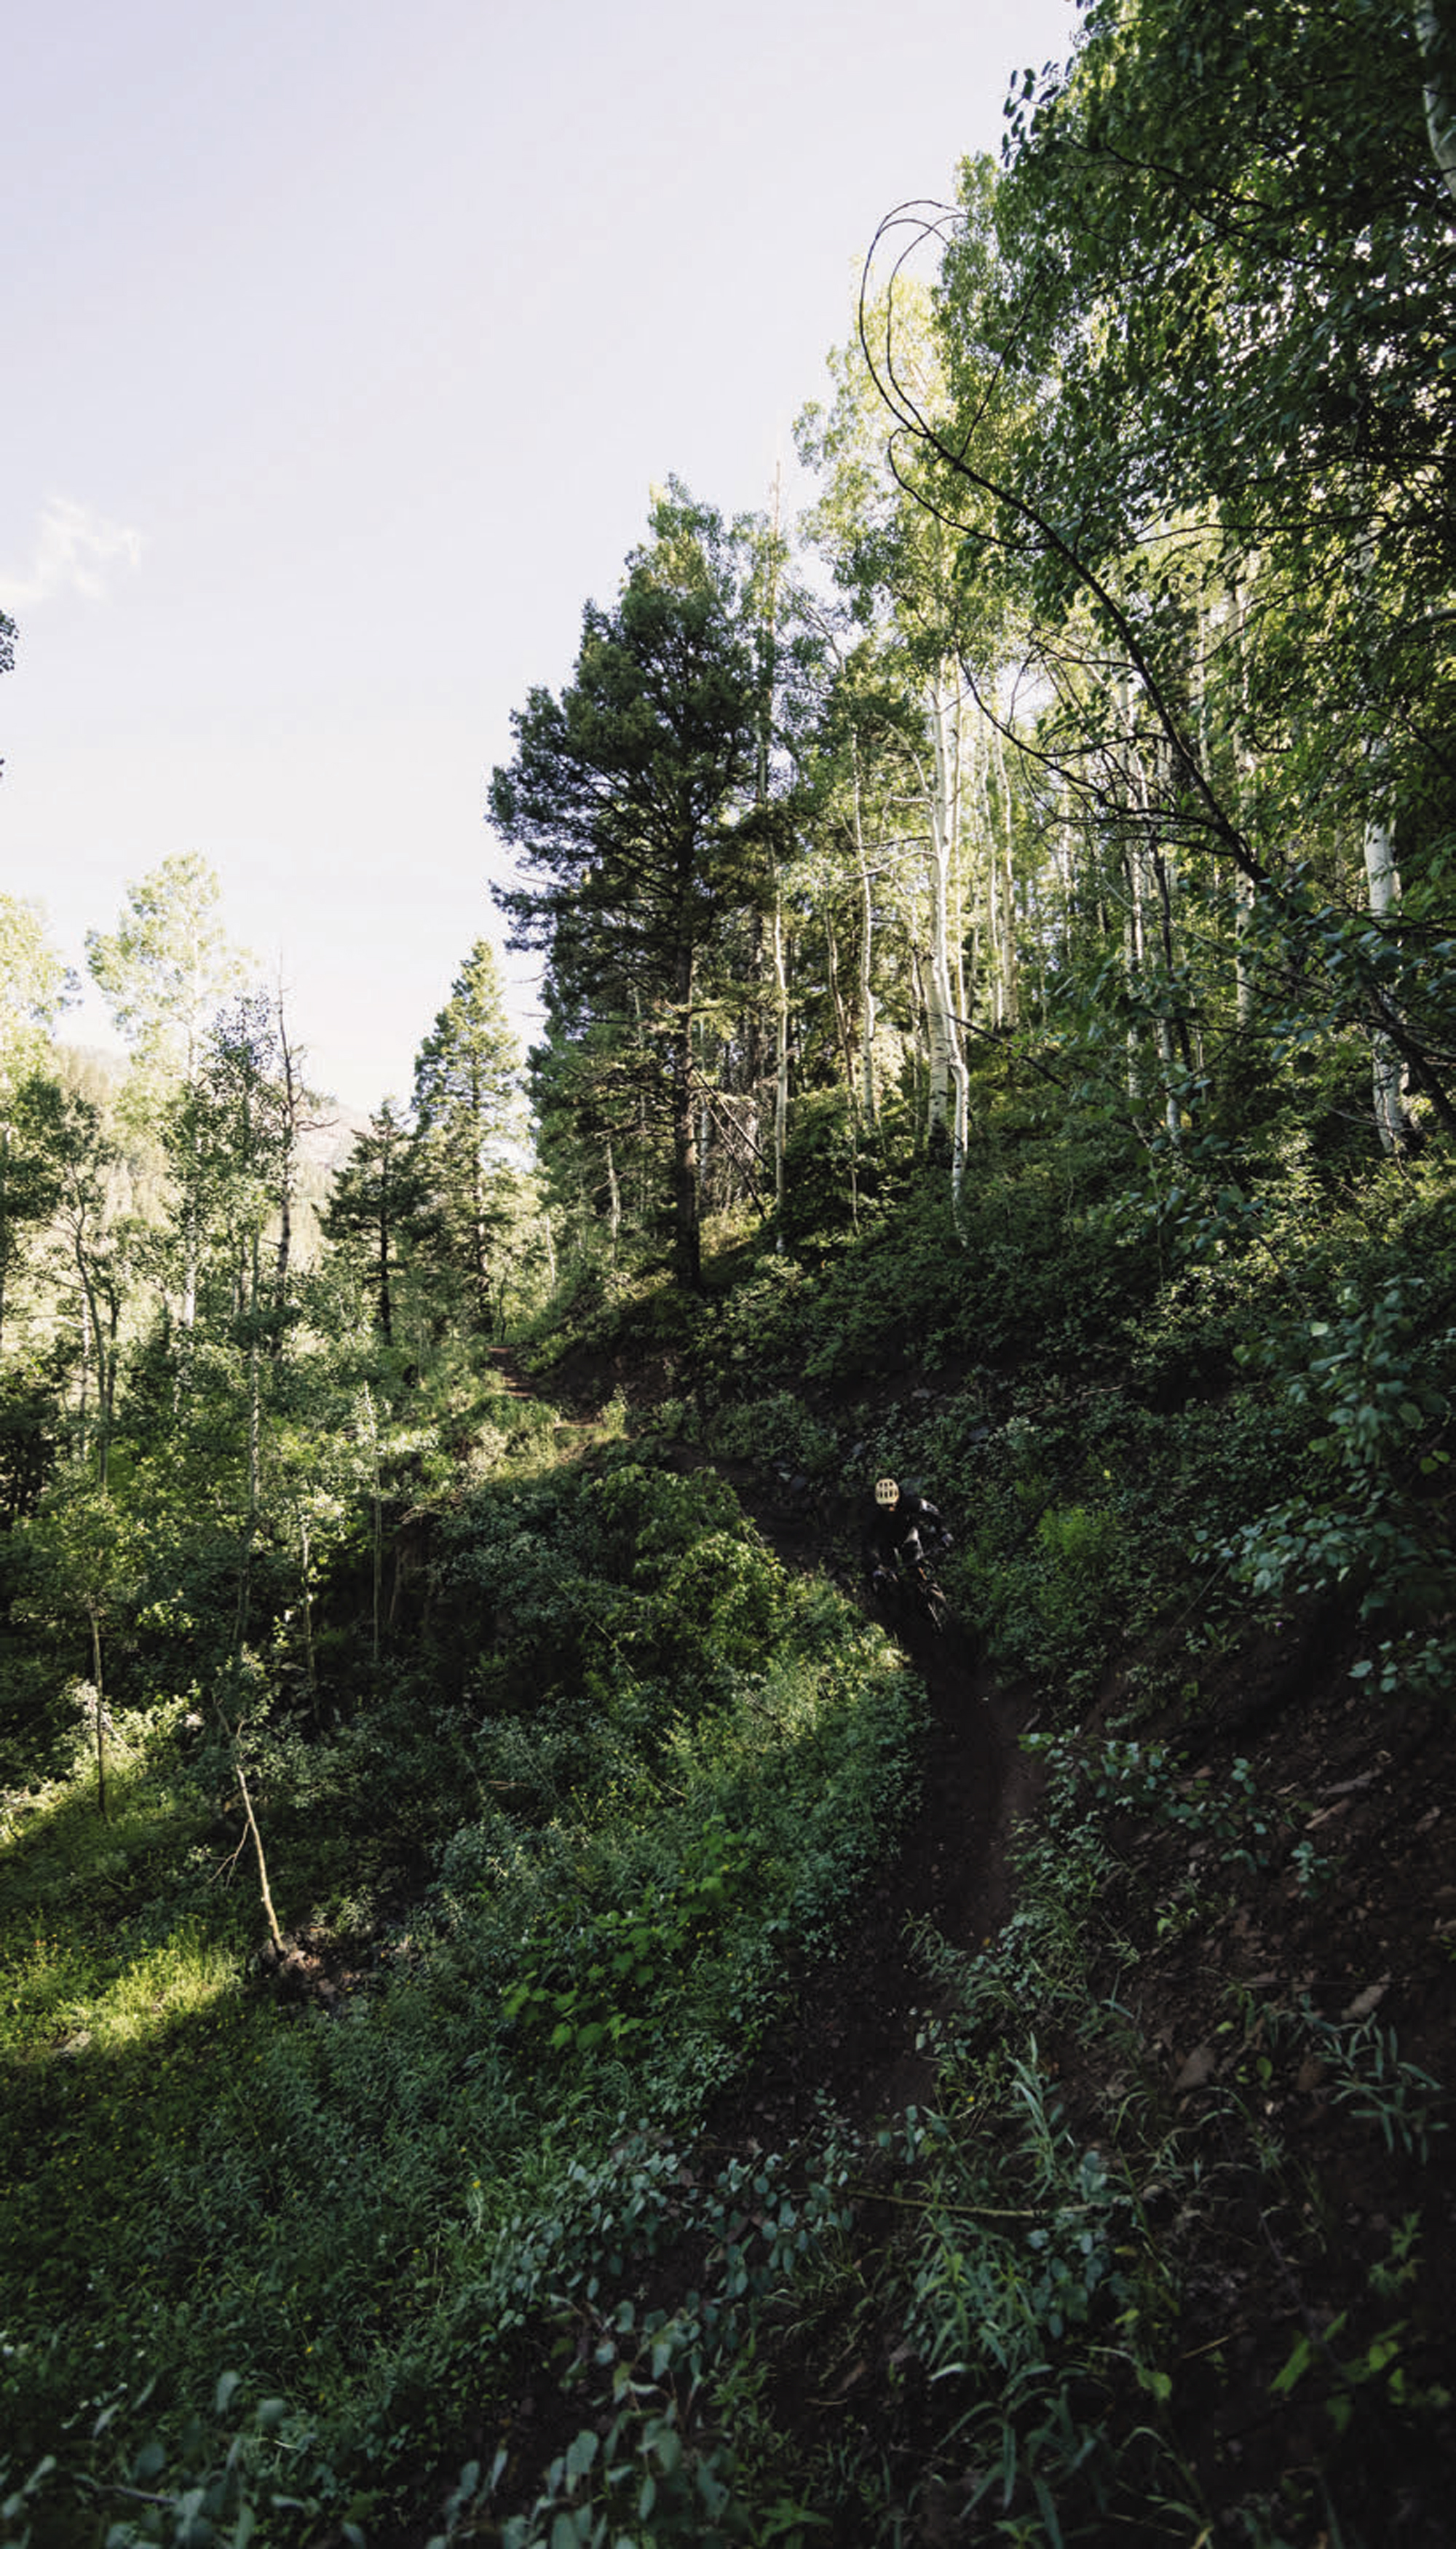
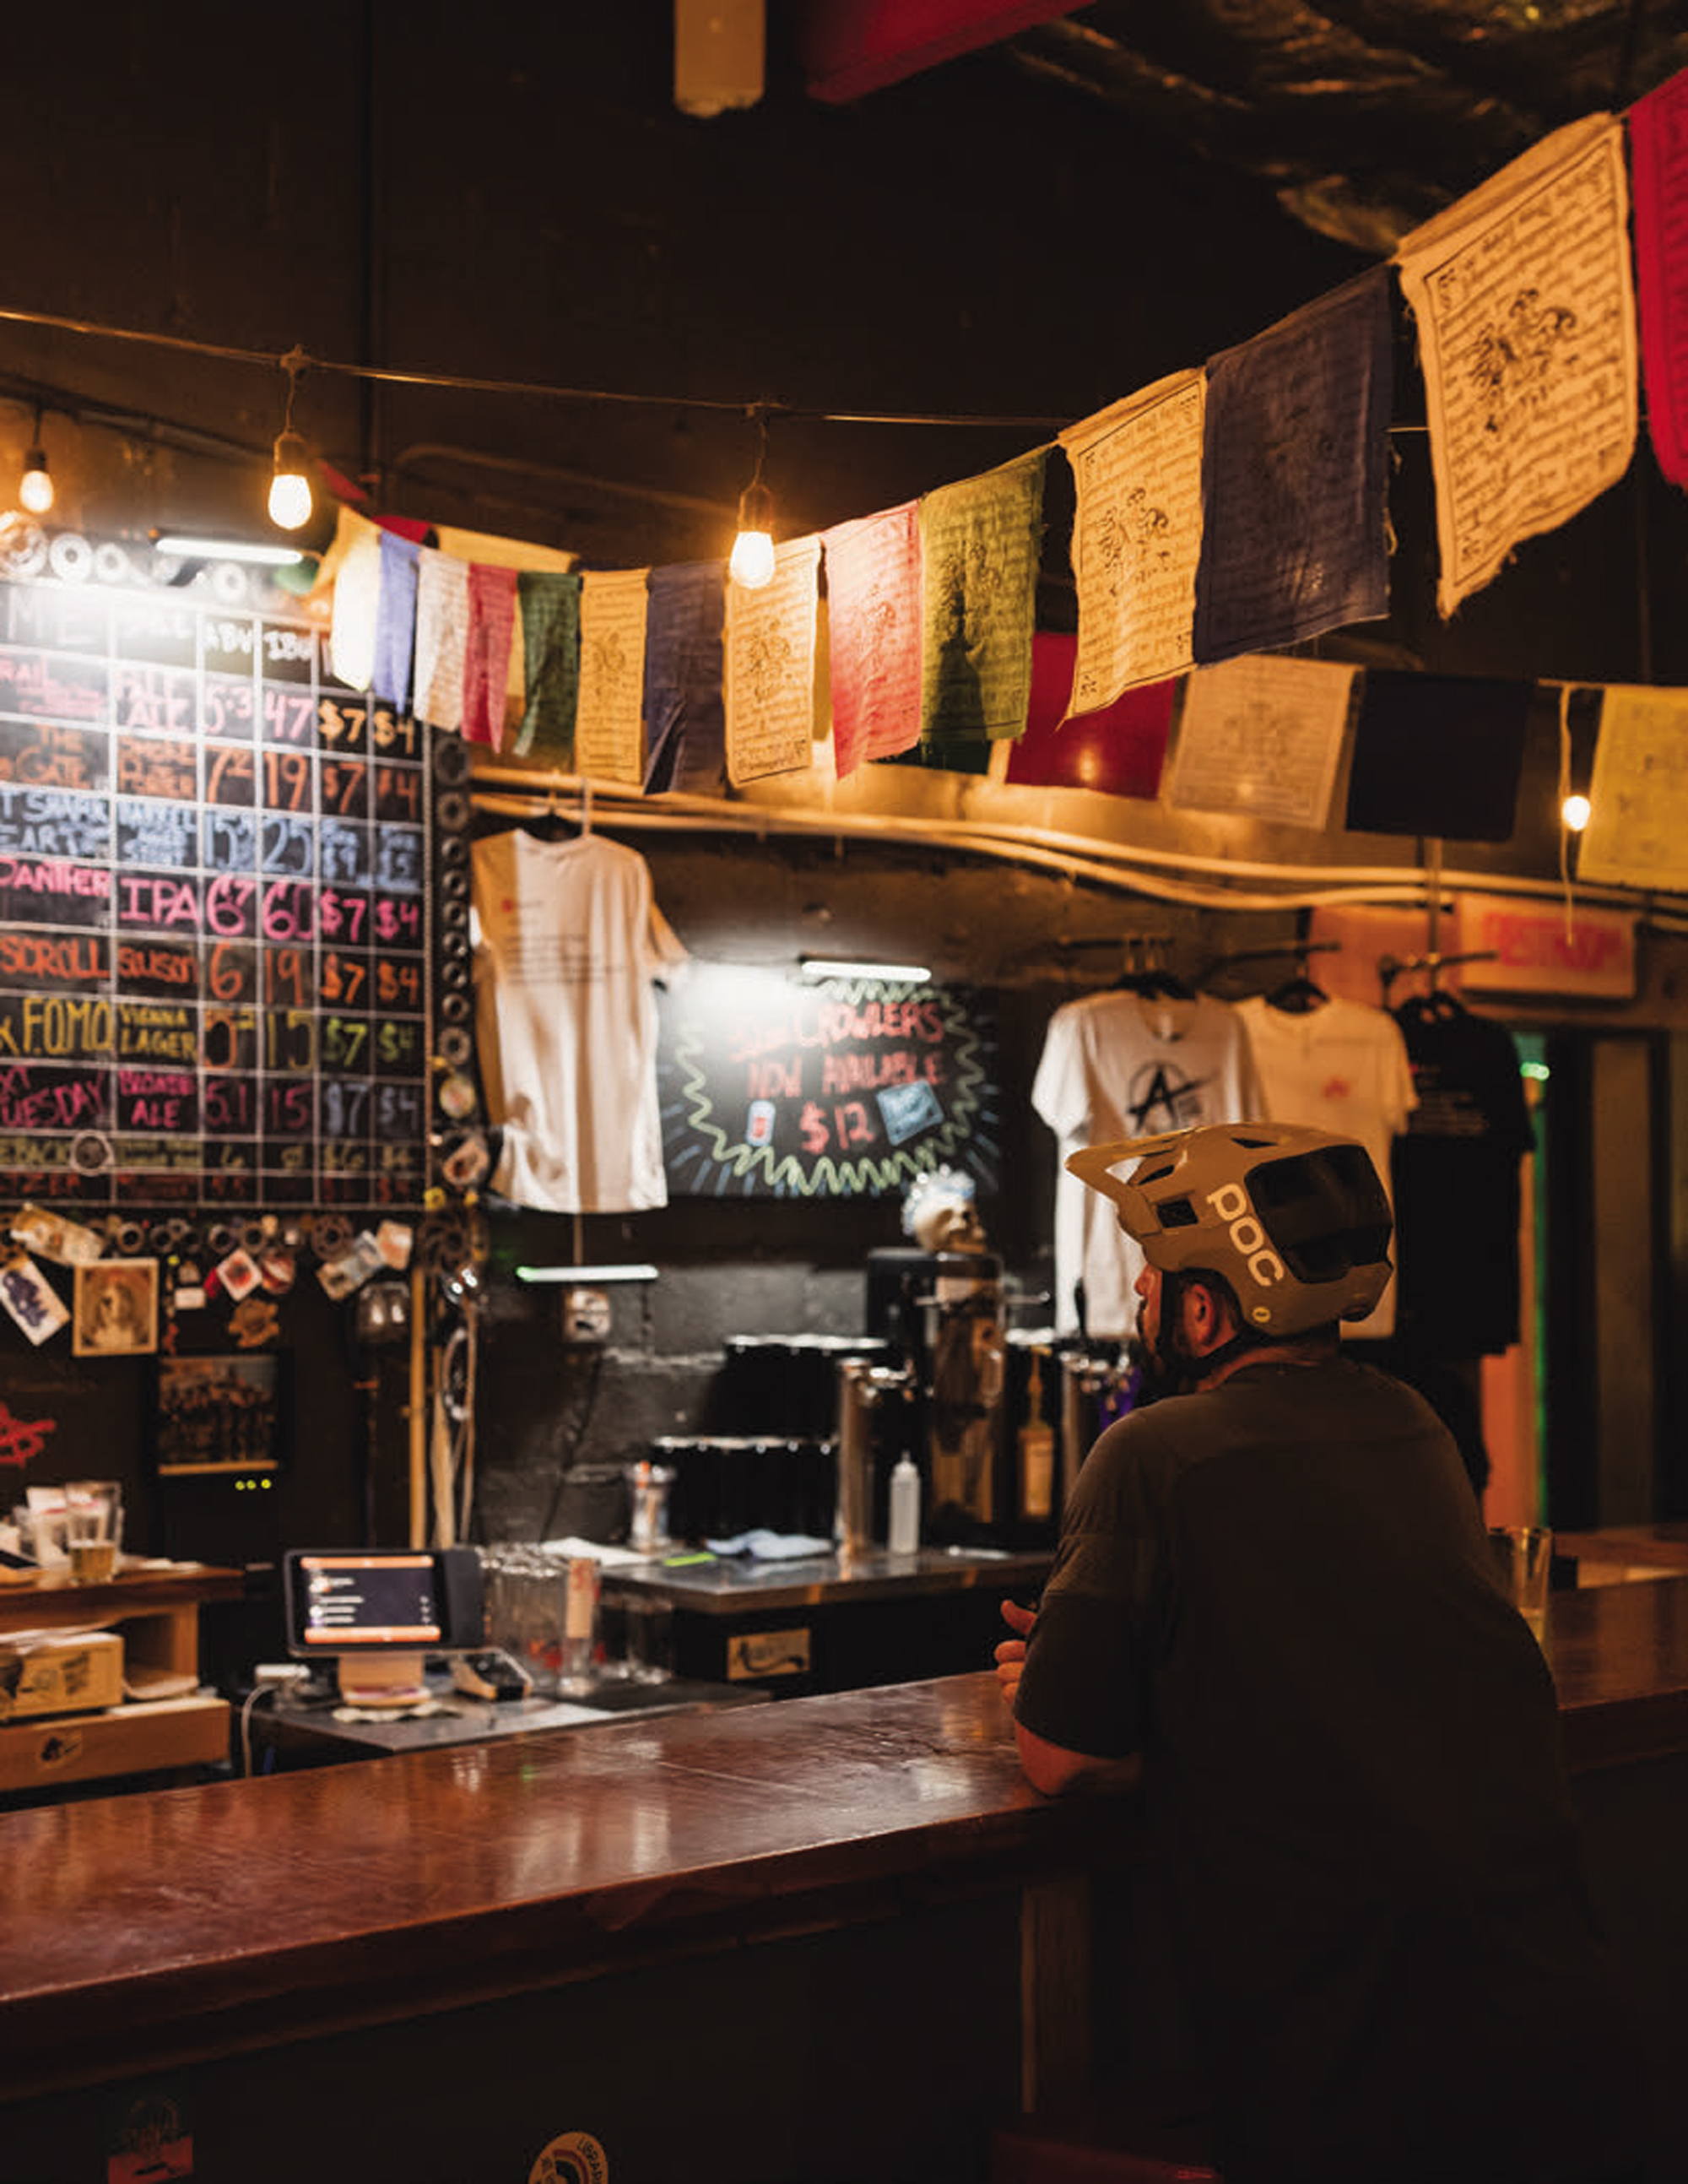
Durango Trails is a non-profit organisation dedicated to planning, building, and maintaining the extensive network of multi-use trails in Durango. Founded in 1989, this volunteer-driven group has been instrumental in creating and preserving over 500kms of sustainable trails in the area. The organisation works closely with land managers, property owners, and the local community to develop and maintain a diverse range of trails suitable for hikers, mountain bikers, equestrians, and other outdoor enthusiasts.
Durango Trails is known for its commitment to sustainable trail design, which minimises environmental impact while maximising user enjoyment. Their efforts have significantly contributed to Durango’s reputation as a world- class destination for outdoor recreation, with mountain biking at the forefront. The organisation also focuses on education, hosting workshops and events to promote responsible trail use and foster a sense of stewardship among trail users.
The following morning was filled with coffee and breakfast burritos — which became the staple for most mornings thereafter. Travis rode over and offered to show us around Twin Buttes MTB Park. Twin Buttes is located on the western edge of Durango. This trail system offers a diverse range of riding experiences, from flowy singletrack to more technical terrain, catering to riders of various skill levels. The area features approximately 30kms of purpose- built trails winding through pinon-juniper forests and open meadows, providing stunning views of the surrounding landscape.
On the way to the trailhead, we discussed our plans for the next few days, keeping things flexible due to the weather forecast. I visited in late June, which typically marks the beginning of summer in Durango. While the weather should have been more settled at this time, afternoon thunderstorms were prevailing — a pattern more characteristic of July. This meant any high-country excursions would need to be tackled early to avoid the risk of getting caught out in a storm.
Twin Buttes offered some superbly cut singletrack weaving through desert scrub, a landscape characteristic of the lower elevations and more arid regions surrounding the town. Durango’s landscape is a tapestry of ecosystems, with desert scrub painting the lower elevations in muted greens and greys. This hardy vegetation, a hallmark of the Four Corners high desert, thrives in the semi-arid climate. Sagebrush and rabbitbrush dot the terrain, their silvery leaves a stark contrast to the vibrant red soil. Prickly pear cacti add splashes of green, their pads like nature’s armour against the unforgiving sun. As the elevation rises, piñon pines and junipers emerge, their gnarled forms creating a transition zone known as piñon-juniper woodland. This vegetation not only provides important habitat for wildlife but also contributes to the unique aesthetics of Durango’s mountain biking trails, especially in areas like Twin Buttes.
The pedal up was out in the open, which was hot even in mid-morning. Once we gained elevation, we were rewarded with a better perspective of the diverse and expansive landscape we were in. The descent offered a fun, flowy, well-bermed trail, scattered with a few rocky technical sections. The elevation didn’t drop off suddenly, which made for good, fast pedalling sections between descents. I was starting to become accustomed to the Trek Top Fuel and welcomed its superb pedalling ability. Lunch was Mexican food – authentic street-style tacos. I rested in the summer sun as a big afternoon was on the horizon.
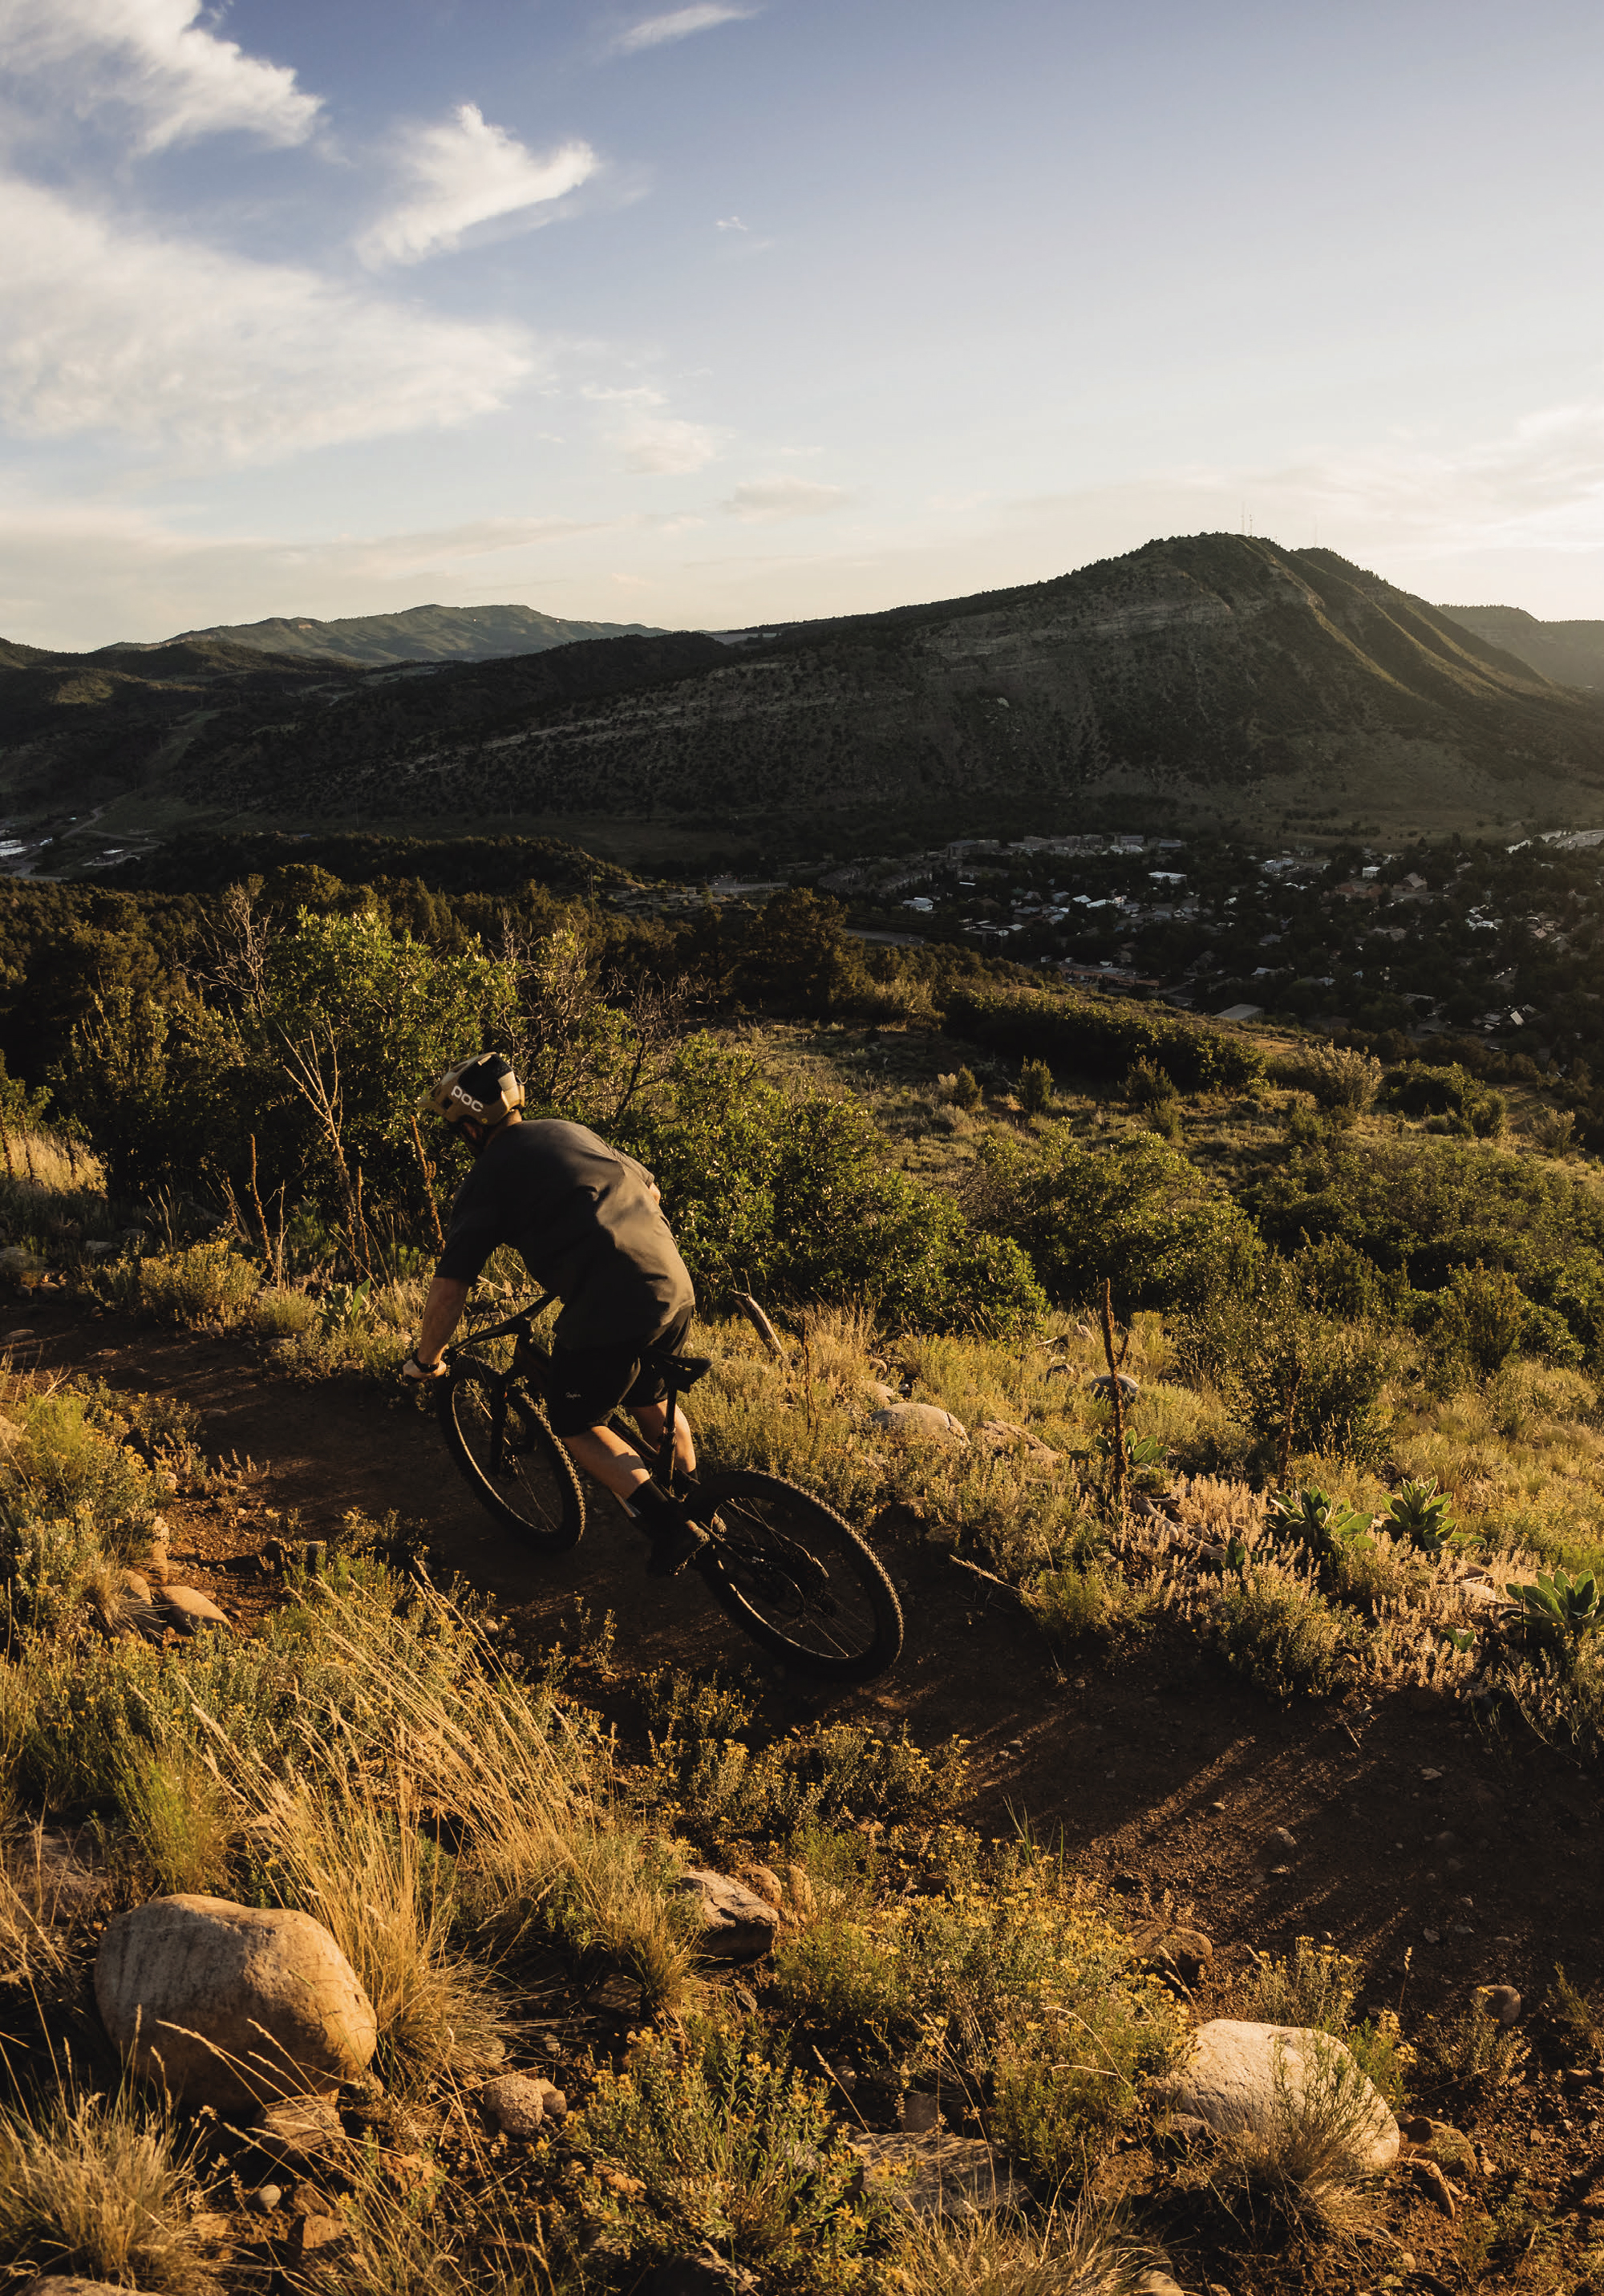
The heat was soaring and I still hadn’t really acclimatised to the altitude but, with limited time in town, the more riding the better – right?! Travis rolled over and lead the way to Overend Mountain Park, named after Ned Overend. Ned is another famous MTB local from this small biking town. The trail system consists of about 30 km of interconnected single-track trails. These trails wind through ponderosa pine forests and offer views of the surrounding landscape. The trails vary in difficulty, ranging from beginner-friendly to more challenging routes for experienced users. It leaned more towards old school MTB trails, with an XC flavour and a heap of up and down and swift sections. This soil was a little looser and didn’t offer as much grip as the other MTB parks around town. I was bloody blown as the second ride, heat and altitude got to me. I managed to nurse myself home, have a cold shower and sit on the sofa with the air-con blasting. I now had a very good lay of the land and the proximity of MTB parks that surround Durango.
The backcountry on offer is extensive and endless. I’m super energetic and wanted to cover as much high country as possible, but the reality is that I couldn’t do it all in one week. Not to mention the weather was another factor, with thunderstorms forecast. Travis was glued to weather reports and local weather guru’s and, thankfully, it looked like there would be a few days we could venture into the high country. Travis swung by in his Dodge van early the next morning. Breakfast burrito, coffees and yarns filled the hour transfer to the trail head. I opened the door of the van and could already tell the air was thinner. This was Coal Bank Pass trailhead, which sits at 3,230 metres.
Our ride would tackle the Engineer Mountain Trail located in the San Juan National Forest, about 55kms north of Durango. It’s known for its stunning views, challenging terrain, and the distinctive peak of Engineer Mountain that serves as its namesake and ultimate destination. The climb was just over 5km with an elevation gain of 600 metres, so we’d tick over 3,500 metres – which is a lot for those of us who reside at sea level! The trail takes you through diverse alpine terrain, including dense forests, open meadows filled with wildflowers, and rocky slopes as you approach the summit.
I was super excited about being in this great part of Southwest Colorado, however, my lungs weren’t feeling the same way and with every feature of the climb I would either pedal over it and run out of breath, or push over it and still run out of breath. Travis gave some words of advice – everything in slow motion, push the pedals then back off a touch at this higher altitude. This wisdom served me well and meant we could keep ascending the trail. The beauty was everywhere as we passed through forested areas and alpine meadows.
One of the most striking features of this ride is the geological formation of Engineer Mountain itself. The peak stands at 3,952 metres and is known for its unique shape — a flat-topped mountain with steep, dramatic cliffs on one side. This formation gives the mountain a distinct profile that’s visible from miles away. I was stoked I made it to this part of the ride, as it would be mostly descending from here onwards – and we could snack here and admire the view as we were above the tree line. From the top of Engineer Mountain, you are rewarded with panoramic views of the surrounding San Juan Mountains. It was a relatively clear day so we could see in every direction, taking in the rugged beauty of this part of the Colorado Rockies. The sweeping vistas from the summit made the effort all the worthwhile.
The descent was nothing short of bloody brilliant. Starting from high above the tree line the trail unfurls before you like a beautifully ribboned piece of singletrack, snaking its way down the mountainside. As you drop in, the upper section serves up some properly techy features with enough exposure for you not to peak too hard. It’s the kind of riding that demands your full attention — one wrong move and you’ll be telling the wrong kind of tales! Then comes the epic plunge into the forest. The transition is dramatic, from wide-open vistas to a green tunnel of trees. Pockets of Aspen pop up here and there, their leaves shimmering like nature’s own disco balls as you whiz past. The contrast is striking, adding another layer to the sensory overload.


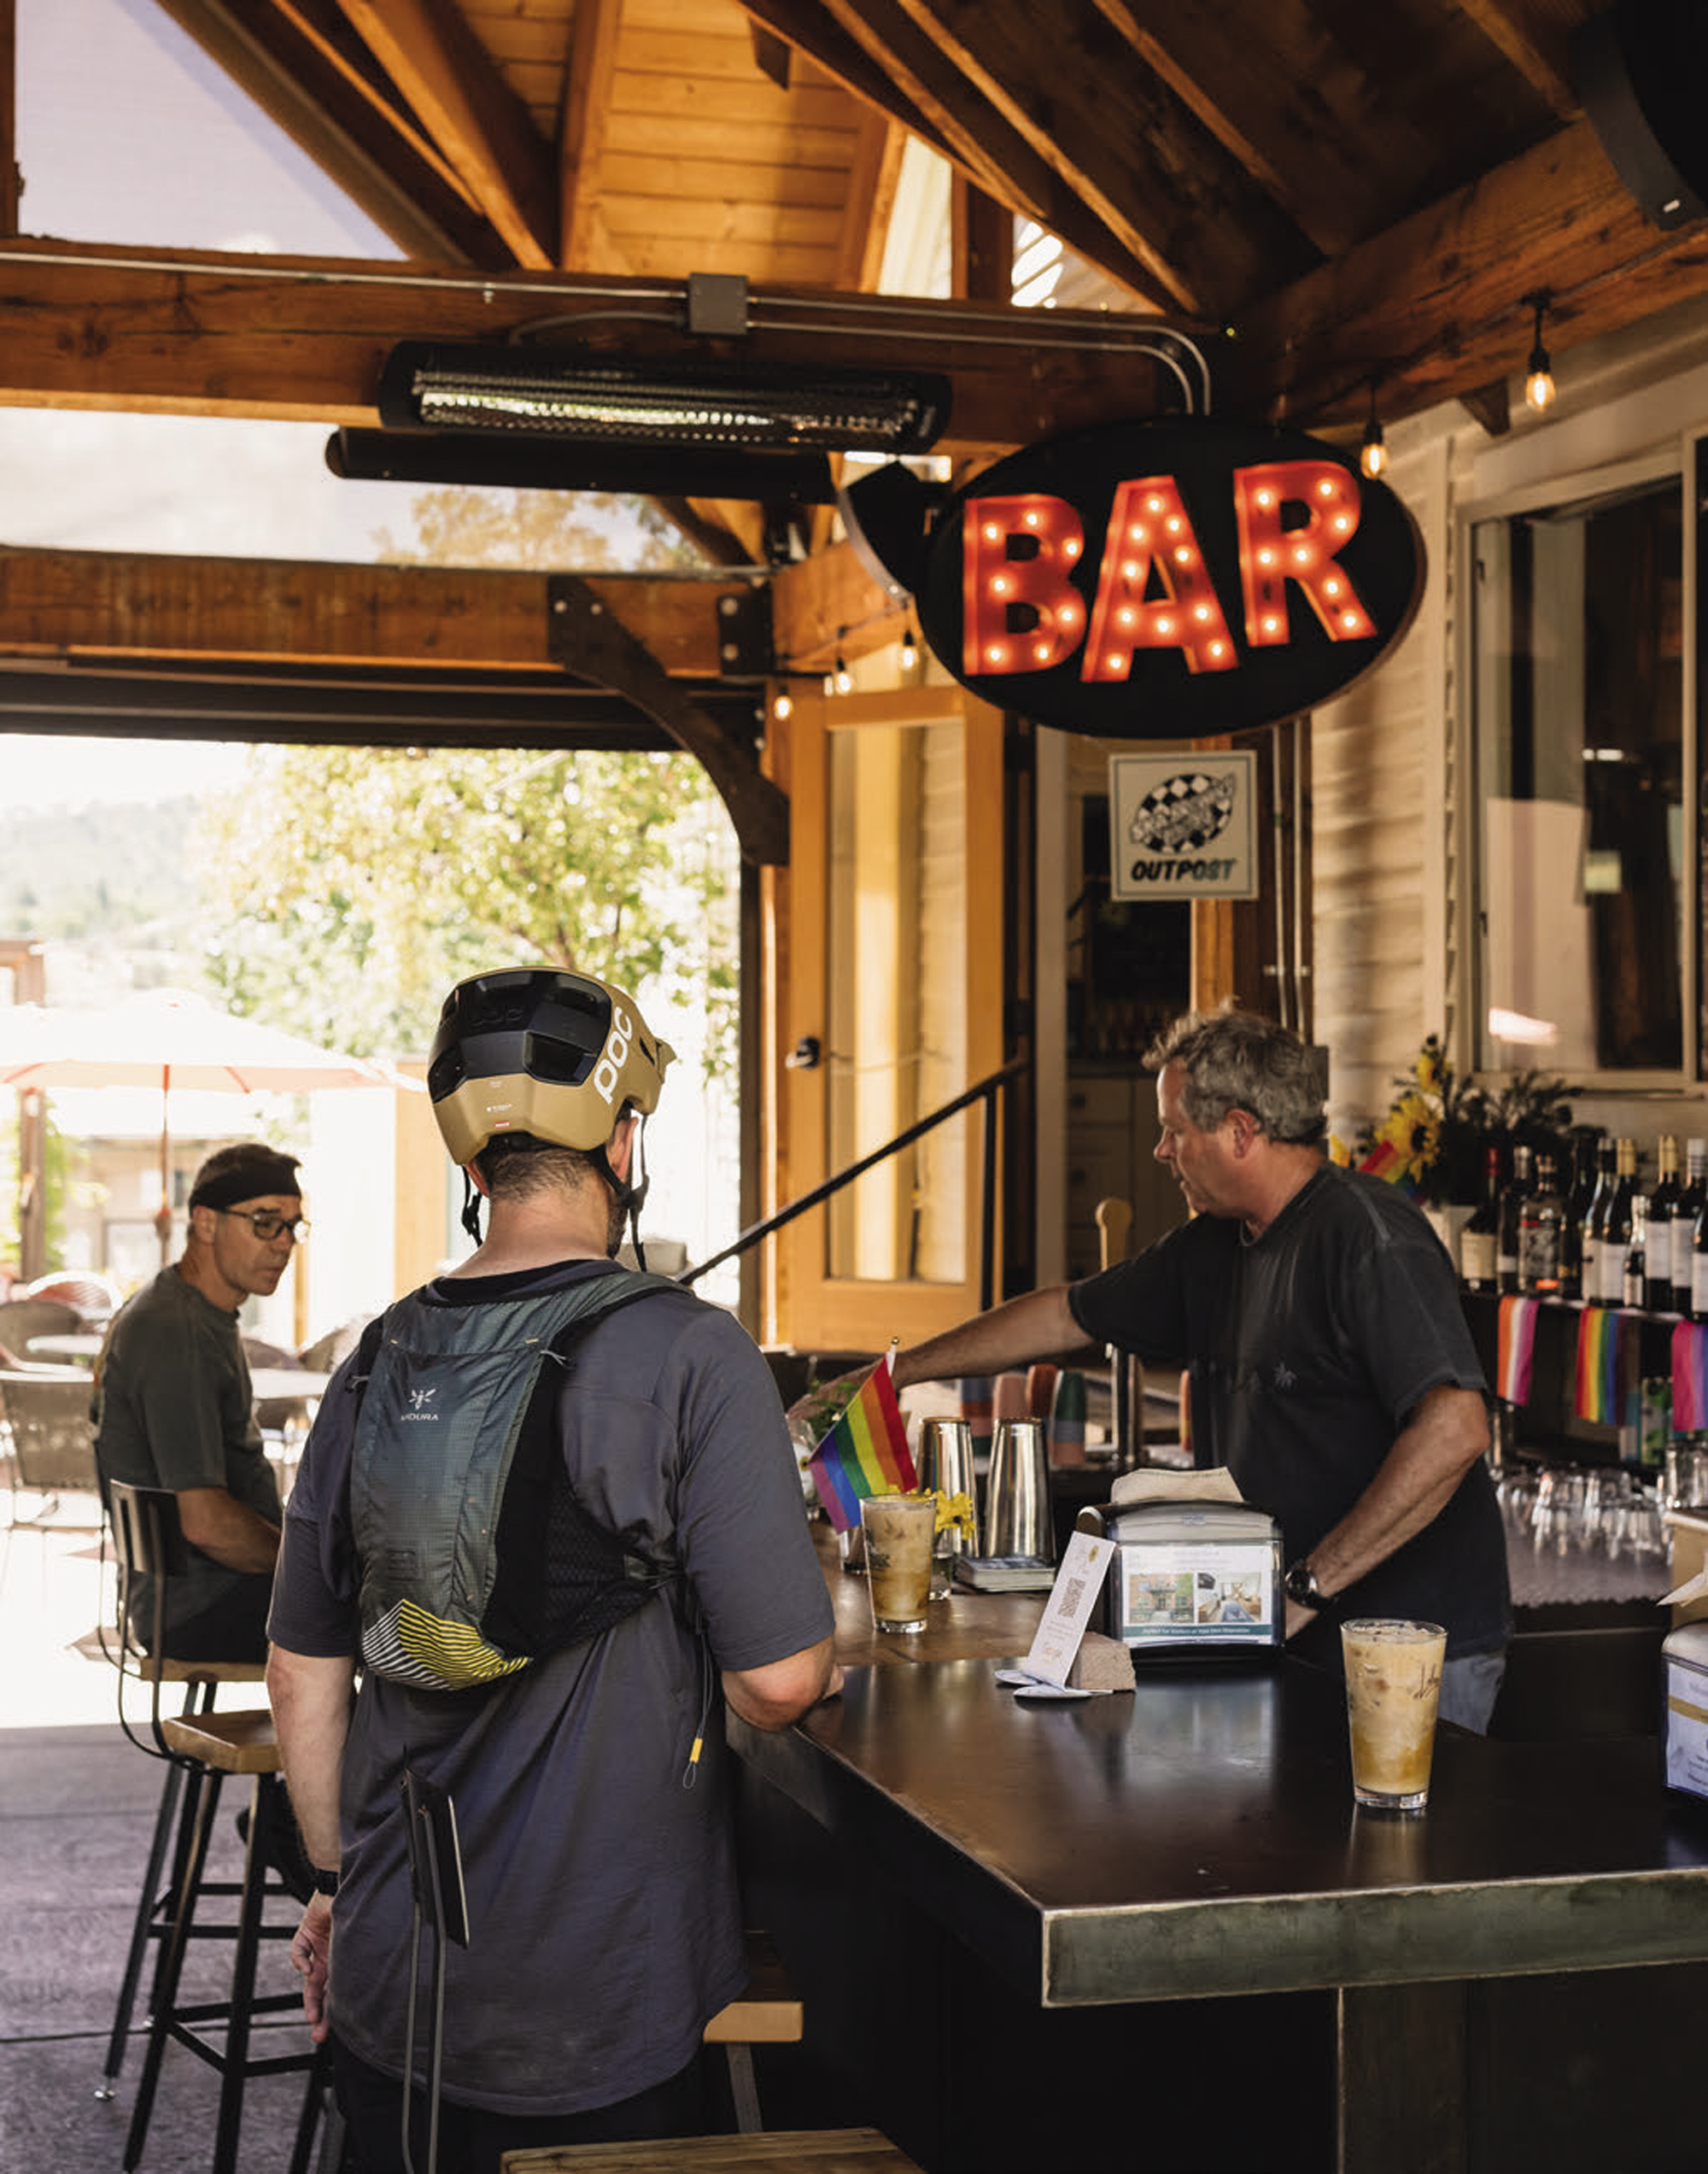
The singletrack in the woods is super tight. It keeps you on your toes, or rather, on your game. The line of sight isn’t always there, so you’re riding as much on instinct as on sight. It’s a constant cycle of react, adjust, and send it. Every corner is a new surprise, every straight a chance to let it rip before the next challenge. And oh, the dirt! It was in absolutely prime condition — the recent rain had worked its magic. The grip made me push hard into every turn.
Even though the thin mountain air has you gasping like a fish out of water – altitude is no joke — I couldn’t wipe the grin off my face. It’s the kind of run that reminds you why you fell in love with mountain biking in the first place. The blend of challenge, speed and raw natural beauty creates an intoxicating cocktail of adrenaline and endorphins. As I finally rolled to a stop at the bottom, legs burning and lungs heaving, I was already scheming about how soon I could get back up there for another go. I plonked myself in the carpark whilst Travis pedalled his way back up to the van. Its fair to say this legend was a real host, showing off that good ol’ American hospitality.
We continued that theme with an after-ride stop at James Ranch for a burger, fries and soda. James Ranch is a family-owned and operated sustainable farm nestled in the beautiful Animas Valley, this 400-acre ranch has become a local icon for its commitment to regenerative agriculture and high- quality, farm-to-table food. The burger and fries tasted great as we sat amongst the picturesque setting reflecting on the day we’d just had.
As the thunderstorms rolled in, a rest day was on the cards — and after the past few days of relentless riding, it was welcomed. It also gave me a chance to check out the town, although I had been venturing out there every night for a meal — and often yarns with the friendly locals. Durango boasts a vibrant culture that blends Old West charm with a modern, outdoorsy spirit. This small mountain town is known for its diverse culinary scene, which punches well above its weight for a city of its size. Local restaurants showcase farm-to-table ethos, often sourcing ingredients from nearby farms and ranches. It has everything from upscale bistros serving innovative Rocky Mountain cuisine to laid-back brewpubs offering craft beers paired with gourmet pub grub. The town’s culinary landscape is influenced by its proximity to New Mexico, resulting in a notable Southwestern flair in many dishes. I particularly liked these dishes and it’s just not something we get a lot of in Aotearoa. Durango’s food culture is complemented by its thriving arts scene, numerous festivals, and a strong emphasis on outdoor recreation, creating a unique blend of mountain town authenticity and cosmopolitan sophistication.
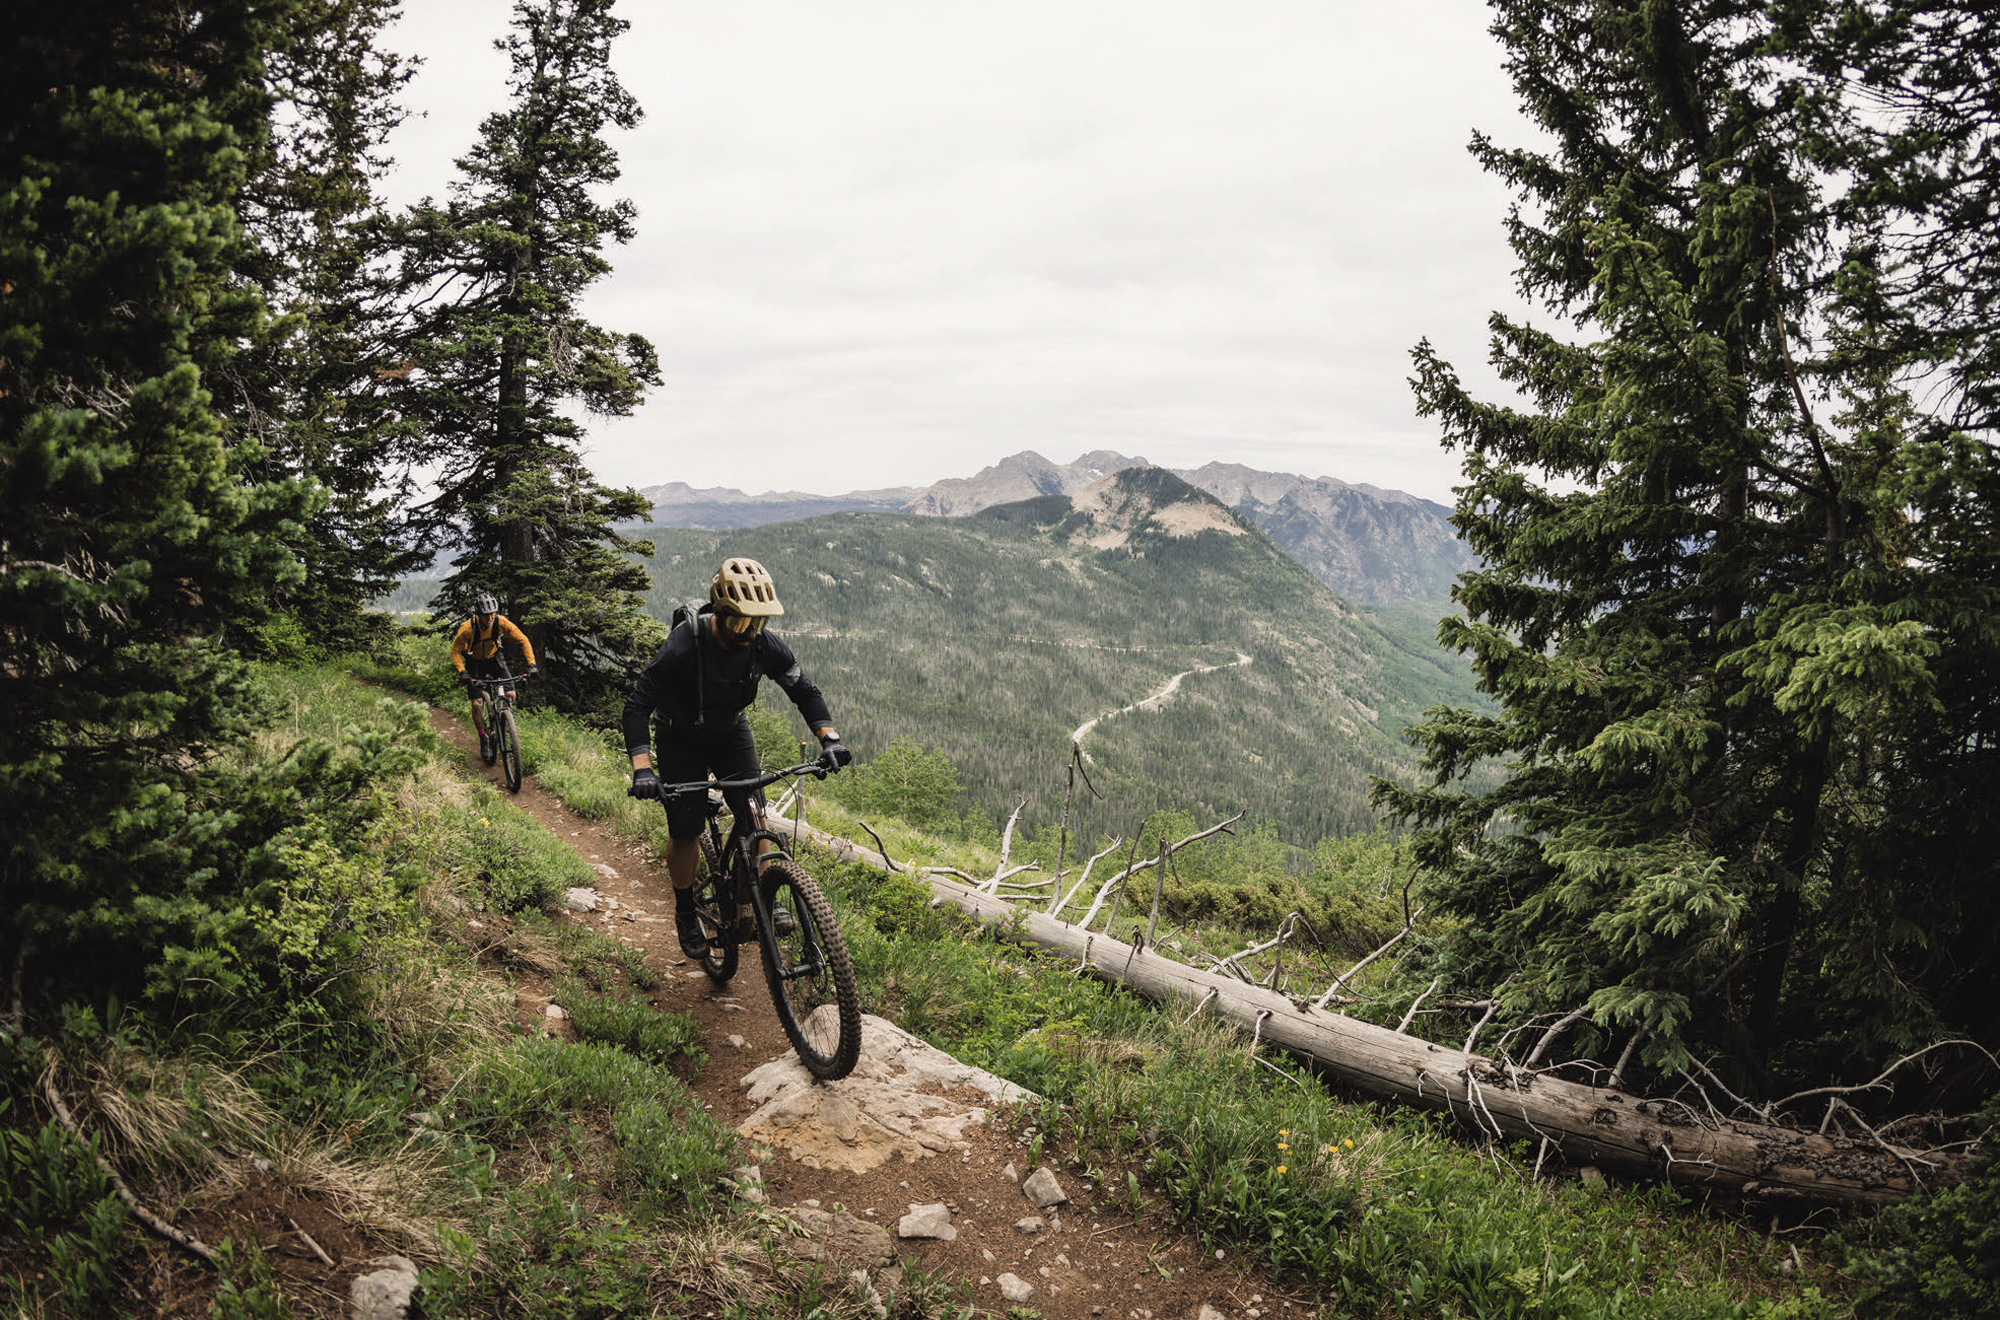
Travis pinged me and said the forecast is looking good for an early morning high country ride. I was very excited to get back up there! Travis had cleared his work backlog the previous day and was pumped about this ride. This time around we’d ride a section of the Colorado Trail. This iconic long-distance hiking and mountain biking route stretching approximately 782 km from Denver to Durango. Winding through the heart of the Rocky Mountains, this epic trail traverses eight mountain ranges, six national forests, and six wilderness areas, offering breathtaking views of Colorado’s diverse landscapes. It ranges in elevation from 1,600 metres to 4,000 metres, challenging adventurers with high-altitude terrain and unpredictable mountain weather. The trail provides a quintessential Colorado experience, showcasing alpine meadows, pristine lakes, dense forests, and rugged peaks. The plan was to tackle some of the Durango end of the trail, so we took a longish drive up an access fire road to then descend (well, mostly) back into town. Again, we were back in the high country with thin air, but it wasn’t as high as Engineer Mountain and maybe I was starting to get acclimatised?!
With the van parked, bikes unloaded, jackets zipped up, bags packed and strapped on, we dropped in. The trail was lush, a touch overgrown and a bit damp — but splendid. The thin singletrack cut its way down the mountainside allowing for high-speed sections before zigzagging back on itself. The first part of the trail went by swiftly. Before we knew it, there was a river crossing and a climb on the other side of it. The gradient was relatively good in most spots so at least I could keep my gasping lungs under control. It did take a little while, but eventually we plateaued out with a nicely placed lookout. Lunch was in order — we’d grabbed a few extra supplies from the Mexican joint we hit up before heading out. I unpacked the tinfoil to Mexican heaven in the high mountains. A few riders pulled up and we exchanged yarns. The next part was fast, fun, rowdy and quite technical in places. The trail seemed to go on for ages and my hands and feet were starting to get tired. But, I couldn’t let the fatigue stop me! I was treated to sweeping vistas of the Animas River Valley, lush alpine meadows bursting with wildflowers and dense stands of aspen and conifer forests. The trail kept winding its way down from high-altitude terrain.
This was spectacular and we bombed further down the trail, glimpses of Durango town were seen below. We reached the trailhead rather swiftly after more than two hours of mainly descending. Travis was a trooper and again pedalled back up to fetch the van which was no small feat! I pedalled back into town and stopped for a cold brew en route to Lola’s House. I will be back to ride the full Colorado Trail at some point that’s for sure!
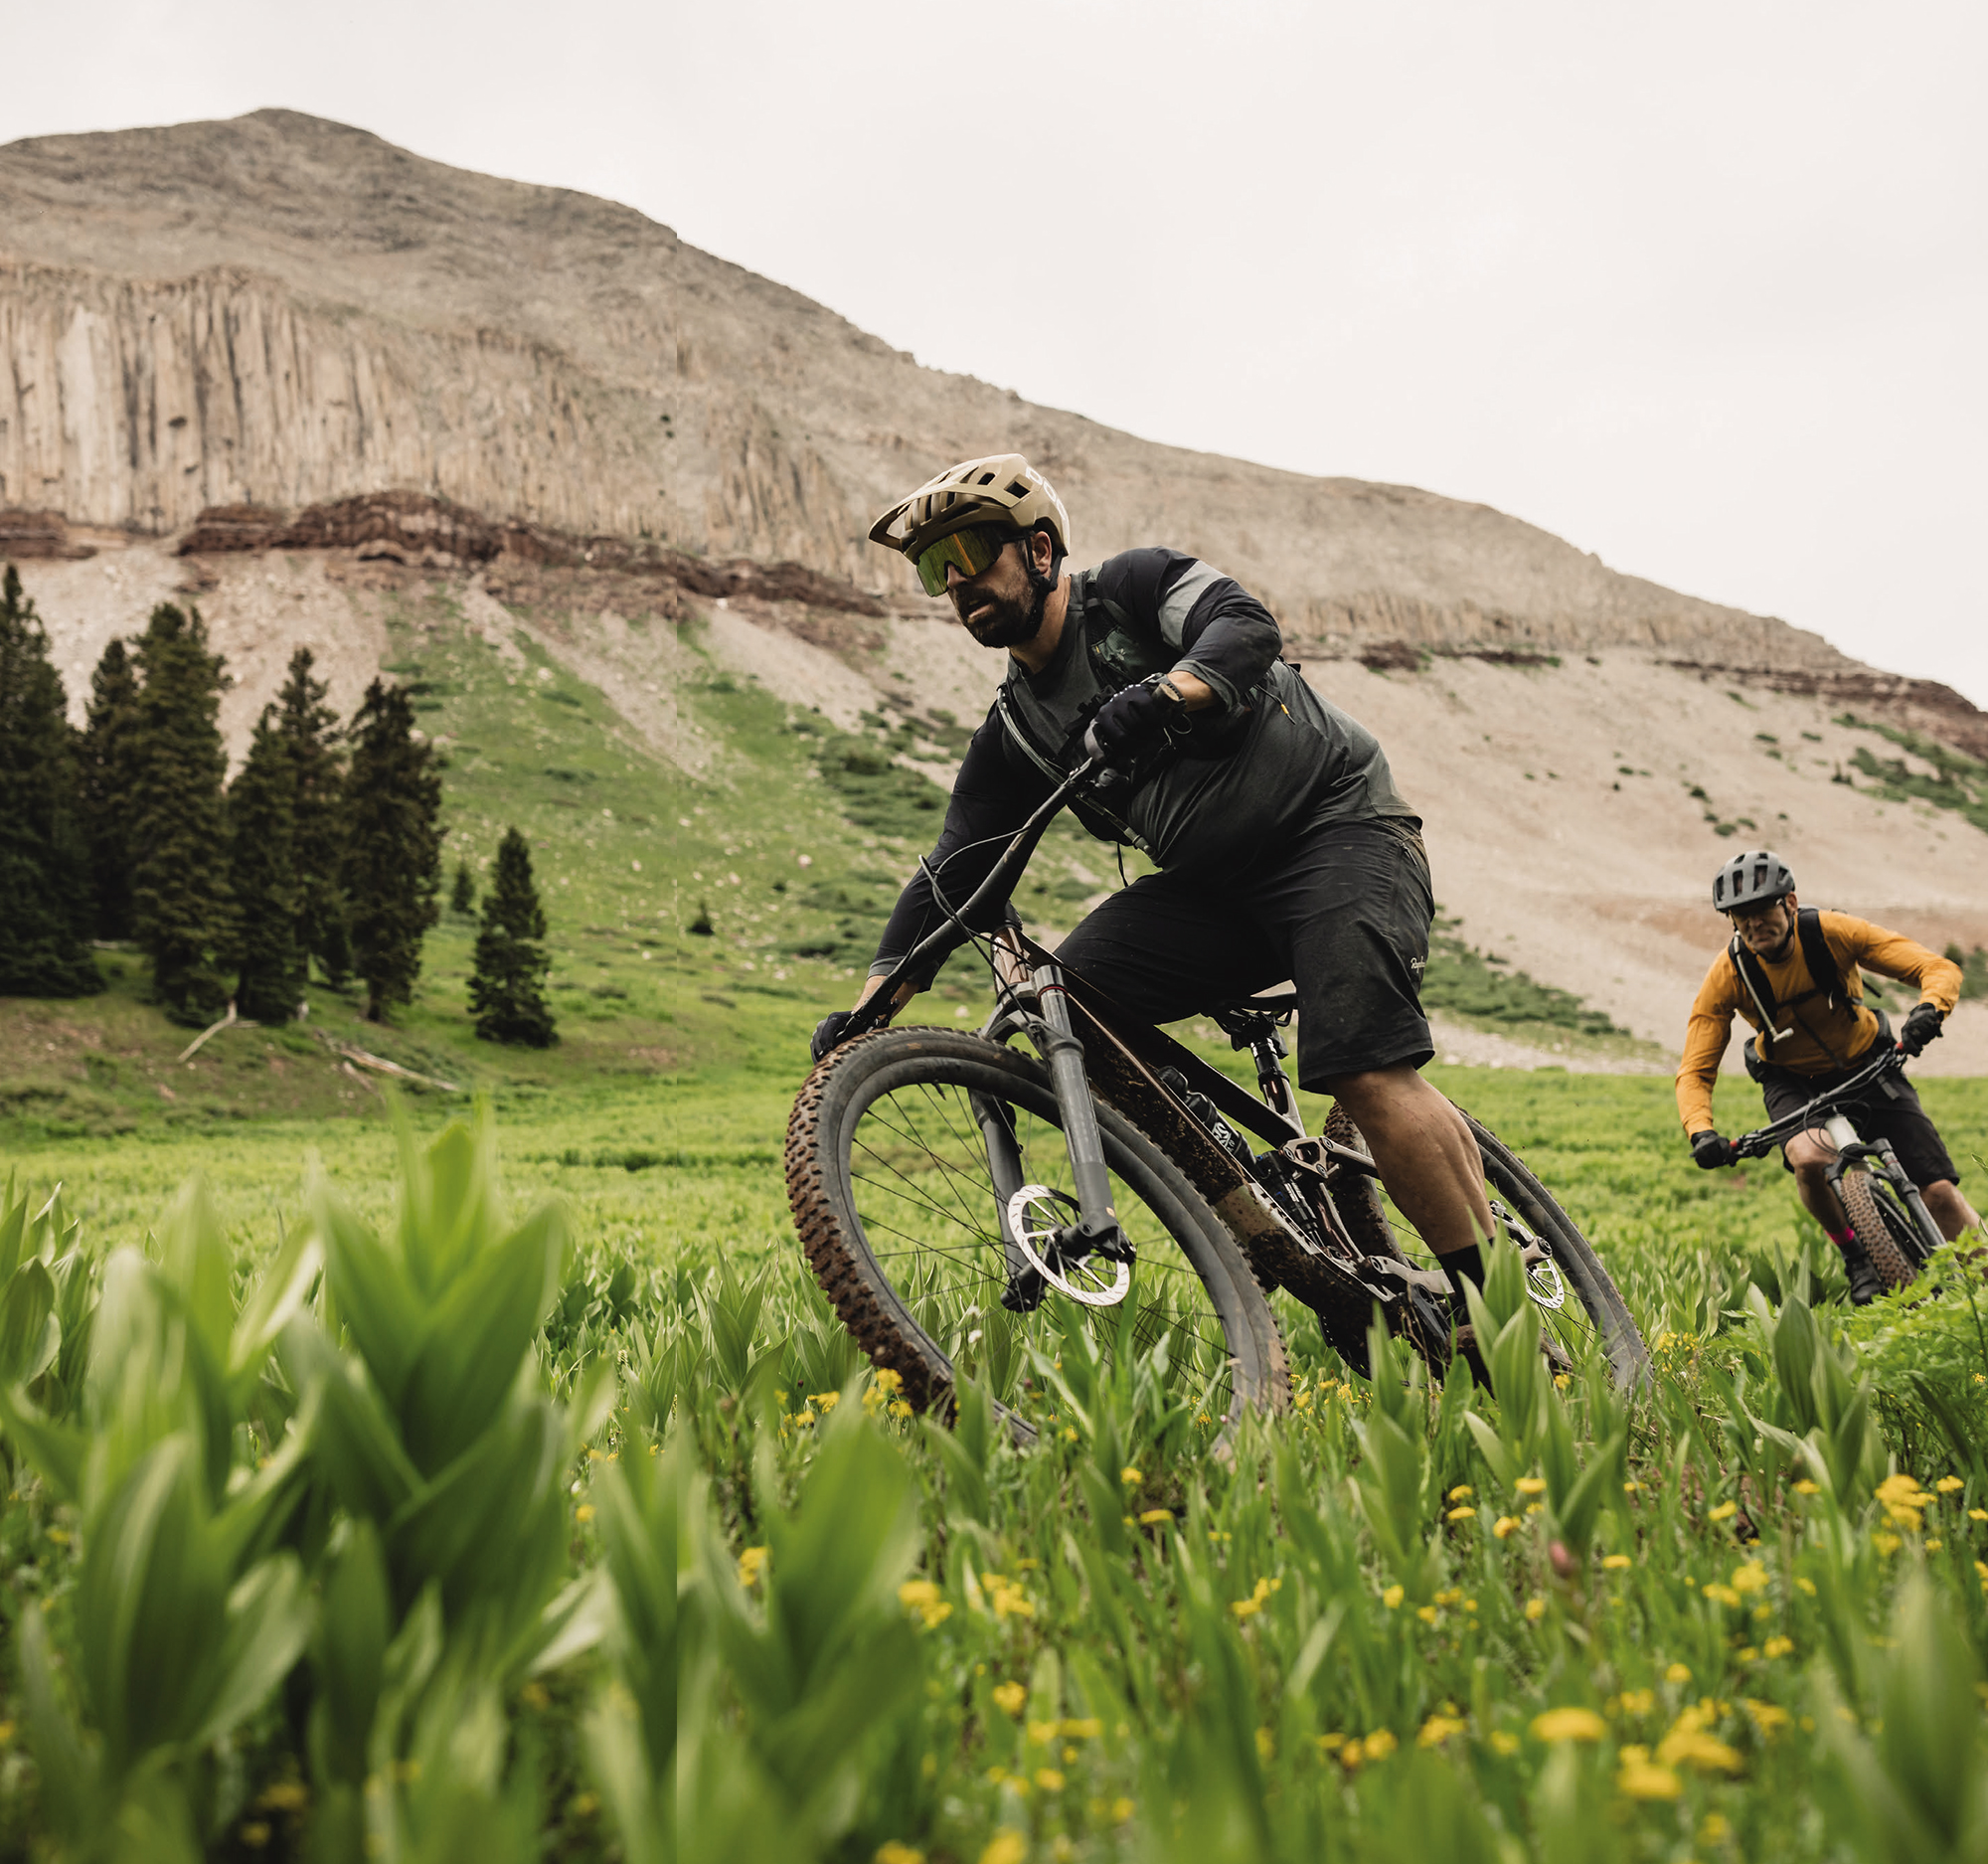
For the last few days, I hung out and rode some of the same in-town locations as earlier in the week. I was itching to get back to the high country, but the weather forecast didn’t allow for it. One last ride with Travis was around Animas Mountain, which is one local MTB park I hadn’t hit up yet. Animas High Bike Park is a relatively new addition to Durango’s impressive mountain biking scene. This purpose-built bike park offers a variety of features designed to challenge riders of different skill levels. The park includes flow trails with bermed turns and rollers, technical sections with rock gardens and drops, and a pump track for developing skills.
Each MTB Park in Durango is quite unique and this one had its own charm. I particularly liked Animas trail’s rock features which are predominantly composed of sandstone and shale, remnants of the area’s ancient seabed origins. These rocks create natural features, obstacles, and technical sections throughout the trail, which had me walking in parts whilst admiring the impeccable bike handling skills of Travis. As for the flora, Animas is characterised by a mix of pinon-juniper woodlands and ponderosa pines, interspersed with drought-resistant shrubs like sagebrush and cacti, and punctuated by colourful wildflowers in season, creating a diverse ecosystem typical of Colorado’s high desert and mountain transition zones. The vegetation is generally sparse, allowing for open sightlines on the trail — and the newly built flow trails are pretty damn fun. There’s a lot of elevation to gain and descend — as with most of Durango’s MTB parks — so ensure you pack good legs! This mix of rocky features and native plants creates a quintessential Colorado riding experience.
After more than a week in town, I finally headed to Durango Hot Springs. I looked over at the mountains as the sun was setting and was incredibly grateful that I ridden in a slither of those hills. I tried to stay present and let this moment soak in (literally). The hot springs were the perfect way to end an amazing week in Colorado’s southwest. The time spent here was made special with local legend and all-round good guy Travis Brown leading me around some of the best spots in his local hood. It really was something to hang with him, ride, eat and understand what makes up the character of this place. His in-depth knowledge of mountain biking and our shared passion for the sport made for long flowing conversations, reminding me that the bike is a great portal for human connection.
In essence, Durango offers a unique blend of historical charm, world-class trails, and a community that lives and breathes mountain biking. It’s a place where the legacy of mining has given way to a new kind of gold rush — one measured in singletrack miles and epic rides through some of Colorado’s most stunning high country.
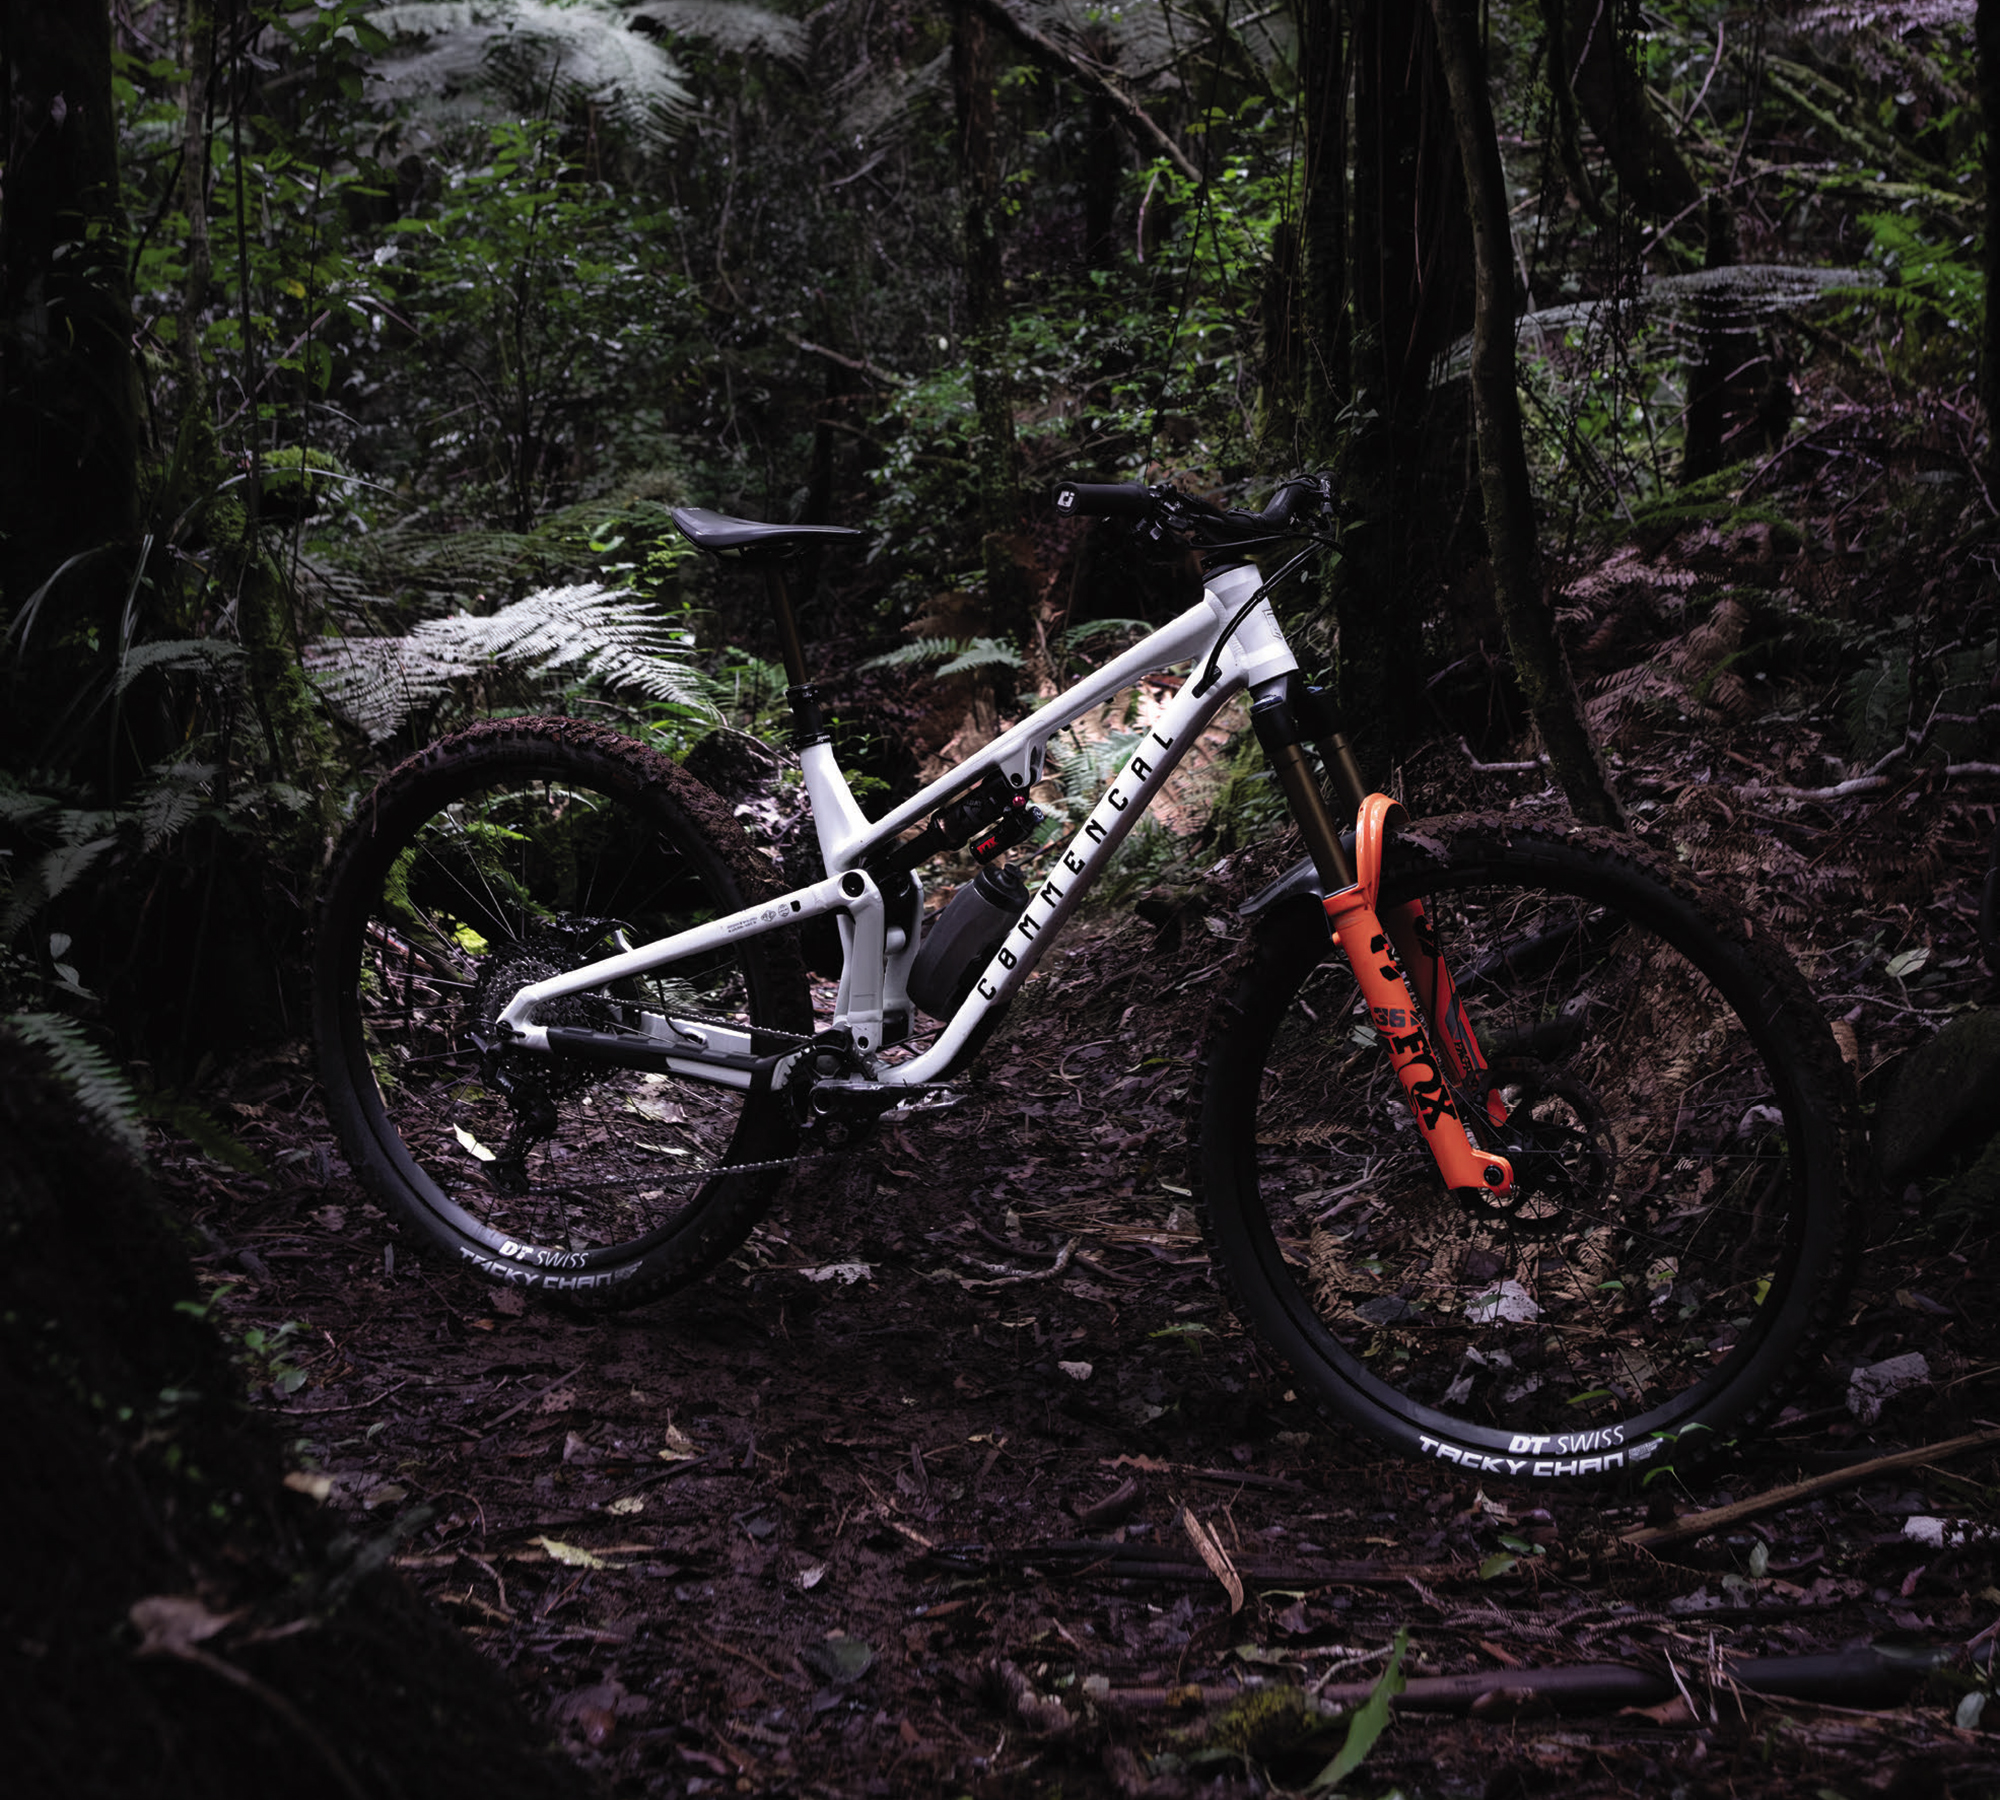
Commencal Meta V5
Words Lester Perry
Images Bevan Cowan
RRP $10,000
Distributor Commencal New Zealand
Since its creation in the year 2000, Commencal has been a mainstay in the downhill racing scene. Max Commencal, the BMIC (Big Man In Charge), enjoyed earlier success with SUNN Bicycles, a BMX company he formed in 1984. By the early 90’s, SUNN shifted its focus to Downhill MTB racing.
Beneath names like Nicolas Vouilloz, Anne- Caroline Chausson, Cedric Gracia, and other greats, the SUNN Downhill team amassed multiple world titles aboard their innovative downhill bikes.
Under the Commencal brand, their riders remain some of the sport’s winningest to this day; at any World Cup Downhill, across all categories, you’ll likely see a Commencal rider on the podium. This hunger for competition drives the development and direction of the now global, direct-to-consumer brand. The Meta V5 is a product of their Commencal Enduro Project and the four years of development under team riders that preceded its launch.
Development
Applying the same development theory and methods that brought downhill success, the Meta V5 was created to be Commencal’s comprehensive Enduro Race bike. Commencal aimed to provide their racers with one platform that would excel across all scenarios they’re presented with over an Enduro World Cup season. Alex Rudeau proved their development process was on point, securing himself five podium finishes and third overall in the 2023 Enduro World Series. The proof is in the pudding.
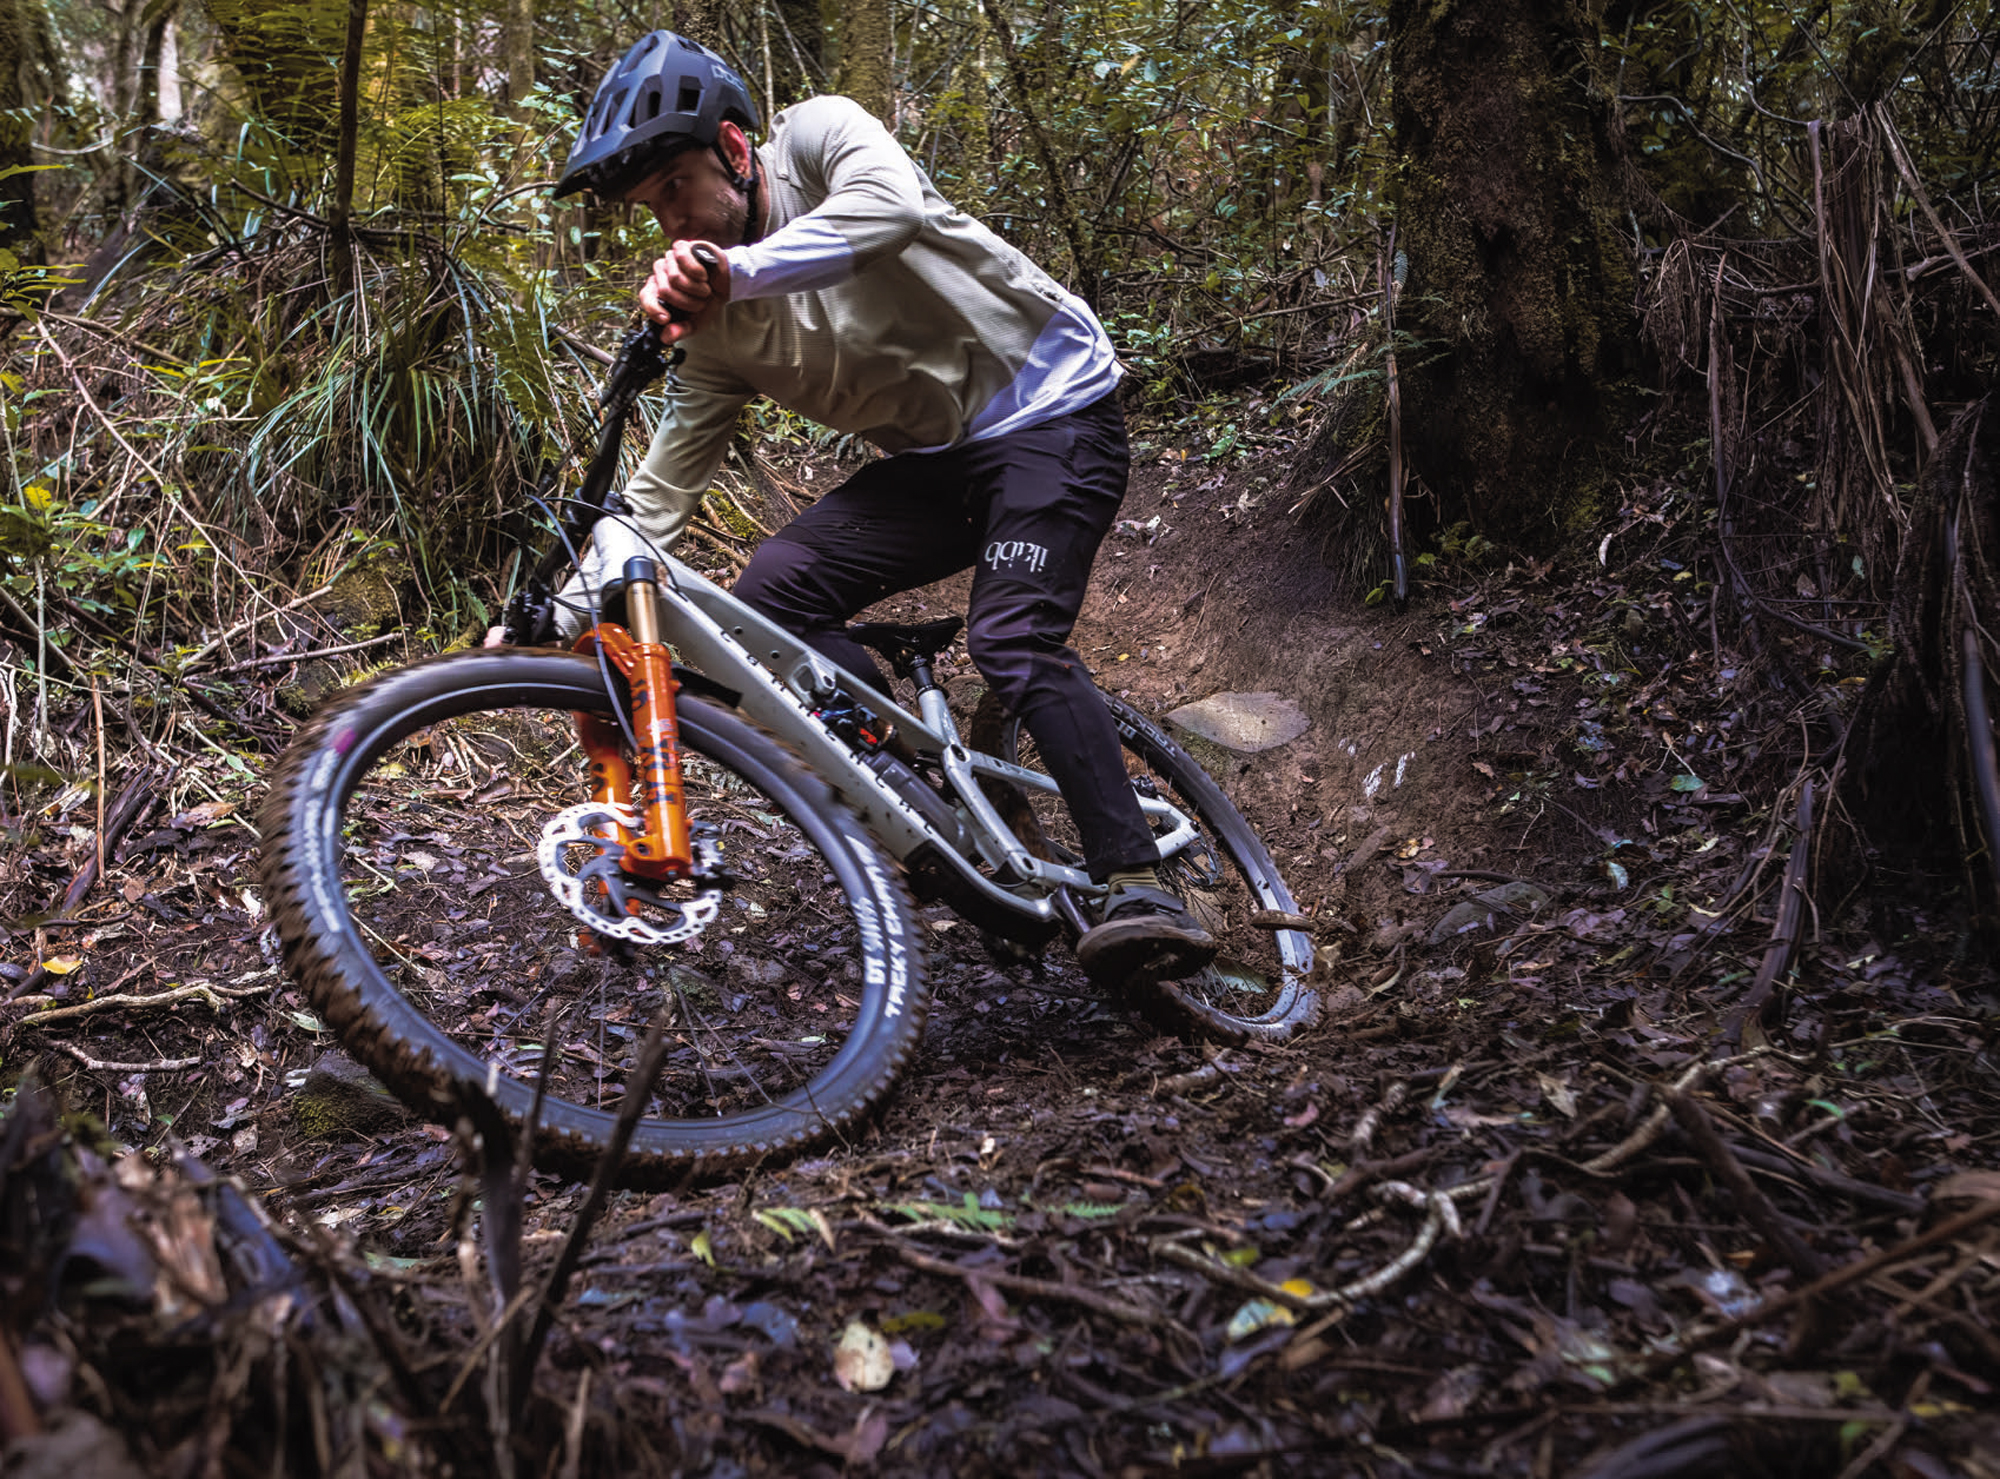
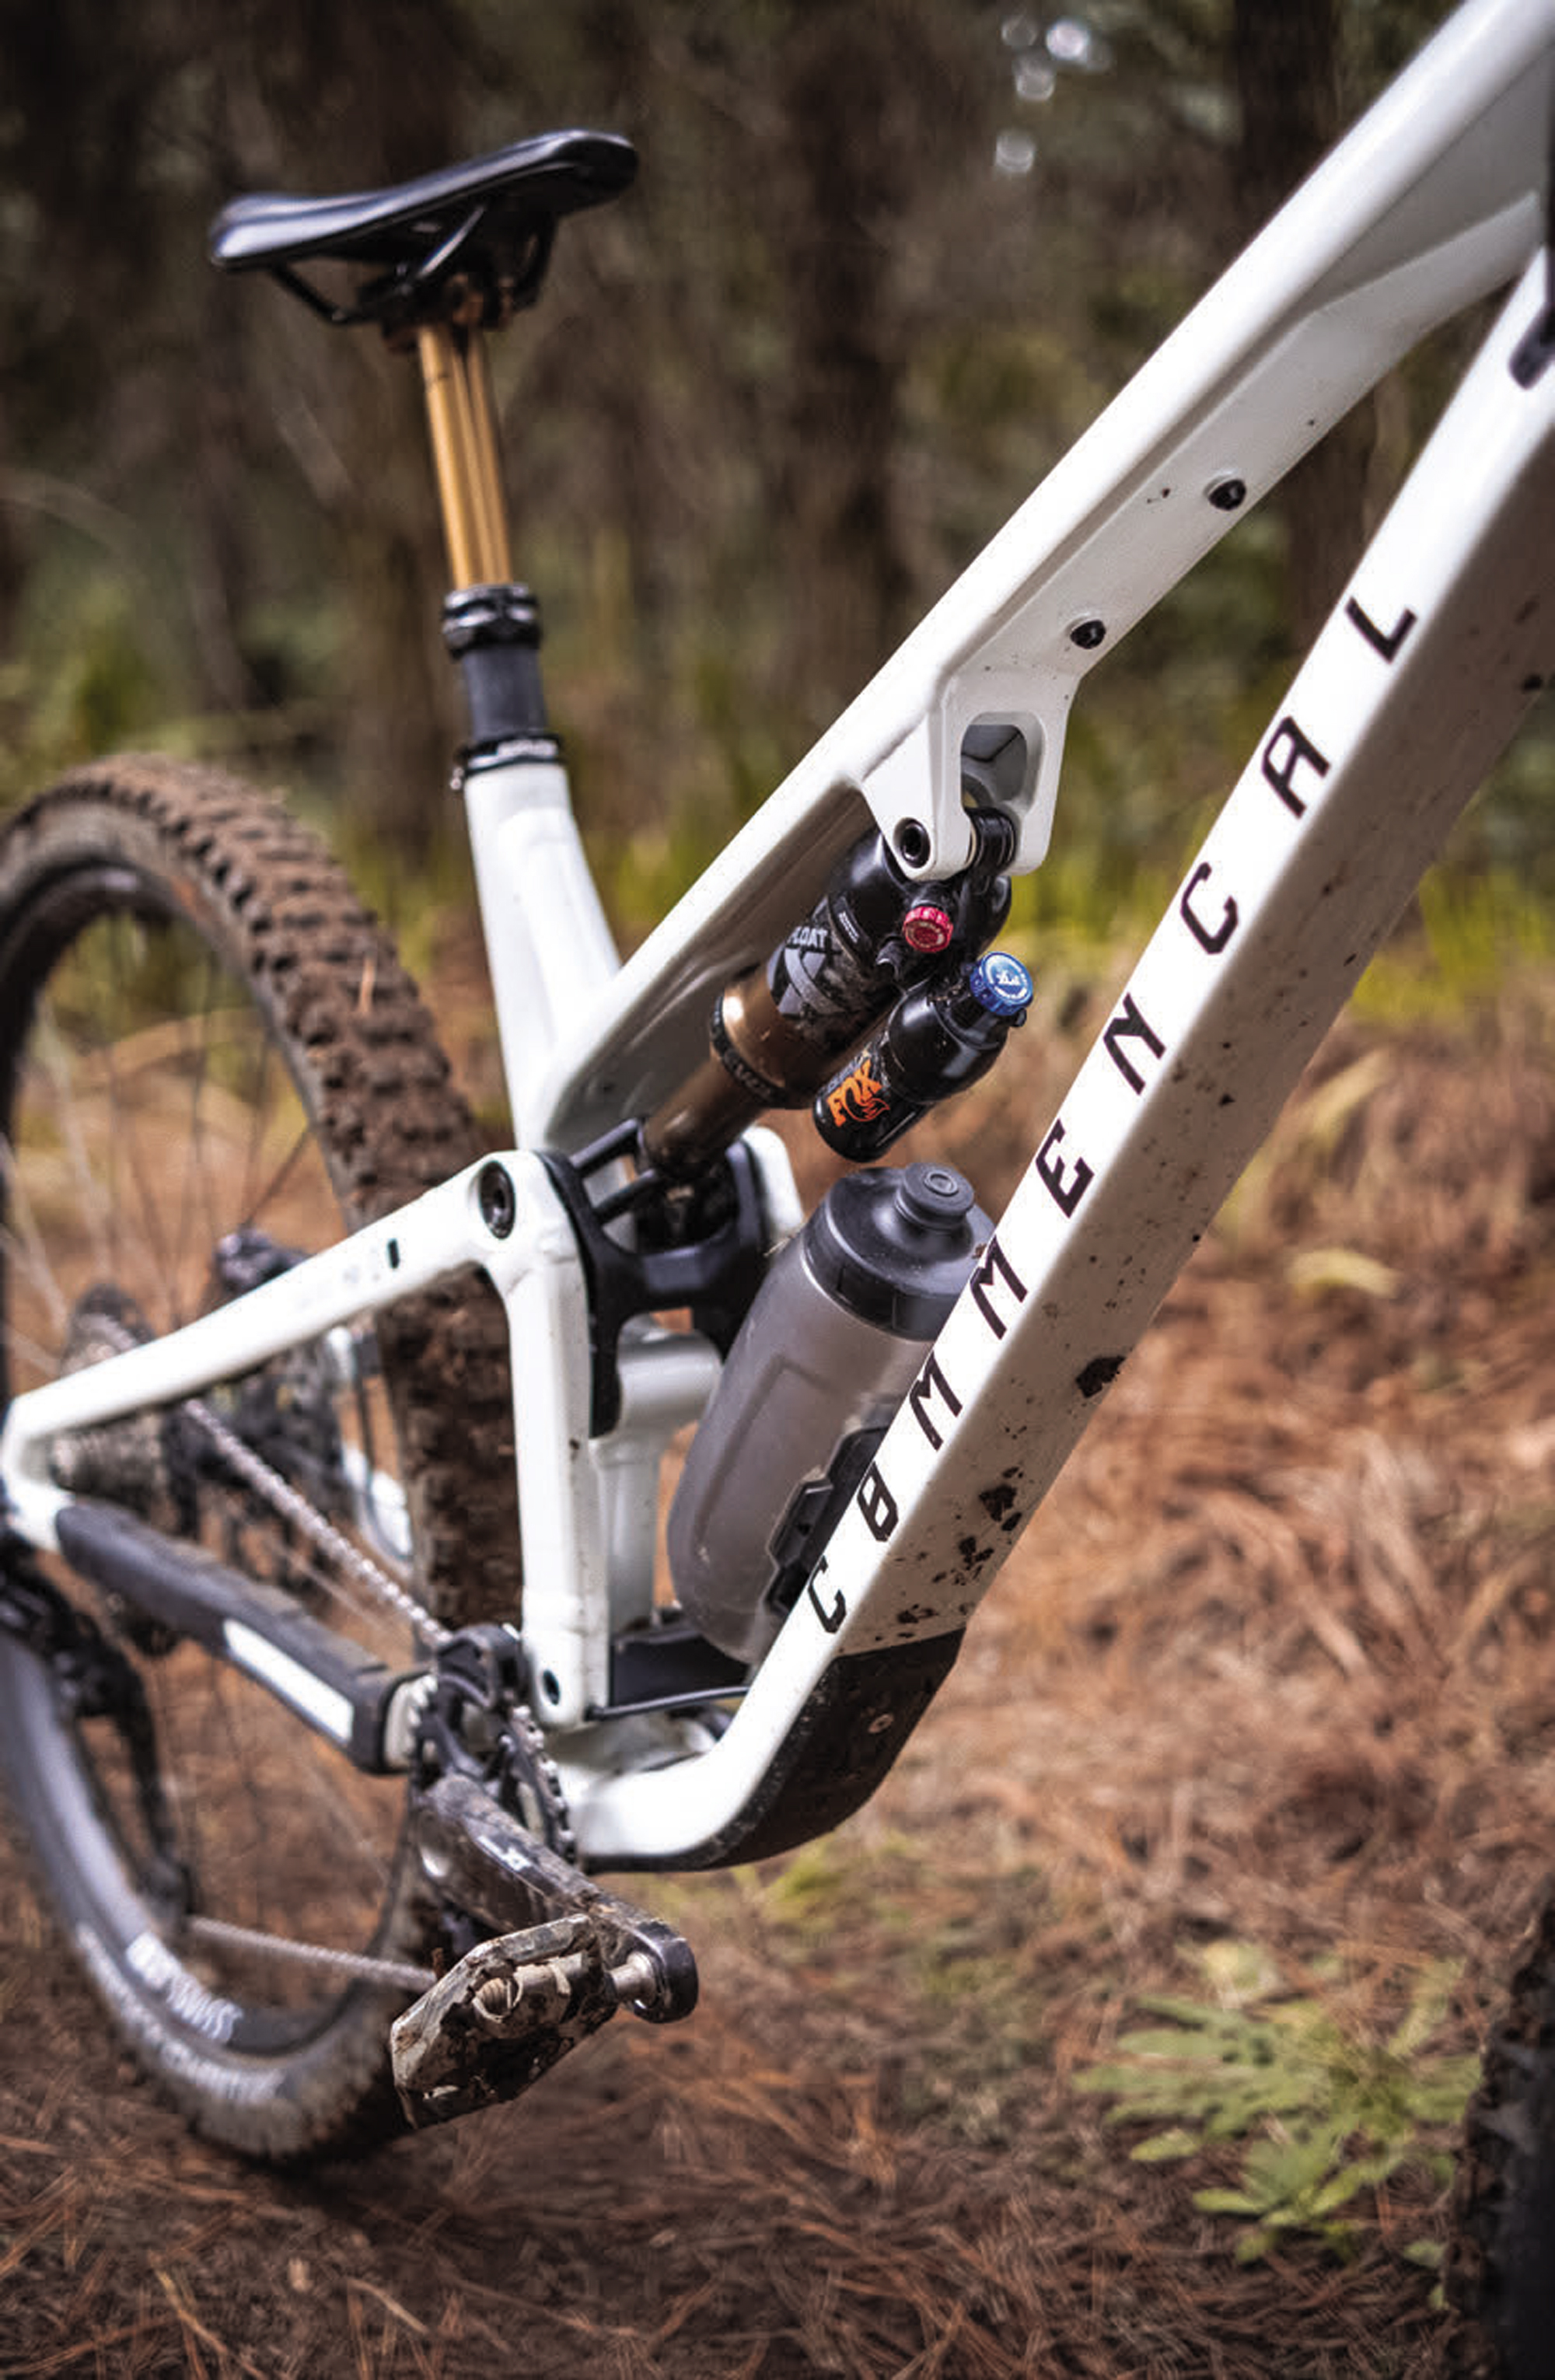
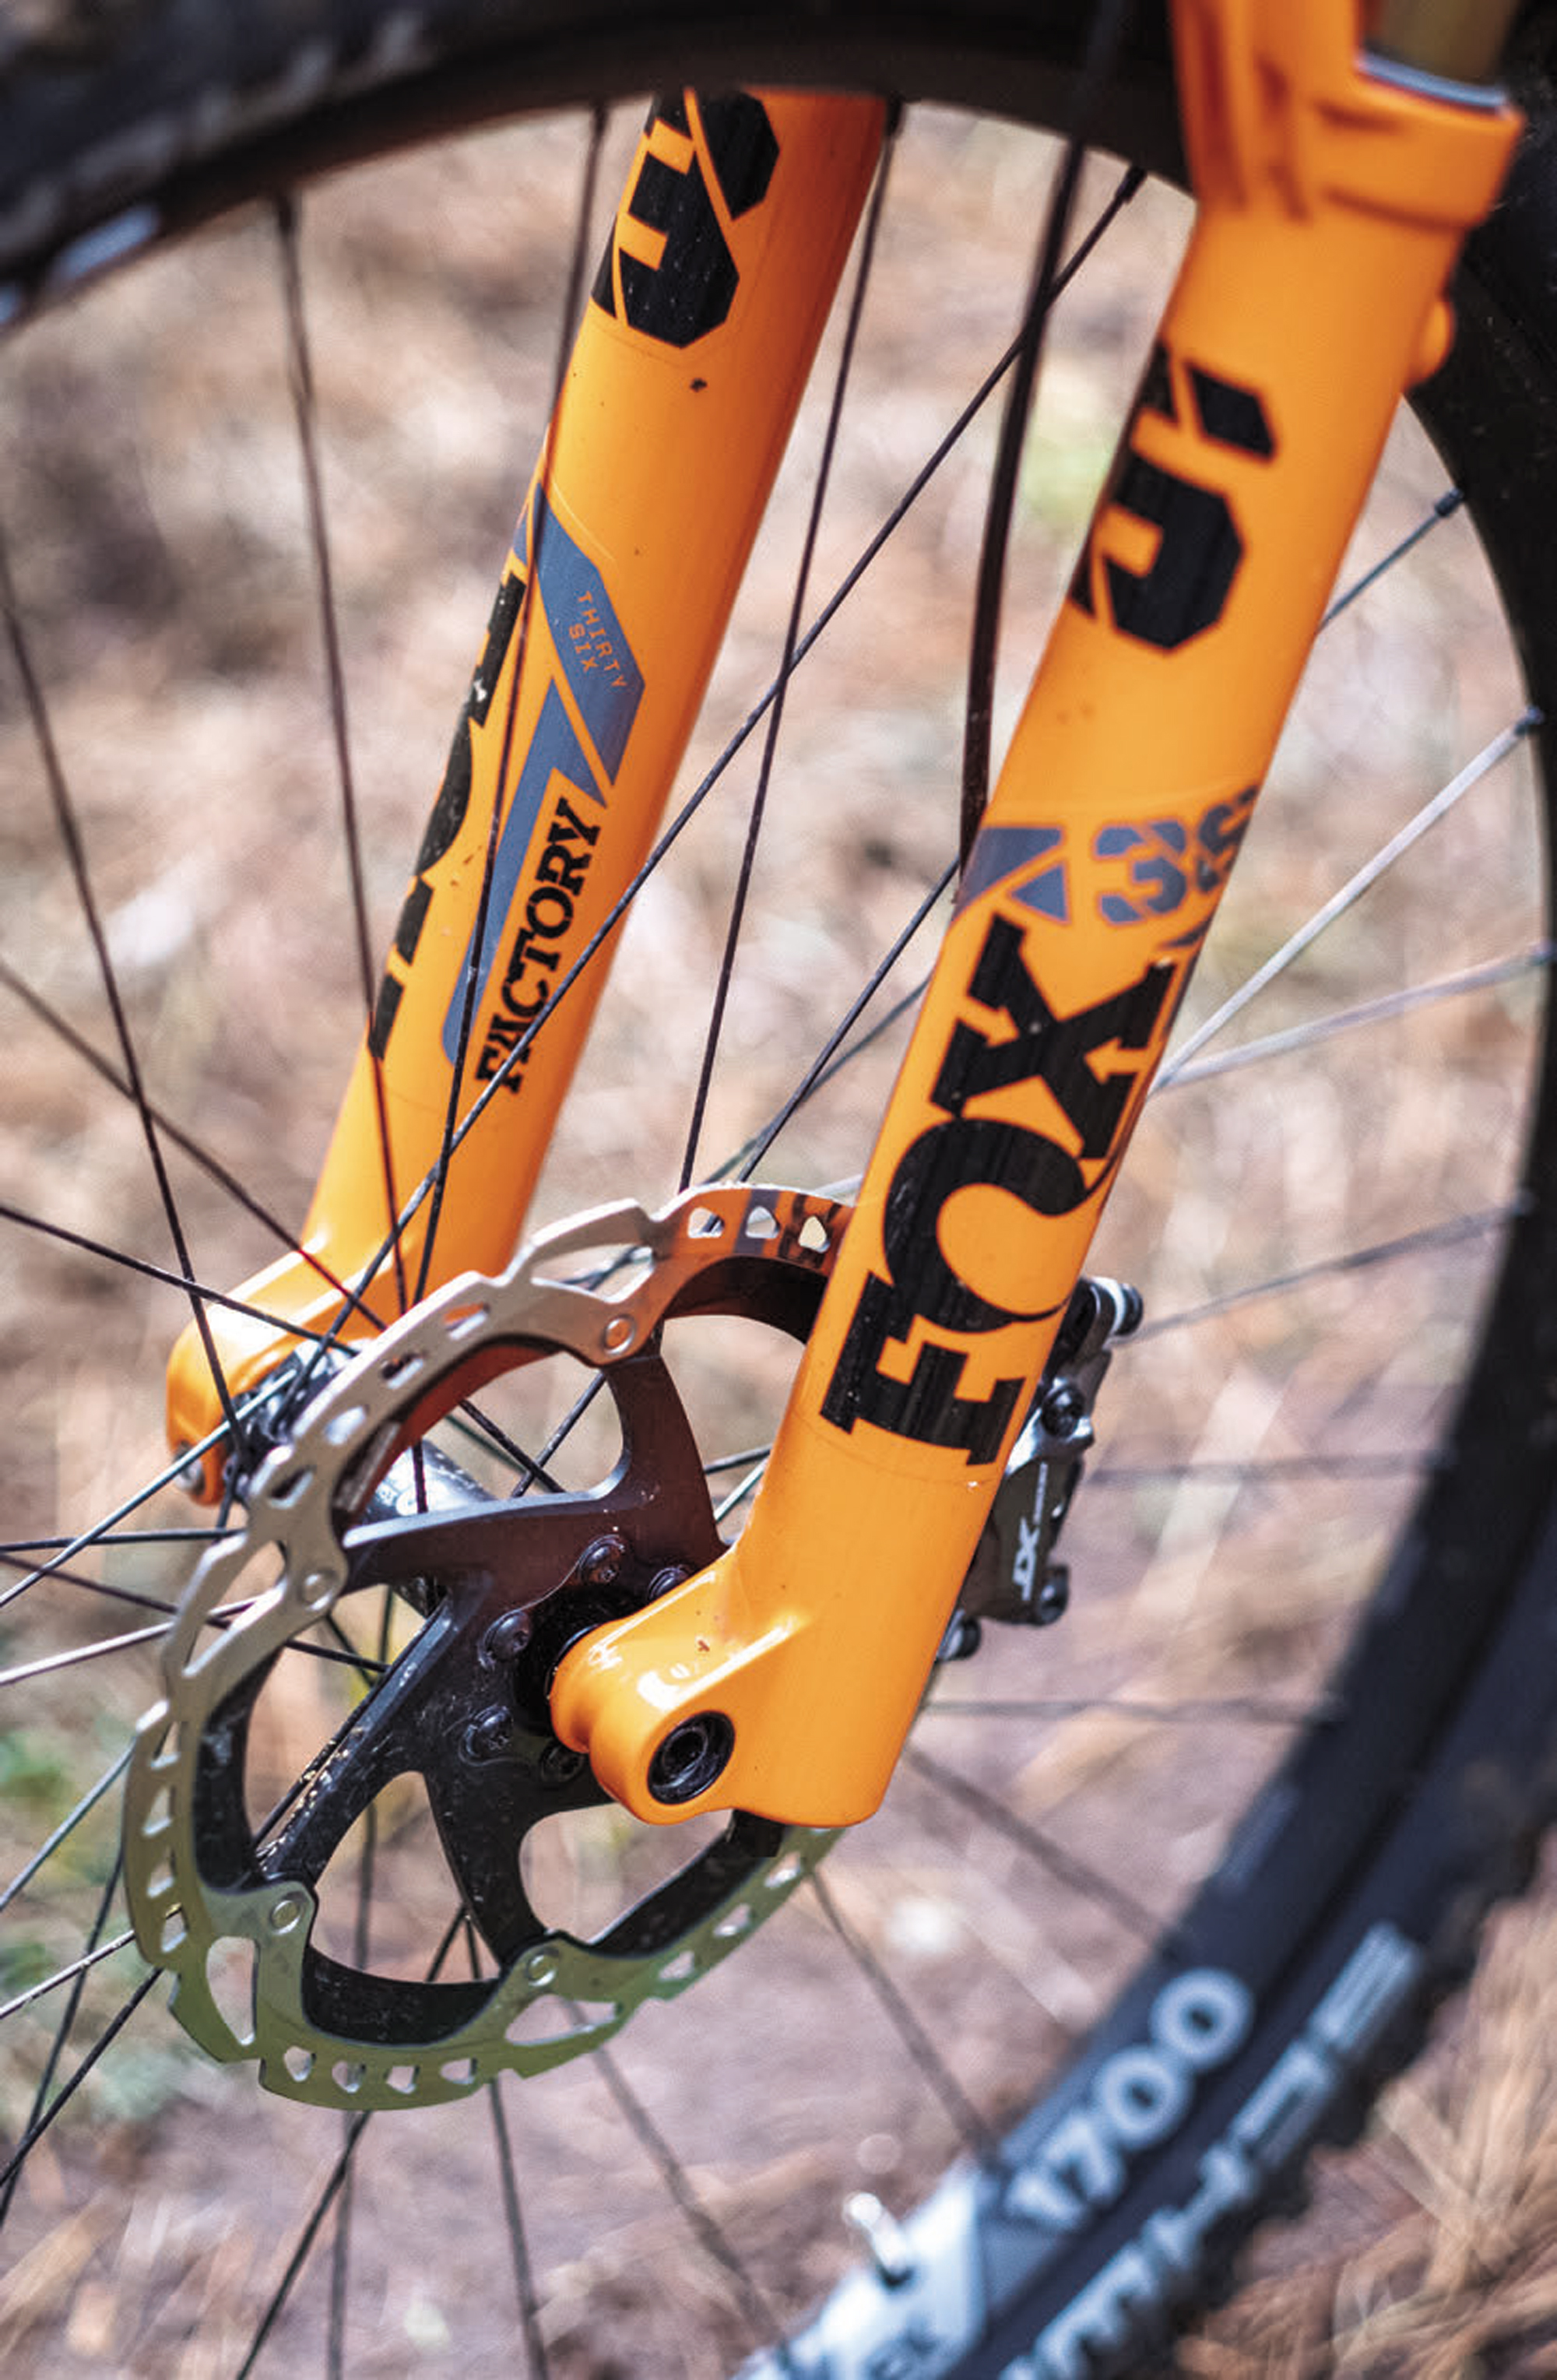
Frameset
Keeping with Commencal tradition, the frame is 100% alloy like the rest of their range—not a carbon fibre in sight. Rolling on 29er wheels, with 150mm rear travel and 160mm up front, this bike strikes the sweet spot of travel vs. pedalling ability and agility. Carrying speed is key to Enduro and the V5 delivers.
An alloy frame would be a prime candidate for a threaded bottom bracket but, for whatever reason, Commencal has stuck with a bb92 press- fit style. In fairness, I’d rather have a press-fit in an alloy frame than a carbon one, so I guess they’ve landed in a bit of a middle ground on the V5.
The frame features a plethora of tubing profiles; there is not a single ‘regular’ round tube anywhere. Depending on location, each tube is shaped to achieve specific strength, weight and compliance. Under the top tube is an accessory mount, and there’s a bottle cage mount situated in a small channel indented in the downtube tube. As is customary on most bikes today, a UDH hanger graces the dropouts.
The front and rear triangles connect with a series of bolts, bearings, and pivots that make up the VCS (Virtual Contact System) linkage. Ten bearings are spread through the swingarm’s five pivot points. The swingarm has some smart subtleties: bearing caps help keep grime out and expander plugs in the pivot axles help keep them tight. The lower end of the shock features a flip chip, allowing for a small amount of geometry customisation.
Let’s get through the details before looking at my thoughts after a couple of months aboard the V5:
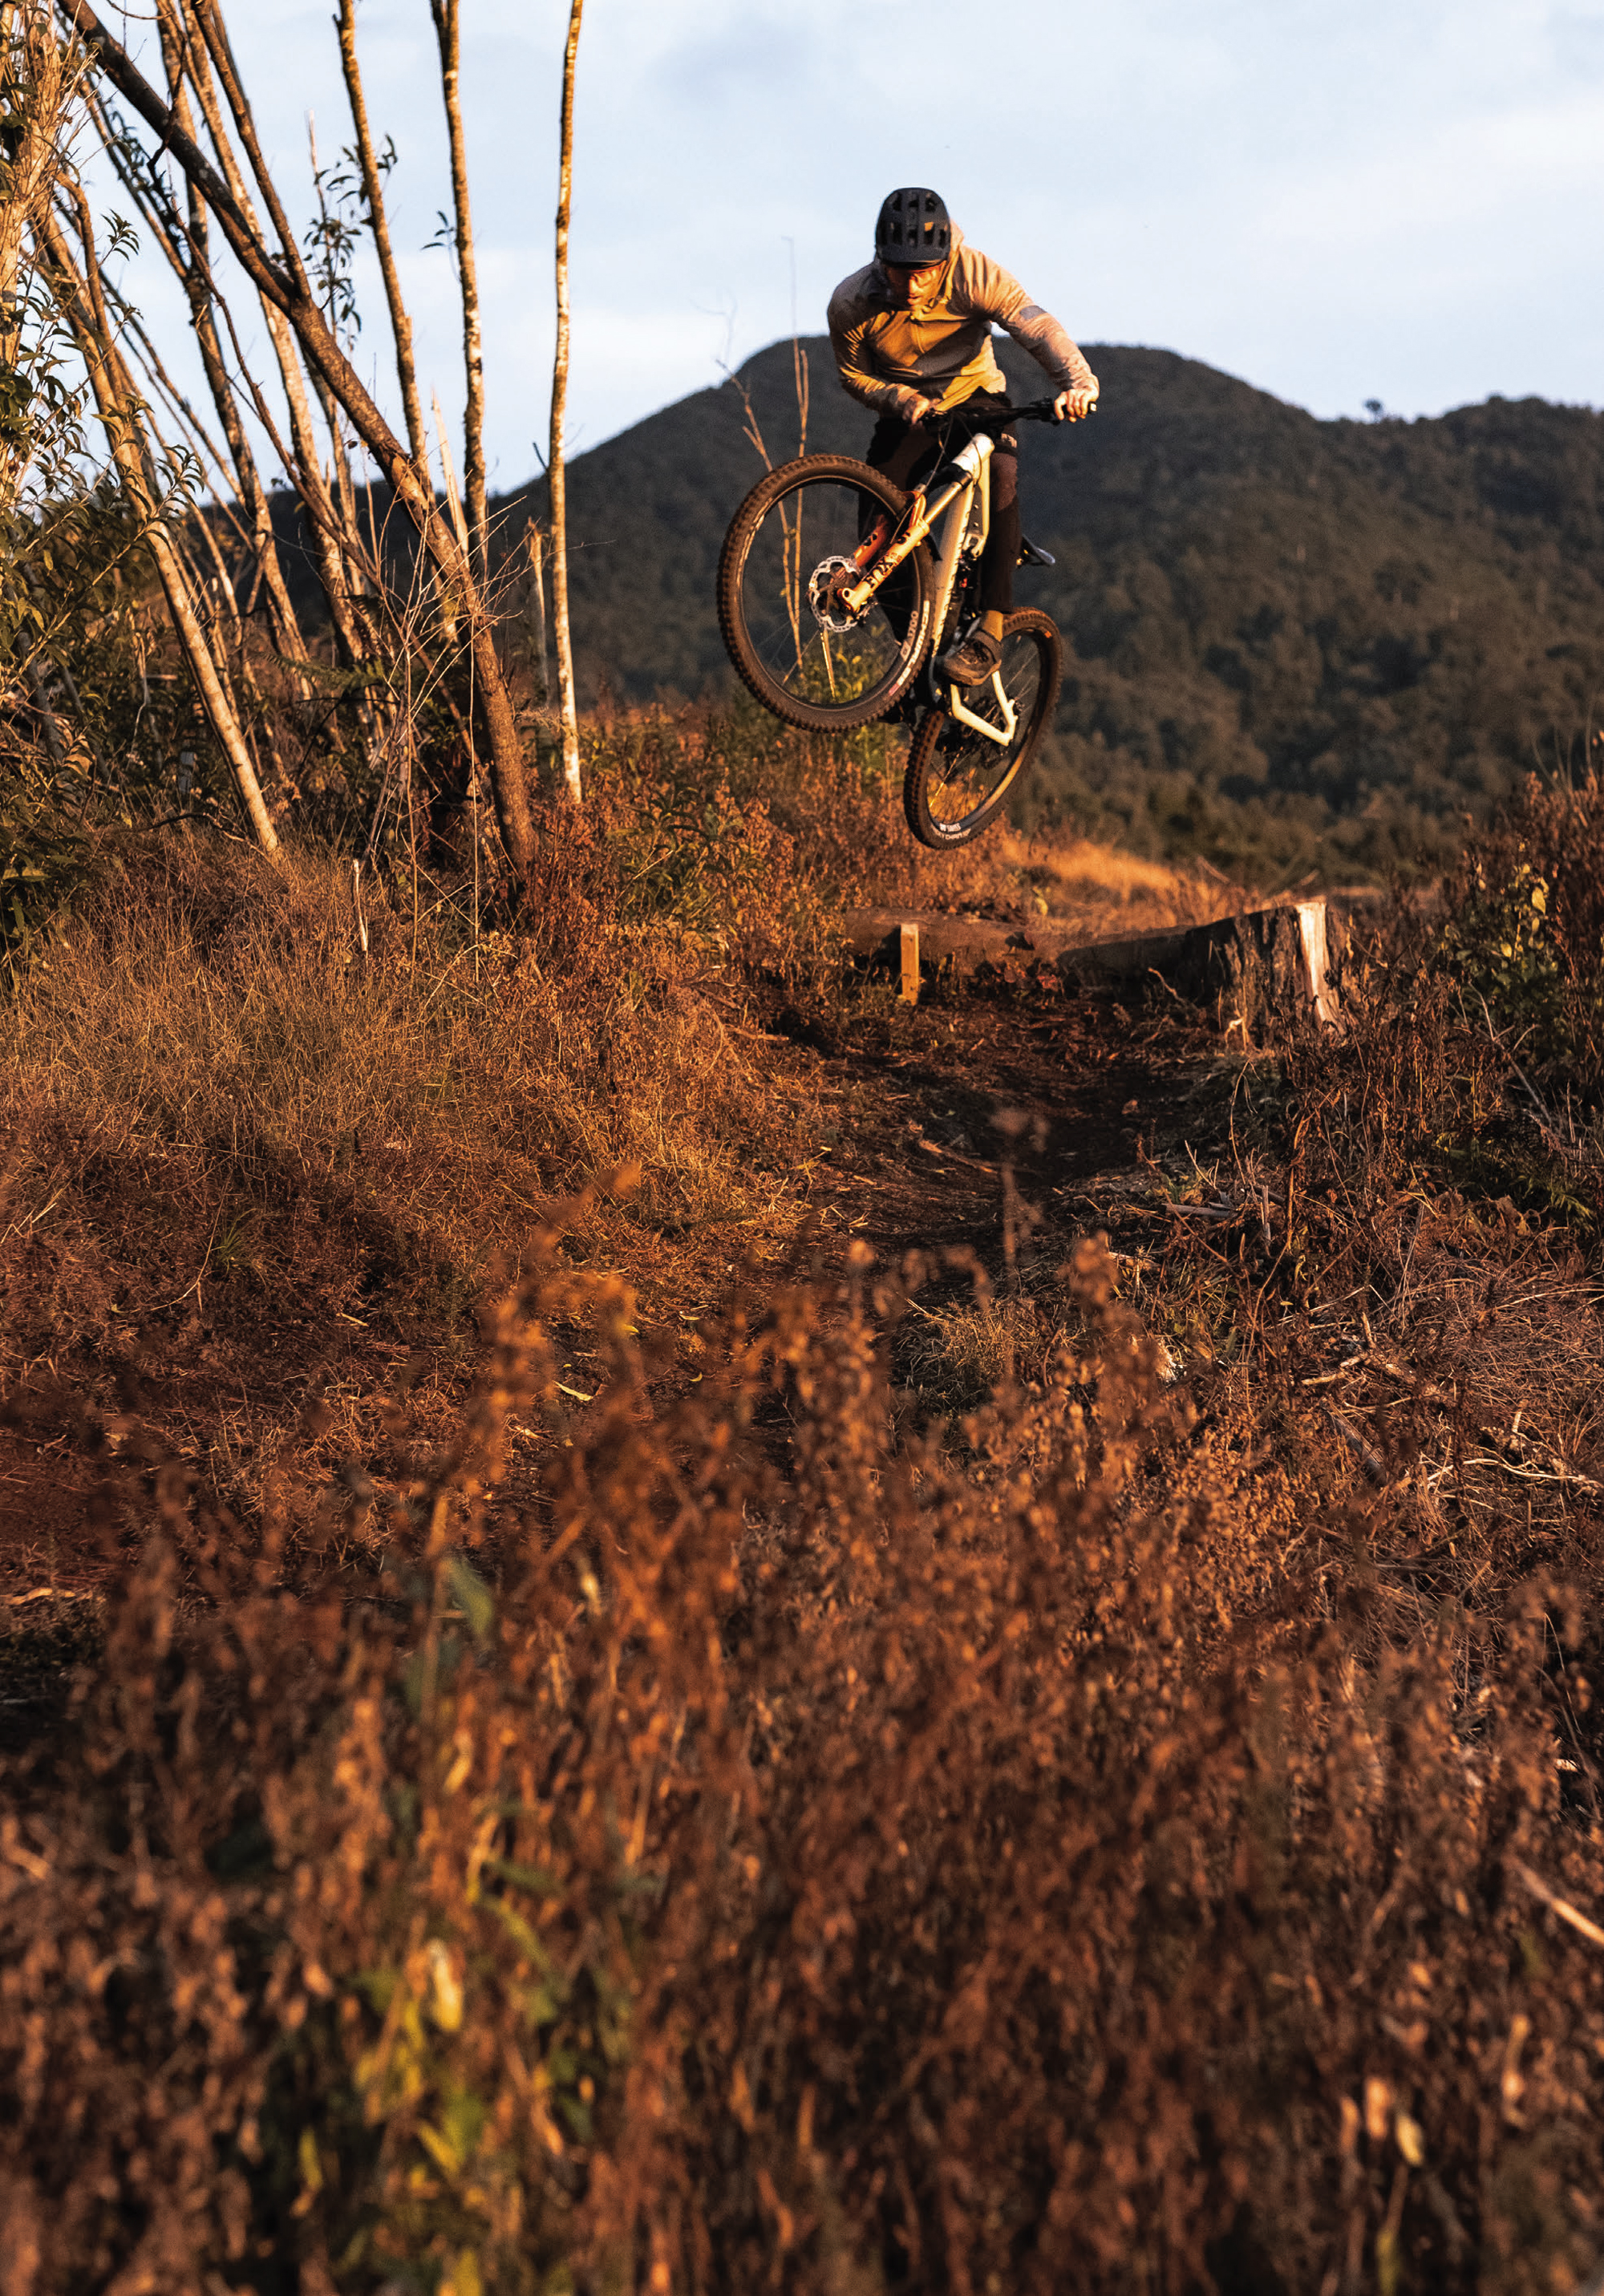
Geometry
Although nothing jumps out as too progressive or outside the realms of sensibility when looking over the geometry chart for the Meta V5, there’s a lot to like. There’s a flip chip on the lower end of the rear shock, and other than a cursory couple of rides in ‘High’ to confirm there’s no massive difference between the two settings. I’ve stuck with the bike in ‘Low’, as I’d imagine most riders would do.
There’s nothing crazy here; I’d point out a middle-ground head angle and reasonably steep seat tube angle. As is becoming customary with Commencal’s bikes, the stack height is above average and pretty big for a medium-sized frame, a trend that seems to be taking hold with some brands.
The Ride:
According to the Commencal size chart, at 176cm tall, I sit right at the top of the Medium recommendation and at the bottom of the Large. With a bike of this ilk and travel category, I chose to go smaller rather than larger, and settled on the Medium size.
A couple of weeks after exchanging a emails with Commencal about how and where I ride, how long I’ve been riding, and what sort of rider I consider myself to be, a pre-tuned Meta V5 arrived on my doorstep. Frothing to get out, I quickly mounted the handlebars in the stem, attached the front wheel, and was good to go; the assembly only took about five minutes, including removing the bike from the box. A quick driveway test confirmed the supplied setup felt like it was in the ballpark of where I’d like it to be; they’d even trimmed the bars to my preferred 760mm width — bonus.
To give my thoughts some context, compared to my usual ride, this bike comes in at 10mm less travel on either end, a 14mm shorter reach, a 10mm higher stack, a 2-degree steeper seat tube, and almost equal chainstay length and head angles. Considering the 30mm riser bar, my hands end up roughly 30mm higher than my bike – quite a lot. Weight-wise, the Commencal comes in a little heavier, but not by an amount that makes a difference to anything; it adds to the feeling of stability. Considering how similar the geometry is between my bike and the Meta V5, they’re poles apart in how they ride.
I get on some bikes, and everything clicks immediately; this was one of them. Although I initially felt the shorter reach and higher front end compared to my bike, I quickly forgot these differences and was comfy on the bike after just a couple of runs down a trail. Not once have I felt like I wasn’t in the correct position on the bike or had to shift to a particular body position to get the bike to do what I wanted; everything just seems to click nicely, and now has me questioning my usual setup.
The suspension settings, as supplied, 71 psi in the fork and 177 in the shock, were ideal for getting to grips with the bike; nice and balanced, with no surprises. A couple of rides in, as I got used to the bike and speeds increased, I added a little air pressure front and rear and, taking this into account, slowed the rebound and added a click of compression damping to both front and rear. The Meta V5 is a full-gas Enduro bike and, although optimised for descending, you still have to make it to the top of a hill before heading back down. The Meta V5 is not a spritely climber, but it gets there. Out of the saddle, while under power, the suspension firms up substantially and gives an excellent platform to push against, i.e. when tackling steep technical climbs or sprinting over a punchy climb, it does both well. When I’m ticking my way up a gravel road or a long, smooth single-track climb, I’m immediately reaching for the lockout on the shock; the firm pedalling platform and steep seat tube make the climbing position comfortable and efficient.
Descending is a dream, highlighting some savvy design and an equally impressive suspension package. The VCS linkage is a virtual pivot linkage offering super plush suspension that’s supple off the top, offering wicked levels of grip; through the mid-stroke, it feels pretty linear but still has a good level of support. Even though it has 150mm of rear travel, it feels more over big hits or flat drops as it firms right up at the end of the stroke, preventing any harsh bottom outs, and I can’t think of a time when I’ve actually felt an abrupt end of the travel.
With all the links and pivots involved in the VCS, the rear end of the bike is quite wide to accommodate it all. It’s so wide, in fact, that it’s quite normal to drag my legs on it while riding. Not to the point of being annoying, but it’s noticeable and will inevitably rub and mark the frame over time. Fortunately, the bike I received has a tidy ride-wrap installed, so the paint isn’t affected.
I find the front end stiffer than many bikes, and the suspension works in combination with this front-end rigidity and the flex of the back end to provide a ride that’s quite unique, but only in good ways. While charging through rough sections, the bike remains composed with amazing stability and with no harshness or the feeling of being deflected off obstacles or ‘pinged’ off square edges. The chassis floats across the chunder, reacting more to rider input than the trail feedback. Thanks to this, I felt less fatigue on long descents, feeling there was no need to wrestle the bike to stay on line or keep it where I wanted, I could just stand centred on the bike and let it do the work.
Considering the weight, travel and reasonably linear mid-stroke suspension kinematics, the Meta is surprisingly lively and is fun to pop off trail features and manual through sections; even though it’s such a sled, it strikes a surprising balance of high-speed downhill capability and mellow trail cornering agility and playfulness.
The overall balanced feel lends itself to aggressive and controlled cornering. Initiating turns or quickly changing direction is simple, not requiring any dramatic weight shifts to maintain traction.
Adding to the predictability and stability is some well-engineered flex in the back end, that works in harmony with the suspension. Much like the Cannondale Habit LT I reviewed a few months back, there’s an amount of lateral flex in the swingarm. Still, tuned compliance has significant advantages, particularly at this mid-travel level. It helps keep the bike composed in the rough and gets across off-camber more smoothly by assisting the wheel to stay on the ground rather than being deflected off bumps (where stiffer bikes would rely more heavily on just the suspension to move the wheel). I’m not sure this trait is necessarily faster in itself, but the resulting reduction in fatigue over the long run is certainly noticeable.
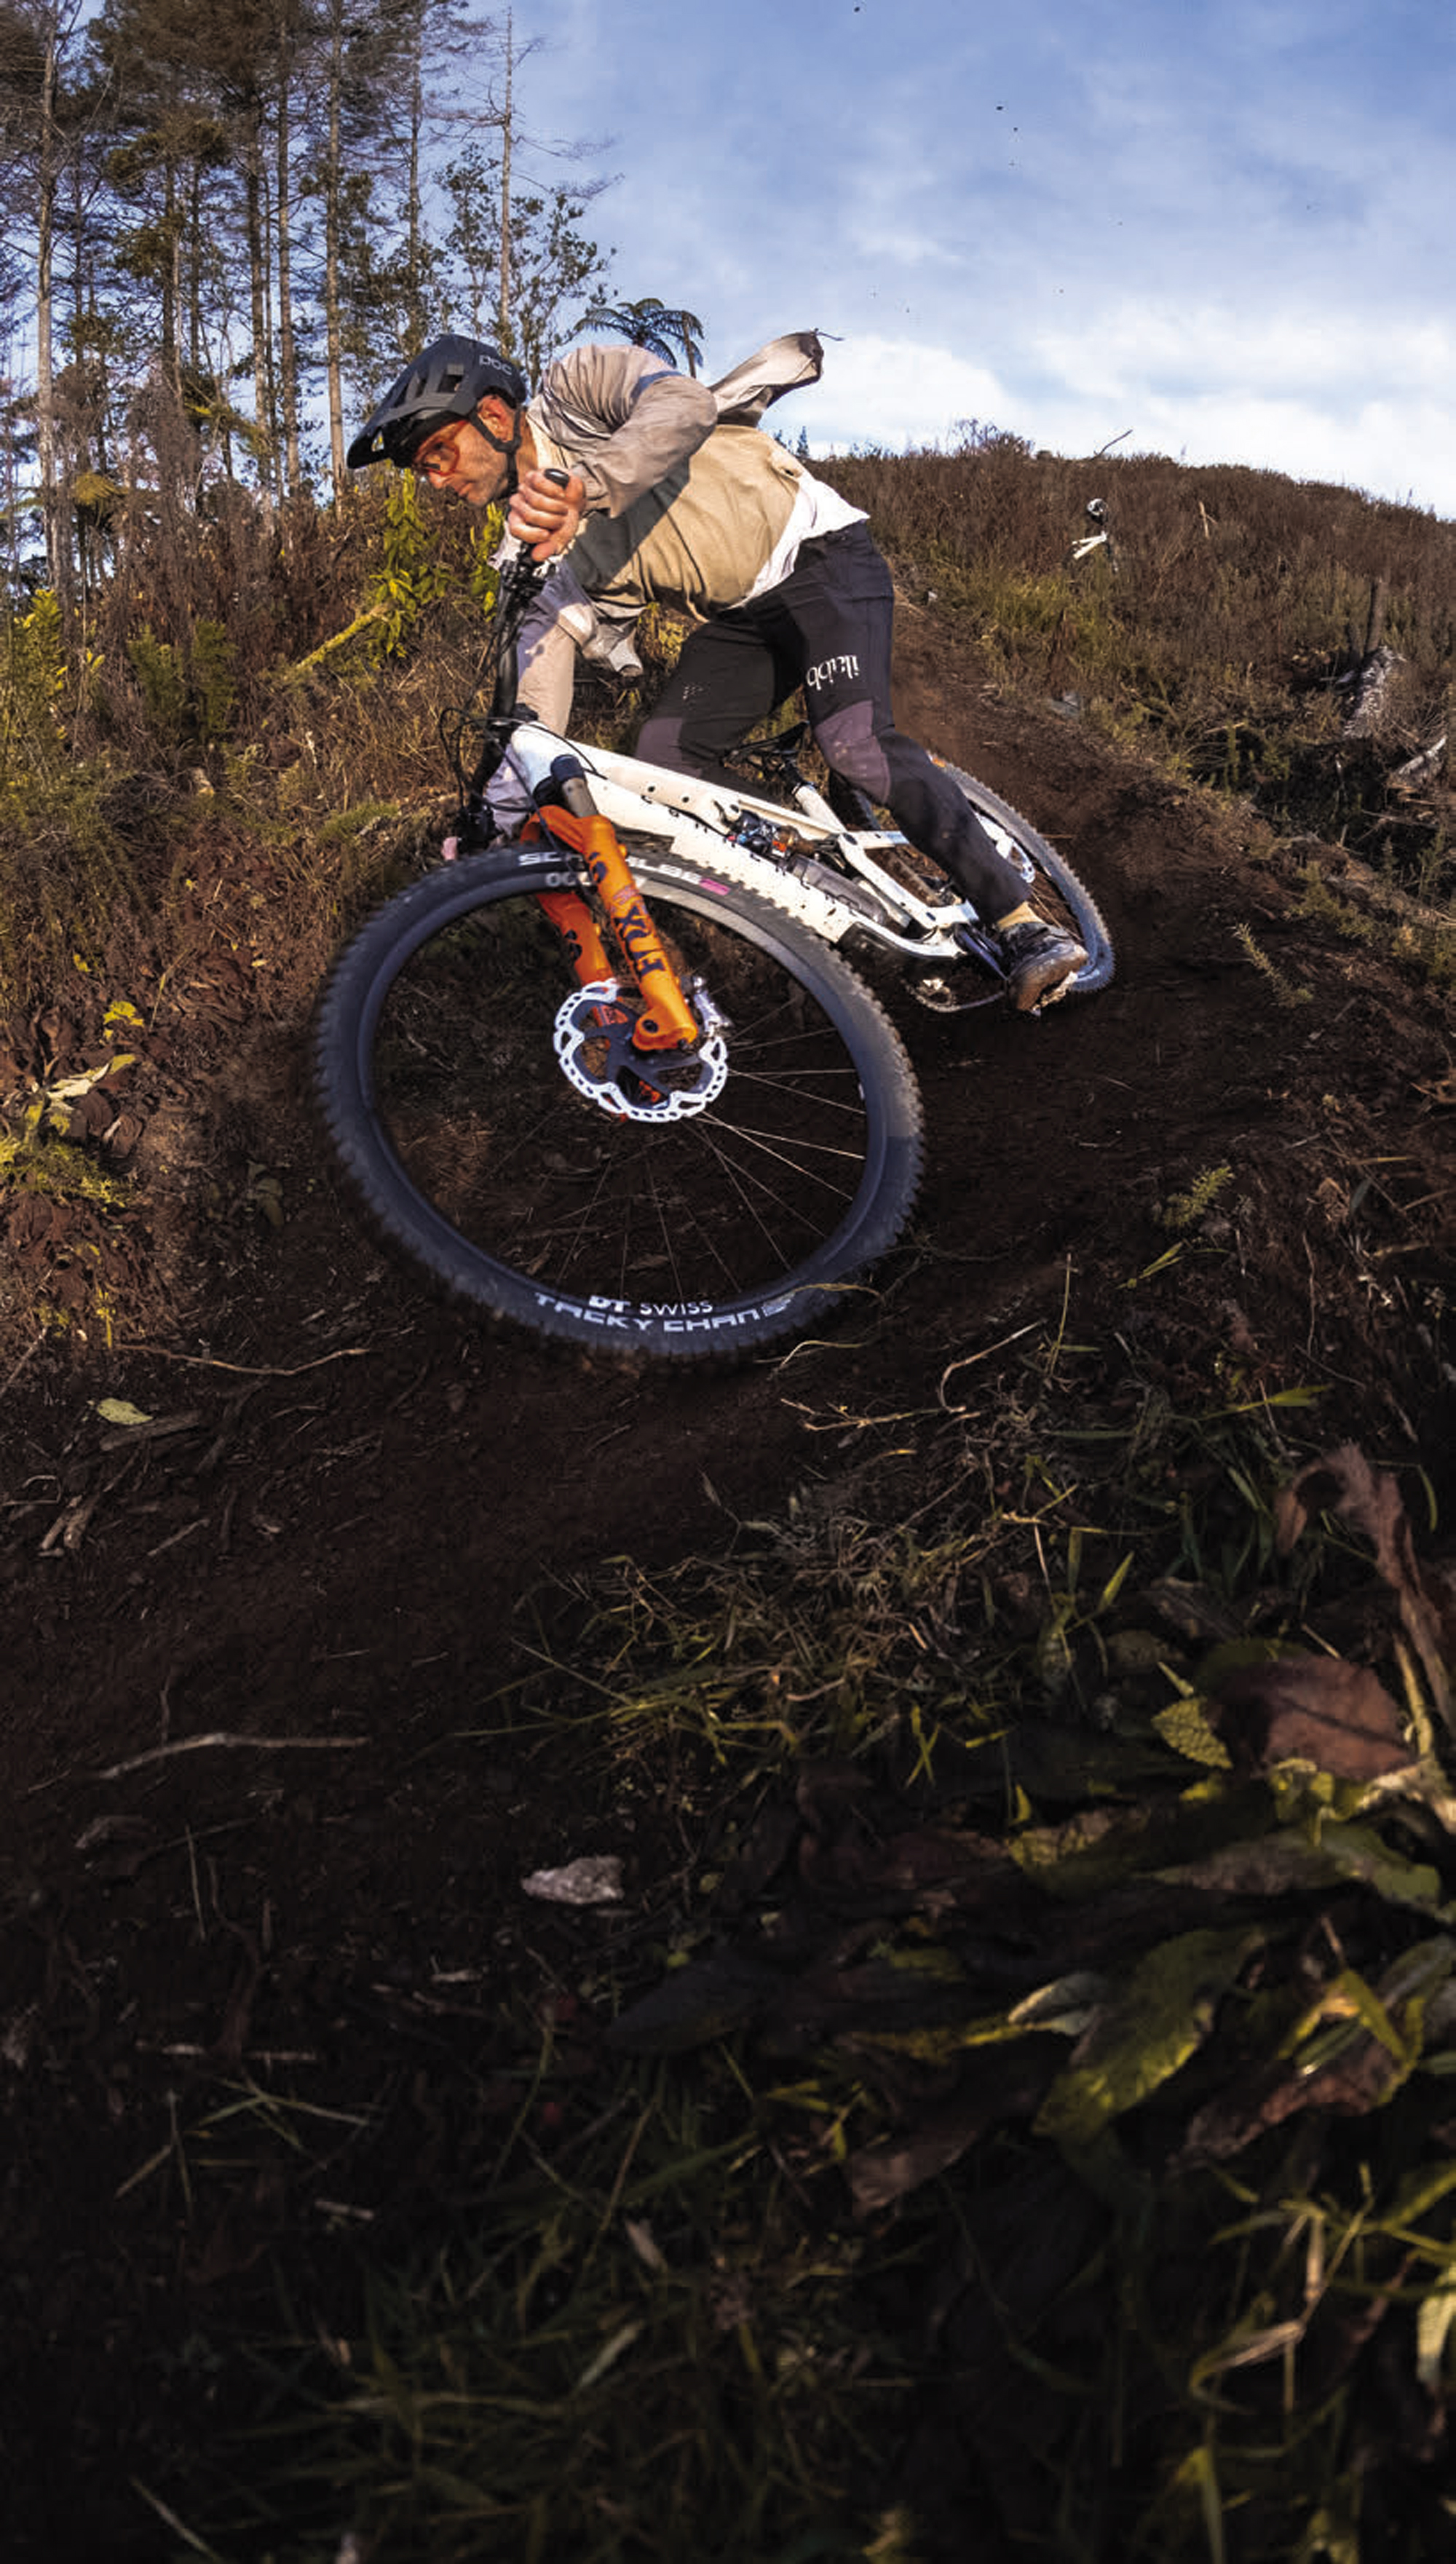
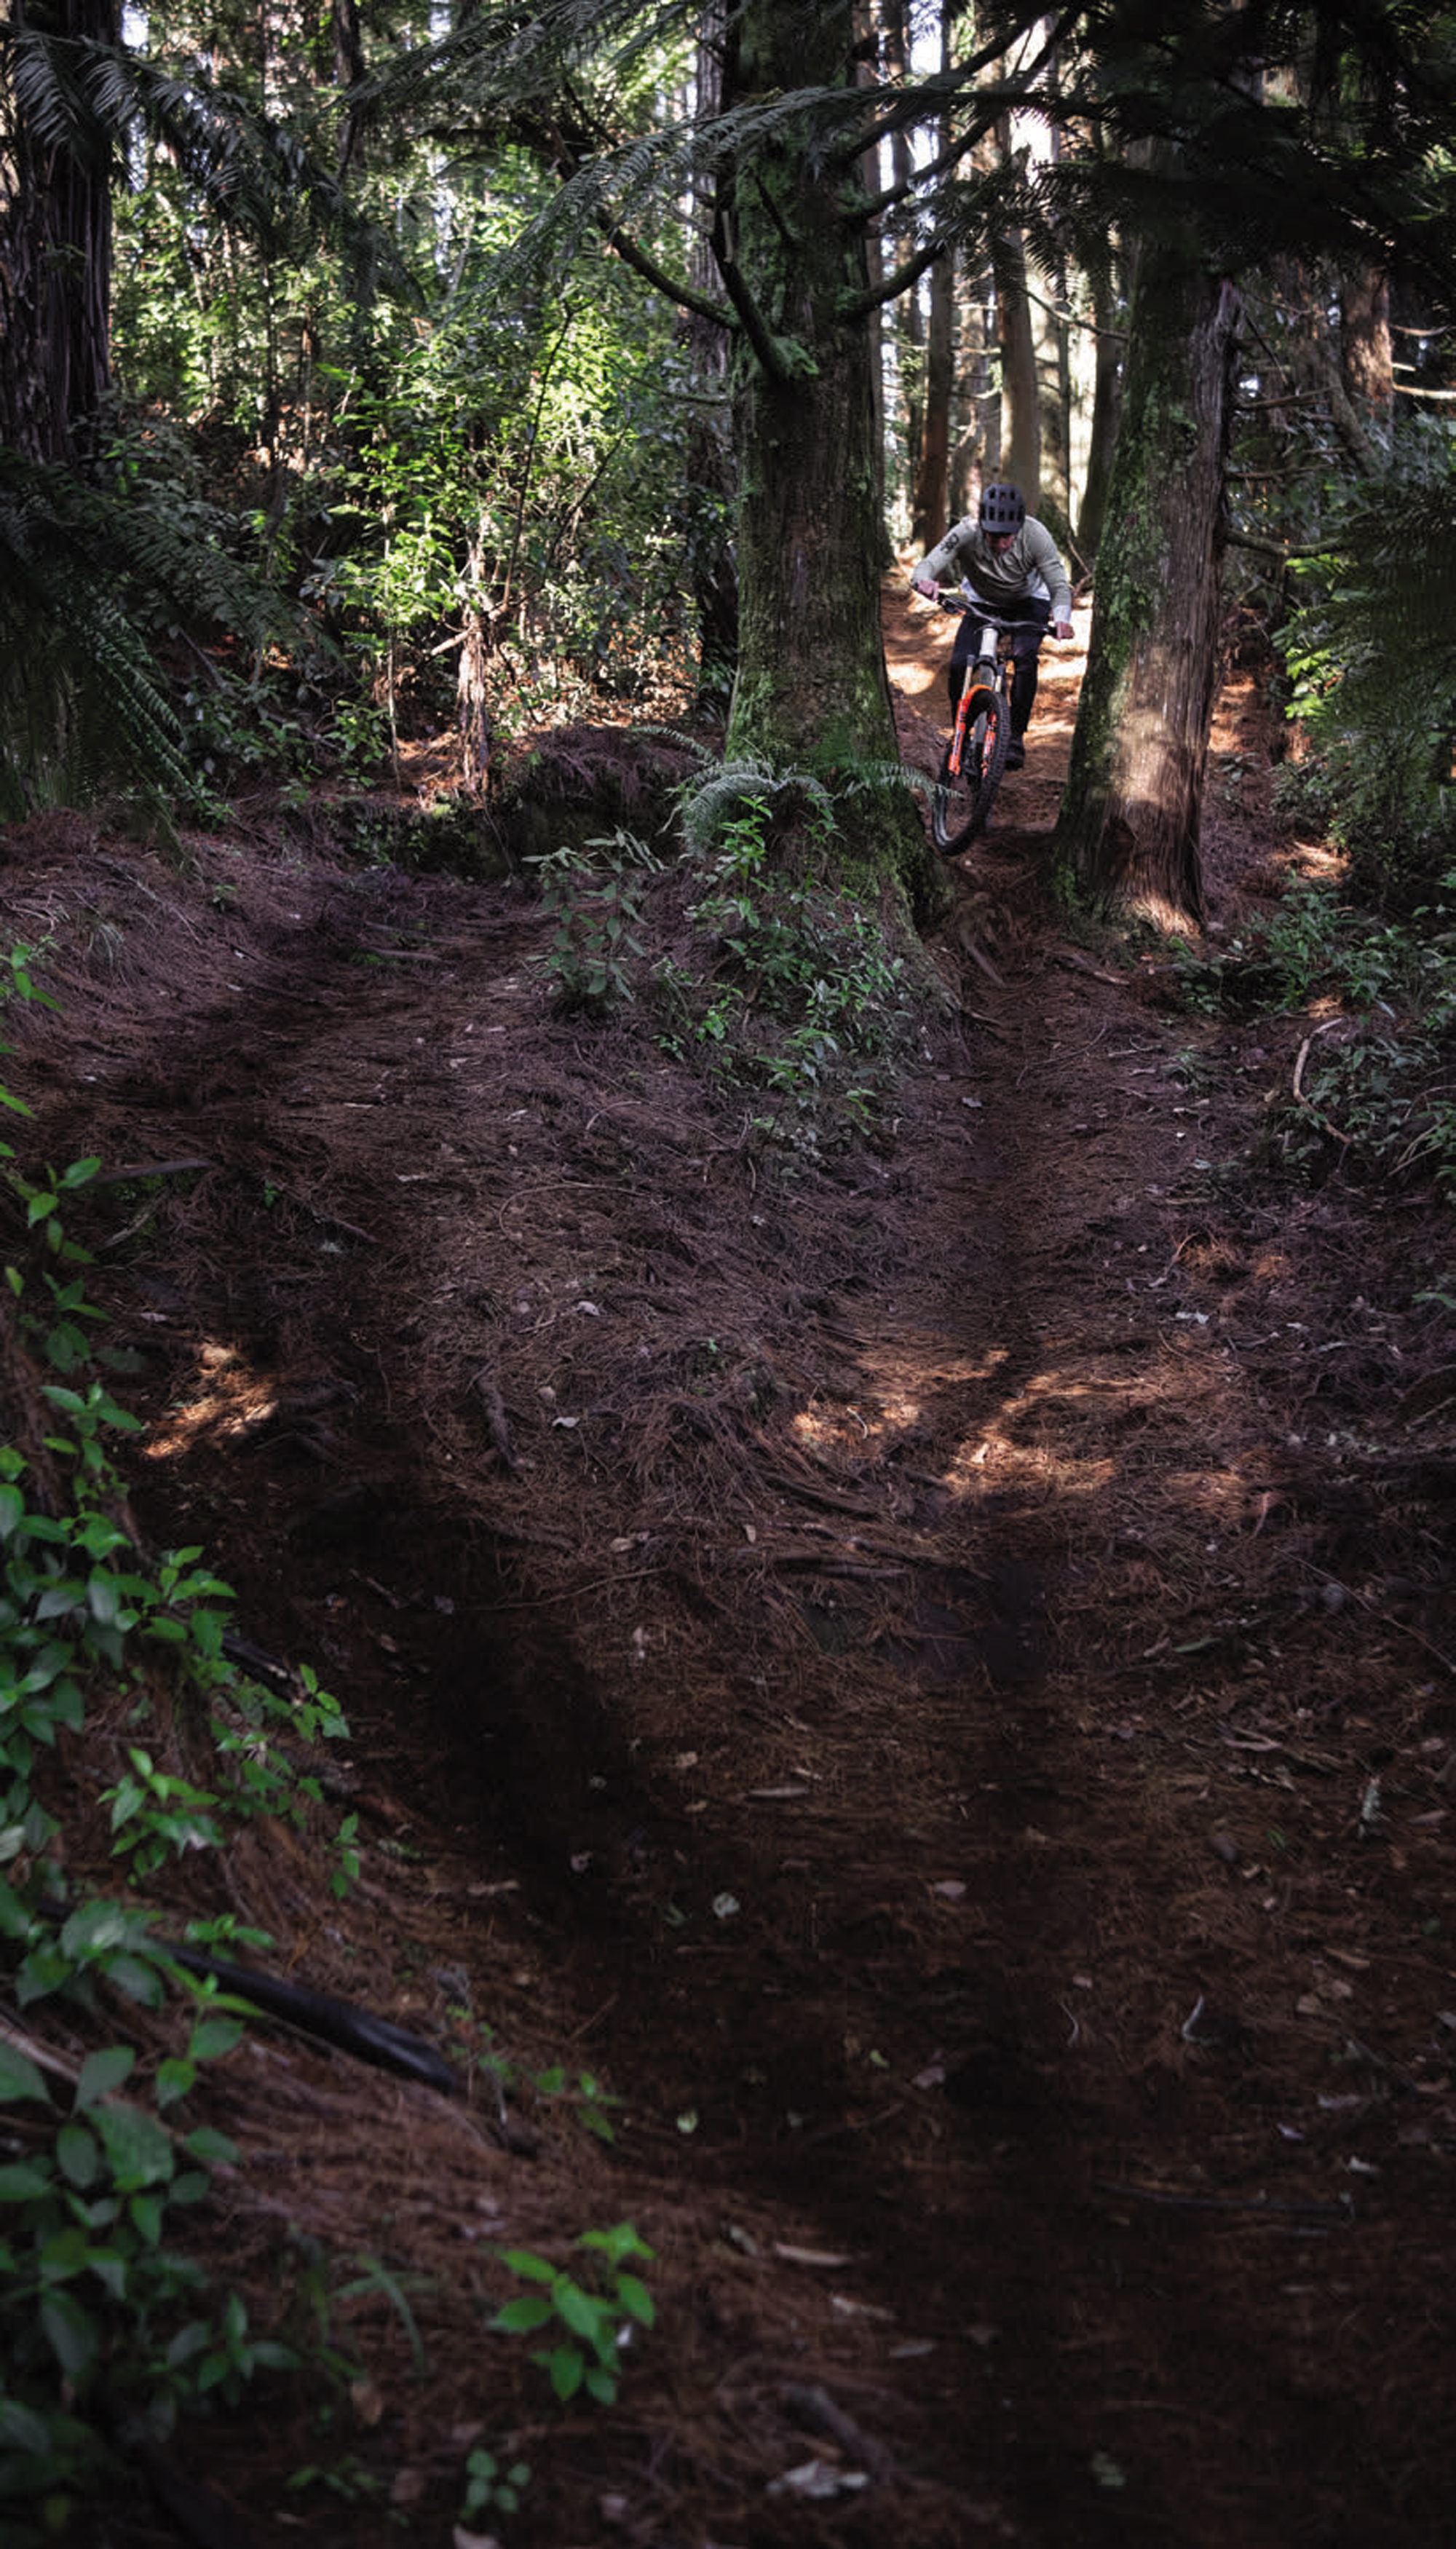
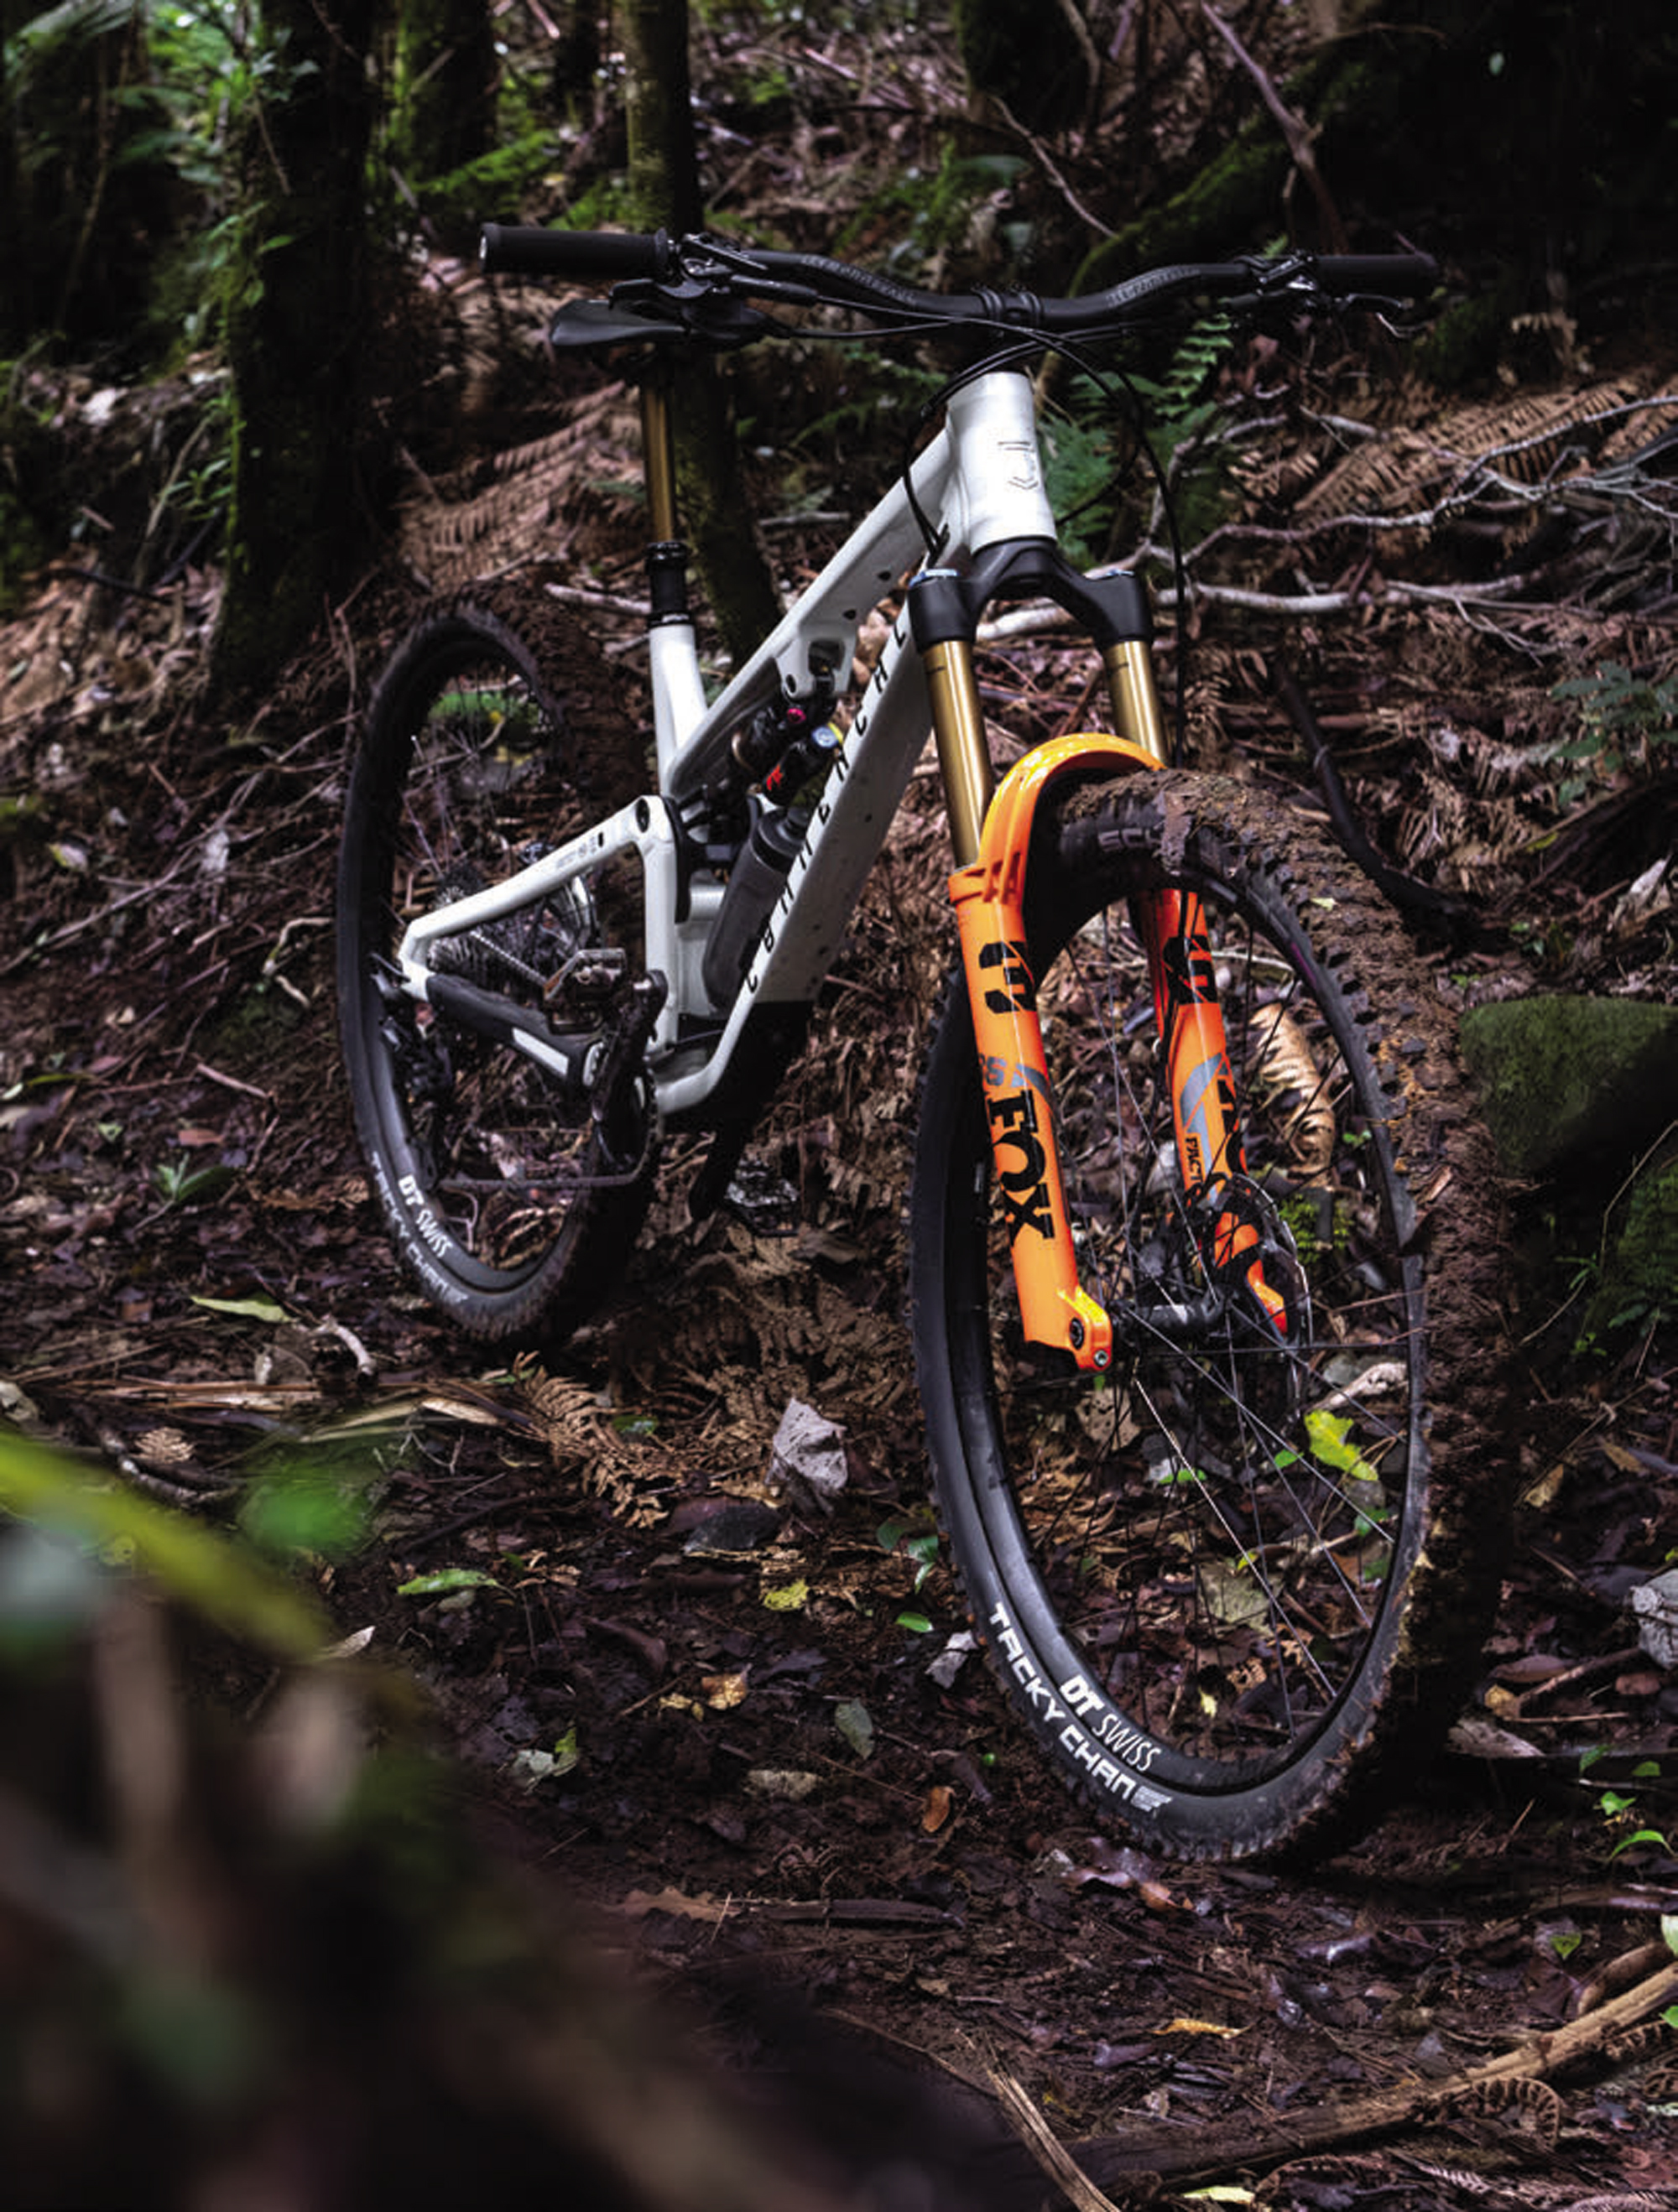
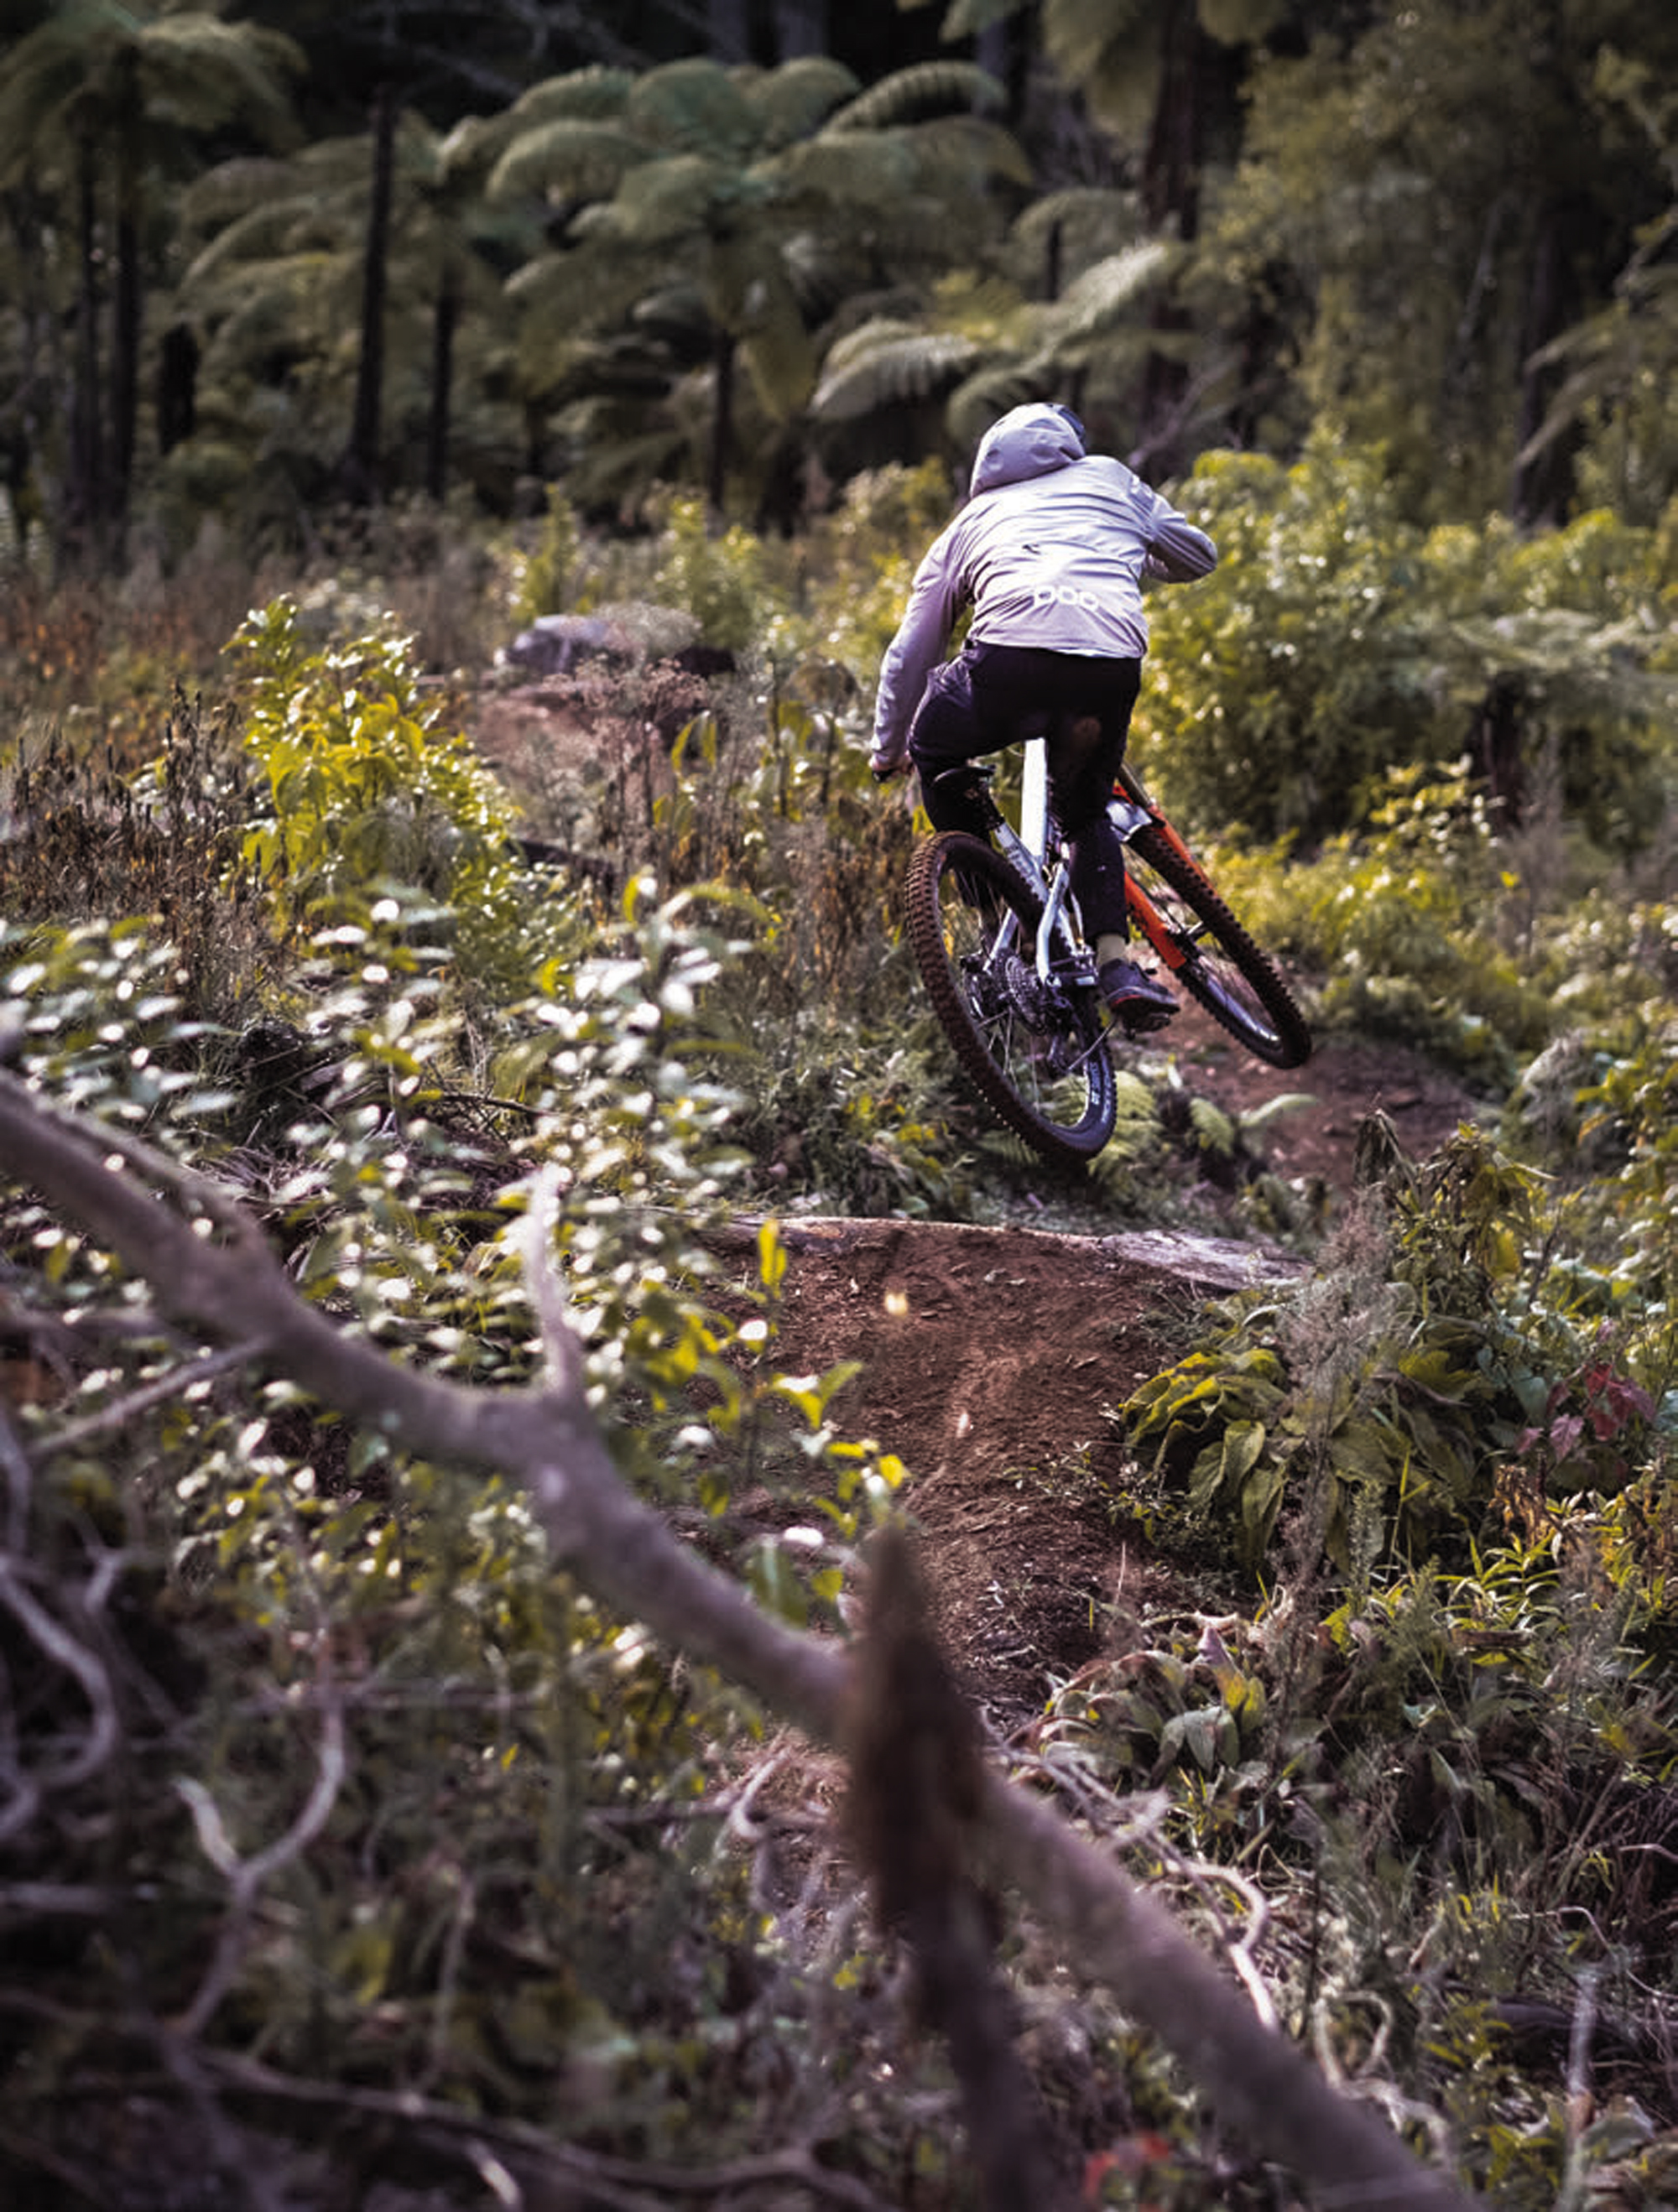
One thing that struck me early on was how quiet the bike is. Thanks to substantial chainstay and seat stay bumpers and tidy cable routing, the bike maintains a nice, dull sound when on the trails. By the look of those bumpers, the chain is still hitting them while slapping around, but they’re doing their job well and keeping sounds muted.
On my second ride, the frame developed the dreaded and much-publicised creaking in one of the pivots. Considering the bike had a pre- review strip down and grease, this was quite a surprise. Thankfully, after going through the involved process of getting to each pivot bolt and re-tightening them (it’s a total faff to do), the creak faded out. It seems the pivots will need some attention every 4-6 weeks, depending on the conditions they’re ridden in. I’ve had similar experiences on other alloy bikes in the past, and it seems to be part and parcel of alloy frames; when compared to a carbon frame, a bit more care and attention are necessary to keep pivots clean, tight, and creak-free, this Commencal is no different.
I’m not a fan of the Fidlock drink bottle that was supplied. Unfortunately, without customising a bottle cage, there’s no way to carry another bottle style in the front triangle. It’s much fiddlier than a standard bottle to put back in its holster after a sip. The saddle isn’t terrible, but it’s on the firmer end of the scale and, after a couple of hours pedalling up hills, it doesn’t agree with my backside; it may be my preference, but I’d like something a bit softer.
Like many others, the Commencal product managers missed a beat when it comes to the dropper post. At 175mm, it’s not the shortest drop around but, even with my 720mm seat height, a 200mm post would fit. Adjustable dropper posts are available, and I’d love to see one on this bike to maximise the drop and allow riders to fine-tune it to their needs.
The DT Swiss EX1700 wheelset hasn’t skipped a beat, and I continue to be impressed by DT’s pre-built wheelsets. The Schwalbe Tacky Chan tyres have been great for conditions at my local riding spots recently. The Ultra Soft (front) and Soft (rear) are a perfect combination, providing excellent traction in all scenarios and trails I’ve had them on. All things considered, they roll surprisingly well, although they’re showing signs of wear pretty quickly. I’ll be interested to see how they go in proper mud rather than the hero dirt of late, particularly as they’ve already lost their square edges.
Final thoughts
Riding the Meta confirmed that the old adage “fast is fun, fun is fast” couldn’t be truer for this bike. It’s easy to get it to go fast downhill, and I’ve found myself off the brakes through sections I’m usually slightly more apprehensive about. Combine this increased confidence with the agility and playfulness of the bike, and it ticks a lot of boxes for me. If you’re considering a new ride, the Meta V5 would be worth considering and, provided you’re happy to keep the rear end serviced, I’d confidently say that — much like me — you’d be stoked on this bike!
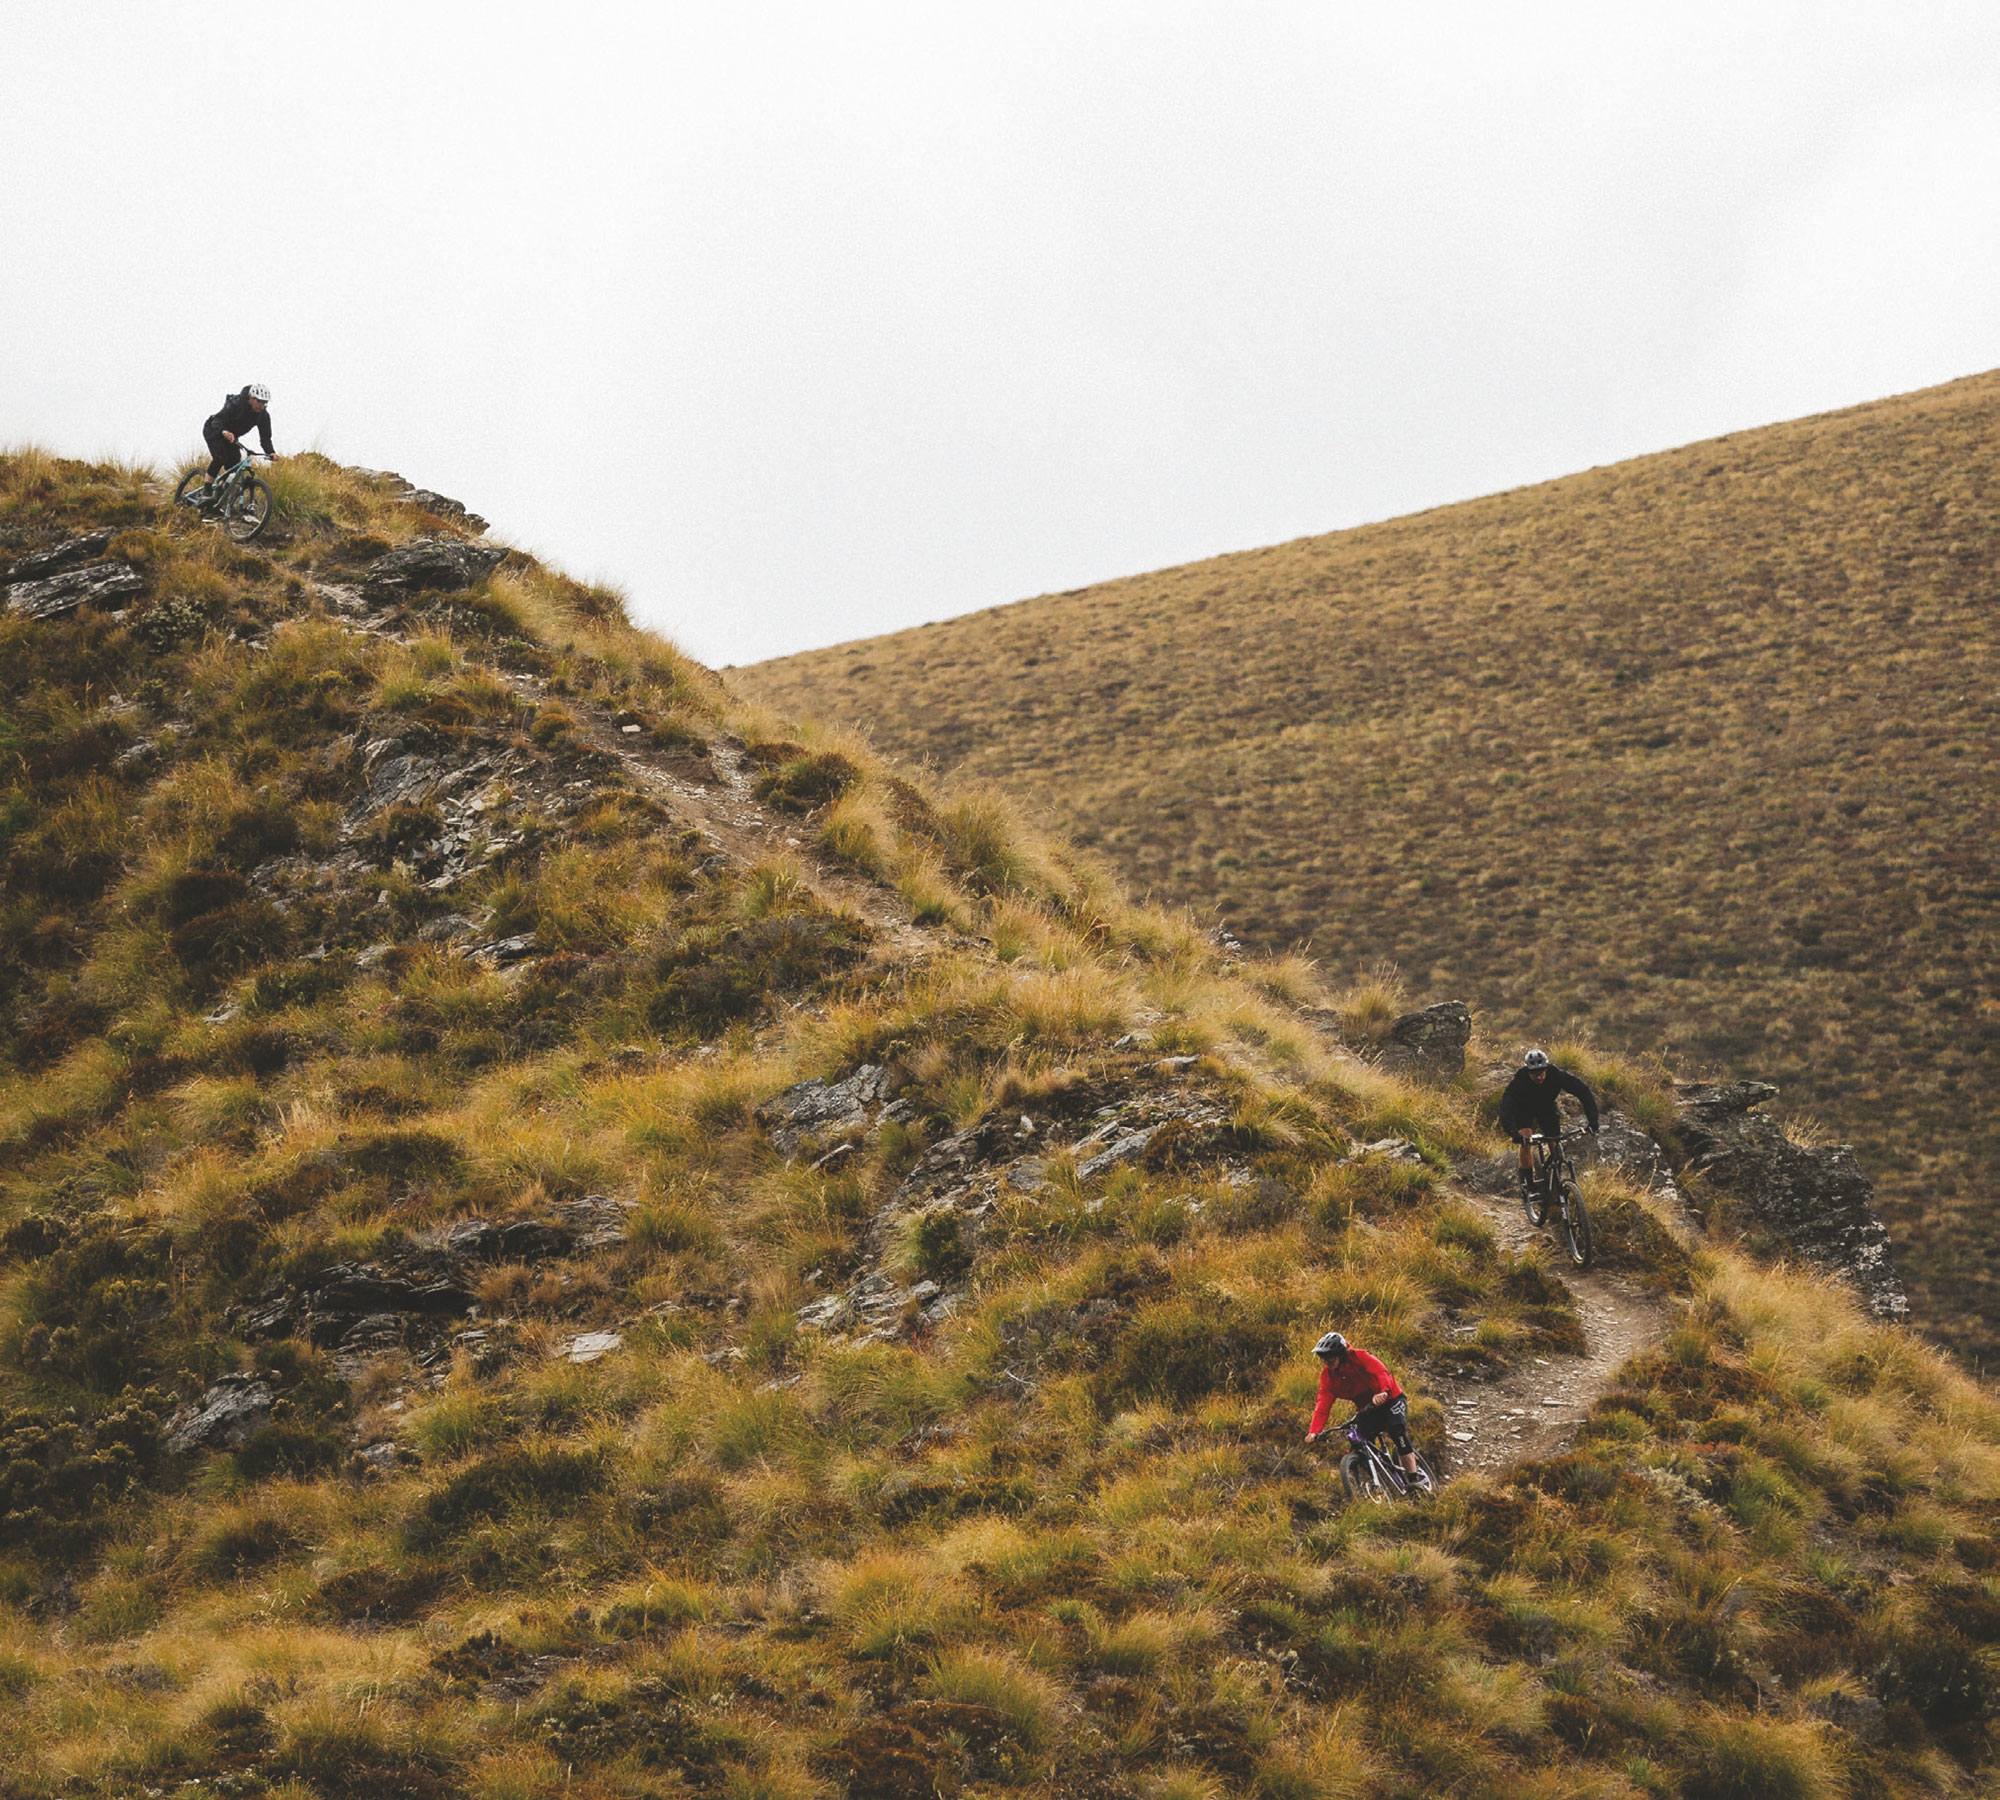
SRAM all day
Words Ben Hildred
Images Callum Wood
Sun up to sun down; one final push; extend the loop; another lap; just keep going.
SRAM has created an event in Whistler to celebrate their new transmission, a way to push participants and blur the gap between type one and type two fun; T-type fun, maybe?
The original event was a great success during the Canadian Crankworx stop. Feedback and stories from its inaugural spin justified it as an event to be repeated – but why wait for summer to roll around again in B.C when Queenstown’s best season is in full swing? Let’s do an All Day ride here too!
I was tasked with the effortless mission of persuading 40 friends to enrol for a day of fun and riding bikes with a loosely formed plan. In a town of keen beans it was pretty simple, and with the promise of a beer and food provided by SRAM, at Atlas after their pedal, it was on.
Ten teams of four met at Atlas first thing to get briefed, receive an ‘All Day’ handbook and create their own adventure. Each team was given the same seven checkpoints; get to all the checkpoints, take a team photo, send it to me and return to Atlas. How you get to the check points, the trails you use and the routes you take was up to each team. Meanwhile, I’d be at Atlas ‘all day’ with a colour printer, documenting each team’s mission live, printing off the checkpoints, as well as other images the teams saw fit to send, and creating a story board for everyone to see on return. Easy as!

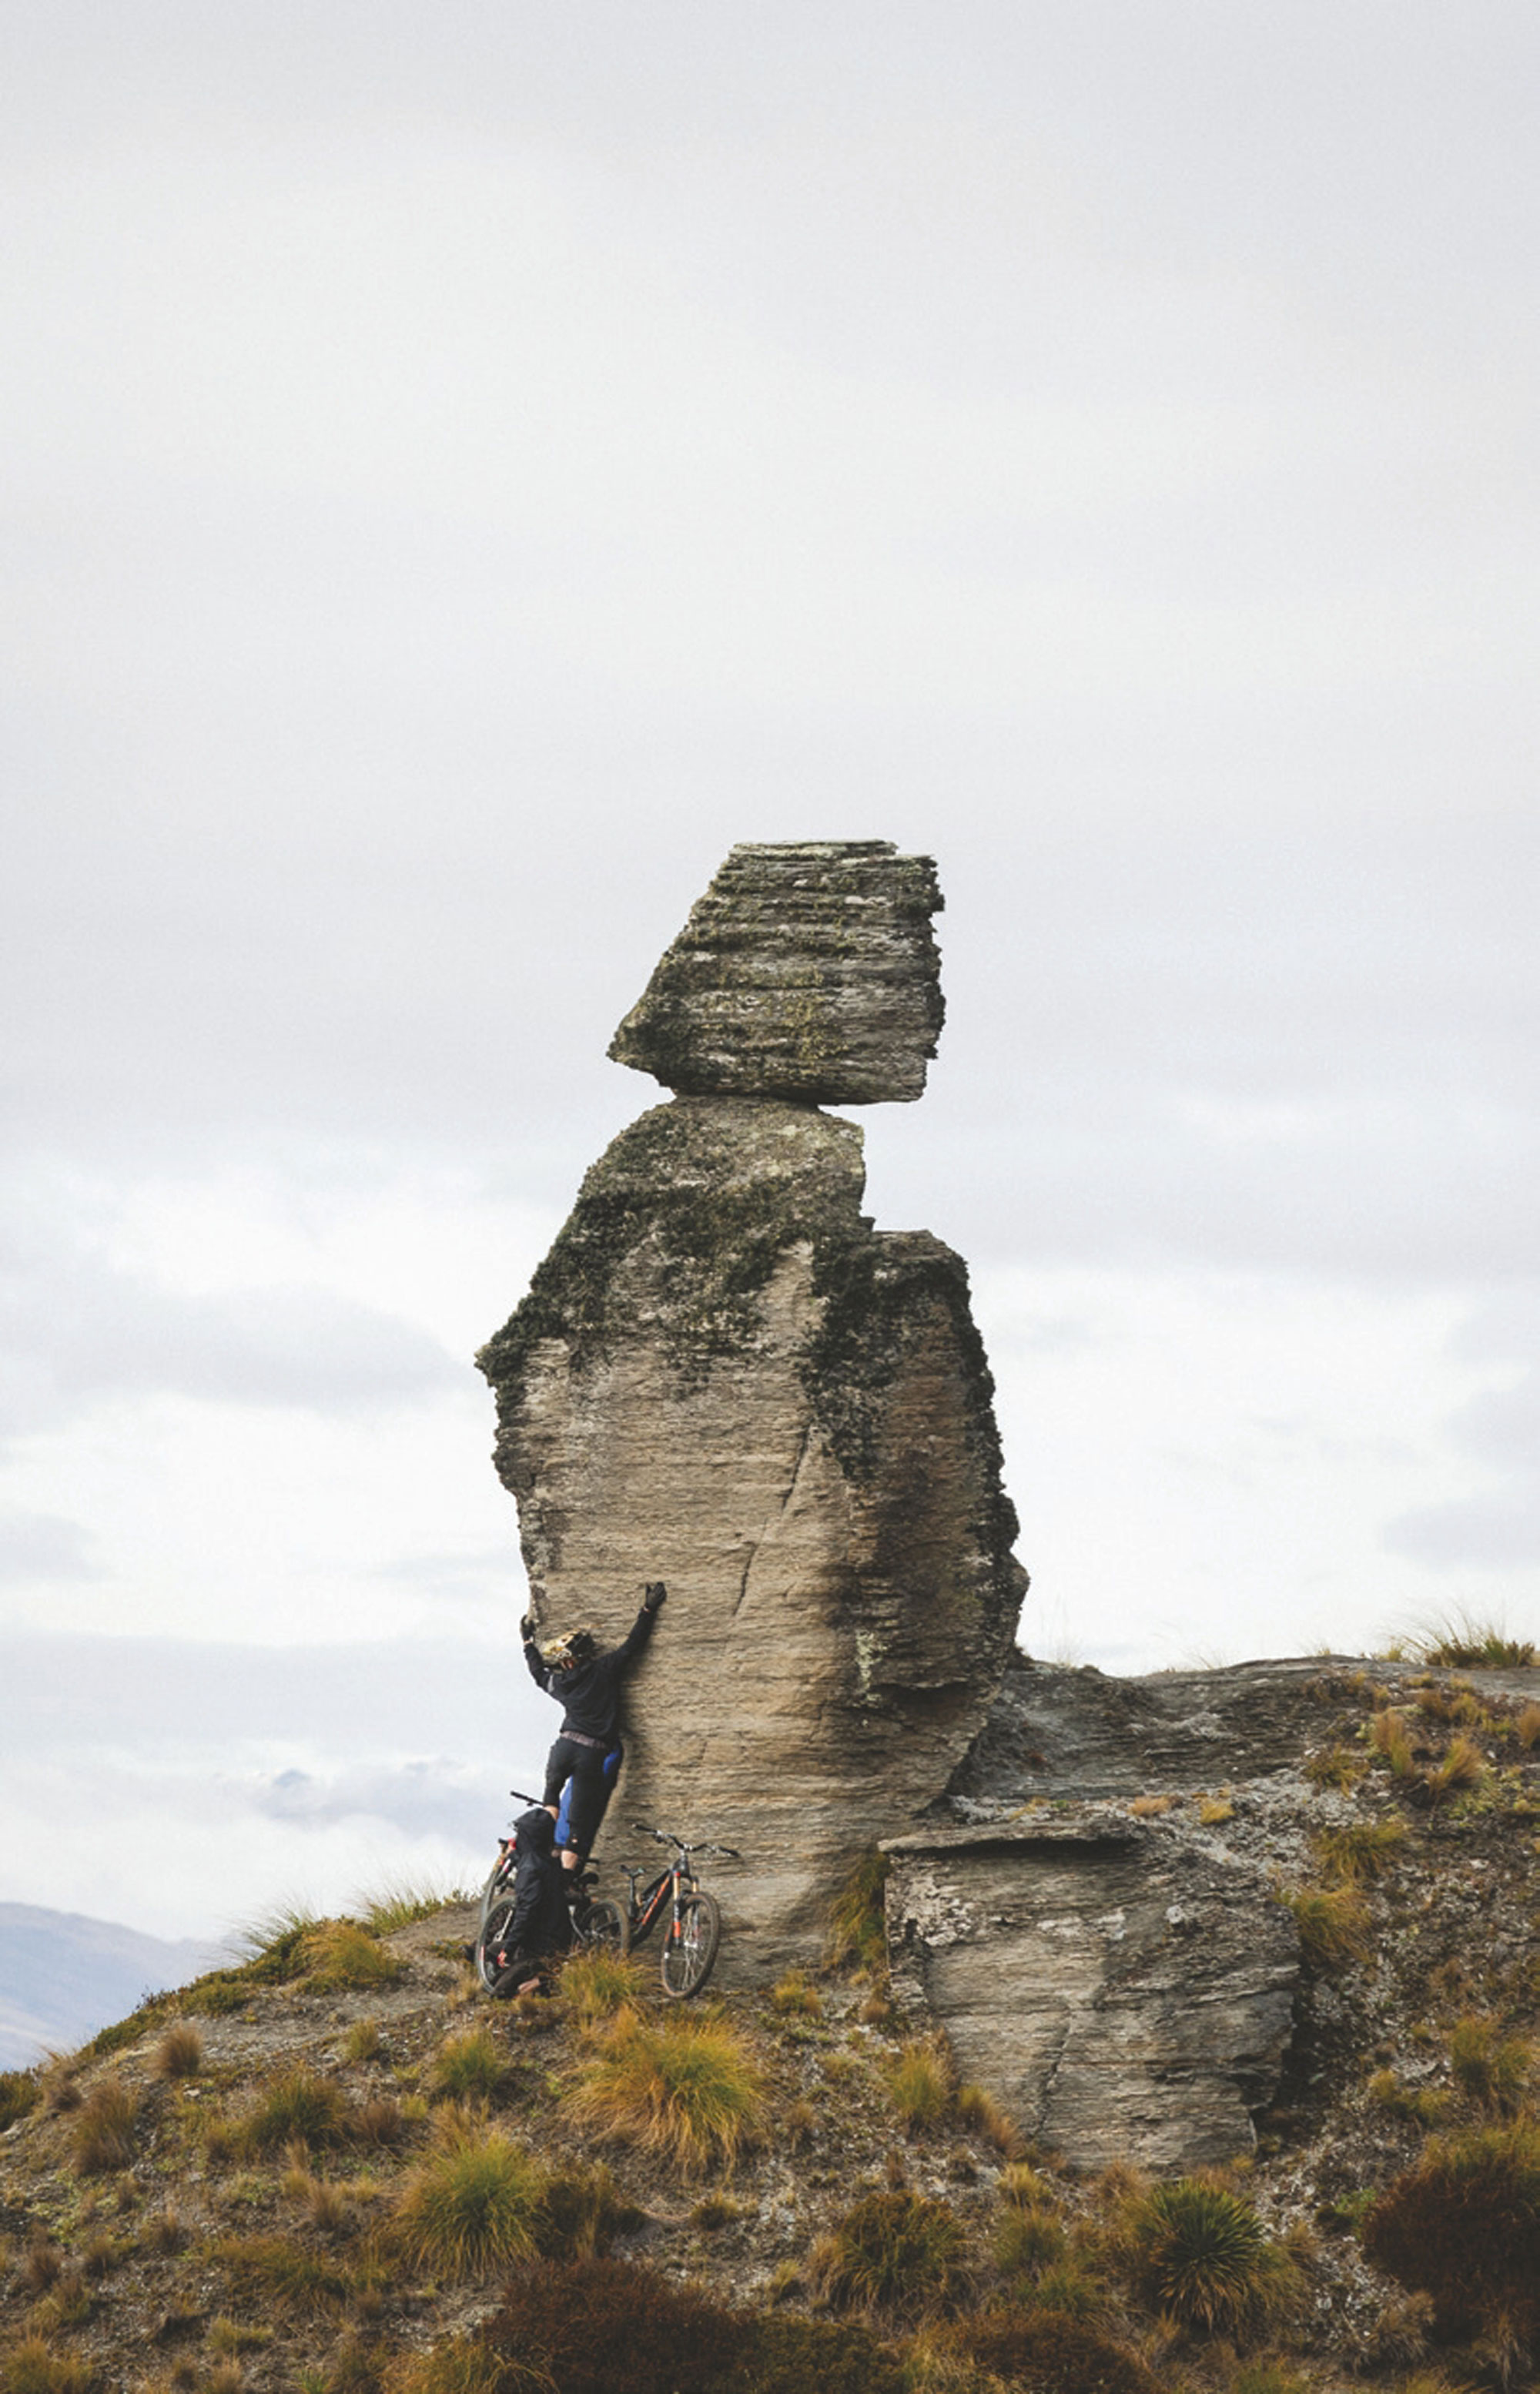
I was tasked with the effortless mission of persuading 40 friends to enrol for a day of fun and riding bikes with a loosely formed plan. In a town of keen beans it was pretty simple, and with the promise of a beer and food provided by SRAM, at Atlas after their pedal, it was on.
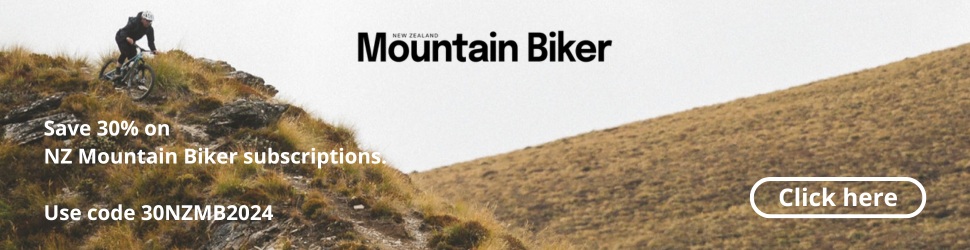
I spent the day on my toes, printing and pinning the snap shots of my friends’ ‘trails’ and tribulations. Recovering from a big ride the weekend before, I didn’t think I was in the mood to pedal, although seeing the laughs, predicaments, comradeship and pursuits everyone was on made me remarkably jealous, although stoked everyone was having a blast. The photos tell the stories. The teams were varied: a team of troopers headed by local force on a bike, Erin Greene, went hard on the adventure aspect, taking the most offbeat route over the mountains. Meanwhile, team Scotland, steered by Craig ‘Crug’ Munro shipped his motley crew around, surviving on their favourite fermented fizz – the one consistent every time my phone beamed updates were their smiles. The locations chosen meant teams had to visit Coronet Peak’s famous Rude Rock, grind up to the Ben Lomond saddle, dive down into Skippers Canyon, visit Wynyard’s famous jumps and sit atop McGazzas big table – all elements of an epic Queenstown adventure. Once all checkpoints were checked, teams started to return in the late afternoon, with stories to accompany the timeline of photos that awaited them, pinned up for all to see. Teams had averaged 2000 – 2600 vertical meters over 50 – 65km, mostly off-road. The question that concluded the day: when can we do that all again?! Logan Weber; “I had the best day pedalling I’ve ever had! For sure hope this happens next year!” The All Day ride was Logan’s biggest day on the pedals to date. After severely contracting the type two bug, he went on to complete an Everest a few weeks later! A huge thanks to SRAM for suggesting the event be held in Queenstown, and for funding the day; and to Atlas for hosting us all – the best bar around! What a time.
Checkpoints: McGazza Table; Ben Lomond Saddle; Beached as;Wynyard; Rude Rock; THE Rude Rock; Pack Track and Sack river crossing; Conestown.
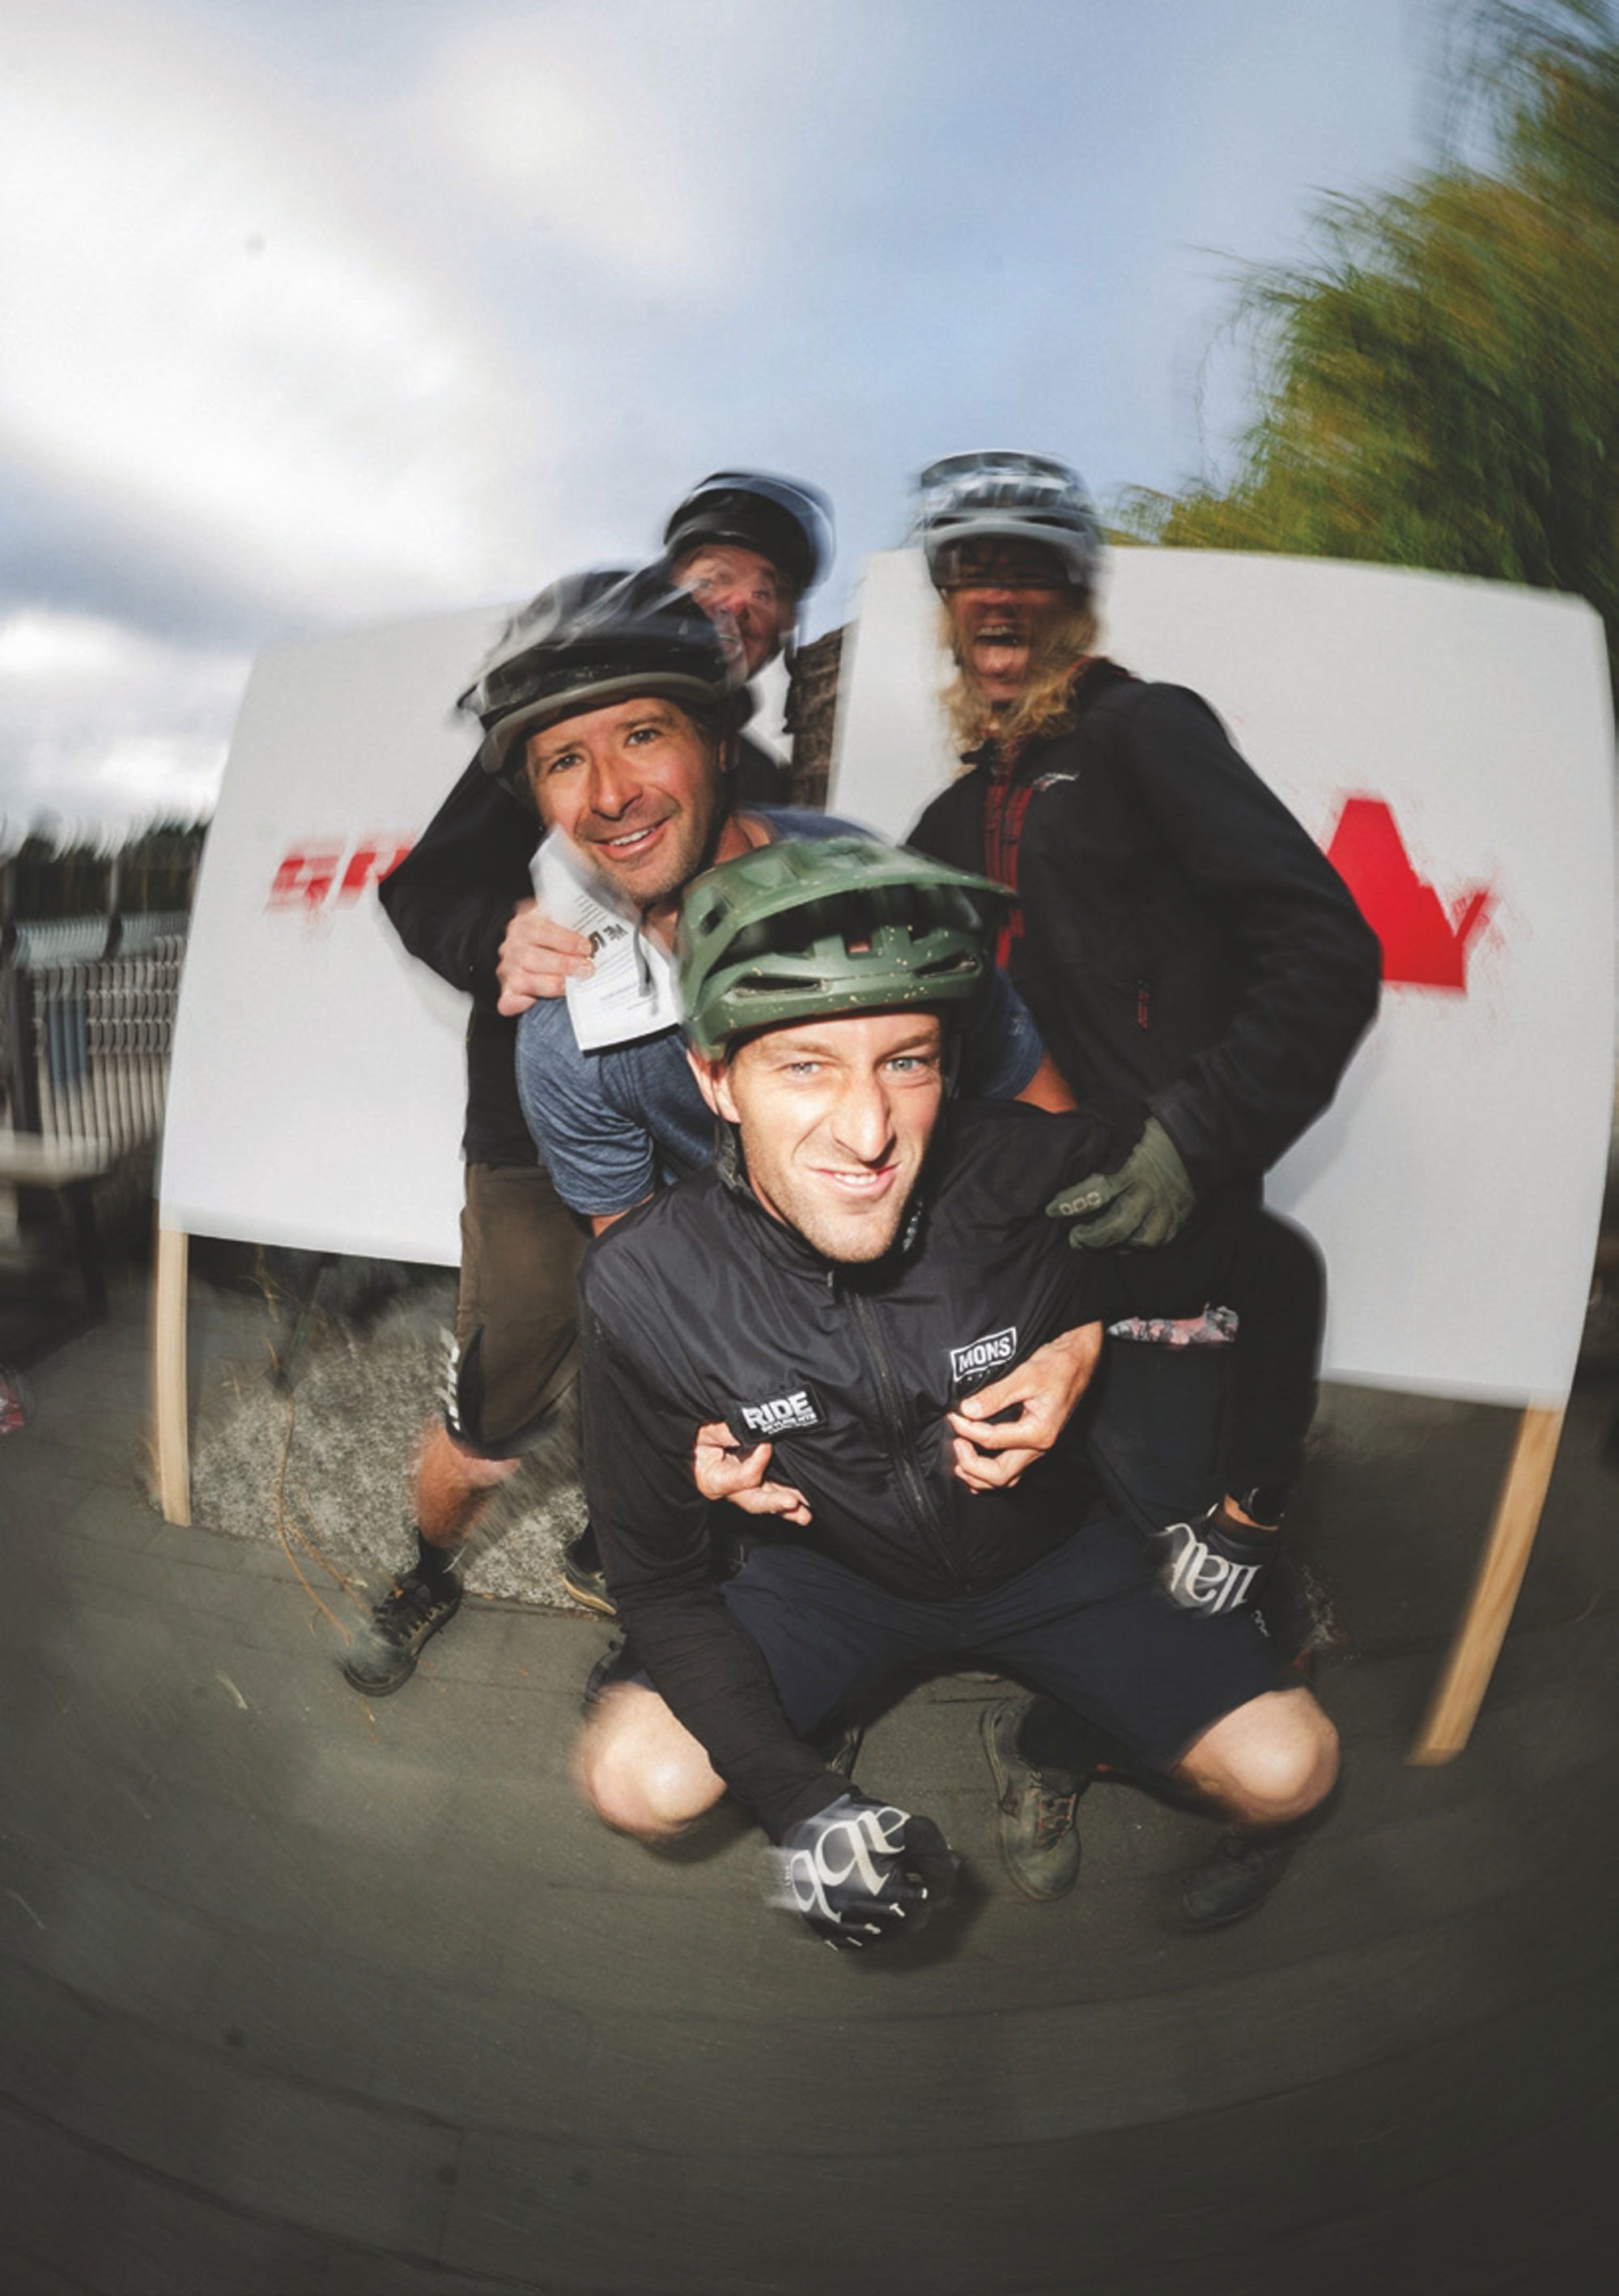
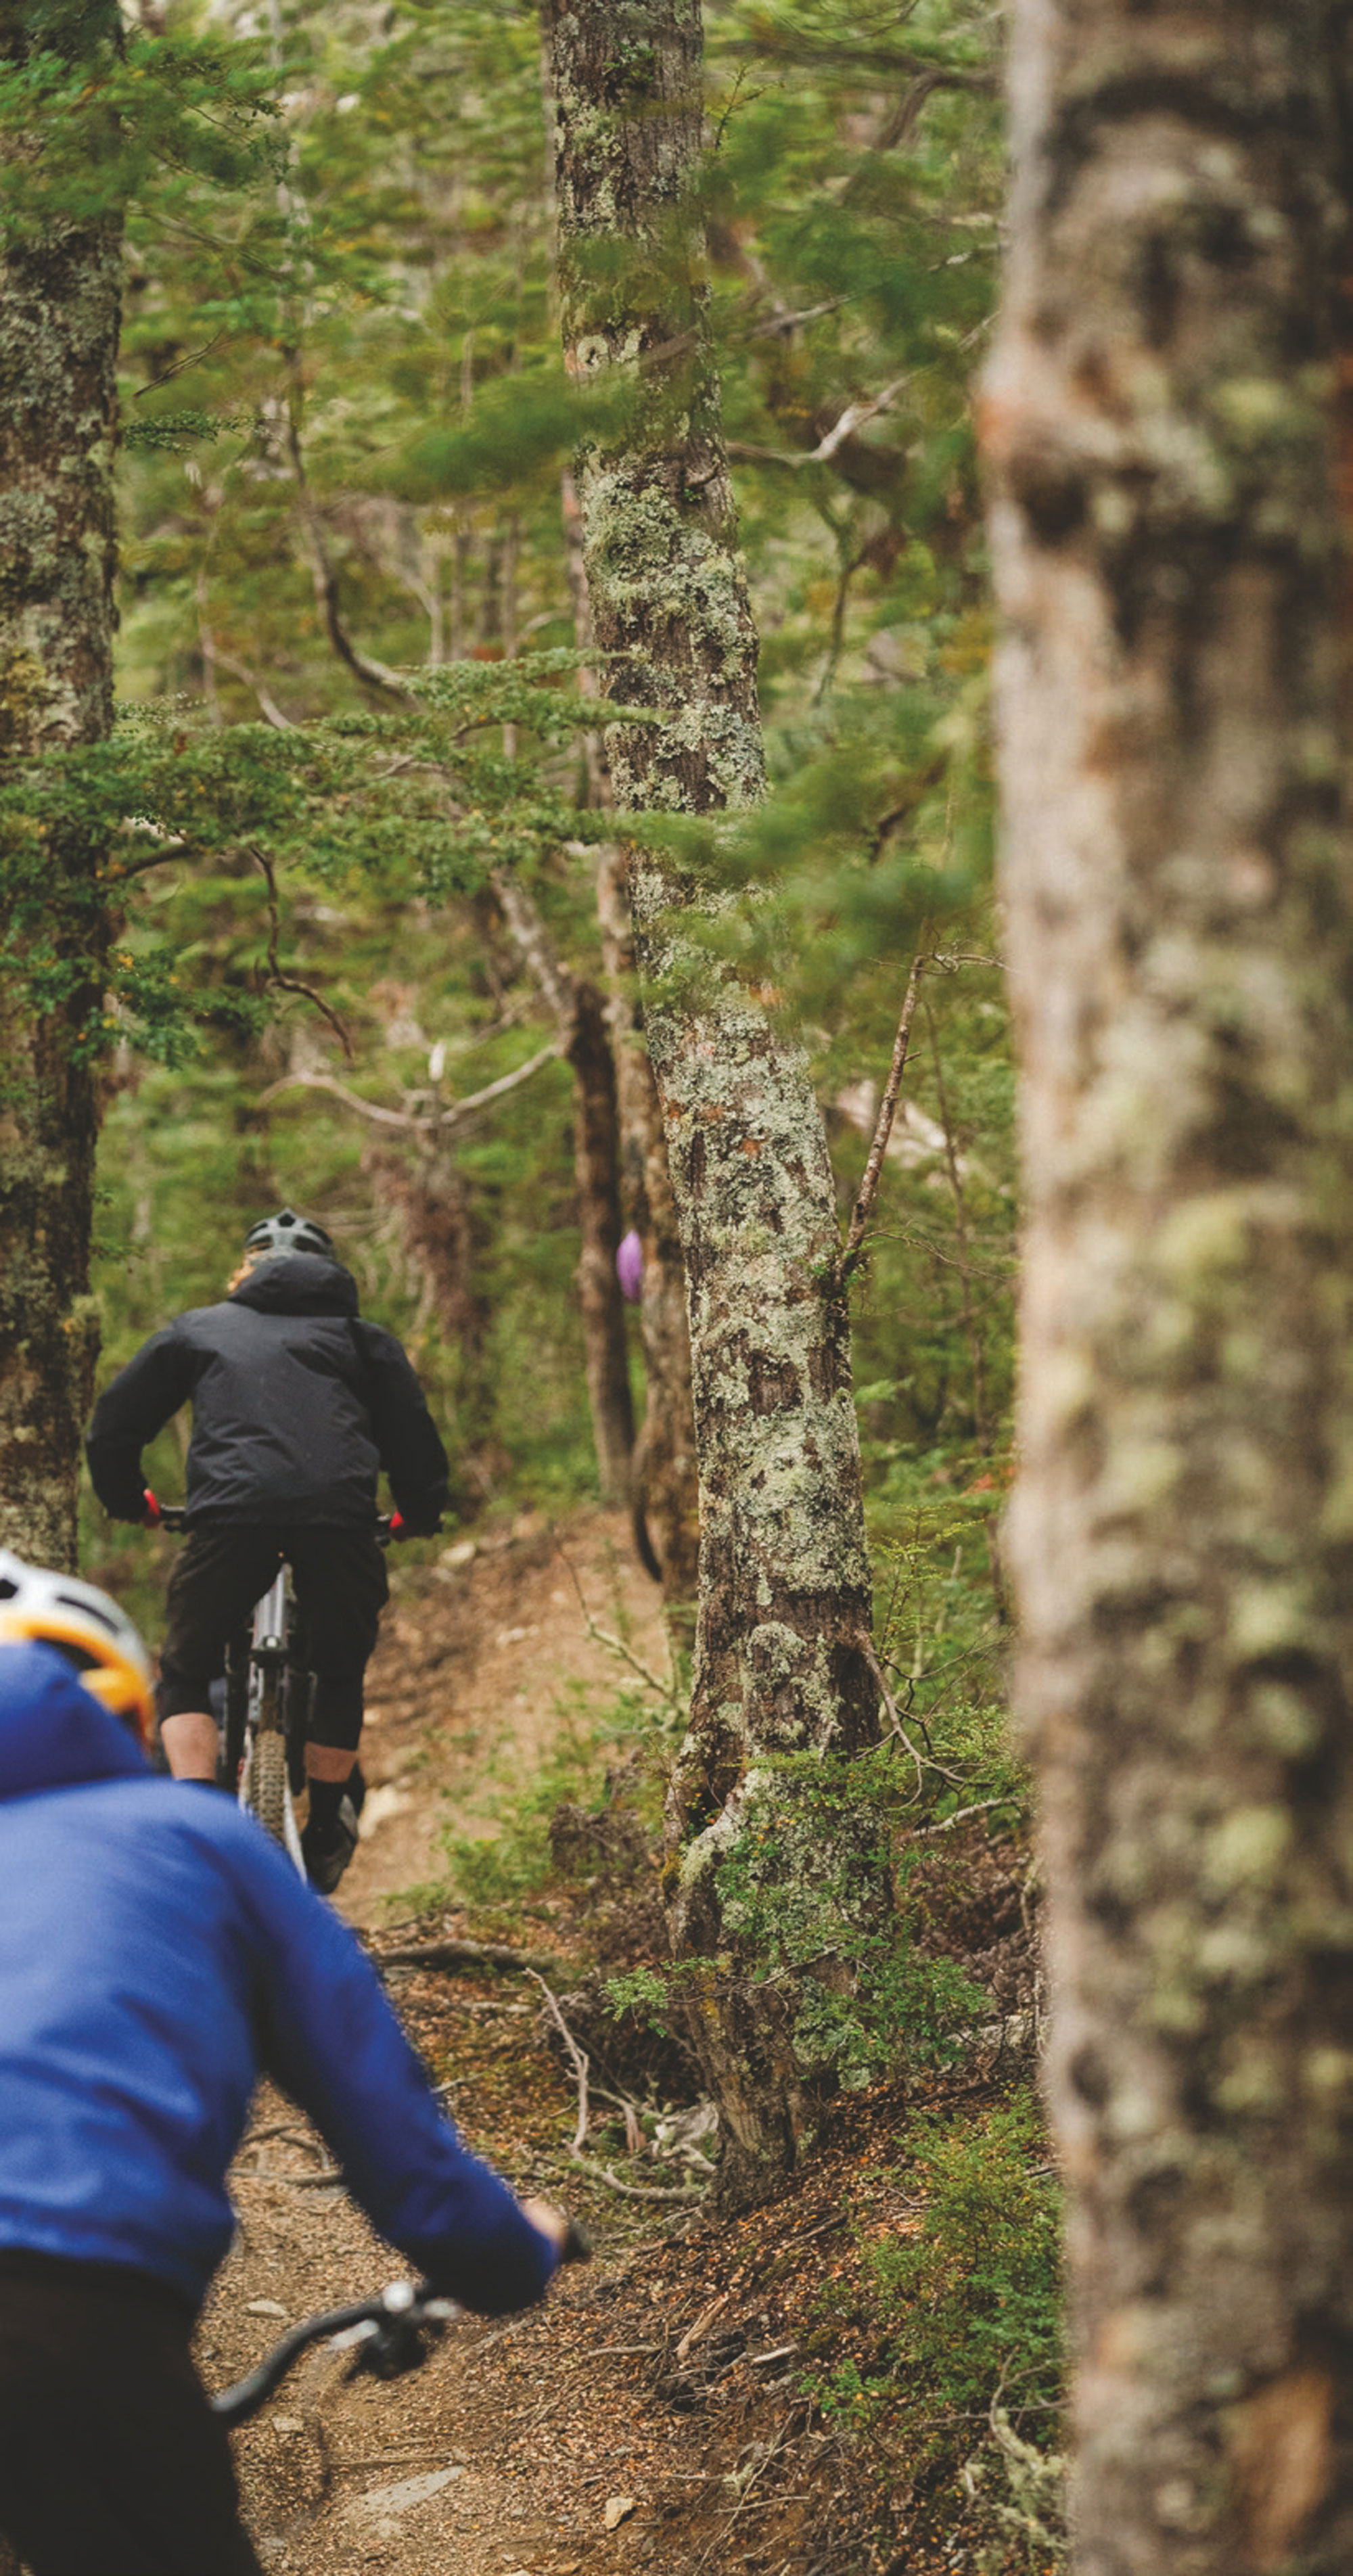
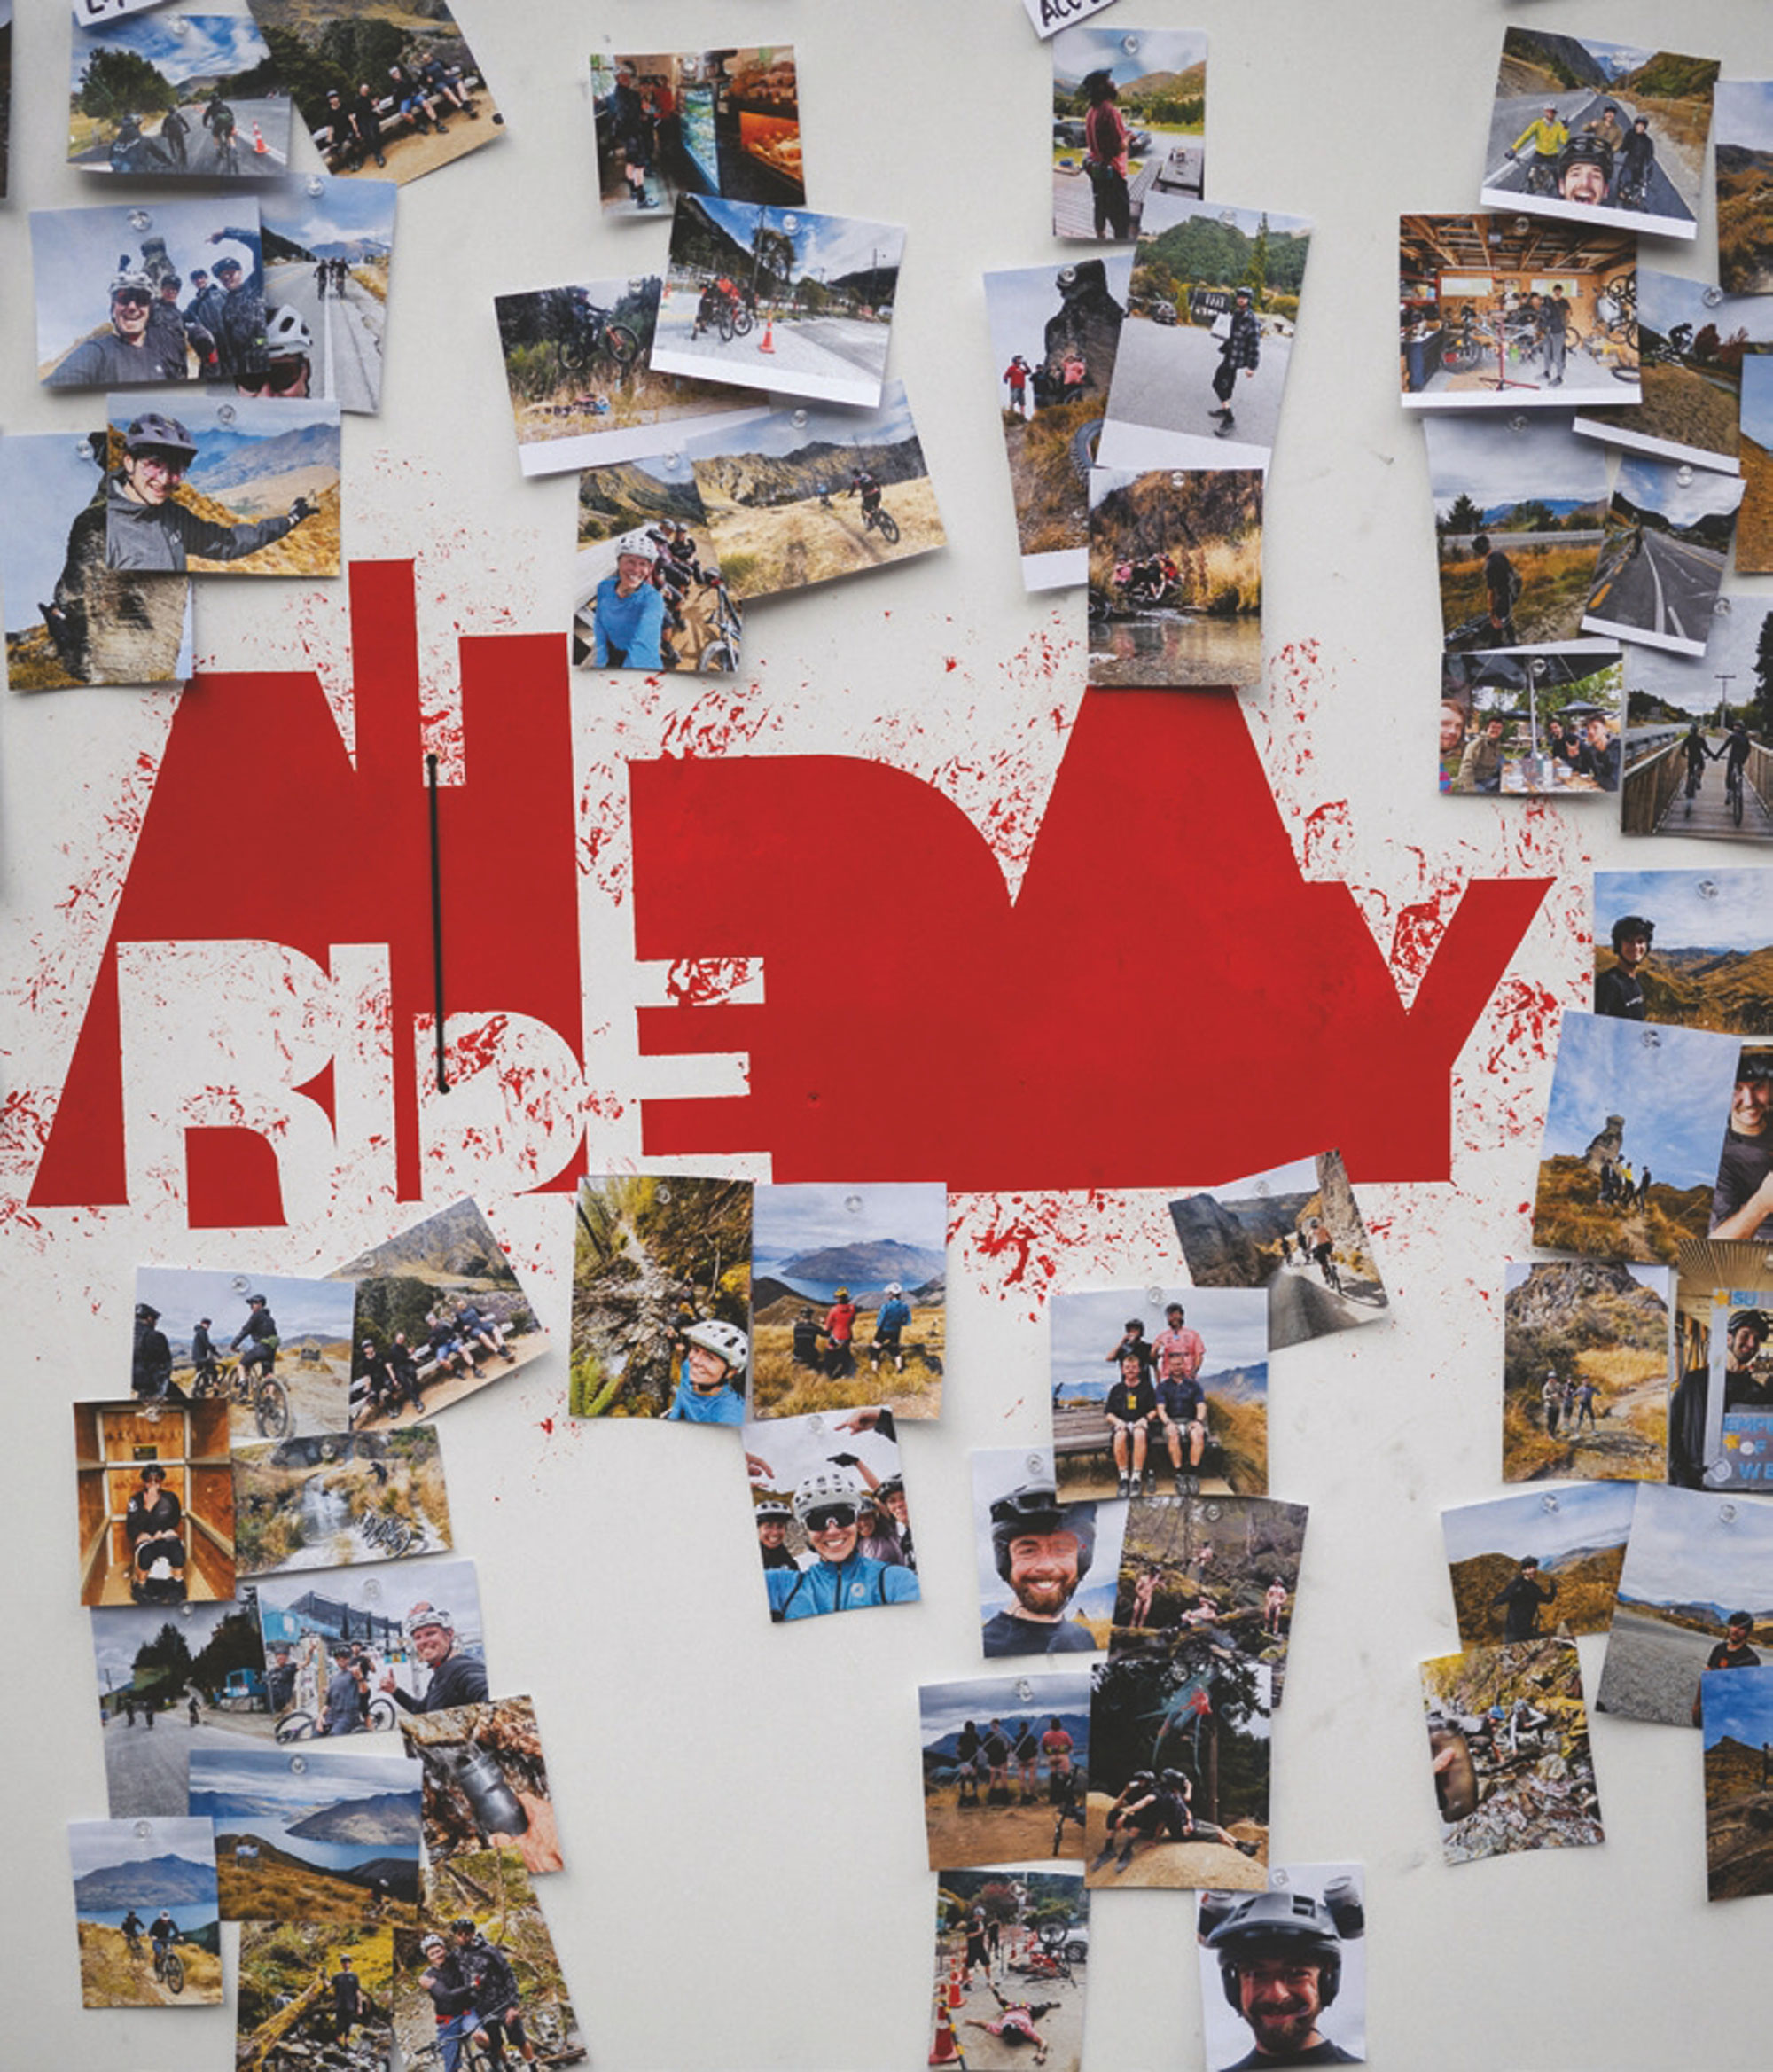
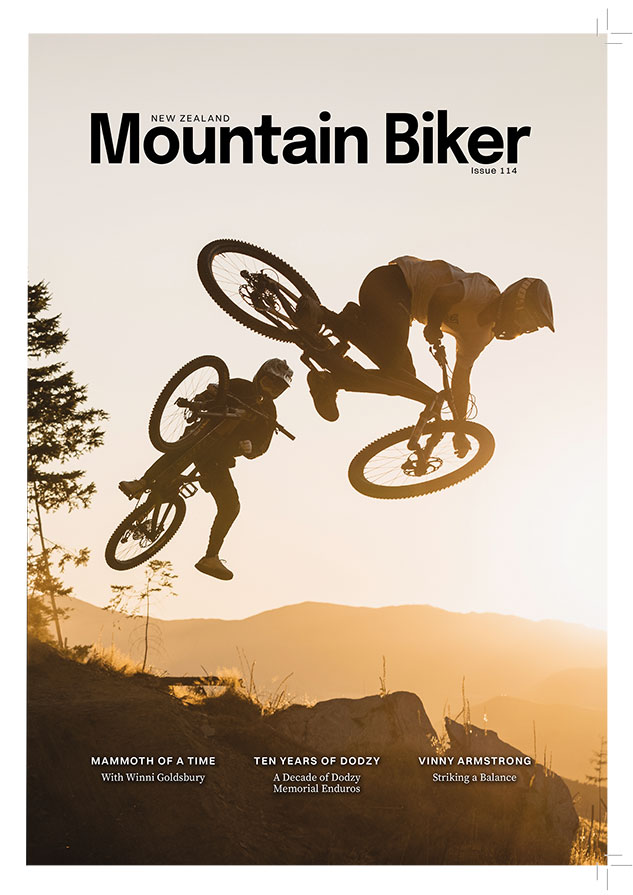
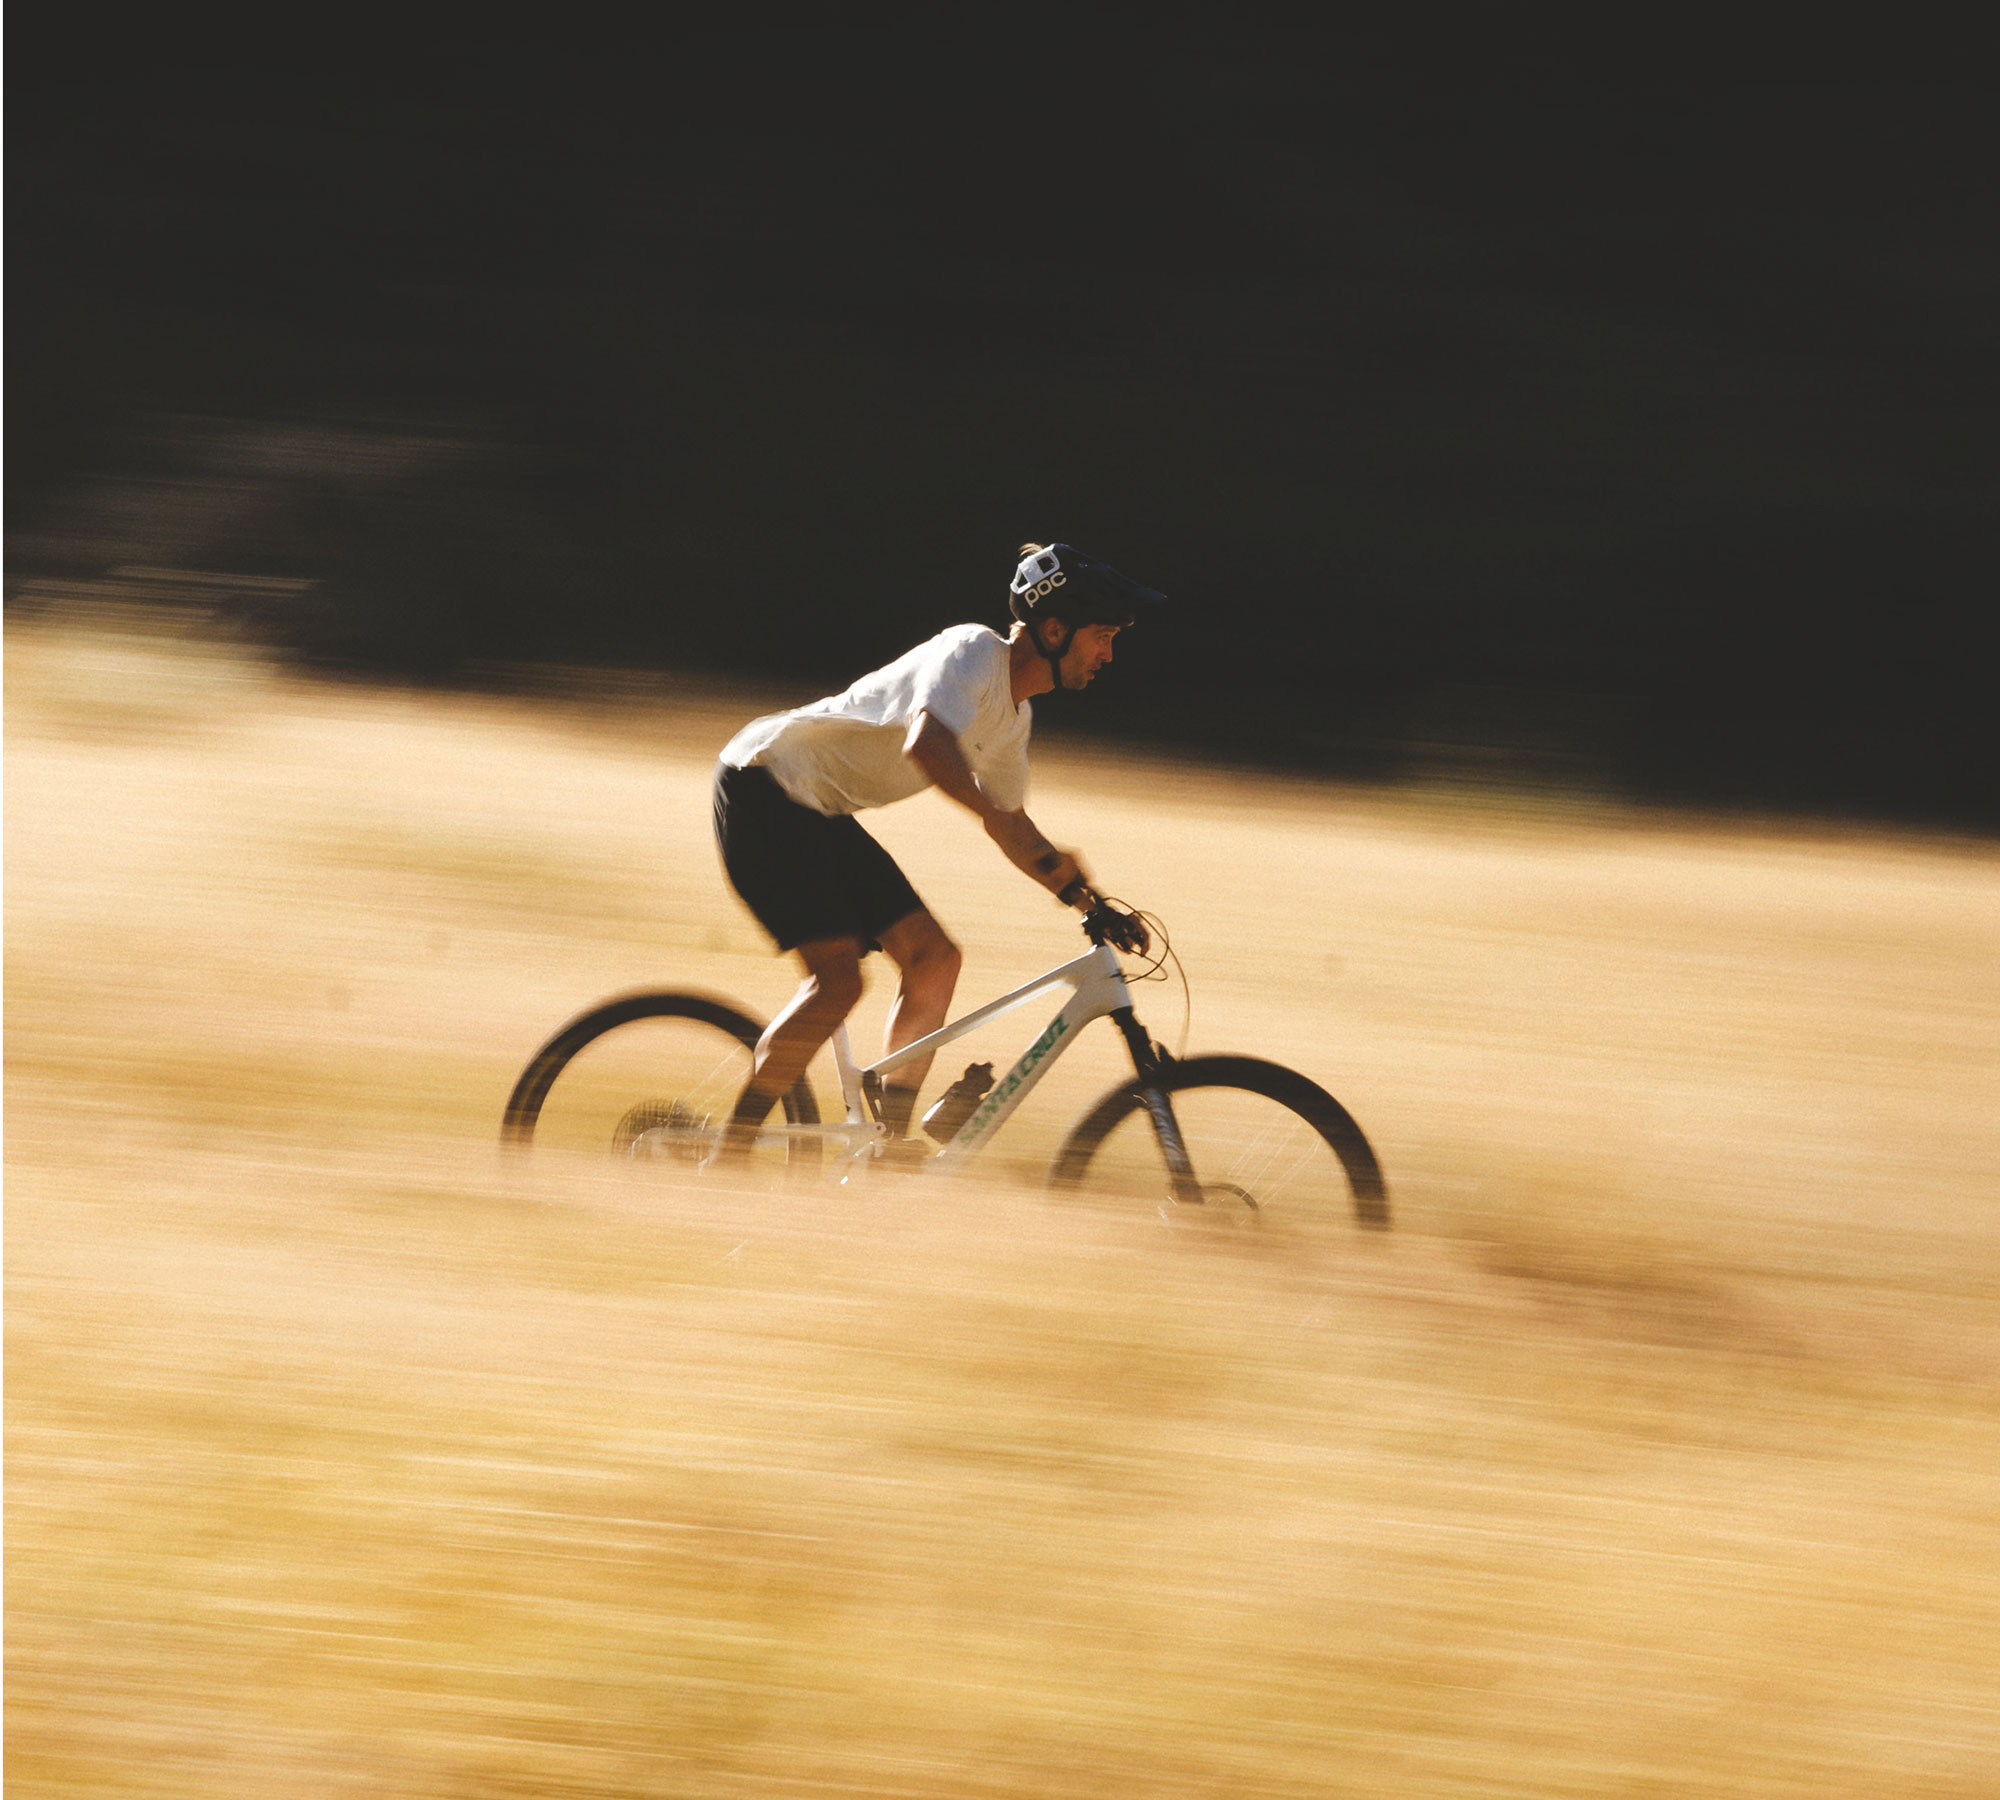
Your time is now
A poem by Noell Coutts
Images by Callum Wood
Seek the rugged wilderness, the mountains and the sky
Feel it, breath it, watch a
Falcon Fly.
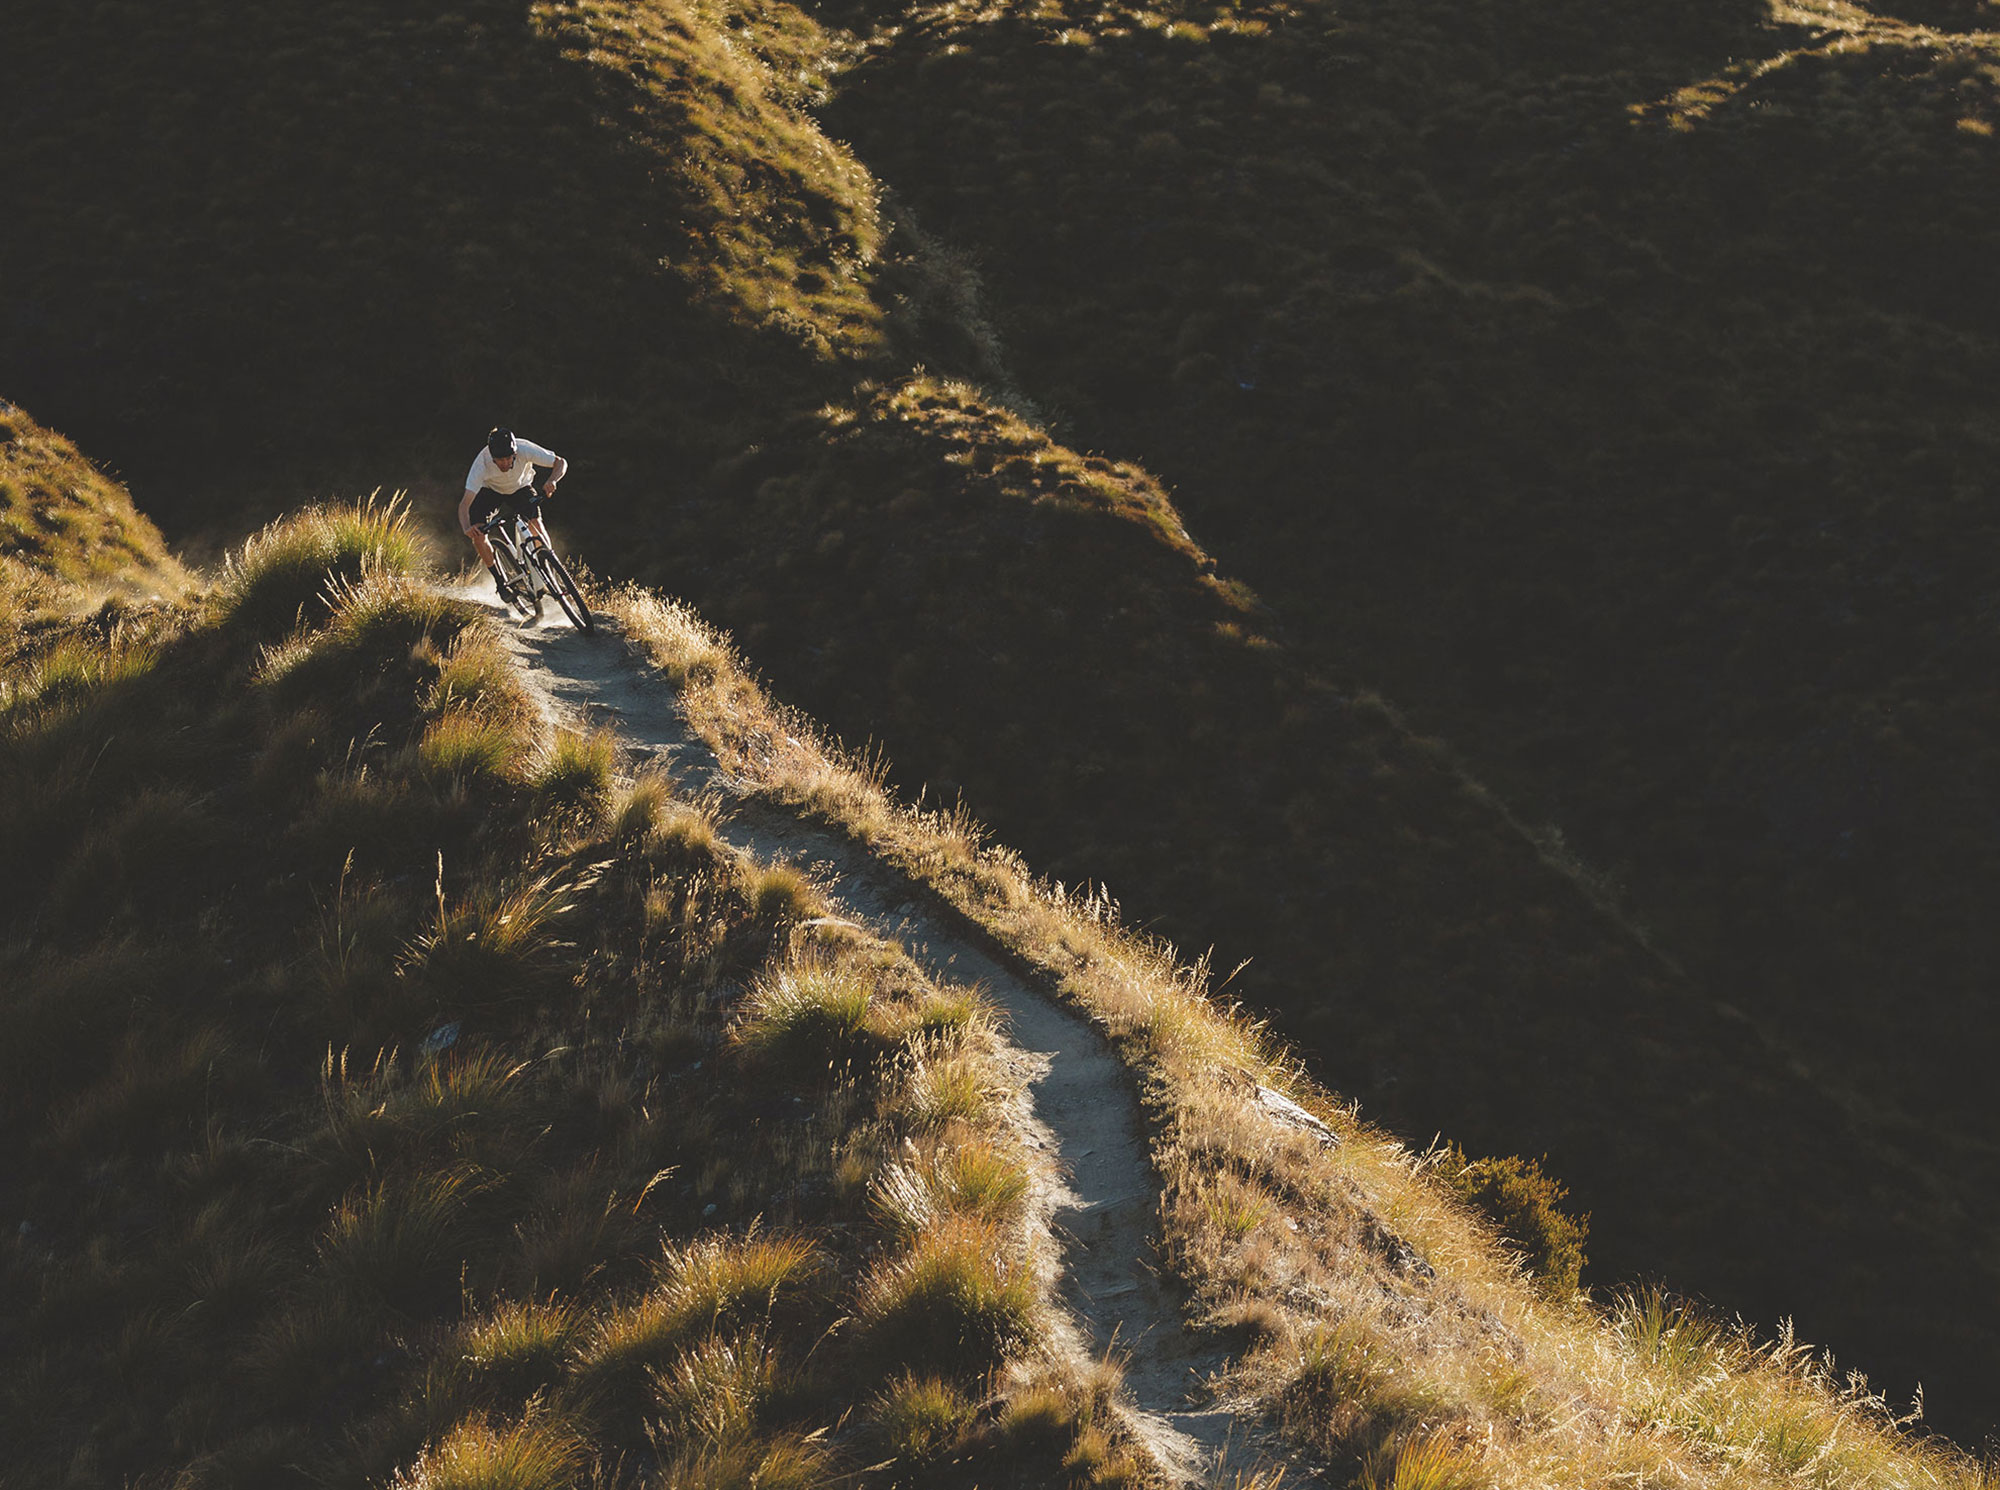
Hear the creek beds in the rivers, where miners searched for gold
Abandoned huts and buts of stuff, hear the
stories told.
The lust for gold,
the search, the thrill, the ghosts of days gone by The adrenaline, the buzz of it all, try and you’ll know why
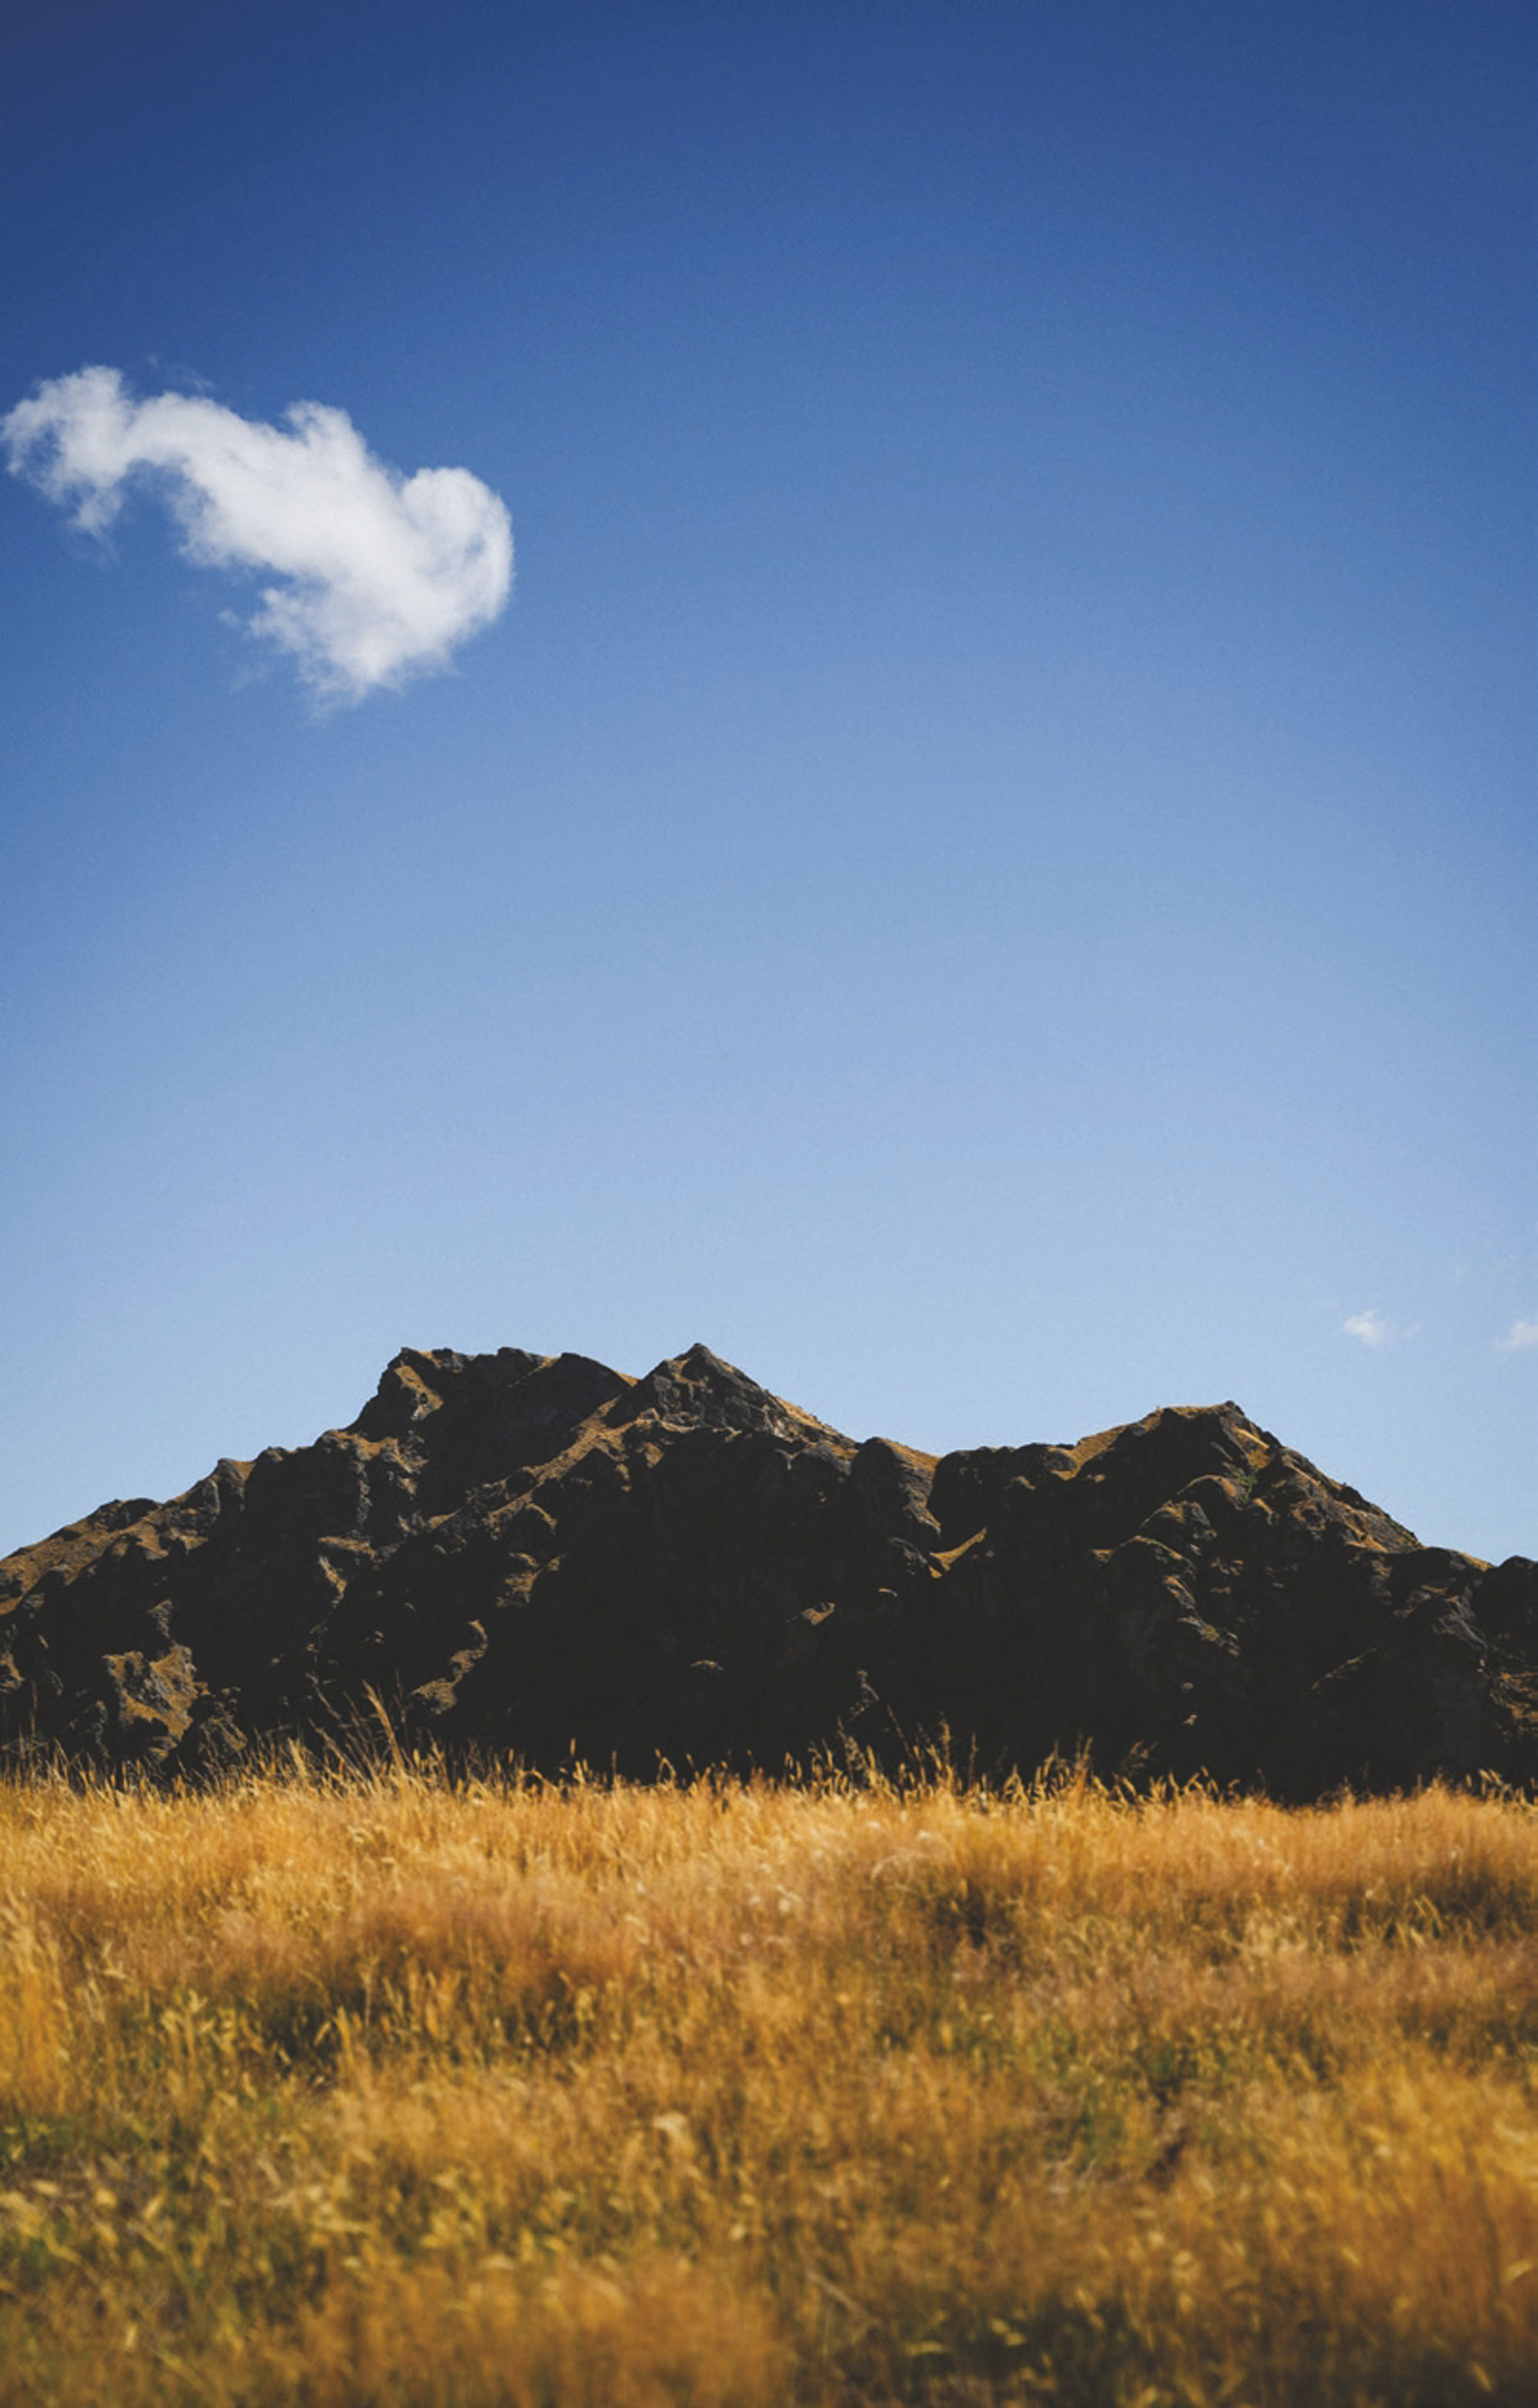
Sometimes you go up, we all go down, sometimes the whole world’s
just spinning around
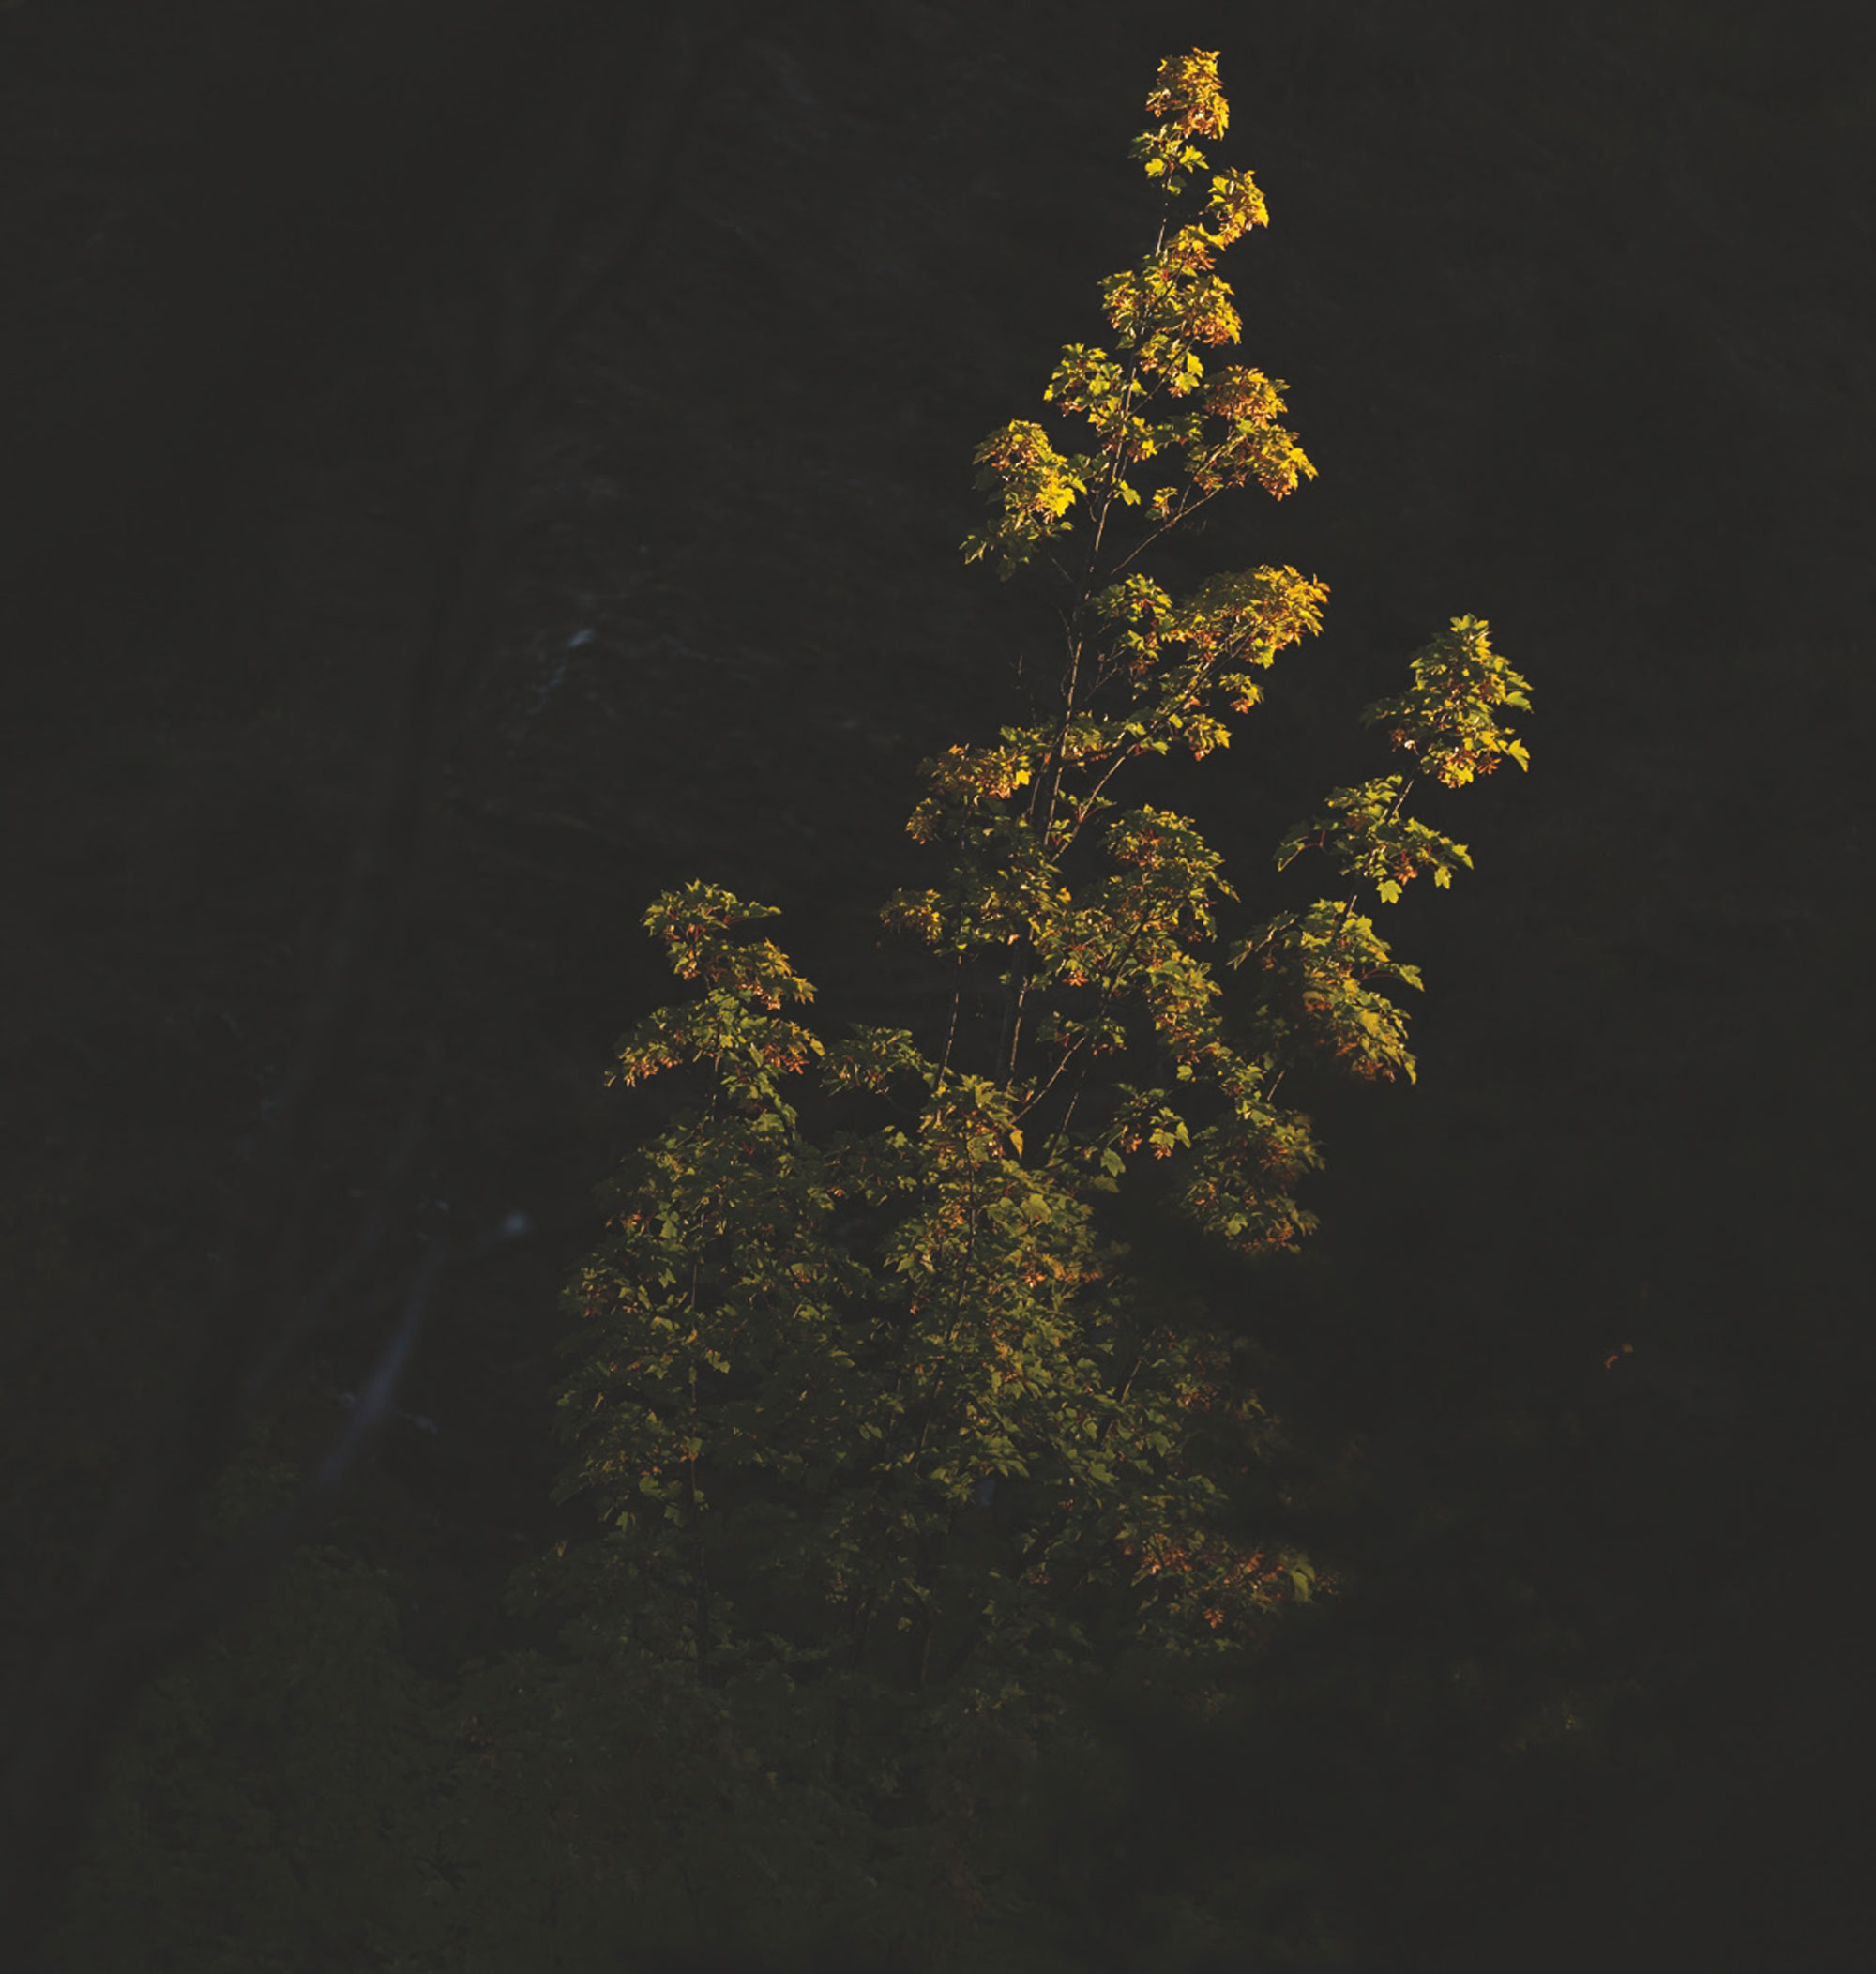

The
excitement
The
rush
The
thrill of it all
The
bumps and the bruises, the jumps and the falls
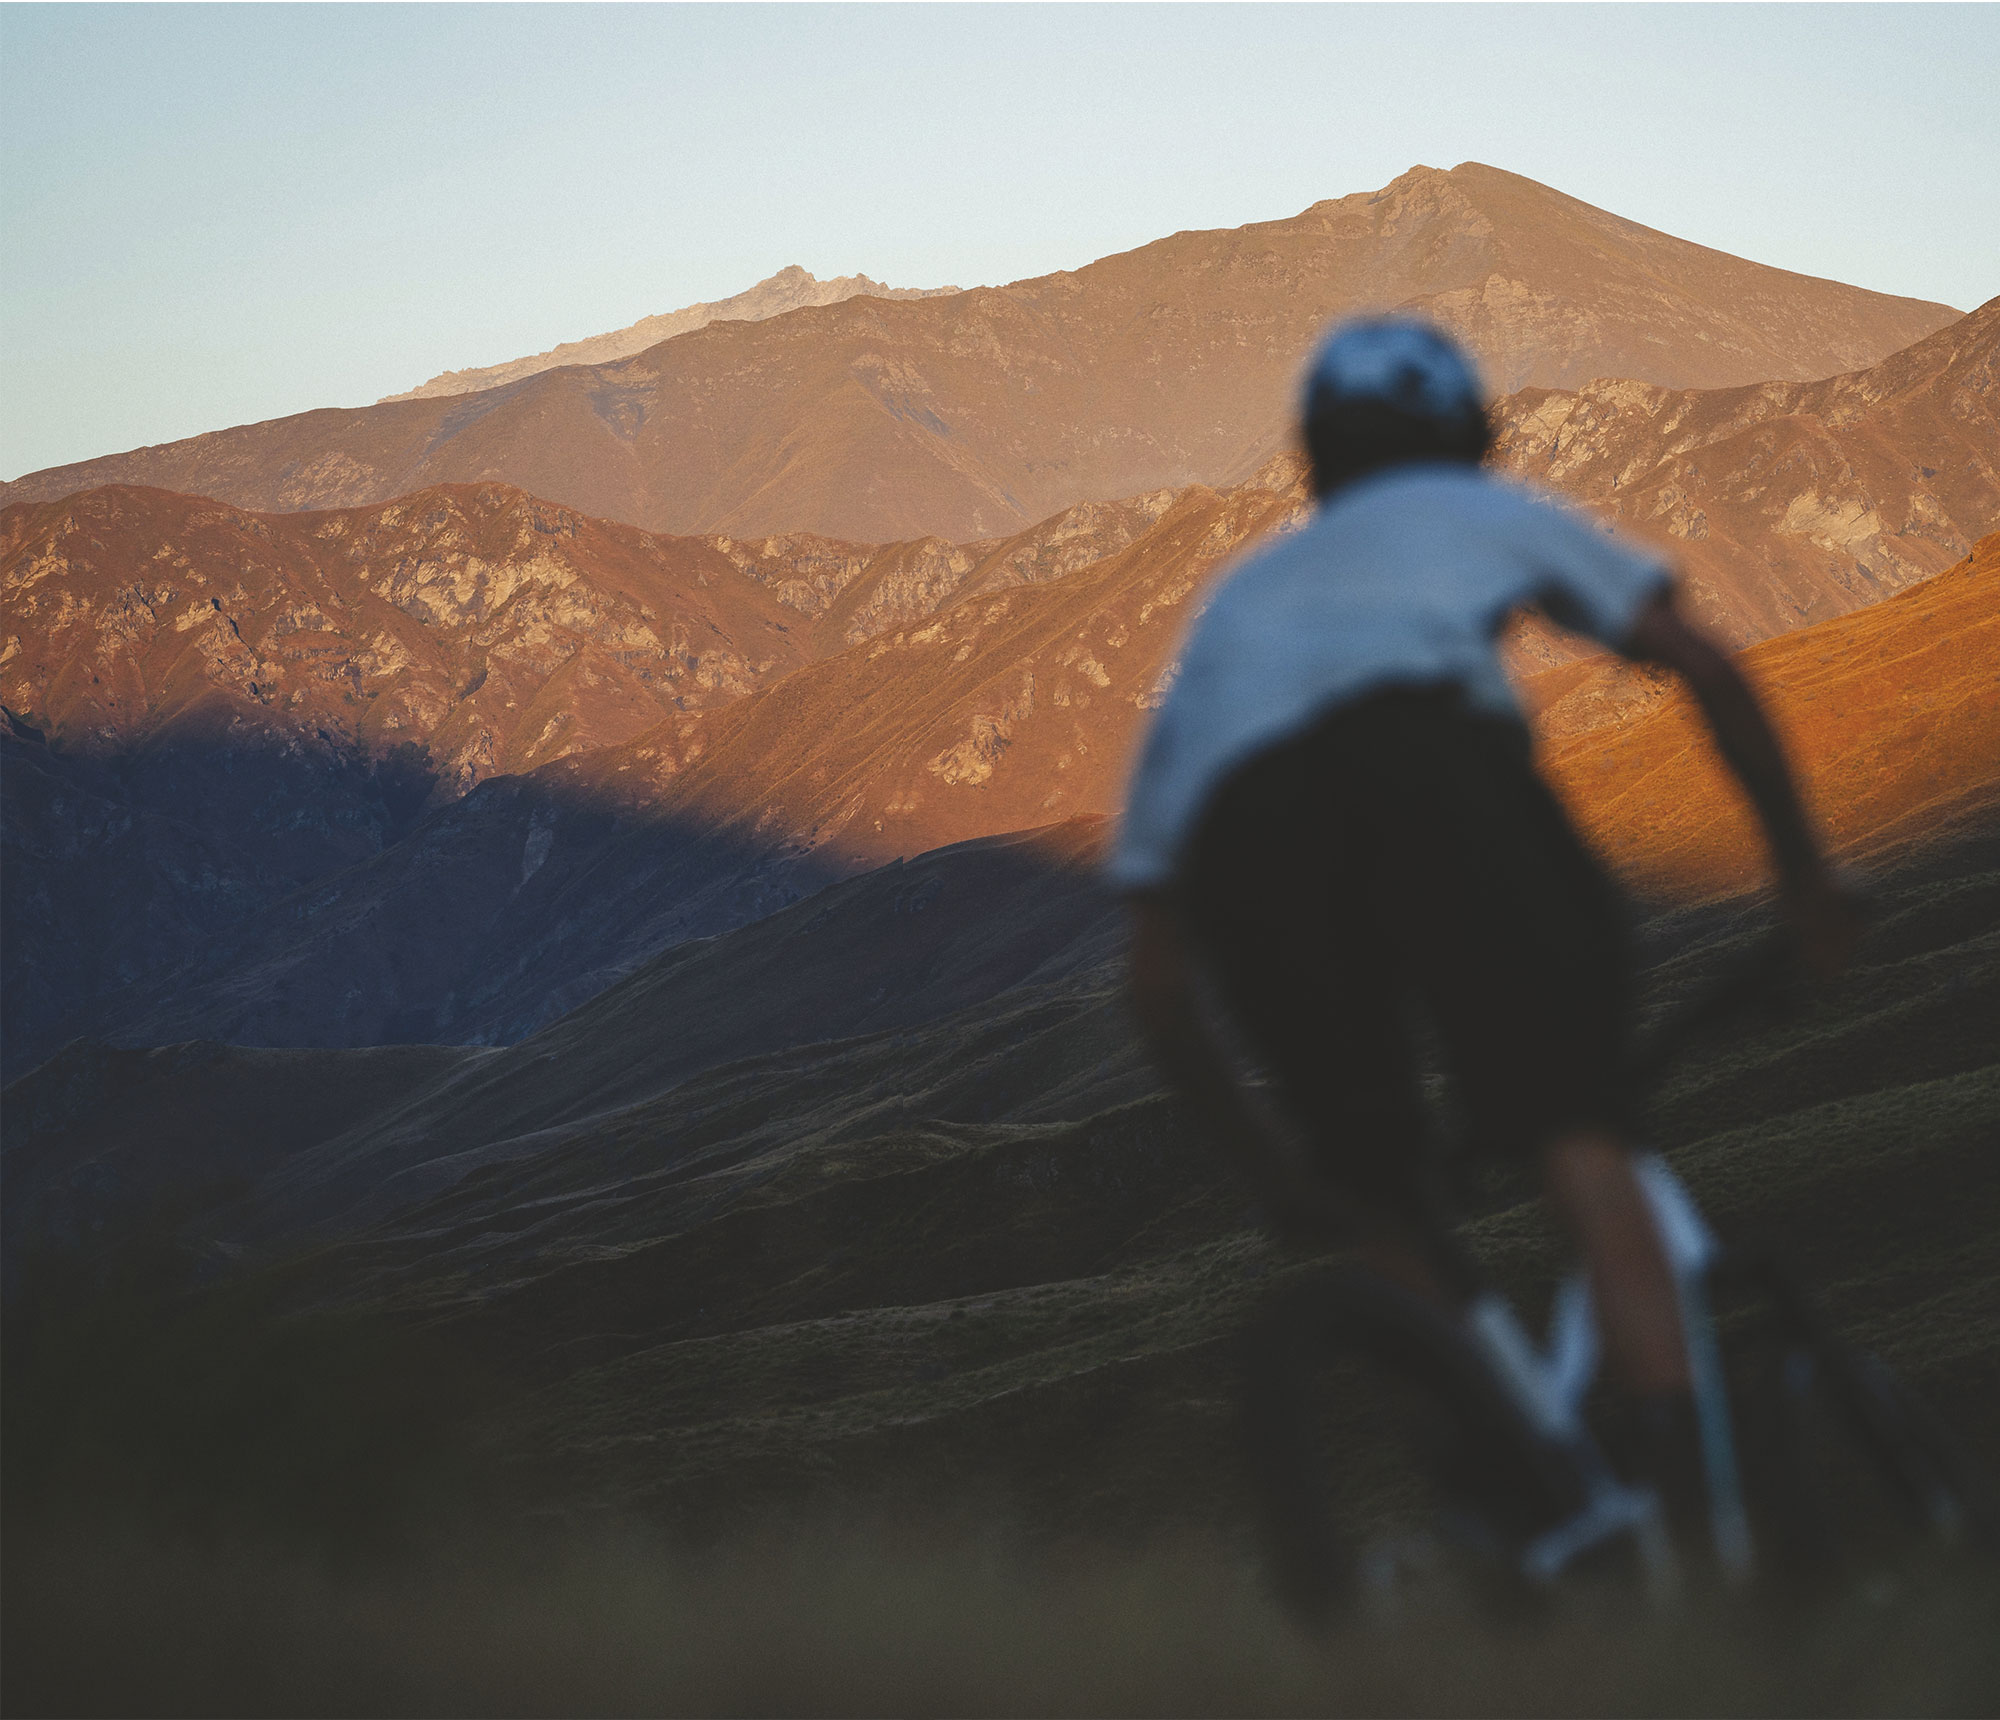
Time is the treasure, each hour of the day, but remember the clock only can go one way. Your time. Is now.