News: Merida eONE-SIXTY gets Upgraded
"Launched in 2020, our eONE-SIXTY managed to seamlessly follow in the footsteps of the 'original' eONE-SIXTY which was the most decorated, tested and awarded bike in MERIDA's history. The highly anticipated bike managed to collect a vast amount of amazing test results and wins, as well as add a few industry awards to its tally.
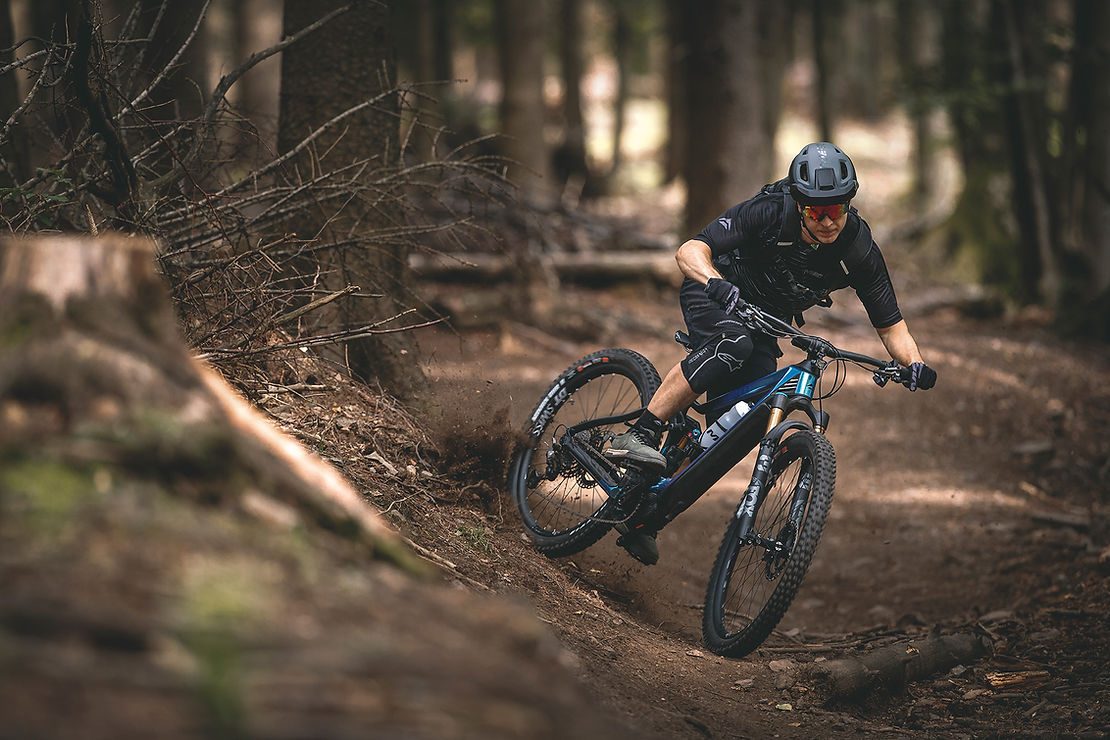
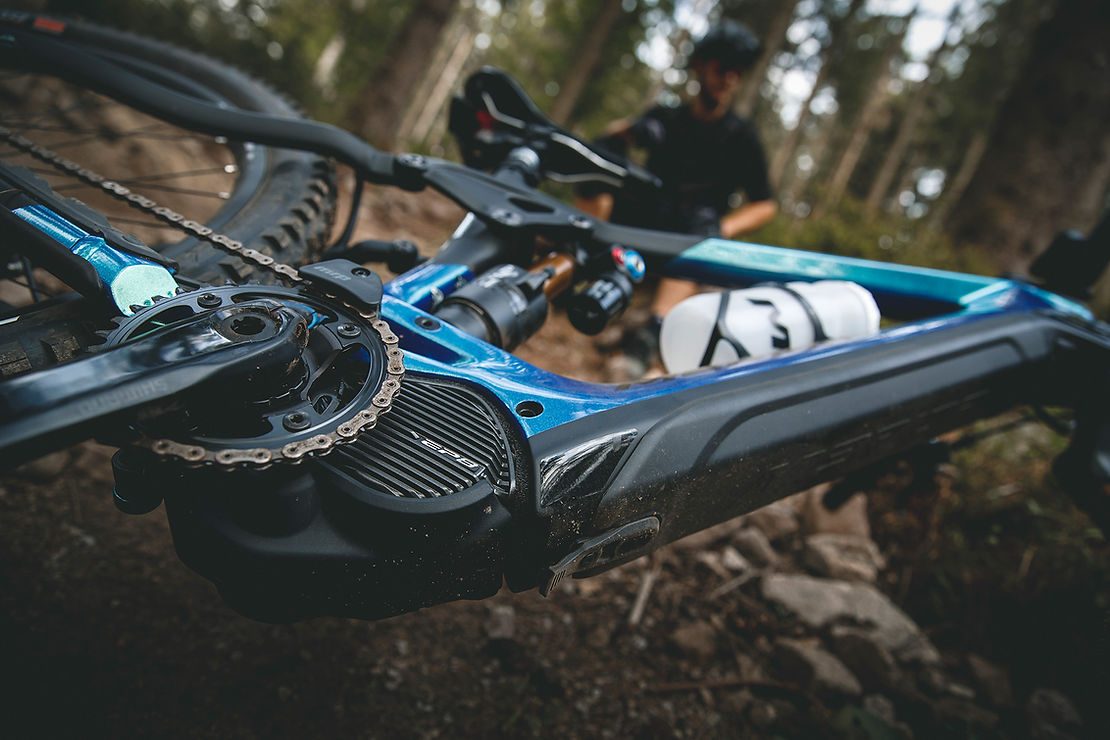
For 2021, our e-enduro bike will be equipped with the all-new EP8 motor from Shimano as well as with the range extending 630 Wh internal battery. Improved performance numbers, a perfectly tuned MTB geometry, paired with a stiff and lightweight frame that seamlessly integrates the battery into the lower part of the downtube and a 29er / 650B wheel combo, the eONE-SIXTY is ready for pretty much anything you can throw at it.
Some of the other MY 2021 highlights of the eONE-SIXTY are the optimised and further integrated cable routing (applies to all integrated battery models), the upgraded ‘Energy Guard’ battery cover, the kick stand mount and the front light that mounts directly to MERIDA stem. The last two giving the eONE-SIXTY and other related models a further improved SUV customer appeal.
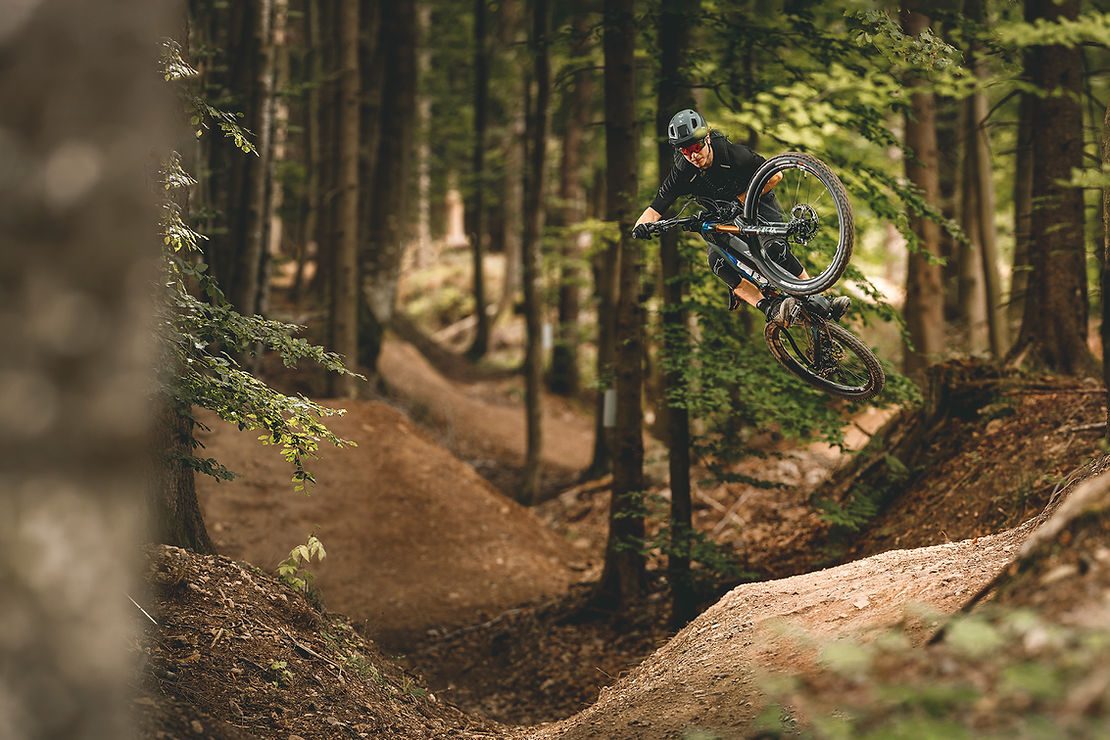
The extensive 2021 range of the eONE-SIXTY consists of three models featuring the carbon front end/aluminium rear end frame and three all aluminium models, allowing us to bring our proven technology and geometry as well as the latest EP8 performance to a wider price range.
The new EP8 brings a long list of upgrades and changes to the table that will elevate our eONE-SIXTY to the next level.
Increased power output:
The EP8 delivers a maximum power output of 85 Nm, which is an increase of 15 Nm from the E8000 unit. The maximum power output will improve the performance on extreme terrain as well as lift up the other support levels, making them universally more capable and more fun to use.
Bigger battery capacity and improved economy:
With an increased battery capacity and improved economy, the new EP8 system delivers a huge range extension, making it easier to cruise for longer or do more runs.
Smaller, lighter, quieter and better protected:
Following the footsteps of the hugely sophisticated E8000, the new EP8 managed once more to shrink in size (by around 10%), loose approx. 300 g in weight through a magnesium drive unit case, become quieter and add further protection to the unit.
Less drag:
While already a pleasure to ride with the unit disengaged and/or above the 25 km/h cut out speed, the new EP8 managed to achieve a 36% reduction in drag, making cruising about the cut-out speed even easier.
Improved heat-resistance:
The improved drive unit and battery performance will encourage riders to go harder for longer, but due to improved heat-resistance of the EP8 the maximum output will be delivered for longer without overheating and subsequently reducing performance.
Display and controls update:
The EP8 will get a new display offering all the key functions and information as well as a more ergonomic assist switch allowing for controlled selection of the various assist levels, even when the terrain gets rough.
Optimised TRAIL mode:
The TRAIL mode gets a more refined power curve to deliver optimal output at various input levels. This makes the TRAIL mode, even more, the ‘go-to’ assist level when out on the trail but also has a positive effect on energy consumption.
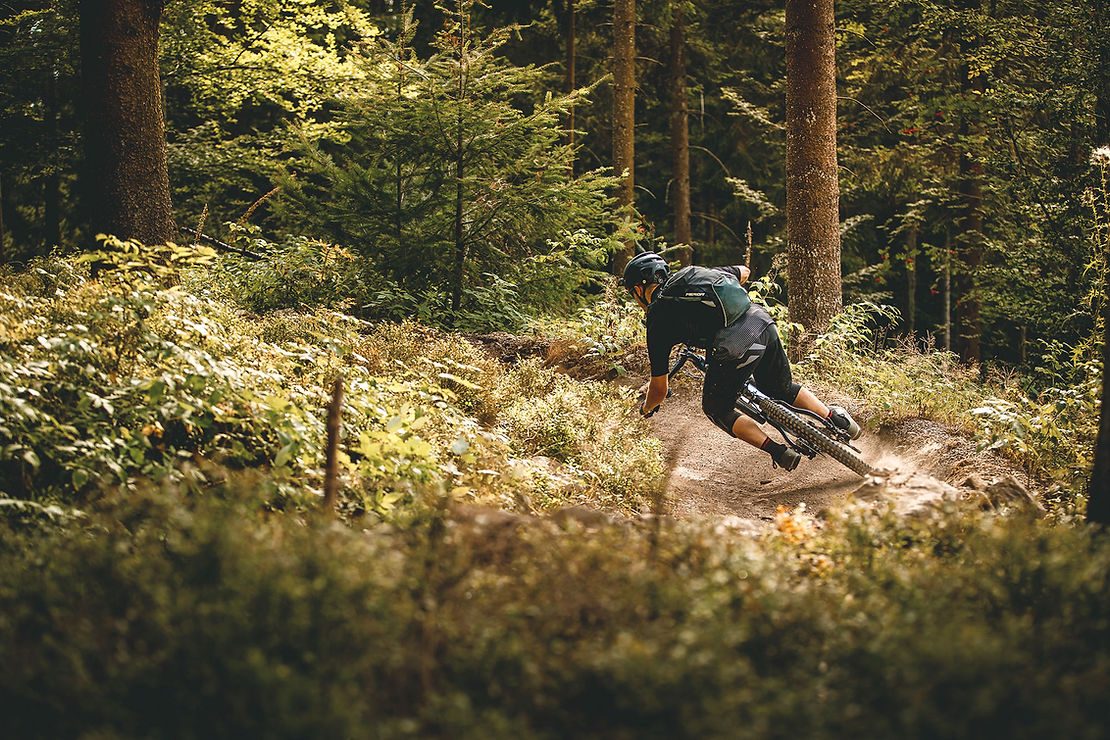
While these improvements and upgrades have a positive effect on the already impressive riding characteristics of the eONE-SIXTY line-up, the majority of our e-bike range will benefit from the range and power output increases of the EP8. All e-mtb that comes equipped with a 630 Wh battery will feature the new EP8 motor."
Review: Bontrager Blaze WaveCel Helmet
Let’s face facts: helmets are intended for safety. Yes, there are all kinds of other benefits and style factors, but ultimately, they’re built to protect your noggin. For the past few years, head safety and brain protection has been a big topic - not only in the MTB scene, but across the board in most action and impact sports. The major point of discussion is concussion. Bontrager has captured some attention recently with the launch of its new line of WaveCel helmets, which is said to majorly prevent concussions. This is the company’s take on MIPS technology (which is the protection system seen in other helmets). The new WaveCel helmets rely on a semi-flexible mesh structure for shock absorption. WaveCel technology, specifically developed by Bontrager, is a collapsible cellular material which works to shear, dent and crumple in response to angled impacts. Bontrager says their new product deals with both angular and linear impacts, without the need of an additional liner. Now, whatever the protection, I’m all for brands working on safety features, especially where the head is concerned - after all, you only get one, so it pays to look after it!
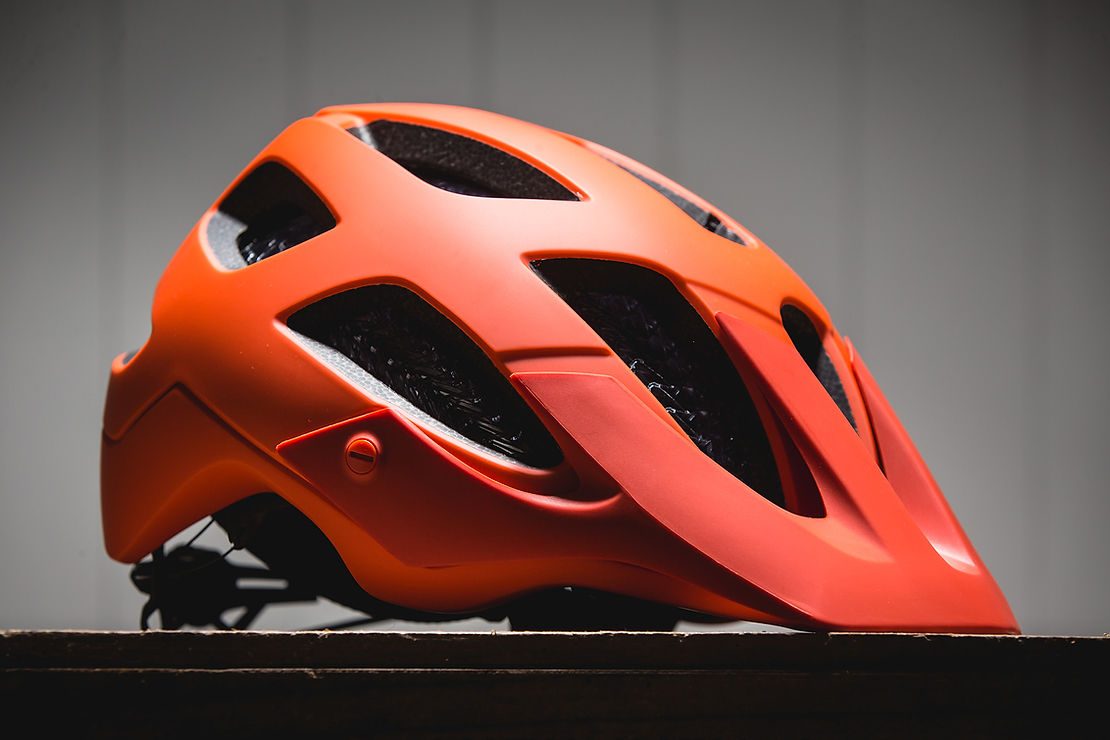
The Blaze is made for trail and enduro riders and has a few nifty features to accompany the most important feature: WaveCel. The lid has a Boa dial to adjust the cradle and a clever magnetic Fidlock fastener under the chip. Whilst I state the Fidlock is a clever feature, it does take a few goes to get it. This is simply down to it not being the same as most other helmets on the market,however, it’s really good once you’ve got it sorted. Other features include: a magnetic mount system compatible with the brands’ own lights; GoPros; a three-position adjustable peak; a ledge for goggle strap placement; and fully adjustable chip straps. Another good addition is the spare set of pads with a silicone strip on the forehead section. This means you can choose between the regular pads and these ones that aim to channel sweat away from the eyes - great if you sweat a lot or are riding in summer.
On the trails, the lid feels good. The fit is excellent - comfortable, with no pressure points even after a few hours rolling around the trails of Taranaki’s Lake Mangamahoe. The strap design is dialled and there’s no unwelcome flapping in the wind. The boa dial is easy to adjust when pedalling the trails. The rear coverage offered me the protection I needed in case I ‘sent it’ (or tried to send it) on the flow trails. I particularly liked the adjustable visor - sometimes I have found these to get in the way of my vision, but having the ability to click the visor into a higher position allowed me to easily see my way down the trails. On the recent rides I’ve done, it seems to vent well, but of course, I haven’t been testing the lid in the height of summer.
It should be noted: the new lids are at the higher end of the price scale but what’s the price of head protection?! These lids have a crash replacement policy - Bontrager will replace (for free) any crash-damaged WaveCel helmet up to one year after purchase. Lastly, the WaveCel is not a multi-impact system. Like a standard foam bicycle helmet, you need to replace it after any impact, or if any of the material is deformed, crushed or cracked.
Words: Liam Friary
Image: Cameron Mackenzie
Review: Giro Roust Jersey
I thought writing my C.V was hard, but to write a review for all our readers…. the pressure was on.
And by pressure, I mean the always-efficient production team had a lapse and were not-so-efficient, throwing me my first ever written piece a few hours before the print deadline. Nothing like a deadline to boost efficiency though, right? One thing I have learnt, working within this small team, is that everyone does a little bit of everything, so getting stuck into your first ever review (that will be read by thousands!) should be no different.
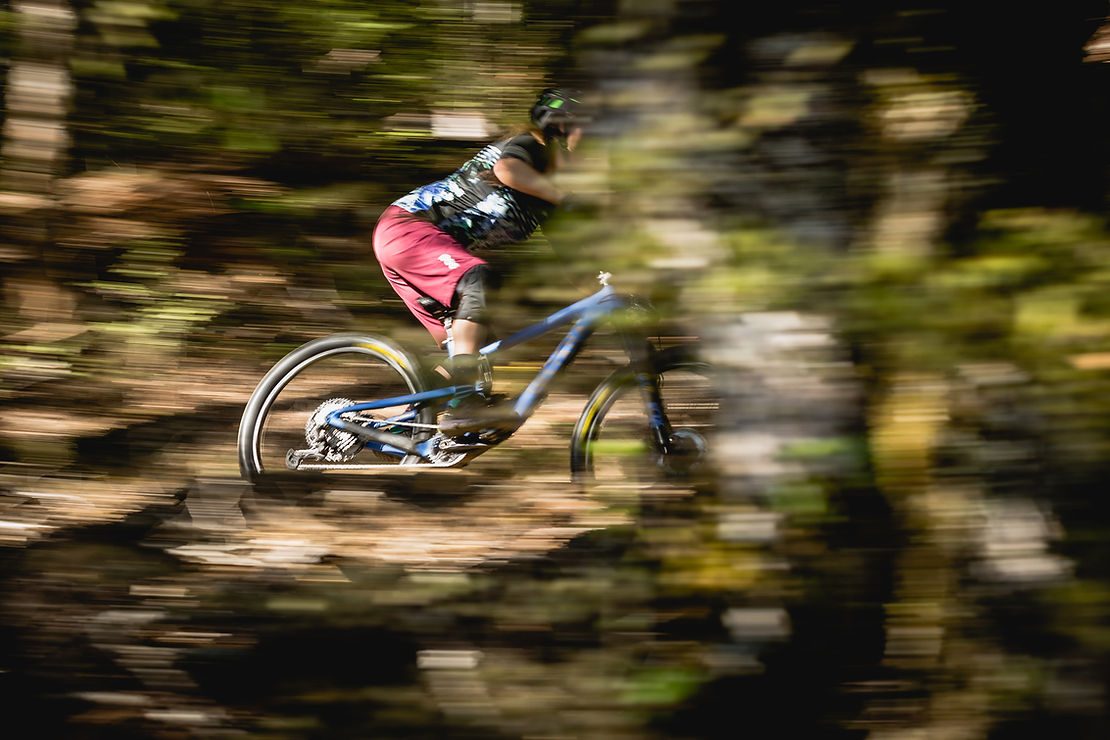
The first thing I knew - and loved - about this Giro Roust Jersey, was that Giro had jumped on the rotating wheel of environmentally friendly, low impact products and created their Renew Series, which this jersey is a part of. The Renew series is a clothing line made with recycled polyester, elastane and nylon, including Econyl and Lycra made from reclaimed fishing nets. Yes, it’s a bit of a cliché, but if you wanna keep riding your trails, it starts with these small yet effective changes.
What jumps out at me whilst wearing the jersey is the slight fitted shape of it, even though it’s supposed to be more of a loose, relaxed style. It wears as a somewhat fitted cut but for me personally, this is not a bad thing. Women’s bike jerseys need to stay away from the dreaded boxy style, so it’s good to see the Roust’s sides are pinched in ever so slightly to give a bit of shape, but still provide room everywhere else. It doesn’t feel tight around the areas where the importance of movement is needed. I ride with and without a hydration pack, and found the longer length at the back provided good cover and didn’t have the tendency to bunch, catch on things or ride up my back.
The Roust jersey is lightweight and suited for warmer season riding. Light fabric, mesh panelling on the sides and the breathable, moisture-wicking fabric does a good job in keeping you cool and not so sweaty. The lens cleaner on the inside is handy for wiping away all the grit and grime, especially if you are someone who makes a splash going through some of those wet areas.
For reference, the Roust jersey I wore was the Blue Marble colour and short sleeved but it also comes in three other designs; they are trendy, but not as loud as your mum’s ‘telling off’ voice. With lots of ride time in the Roust jersey, the colours have held well, the fabric has kept its shape and, more importantly, it has not taken on odours from all of the hard slogging.
Words: Helen Mowry
Images: Cameron Mackenzie
Story: Destination: Wanaka Pt. 2
If you missed part one of our Wanaka story, click here.
One of the things I was most excited for on our trip, was riding Bike Glendhu. While it didn’t make the 4:30am alarm any easier to get up to, within 15 minutes of being out of bed we were all piling into the van, bringing our time at Cardrona to an end. As we made our way down the mountain, I snacked on a Clif Bar and banana, and tried to focus on the fact that soon enough I’d be watching the most incredible sunrise from the peak of Glendhu - and not the fact that the clock had only just ticked 5am and I usually don’t leave the house ‘til at least 8. We were all feeling pretty groggy as we rolled up to Glendhu, but we were stoked that John Wilson, one of the founders of Glendhu and our guide for the morning, had offered to shuttle us to the top of the hill in time for sunrise – saving us a long pedal in the dark. It was here that we met Jessie of Lake Wanaka Tourism, who’d be joining us for the day.
Glendhu is Wanaka’s newest riding destination, opened in January 2020 after a couple of years of development. John McRae, whose family has owned and farmed Glendhu Station for three generations, wanted to create a more sustainable farming experience for his family’s future generations. He partnered with Wanaka local, John Wilson, to build Bike Glendhu on 1000 hectares of the Glendhu Station. The big picture goal was to create a bike park that’s self-sufficient, both in terms of how they generate resources like power, and in the sense of having a positive impact on the land the park is built upon. The base is rad, with an on-site mechanic, bike rentals and a café (more on the café later) all built on the same ethos of preserving the natural landscape, whilst providing an awesome ride experience.
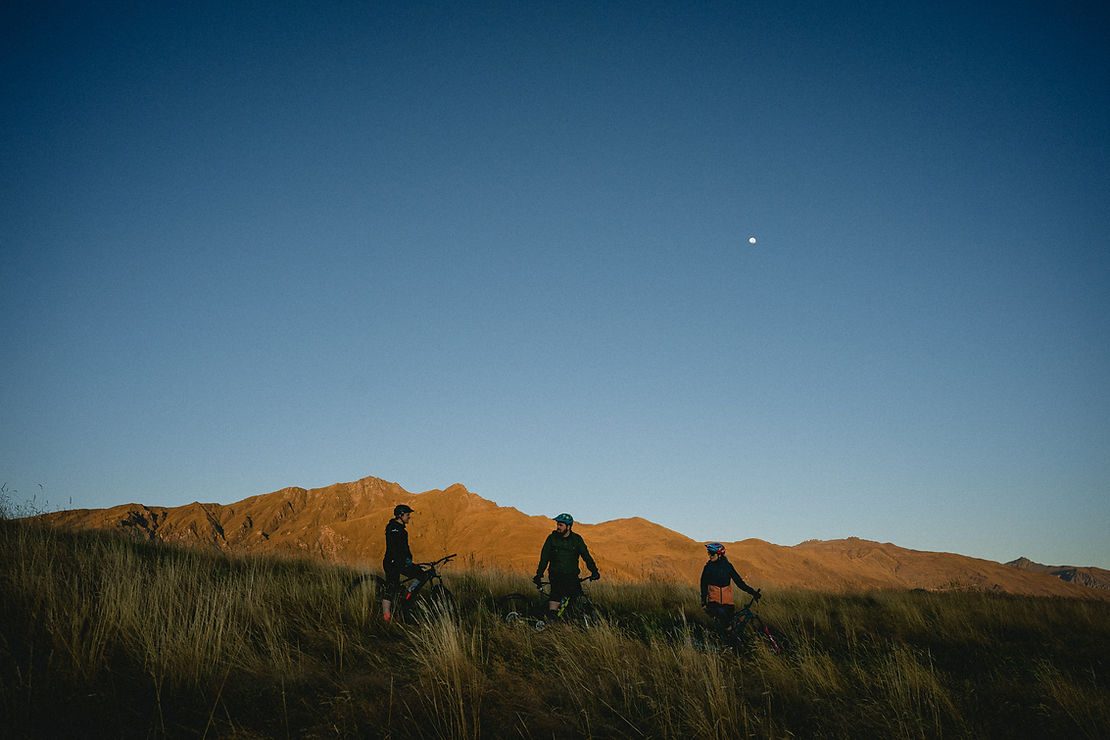
We all piled our bikes onto the shuttle trailer and began the 15 minute drive up to the peak, and I was pretty excited. I’d seen photos of Glendhu and the view from the top looked insane during the day, so I couldn’t even imagine what it would be like at sunrise. I was dazing in and out of reality and a dreamy haze, when all of a sudden the UTV’s wheels started spinning. “I’ve never actually taken the buggy this far up the hill with this many people and the trailer – I was worried about this part!” John said. It was clear the buggy wouldn’t make it up with all of us in it, so before we dug ourselves into a hole we all jumped out, so John could have another go without the weight of five additional passengers. No issues - straight over the rise without a hassle. As we took our seats back, John realised that he still had one lower gear to shift into, so maybe we would’ve made it after all. As we approached the top of Glendhu our surroundings really opened up and whilst it was still pretty dark, little hints of golden-orange began to creep over the edge of the horizon and it was clear we’d picked the right morning to take on Glendhu.
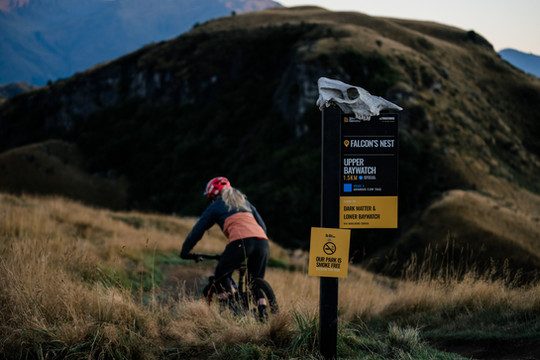
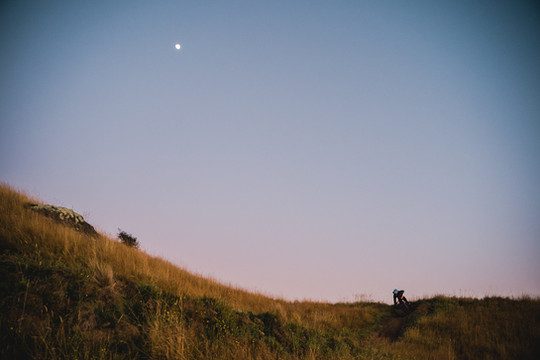
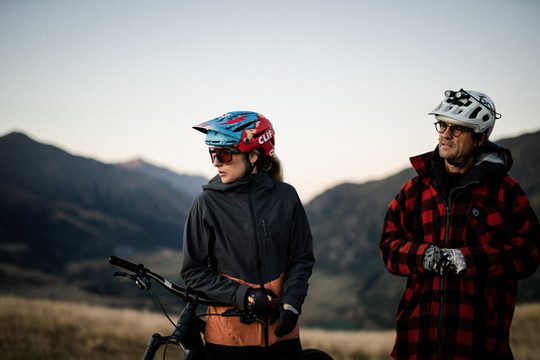
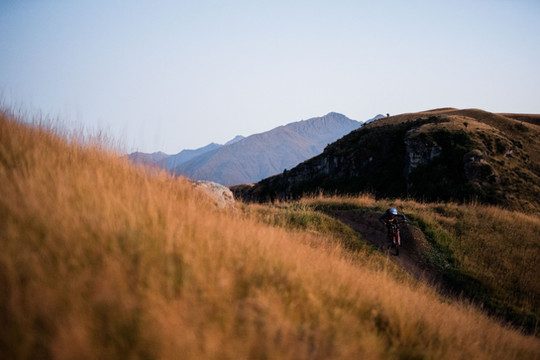
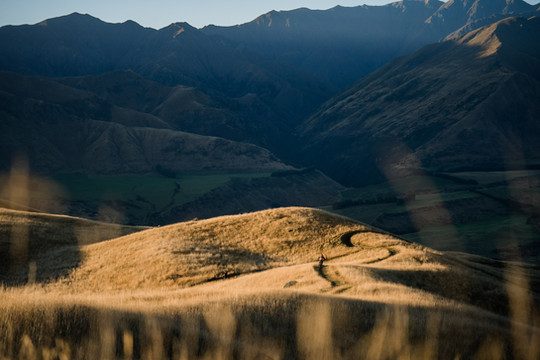
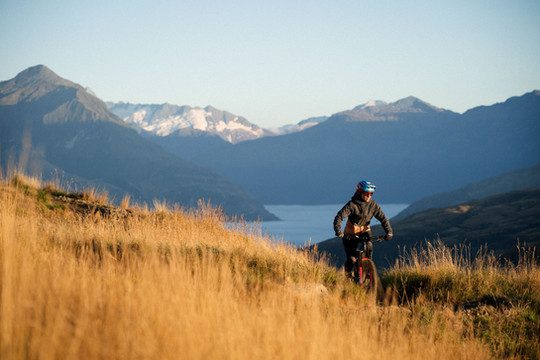


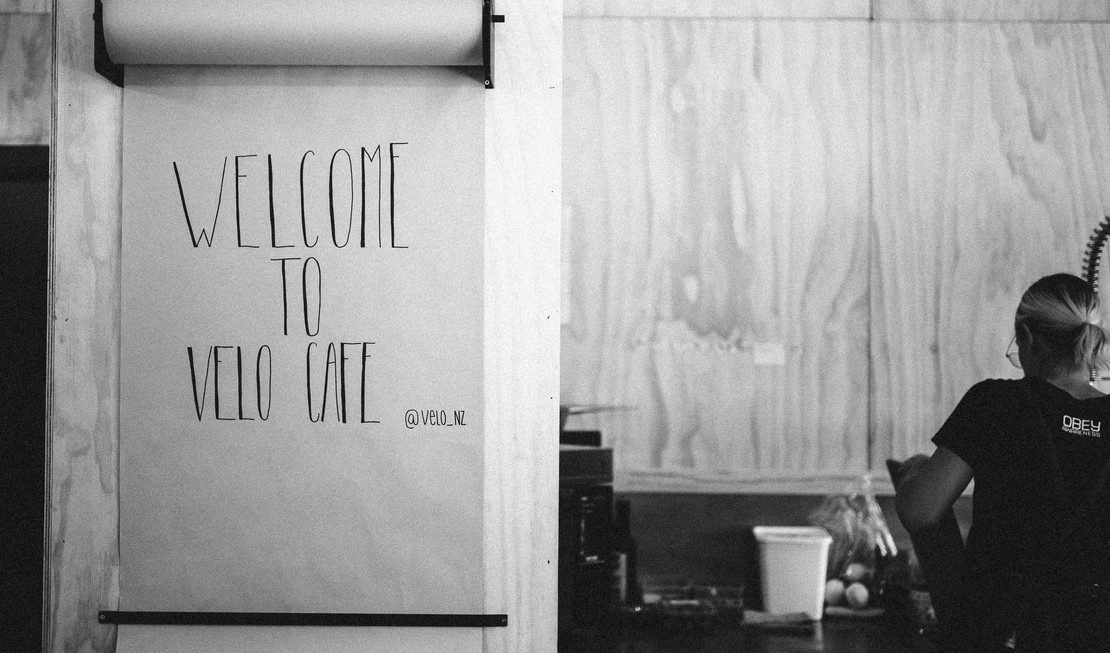
It was still pretty icy as we unloaded our bikes at the top of Glendhu, but it wasn’t long before the sun crested the mountains and the hillside lit up. The South Island is a special place to be in autumn, and it was definitely putting on a show for us today. It warmed up instantly so, before we left John, we de-layered to save us cooking on the hillside. We then dropped into Upper Baywatch, an intermediate trail with plenty of features to hit if you wanna spice things up a little. As we flowed down the hill, we stopped to shoot a little rock garden midway down the trail. As Haimona and Callum set up their shots, Casey, Jessie and I hiked our bikes back up the hill to get a decent run in. As we dropped in, I couldn’t quite get my footing right and as I pumped up the face of a table, and blew my foot completely off the pedal, accidentally ending up seat-bouncing, moto-style. My back wheel went sky high, my other foot was blown off its pedal and I landed in a nose manual. I was dead sure I was about to go over the bars but, some way, somehow, my feet managed to find their rightful spots atop my pedals, right in time to take the corner before the rock garden. I made it out alive, but my rodeo show had blown our formation clean apart, so up we went again. Second time round, I killed it. We continued down the trail to our meeting spot with John, while the rest of the team continued down the hand-cut advanced trails, that are more natural single-track than most of the rest of the trails. I headed back down to base with John to talk about Glendhu and how it came to be. Time’s always tight on these trips, so you usually end up having to squeeze in a quick chat with the people who know the story best, while the rest of the team get to have a little fun. On the bright side, though, I got to sample Velo Café’s coffee- which is nothing short of top quality and was the pick-me-up I needed.
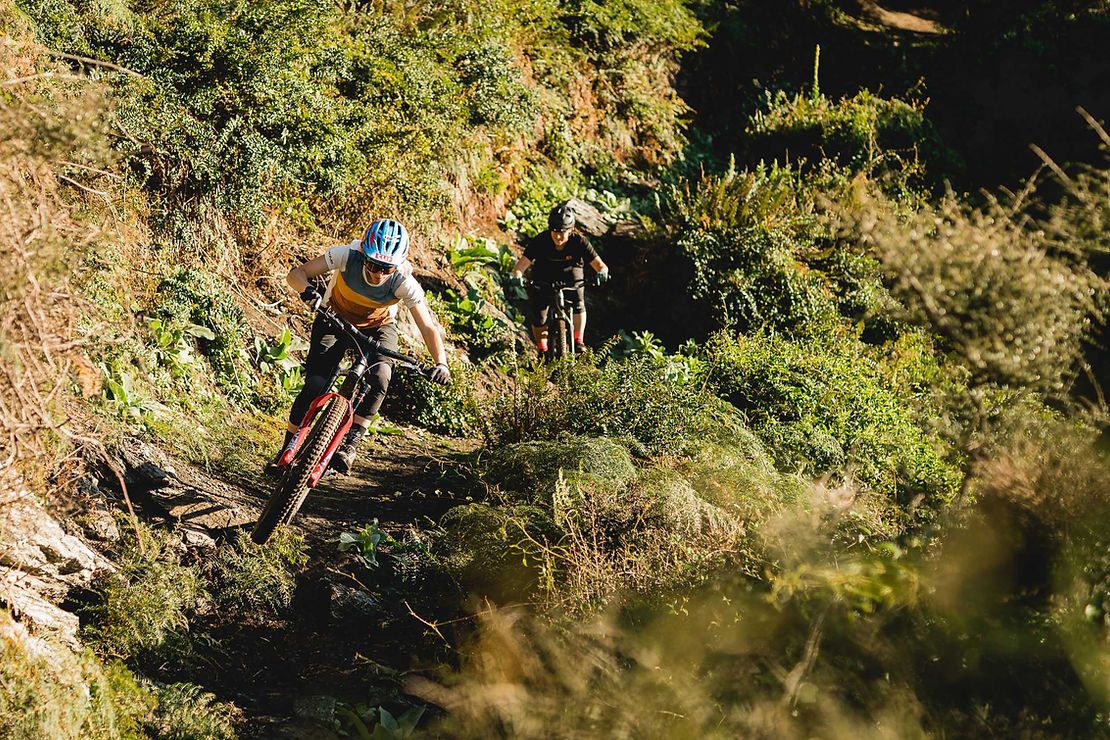
Caffeinated and ready to go, I headed back up to Jack’s Spot – about halfway up the hill - to reconnect with the team and take on Hare Time, Glendhu’s jump line. Casey took the lead and did what she does best: shredded and got super steezy, while the rest of us followed. The rad thing about Hare Time is that it’s entirely made up of tabletops that get bigger and bigger as you make your way down the trail. This means that once things get too big for you, you can roll them without fear of losing too much momentum and slowly ramp up your speed into jumps without having to worry about casing, should you not be going fast enough. The whole line flows so smoothly, and you can basically roll the whole trail brakeless; you ride it once and all you want to do is pedal back up the hill to take another run! Alas, we were all starving – by this point it was about 11:30am and we’d been up since 4:30am and none of us had eaten more than a Clif Bar, so we made the gentle pedal back to Velo Café to sample their food. As we racked our bikes, I was stoked I wasn’t spending this trip behind the camera, because while Jessie, Casey and I sat down to enjoy our meal, our content team had to capture it. They joined us pretty quickly and whilst we were all talking, I was 100% on autopilot, enjoying my food waaay too much to make any worthwhile contributions to our chat. After your ride at Glendhu, you’ve got to try the veggie Thai curry pie – it’s out of this world good and if I remember correctly, it’s what everyone in our group ordered.


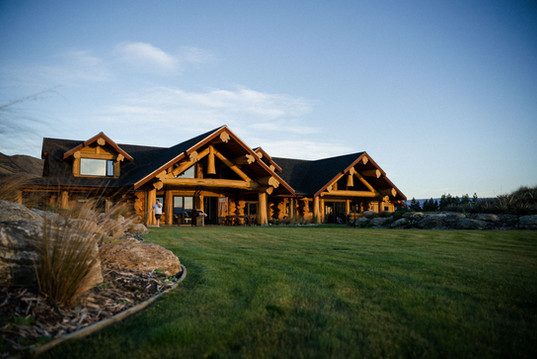
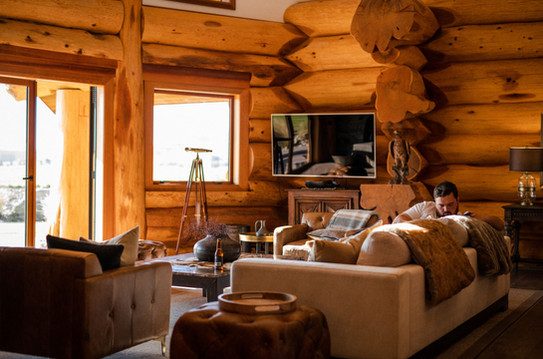
Up to this point in the trip, I’d been mad-hyping-up the “log cabin” we were going to be staying in for the second half of the trip and, after lunch, we had a couple of hours to kill before we could check in. We left Glendhu and pulled up right by the lake to enjoy a midday beer, and I was starting to get a little nervous: “what if the house isn’t all I made it out to be?”. After a quick dip, and talking about how beautiful the South Island is for the hundredth time, we packed into the van once again and made our way about fifteen minutes out from Wanaka, to the log cabin we’d been booked into. We approached the gate, punched in the code and made our way down the drive as the biggest house - let alone log cabin! - I think I’ve ever been to, revealed itself. The River Ridge was built in Canada before being shipped to New Zealand to be re-constructed on the banks of the Clutha River. Some of the logs were easily a metre plus in diameter and, as we made our way inside still in our riding gear, all I could think about was how crazy it was that someone had this built as a holiday house, and how it was way too nice for a bunch of dirty mountain bikers. As we were shown around by our host, she mentioned that she’d come out a few days before our arrival to turn the heated floors on for us so that they’d be warm in time for our arrival. This was our chance to live like the 1% and we were going to make the most of it. We’d gone from an apartment - which was super nice and honestly way better than some of the sketchy hotels I’ve stayed in on these trips - to having two kitchens and our own bathrooms. We all packed in, showered and took our usual afternoon naps, then watched Tea & Biscuits (if you haven’t seen it – check it out) before heading back into town to B.Social for dinner.
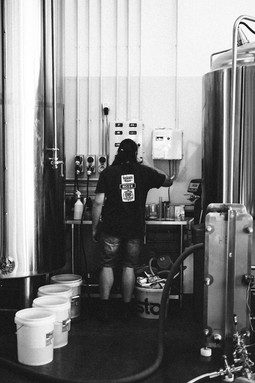
I hadn’t checked out B.Social before, but as a craft beer drinker I was pretty excited to visit. I’ve homebrewed a couple of batches in my time, so I love getting to hang out at breweries and watch the magic happen – which is the case at B.Social, as nothing but glass panels separate the eatery from the B.Effect brewery. Since we’d had a big couple of days, I wasn’t sure I’d manage to stay awake the 15 minute drive home if I had a beer, so I stuck to kombucha with Casey, while Callum and Haimona sampled all that B.Effect had to offer. I flicked through the menu as I tried to decide on what I wanted to eat and, after we realised we all wanted to get everything on the menu, we ordered basically every starter to split between our group. I think bar starters are the best, but breweries always go just that little bit further and I feel like that was exactly the case at B.Social – make the portions a little bigger and they could easily be mains.



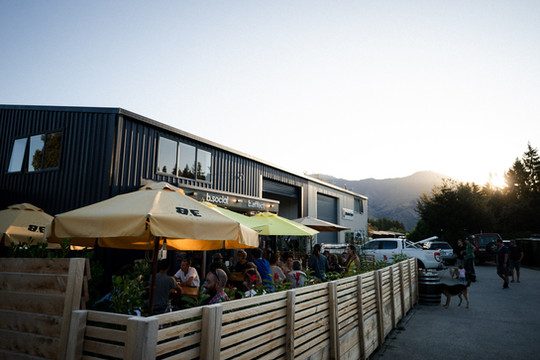
It was only 7pm, but we were all exhausted, so we called it quits after eating and headed back to the house. I finally had the beer I wanted with dinner, and it did exactly what I thought it would – knocked me out. I pretty much headed straight to bed and was stoked to have a bit of a sleep in the next day – a 7am wake up never sounded so good!
Words: Cam Baker
Images: Callum Wood
News: All-new Canyon Exceed Models
With the growing demands of cross country mountain biking, Canyon have updated their existing Exceed line-up with the CF, SLX and CFR for the 2021 model year. The new Exceed CFR frame tips the scales at a mere 835 grams (claimed, medium frame) and is also stiffer than the previous model. All of the new Exceed models feature updated geometry, staying true to the slacker-longer trend of modern day mountain bikes. Read more on the new Exceed below:
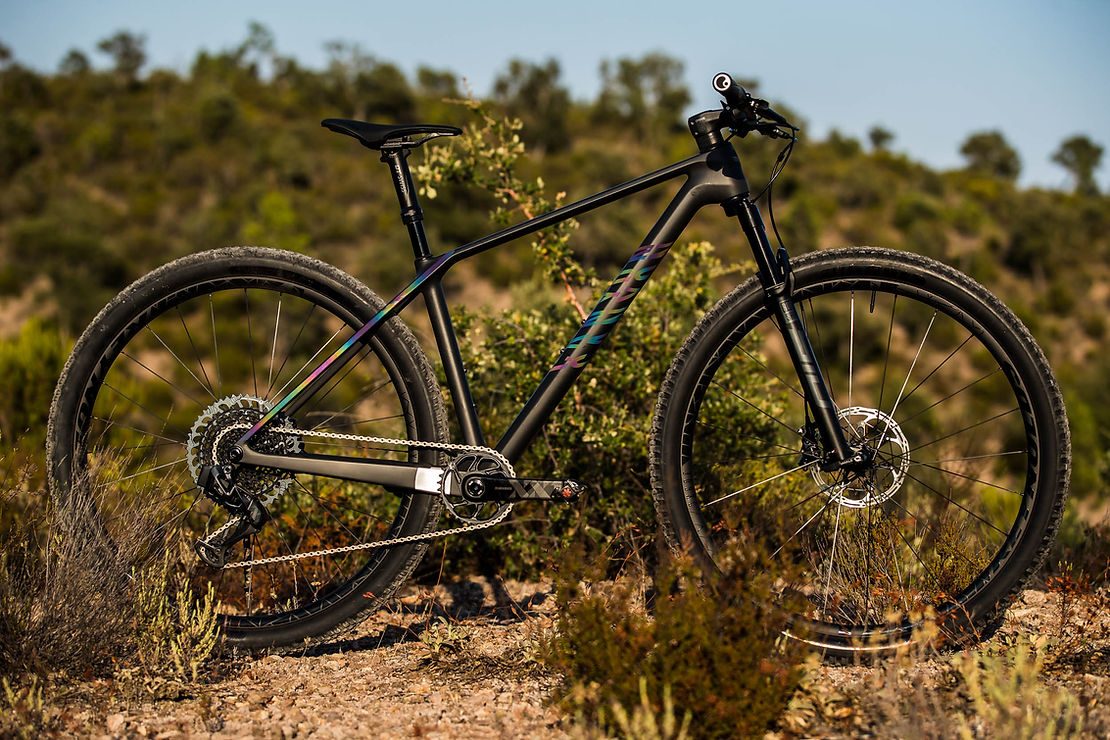
"The original Exceed was raced to World Championship victory, shattered the course record at Leadville, and repeatedly rocketed to World Cup podiums at Albstadt, Cairns, Nove Mesto, and Val di Sole. How do you improve on all that? Like this. The all new Exceed is lighter, stiffer, and carries you over rough courses with absolute control. They say racing is about pushing your limits. We aimed for something greater. The new Exceed is entirely beyond limits.
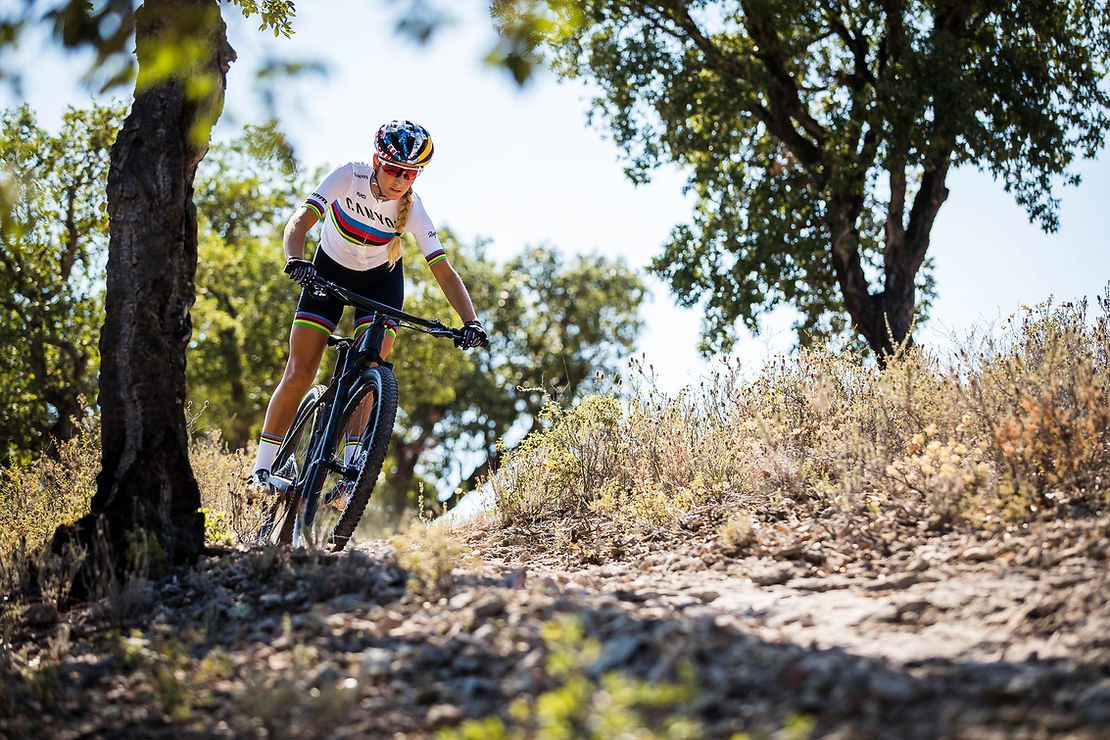
Who designed this bike? Racers. Pure and Simple. World Cup threats like Kristian Hynek, Petter Fagerhaug, Matthieu van der Poel, and Pauline Ferrand Prévot provide crucial feedback to our engineers and product developers. And those same Canyon engineers and product managers personally put their latest creations to the test in grueling events such as the Absa Cape Epic. Those days and weeks spent sprinting for the holeshot and fighting to drop the competition shaped every bit of the new Exceed.
The new Exceed CFR (Canyon Factory Racing) possesses one of the lightest production frames on earth. Bold claims aside, here are the facts: Our premier, carbon CFR frame tips the scales at a mere 835 grams. That’s astonishing. More to the point, it’s what gets you to the top of the climb and across the finish line first. How'd we do it? Through state of the art materials and engineering.
The CFR is one of the very few bikes in the world to utilize something we call “unicorn hair” — an uncommon carbon fiber (Toray M40X) that is so cost prohibitive and hard to come by that it’s rarely used in the cycling industry. We also call the stuff unicorn hair because it is both stiff and strong. In the world of carbon fiber, that’s an even rarer thing… and it’s what enabled us to make the CFR so damn light. Generally speaking, particularly strong carbon fibers are not particularly stiff and stiff fibers are not particularly strong. Because unicorn hair is both strong and stiff, we can add fewer reinforcing fibers to the frame and create an astonishingly lightweight bike without sacrificing strength or stiffness. Light plus strong, plus stiff… equals victory.
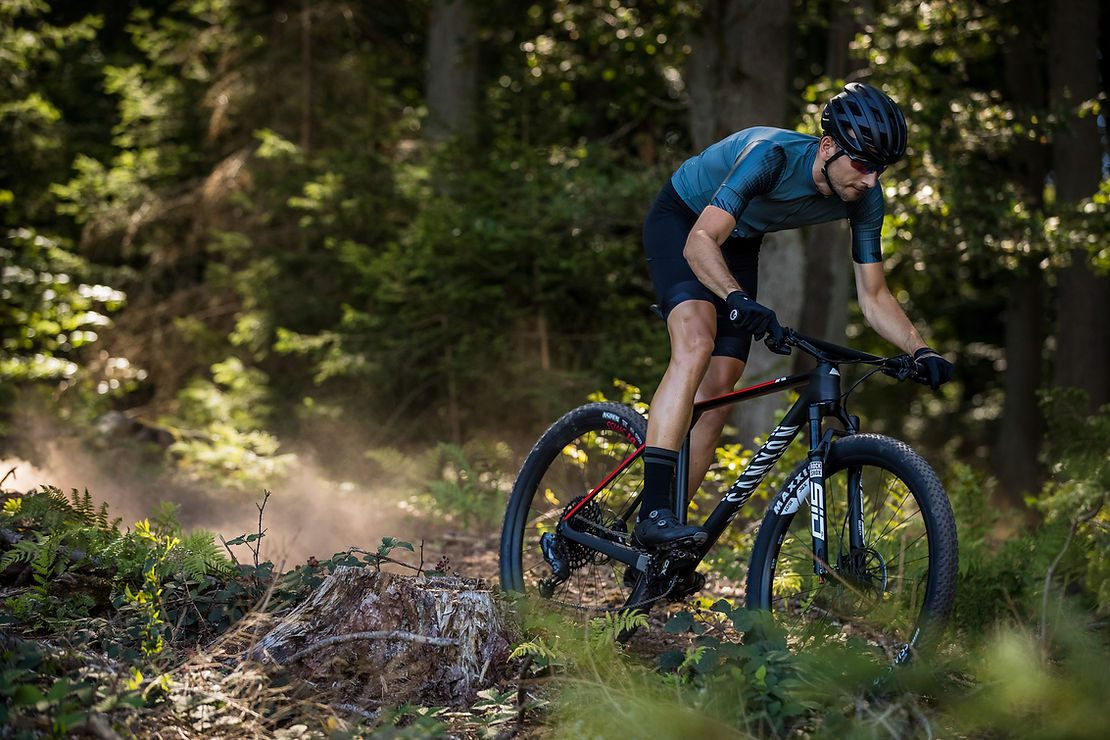
We believe every rider should have the best possible bike no matter their budget. That principle is one of the things that sets Canyon apart and it’s why every Canyon Exceed frame possesses the same core features and is built using the same carbon molding process. All the geeky bells and whistles you’ll find on the Canyon Factory Racing “CFR” model (including our exacting tube profiles, integrated seatpost clamp, Impact Protection Unit, dropper post compatibility, Quixle, etc) are also featured on our more affordable models. So, what’s the actual difference between the Exceed CFR, SLX, and CF frame platforms? The exact blend of carbon materials and composite layup differ, yielding very similar stiffness and ride quality, but at varying stiffness to weight ratios. Or to be less nerdy about it, as you go up the line, the frames get lighter. All frame weights below are for size Medium and (per the DIN standard) include artwork, chainsuck plate, chainstay protector, integrated seatpost clamp, and universal derailleur hanger.
It’s no secret–World Cup cross country courses have gotten rowdy. That’s why we gave the new Exceed a thoroughly modern yet balanced geometry that boosts your control on tough terrain while still proving quick and nimble through the tightest trails. In practical terms, we slackened the head angle to 69 degrees, increased the reach 10 millimeters, moved to 80 millimeter stems on all frame sizes, and shortened the rear center 2 millimeters. The end result is a bike that’s both confident on tough descents and an absolute rocket on steep climbs and through tight corners. In short, the new Exceed is faster anywhere the course takes you.
It’s a simple principle: your bike should fit you — not the other way around. And, yet, frame geometry is often compromised if you’re either short or tall. The Exceed boasts stellar handling in every frame size.
The new Exceed features 29er wheels and room for two water bottles, even in the new XS size, which fits riders down to 158cm (5’2”). What’s more, we continue to equip the Exceed with frame size specific chainstays. Chainstay length grows on Large and X Large frames, giving riders of all heights ideal weight distribution and superior handling.
While we obsessed over every detail of the new Exceed frame, we paid just as keen attention to each component fitted to that frame. CFR and SLX models feature a new, full carbon mountain bike cockpit that tidies up your handlebar/ front end while providing you with an aerodynamic riding position that shaves precious seconds from your best efforts. What’s more, we partnered with DT Swiss to create ultralight dropper posts specifically for the Exceed. The novel droppers are available in carbon (CFR) and aluminum (SLX) and provide racers with 60mm of seat height adjustability. More to the point, the DT Posts are among the lightest production dropper posts available today, weighing in at 390 grams (carbon post with remote) and 420 grams (alloy post with remote). We build every Exceed to be that rare combination of uncompromising performance and outstanding value. Look at any of the Exceed models and you'll find very few competitors at the same price that rival the Exceed's frame and component quality."
Story: A Breath of Fresh Air
A biking trip to the Nepali Himalayas, with a race thrown in for good measure? Sounds like an adventure not to be missed! We had three weeks to explore, starting with the Yakru Enduro race – dubbed the highest enduro race in the world – followed by bikepacking part of the Annapurna circuit. It was a trip to explore a new part of the world, experience a completely different culture and do something a bit out of the norm.
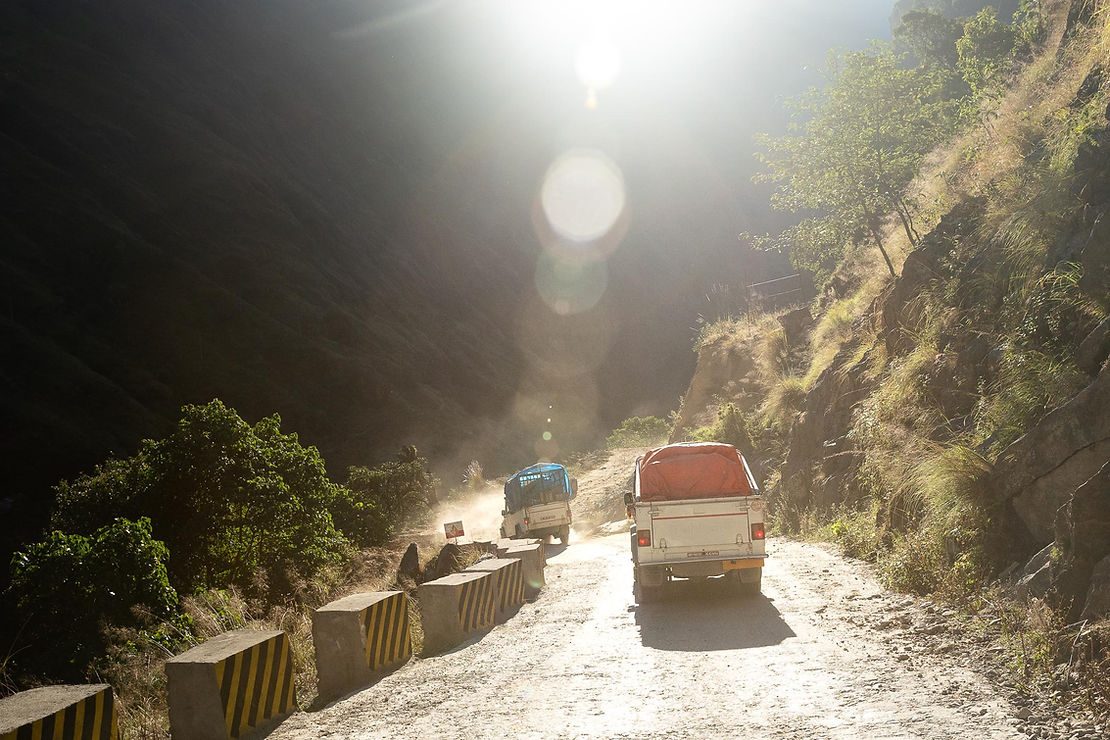
Four-Wheel-Driving Into the Adventure: The road into the Manang region of the Annapurnas was completed in 2011 by the Nepalese army; connecting Manang to the lower valley by 13+plus hours of 4wd action, instead of the traditional seven day hike. The road has encroached on the beauty and isolation of the Marsyandi Gorge so loved by tourists, but no one can deny the benefits motorised transport brings to these mountain communities. Photo: Dane Cronin
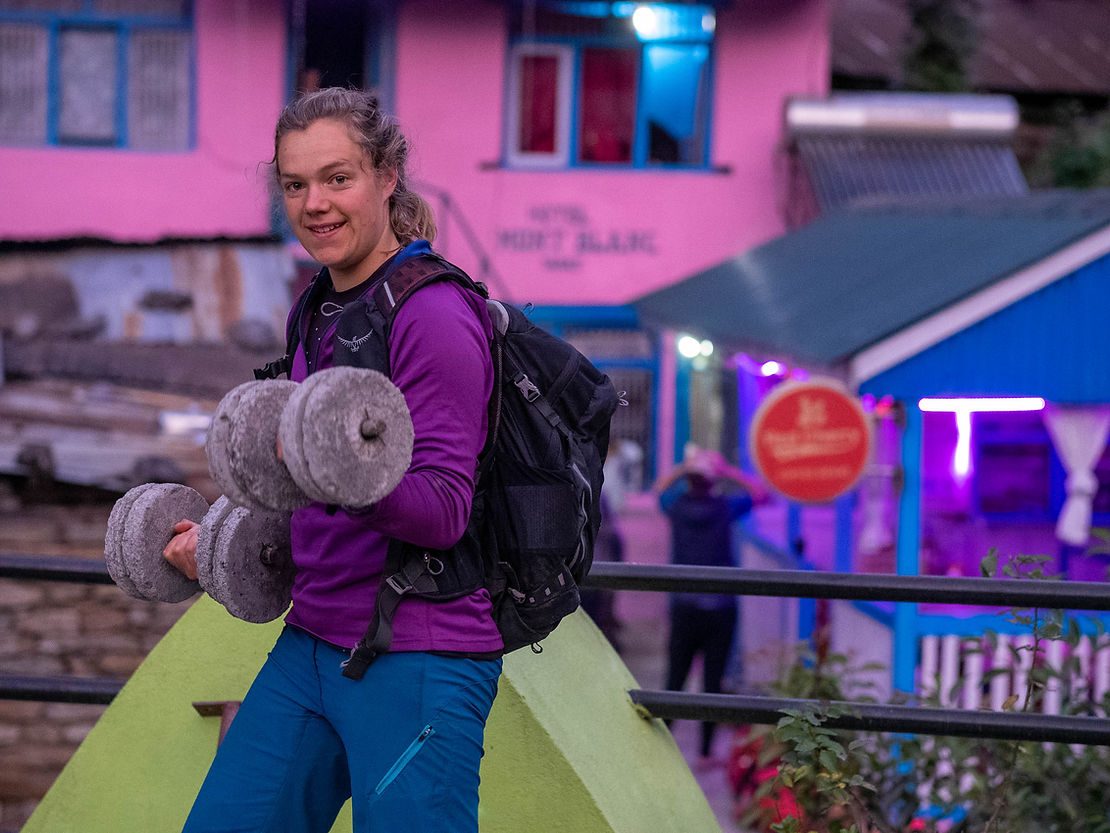
Learning the art of Nepali Time: we quickly established there was little point in expecting to be anywhere at a certain time. We went with the tide, and some of our best cultural immersion was done waiting for the truck to be fixed or a guide to arrive. Here, we tested out the gym set of our young Nepalese host, on the roof of his teahouse. Photo: Ben Gibson
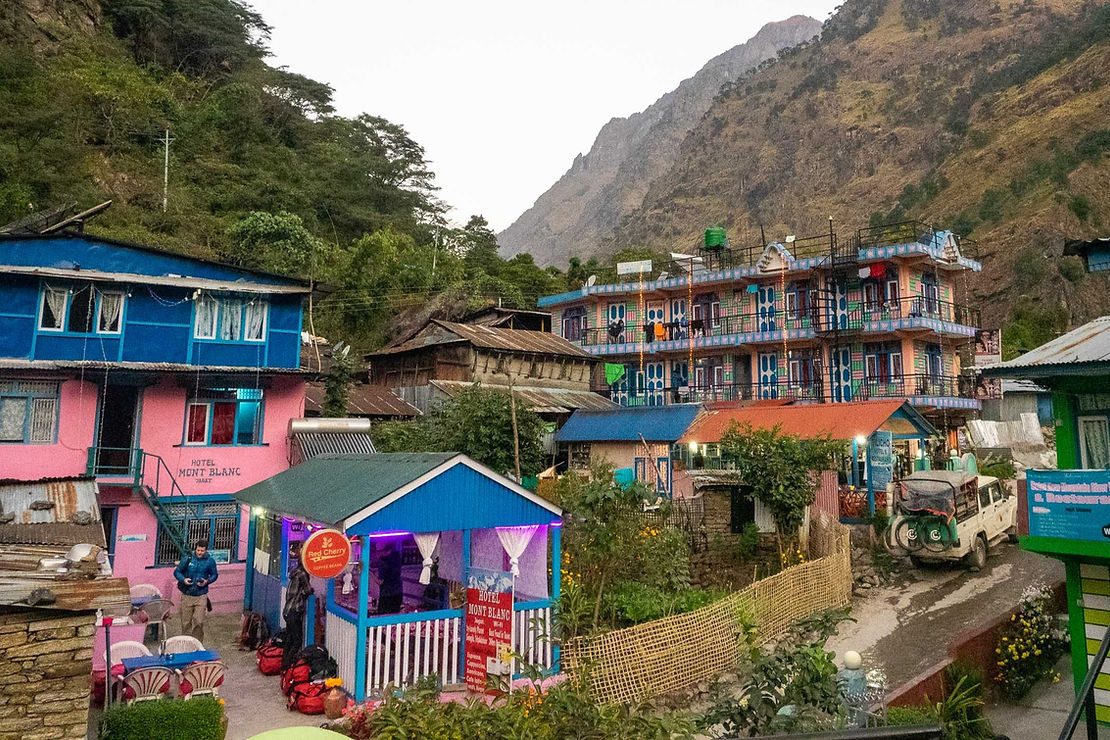
The typical view of a village in the Marsyandi Valley. Most buildings were multistorey, with unusual colour schemes and barely-straight beams. Roof tops often doubled as café terraces, giving 360 panoramic views of the surrounds. Picturesque and cosy, they were a welcome sight at the end of a day’s pedalling. Photo: Ben Gibson.
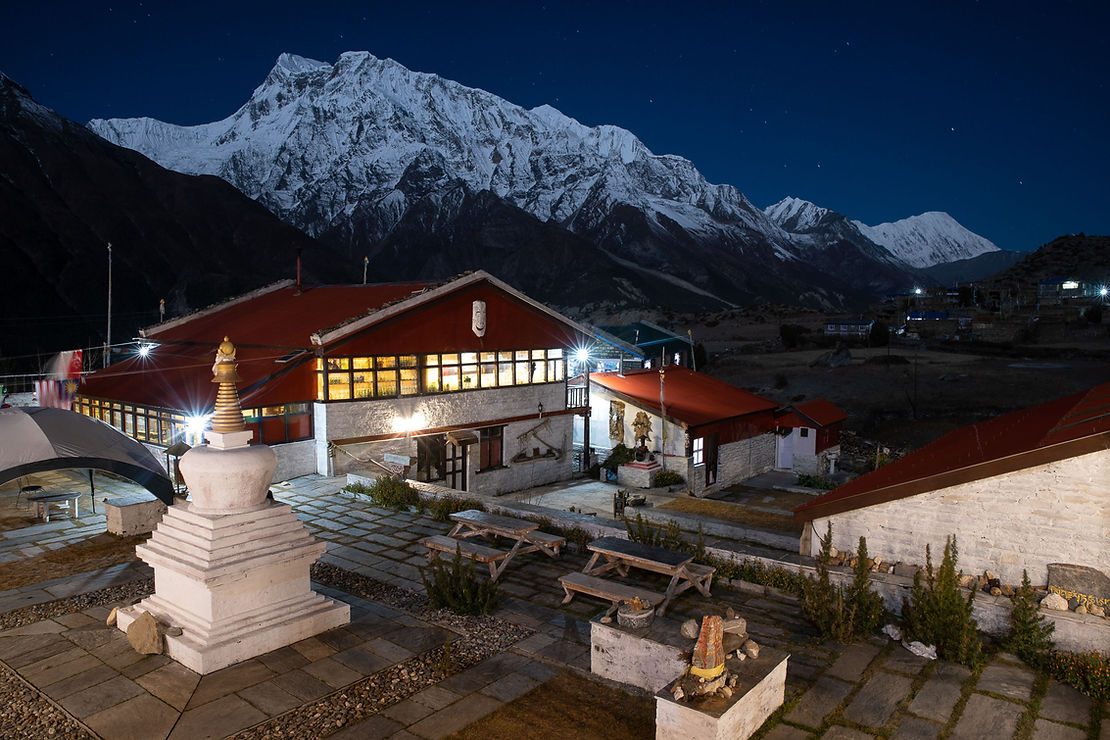
This lodge was home for the duration of the race - and was luxurious by Nepalese standards, with flush toilets and wild card hot showers. Behind the lodge is Annapurna III, towering another 4500m above us. By night, these peaks seemed even more enormous. It was pretty special to be able to relax, unwind and reflect in the evening below these beauties, with a cup of Masala tea or hot lemon in hand. Photo: Dane Cronin
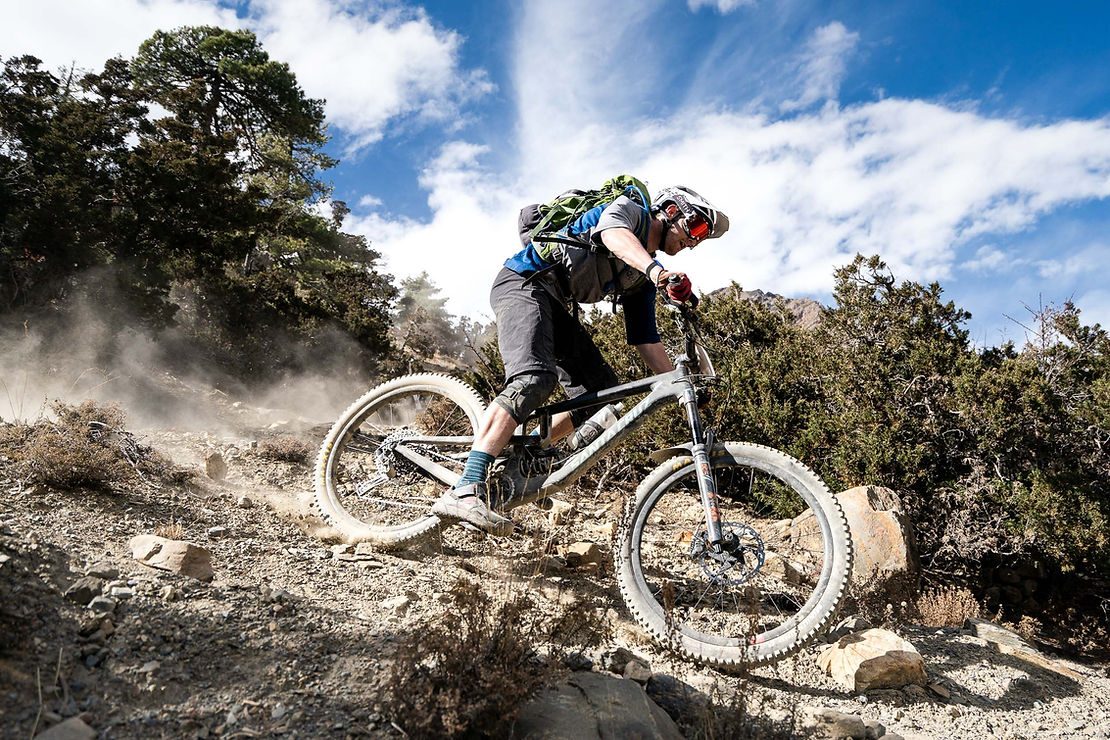
Into the Race Stages: Hiking trails and donkey tracks became nduro stages for the day, borrowing ancient paths of transport through the mountains and valleys. Racing blind in foreign terrain felt very non-racey and was always a balance between grip and speed, as we came to terms with moon-like dry dust. Photo: Dane Cronin
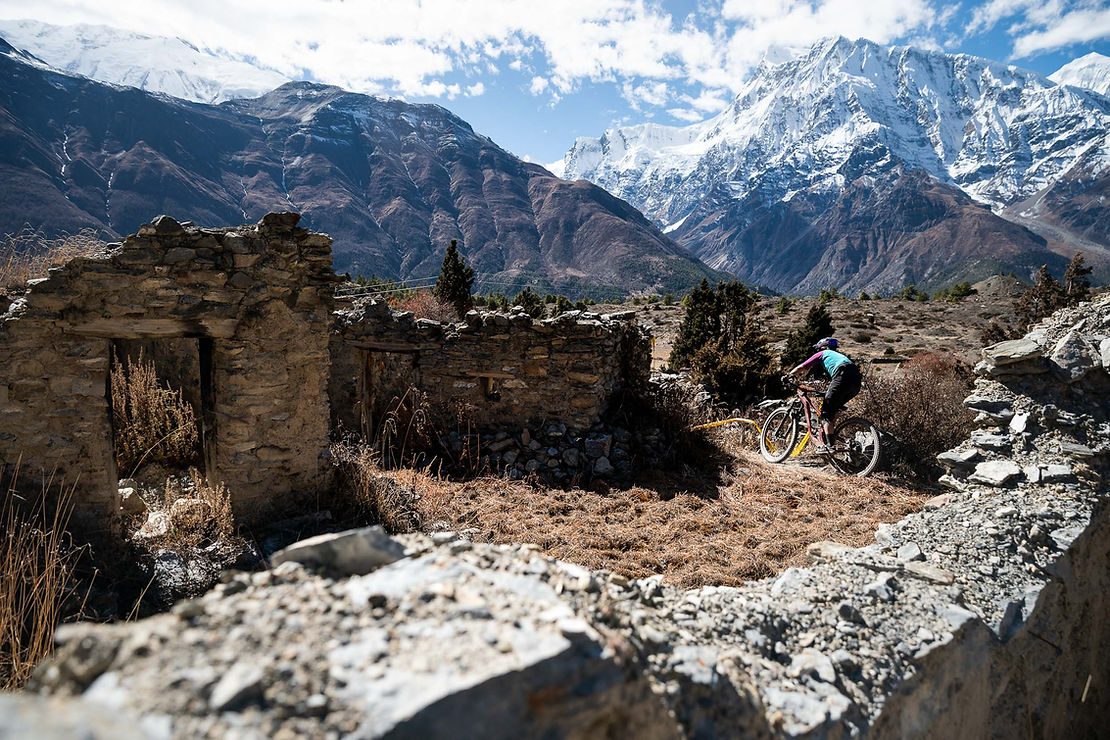
The race stages took us through a cultural slideshow, through ruins, shrines, villages and monasteries. Racing here was a stark contrast to the lives, culture and religion of the Nepalese. I felt very privileged to be able to have the choice to ride my mountain bike through these places and wonder about the thousands of years of change these ruins have seen. Photo: Dane Cronin
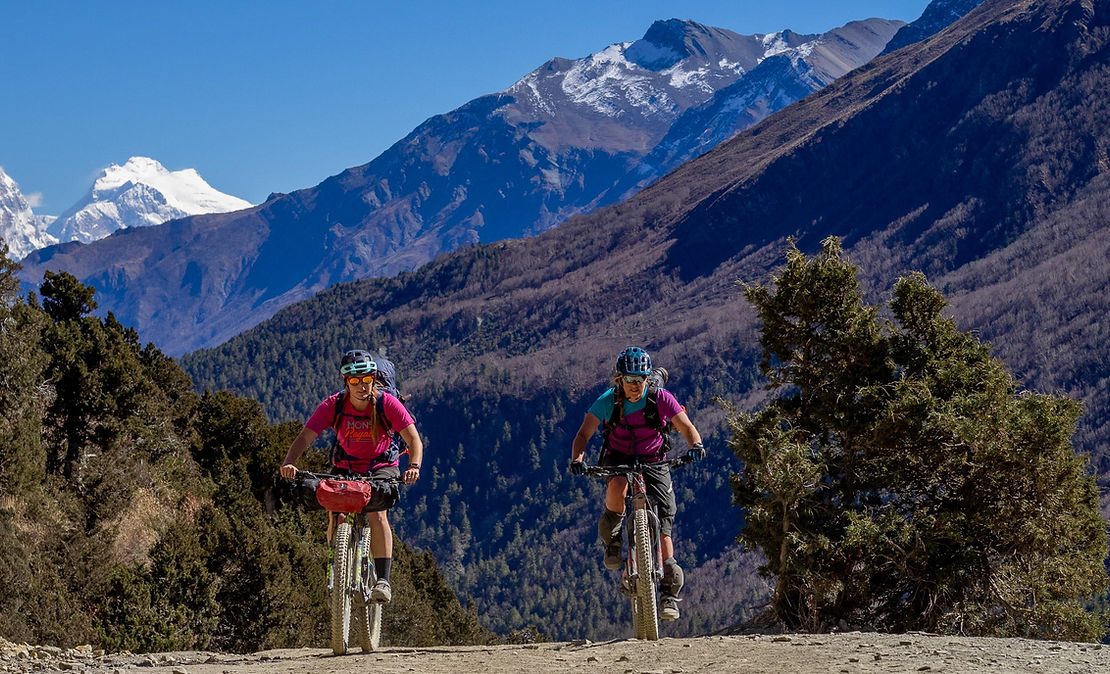
Swapping out timing chips for front rolls, we left our newfound friends from the Yakru race and pedalled up-valley to begin the second part of the trip. We were blessed with sunny days pedalling amongst mountains, and without a race team to support us; we felt much closer to people and the place. We all embraced the change in pace as we enjoyed and appreciated the scenery, with nowhere to be but in the moment. Photo: Ben Gibson
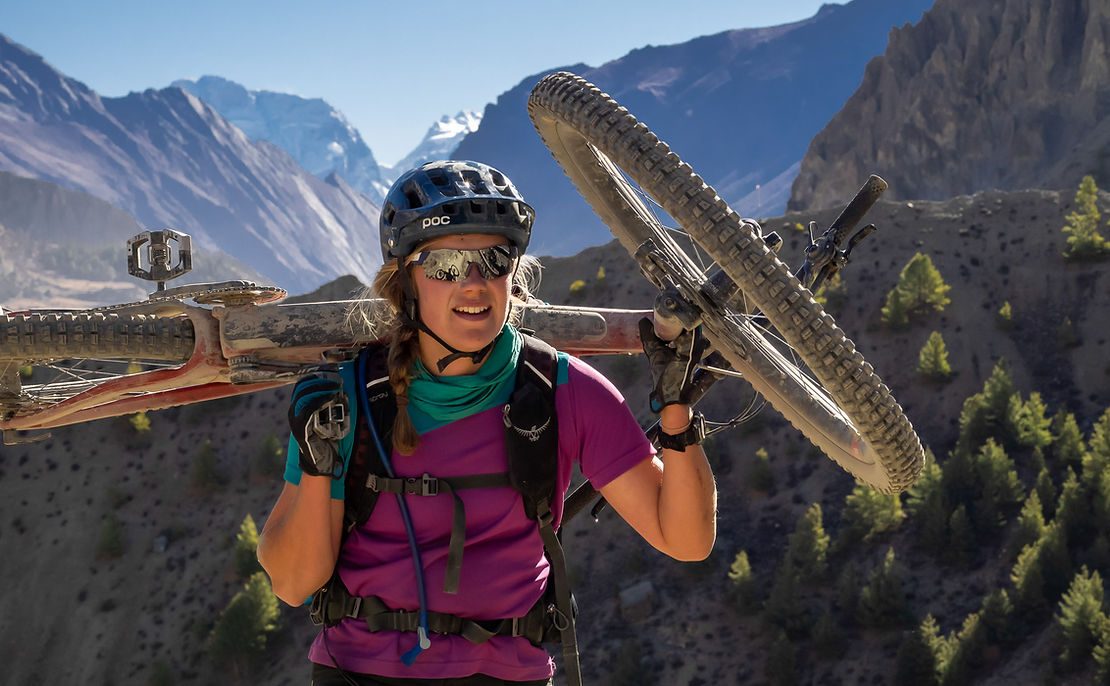
Off, up and Away: This is what most of our hill climbing looked like. None of us had done anything at altitude before and it was a whole new experience and pace working with what our lungs and heart could pull out of the oxygen-thin air. We didn’t mind too much, it was all part of the trip and gave us plenty of opportunity to take in the scenery and surrounds. Photo: Ben Gibson
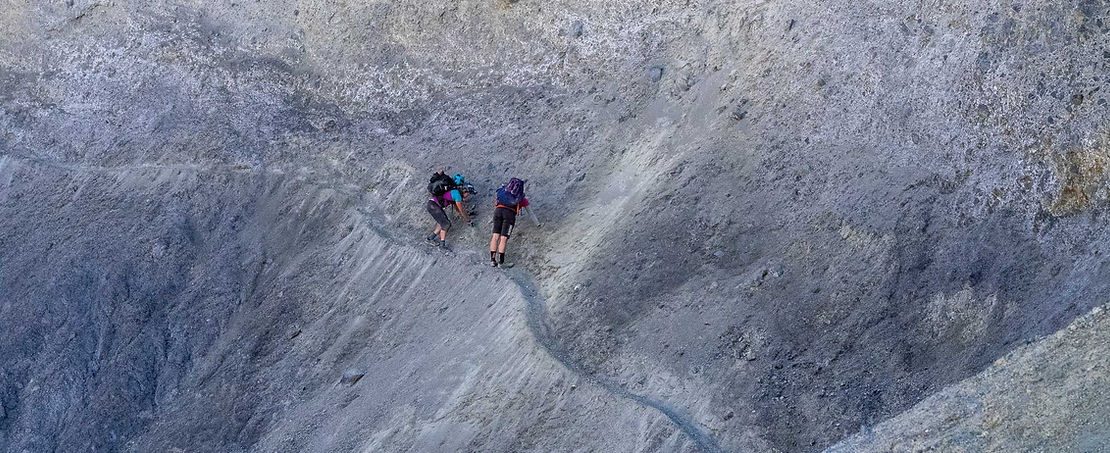
Risk vs Reward: We spotted a side trail on the map, offering an alternative route to the road to our lunch destination. It certainly was an alternative, coming across this landslip with a small path leading across it. Not wanting to turn back and lose the elevation we had already gained, there seemed little other option than to cross it – which was more challenging for some than others. The reward though? A morning of riding glorious single-track through the forest, without another soul in site. Photo: Ben Gibson
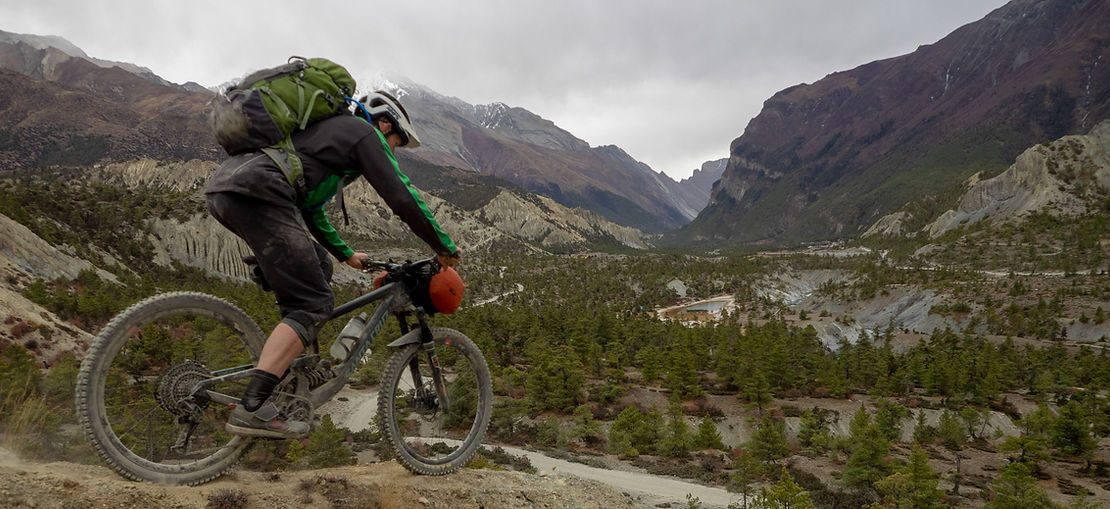
As hoped, we found some really sweet sections of single-track to ride. With the oxygen deprived climbing, the descents were all the more satisfying and had us savouring every turn, even with front rolls and loaded packs. Given more time, there would have been many more side trails and areas to explore with similar potential. Photo: Robin Pieper
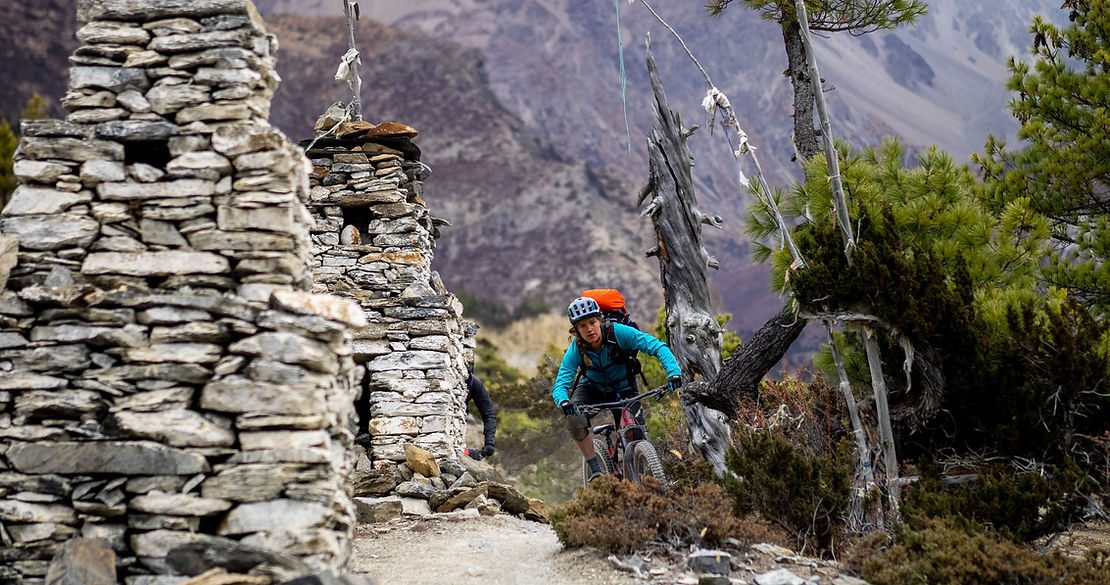
Dodging Shrines on the Trail: There are many of these Buddhist outposts on-trail around Nepal, and it is Buddhist practice to only pass these on the left, so that the shrine is on your right. Doing so gives good karma to the traveller, as passing on the right conversely gives bad karma. Touching the shrine is only allowed with your right ‘clean’ hand, for the same reasons. Photo: Ben Gibson

The high point of our trip, Tilicho Lake. Sitting at 5000m it’s claimed as the highest lake in the world (unconfirmed). Either way, it felt like a great achievement and stunning to look around and see snow, rock and ice literally as far as the eye can see. In New Zealand, there is almost always a view of lowlands, but not here. Earlier in the season, it’s possible to pass from here over to Jomson, but not with the lowering temperatures this late in the season. To get to Tilicho we needed an early start to avoid the wind, and even in the late morning a bone-chilling ‘breeze’ had already started. Photo: Ben Gibson

Descending from Tilicho lake, as the trail stretches out in front of us along the scree. We shared the trail with regular donkey trains, locals and tourists alike, and the trail was deceptively steep and slow going. Luckily bikes made the descents much quicker and more fun, although some of the exposure and technical corners were met by either cheers or concerns from other travellers. Photo: Ben Gibson
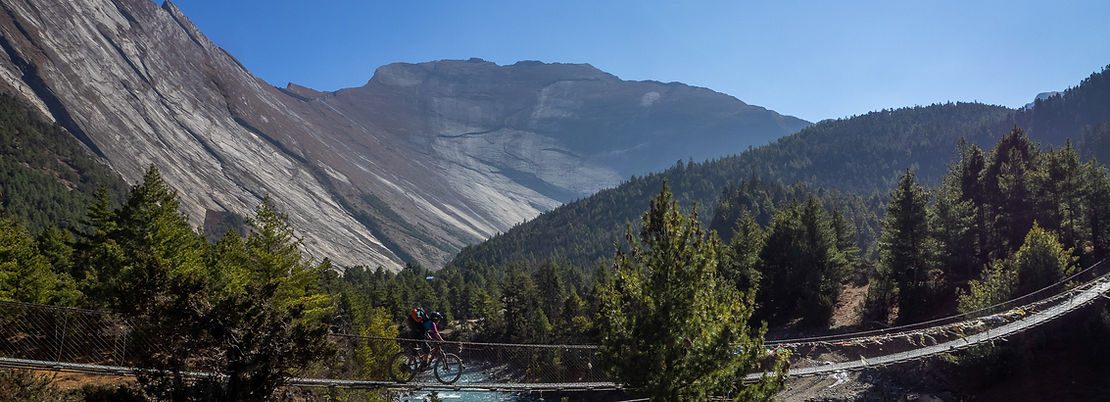
On the way Home: Crossing the Marsyandi River over one of the many single span swing bridges, connecting villages on the true left of the river by foot only to the ‘main road’. In the background, Heaven’s Door rises above us, a single slab of rock, rising 1500 vertical metres from the river. The geological masterpiece serves as a natural barrier (or ‘door’) between the temperate lower gorge of the Marsyandi River, and the montane plateau we are on now. Photo: Ben Gibson
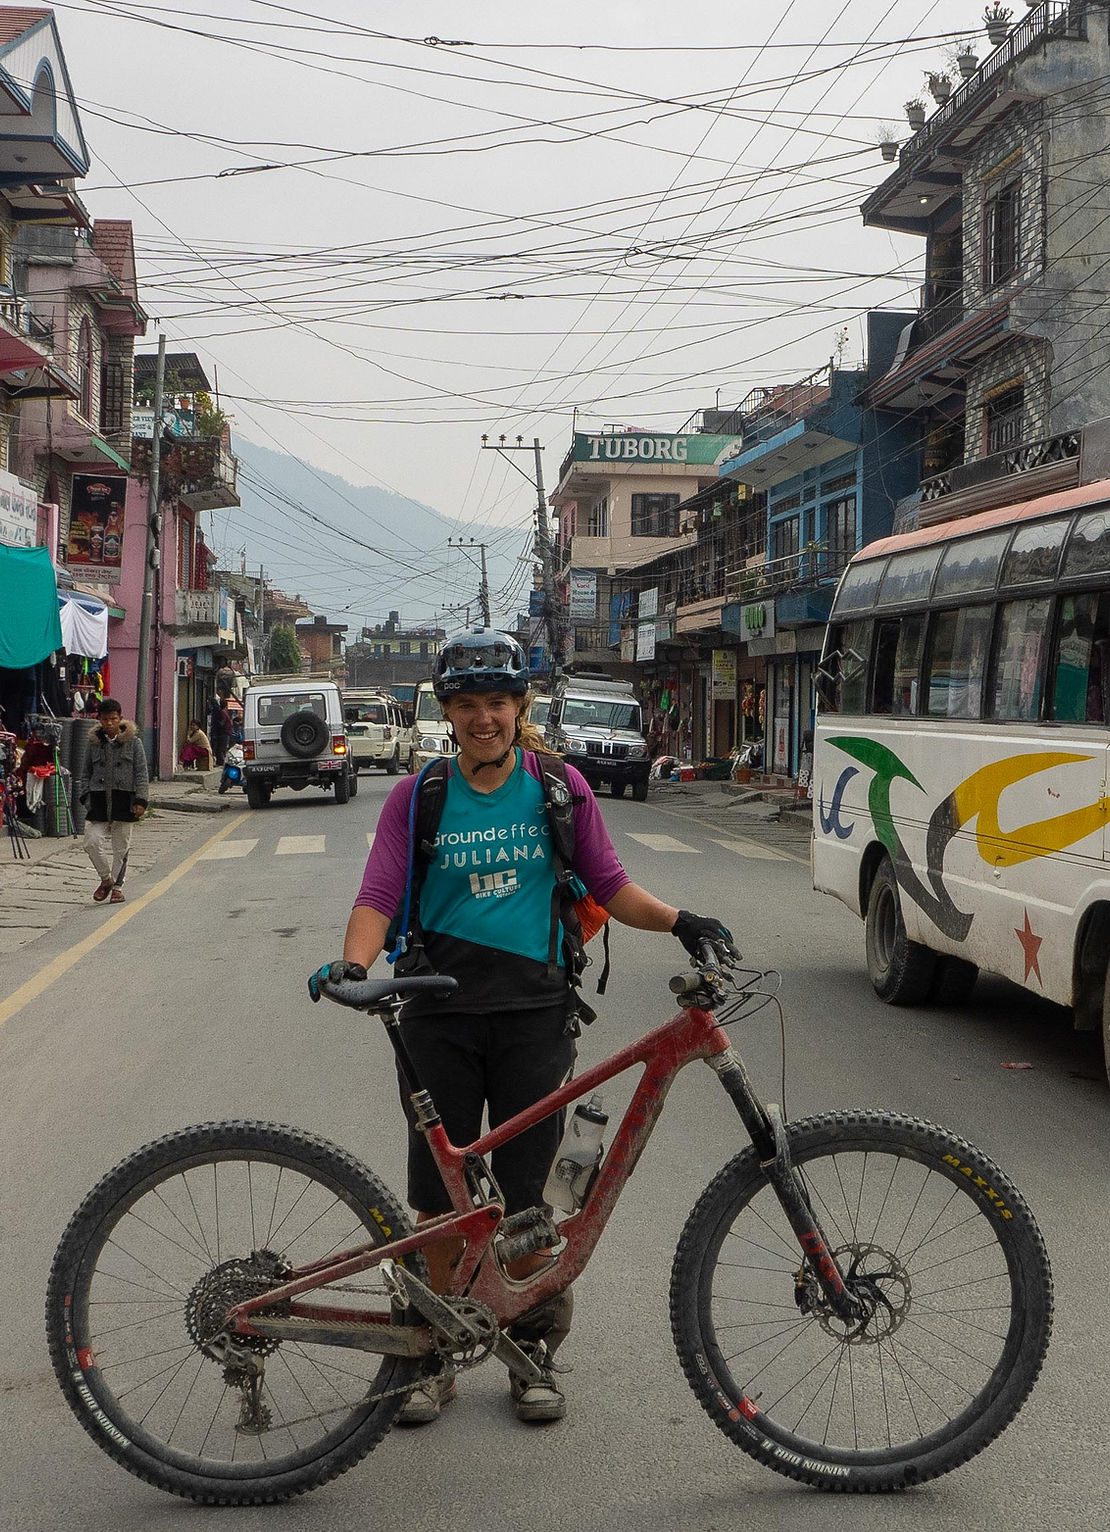
Bitter-sweet feeling arriving back in Besi Sahar, two weeks after we set out, with dusty bikes, empty legs and full hearts. After travelling through small villages among big mountains, it was a shock to the system to have busy streets and air thick with exhaust and oxygen. Photo: Ben Gibson

The last stop of our trip, visiting Boudhanath, a Buddhist Stupa. The largest Stupa in Nepal, it was a popular attraction for monks, worshippers and tourists alike. It really struck home the depth of religion in this country and the impact it has on shaping the culture and country. What an enriching experience to have cycled amongst the tallest peaks of the world and shared the culture and villages of the Nepalese. Photo: Ben Gibson
Words: Robin Pieper
Images: Dane Cronin, Ben Gibson & Robin Pieper
Review: Granite Design's RocknRoll Tool Roll
Granite Design have been making a bit of noise over the past year or so. I first met Dominic Loh, brand manager for Granite, at Crankworx 2019, where he showed me what was a relatively small product line and told me what they had in the pipeline. Since then, those products have come to fruition and local supplier, Everoutdoor, sent some our way to test.
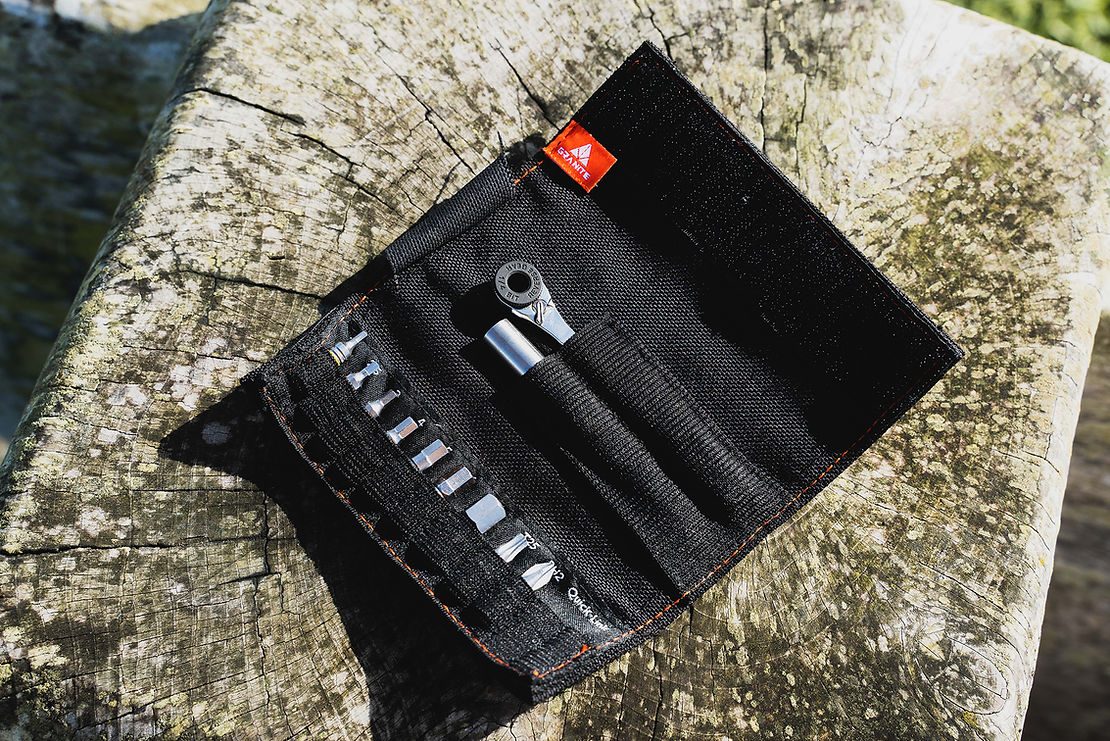
It seems like the mountain biking industry is on a never-ending quest to give you as many different ride tools as possible to choose from. Mini ratchets have become one of my favourites. The slim rolls they come in are nicer to carry in your pocket if you’re riding without a pack, and the ratchet is just a ton easier to use than a traditional multi-tool. The Granite Design RocknRoll is their take on the mini ratchet, and it’s accompanied me on most of my rides for the past six months or so.
The RocknRoll kit comes in a Cordura tool roll, that includes a loop on the back to route the Granite Design RockBand (or most other tool straps) through, so you can mount it to your frame. With nine bits and an extension included, the RocknRoll has everything you’d need to tackle any trailside repairs, and the extensions make life much easier when it comes to accessing some of the harder to reach bolts. The ratchet is comfy in hand, and all the bits so far have stood up to the trailside tweaks I’ve made, and building/disassembling bikes whilst travelling.
The RocknRoll has pretty much done exactly as it should really and I don’t have any complaints, although, as time has gone on the ratchet gear has begun slipping occasionally, mostly on tighter bolts like my rotor bolts and brake mounts. It’s tricky, seeing as these are bolts you don’t usually mess around with on the trails, but at the same time when you’re travelling regularly, you’re forced into using what you’ve got and what’s convenient. The Granite Design site also reckons the RocknRoll can handle up to 60Nm of torque at the gear, so it was a little disappointing to find it slipping on bolts when I wasn’t even close to 60Nm.
All in all, would I suggest the RocknRoll? I’d say so. It’s small, convenient and reasonably priced with a recommended retail price of $59.99. Whilst the gear slips occasionally now, I’ve used the tool a ton over the last six months and I’d happily replace it with a new one, given that if I wasn’t using it as often as I have been I’d expect it to last a lot longer. I think that’s another thing about the lower RRP – I’d way rather lose a $59.99 dollar tool and replace it, over paying for something more expensive and potentially a little more durable, only to lose it on the side of the trail or travelling.
Words & Image: Cam Baker
News: New Shoes from Shimano
Shimano have updated their range of mountain bike shoes, with updates to the ME7 and ME5, plus new XC1 and XC3 shoes. Keep reading below for more...
"Whether you're looking for a race shoe or an all-rounder, SHIMANO's ME7 and ME5 have you covered.
The ME7 is Shimano's elite racing shoe so, as you can expect, it comes with a healthy dose of feedback and
studies gathered from athletes in 2019's Enduro World Series rounds. The ME5 translates that racing
technology into a shoe that's at home under the foot of competitive and demanding riders looking for a
different mix of pedaling stiffness, grip and comfort.
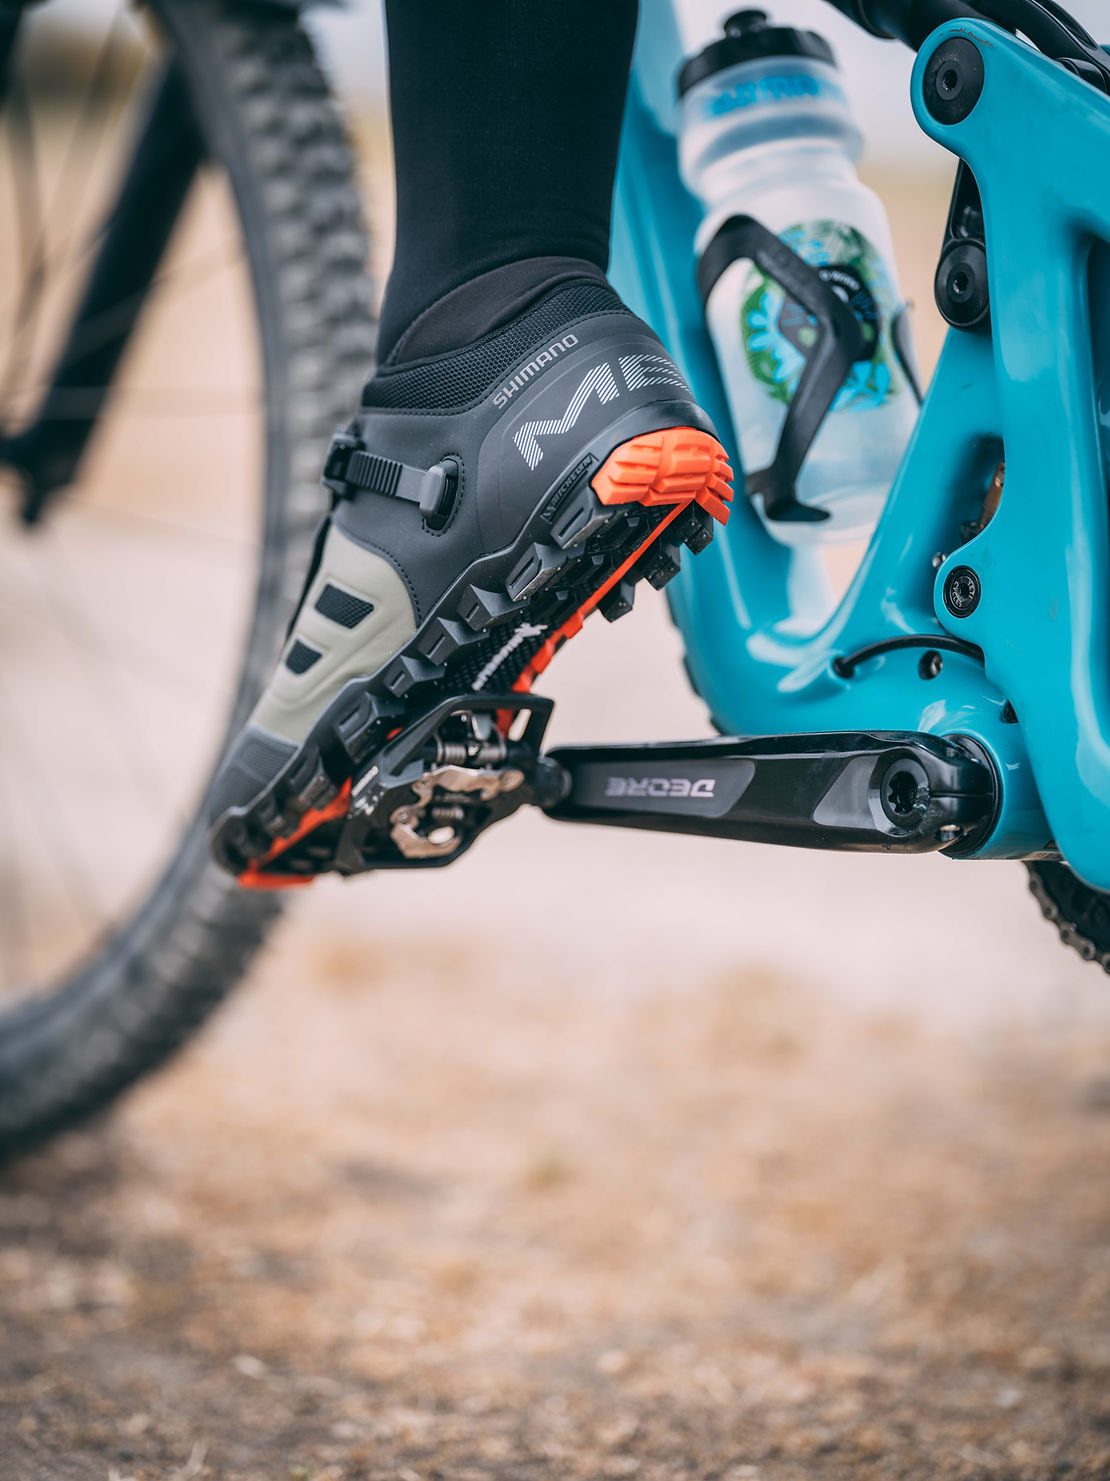
The ME7 features include:
• A NEW MICHELIN® high-performance, dual-density rubber outsole to offer superior
• traction with unmatched durability, stability, and slip resistance
• A NEW low-profile, reverse mount buckle tucked away from obstacles to securely hold the foot
• Lightweight pedaling efficiency plus the durability, grip, and armor that aggressive trail riders need
• Perforated synthetic leather upper optimizes comfort, fit and breathability
• Neoprene stretchable ankle collar offering additional protection from trail debris
• Speed lacing system securely fitting a wide range of foot shapes
• Sealed cleat area to keep water out
• Torsional “TORBAL” midsole to allow for natural rider 'flow' during downhill descents
• Volume+ last with extra toe-box volume to accommodate comfort in wider range of foot shapes without affecting shoe length. Enables ultra-wide range of feet sizes.
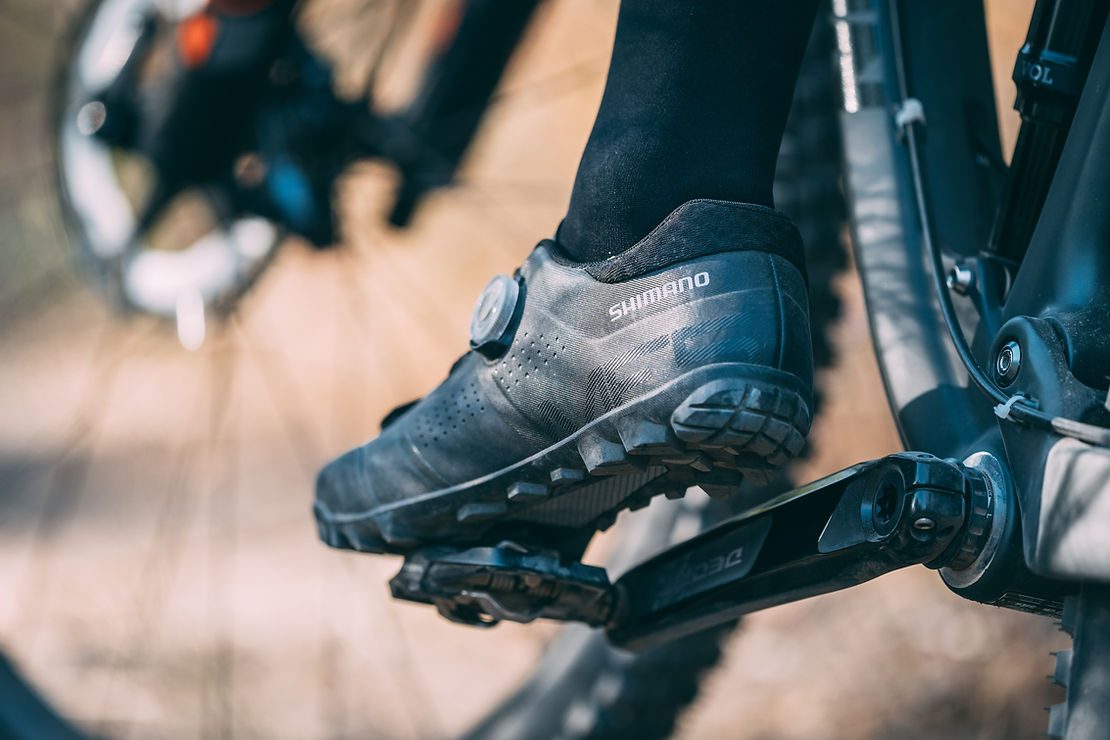
The ME5 features include:
• NEW single Boa® L6 dial for quick and precise micro-adjustment plus closure cap to prevent accidental release during collisions
• Dedicated trail performance shoe combining excellent stiffness for pedaling with off the bike ntraction.
• Reinforced armor provides great protection and excellent durability
• Proprietary SHIMANO grippy rubber compound outsole offering superior traction in wet conditions
• Torsional “TORBAL” midsole to allow for natural rider 'flow' motion during downhill descents.
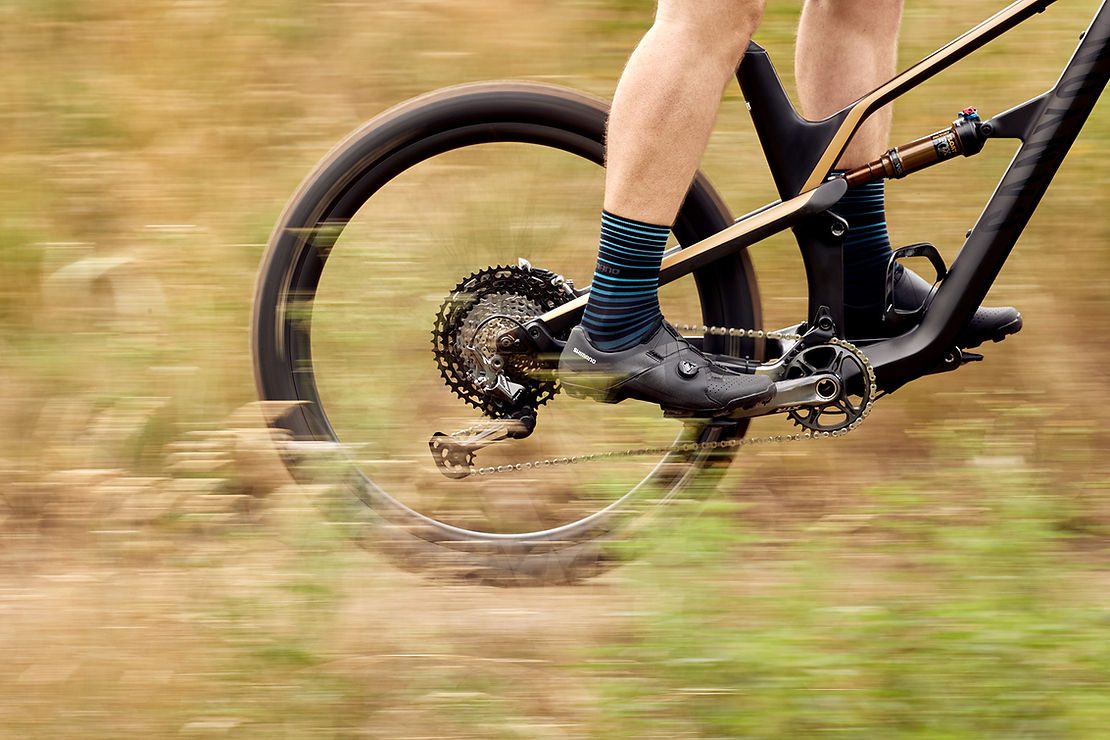
The XC3 features:
• A Boa L6 dial for micro-adjustability on the go
• SHIMANO’s Dynalast fitting to reduce fatigue over longer distances.
• A low stack height (thanks to the removal of the lasting board) which stabilizes the foot for better power transfer
• Toe and heel protection and tough lugs so the XC3 can shrug off dirt, mud and anything else thrown at it.
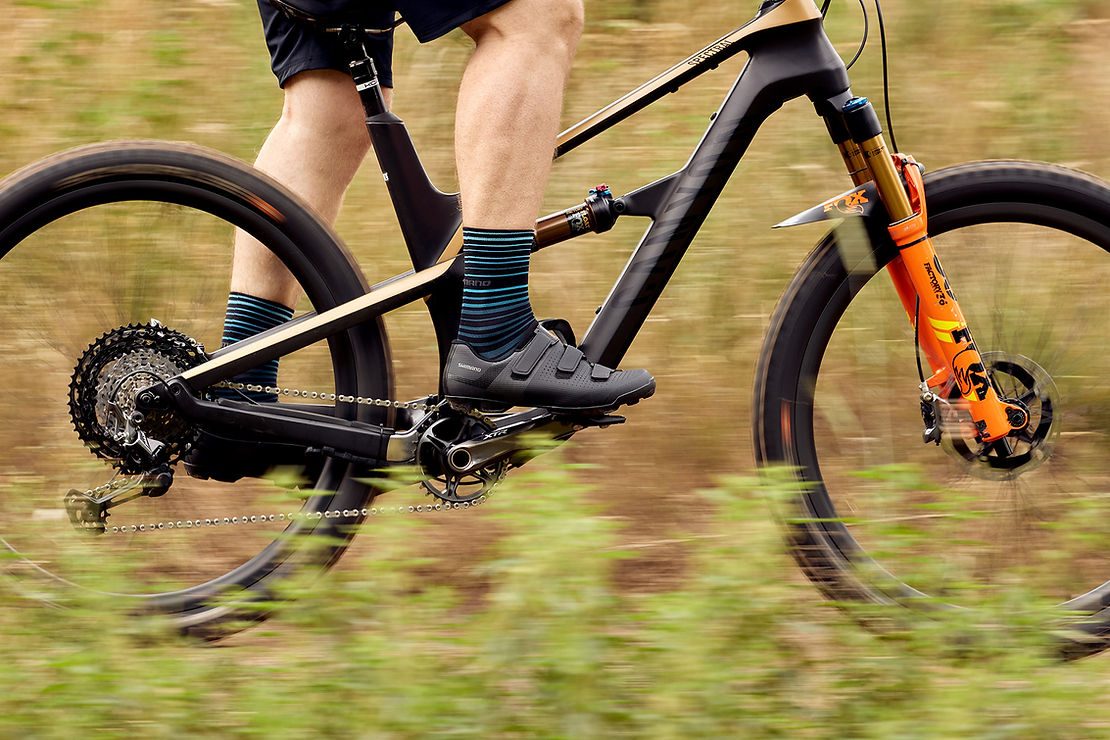
The XC1 features: • Three offset Velcro straps to reduce tension yet spread the tightening force across the foot upper
• An upper fashioned from perforated synthetic leather for great breathability and fit
• A lightweight glass fiber reinforced nylon sole with rubber XC outsole to promote a stable pedal engagement, secure walking grip and assured power transfer."
News: Merida's new Big Trail
Hardtails are on the comeback, with more and more coming to market with geometry suited to the demands of modern riding at affordable price points. Merida's all-new Big Trail is designed to fill the gap between their XC-targeted hardtails and their range of full-suspension trails bikes. Read more below...
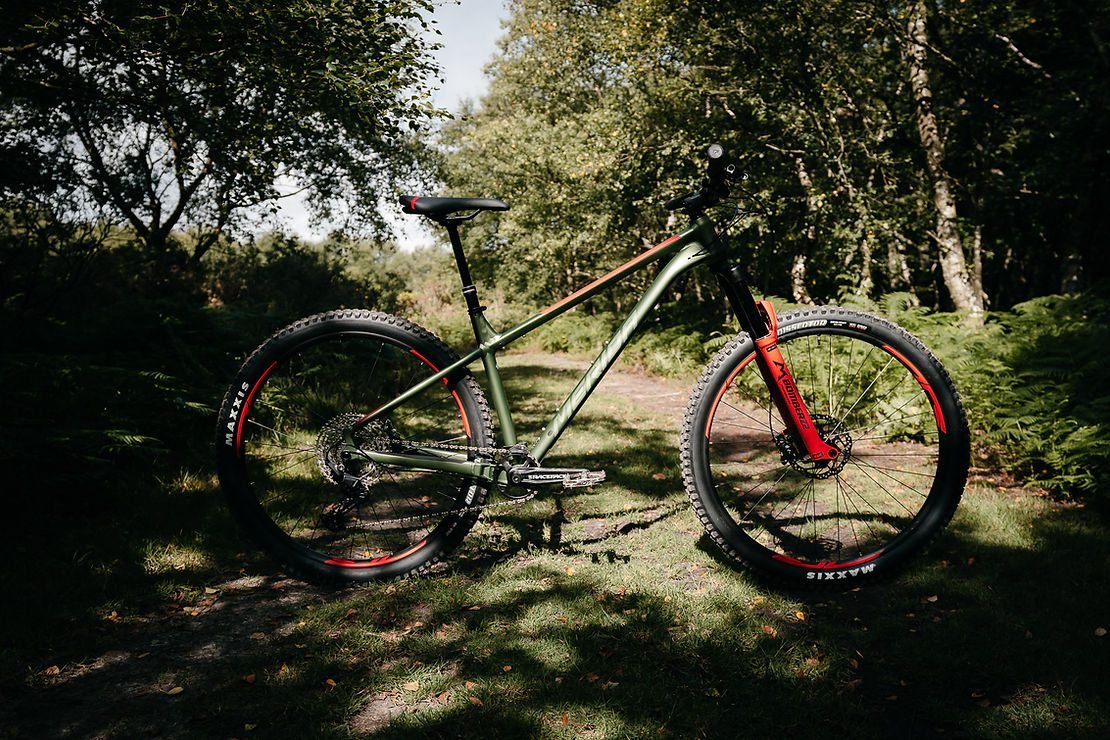
"It almost feels like yesterday that some of the leading UK bike retailers gathered their wishes and sat down with our R&D team, for a German ‘Weissbier’ or two, to combine their experience and knowledge of the market with the design and development prowess of our German engineers. This plan simply had to work! The UK has been one of the driving forces in Europe if not in the world when it comes to taking hardtails on demanding trails and tracks, so combining these two groups of specialists would be the ideal team to create the new BIG.TRAIL. Today we often associate increased 'trail fun' with more and more full suspension travel due to the fact that long-travel bikes are getting more capable on the way down but also on the way back up again. At the same time, the trail hardtail has also developed quietly in its shadow and the new BIG.TRAIL is our take on this fun-packed, versatile, capable and rewarding ride category. After being absent from this segment, we are back with a bang, that combines a modern trail bike geometry with a long-travel fork and chunky 29er wheels for perfect trail performance and amazing corner grip.
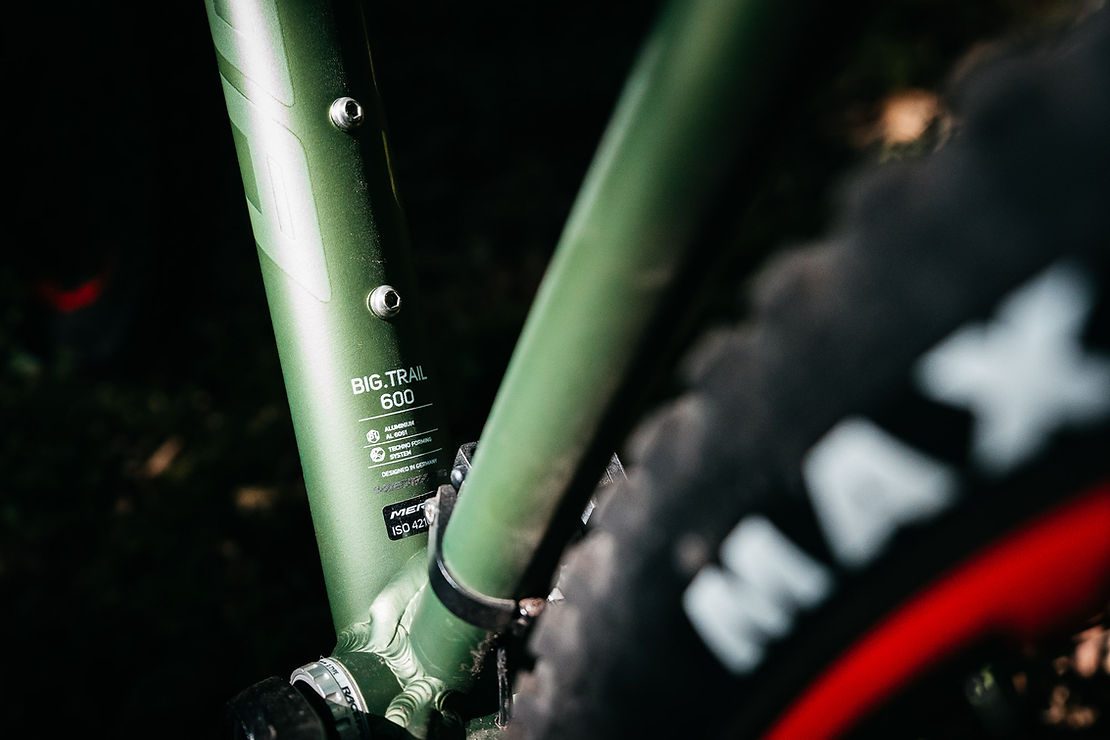
The BIG.TRAIL is a hardtail which is designed for trail riding. Geometry, suspension travel and features of this model are optimised for hitting the trails. But why would you use a hardtail when everybody is saying a full-suspension is the better choice? There are a few reasons: it's more affordable, easier to set up and it needs less maintenance than a full-suspension bike. So if the budget is small, it’s probably the better choice than a very entry-level dual suspension bike. It also has the benefit that it requires more riding finesse which in turn improves the riding technique and makes you a smoother rider than with an ‘all-absorbing’ full-suspension. This is due to the fact that the rider has to make smarter choices on the trail and that ‘going straight over everything’ with a hardtail is simply not the best idea. So especially for the young riders out there, a trail hardtail is a great bike to start and to hone your skills on. A one time learned clean riding technique will always stay with you!
For the BIG.TRAIL it is important that 29er wheels, specced with trail-ready 2.5" wide tyres fit into the frame. With a hardtail, the tyre choice is super important and has a big influence on thge trail performance. The bike is designed around a 55 mm chain line which allows for ample tyre clearance. This is important so that even during extreme manoeuvres or in super muddy trail conditions, the tyre doesn’t touch the chain or seat stays. The further advantage of using a 55 mm chain line is that it doesn’t require the need for a new wheelset, for example, a ‘super-boost’ wheelset. The fitted crank offers more off-set and allows for conventional boost wheelsets to be fitted into the BIG.TRAIL.
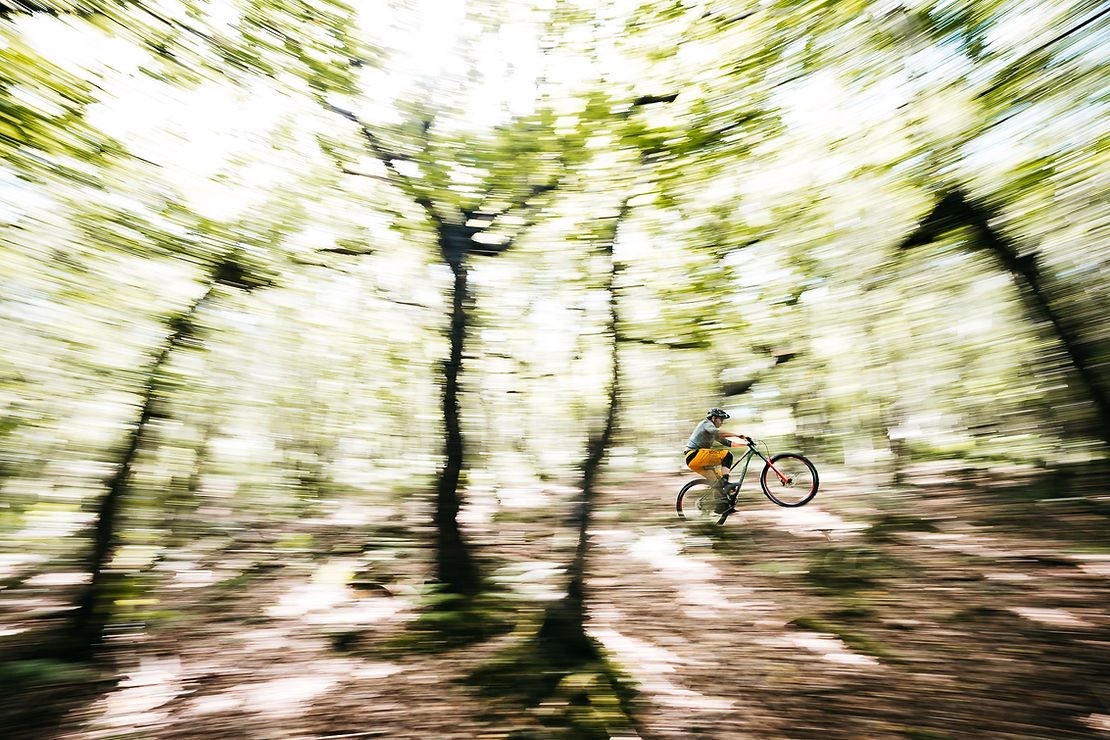
The BIG.TRAIL geometry is made for trail riding. It features a 65.5° head angle which is what a lot of current enduro bikes are based on. Also, reach and seat angle are much more aggressive compared to our cross country bikes. A longer reach gives more space to manoeuvre on the bike and the steeper seat angle makes climbing easier. Furthermore, the long 140 mm fork makes life much easier on downhills and demanding single track sections. Another aspect that gives the rider more confidence and space to manoeuvre is the short seat tube and super sloping top tube. Because of this, a super low stand over height can be achieved and long travel dropper posts can be fitted. With the super low stand over height, the rider is encouraged to choose the frame size based on the preferred riding characteristics, rather than body height. The only question is if you wanna go crazy fast or super agile. If you are looking for increased stability at speed, take the longer (larger) size, if you are looking for agility, take a shorter (smaller) size."
Story: Destination: Wanaka Pt. 1
It’s 6:30am and I’m in the office punching out emails. I’m massively behind, having just arrived back from a week out at Crankworx, and I’m about to be out for another five days. Half an hour passes before my ride to the airport picks me up and we’re out. Ten minutes into the drive and we’ve stopped for diesel, listened to the last eight minutes of an audiobook about the founder of Nike, and now we’re accidentally bullying our way into a queue of Auckland’s finest rush-hour traffic. “The people behind us probably think I’m such an asshole,” she says. “We’re in a truck, it’s expected” I reply.
So far, this experience is a little different to my usual airport Uber - but then again, Casey Brown isn’t your typical Uber driver.
The rest of our run goes smoothly and it’s almost a little unnerving. It’s at about this point in a trip to the airport where I remember what I’ve forgotten, hit unexpected traffic, or start stressing because I can’t remember what I’ve forgotten. This time around though, it’s all smooth sailing – the traffic is flowing and we’re chatting about a shirt Casey designed, as we cruise along the motorway.
I guess I should point out what we’re actually doing! Well, a few months ago, I was invited to visit Wanaka to check out Cardrona, ride the new Bike Glendhu, sample a couple of the local eateries and explore the region. A few setbacks kept bumping the trip back, but eventually we locked in the week after Crankworx - which was perfect, as Casey was in town. We convinced her to re-book her flights home and stay on for an extra week with us, then roped in a videographer, Haimona; and photographer, Callum, to come chase us around.
Back to the present and we’ve hit the airport; I check us in while Casey returns her rental car. Bag drop goes smoothly, we find Haimona, who has flown in from Gisborne, and breeze through security. I always set the goal of grabbing a coffee between passing through security and boarding, but the reality is that I’m usually late, so I have to settle for an average-at-best airline coffee instead. The smooth run continues, though, and before you know it we’re kickin’ it at a coffee shop, browsing Canadian SPCA websites on the hunt for a buddy for Casey’s dog, Snuff, before piling onto the plane and making our way down south.

I love the flight into Queenstown. I lived there for a while after high school and every time I fly in, it feels a little like going home. Descending into the mountains served as a great reminder for what a rad few days I was in for - and what a rad week I’d just had at Crankworx. We touched down, repeated the airport procedure in reverse and were faced with our first challenge: getting two bike boxes, two camera bags, a drone case, three people’s worth of luggage, and said three people into a minivan. A bit of Tetris and we got there, before hitting the road to Wanaka.
We were due to spend our first two nights in an alpine apartment on Cardrona, and had originally planned to cruise up the mountain, dump our luggage, then venture into Wanaka to grab some lunch and some groceries. By the time we hit the access road, though, I was running on fumes and posed the idea of punching straight through to Wanaka. Casey was deep in a nap by this point, so Haimona and I made the call and kept punching. Once we hit Wanaka, we hit Big Fig for the first of two visits over our stay. After a much needed lunch, we did a quick grocery shop, struggled to pack everything into the van, then hooked a U-turn and headed for Cardies.
As you turn off the highway onto the Cardrona access road, you’re met with 14km of unsealed gravel, up the side of a mountain. Our buddies at Toyota definitely didn’t have these kinds of roads in mind when they designed the van we’d rented for the week, so we took it easy and cruised our way up the hill.
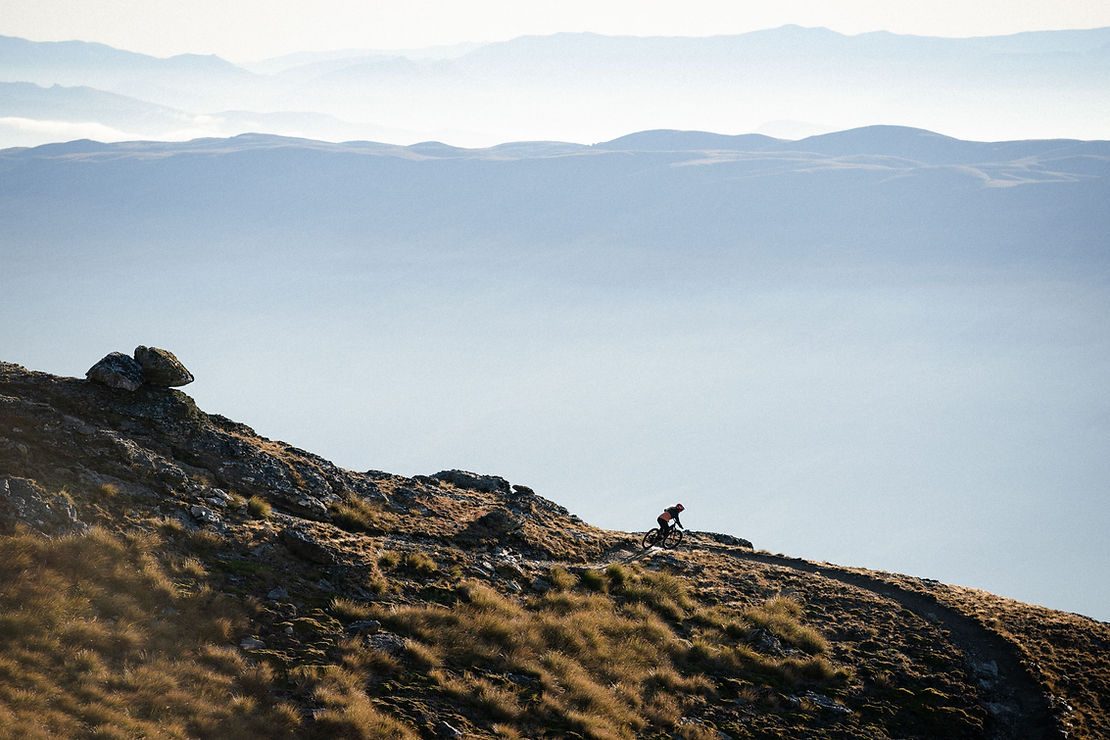
As far as ski fields and, as a result, lift-access bike parks, go Cardrona is pretty unique. Typically, base buildings are found at the base of a ski-field, as the name would suggest. Cardrona’s different though, with the base building located halfway up the slope. What’s rad about this, is that as we pulled into the carpark, we could see riders tearing up the network of trails that run down the mountainside. By this point, it was pretty late in the day – we must have been pushing 3pm - and with all our bikes still packed up and the lifts only running ‘til 4pm, we decided to pack-in, build our bikes, then have a chill afternoon. This was where we ran into our first problem: the 8mm I had packed to do up/remove my pedals wasn’t up for the task of tightening pedals, and quickly stripped. Casey’s multi-tool had everything but an 8mm, so we ventured into the bike park to find one. Trust the media - and an athlete - to come unprepared! After this, we retreated to our alpine apartment for naps while Haimona broke out the drone to get some rad location shots. Upon waking, we went for a walk down to the base building to figure out our dinner plans. Cardrona have a restaurant on-mountain, making the choice easy – and after all the travelling we’d done, I wasn’t too keen on driving back down the mountain to visit the Cardrona Hotel! Whilst making our dinner reservation, we found out that our stay happened to coincide with a stargazing tour, something we had to check out.
Our dinner was nothing short of phenomenal, and our photographer for this trip, Callum Wood, showed up right on time. If you’re visiting Cardies, whether staying the night or just spending a day on the mountain, you’ve gotta check out The Mezz. We had the entire restaurant to ourselves, bar one table that left pretty soon after we arrived, and the food was amazing. As we ate, the excitement started to build – we’d made it to the South and we were excited to explore.
Stuffed full of food, we made our way back to our mountain apartment to hang out for an hour or two before we embarked on our tour. It was super nice to have our own space on the mountain. Staying in hotels isn’t bad by any means, but it was rad to have a kitchen, bathroom and living room to hang out in without the worry of other guests. On these trips, you tend to be in-and-out of places pretty quick, and we always have a ton of gear including bikes, camera equipment, regular clothes and riding gear, so it was rad to not have to lug our stuff across a hotel, as was the case the week before when we were at Crankworx.
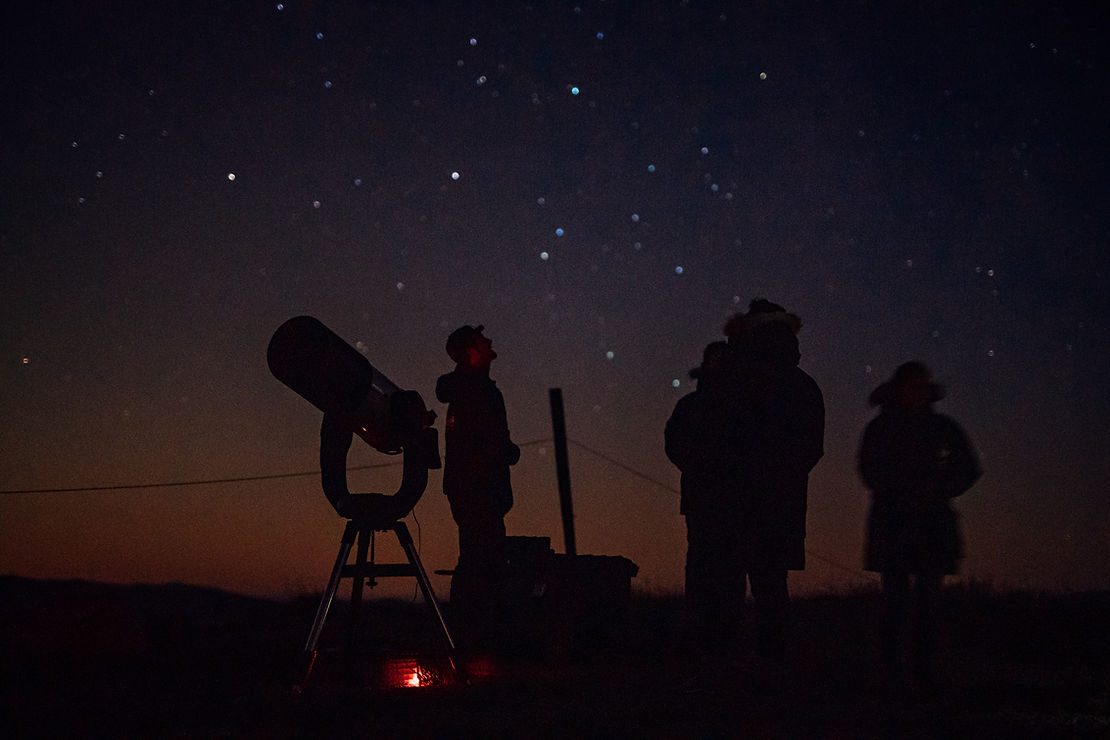
We dug around the apartment and found all the board games Cardrona had graciously supplied, and by the time we started making the final decision of what to play, it was time to wrap up and head out to go stargazing. We met our host, Dan, at the base building and all piled into a van to head across the mountain to our stargazing spot. Earlier on in the day, we’d been told Dan was from Hawaii, so we spent all afternoon and evening trying to figure out if we’d be in for a super low-key Hawaii-style star tour, with plenty of shakas, or a more educational experience. As we unloaded from the van at Captain’s, we dove into the café and got kitted out with some huge winter jackets before heading out to Dan’s telescope, to admire the night sky. The moon was pretty close to full, so whilst the conditions weren’t the best for admiring the Milky Way and the many nebulas in the night sky, we were able to get a good look at the moon. I’ve got to say, if you haven’t looked at the moon through a telescope, you definitely should – it’s unreal to see. Dan showed us stars and constellations throughout the night and, to be honest, it was one of the standout experiences of the trip for me - I think mostly because it’s something I’d never have considered doing. Once we were all frozen solid, we headed back up to Captain’s Café for hot chocolate, before piling into a van and heading back to our apartment, where we all headed for bed.
Good light is always a priority when you’ve got a photographer and videographer in tow, so we rose early the next morning to begin our first day on the bikes. I had a meeting in town, so whilst we all left at the same time, Casey and our content team headed up the hill on their bikes and I headed down it. As I drove down the mountain, I couldn’t help but admire the incredible sunrise, and I can tell you now that I spent the next few hours wishing I was up the mountain.
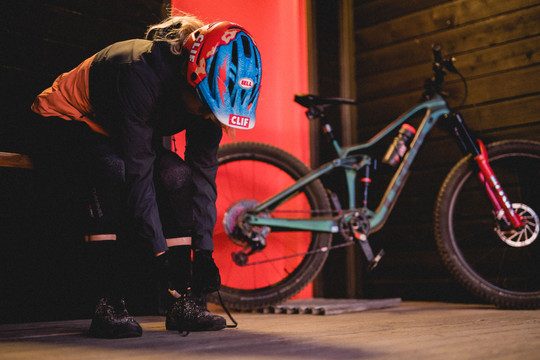
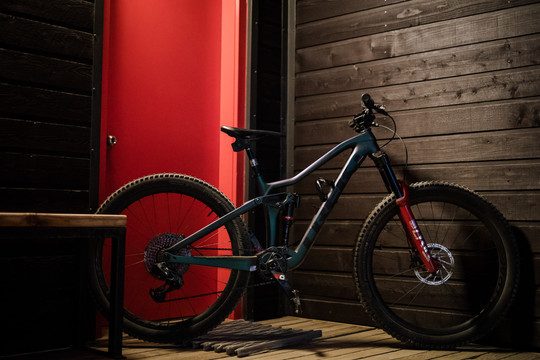
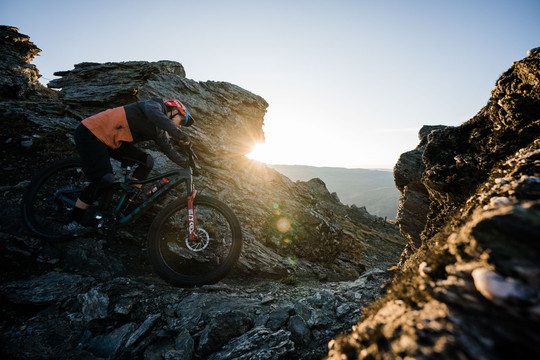
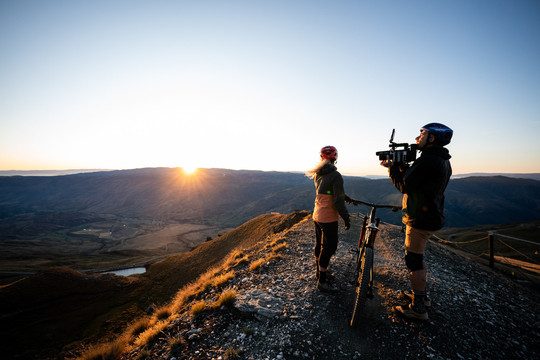
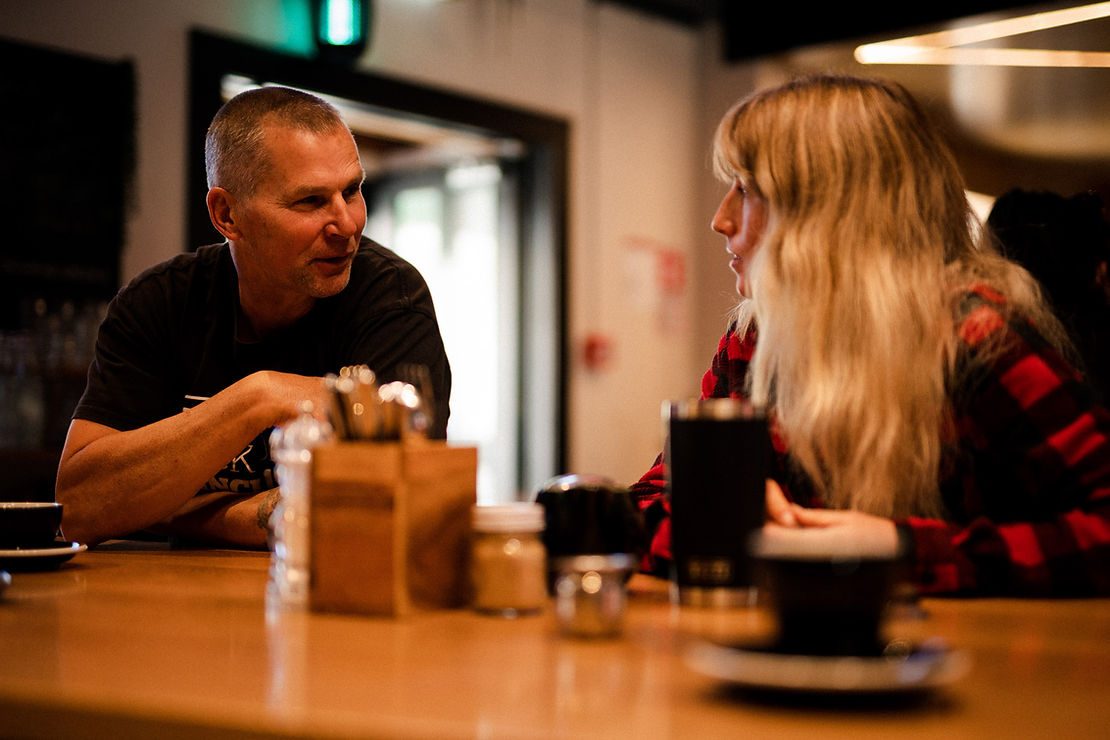
As I turned back onto the Cardrona access road a little while later, I was beyond excited to get some ride time in and drove our rental van as fast as I could (which was still a good nudge under the speed limit) up the mountain. Today’s agenda consisted of exploring Cardrona’s trail network, before tearing down the Peak to Pub trail to finish our day off with dinner at the famous Cardrona Hotel. I hadn’t ridden at Cardrona since their opening season, and I’d heard nothing but good about the park since, so I couldn’t wait to get riding. Because we were visiting on a weekday, we practically had the place to ourselves and didn’t once have to wait for the lift. How good?! Before we took off up the mountain, we caught up with Graham Dunbar, or ‘Spy’ as he’s better known, for a quick coffee. Graham’s been working on the mountain for as long as anyone and knows it like the back of his hand, so he was able to give us all sorts of valuable insight that we otherwise would’ve missed out on. For what it’s worth, the team at Cardrona came through once again and the coffee was next level.
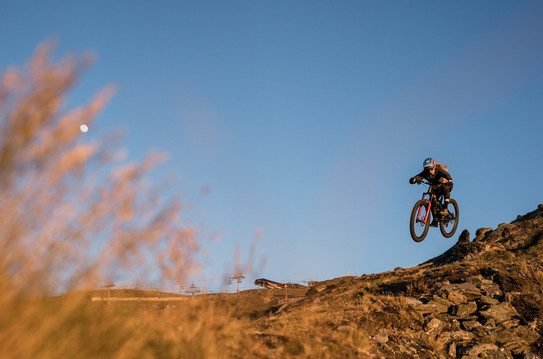
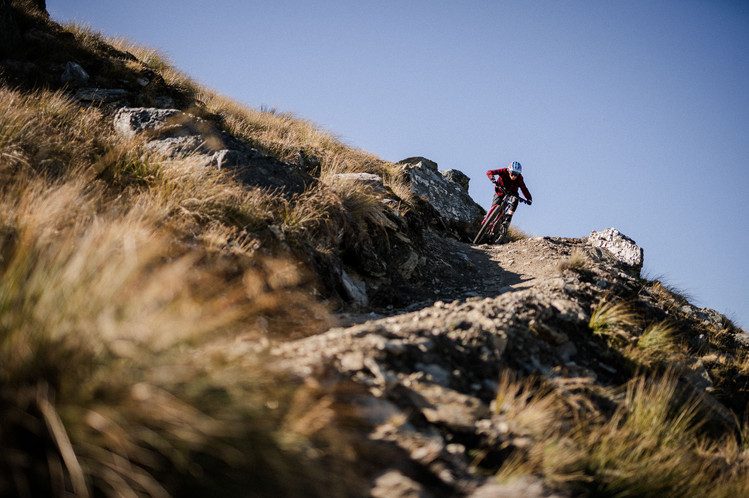
Our first run took us right down the guts of the park, following close-ish to the Whitestar Express – the main lift in the bike park - coming down Grasshopper into Hi Vis, before making our way to the lift via Low Vis. This made for a solid Grade 3 run down the mountain before diving off into the advanced Low Vis trail. We spent the rest of the morning tearing up and down the mountain and, just as we were about to cruise back to our apartment for lunch, I got chatting to Cam, one of the bike coaches up Cardrona, and ended up putting in one last quick lap as the rest of the team headed back. The riding at Cardies is nothing short of rad. I love riding in the woods, don’t get me wrong, but there’s something about riding down the tree-less mountain that’s breathtaking. The views are amazing, and you constantly want to stop on the trail to admire vistas that seemingly go on forever. The best part about the lack of trees, though, is the ability to build almost anything you want. The main natural obstacle on Cardrona is rocks, which are easy enough to work into trails, and the end result is a trail network full of fast, sweeping berms, all the rock rollers, rock drops and rock gardens you could dream of and, for the most part, plenty of tussock to cushion your fall if you come off. I feel like the South Island, particularly the lower South, has a reputation for being gnarly Grade 5 riding, but that couldn’t be further from the truth – and a rider of any level would find plenty to enjoy up the mountain at Cardrona.
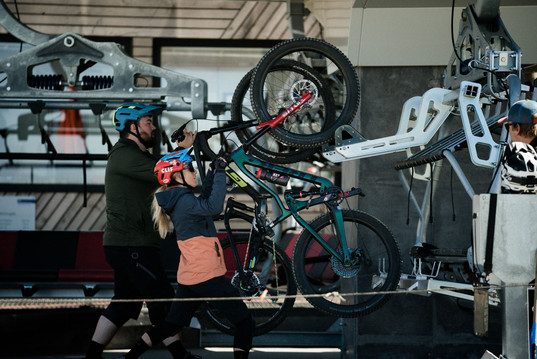
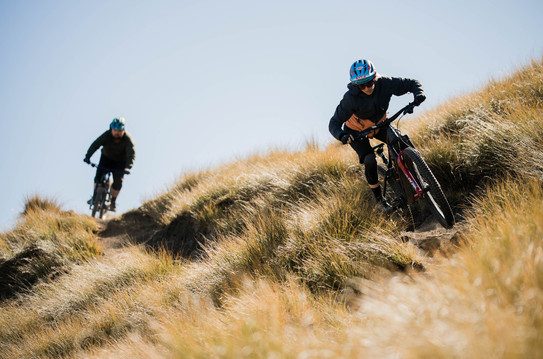
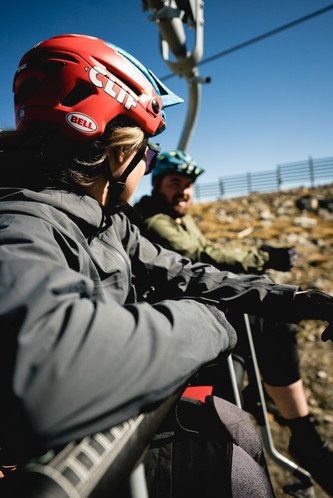
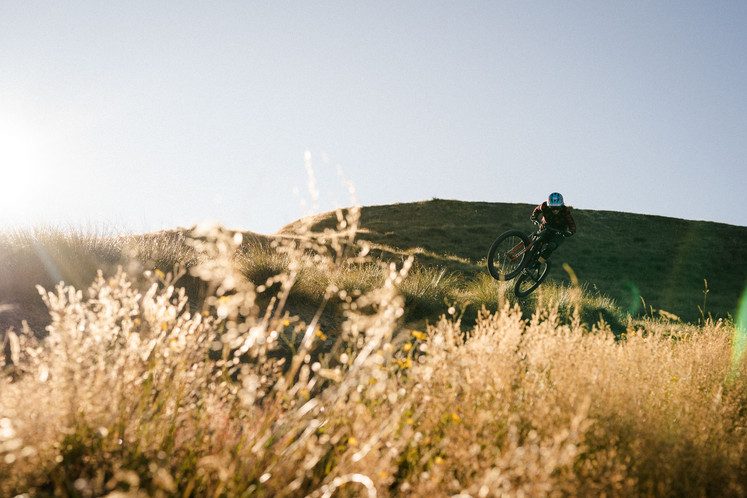


We had a little downtime after lunch – we’d been up since about 5am, after all - so opted to get in a quick afternoon nap (yes, naps became a theme of our trip) before heading up the hill to get a couple more laps in before taking on the Peak to Pub – something we’d been counting down to all day. The Peak to Pub name sort of tells you all you need to know: it’s a ride from the top of Cardrona to the Cardrona Hotel at the bottom of the mountain. We started off at the top of Whitestar Express and headed down Arcadia, to the bottom. From there, we jumped onto Crankshaft, marking the start of the Peak to Pub journey. The journey down Peak to Pub is awesome, and has you tearing through tussock on a trail that lends itself to let-off-the-brakes-and-hang-on riding. Unfortunately though, our fun came to an abrupt end as the lower half of the trail (the part we were all looking forward to most) was shut due to pest control. We considered pushing on anyway, but when we noticed the ‘firearms in use’ warning on the sign, decided better of it. In the end, we took off down the access road and decided to figure out how to fit our three bikes in the back of our van once we’d had dinner and a beer.
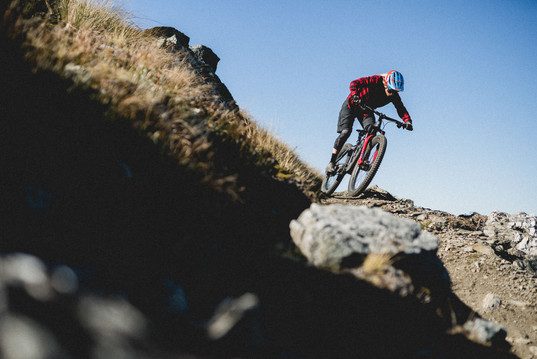
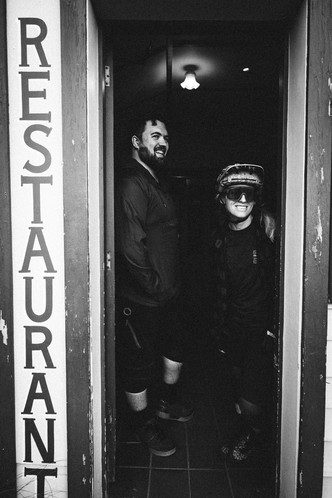


If you’ve been through Cardrona and haven’t stopped off at the Cardrona Hotel for a photo at the very least, I hate to be the one to tell you, but you did your trip down South wrong. The Cardrona Hotel is one of New Zealand’s oldest hotels, and I’d argue the most iconic. Built way back when in 1863, the Cardona Hotel was one of four hotels in Cardrona offering accommodation to gold miners and travellers. The hotel survived through to 1961, before the doors shut after the owner passed away. By 1983, the hotel had been restored, coming back from the brink of being knocked down, and has been taking care of those passing through ever since. We wheeled our bikes through the pub and out back to the garden. Walking into the pub is like taking a step back in time and the vibe was super relaxed, even though the pub was fairly busy. It was a beautiful autumn night, so we opted for a spot outside by the fire and were quickly greeted by a Jack Russell, who spent the rest of the evening hanging around our table in the hopes one of us would drop some food. We later found out he and his parents are regulars. After a meal you wouldn’t complain about from a restaurant - let alone a small country hotel - and a Cardrona Ale or two, we headed back to the car to begin the game of Tetris. We had three bikes, four people and two people’s worth of camera gear to get into a mini-van that was arguably closer in size to a station wagon than it was a van – and, once again, no mutli-tool to take any wheels off. After stuffing gloves, knee pads, jackets and shoes between the bikes, we managed to get them all in and then just had to figure out how to get the people in around them. After some creative manoeuvring, we got everyone in the van and began the slow trundle up the access road. We had a 4:30am wake up call scheduled for the next morning, so once we got up the hill we packed up and hit the sack. Stay tuned for Part 2 coming soon...
Words: Cam Baker
Images: Callum Wood

