Review: Hunt Wheels
On the Hunt for stock wheel upgrades.
Apologies for the dad joke…. Usually the guide of ‘cheap/fast/good - pick two’ holds true. In the context of that saying, fast means speed of delivery, but in our mountain-biking world we take it to mean fast rolling. No-one seems to have told Hunt Wheels that their budget-minded offerings should make any sacrifice in order to hit price-points though. There’s no denying Hunt’s pricing structure is at the lower end of the range for aftermarket mountain bike wheelsets, but this is not a bad thing when the trade-offs with quality and performance are minimal - perhaps even non-existent.
This review is a little different in that we’re covering two styles of wheelsets - not in a direct head-to-head conflict style, but with the view that both products provide a budget-conscious offering for riders upgrading their stock wheels. The wheelsets in question are the alloy Hunt XC Wide, and the Hunt All Mountain Carbon. Although the XC wheelset is legitimately an option for riders who are all about the climbs (lightweight and relatively narrow by current standards) they’re an equally valid consideration for all-round trail riders who simply want to ride up, down, around and over all sorts of terrain, without a focus on pure climbing performance.
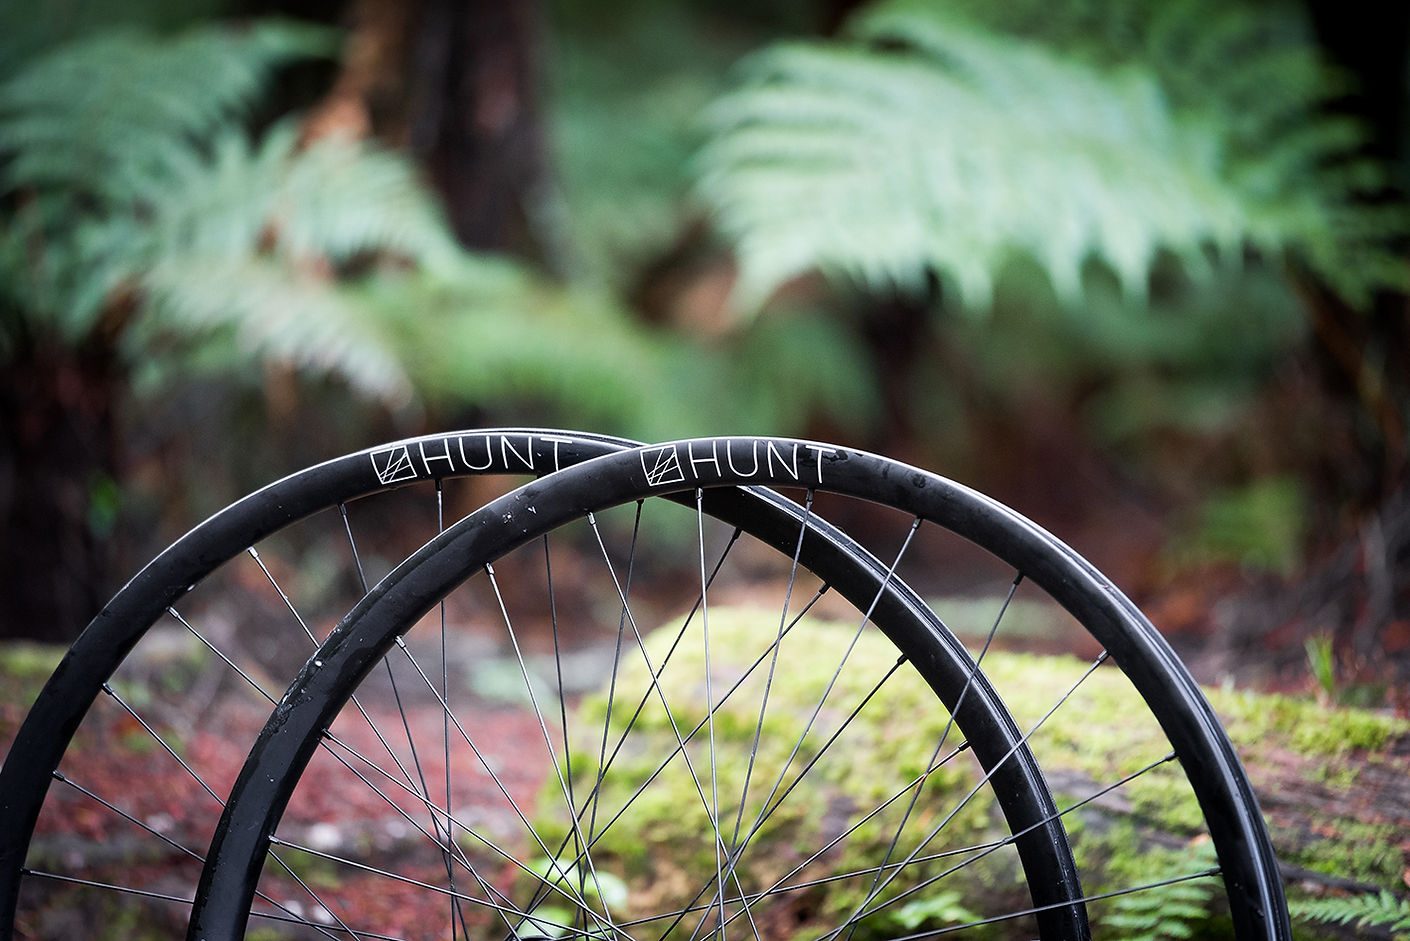
At face value, one wheelset is XC labeled – alloy and lightweight – while the other is trail oriented – carbon with a performance carbon design. What makes these worth speaking about together, really comes down to pricing. For a rider looking to upgrade their stock OEM wheelset of no-name, or house-brand rims and hubs, both these options are feasible considerations. Keep in mind, the XC Wide is only available in 29, while the carbon All Mountain is offered in both 29 and 27.5 guises.
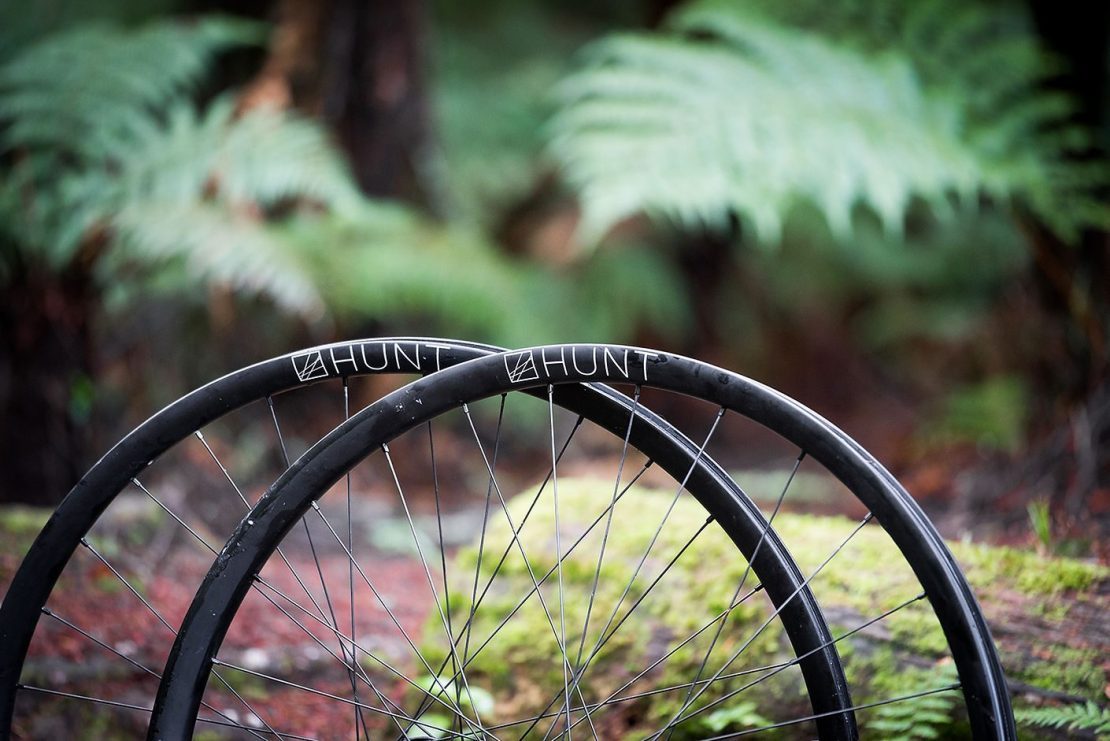
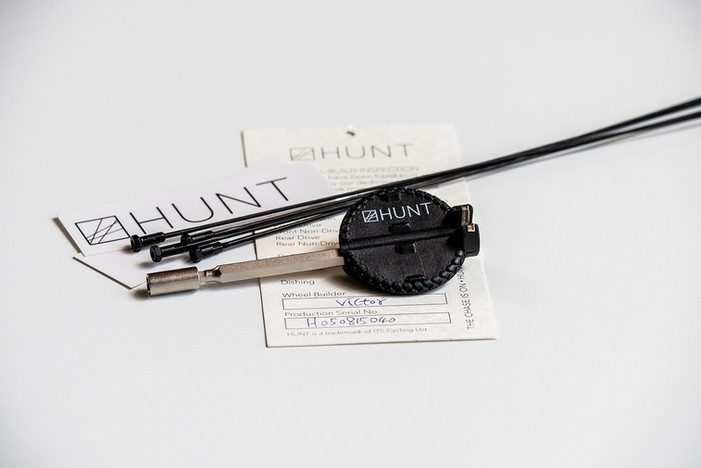
Alloy - modest, but capable of embarrassing much fancier, more expensive offerings. First up, the alloy XC Race Wide wheelset. At $700 including shipping, these are available at a sharp price, largely due to Hunt’s online, direct-to-consumer model, which is increasingly common these days. When ordering online, you choose a SRAM XC, Shimano or Microspline driver. Your wheels arrive with tubeless rim tape and valves installed, along with the driver you specified. You’ll also get four spare spokes, of the correct length, for each wheel/side and a spoke key with inset tool specific to the wheelset. You’ll also receive a couple of stickers for your toolbox, your kid’s lunchbox or the neighbour’s letterbox.
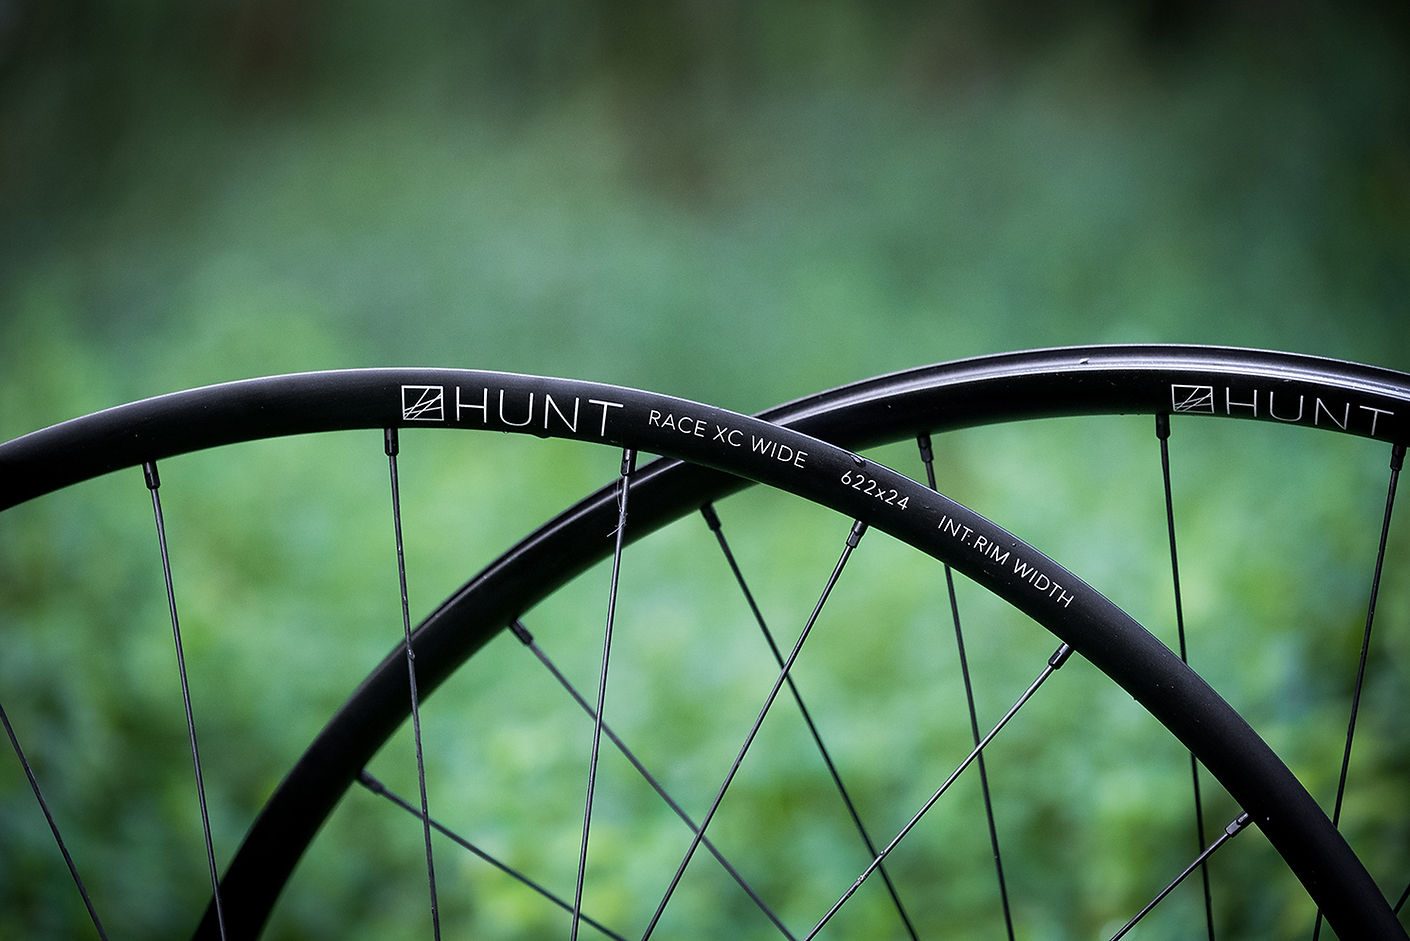
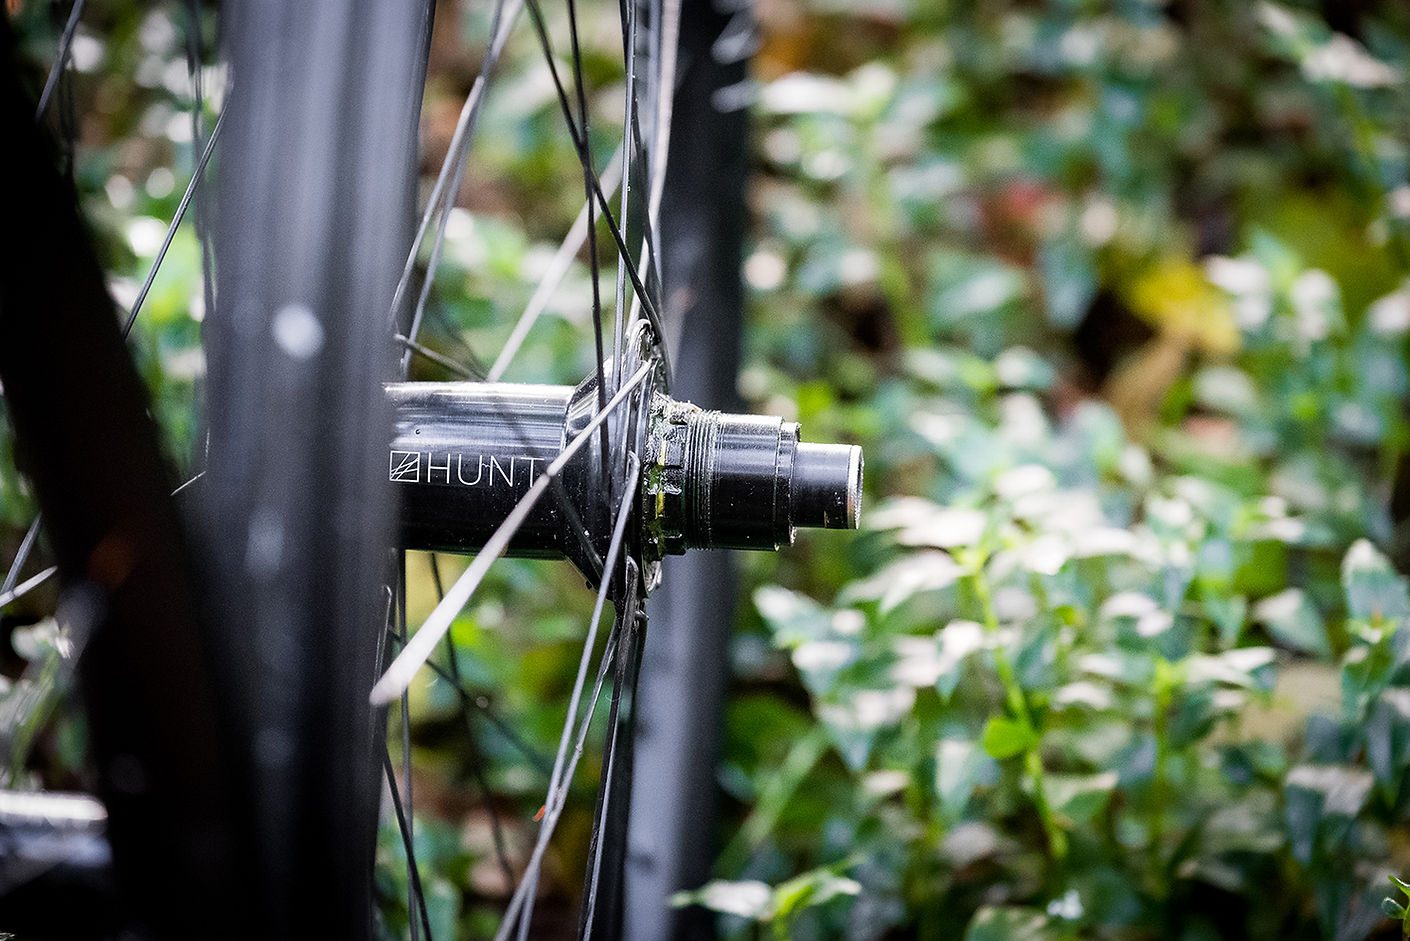
The XC Race Wides utilise 28h front and rear with straight pull spokes. Those spokes benefit by being weight saving, but the downside is that they’re a little tougher to true. Alloy nipples offer a weight saving over brass, but are not my personal favourite as they can eventually round off with repeated truing. These are hard-anodised though, so long-term truing shouldn’t involve too much swearing… hopefully. Their weight, with rim tape and driver mounted (but no valve or discs), is 820g for the rear and 780g for the front - giving a flat 1500g total for the 29er wheelset. That is only 17g off their claimed weight and remarkably lighter than competitors in the same price bracket. If the rider’s goal was to achieve a lighter wheelset than that, it would invariably mean going carbon, at quadruple the price - or more. These are on par with the lightest alloy wheelsets available. In-the-field testing show the wheels hold up reliably on a go-everywhere trail bike, but there are limitations to the nature of narrow, stiff alloy rims.
It is worth noting that the XC Wides use 6069-T6 heat-treated alloy, rather than 6061-T6 some competitors use. 6069 essentially claims to offer significantly greater tensile strength at 60+%. This results in Hunt using less material - and therefore less weight for comparable strength. With regard to rim width, a 2.3 trail tyre, inflated to the same pressure, is 68mm wide on the XC Wide’s 24mm I.D. rim, compared to the same tyres’ 70mm inflated width on a 28mm I.D. rim. There is a difference and it is noticeable, but it’s not night and day. Hunt recommend 2.1 to 2.35 tyres. I ran 2.0s and 2.4s because I like to push the boundaries of what I’m told to do. Somewhat predictably, I ended up running 2.3s which felt the most natural, given the rim’s width. Strike one for the rebel spirit. The mounting of all tubeless was painless, with a modest home garage floor-pump set up.
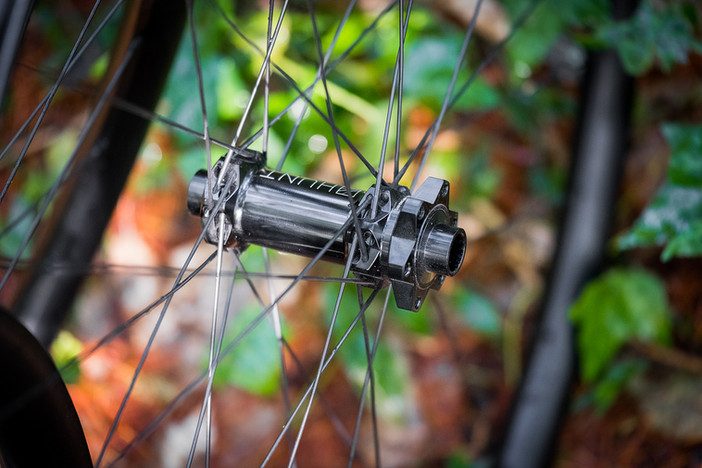
Hunt’s six pawl rear hub, with 72 engagement points, sounds appropriately refined when freewheeling.
In practice, the alloy XC Wides are fantastic - and average, and sub-par! Any review of a product is influenced by the point of reference - what the product is being compared with and measured against, as well as the rider’s intent on how it should be used. If pitching the XC Wides against competitors of far higher cost, of course they’re not quite going to measure up in performance. Likewise, measuring them against any quality carbon wheelset - as we’re about to do here with their trail carbon brethren - is an unbalanced comparison. But, compare them to stock wheels - that come equipped on otherwise capable trail bikes - and we’re talking real improvements, both in terms of weight, long-lasting quality and riding performance. It’s for this reason we’re showcasing the XC Wides as a valid trail bike option, not just a niche XC-racing only product.
It’s not all roses though. The nature of narrow-ish alloy wheels is relatively abrupt tyre profiles (comparing the same sized tyres on wider rims) leading to sudden release of traction when cornering aggressively, and harsher lateral ‘feel’ on choppy terrain. Those couple of millimetres that the Vernier calipers show in inflated tyre width, are negligible on paper but noticeable in use. The feel is difficult, if not impossible, to quantify - apart from relying on anecdotal feedback about how it feels compared to other wheelset options, on sections of trail I know like the back of my hand. They’re just a bit harsh, pinging off deflections of trail surface. It’s an incredibly fine line, but an observable one if you’ve experienced other options. This serves to segue into our feedback on the Hunt Carbon All Mountain wheelset.
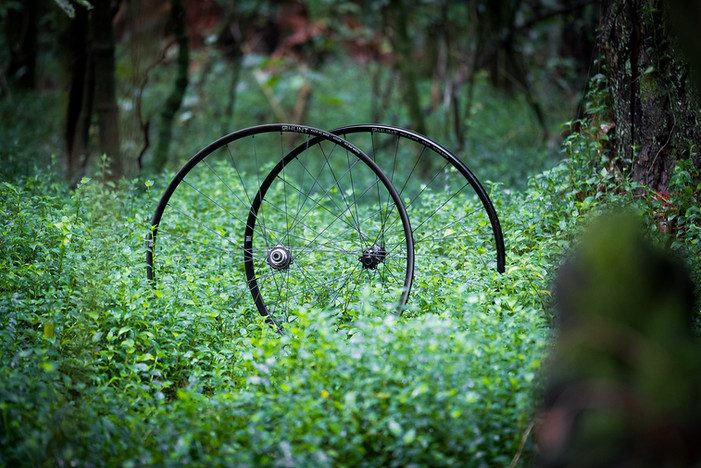
Carbon - done right. This is maximum performance without extravagant brand packaging. The price of these is double that of Hunt’s alloy XC Wides. The performance, however, is not double, but is considerable. It’s a prime example of the benefit of diminishing returns. Improvements are evident, but not by the multiples of dollar value. For those who don’t demand the most performance - and its corresponding price-tag - or who value light weight with an emphasis on the benefits it offers, the XC Wides should be high on their list of considerations.
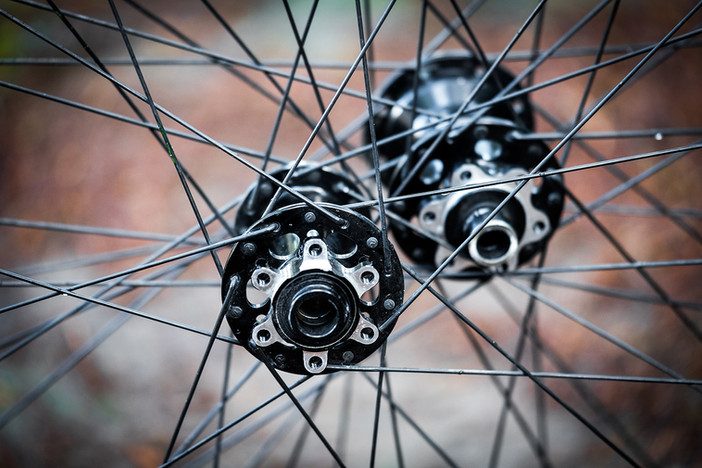
Back to the Carbons… for those with higher expectations of their wheels, and the budget to suit, the All Mountain Carbons have a lot to offer. Overall, the Hunt Carbons have the following characteristics (they’re pitched as ‘features’, but some of them are only features if they are important to you). POE (Points of Engagement) of the freewheel are a case in point. On one hand, the three-degree POE means you have minimal delay in the feeling of getting on the gas. Also, they make a high-tech buzzy sound without being ridiculously loud, like the swarm-of-wasps some of their premium brand competitors seem to be aiming for with their acoustics. It’s nice to have the instant-on kind of pickup, but not really a game changer for a general trail rider. If you’re riding very technical pedalling sections that benefit from trail-like pedalling responsiveness, then sure, it’s a feature. But that’s about 0.1% of the trail riders I’ve ever encountered. Like their alloy stablemates, tubeless tyres mount up easily with a reasonably tight fit in the Carbon rim’s channels. I’d far rather put in a little more effort getting the bead over the rim initially, with subsequently fast and easy inflation/mounting, than having tyres mount up easily then need finessing to fit correctly.
At around $1600 including shipping, they are way sharper priced than their big-name brand competitors. That is not at the expense of performance - I can categorically say their performance is high. My initial rides were as I always approach review items: completely cold, meaning I hadn’t sought out online reviews or any other feedback from my riding buddies or industry friends. Instead, I rode them purely with a blank slate, on trails I know well, to form impressions of their characteristics. I’m no Rainman, but I can tell a good product from a not-so-good one pretty quickly. Part of not being a Rainman, is being analytical enough to hopefully string together some coherent sentences to convey that intangible ‘feel’ – the way a product affects a ride experience.
Before the subjective ride impression, there were a few factors to consider: conventional ‘J’ spokes in a 32 spoke rear and 28 spoke front format are a little more user-friendly than straight-pulls for truing, in the long term. This isn’t a factor in the early years of a wheelset’s life, but for good quality wheels that stick around to see the comings and goings of multiple frames through a rider’s garage, simple details like this eventually become apparent. The weight of our review Carbons, with rim tape and driver in place but no valves or discs, comes in at 1120g for the rear and 820g for the front (1940g total) against the claimed 1878g. The weight of the rear reflects the heavier rear hub and more spokes, of course, but also the heavier rim layup - built for longevity. The weight of the front rim is not the primary thing of interest - that would be the way the front rim handles. Before covering the front though, the back is worth speaking about a little more. Well, kind of – it’s a bit boring. It’s simply rock solid. Our testing took it from varieties of rock-layered South Island trails to high speed, native bush single-tracks in the Central North Island - with their resident sniper roots ready to surprise any unsuspecting rider with a gut-wrenching thump at high speed, when least expected.

Apart from the 28 spoke front and 32 spoke front format, there is a great deal more going on with the rims. Hunt’s focus on purposeful front and rear specific wheel characteristics, is largely down to their rims. With both rims using carbon laid up specifically for their purpose, the rear is essentially stronger and stiffer. It doesn’t have any particular ‘feel’ when riding, apart from being solid when loading up the rear end on high-speed corner exits. It also offers a great deal of confidence with its ability to suck up the occasional case of coming up short on a double jump - or unexpected slam through a rock garden with a muted ‘thunk’ - rather than the dinner-bell ringing ‘gong’ that alloy rims offer.
The front is where the magic happens, though. Like a few of its prestigious high-dollar competitors, the Hunt’s front rim is lighter, with a lower material density lay-up. It sounds like a real estate agent wrote the marketing copy when brands start talking about improved compliance and better grip due to a rim/wheel. Obviously the tyre has a massive influence on those features, but I couldn’t honestly say I felt any particular difference in front wheel/rim flex, or compliance, when riding these wheels. What I can say, is the front end feels more forgiving. Not necessarily a marked difference in the feeling of grip, but definitely the feeling of having a fraction more control over where the front end is pointing and tracking. It’s especially noticeable at the edges of rider ability - the feeling of being able to point-and-shoot, almost like time slowing slightly so that you’re in complete control of where you’re aiming, even while you’re riding at the razor edge of your ability. That’s the primary reason why these wheels punch well above their weight, given the price-point they’re offered at. Sure, the POE and quality hubs are great, and the lifetime crash replacement for the first owner is awesome, but it’s that front rim with the corresponding wheel-building format, with spokes/lacing specific to front and rear, that lifts them to another level. As said before; the difference is not night and day, but is noticeable nonetheless, especially when pushing the boundaries.
As a final detail, they’re available with oil slick spoke colours at a premium price. Pretty, but with no performance impact. If this kind of thing floats your boat - choice, go for it. There is nothing wrong with paying a little more to make your bike look how you want it to.
Overall
If your focus is grounded on bang-for-your-buck and how wheels can change your bike for the better, either set of Hunts are a solid contender for anyone upgrading from stock wheels. Depending on the value of your bike, and your intentions, either could be a smart way to spend money on improving the quality and durability of your bike’s performance. Of course, the carbons are better - get them if you can afford them, and your riding will take advantage of them - but don’t discount the XC Race Wides. For the money, they’re a viable upgrade for many riders. Hunt have managed to hit the fabled three - which shouldn’t be possible - with ‘cheap, fast and good’ being an apt description for these offerings.
Distributor: Hunt Wheels
Words and Images: Nick Lambert
Review: 100% Airmatic Pants
100% has always been a brand heavily correlated to American motocross racing, producing top of the line apparel, products and racing equipment for riders on the track. Over the past few years, 100% have expanded their range to incorporate products for everyday mountain bikers, like myself. The new Airmatic pant is a welcome addition to their ever-expanding array of mountain biking product. This pant has you covered through any conditions the trail wants to throw at you. 100% have combined the fitment of their popular R-Core-X pant with the 4-way stretch material and the reliable, mountaineering buckle system featured on the Airmatic Short. This new Airmatic pant promises to deliver warmth, flexibility, ventilation and most importantly comfort.
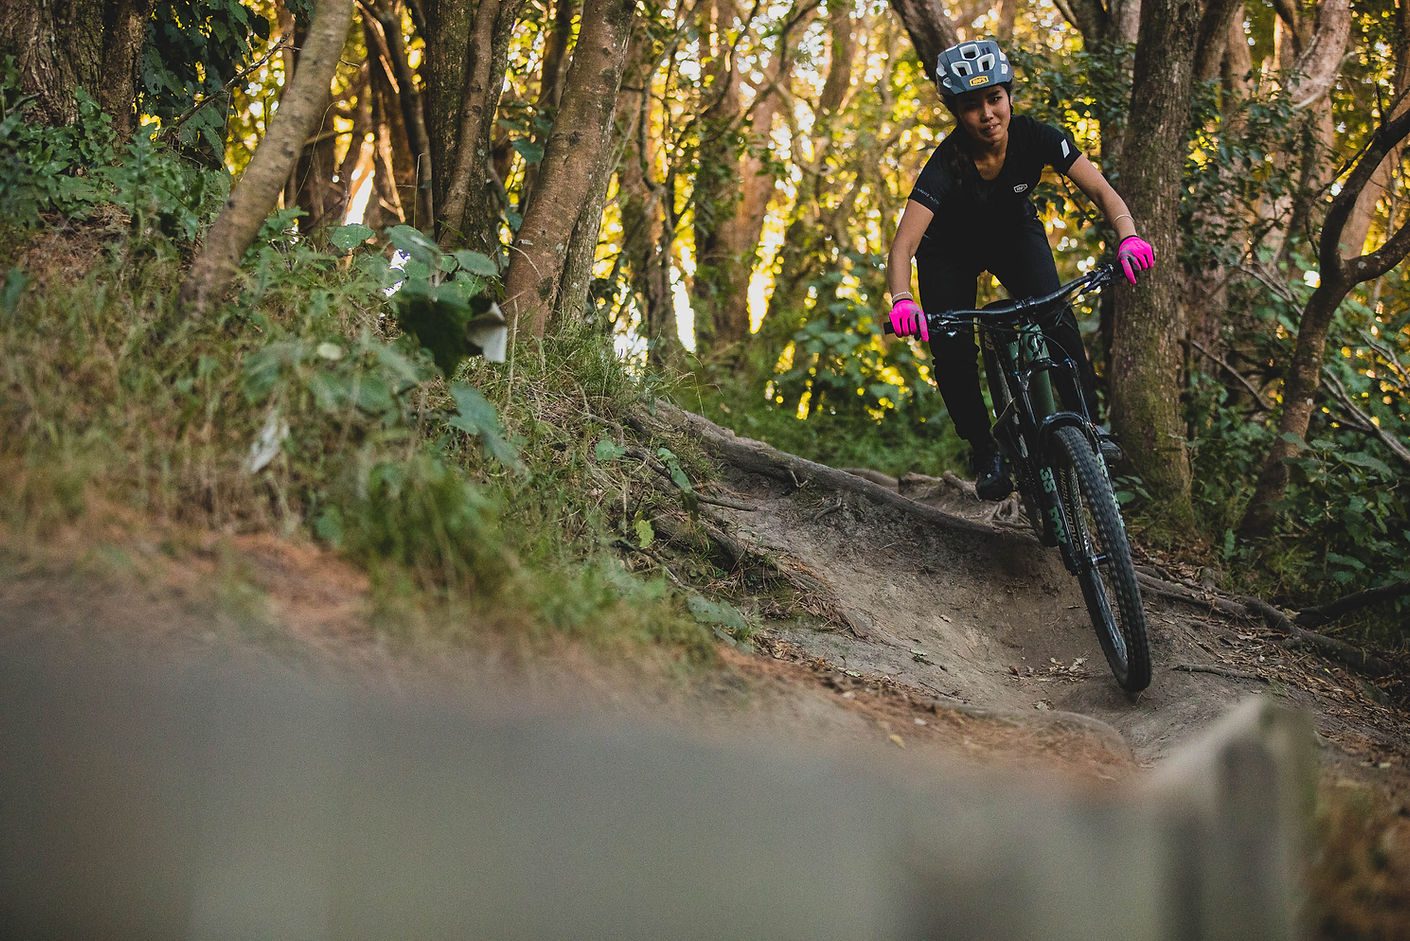
Personally, I’ve found it challenging to find the perfect pair of riding shorts that are comfortable and also flattering. I’d never considered riding pants to be an option, as I have always opted for the classic short and knee pad combo. However, the 100% Airmatic pants have been a total game-changer. With a tapered leg cut, a hassle-free adjustable belt latch and two zippered pockets on each side, the pants are my new go-to for trail riding. Both side pockets were large enough to fit my phone, with an inner mesh pocket to hold your phone in place when riding, barely noticing the phone when pedalling. Bonus!
Made of four-way stretch material, the pants are lightweight, pliant and have proven to be incredibly comfortable and pedal-friendly. At first ride, I was sceptical of how lightweight the pants were and whether they would be prone to ripping, however, they proved to be super durable having survived a couple of crash tests without tearing, proving the fabric to be tough and reliable.
The Airmatic pants play well with knee pads, fitting under the pants comfortably, whilst still offering the right amount of stretch without feeling restricted in your movements. However, I found that there wasn’t an awful amount of stretch or adjustment in the waistband, as the pants don’t have adjustable velcro on the sides as most riding shorts and pants have. This just means that you must buy the pants true to size.
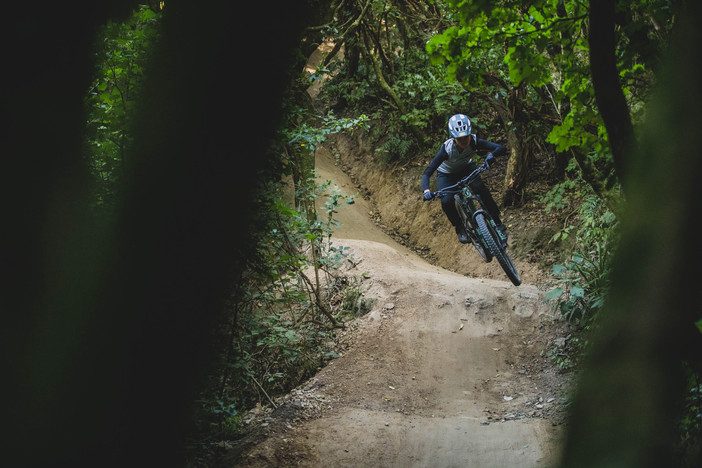
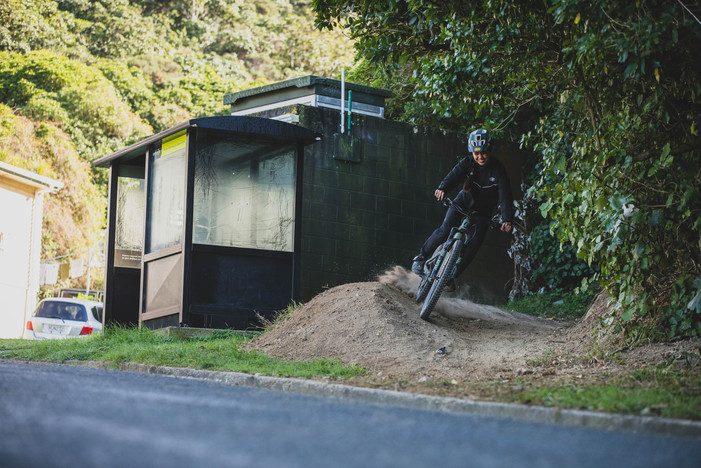
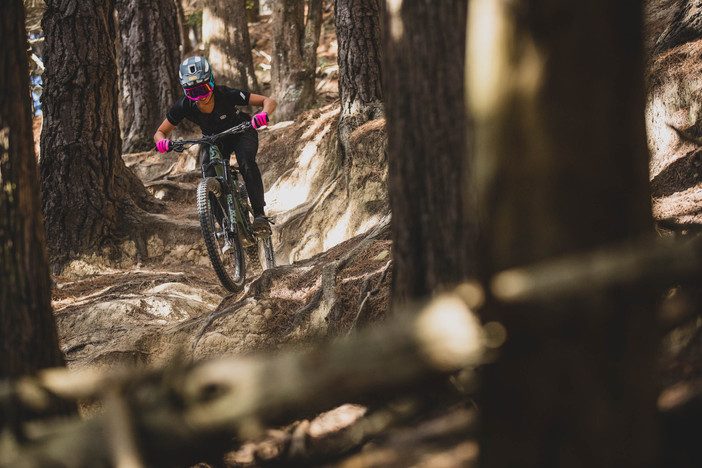
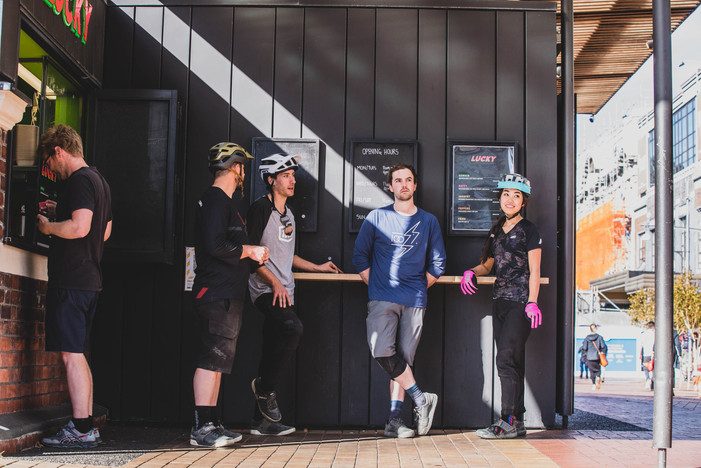


Overall, the 100% Airmatic pants are functional and fitting. The tapered cut of the pants keeps cuffs out of drivetrains whilst earning major points in the style department. They up my swagger game when I’m rocking them, well at least that’s what I think?! And, I’ve found them to be a comfortable and fly-looking pair of pants off the bike too whilst doing repairs on my bike or grabbing a craft beer at the local bar. The Airmatic pants are definitely good all-rounder pants, rain or shine and have so far, kept the chill off the autumn Wellington wind.
Distributor: FE Sports
Words: Khulan Tumen
Images: Caleb Smith
Story: Ride Welly - Part Two
Powered by 100%
Read Ride Welly - Part One here.
There’s a chill in the air as we enter into the darker months. Rain has been pelting the roof throughout the night, periodically waking me from my slumber. The wind, the seemingly ever-present wind, is pushing the rain in sideways against the windows. It doesn’t look like easing. Let’s go ride!
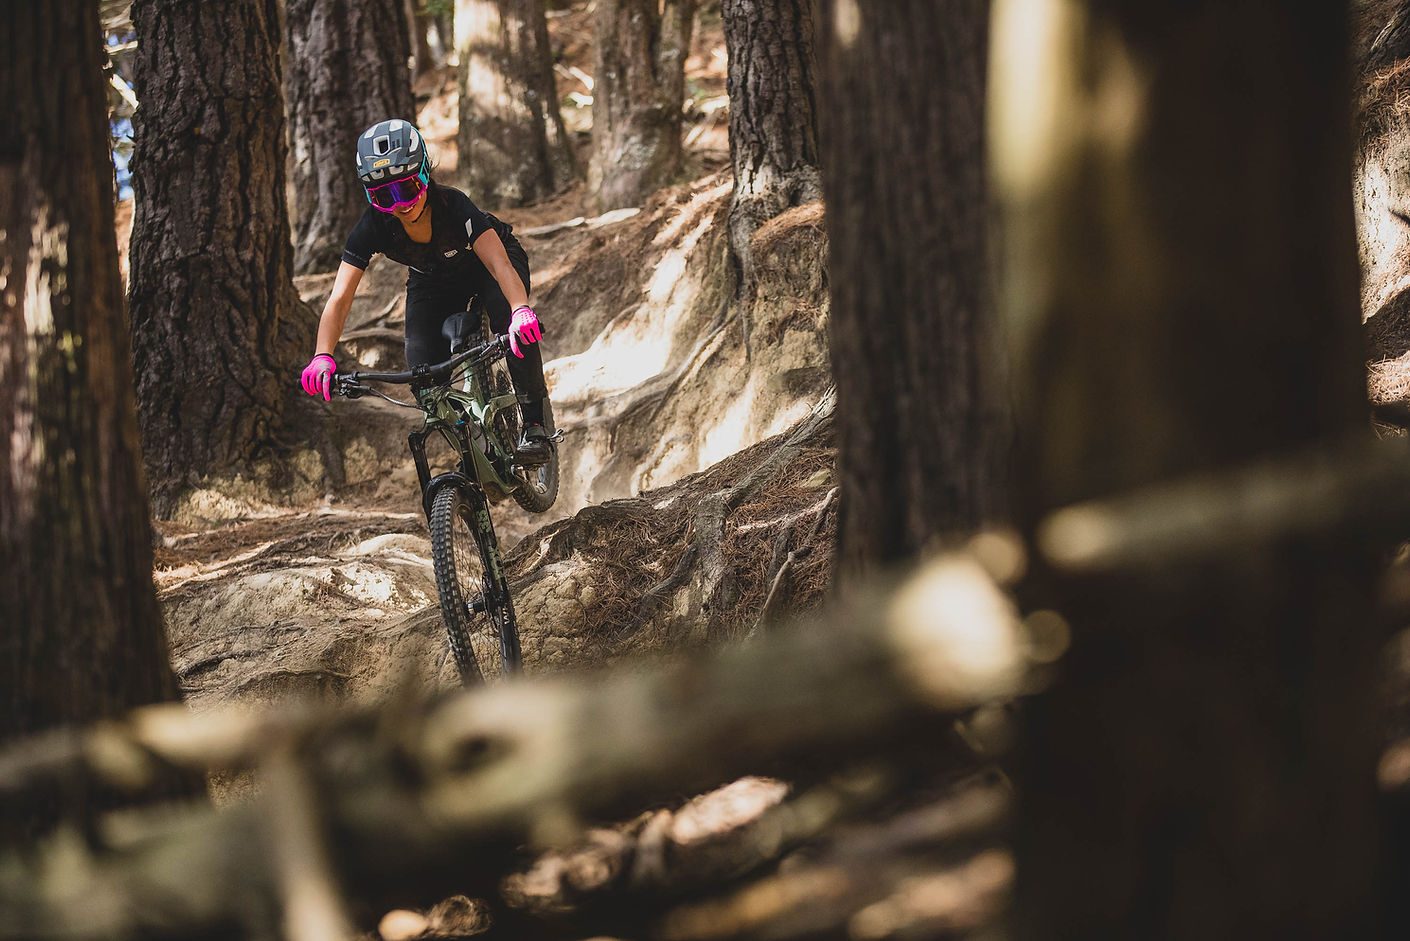
Wellington has a reputation for the kind of weather patterns outlined above, yet in the fourteen years I’ve lived here, I’ve decided that the reputation is not entirely true. Sure, there is a reason that New Zealand’s capital city is known as “Windy Welly”, but on the whole, the good days seem to outnumber the bad, at least to me. And a bit of wind and moisture never hurt anyone.
Described by the Lonely Planet travel guide as “the coolest little capital in the world”, Wellington can back up the claim with a vibrant café culture, a healthy live music and arts scene, world-class eateries, a compact central business district and some of the best riding in the country (which, by default, makes it some of the best in the world). The lay of the land makes trails accessible within minutes of the heart of the city in several directions, and there’s no real need to take the car to get to the dirt.
Mount Victoria
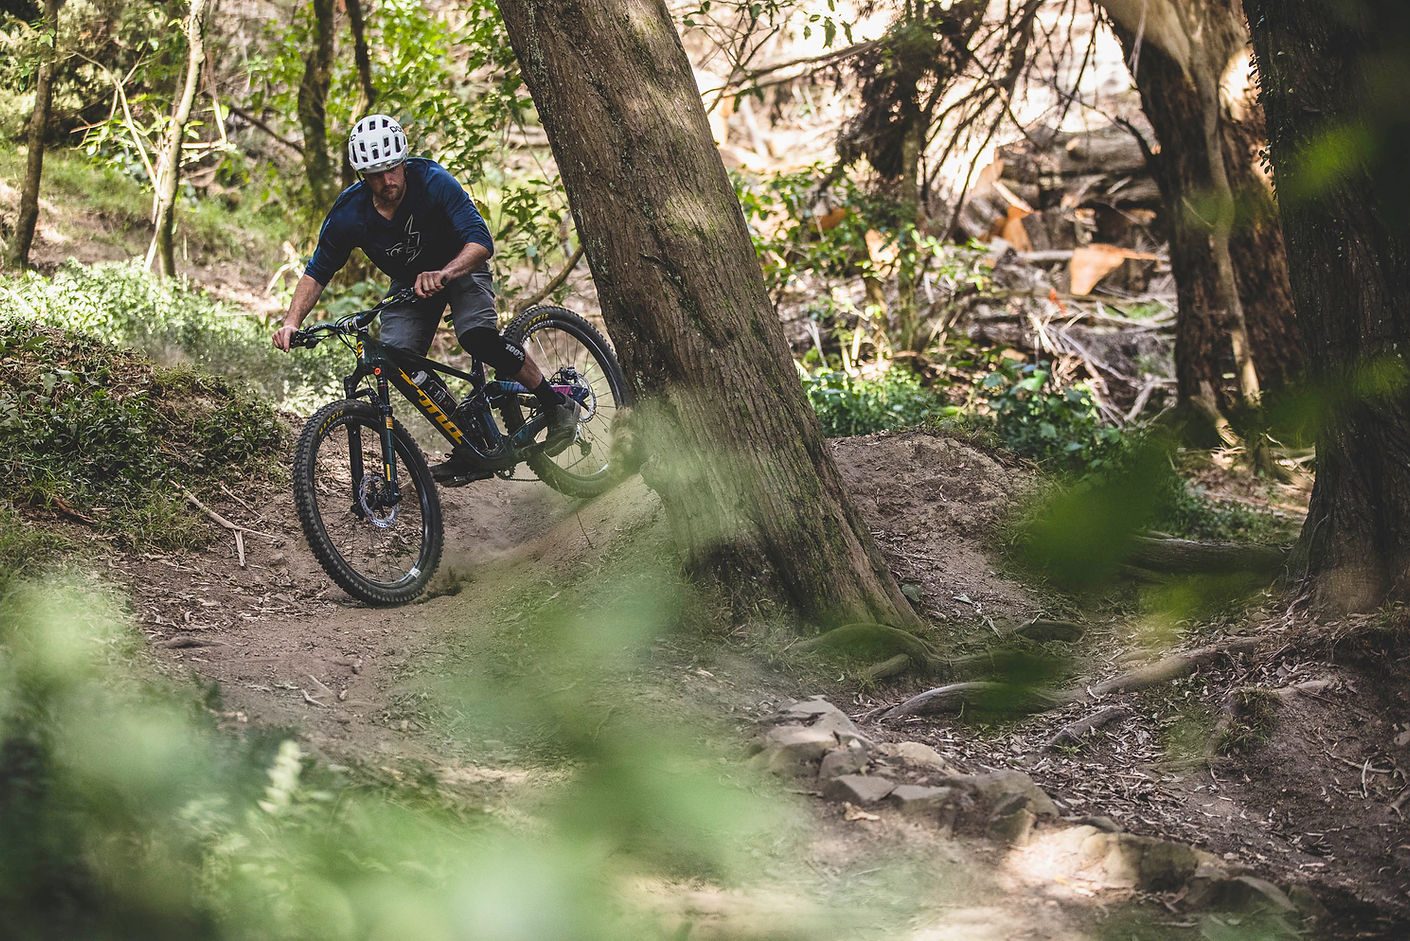
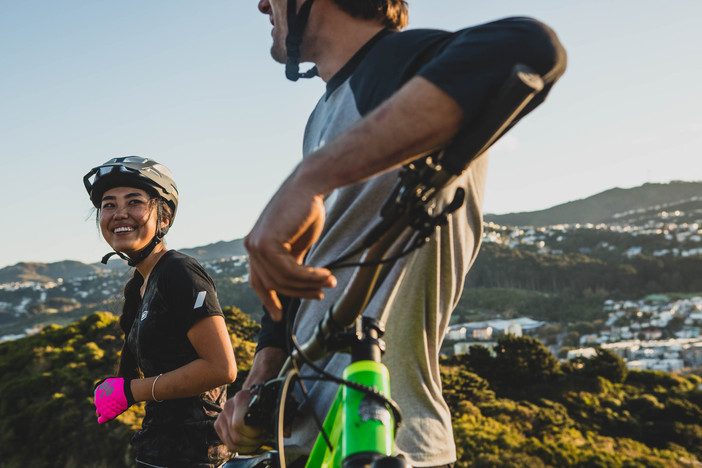
Mount Vic is a true blessing for Wellington. From the very heart of the city, if you look up you can see it sitting there, just begging you to come up and enjoy her goodness. The trails there are so good that a round of the XC World Cup was held there in 1997, and National series races are still held there to this day. There are nice and wide and accessible walking/riding tracks that suit all levels, but it’s when you start looking off the sides of the steep slopes that you discover the real gems. Riding these is best done with a local to guide you and warn of the impending drops, chutes and technical challenges that abound on trails like A, V, Damian’s and Boobies. There are, of course, stunning 360º views from the lookout at the top of the hill, which is also the start of the Super D track and the best place to commence each run down the various combinations. It’s easy to put together a half dozen different runs in a couple of hours, and then roll straight into the CBD to re-fuel at any of the myriad craft beer bars or pubs. It’s a lunchtime favourite too, as you can be out of your office and bombing world-class singletrack and back at the desk in the time it takes your colleagues to eat their sandwiches and read the paper. We are blessed by Mt Vic. Praise be.
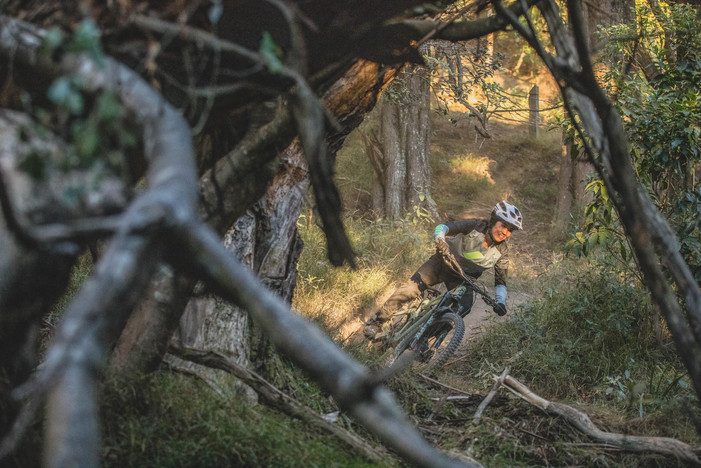


Stay tuned for and in-depth article coming out in our forthcoming issue.
Words: Brett Kennedy
Images: Caleb Smith
Story: Ride Welly - Part One
Powered by 100%
Compared to most other mountain bike centres in NZ, Wellington’s biggest advantage is variety. With a great mix of man-made and natural terrain available, rides can be tailored to different levels of skills, or just to mix it up and keep things fresh for even the most experienced riders. The term 'something for everyone is certainly apt when it comes to riding in the capital.
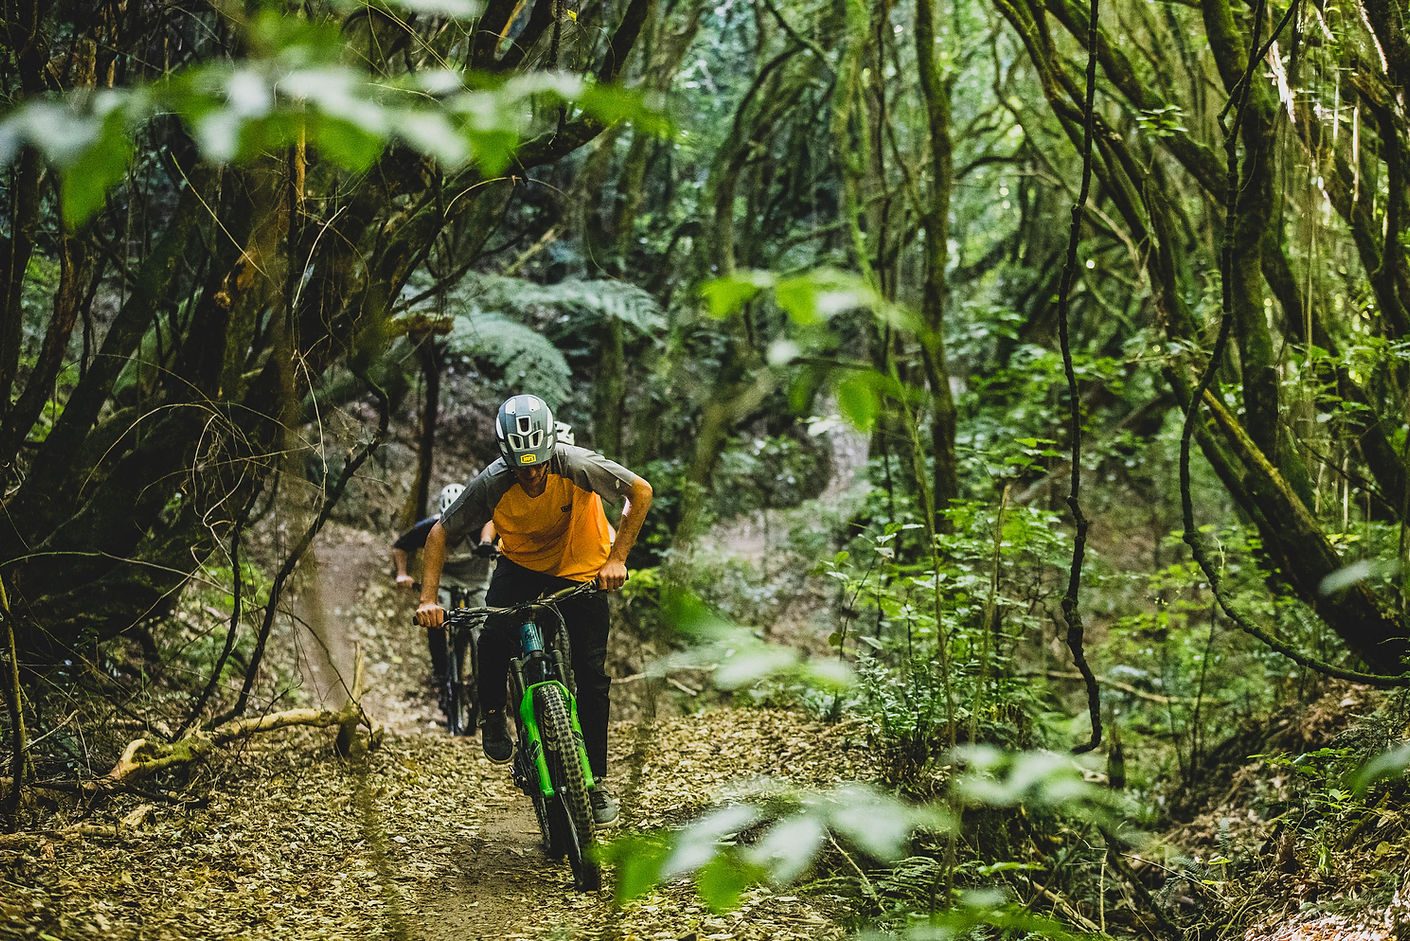
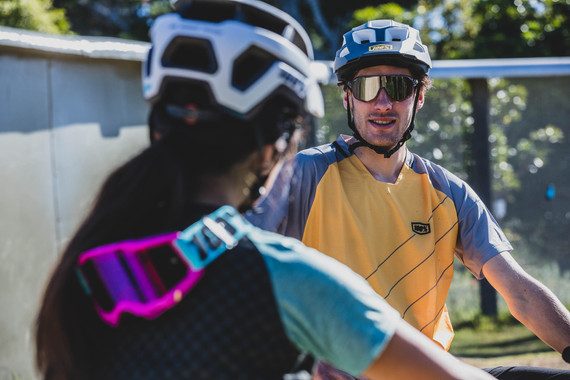
On any given day of the week, you are certain to find a willing riding partner without really looking. You will probably run into other riders out for a quick spin, or maybe an all-day mission. I’ve met some of my best friends and riding buddies just by being on the trail at the right time and striking up a conversation. With such a large and friendly rider base, the local scene is fantastic for finding just the right people to ride with and to socialise with when the riding is done.
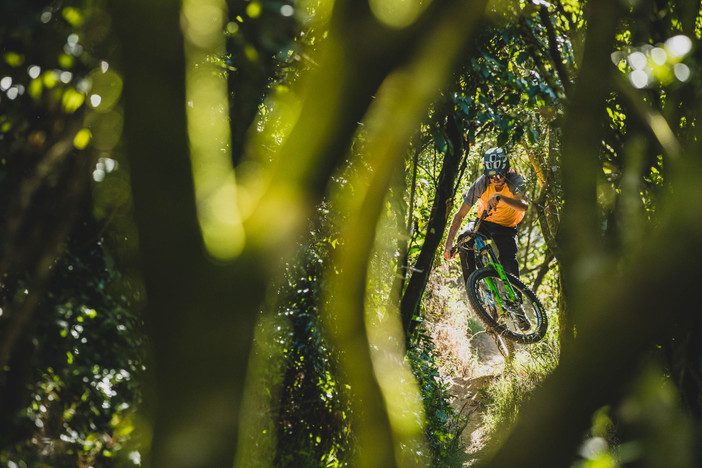
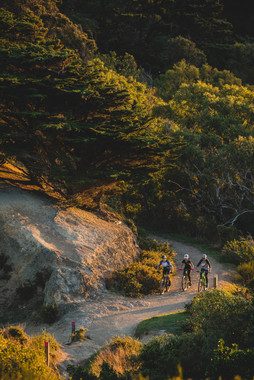
But it’s the quality of riding that led me, and many others, to choose Wellington as the place to be for a mad-keen mountain biker. I love being able to leave my house and be on dirt within five to ten minutes depending on which direction I point my bike. I can link up two or three different riding areas or bike parks without my tyres hitting the tarmac. And those same tyres will have touched an array of trails from smooth and groomed, flowy, fast, to technical, rocky, steep and challenging. My mood dictates how I want to ride, and the trails do the rest. Hard to beat is an understatement.

Polhill
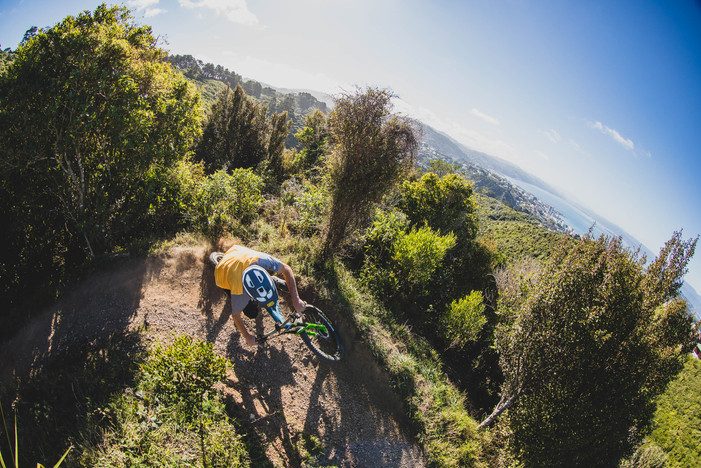
Probably the most popular trails in the city these days, the easy accessibility of Polhill Reserve makes it a must ride for the visitor. From the CBD you can be on the singletrack within minutes. The Transient climb is another one of those Wellington climbs where you don’t really feel like you’re climbing at all, and before you know it you are at the top of Brooklyn Hill, home to Wellington’s original wind turbine and gateway to a number of options. You can head back down the way you came via Car Parts, a twisty blast through the trees, followed by a choice between the latest additions Roller Coaster for a bit of airtime, or a fast and twisty run down Ikagai and Serendipity, or continue on towards the south coast via Barking Emu. The views along here are just as epic as Makara, but with some different perspectives. I never get sick of looking out over this beautiful city with its rugged hills and bays, harbour and coastline. From the end of Emu, either turn around for a long descent all the way back to where you started or head down to Red Rocks, via high-speed doubletrack with some nice twisty singletrack at the end, spitting you out on the coast for a ride back to civilisation via the road or a pre-arranged lift.
When The Riding Is Done (Or “Aprés Singletrack”)
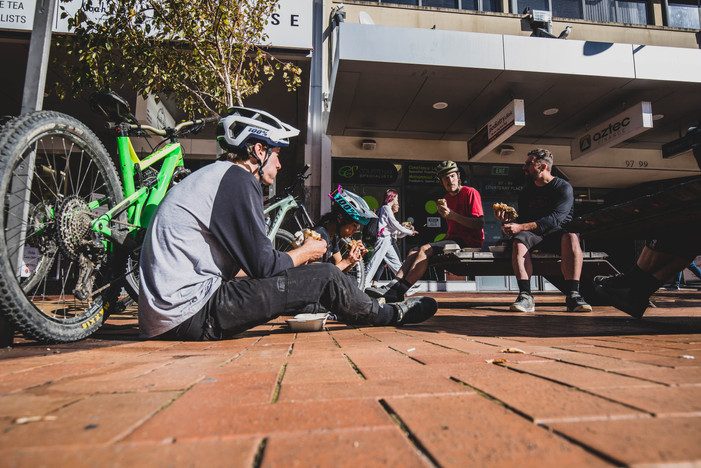
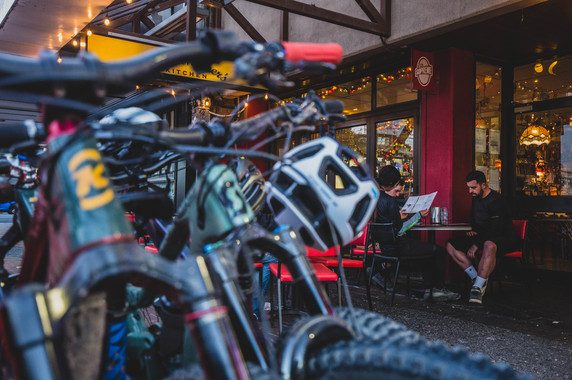
There are so many great places to ride in NZ that it’s hard to choose the ideal location to base oneself to live a mountain bike lifestyle. Known as one of, if not the arts capital of NZ, Wellington has a plethora of theatres, cinemas, bars, cafés and of course the National Museum, Te Papa. There is a vibrant bar and live music scene, with craft beer not only being served in abundance but brewed right in the city by some of the country’s best and most decorated brewers. And we know that mountain bikers love a good brew after a day of amazing riding, so why skimp on the quality of the beer?
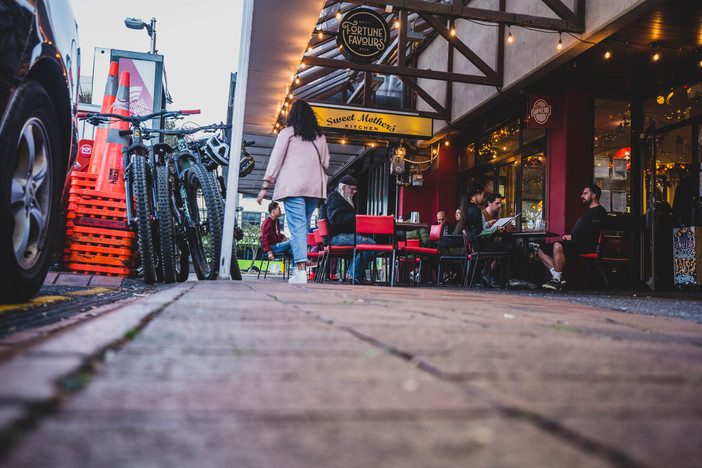
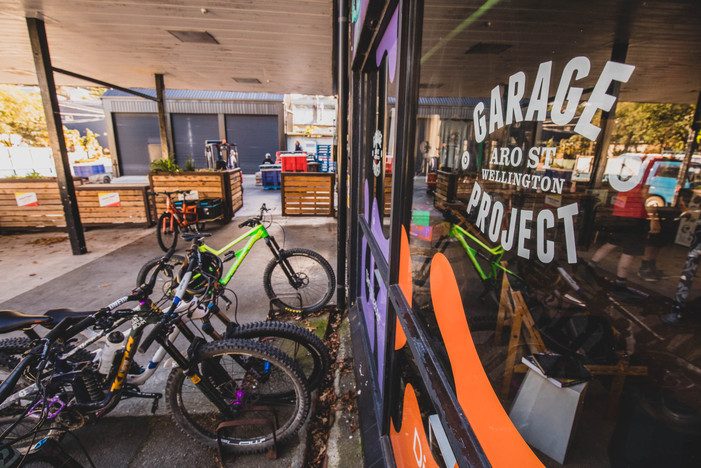
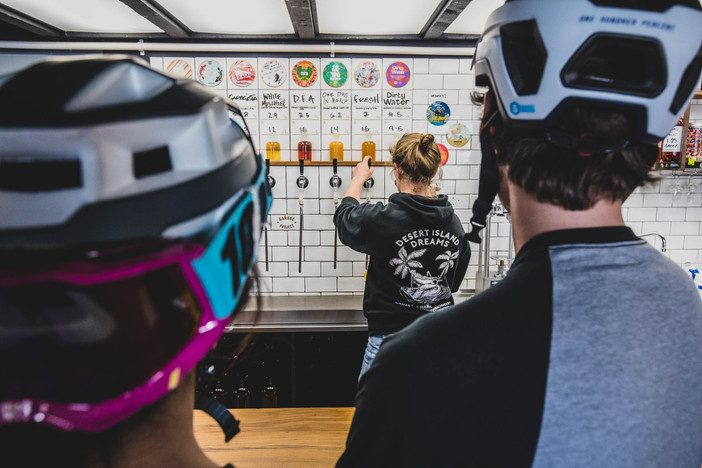
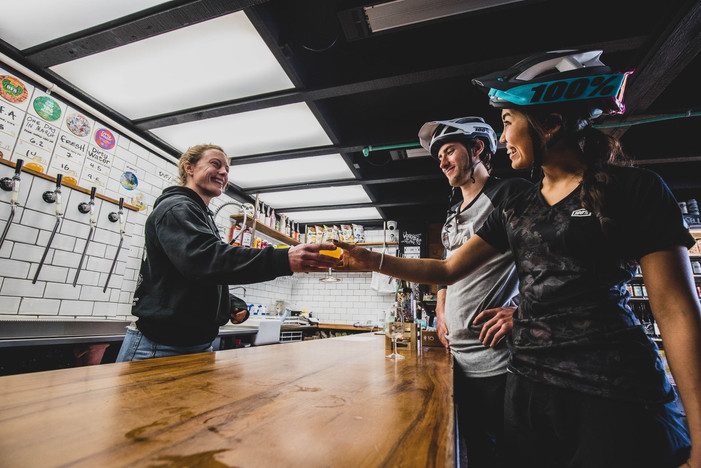
There are countless international renowned restaurants and so many choices of fantastic eateries that I’m still working my way through them all! And if you like coffee, well you’re in heaven here; Wellington has more cafés per capita than New York City. And yes, the coffee is also recognised as the best in the country and also world-beating.
Stay tuned for the second part of this story, dropping on the 20th of May
Words: Brett Kennedy
Images: Caleb Smith
Story: The (Everyday) Adventure Club
After a career in enduro racing that made him one of New Zealand’s most successful exponents, Jamie Nicoll turned his mind to adventures. The relationships he’d made with sponsors on the racing stage, were strong enough to convert into a new venture: come up with a plan for some sort of voyage into the unknown, and get it supported. Jamie Nicoll Adventures is the result.
A series of adventures have followed, to many points of the compass. His home is a bus he has owned for twenty years and rebuilt several times. Jamie has a pair of Toyota Landcruisers one of them he has outfitted with everything required to survive a trip across the deserts of Australia.
When his bike sponsor, Santa Cruz, were thinking about launching the latest version of the bike they call the Nomad, it made sense that Jamie would be doing it.
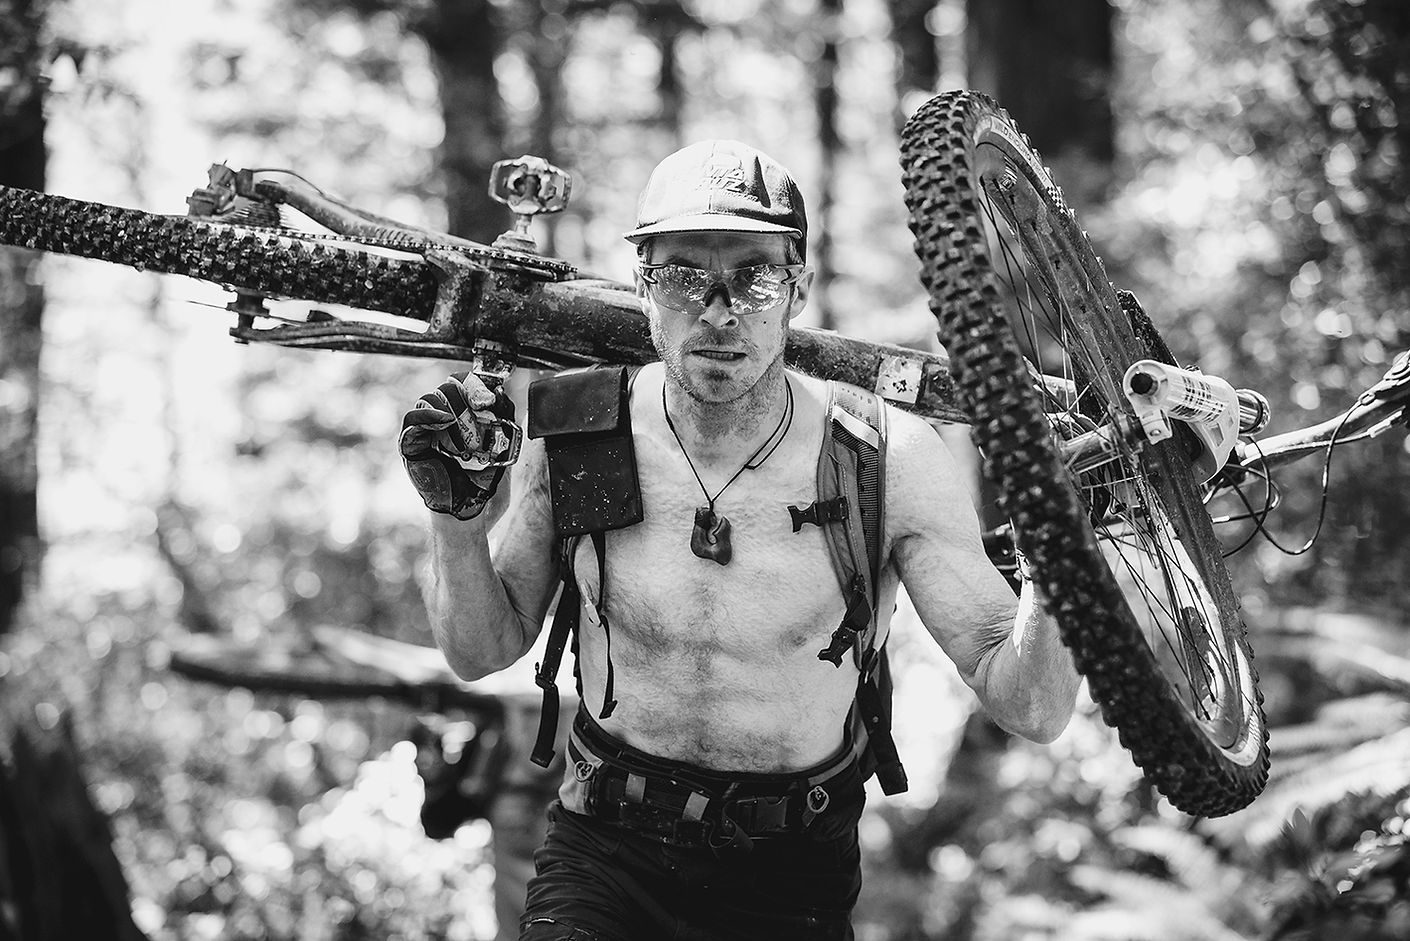
The Nomad is perhaps the flagship product in the Santa Cruz stable. Conceived as a bike for the big day out, the Nomad led the charge into what are today’s enduro bikes. It isn’t the brand’s enduro race bike, but it is well-capable. It’s a 27.5” wheel brawler that gets as close as the designers could manage to DH performance, while retaining trail-ready behaviour.
To launch the Nomad meant a field trip, a camping journey into the wilds of Marlborough, and a couple of days of varied trails to try the bike out on, with our photographer Cam on a Santa Cruz e-bike to document proceedings.
The idea was to get together in Nelson, then road-trip to Whites Bay, sample some more riding en route, and finish the trip by riding Wakamarina, a trail I have been hearing about for decades. The editor did not have to ask twice - I was ready to go in minutes. Our first stop was Whites Bay. A nice little beach with a bush-clad DoC camp sits in the lap of a steep range, with Mt Robertson at the top. We circled the wagons (both of Jamie’s Landcruisers) and got acquainted with the bikes.
To look at, the new Nomad is like a squared off, muscled up version of its predecessor. An angular look and a side profile featuring acres of Carbon frame give the bike its unique appearance: it looks like something dangerous crouching for a spring. A little bit of air in the suspension, otherwise it felt like home exactly as delivered.
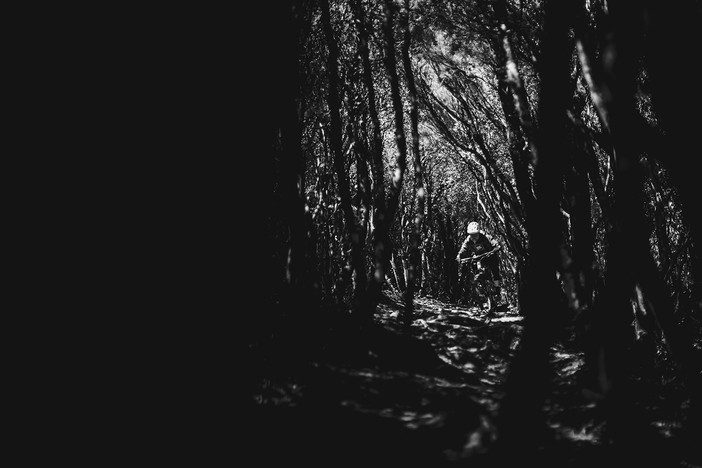
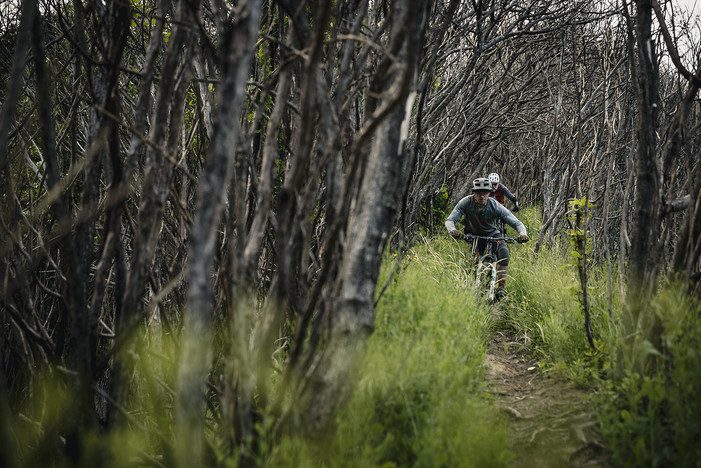
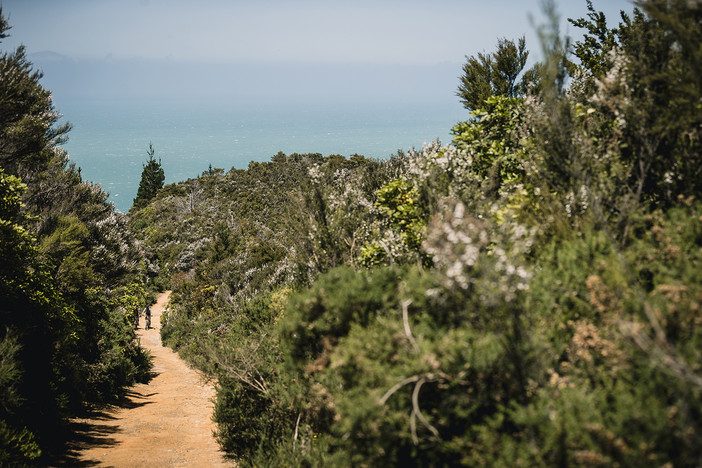
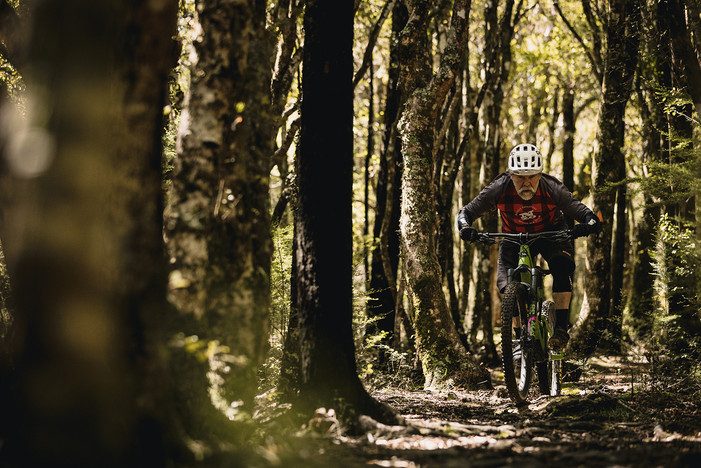


Beginning a relationship with a bike is probably best done somewhere other than a 680m ascent. Even a three-day fling would probably turn out happier if there was a gentler start but, after checking the sign, we saw that a DoC walking track directly from the campsite was ok for bikes going up - and that was us, so up we went. The trail was a perfect singletrack climb, and the bike was completely up for it.
170mm of suspension can be a liability when pedalling skywards, but we commented between breaths how nailed modern bikes have become. Sitting in the ‘low’ suspension, and with the shock wide open, it still motored uphill as well as any mountain bike with me on top of it.
The Whites Bay trails are a nice little set: The Loop trail was our first target. When the climbing trail crossed the gravel road that takes traffic by an incredibly arduous route to Picton, it turned into a four-wheel-drive track. A steep one, with some sections near the top that were at the edge of what can be done under pedal power. You could be excused for thinking you are near the top at the trail entrance proper - you aren’t. Forsaking the downhill Double Eagle trail, we continued to climb. Another 500m - the majority of the overall altitude gain - happens on singletrack, in beautiful beech forest. It is probably all doable - on the occasional moments where I could see Jamie, it was clear he was riding, but it was too much for me. Repeated very steep, fairly technical sections put the idea of cleaning everything well out of mind - nothing to prove, plenty more hills to clamber up, save some energy for the next days.
Eventually we were at the summit as far as we were concerned, but enthusiasts can turn right and continue up to Mt Robertson’s lofty top, another 400m vertical and three difficult kilometres in the distance. We turned left and started down.
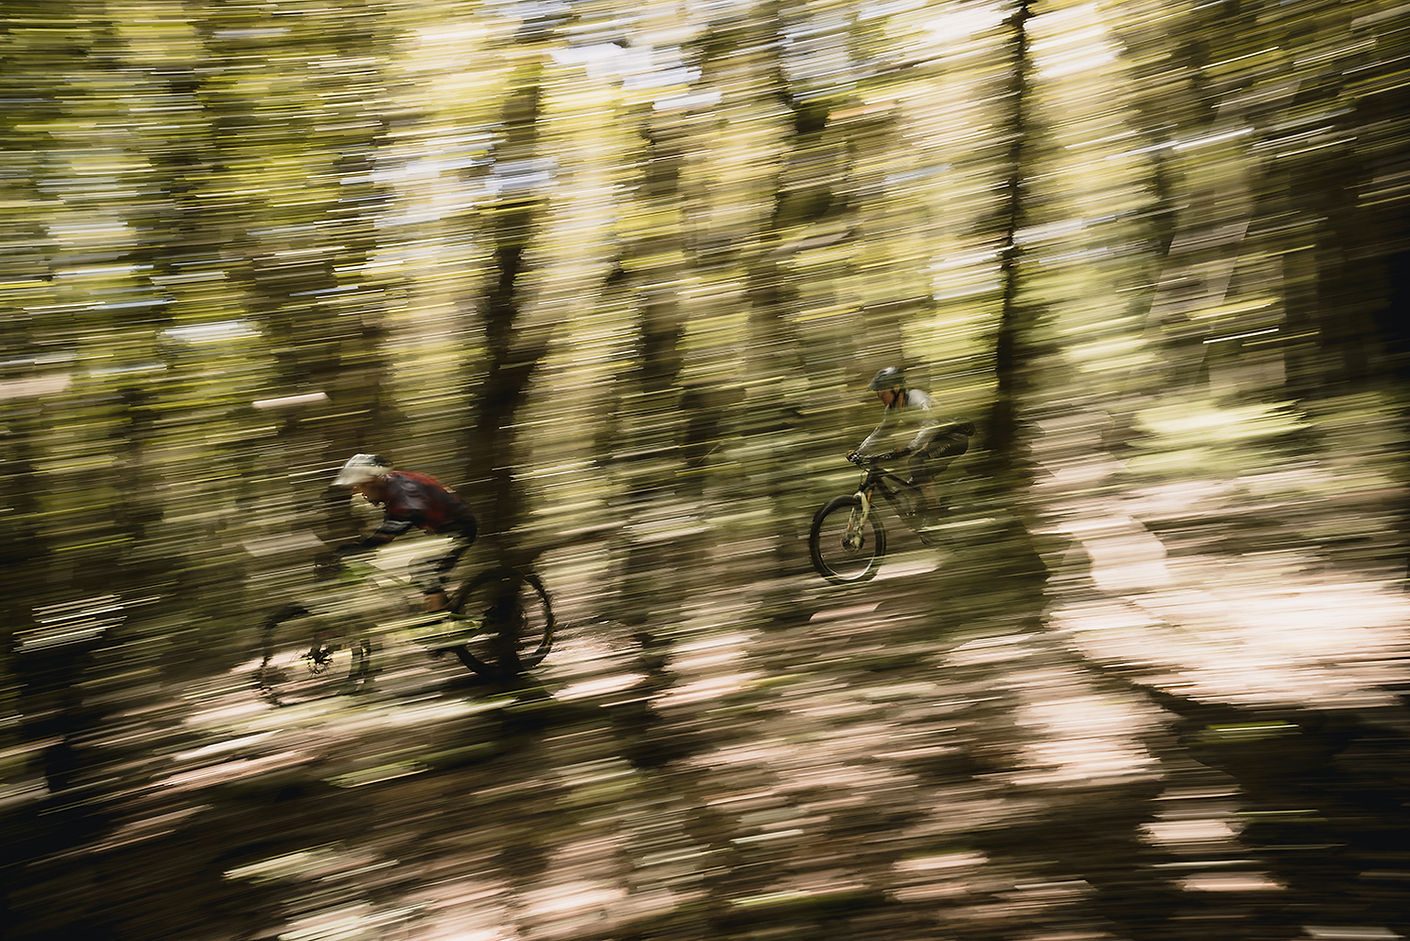
I am already scheming a return trip. About four kms of varied trail beckon me back. Roots, rock, ruts and flow are all there in abundance, as well as some excellent views out to the north and east over mountains and sea.
Already I had realised that the Nomad would eat up whatever I pointed it at. The Fox 38 up front was burly and compliant enough that with a bit of momentum I could clatter over very intimidating terrain without a bother. The back end was not even there - so supple and bottomless feeling that all my focus was on the trail and my aim.
The second course was a Landcruiser shuttle back to the top, then the Double Eagle. Another one on my ‘revisit sometime soon’ list. It will be a brilliant trail on the day I get back there, after a week or so of summer dryness, but for the one percenters I guess it actually was brilliant the day we rode it. For me, however, in the conditions, it was a struggle. Lots of rain made a layer of lubrication between the leaf litter and the solid dirt, which meant brakes were useless and the only way to ride it was the way Jamie does – with no brakes.
We repeated the performance on another trail of dubious legality - a really cool ridge running into a tight little valley. Jamie looking unfazed; I was hanging on for grim death.
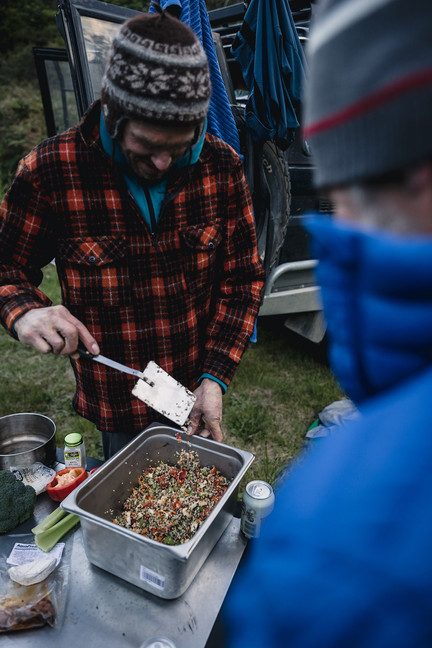
Even on a very short trip, campsite routine gets established early. The usual operation revolved around Jamie, as the host, pulling out the ingredients and implements, and setting to assembling a meal, while we offered small bits of assistance and discussed what we had seen and done, and what we were doing next. In our downtime we also marveled at the detail of the builds of the Landcruisers, especially the Australia Overlander it is bristling with clever, well-executed modifications, all completed by Jamie. In the morning, we headed over to the Jentree MTB Park, a private property owned and developed by Justin Leov and his partner Tory. Justin is one of New Zealand’s most successful pro downhillers, racing the World Cup circuit as part of a career spanning 16 years and really blazing the way for today’s young kiwi downhillers. Justin had several international podium finishes, and was a regular top ten world cup rider and multiple-time national title holder. After a failed attempt to retire, he followed up with a win and a third place overall in the Enduro World Series.
With racing behind him in 2017, the Leovs established Jentree MTB Park on a hill that had hosted downhill racing as far back as the 90s. We were keen to take a look and have a few runs.
It’s amazing what can be done with a relatively small piece of land and a lot of vision. A hundred acres packs in a lot of elevation - it is a 400m climb up a very steep track to the top of the property, and the start of an entertaining nest of trails. It felt like a well aimed rock could land on the Landcruiser parked way below. Even with such precipitous terrain, the trails are sustainably built to provide plenty of speed without creating places where hard braking would chop out the trail surface. A very inspiring project, and a great example of how to put a park together.
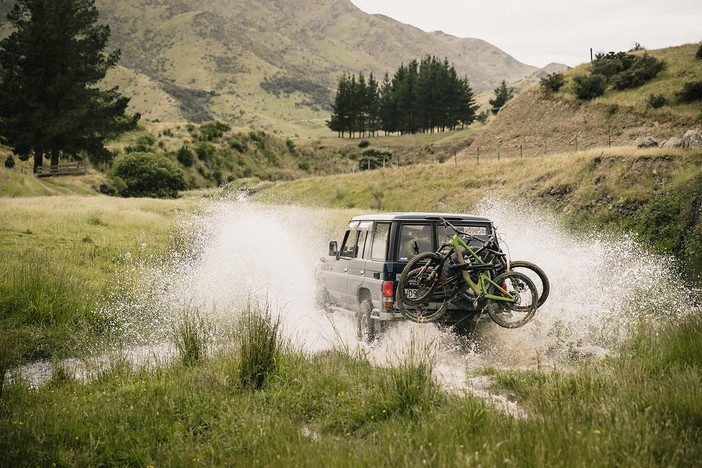
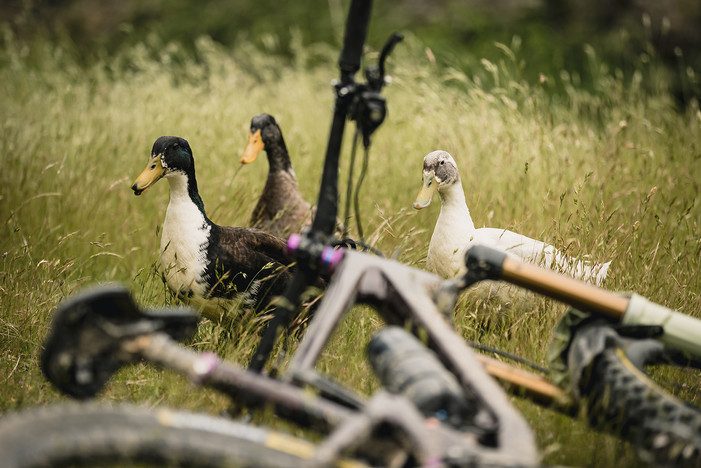
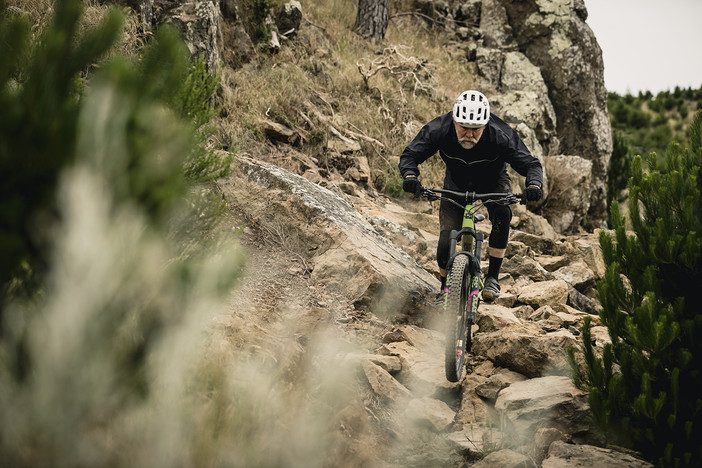
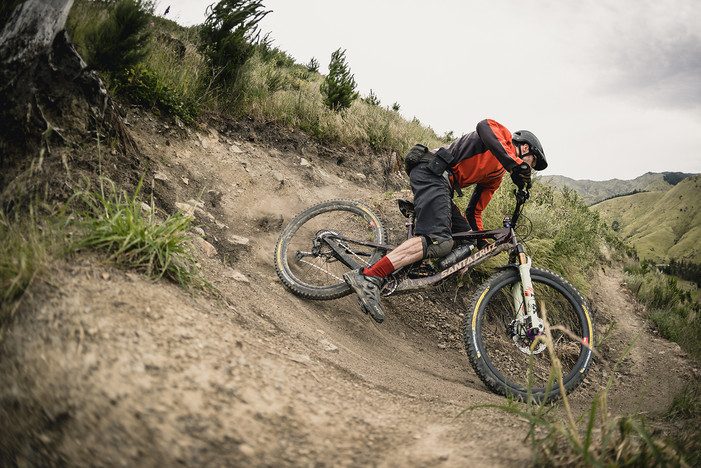


On the drive through to the Wakamarina River campsite, in Richmond Forest Park, we stopped for a bite to eat in Havelock. Whilst waiting for coffee, we consulted Trailforks and found a nearby trail called “Good-For-Nothing”. Allegedly dropping out of the bush a block or so from where we sat, it began on top of the ridge directly behind town. A bit more fossicking on Trailforks showed an access road not far away, so we loaded up one of the trucks and went to check it out.
After a nice rideable climb (mental note for future excursions) and another outstanding Marlborough view, we dropped into Good-For-Nothing.
You can’t tell a book by its cover, and you can’t read too much into a name. This little trail is only a tad over three kilometres long, but it is close to perfection in my humble opinion. The good people of Havelock may not enjoy dozens of trails on their doorstep, but the one they have is worth doing dozens of times. Rocky and exposed at the top, rocky and deep in the woods on the way down, loamy and almost jungly at the bottom. Yeehaw.
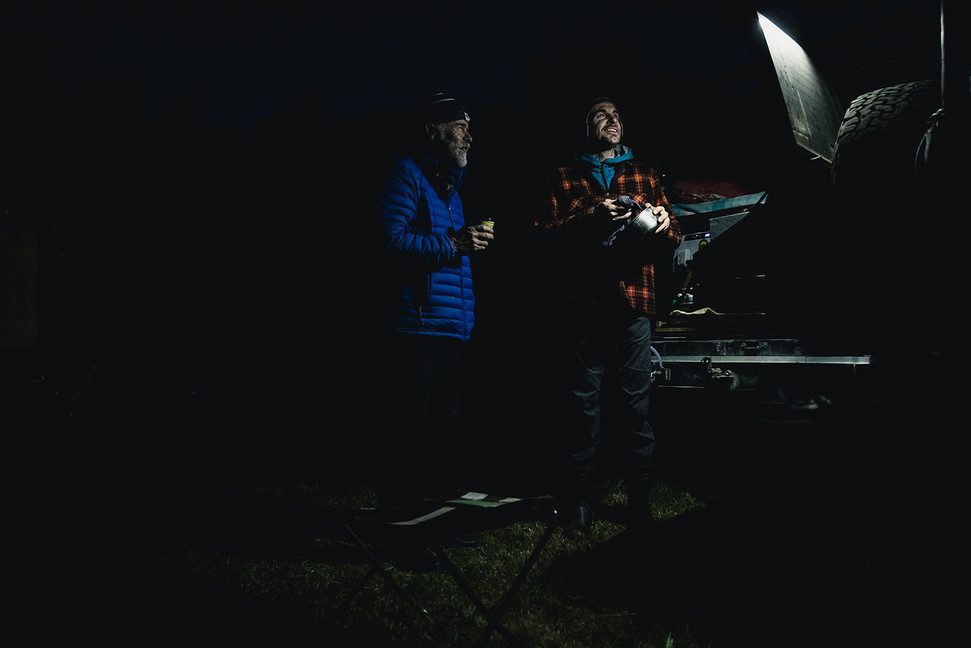
The drive in to Wakamarina from Canvastown on the main highway, follows a classic New Zealand backroad. Wide and easy-going to begin, the road gradually narrows, coils itself up, and sheds its tarmac before delivering punters to the very end. Facing a mountainside draped in beech forest, the grassy fields for campers were deserted except for one lonesome little van. The Wakamarina River runs beneath the campsite, a rocky watercourse with crystal clear water in deep pools and gentle rapids. Jumping in was more or less compulsory after our hot and dusty day, and the water was as cold as it was clear. Just to make sure, we jumped in again, and learned that once was probably enough. Another idyllic night under the stars followed, with Jamie slinging veggie burgers and all of us conking out fairly soon after dinner.
The next morning started early. Riding Wakamarina South-East-to-West (the only logical way to do it - see below) requires a bit of logistical maneuvering. It is about an hour and twenty around to the south-eastern trailhead, and we figured we would take about five hours to get through, allowing for the time it takes to ride a few stretches twice (or more) for photographic purposes. My slot for leaving Nelson was 4:30, and Nelson was an hour and a half away... we reckoned we had to be back at camp by one. That meant a 7am pickup by the Blue Moon shuttle driver from Havelock.
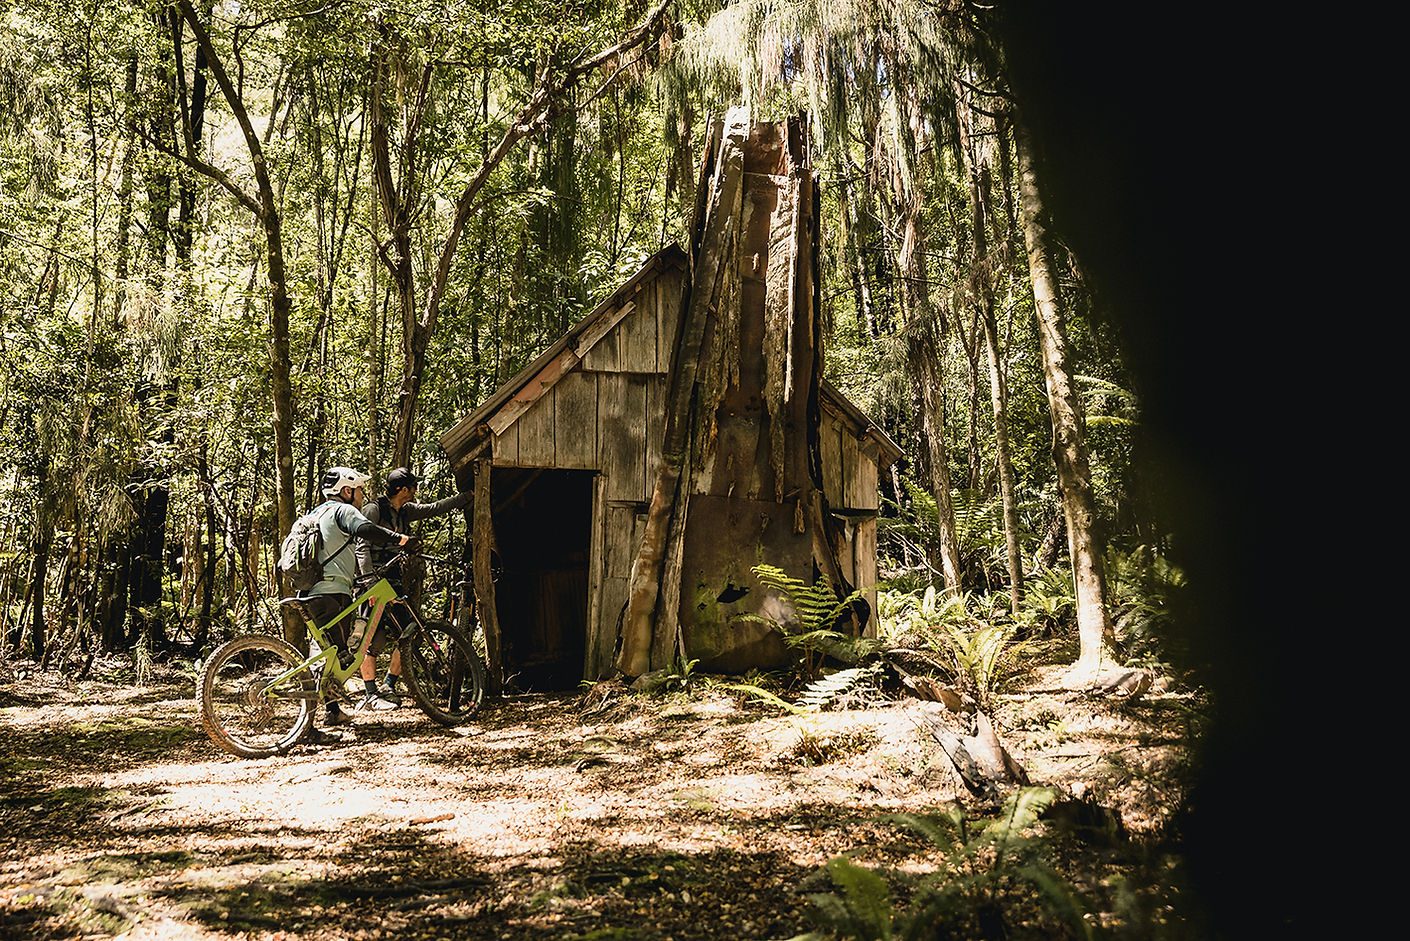
Excitement or sandflies saw us all out of the sleeping bags and into our kit by 6:15am. Even the knee pads were on .... sand-flies. A couple of stovetop coffees, morning ablutions, a bowl of Yum granola, and we were ready to hit the trail. The driver turned up on cue, and the big day started.
A note on the weather: it was perfect. Completely bluebird,but not really that hot. Lucky Strike #1. Lucky Strike #2 was being delivered right to the trailhead. The approach to the trail is through some forestry, and the word was that maybe it would be closed and we would be riding from about 6km short of the trailhead. That’s not far, but Wakamarina starts 600m above sea level. Having that 600m in the tank would be better than spending it getting started. Some of us had our own little lucky strikes along the way .... more on that later.
The trail sets out fairly flat, and even goes a little downhill, so we motored along feeling like the very lucky people we were. A few glimpses of the view were all we got, and soon enough the trail tipped up and we started to climb.
That first climb is only 5km or so, and gains about 500m - small numbers that do not reflect reality. It is hard! Stunningly beautiful trail has been carved out of the rock by miners in the 1800s and, in many places, it is much as it would have been then. The climb is unrelenting and follows a ridge to a saddle where a side trail leads up to a clearing at Fosters Hut.
The outlook from that point, over a kilometre above sea level, was spectacular.
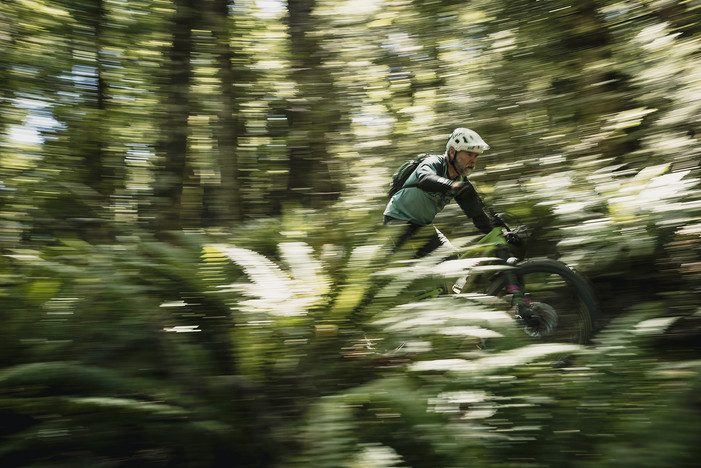
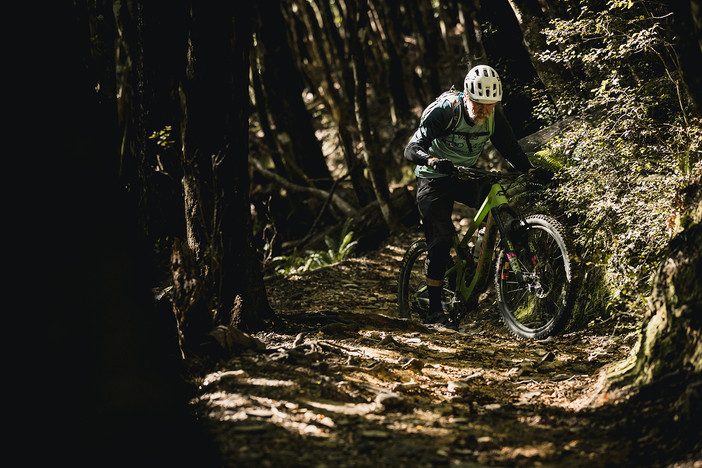
The run back down to the saddle was followed by a long downhill with quite a few water crossings, which were slippery and exposed. That is where I had my Lucky Strike #3: coming into a section where the trail changed from a fairly well-formed surface to a V-shaped defile, with rough rocks on one side and a smooth sheet of rock rising up on the other. I should have stuck my front wheel into the bottom of the slot, but I had a go at the rock slab on the left. It was slipperier than it looked, and I fell hard onto it, landing on my hip, which still has a big lump on it. But, that was the only damage, from my only crash, so I was lucky. Actually, and more correctly, it was my only crash if you don’t count the other one.
After the last drop into a watercourse, a steep and boulder strewn thing best left to the one percenters, the legendary Wakamarina Hike-A-Bike began.
Marlborough trails seem to condense distance and difficulty to rock-hard things that confuse the newcomer. The hike-a-bike is one and a half kilometres long, and only gains 290m. Some of it is actually rideable. The bits that aren’t really aren’t, they are barely walkable. At one point, as I wrestled my now completely useless pile of carbon and alloy technology around a fallen tree that was hung up at 45 degrees on a similarly angled slope, I seriously wondered if I had left this particular life goal too late. As in, will I get to the top - alive? How our photographer managed with his even more useless e-bike and a gigantic pack full of cameras is anybody’s guess, I certainly couldn’t have.
But the thing about sections of trail like that, is that sooner or later, they do end. And to be honest, every so often I stopped toiling upwards and looked around - it is a majestic place to walk a bicycle. We came to a ridge, which I stupidly assumed was the top of the climb - it wasn’t, we were just over halfway. Far ahead, I could see Jamie pedalling a steep trail. That inspired me to get aboard my machine again, but the bits I could ride were so short that the time and effort it took to stop, clamber on, pedal away, then dismount ten metres along the trail were more than what I lost by plodding along on foot.
Not far shy of the actual summit we were back on our bikes and crawling along in low gear. Cam got a stick in his derailleur and snapped the entire mechanism off. Not the hanger, which could arguably be fixable, but the derailleur itself.
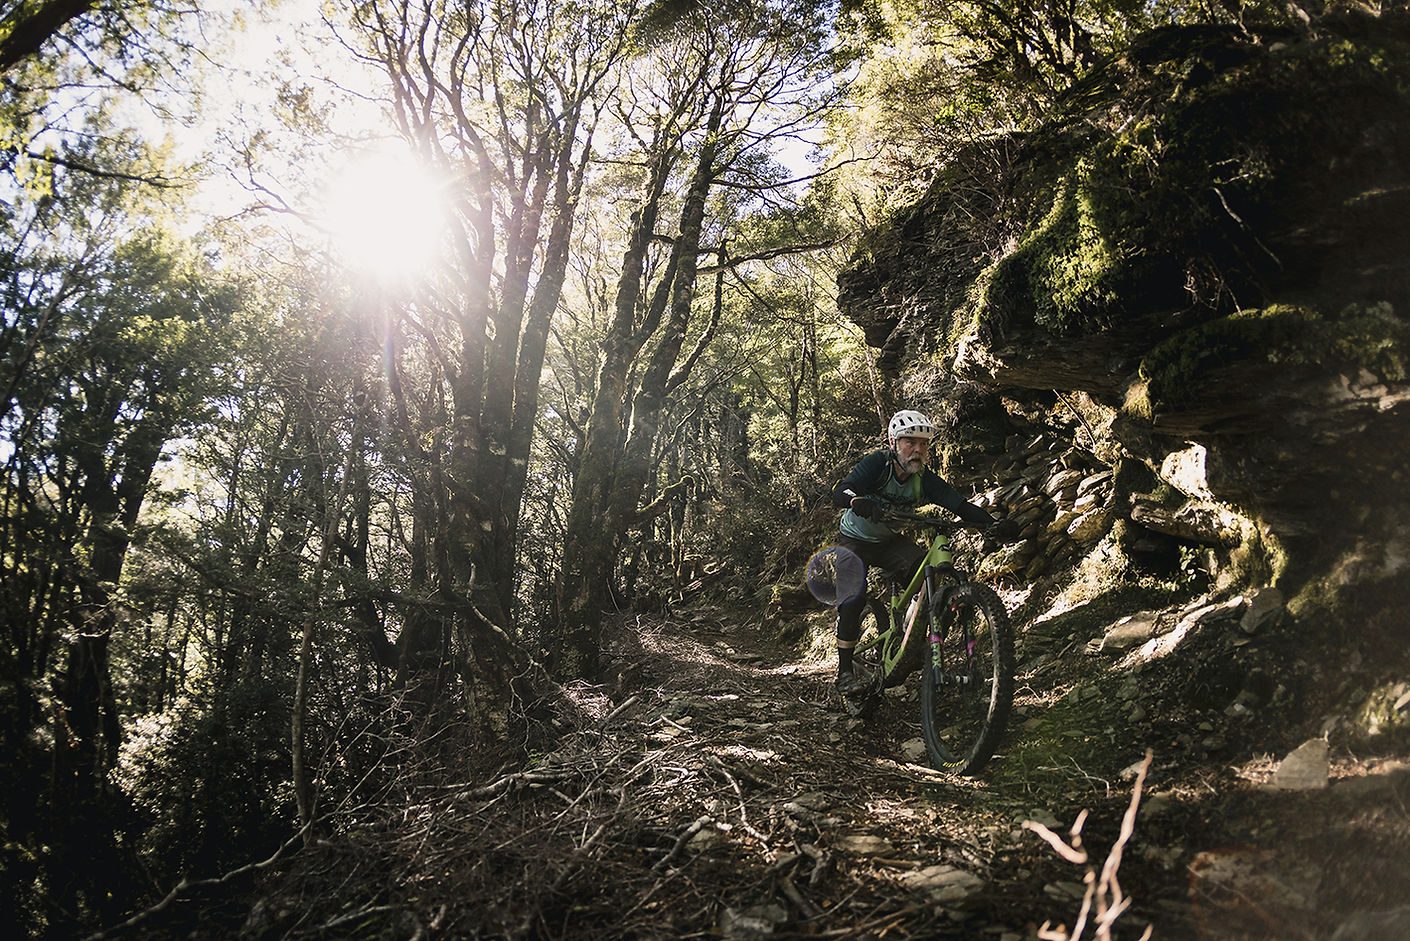
He pushed to the top, where Jamie was sunning himself and eating a snack. The chain was removed, and a gravity sled was the result. Perfect for what lay in front of us: 800 metres of descending in 2.5 kilometres.
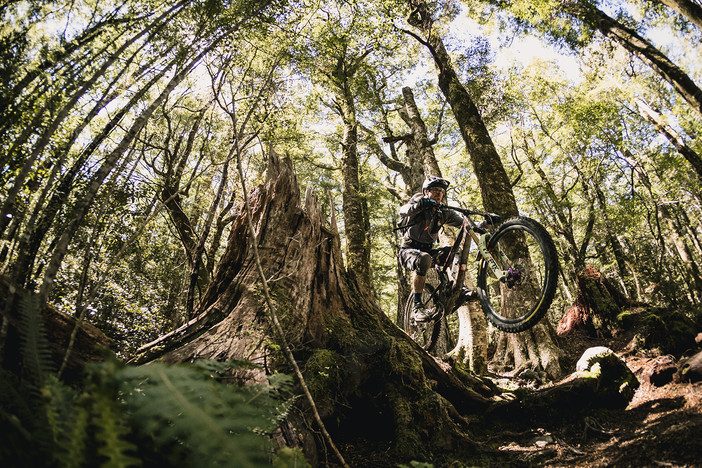
Once again, that contraction of time and space: two and a half kilometres that will be burned into my memory for ever I hope: dozens of switchbacks, seas of ground ferns, massive buttress root systems supporting huge black-trunked beech trees, and a constant need to pay attention to where you are going. It felt like a lot further, but it was over much too soon.
The trail out is relatively flat. But only relatively. After we checked out the historic old slab hut at Devils Creek, we were in for a lumpy six kilometre run back to the cars - with plenty of time, on an operational bike. But of course, one of the bikes was not operational. An e-bike with no chain is about 250watts worse than a regular bike with no chain.
Cam was pretty keen to create a single speed out of the e bike. Both Jamie and I were pretty sure it wouldn’t work - compounding a chain’s general tendency to shift gears by itself until it is so loose it falls off is the suspension bike’s tendency to stretch the chain as the suspension goes though its motions. And of course, chains don’t stretch.
There was a brief stand-off, while discussion was had about whether trying to fix the bike would ultimately gain or waste time. In the end Cam won, and the two of them worked together to make the repair. Jamie got the quick link undone by hand (not easy) and Cam riveted the thing back together at what he thought was the right tension - and off he went.
To our collective amazement, it held together long enough for the battery to go flat (it’s a big ride), and we got back right on schedule, something that never happens on a normal mountain bike ride, let alone with a giant traverse of a couple of ranges in a remote location, with a photographer.
At the end of three big days riding fresh trails, I had formed a trusting accord with the Nomad. It was there for me when I needed it, which was more often than not. It really lived up to its name. Rinsing off in the river was as lovely and brutal as it had been the day before. The three days on a Jamie Nicoll Adventure were over way too soon, but it felt like we had set out from Nelson a long time ago. That Marlborough time warp again.
Words: Gary Sullivan
Images: Cameron Mackenzie
Release: The all-new Lazer Jackal
"Speed, thrill & style are the best friends of any hardcore mountain biker. At Lazer, we truly believe that the best a brand can do is create the perfect match between a rider and their gear, and that is exactly what we aimed to do with Jackal. When building this helmet, we always kept in mind that we wanted to enable any mountain biker to maximize their comfort, enjoyment & freedom while riding on the trails. Here is the result.
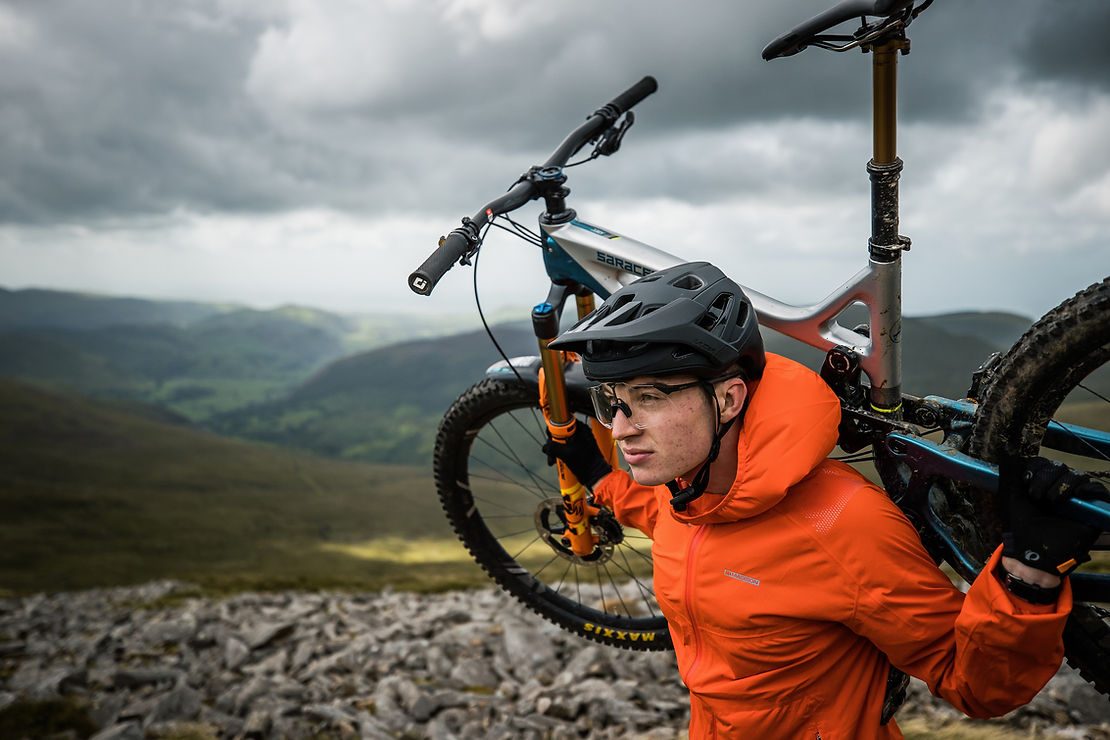
Comfort has been optimized on all angles to give riders the ultimate trail riding sensations. 7 different shells shape this lid, making it a premium looking helmet. The smart placement of the ventilation channels provides the best possible cooling performance; even when riding with goggles or eyewear. Because it is never wise to change a winning team, we designed Jackal to feature our renowned Lazer Advanced Turnfit® system with its vertical & horizontal adjustments.
Equipped with a neatly finished adjustable visor, a universal rear grip, an ultra-light & easy to open magnetic buckle, and camera mount included, the Lazer Jackal has all the features needed to go on the most extreme rides. Lazer Jackal was tested by Virginia Tech’s helmets safety test facility and awarded a perfect 5 stars for safety, bringing the total number of Lazer 5-star rated helmet models to a stunning 10!
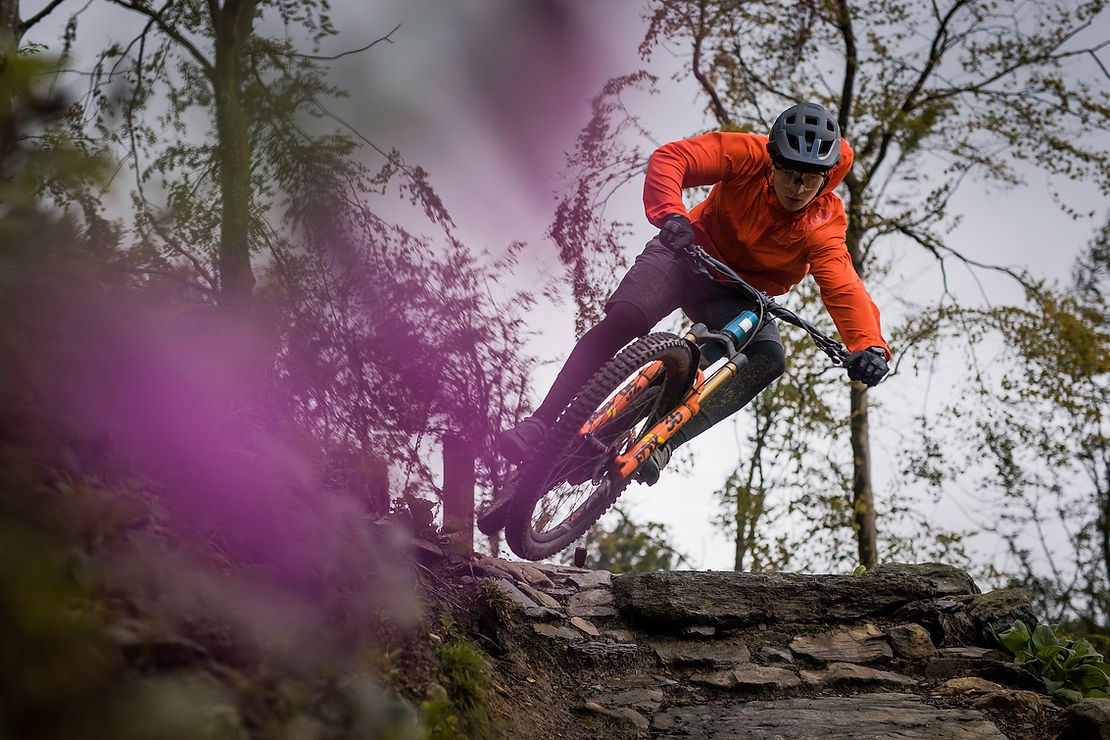
We created and tested this helmet with some of the best mountain bikers in the world. We worked with them on every step of the process to come to this result. Having experienced riders like Thomas Vanderham & the 2020 UCI Downhill World Cup winner Matt Walker on board for this product development has been extremely helpful in considering every single real life riding parameter.
Thomas Vanderham, professional mountain biking legend: ‘The Jackal is a very relevant helmet in the area that I live and ride. I would recommend it to riders of all ability levels who are looking for a full feature helmet that offers lots of protection.’ "
Release: The all-new Santa Cruz Nomad
"Big mountain riding is a nomadic existence. Meeting friends in far flung car parks, pinpointing trails you're not sure are even rideable, sending the ones you know are. Shiny new bling gets battered, shattered and bruised. That’s life. That’s how it should be. That's why the Nomad exists.
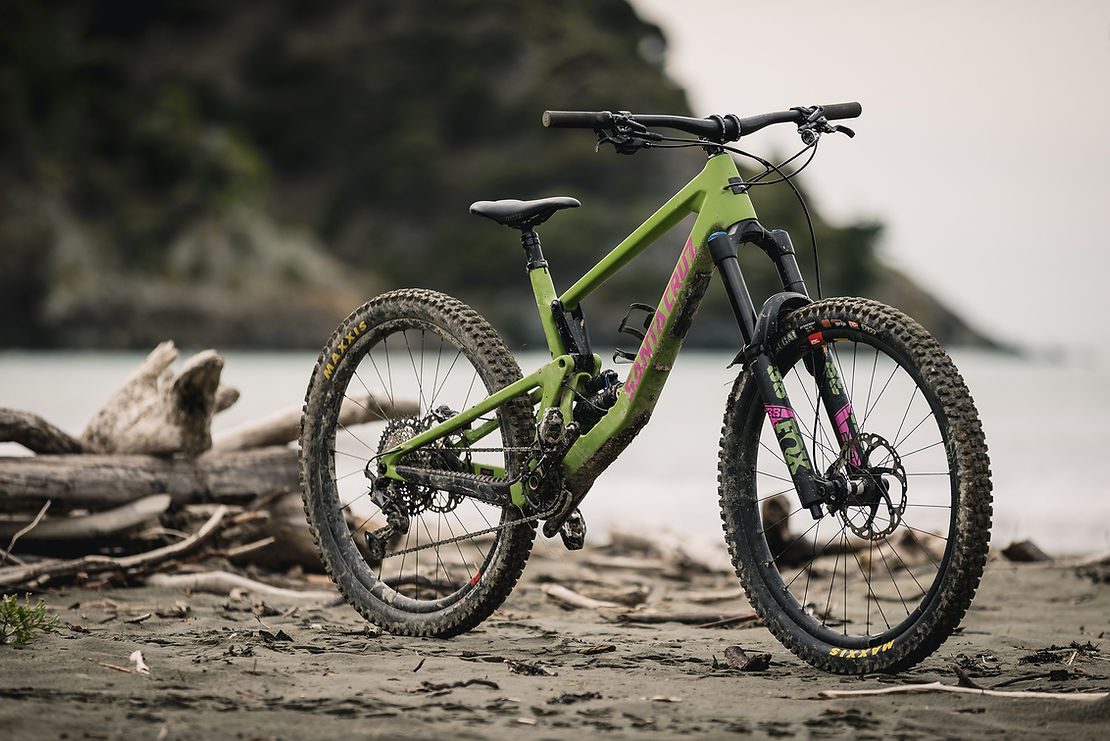
Probably the most abused bike in our line up, every Nomad has a story to tell. But each Nomad we've made keeps coming back for more. It's not Stockholm Syndrome, it's called sealed bearings in all pivots, lower link grease port, shuttle guards and free bearing replacements. Bikes are not disposable, so why scrap a frame when a simple bearing service can make one last a lifetime? That's our stance on sustainability at least, and it's why our carbon fibre doesn’t just mean lighter, it means tough as hell, lifetime warranty and crash replacement support.
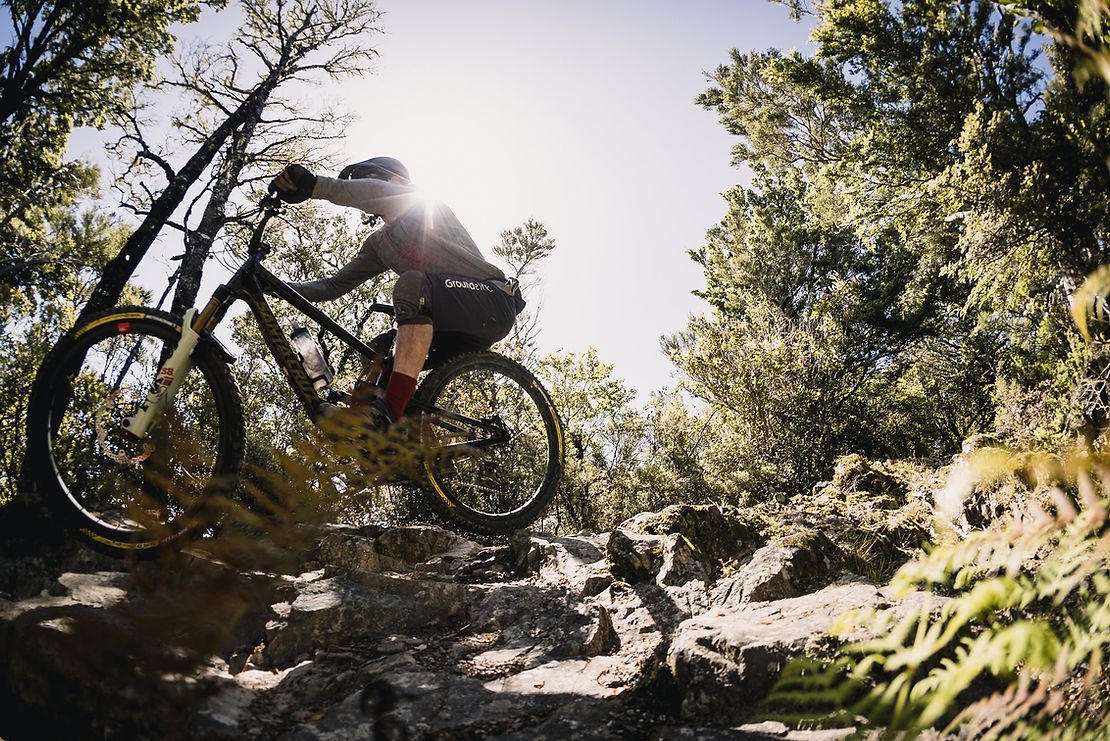
Chuck the bike in the back, make sure there’s gas in the stove and enough biscuits for the journey. The destination? All points between here and wherever. The Nomad is the kind of bike you need never worry about all summer long. Sorry we can't say the same for the locked public washrooms and parking tickets."
More coming in #101. Stay tuned...
Story: Outta Range on the Old Ghost Road - Presented by Bosch Pt. 3
8:50am/0kms/Full Battery.
As soon as we entered the trail and attacked the long climb, the countdown began. This is one hell of a climb up to 1,456m, and it covers 28km in the process. Our estimates were that we’d have around half the battery by the time we reached the summit. The day dragged on and so did the bloody climb and the range anxiety only got stronger as we saw the battery status bars dropping. This was the reason behind our ever-growing stress about whether we’d make the whole trail or not. And, more importantly, what we’d do if we failed.
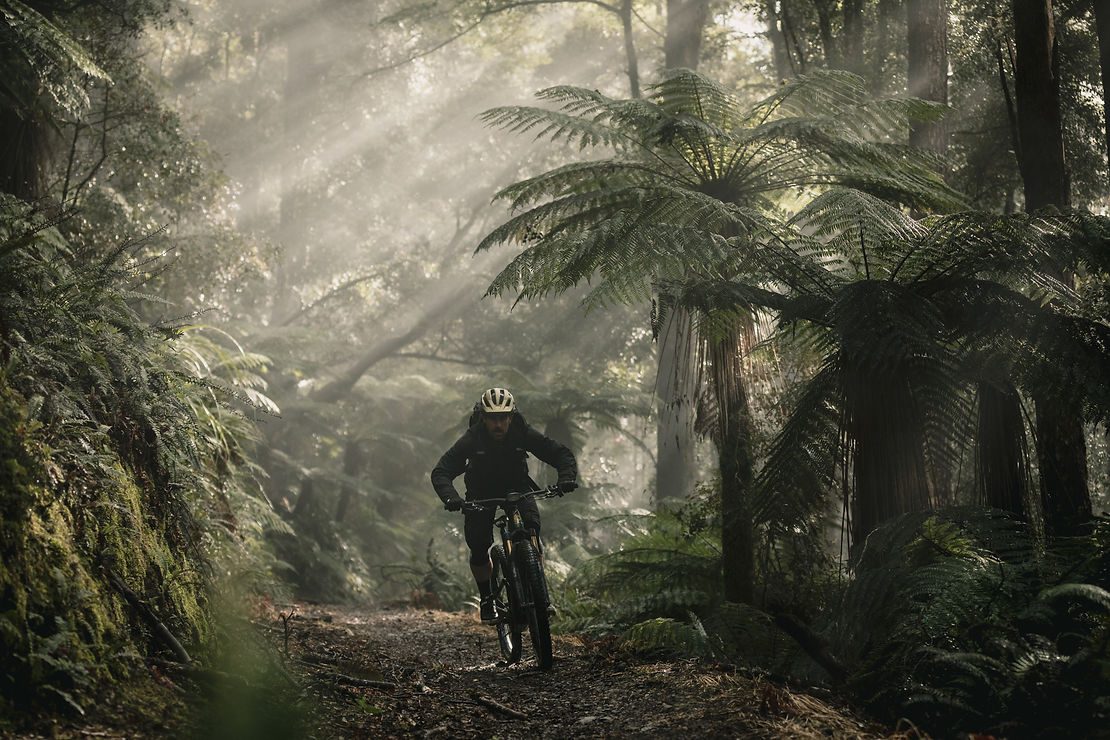
12:30pm/16kms/45% Battery.
The climb is steep for the first 10km, then flattens before ramping up again for the last 8km. Most of the last section is loose and soft which sucks a lot of energy. For the whole ride, we decided we’d use eco mode in order to conserve the battery. By this point we were pretty jaded so we munched on some lollies and tried to suppress the stress of the low percentage battery. It was evident that whatever happened, it would be a challenging afternoon.
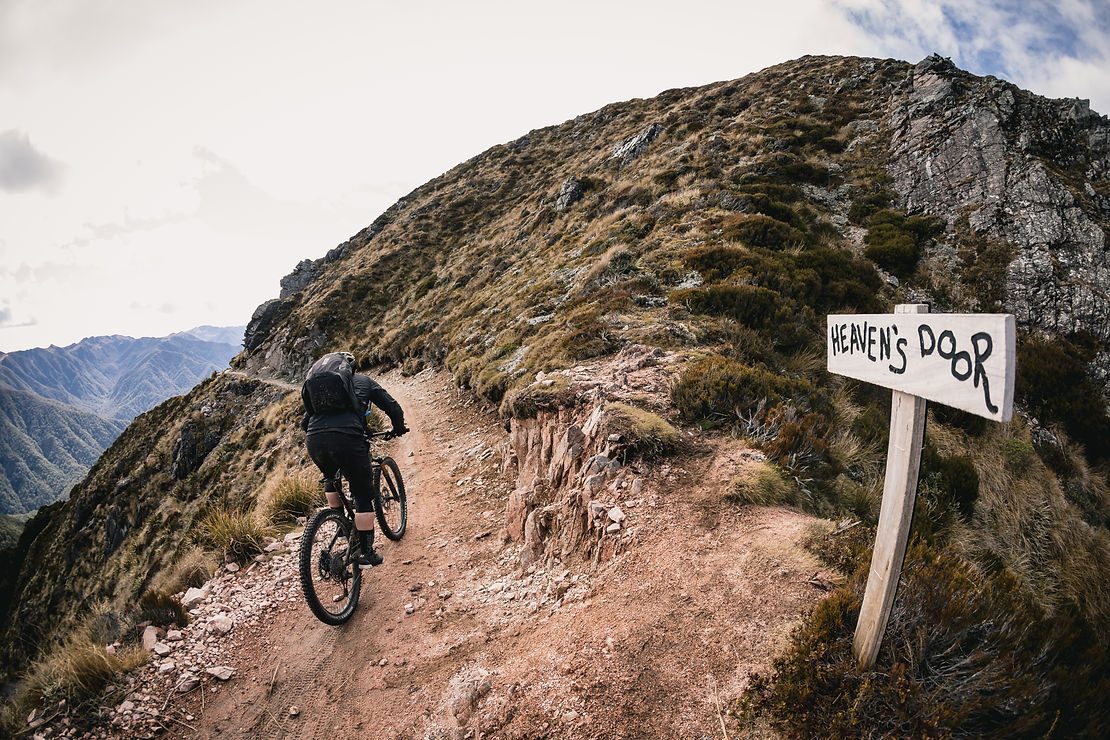
1:30pm/28kms/32% Battery.
We finally reached Heavens Door and we could see bad weather coming in and the temperature was dropping. As we sat beside the trail eating some Scroggin, a few snow flurries came down and I had the sense of being a little more scared than worried. Some more food was consumed, then we rode the highest part of the trail which is super epic with views, but it has a ton of exposure. At this point, I turned the battery on/off whenever it was needed, in order to try and conserve it.
2:10pm/30kms/28% Battery.
Yes - slight relief! We made it to Old Ghost Lake hut for lunch and unpacked our grub. This is the beauty of mountain biking - it gives you access to remote parts that would otherwise go unseen. We were quite broken and needed a ton of food to replenish ourselves. They may be eMTBs but you still need to ride them. Even though the bikes have power assist, it still takes its toll. Whatever the rest of the day delivered, we were still super thankful to be in this incredible backcountry.
2:45pm/30kms/28% Battery.
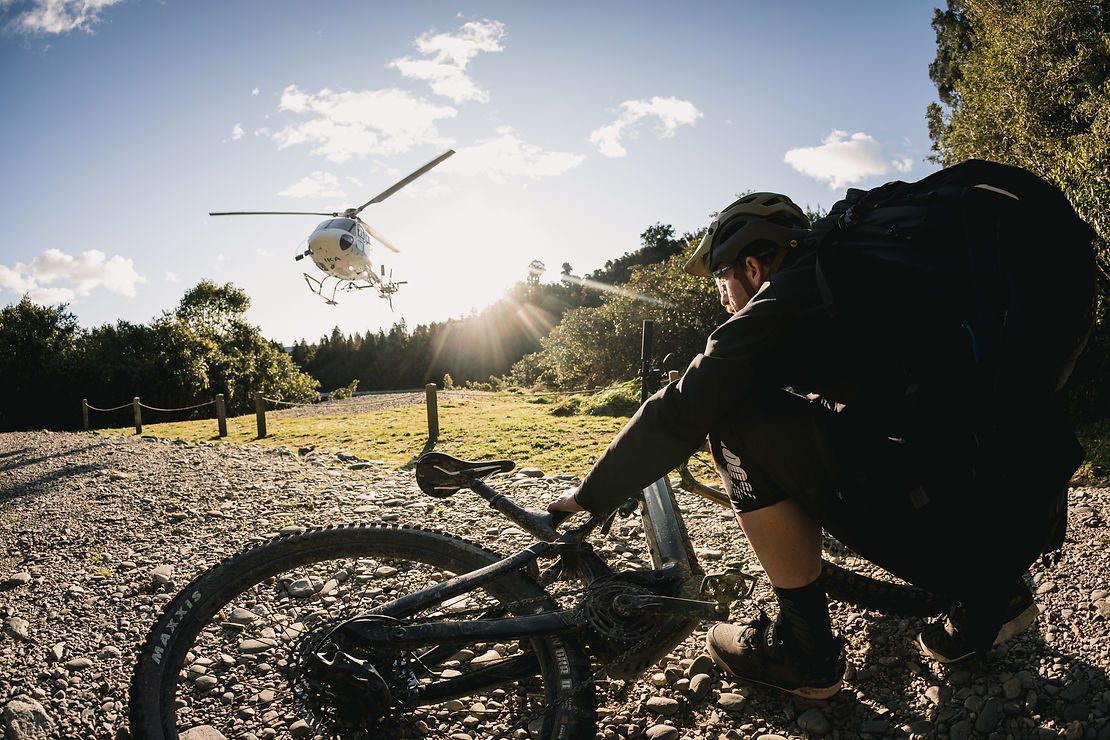
After seeing the battery status pop up again on the Bosch Kiox and knowing we only had a few hours of daylight to play with, it was getting sketchy. We didn’t mind riding in the dark, but without battery assist the bikes would become very heavy. At this point a second battery would have been ideal. However, that wasn’t the case, and after some discussions about making a call whilst we had phone reception it was one of three options. One - ride out the best we could and, if we didn’t make it, find a hut to park in for the night (bearing in mind we didn’t have overnight clothes or enough food for two days and we’d still need to get out the next day - without electric assist). Two - ride back to the start point in Lyell then try and get someone to relocate the car back for us. Three - get a helicopter out of the trail and over to Seddonville; we opted for this option. This decision was made mainly thanks to my contacts at Murchison Heli Tours. I put the call to Ange and explained our situation - within an hour, Rob (the pilot) was in the air.
4:13pm/38kms/20% Battery.
The evacuation – Rob jumped out of the heli and shook my hand strongly, then laughed about the situation we’d found ourselves in. As we flew back across the incredibly rugged terrain, I was resentful that we didn’t get to ride out, however, we were both thankful to be getting out safely and there was relief after spending most of the day in a state of anxiousness. After landing, and thanking Rob and his crew, we met a couple who’d ridden it in one day on eBikes. Their story, however, was a little different: they both took - and needed - two batteries.
The Conclusion
A few pints of beer went down in the Seddonville Hotel whilst the locals sung songs. We yarned about what went wrong. How could we have done it better? Why did we use so much battery? Surely, we could have gone further. The long list of questions did get answered, but it opened up a new set of answered questions too. For
both of us, the thought of not completing the task was a hard pill to swallow. That said, I was thankful to be sitting in a warm pub sipping a cold beer, rather than out on the trial somewhere without any eBike battery assist.
Now, we must note, we were trying to find the limits of the eMTB Bosch Gen4 batteries - and as you’ve read, we did! But the trail can be (and should be) ridden with two eBike batteries. Of course, as technology evolves, so will the range. Whilst eBikes are quite advanced and offer great accessibility they, like most things, have their limitations. I for one can’t wait for the next era of eMTBs! Old Ghost Road on eMTBs will be revisited - and next time we will be more prepared - so stay tuned for the next episode!
Words: Liam Friary
Images: Cameron Mackenzie
News: The all-new Canyon Stoic
Having the best time on an MTB ride isn’t always dependent on how flash your gear is. Our all new Stoic is proof that you can rip down your favourite trails with a huge grin on your face- without the words ‘kinematic’ or ‘shock setting’ ever crossing your mind. We started out wanting to produce a versatile, capable hardtail to take on anything, without it breaking the bank. A bike that makes sense whether you happen to be a young rider on a budget, a newcomer wanting to dive into the ‘gnarlier’ end of MTB, or a seasoned shredder looking for a fun hardtail to add to your stable. What we ended up with is an all-new, bombproof alloy hardtail, featuring progressive geometry, and rock-solid components. It’s available in a huge size range, with 29-inch wheels for taller riders and a 650B setup for shorter riders.
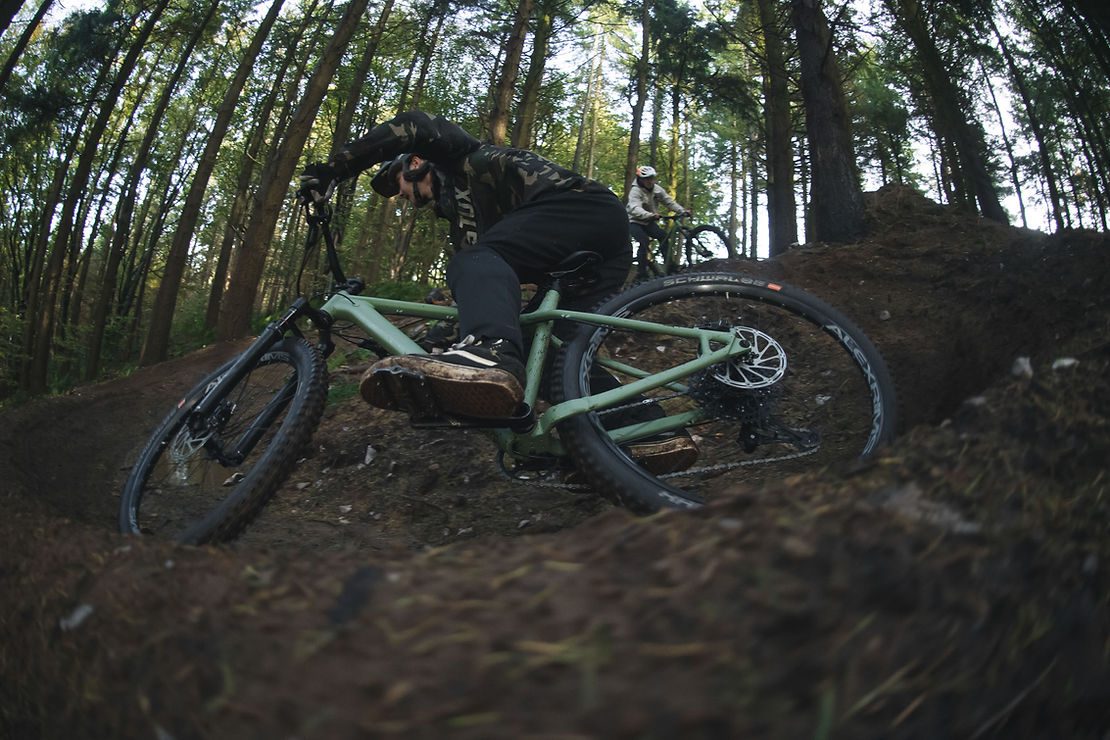
The Stoic keeps things fun- whether pushing limits on steep technical trails, playing around at the local pumptrack or just riding through your neighbourhood. Sitting among our category 4 quiver of bikes, it’s been tested and approved to withstand the same punishment as our full blown enduro rigs. Combine this with the low-slung top tube and low maintenance design, and you wind up with a tough and reliable rig that’s the perfect training buddy as hone your riding skills.
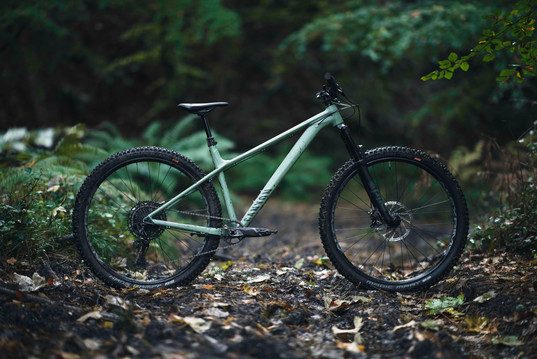
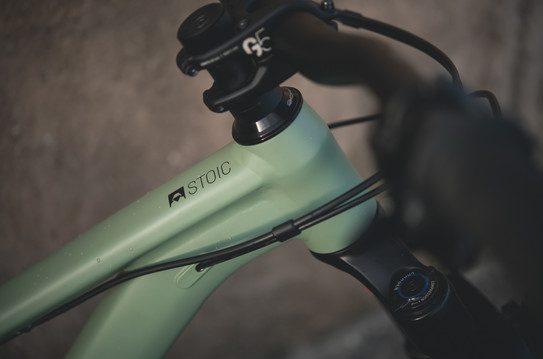
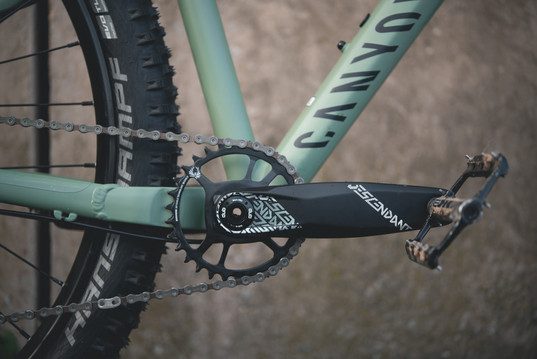
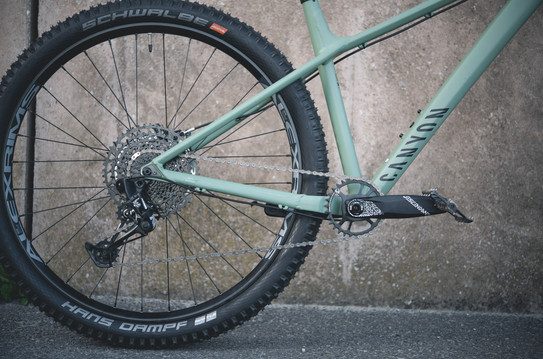
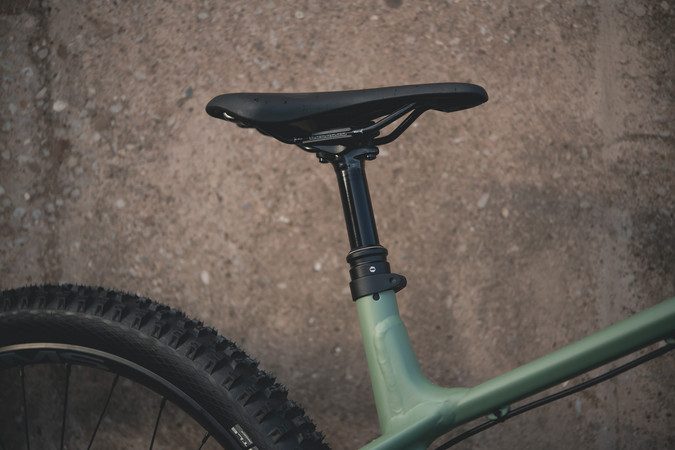
The Stoic line-up features three models. All 29er options (sizes M-XL) are fitted with 140mm travel forks and all 27.5 wheeled bikes (2XS-S) get 150mm travel forks. At €799* the Stoic 2 is the most affordable option, but it doesn’t scrimp on quality. Featuring the same burly 6061-alloy frame as the rest of the range, the ever-reliable Shimano Deore drivetrain and the sturdy SR Suntour XCR 34 Air fork. The mid-range option, the Stoic 3, costs € 1,199* and has everything a trail bike needs, including an Iridium dropper post, wide-range SRAM SX Eagle drivetrain and a Rockshox Recon RL fork. At the top of the tree sits the Stoic 4 at €1799*. Fitted with parts the discerning hardtail rider will appreciate, including the bump-gobbling Rockshox Pike fork and swank Canyon G5 cockpit, our top-shelf Stoic punches way above its weight out on the trail.
Review: Jetboil Flash
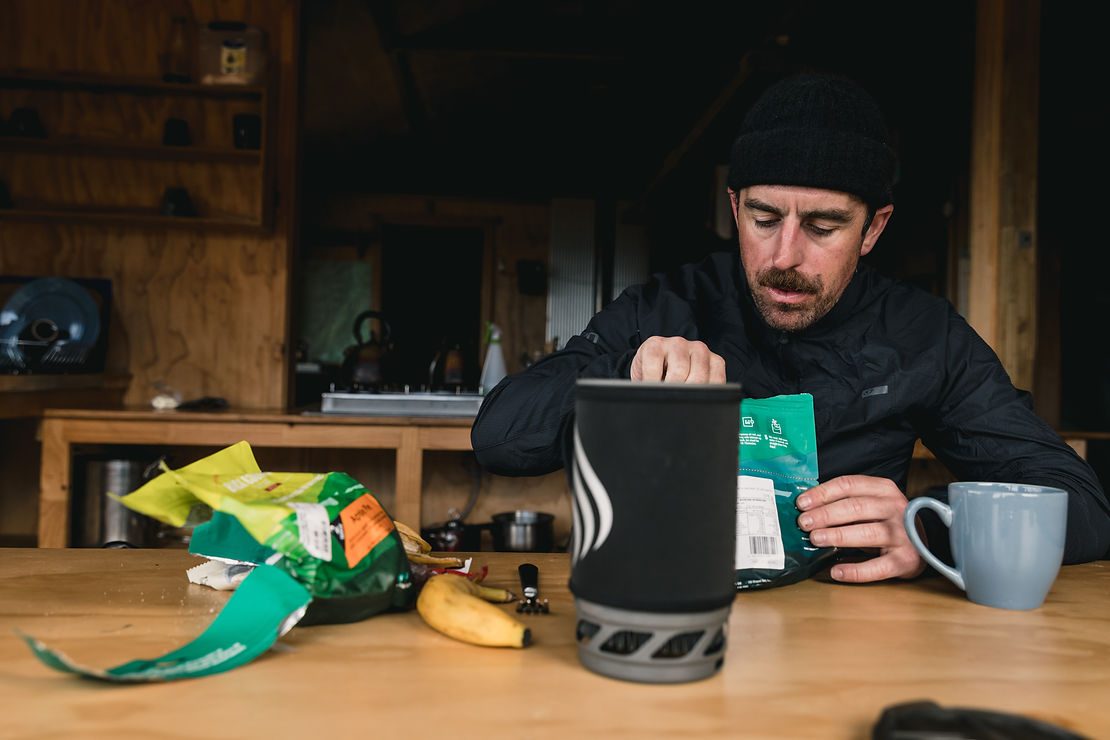
I always saw a Jetboil as a ‘nice to have’, never a necessity. Nothing was wrong with my tried and true billy and cooker - hell, it even had character - but when I saw my mate pull a Jetboil out of his pack on a recent adventure, ‘nice to have’ became need. The Jetboil completely rethinks how a camp cooker works. It still utilises the same gas canister and burner arrangement, but features new tech in the bottom of the pot, using FluxRing – which has a similar appearance to honeycomb - to create more surface area, allowing for much more heat dissipation. In turn, this equals lightning-fast boiling and greater heat control.
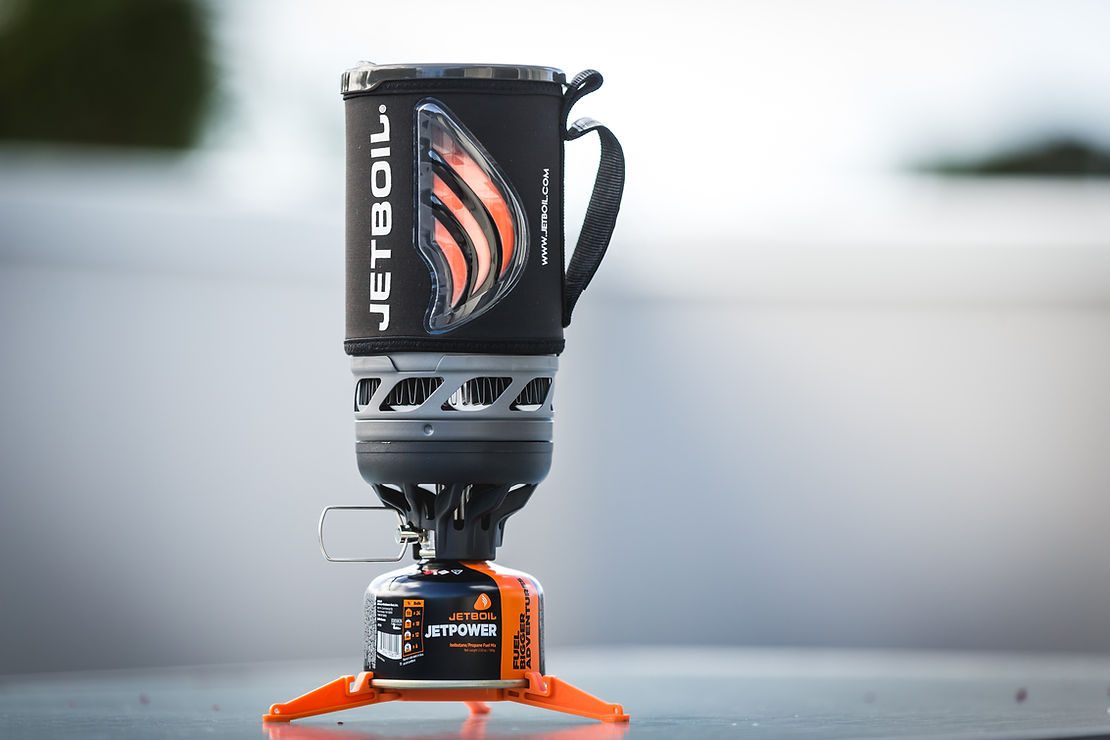
I’ll admit, I thought the whole concept was a little gimmicky at first, but upon using the Flash for the first time myself, I quickly understood what it was all about. Using the Jetboil is straightforward, and it’s clear the integration and usability has been well thought out. The whole unit; gas canister, stand, burner and cup, all pack inside the main flask for easy transportation. Say goodbye to wet matches or a broken lighter, because this burner has push-button ignition.
Using the Jetboil
Using the Jetboil is straightforward. After you’ve got the hang of the setup and breakdown process, using it in the field is simple. The base assembles easily by threading the burner and gas canister together then clipping the stand on - make sure you do this in a well ventilated area as it does hiss a little bit of gas. The flask and burner slide together and create a secure fitting which leaves you feeling assured that no matter how delirious you are after your day’s effort, you won’t knock two cups of boiling water over yourself without trying really hard.
It will surprise you how quickly it brings water to the boil, but the neoprene sleeve on the flask has a brilliant, built-in temperature gauge that ascends in an orange color to show you how close to boiling it is. My suggestion is to leave the vented lid on while bringing ingredients to the boil, as it can spill over very quickly and make turning the heat down very difficult. I learnt that out the hard way...
Is it worth the money and is it right for me?
If all you’re only eating freeze-dried meals or drinking hot beverages while out in remote areas, then this is all you need. If you’re looking to cook or fry food, then the addition of their traditional pot holder and a conventional pot/billy would be better suited. Either way, the Jetboil flash system is all I will be taking with me from now on, for speed, portability and ease of use.
Words & Image: Cameron Mackenzie


