The two sides of progression
It’s a topic that’s headlining wherever you look in the mountain bike industry at the moment: women mountain bikers are absolutely killing it and pushing the boundaries like they’ve never been pushed before, across all disciplines. New events are popping up all over the world specifically for women, and women free riders can actually make a living doing the sport they love, with the support of the industry and their male counterparts behind them. Finally, the world is beginning to recognise what the women of mountain biking can do — and boy, is it impressive! Women are finally getting the respect they deserve, after all these years of resistance from the industry.
But what exactly is progression? The dictionary defines it as: the process of developing or moving gradually towards a more advanced state.
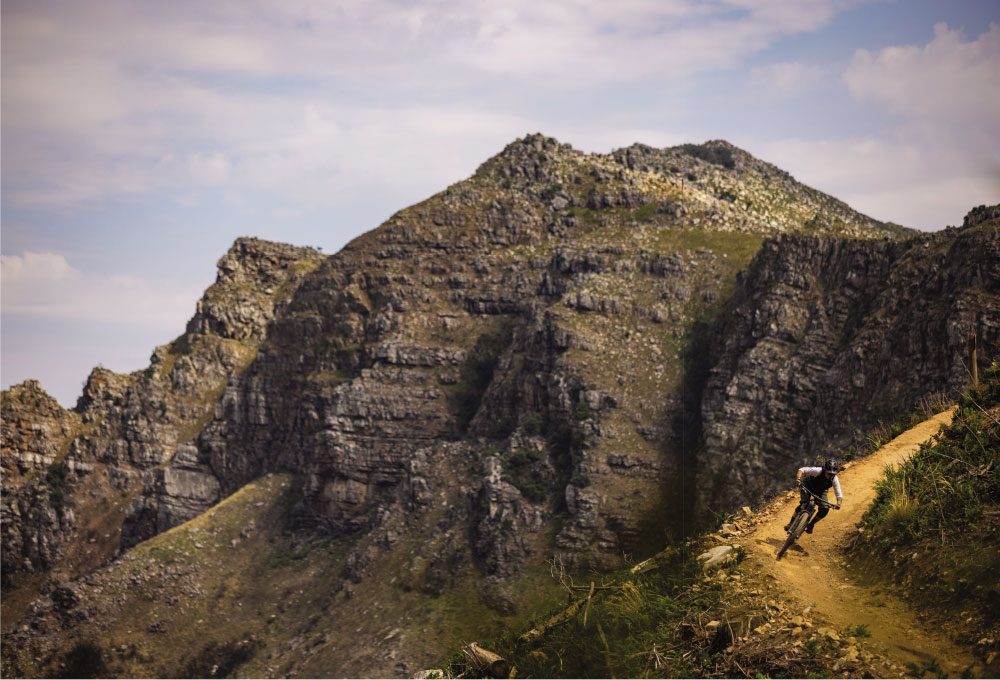
This can be a good or a bad thing, right? Good in terms of career advancement and development; bad when it comes to the medical definition, where something is spreading through the body and becoming progressively worse. Progression has a different meaning to everyone — thank goodness. It should be whatever you want it to be, not what you think it should be.
With all the progression happening around us, and the growing awareness around what women mountain bikers are capable of — via our social media feeds and channels — you feel inspired and motivated. But there is also a side to this progression that can end up making people feel worthless about their biking skills and abilities, and their own personal level of progression. Sadly, social media can have the effect of making you feel kind of shitty about the stuff that you aren’t doing — or cannot do — especially when it seems like everyone else and their mothers can, and are. You end up scrolling and scrolling and feeling worse about yourself and your own abilities, to the point of it effecting your mental state, which can lead to depression and self-doubt.
Of course, it’s not all negative, it is very inspiring too. But, sometimes, it can almost be too inspiring. This can lead to situations where someone doesn’t quite have the skills or capabilities just yet, but they don’t care — instead, they just close their eyes and send it for their latest IG reel! Just YOLO-ing like this can often lead to a disastrous outcome and some nasty injuries. This sort of progression can end up discouraging other women from even entering the sport. They don’t want to give mountain biking a try, because they deem it too extreme, too gnarly, too masculine. We have to be careful to not just portray only this side of our sport – as it’s really a very small percentage of women pushing the limits to the max like that. We should be portraying other sides of our sport, too, and encouraging more women to just get out on a bike and give it a go.
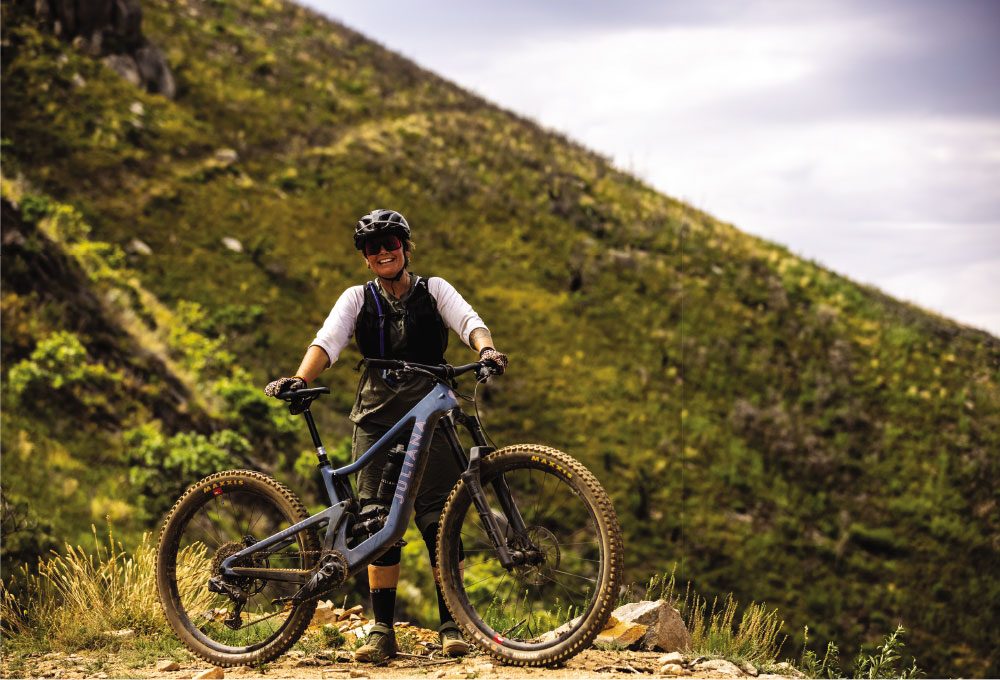
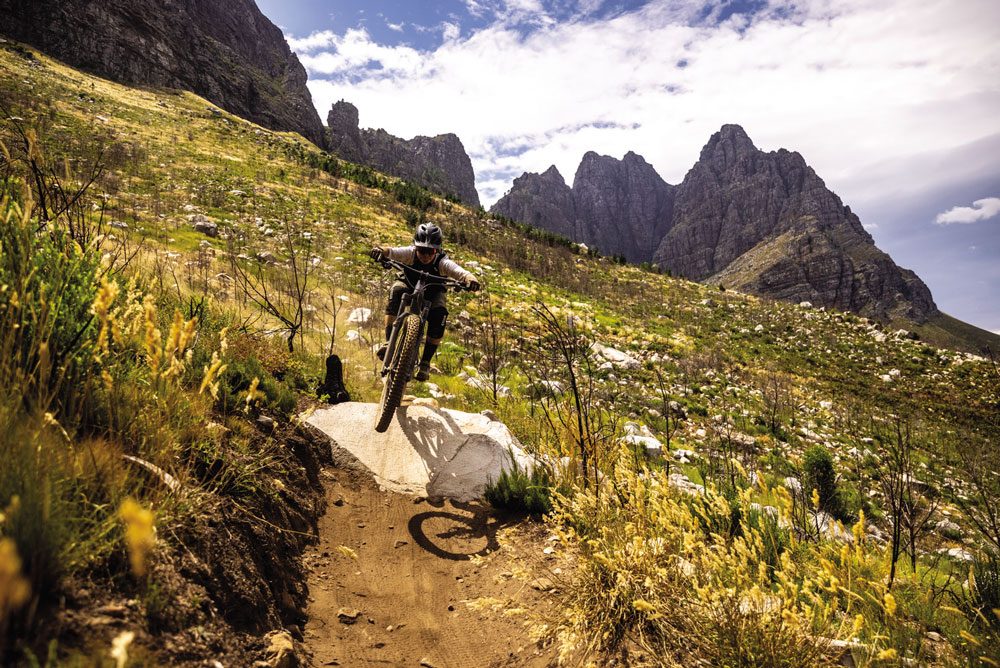
If I can wheelie, I’ll get so many followers who think I’m cool. If I land this backflip, people will love and respect me more, my followers will skyrocket and sponsors will value me! My life will change and I’ll be popular! This sort of thinking ultimately leads to additional pressure, self-doubt, fear of failure, and fear of what people might think of you — to the point where you can no longer just enjoy the simple act of riding your bicycle. My point is, that in today’s society where you’re constantly progressing and everything has to be bigger, better, faster, further, it’s ok if you choose not to do that. It’s ok if you just like to head out the door and go for a pedal in nature to get some fresh air, to notice the changes in seasons, to stop and watch how the light catches the water, to listen to the birds, to stop at the top of the climb, lie on your back and feel the wind sweeping over your sweaty body while watching the long grasses dance in the breeze. This is also a form of progression. This is the kind of progression we need in our busy lives, where the focus is always on achievement of some sort. We need this to find balance, to slow down and recharge our sympathetic nervous system, to calm our minds and find some peace amongst all the everyday chaos. Once we can achieve this, progression will follow — if that is your end goal. They go hand in hand and work together. Homeostasis. Yin and Yang. You cannot have one without the other.
A lot of athletes across all disciplines are facing burnout this season. They’re mentally struggling with their careers or having performance anxiety; not performing as they would like to or how people think they should be. There is this fear of not being able to progress and, because of social media, they feel like they are letting people down. The truth is that, for the most part, people don’t really care, it is only you that thinks everyone cares, or notices or will judge you for not winning races anymore. We tend to create these scenarios in our heads, but at the end of the day it is only you that matters and how you feel about your riding or your progression or your social media fans. It has become such an issue, that athletes lose their love for biking, the fire and passion no longer there because they’ve been pushing and pushing and pushing – possibly without seeing the end results they were hoping for.
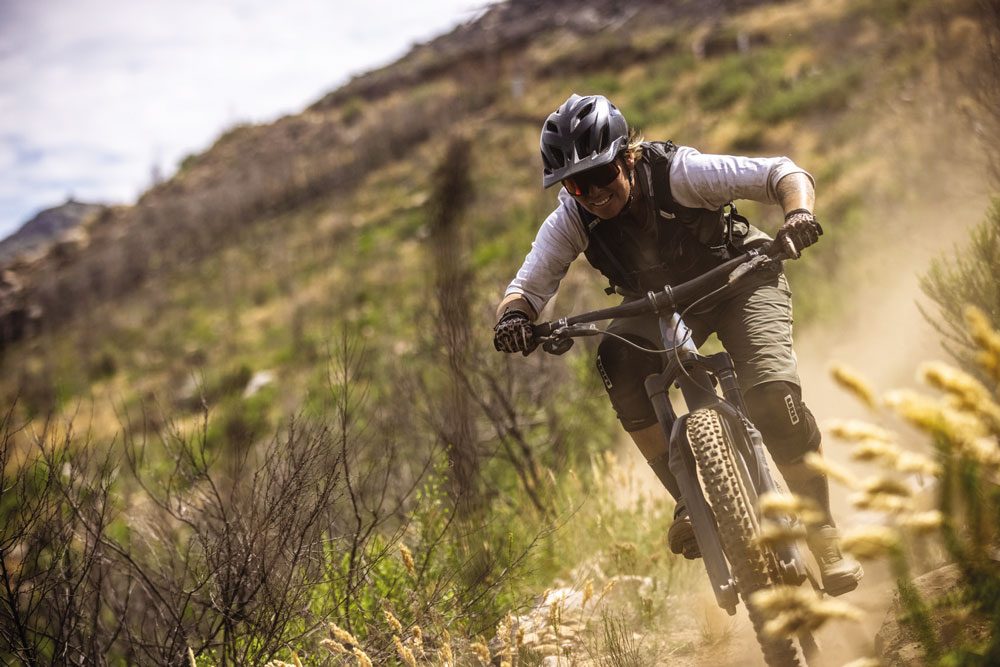
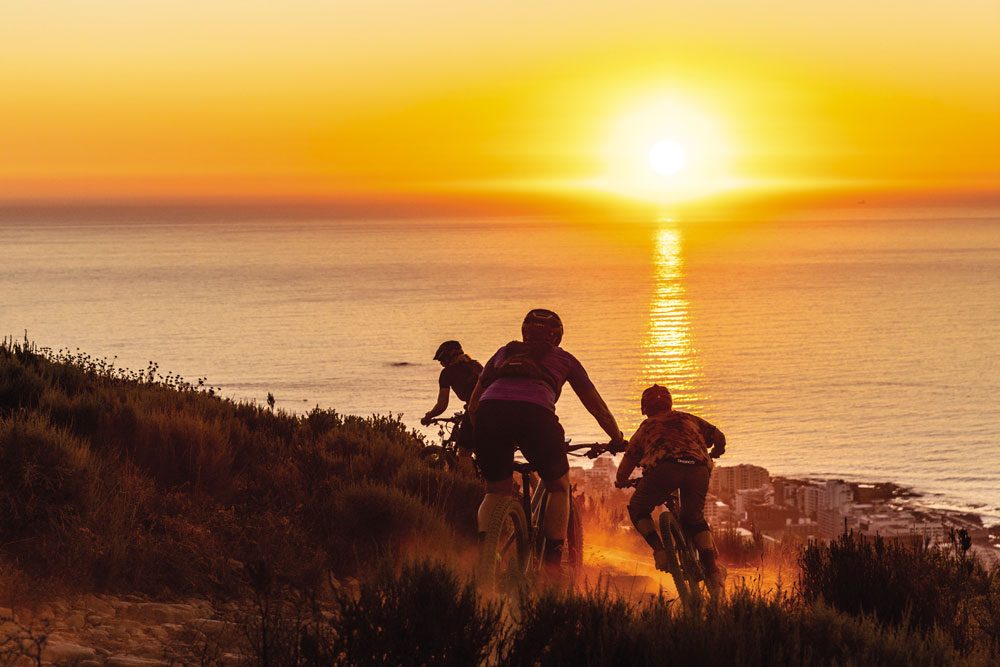
Once that happens, disappointment hits and spirals out of control into burnout and depression and, not knowing what to do with all of these emotions, they withdraw to figure out the next steps. Usually, this is when you have to go back to the very basics of riding a bike, like a kid. You have to just get back out there and start making circles with your legs. It’s that simple. Leave the devices at home, switch off the Garmin, leave the music, just get outside into nature and feel the wind in your face, listen to the sounds of the forest, feel the sense of freedom only a bike can instill, look around and be thankful that this is what it is all about. It doesn’t have to get more complicated than that. We make things complicated for ourselves. We push, we want constant progression and achievement, but it can also just be this simple act of exploring your backyard on a bicycle, without any pressure to perform or achieve.
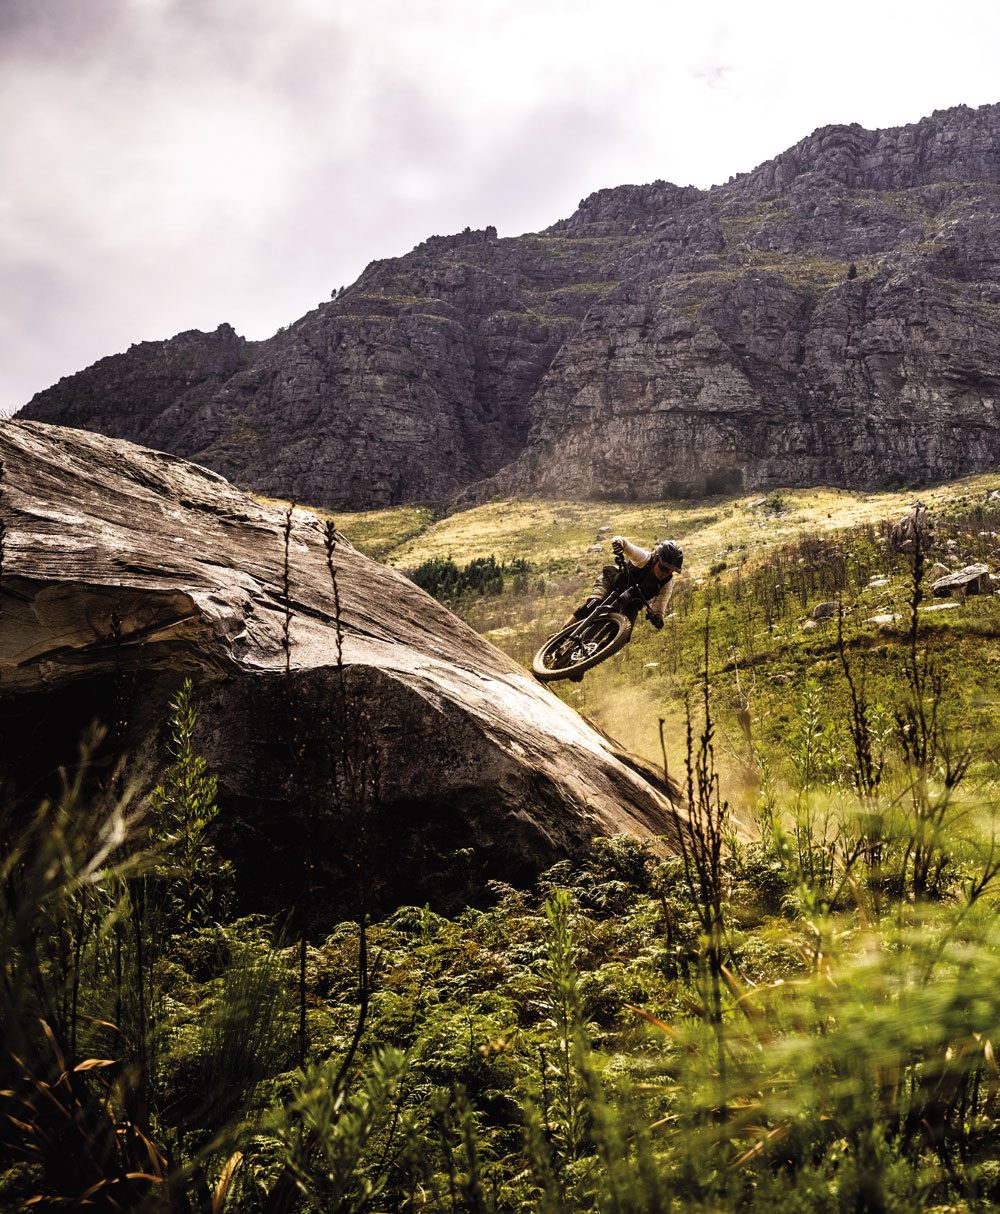
I’ve reached a stage in my life where I can appreciate the unbelievable progression of women’s mountain biking. I admire those pushing the limits of the sport; the new generation of fearless girls and women are so amazing to see and I am their biggest cheerleader. But, I don’t want to do backflips, I can’t wheelie and I have no desire to hit massive jumps. Maybe, a few years ago, this would have bothered me but, for now, I’m happy to get outside and ride my bikes — all my bikes: mountain, road, gravel — because that is what makes me feel alive and happy. My riding is better than it has ever been so, to me, this is progression. I don’t have a crazy number of followers, because I’m not pushing the boundaries, I’m not making cool reels or doing sponsored posts or breaking any records. Instead, I’m outside riding my bike, appreciating the beauty of nature, exploring big mountains, finding solitude amongst the craziness of this world, and appreciating the amazing life and experiences bicycles have given me over the years. Does this mean I have no more value to my sponsors? I would hope not. I would hope that it would inspire other women to get out on their bikes and go on some adventures — explore their backyards, meet some interesting folks along the way, stop for coffee and cake, and find the pure happiness that riding a bike brings. Life is too short to focus only on progression, we have to enjoy the process and progression will follow in a natural way. So, get out there! Stop comparing yourself to what others are doing on social media and find your own progression. You’ll be amazed at what you’ll experience along the way.
Peace out,
Anka
x
Words: Anka Martin
Photography: Sven Martin
Mind the gap
When I was younger, I always heard these "horror" stories about mountain bikers returning to Wellington after living in Canada. When they arrived home, they’d attack the local trail network, hitting all the steepest lines and constantly looking for gaps. Whilst we have great trails, Wellington simply doesn’t have the larger trail features found in BC. After a few weeks, the hype would fade. There’s great trails to ride but not the addictive challenges faced on a daily basis. It’s easy to lose motivation. I was determined for that not to be the case for me.
As a 16-year-old, I arrived back from three years in Canada as a hero, hit some sick shit, took some mad photos, got a couple covers, got lots of features… and then it all came crashing down (kinda). In a nightmare cocktail of Covid lockdowns, transitioning out of school into a full-time job, some general laziness, a sprinkle of depression and an extreme lack of motivation, I felt myself fall. Whether I actually did “fall” or not is up for debate. In my head, I feel like I’ve just plateaued since arriving back, with little to no progression for the last four-ish years and, being my worst critic, I probably exaggerated everything in my own head. I tend to do alright on the New Zealand race scene (when I get a relatively clean day). Still, I have always wondered how I would compare to all these guys back in my old hometown of Squamish — an actual test to find out find out whether or not I did fall from grace or if it was just a figment of my imagination.

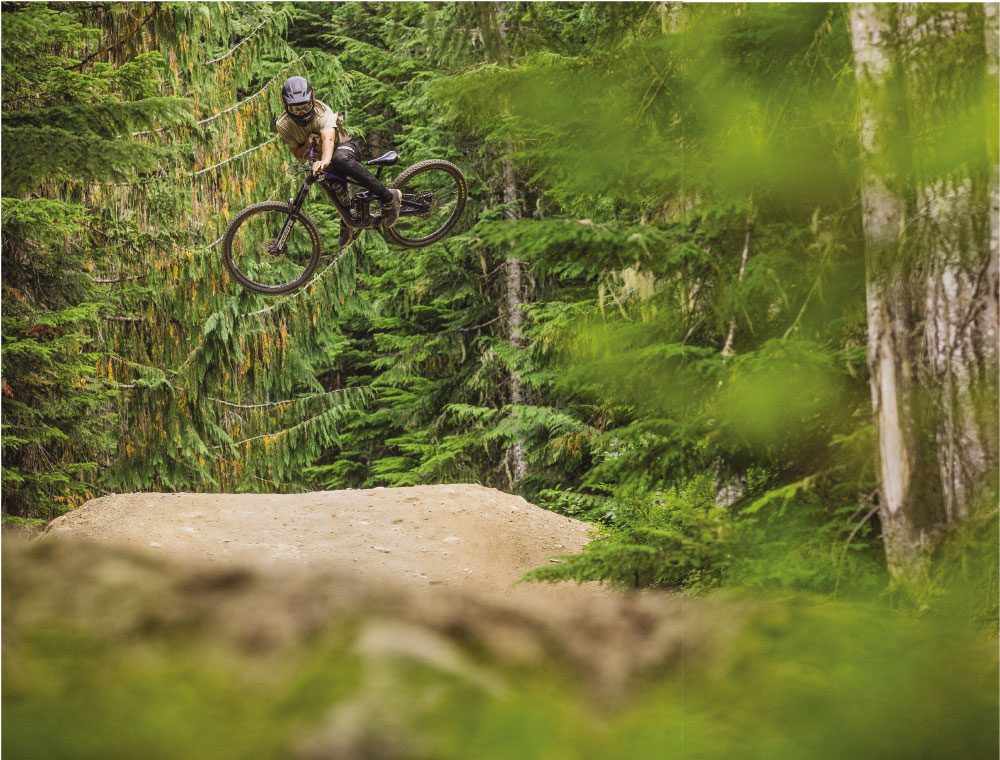
Since boarding the plane back to New Zealand at the end of 2017, I had been planning my return to Canada; getting a job, making money, and booking flights. But a few apparent roadblocks arose. Number one — and possibly the worst one — was Covid. Who could have known something like that was going to shut down the world for as long as it did? Number two, my lack of ability to save/love of spending money on unnecessary shit, like $6 blocks of chocolate. Finally, number three, doubts that it would actually happen. I don’t think I was ever that confident or sure until I held the plane tickets in my hand, four years later. Even then, I was still doubtful, thinking the flight would just get cancelled, or ol’ mate Covid would come around again and I’d be stuck with flight credit for years. But, even after all that, I still found myself sitting at Wellington airport, knowing my flight up to Auckland would arrive two hours after my connecting flight to Vancouver was supposed to leave. After landing, we sprinted along a marked course from domestic to international to board the flight to Vancouver that had miraculously been held for us! Amazingly, against all odds, all my bags still made it!
Then, just like that, I was back in Canada. Damn, did it feel weird. First, it was way too hot – it was 5 o’clock in the evening, and I was sweating just sitting in the shade. Secondly, I was in Canada. And thirdly, I’D MADE IT TO CANADA!
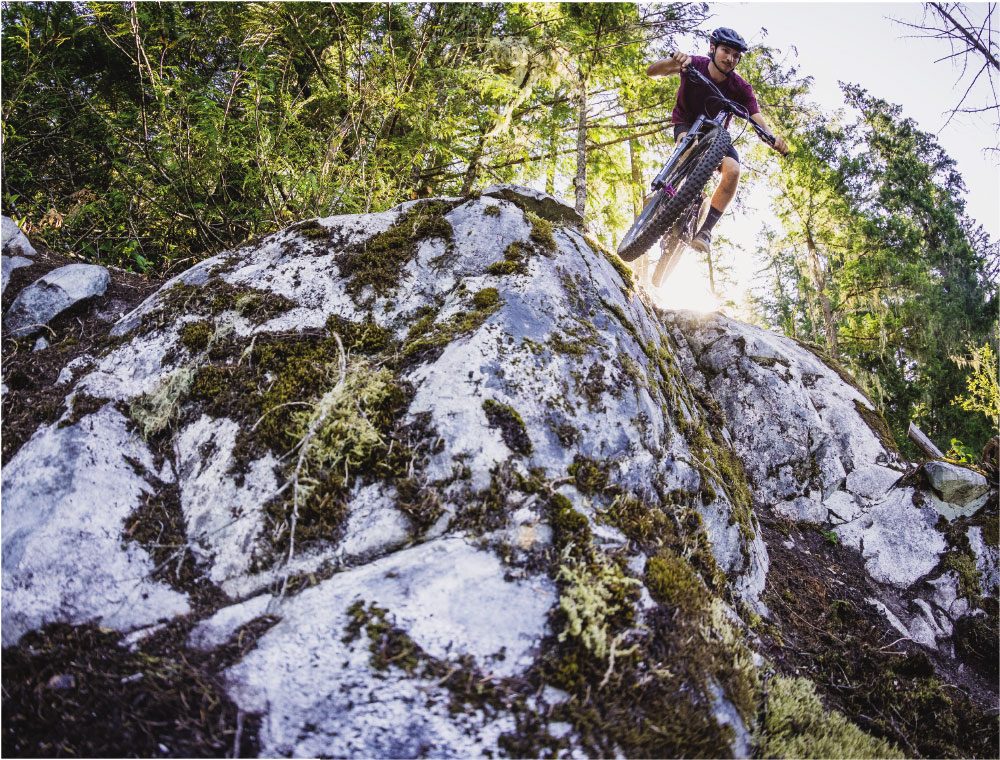
I’m struggling to put into words how it felt to be back. A mix of all emotions: intense nerves about my survival, fear that my relationships with my friends might not be the same, and excitement to ride my bike. I was also worried that I would be subpar compared to all my friends and riding buddies who were able to grow up and keep progressing in the Sea-to-Sky corridor. This rang true a percentage of the time but, ultimately, I’d attribute that to my Covid- induced laziness rather than Wellington itself.
This trip was great for a multitude of reasons. After four years, I reconnected with some of my best friends, and all my fears were lifted. Even though everything had changed — some of us had moved away, we had become adults, and we had jobs — it still felt the same as when we first hung out six/seven odd years ago. It was awesome.
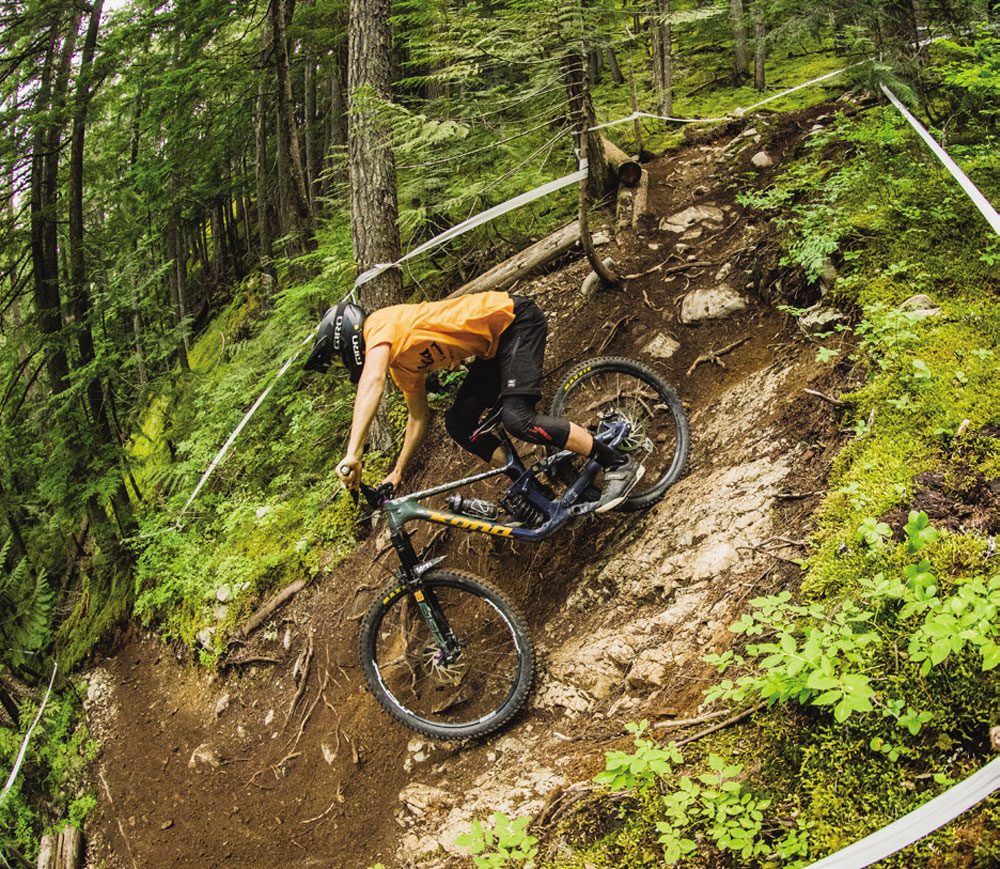
I finally got to explore parts of BC that I’d never been to before, with a little crew of great humans. We followed the BC Cup downhills throughout the Interior, through places like Vernon, Revelstoke, Fernie, Invermere and Golden. I was fortunate to experience fantastic riding in all these locations, making some great friends along the way. The vibe at all these races was quite unique. This massive group of racers, parents, mechanics, friends and fans created a really cool energy at every race, just a big group of friends on a road trip together. I’d never experienced anything quite like it.
At the races, I could also answer another one of my fears about myself. The question of whether or not Wellington had halted my abilities. Thankfully, I surprised myself. In my first proper go at DH racing, atop my trusty Kona Process X, with a lot of messy runs, a lot of sketchy moments and a few big crashes, I managed to convince myself that I am not entirely shit at bikes. So, mission accomplished (almost). My results may have convinced me that I could still ride bikes, and helped me to achieve peak sandbagger status, but they weren’t enough to convince me that I should try to make it as a racer. No, that would take a specific race result.
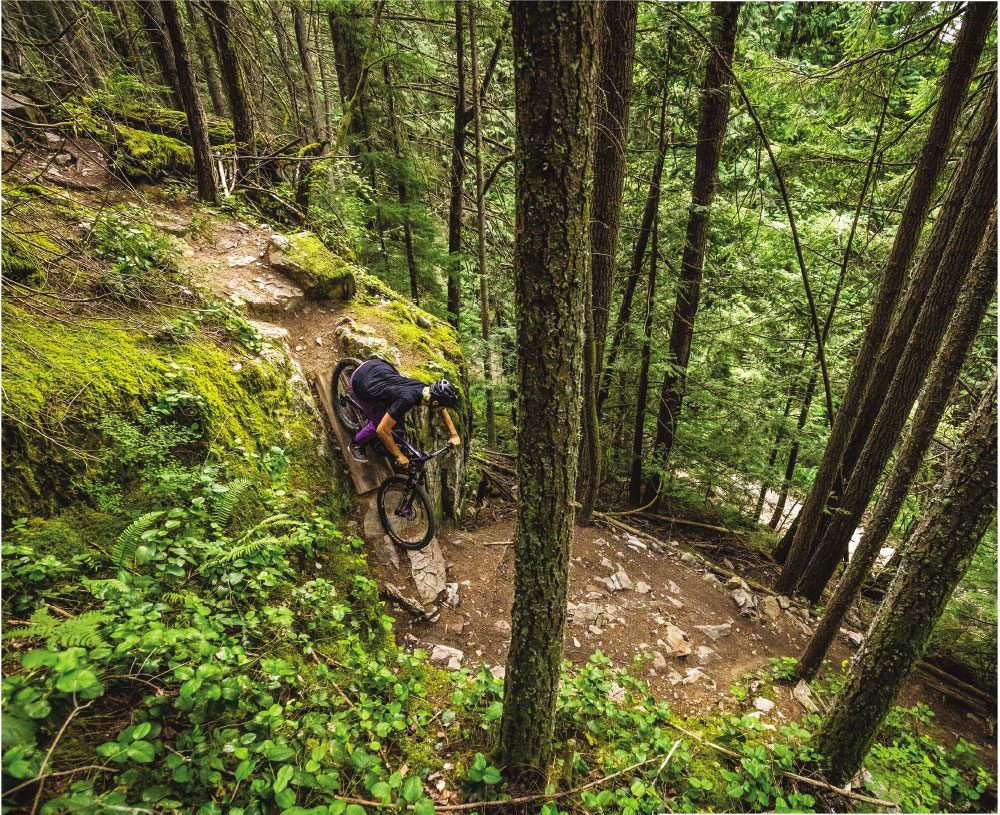
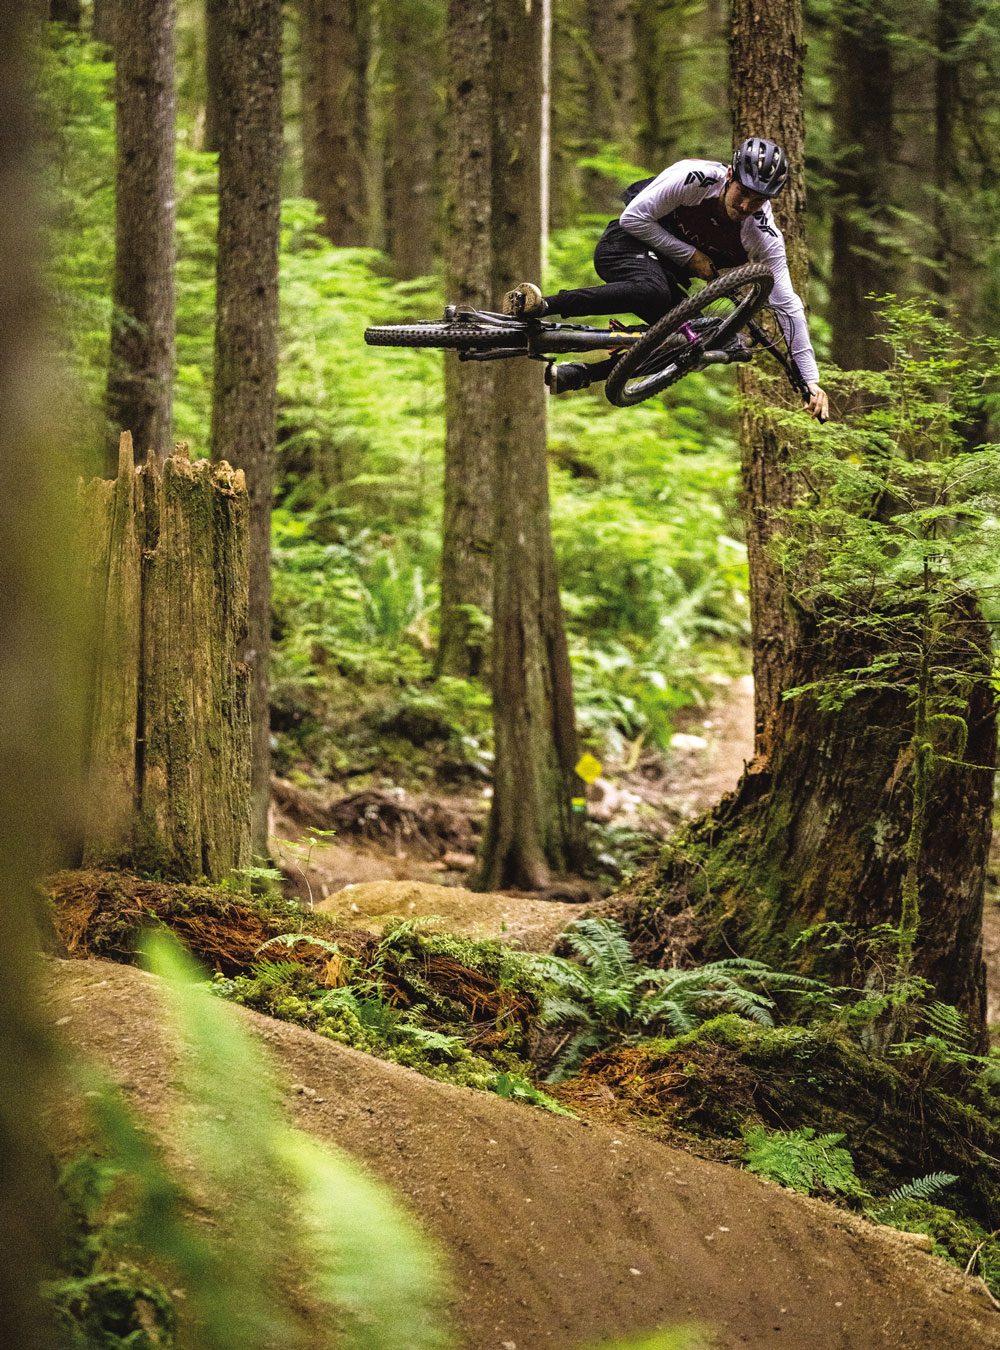
After a well-deserved (short) stint of relaxation, I was back into it, smashing Whistler Park laps with all the locals and draining beers with all the kiwis. We were rolling into an EWS weekend, followed by Crankworx week, so everyone was in town. This made for a wild experience. My two northern and southern hemisphere lives finally clashed together, and unsurprisingly, it all gelled quite nicely. I mean, we only ride mountain bikes. Not that hard for everyone to get along.
Finally, we reached the big race. I may have only raced the EWS100 (same course as the EWS, just no Pro stage) but it would make for quite an influential factor regarding the next steps of my career. The EWS experience was crazy fun, just an incredible amount of people out all day, riding and racing bikes. So, I ended up sharing the day with some old and new friends and thoroughly enjoyed (almost) every minute of it. All except for the minutes I spent in the dirt and with a broken bike. After a rollercoaster of a race, three stage wins, and two significant stage losses, I found myself five seconds off the race winner (who is also now a great friend of mine) in second place. That was it. That was the result I needed. Just some numbers that could tell me I wasn’t galaxies away from competing with the big dogs — but actually only a few planets away. That one result was enough to convince me that I may actually be able to race full-time. Just gotta get my ass off this couch first!
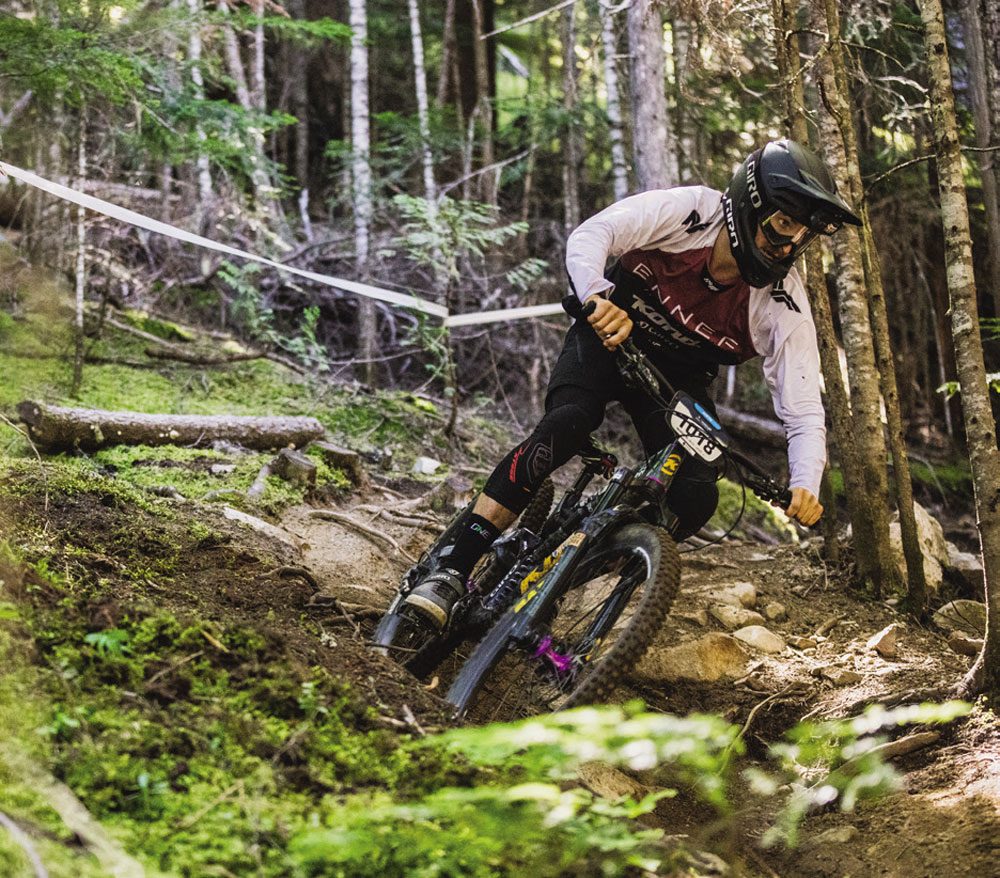

Words: Elliot Smith
Photography: Caleb Smith
Reef to reef
It was a standard miserable winter’s day as I sat down for a pie and coffee, seeking some momentary shelter from the driving southerly. Christchurch had just come off the back of its wettest ever July and, working as a drainlayer, the 9 – 5 had been rather moist.
Doom scrolling through my phone as smoko faded away, an email slid into my inbox with the subject line ‘Cairns’. My attention was caught.
Cairns – Reef to Reef MTB Race.
Tropical North Queensland. August 18th – 21st.
Pairs race – bring a mate. You keen?
Without an ounce of real consideration, the reply was simple: “I’m in”. I soon began to wonder: what had I actually signed up for?
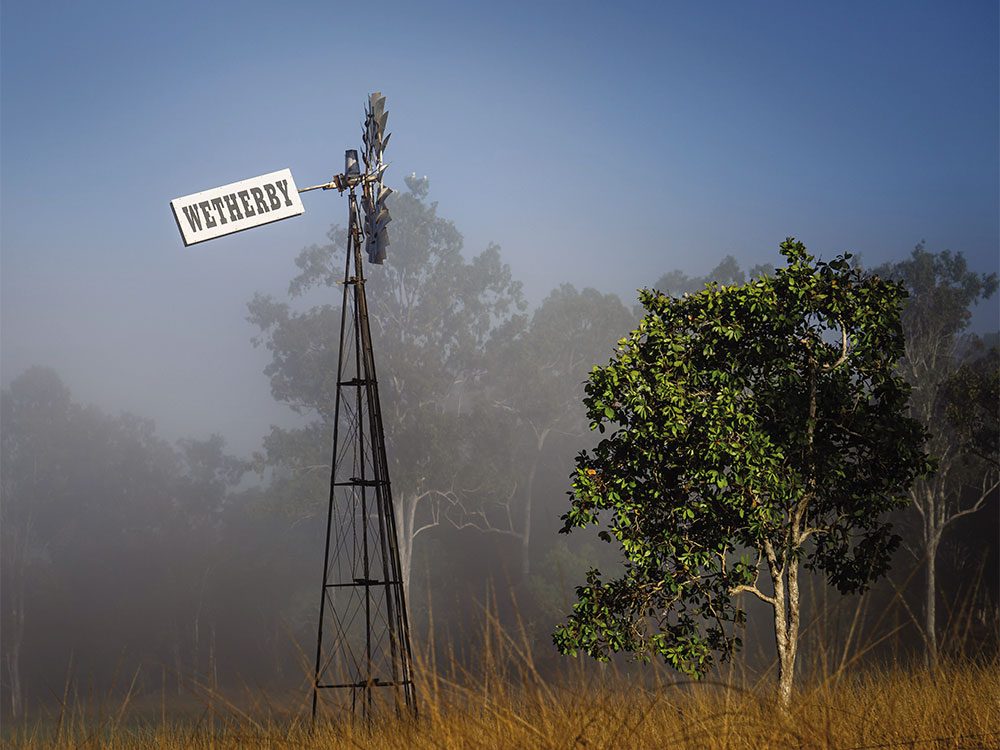
But a quick Google had me frothing over tropical rainforest single track, golden sand beaches, blue skies and significantly warmer temperatures. It looked relatively straightforward: a multi-stage four-day race, starting in Cairns and ending on the beach in Port Douglas, covering some of the best singletrack and scenery Tropical North Queensland has to offer.
The stats on the elevation chart were brisked over as I looked down at the steak and cheese in my hand: “It’ll be OK, I’ve got a few weeks….”
The thought of international travel slowly started to get me fizzed up, especially now it’s a straightforward process with no hoops to jump through. The only issue I was facing was the lack of a current passport and, with all the Kiwis clearly eager to see the world right now, processing time was well out — nudging on the six week mark. With me only having three weeks lead in time, the urgent passport service was the way forward.
The other slightly important puzzle to solve was: who would I be pairing up with to race? It had to be someone that could put up with my subpar banter over 170km of riding, not complain about my apparently obnoxious snoring and, most importantly, someone who was keen to have a good time. My buddy Odin was the perfect person; a part time magician behind the lens and the kind of guy who’s always keen for a good time on and off the bike.
Last minute panic training commenced as it began to dawn on me that non-stop racing was a whole new kettle of fish for me. The idea that over the course of a 50-something km day we’d be up against the clock the whole time, was a foreign concept to grasp. I clicked the wind trainer up another notch and decided not to think about it. The Reef-to-Reef slogan was “Let the Good Times Roll” — and I was sure they would.
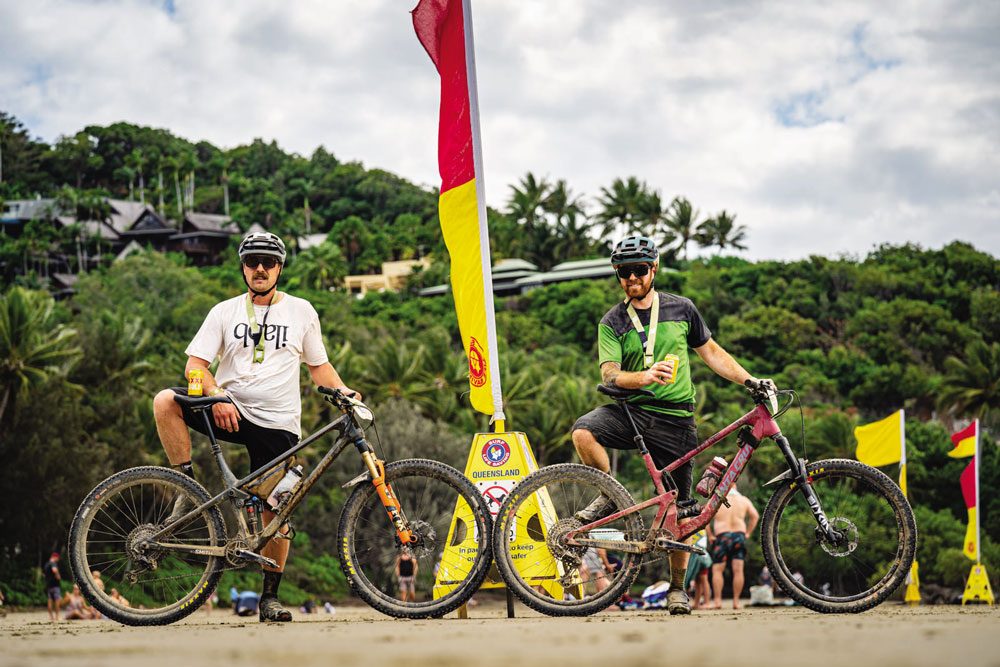
Bikes boxed, bags over-packed, we even managed a cheeky upgrade to business — this trip was off to a good start! Touching down in Cairns, via Sydney, we proceeded to play rental car Jenga, squeezing bike bags, suitcases and camera gear into the boot. A wise man once told me rental cars are the fastest cars you’ll ever drive, lucky for us this one was even red!
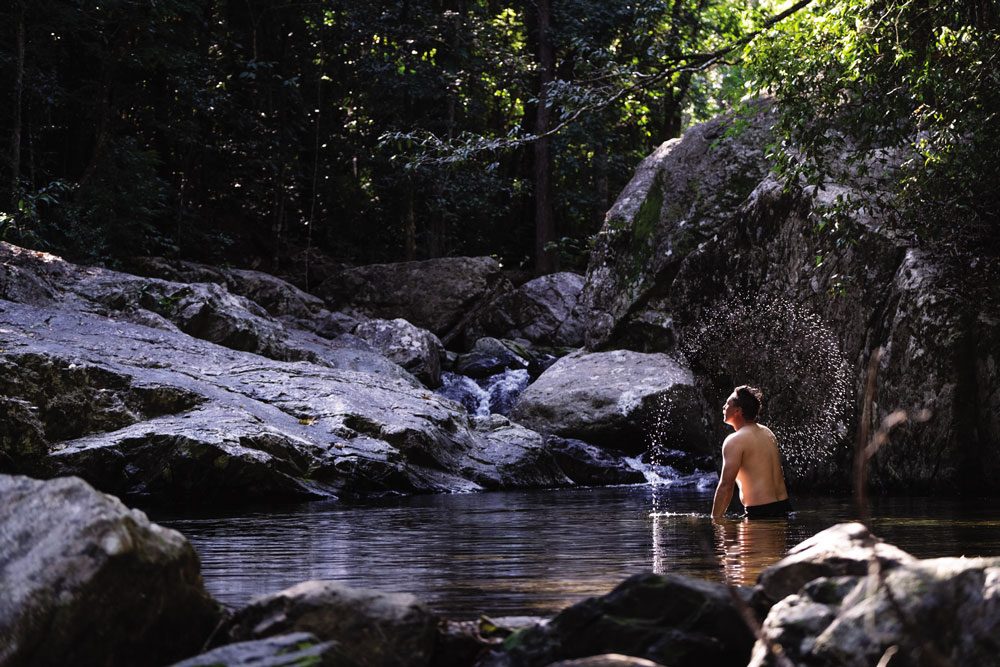
Cruising around the streets of Cairns was bliss, coming from a -4 frost to a 29-degree day was definitely a vibe I could quickly getting used to. In the past, if someone had ever mentioned something about mountain biking in Australia to me, it was usually followed with a yarn about how everything there is trying to bite/sting/eat you and you’d be crazy to get deep into the bush. Well, this thought quickly came to mind as we navigated our way up to the headwaters of what was to be one of many waterfall swims. It was simple for us: roots that don’t move = good; roots that move and bite = bad.
A pre-race reccy/rego was in order, so we headed to Smithfield MTB Park, home of numerous World Cup rounds and even World Champs back in 2017.
Rolling into the carpark it was rad to see preparation underway for Crankworx Cairns, taking place the following month: mountains of red dirt being shifted for the slopestyle course had my inner trail builder grinning ear to ear.
Rego formalities out of the way, we dusted the steads off and meandered our way into the forest for a practice loop — or what we thought was a loop. Turns out we missed the first half of the circuit and nearly half of the climbing. Ah well, better to ease into it, meaning more time in the afternoon for another waterfall swim and a tin or two.
Waterfalls – 2
Wildlife – 0
Beer of the day – Hemingway’s 7th Heaven
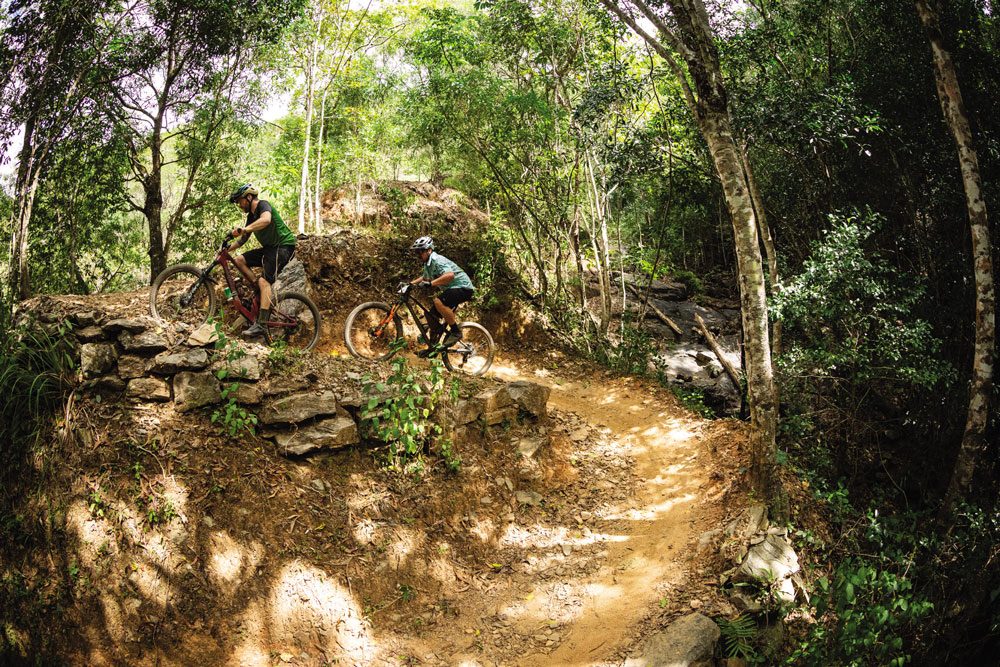
Race Day One
Smithfield MTB Park
18.5km
720m
After an interesting night at the Air BnB, due to a lack of power, we were all set to race. We even had a secret source of energy strapped onboard: the mighty VB. We figured its taste may be enhanced after an hour of undulating trails and warm heat and, should said wildlife jump out at us, we’d be prepared with some bargaining material.
Day one commenced with a mass start and a jostle for position off the line. The pace was quickly set and it was clear we were possibly here to participate rather than race, as the leading bunch of mixed pairs quickly blitzed passed us, aiding one another up the climb with a gentle push on the rear. I shouted out to Odin: “Where’s my helping hand?!” I heard a vague response, hurling abuse and average chat my way, but I was too preoccupied mouth breathing to pay much attention.
Smithfield was a blast. The descent wound its way through the forest then back out to the open and red dirt dust filled my eyes as we simultaneously reached down to crack a warm VB over the finish line. Day one — tick. I’d survived my first XC style race. Day two was primed to be one of the larger days in terms of elevation gained, so suitably another swim stop was found on the way home, to ice the legs and ice the beers.
Waterfalls – 3
Wildlife – 0
Beer of the day – VB
Race Day Two
Davies Creek MTB Park
39.5km
800m
Day two saw us venture 40 mins out of Cairns into the tablelands, where Davies Creek MTB Park is located. The variety in scenery was amazing. One minute you’re watching farmers burn out the sugar cane paddocks, next thing you know you’re driving deep through the dry tropics. Termite mounds littered the highway as the mercury danced dangerously close to single digits.
Today’s start was more relaxed, with riders taking off in five minute gaps decided by yesterday’s finish times. Finding ourselves sitting mid-pack there wasn’t the mad rush to the first corner we were caught in yesterday. Which was handy, as today’s trails were in complete contrast to the day previous. The tropical forest had been swapped for open bush country where gravel singletrack weaved its way through.
Odin had opted to ride with his camera onboard today, perhaps with a gentler pace in mind and potential for a few scenic photo stops along the way. Clearly the communication was lacking as I proceeded to embody my inner XC racer and attempt to attack up the first real climb.
Team tactics were discussed and lack of XC prowess accepted; and photo opportunities were seized or — more so fumbled — anytime I found myself behind the lens.
We wound our way back through the farm track dust clouds, and eventually popped back over the start finish line. Already slightly soggy from the numerous river crossings we encountered during the day a beeline was made to the river to cleanse the soul of the dust build up and the legs too.
Waterfalls – 2
Wildlife – 0 (do cows count?)
Beer of the day – Better Beer
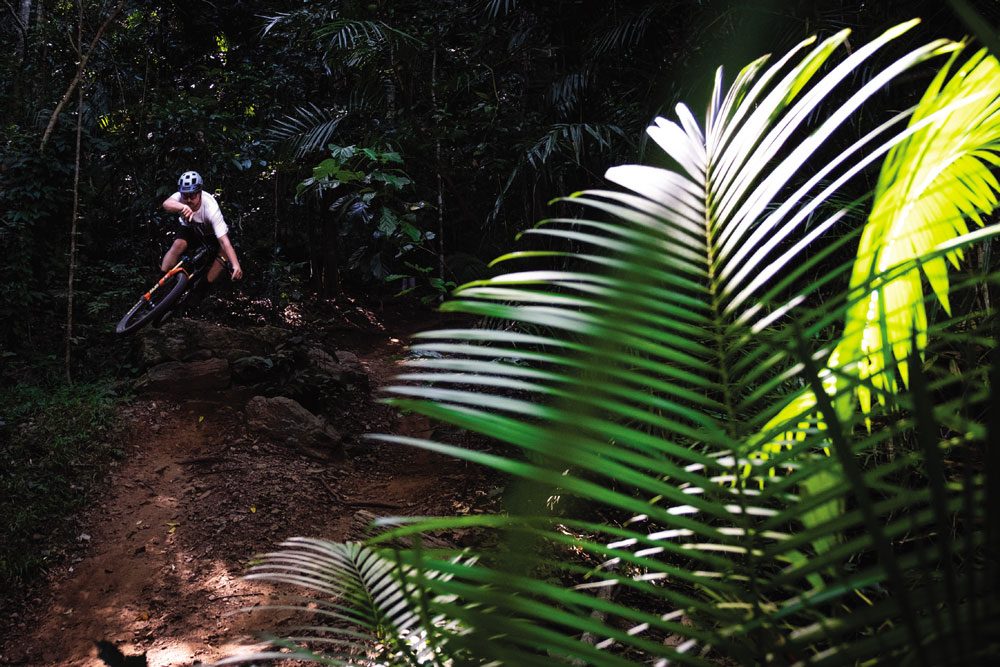
Race Day Three
Mt Molloy
59 km
550m
We woke in Port Douglas to the sound of the beautiful Curlew, a bird that Odin immediately despised as it had kept him awake from the early hours. This was perfect preparation for what was set to be the longest day of the race. We travelled our way back up onto the tablelands and into the sleepy wee town of Mount Molloy, a town once known for its timber and copper mining. Now, it seemed to be the popular spot to park up with your caravan and watch the world go by. Rigs oiled and legs stretched, I felt I was almost getting the hang of this XC style racing thing. Well, that’s what I thought until I completely missed the bottle drop. The only option left was to skull back my second bottle, containing my midday fuel, albeit at 8am. My eyes darted down to the XXXX strapped to the frame. Well, I guess I still had options.
A relaxed spin saw us head out of Vain‘s Park and down the highway. A neutral start kept the group together right until we hit the gravel road and crossed the timing beam — things then began to get spicy.
Bunch riding at high speeds with flat bars and loose gravel roads was an experience. The battle to hold on to the bunch and a free ride was strong but, alas, the screaming quads won, resulting in the pace returning to a manageable spin. Day three had it all, the wide-open gravel roads, tight techy singletrack river crossings, hike-a-bike sections and kilometres and kilometres of rainforest dank.
We undulated our way through two national parks (Kuranda and Mowbray) and slowly but surely the red dirt singletrack gave way to the gravel farm roads from earlier that morning. The changing factor this time round was the heat. The morning’s mass bunch spin had been full of cool air and giddy excitement, whereas the afternoon’s pedal mash gave into the classic “are we there yet?”, sun dodging and ever-necessary drafting just to drag my soggy legs back over the finish line.
All leg pain was quickly forgotten as the Mount Molloy publican assured us his lager was the best around. His money back guarantee was not at all needed.
In a common theme, we once again found ourselves pulling in for a dip on the way home – this time to Mossman Gorge. The most commercial of all our waterfall chasing, a short bus ride saw us back into the watery heaven my legs were craving.
Waterfalls – 1
Wildlife – the sounds of an excited Curlew
Beer of the day – Mount Molloy Lager
Race Day Four
Mt Molloy to Port Douglas
46km
550m
The penultimate day: the promise of a golden sand finish and cold beers on the beach really aided our motivation as the 4am alarm aggressively woke us from our slumber. The illusive Curlew caused no drama on this morning, or perhaps sleep was just enhanced by a few to many hoppy beverages as we explored Port Douglas the night prior.
Today was a point-to-point stage, starting in the same location as yesterday and finishing in front of the Port Douglas surf lifesaving club some 46km later. This was the reason for such an early rise, as we soon found ourselves loading bikes into the back of a truck and clambering into a bus, doing our best to sneak in an extra hour’s shut eye.
Bottle drop complete, it had taken me till the last day to get my ducks in a row and begin to feel like an organised multi-day racer. We headed out the same way we came into finish on day three, so we knew what to expect: the gravel roads quickly became a blur as we snuck back into the deep rainforest canopy.
The chat amongst the pits over the previous days was all focused around a certain part of the final day’s track, known as “The Bump”. This refers to the sheer drop in elevation from 350m down to near sea level as the trail abruptly descends from the Tablelands down to the sea. A quick look around at fellow competitors’ rigs told me it was safe to say our bikes were definitely more suited to this sudden change in trail, as the only change we’d made from our normal enduro bike setup was the adaptation of XC exo tires. We were quick to notice the benefit of pedalling round a burlier bike over the past three days, as we tilted the wheels down the Bump track.
“On ya left!” “On ya right!” was ringing out through the rainforest as we attempted to straight line our way down the trail, praying our thinner tires could hold up to our poor line choice’s and see us safely down to the sands of Port Douglas.
Soon enough, the dust of The Bump track was a mere memory and we found ourselves eating up the remaining kms on the pavement, the sound of the ocean drawing ever closer. A quick weave through some city cycle trails, and a last dash leg cooker through the palms, and we were finally basking in golden sand glory. This was what I had imagined some three weeks ago on that rainy Christchurch day, steak and cheese pie in hand.
The last 4km along the sand was all but over as we reached down to release the warm dusty XXXX can off our frames, to keep in check with our finish line hydration plan. The vibe of this multi-day race is something I could definitely get behind; good people, good trails and good times definitely rolled freely this week.
Not ones to break post-race tradition we made a beeline into the ocean (inside the stinger nets of course) and took a moment to reflect on some of the awesome scenery we had just sampled, the amazing streak of perfect weather and the fact that maybe you don’t have to be overly paranoid that the bush is full of crawly creatures just waiting to jump out and have a go at you.
Waterfalls – The Coral Sea was an adequate replacement
Wildlife – we actually scanned a crocodile basking in the sun on our way home!
Beer of the day – A few too many to count……
So if you find yourself looking to escape the depths of a chilly Kiwi winter, or maybe you’re just enticed by the thought of that warm, dusty, finish line beer, be sure to check out Reef to Reef 2023. You’ll be glad you did! •
Words: Jordan Phipps
Photography: Odin Woods, Mick Ross and Tim Bardsley-Smith
Ten minutes with Jenna Hastings
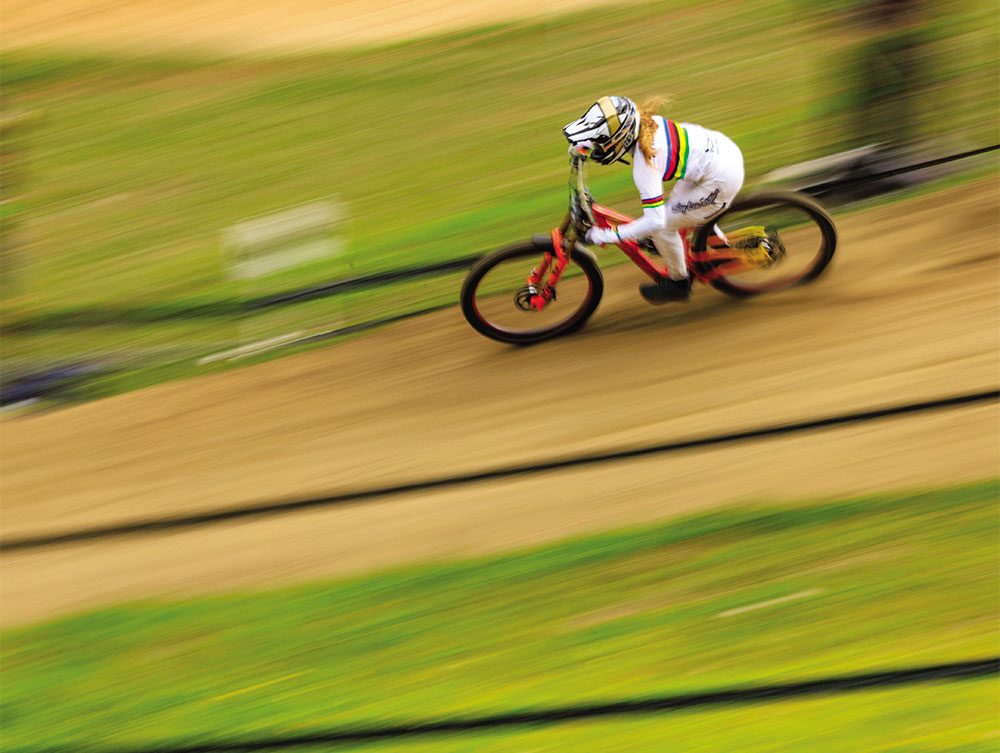
Jenna Hastings is the name on everyone’s lips. The Rotorua teenager has just been crowned the Junior Women’s Downhill World Champion at Les Gets, France. With the Rainbow Jersey firmly in hand, Jenna is now back on home soil – just in time for Crankworx, in November. We grabbed ten minutes with Jenna, in her busy schedule, but believe us when we say this won’t be the last time we hear from her.
1 How old were you when you started mountain biking, and how did you get your start in the sport?
I’ve mountain biked my entire life. Living five minutes from the Whakarewarewa Forest it was only natural that myself and my siblings rode bikes. I started BMX when I was six, which I continued until I was 14, however, when I reached 11 I started to focus on mountain biking — downhill and enduro — and just kept doing BMX as something on the side.
2 What has the journey been like to get to where you are today?
The journey to get to where I am today has been pretty good. I did pretty well in my first few years competing, so that put my name out there which has helped me to get a kickstart in sponsors and helped in getting people to see the potential in me. Obviously racing overseas has always been a dream of mine, but it wasn’t until Crankworx Rotorua 2021 that I could actually see that becoming a reality. My parents had been talking about it before then but, when I won the downhill, I think they — and myself — realised it would actually happen. Then, after the Crankworx summer series, Bernard Kerr and Pivot approached me and said they wanted to help me out in 2022. That was pretty cool. And it’s kind of history from then — going overseas and racing World Cups, making my dream a reality.
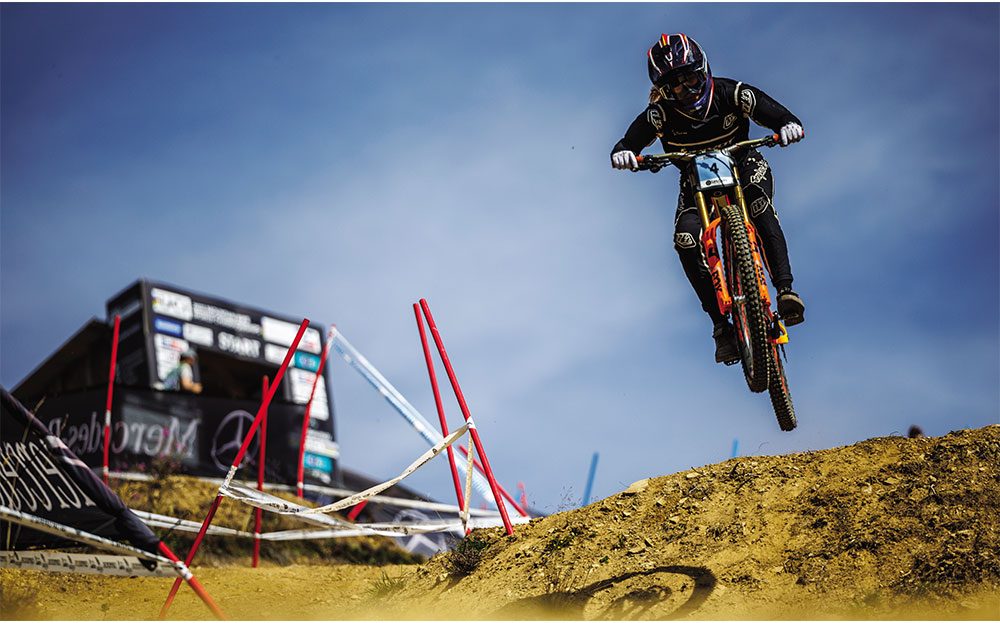
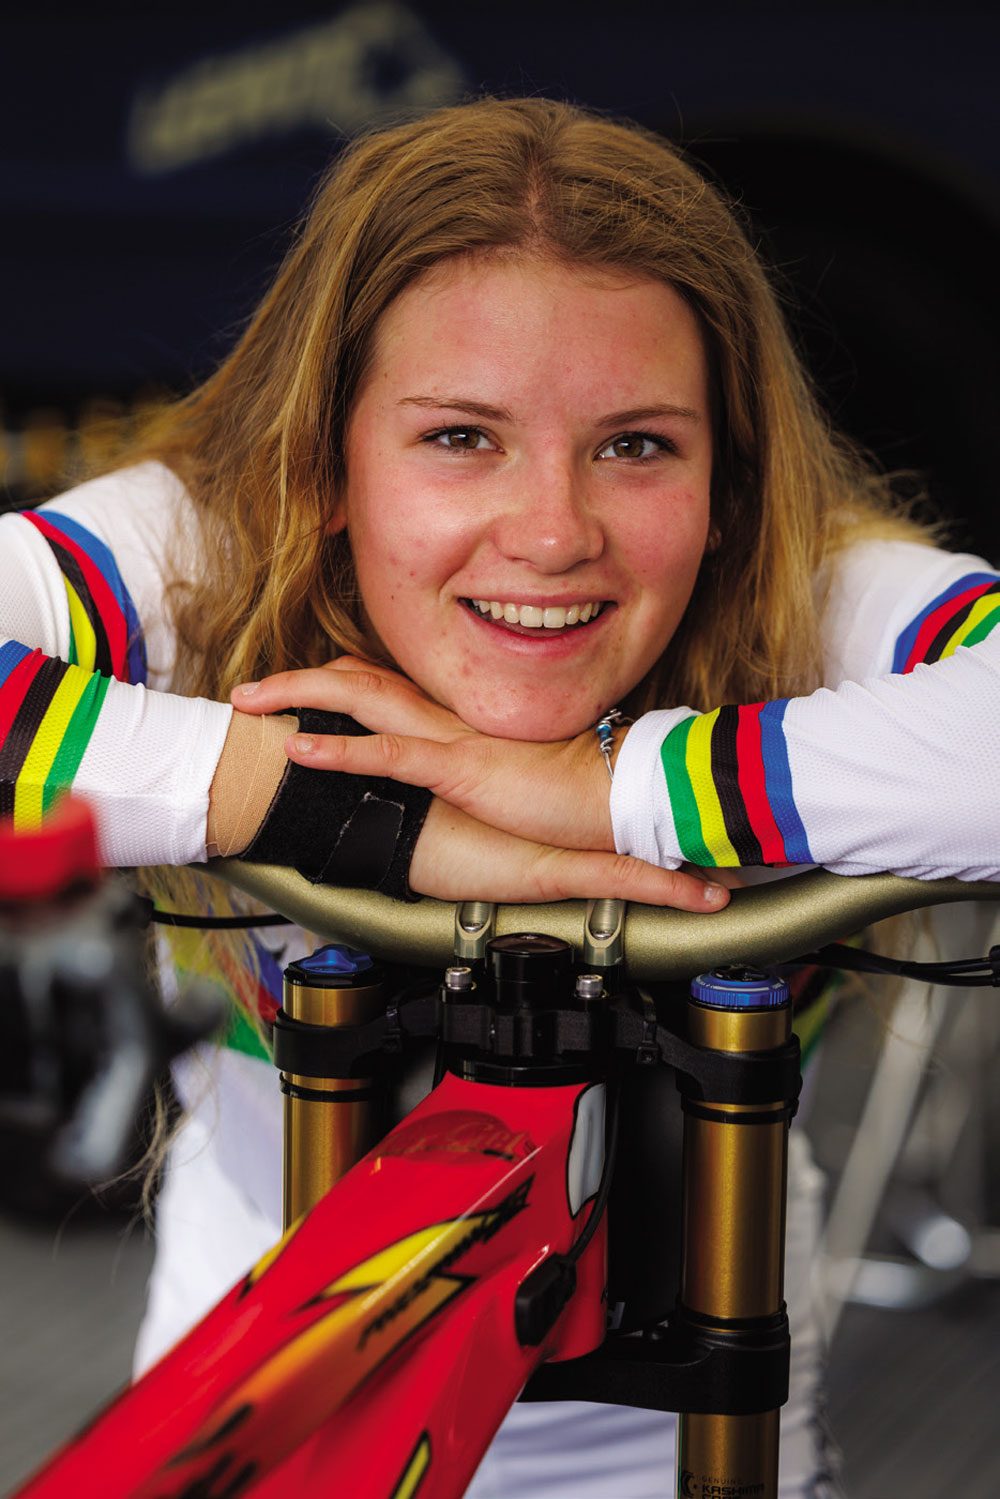
3 What was it like winning the Junior Women’s DH World Championship at Les Gets?
Insane. I still don’t think it has sunk in yet to be completely honest. I still look at the Rainbow Jersey and think, ‘you’re kidding?!’
4 How did you celebrate?
Well, I’m sure you saw my burnout that went viral on social media… then it was on TV… so that shows how I celebrated really, haha. But you can imagine how a world champ celebrates their win, along with the rest of the World Cup field and half of France: party.
5 What sort of training or thought process went into getting you onto the winning spot on the podium?
It’s quite hard to do proper training during the World Cup circuit, especially when you’re not at home and don’t go home between some of the races. It’s hard to get a gym membership, for example, when you’re constantly moving around. So training wise, we would just go for a few trail rides, and I would go to the gym with Bernard Kerr when we were at his house and also when I was in Morzine for a few weeks. Other than that, you kind of just go from race to race. My thought process was pretty much the same [as it was] for all the other races: just get through the weekend and do your best. I say pretty much the same because it was slightly different in the sense that I did believe I could win. I felt good all weekend and it’s not that I didn’t think I could win at other World Cups, but this one felt more doable.
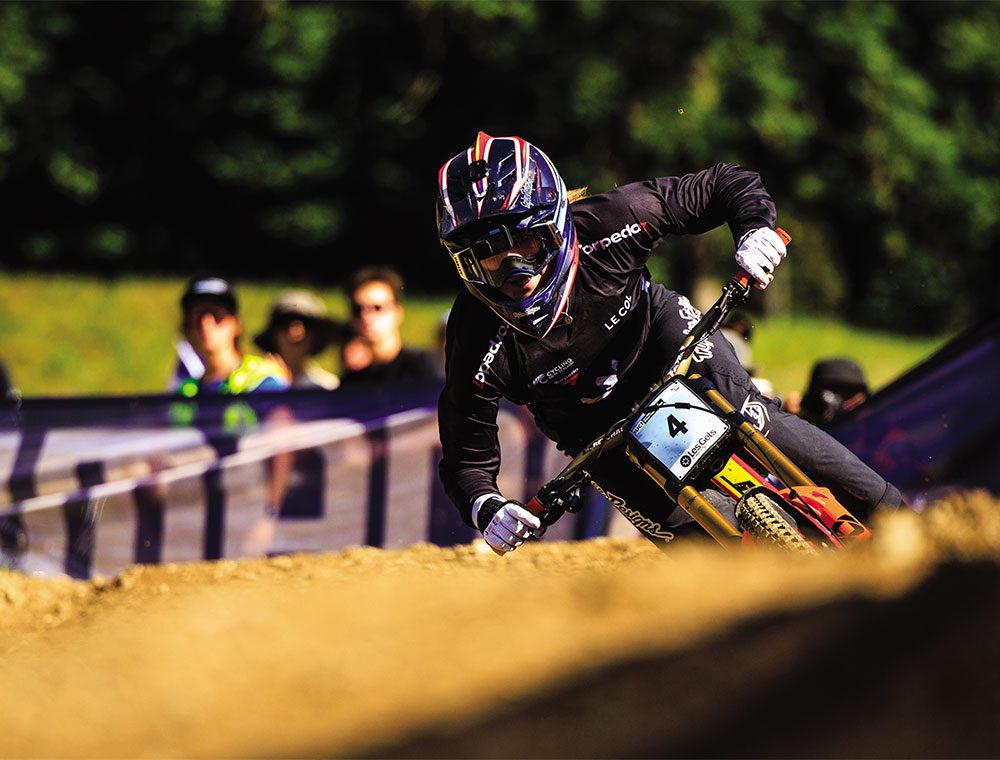
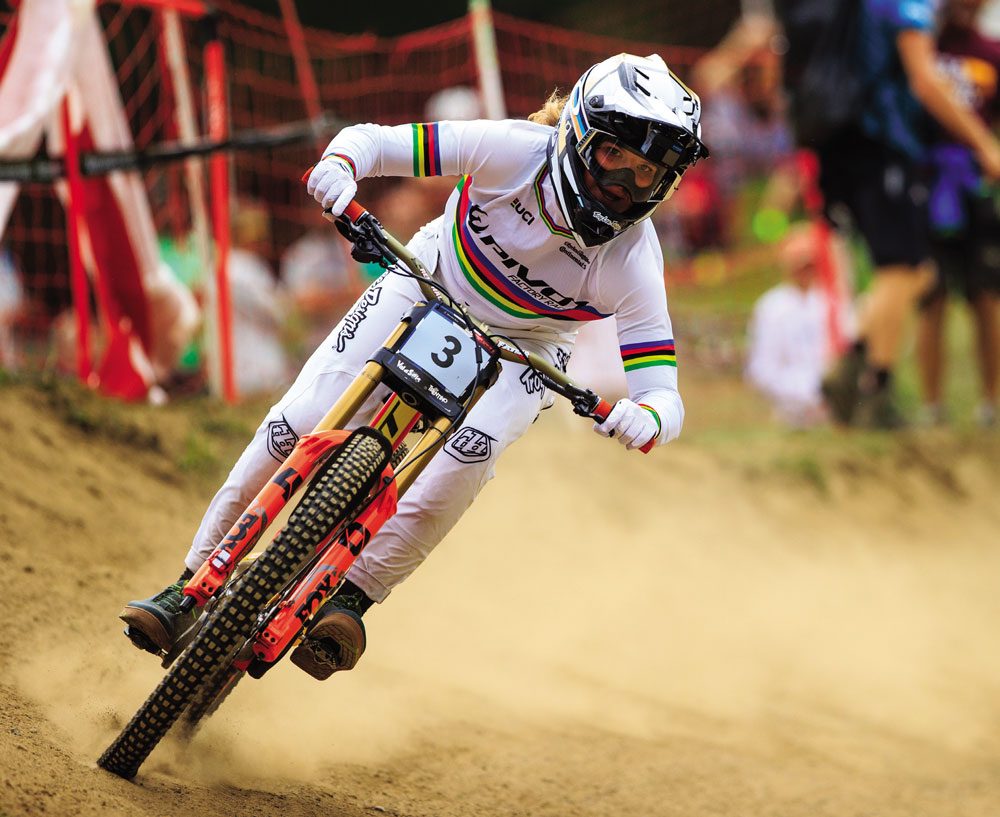
6 You’re now racing for Pivot Factory Racing, what does this mean to you?
Pivot is a team I’ve always looked up to. The team dynamic itself is one I’ve always seen myself wanting to be a part of, and I’ve always looked up to the other riders on the team. I’ve known Matt Walker for most of my life as he used to do BMX when I was a kid, so I naturally looked up to him, and Ed Masters — he has always been my idol. The way he holds himself and is always having fun; I always wanted to be like that. Maybe now I’ve seen the way he functions I might need to rethink that… Being a part of the team now is a dream come true and means so much to me.
7 What is next for you and your career?
Keep racing World Cups. That is the ultimate goal and plan for the next few years. Crankworx and maybe a few EWS races are also on the cards, but the main focus is on World Cups.
8 Who have you looked to for inspiration over the years?
Ed Masters, Matt Walker, and Bernard Kerr as I said before. Rachel Atherton was also my idol when I first started racing when I was 12 or 13, as she was just about every other little girl’s idol. I looked up to everyone in a way, I liked watching everyone race and liked to follow what they did with their lives, but those four are the ones that stand out to me as people who I wanted to be like.
9 Do you have any big chunky goals that you’re working towards in the future?
Not at the moment. World Champ and overall World Cup winner are goals of mine, but I don’t think they will be achieved in the next few years. So, for the foreseeable future, my goal is to do the best I can.
10 What words of encouragement do you have for other women mountain bikers?
Just go for it.
Where can we keep tabs on you and your career?
Instagram: @jennnahastings
YouTube: janaynay
Words: Kerrie Morgan and Jenna Hastings
Photography: Sven Martin
Crankworx Rotorua
Nothing kicks off a kiwi summer of biking quite like a trip to Rotorua for the annual pilgrimage to Crankworx, and this November may be the best one yet. After a challenging 2021 Crankworx, with Covid-19 making it a participant-only event, organisers are getting primed to make 2022 something extra special. Kicking off on November 5th, and running all the way through till November 13th, Crankworx Rotorua holds a special place on the Crankworx calendar, with this year being the final stop on the world tour. The Crankworx World Tour is a multi-stop series of mountain bike festivals, bringing together the best mountain bike athletes to compete in elite-level competitions in a variety of disciplines. Being the final stop for 2022 means all the titles are up for grabs and athletes will be giving it their all to secure their crowns for King and Queen of Crankworx.
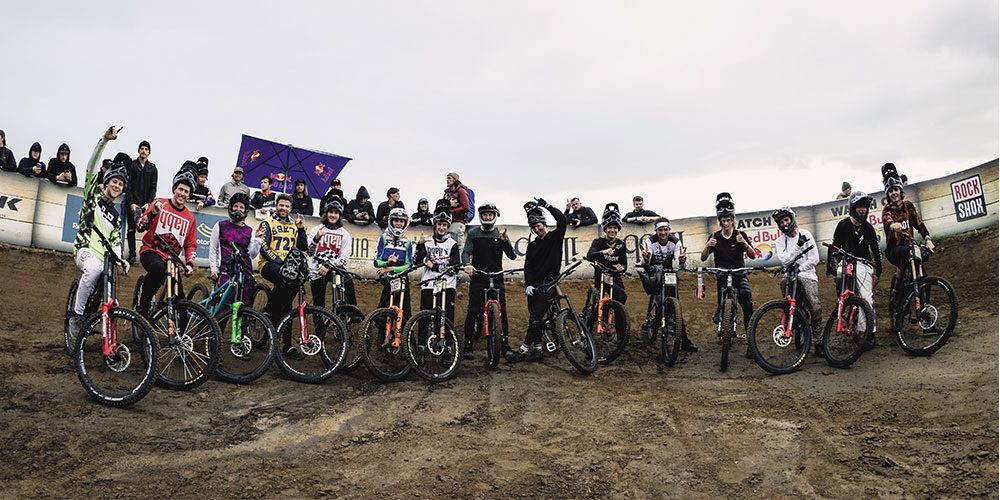
In terms of riding, it’s one of the few events that is a big enough drawcard to bring the top tier of international riders to New Zealand, and with Covid-19 hopefully well behind us, we should see a full roster of internationals for one of the last big international events of the year. Plus, there is plenty of cash being splashed around to make it worth their while. The two top ranked riders (male and female) will each receive $20,000 CAD. Our own local talent is on fire right now too. Jenna Hastings will be feeling confident on the back of her incredible Junior World Champs DH victory. At the recent Mt St Anne UCI World Cup downhill in Canada, Sam Blenkinsop had a very credible 8th and came second in the AirDH in Whistler. He is also sitting 8th on the King of Crankworx leader board. Rotorua local, Tuhoto Ariki Pene, finished 11th at Mt St Anne and will be a force to be reckoned with on his home soil. Robin Goomes has had a breakout year participating in the Red Bull Formation freeride event and won both the Speed & Style event and the Official European Whip-Off Championships at Crankworx Innsbruck. She also bagged a very credible third place in the Speed & Style at Whistler. It’s safe to say, our own riders will be right up there, and this is probably the best event in New Zealand to see their skills up close. And to get them to sign your t-shirt, of course.
Returning once again to the Skyline event venue in Ngongataha, event organisers are also keen to signal that spectators will be in for a few surprises this year too, with track changes, an all-new pump track, and an even bigger whip-off on the cards. While they are keeping major changes close to their chest, organisers are excited about the way things are shaping up
Crankworx Rotorua took flight in March of 2015, becoming the first festival outside of North America and Europe. Aside from the events that are common to the various World Tour locations across the world, organisers and international riders alike have begun to see the unique event that is Crankworx Rotorua, even referring to the event as ‘the soul of Crankworx’, due to the unique way it endeavours to combine two seemingly unrelated concepts: world-class mountain biking, and the stories and culture of tangata whenua. It’s a unique challenge to be sure, and one they are always looking for new and creative ways to explore and deliver with a sense of genuineness and sensitivity. Starting from the powhiri riders and organisers receive, to the variety of cultural learning experiences they can have in the region, Māori culture is woven throughout the whole experience of coming to Rotorua, and organisers continue to try and weave Māori art and culture into the event. Some examples of this have been the way previous events have seen Māori wood carvings (whakairo rākau) on the tracks, and the king and queen of Crankworx presented with some beautiful carved ‘Tewhatewha’, two-handed weapons that are traditionally given to a Rangatira (chief ) as a symbol of mana or respect.
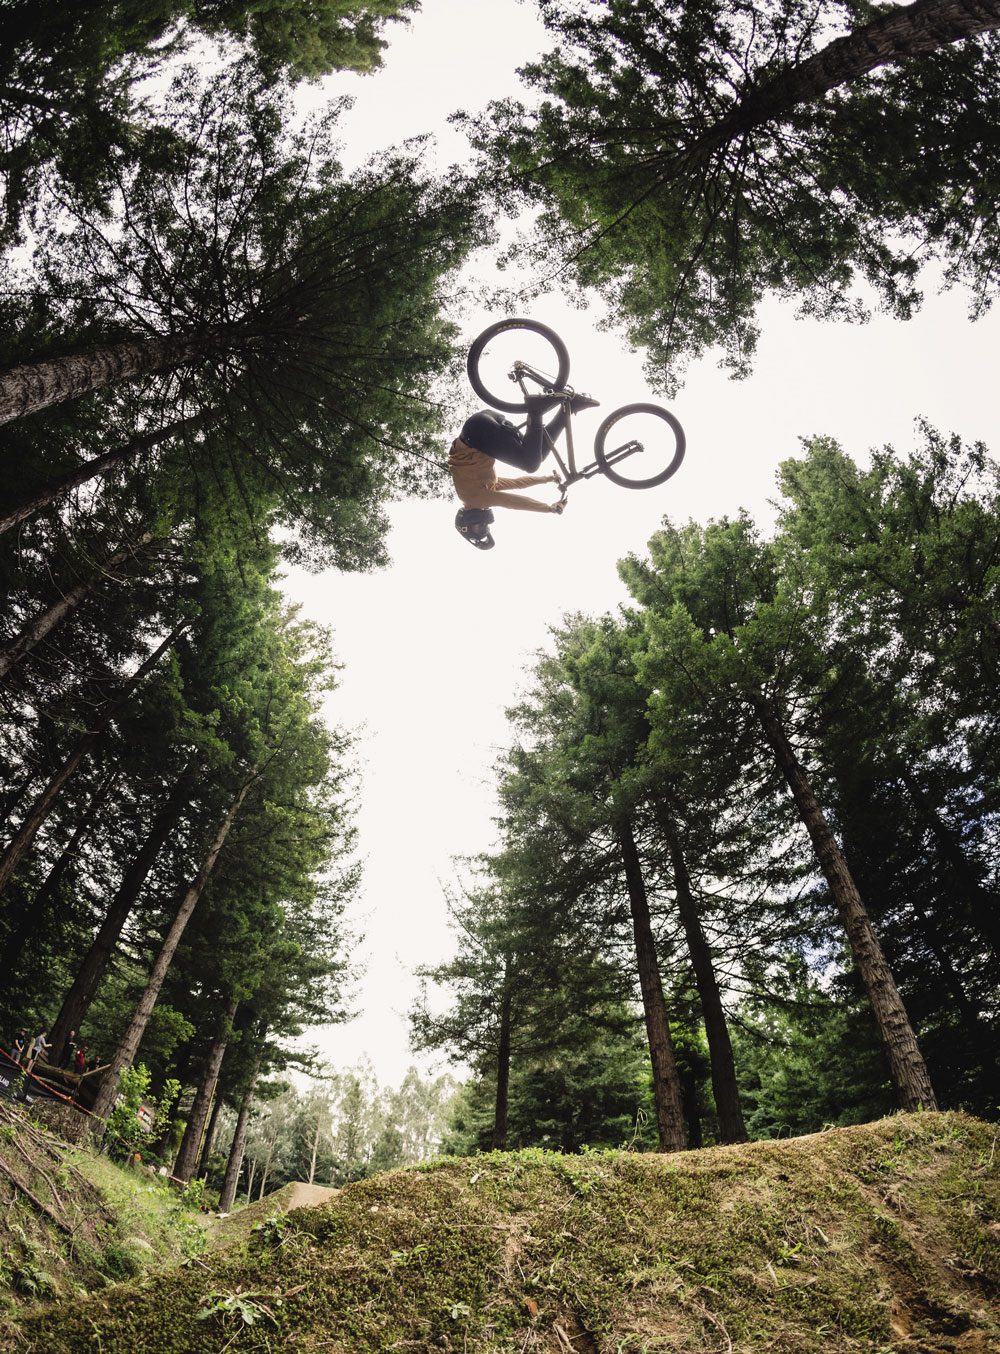
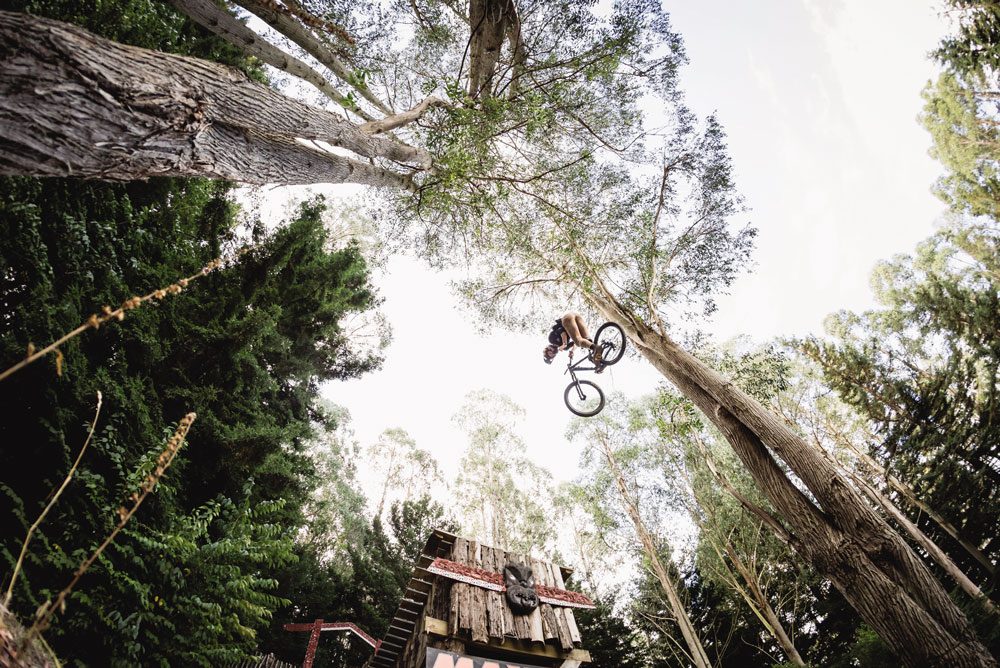
It’s also a massive week where the Rotorua community comes together to put the event on with many locals volunteering their time to make the event run smoothly. All these things mean that Crankworx Rotorua really seeks to create a mountain biking event that is genuinely unique to the place it is held. The event has even been given its own unique name — ‘Tere Panuku’. Māori is a metaphorical language so it’s hard to pin down a direct translation, but ‘Pa’ is a fortification. It also means to strike. ‘Nuku’ is a reference to shifting or moving. ‘Tere’ is a reference to speed. So in essence it means to rapidly push boundaries in a way that is underpinned by strategy.” A perfect description of what happens at Crankworx.
For most people, a trip to Crankworx is about more than just being a spectator, it’s a chance to get in some riding time as well. With a lot of the events taking place in the afternoon and evening, you can ride during the morning and spectate in the afternoon. With more than 200 kilometres of world-renowned mountain bike trails weaving through Whakarewarewa Forest, you can ride all week and never run out of new tracks to try. If you’re bringing your family with you and want a great family friendly ride be sure to check out the new Whakarewarewa Forest Loop, which has recently earned New Zealand Cycle Trail Great Ride status. The Loop is a 33km circular mountain biking trail located in Whakarewarewa Forest. Being mostly a Grade 2 track, with a couple of Grade 3 sections mixed in, the Loop is designed to be accessible for people of almost all ages, abilities and fitness levels. The trail takes most confident riders roughly 2.5 to 5 hours, depending on their pace. You’ll also want to factor in some time to stop and take in the sights at purpose-built points along the way that reveal stunning views. Back at the Crankworx village there is a great skills area for kids to learn to pump and roll on their own mini pump-track.
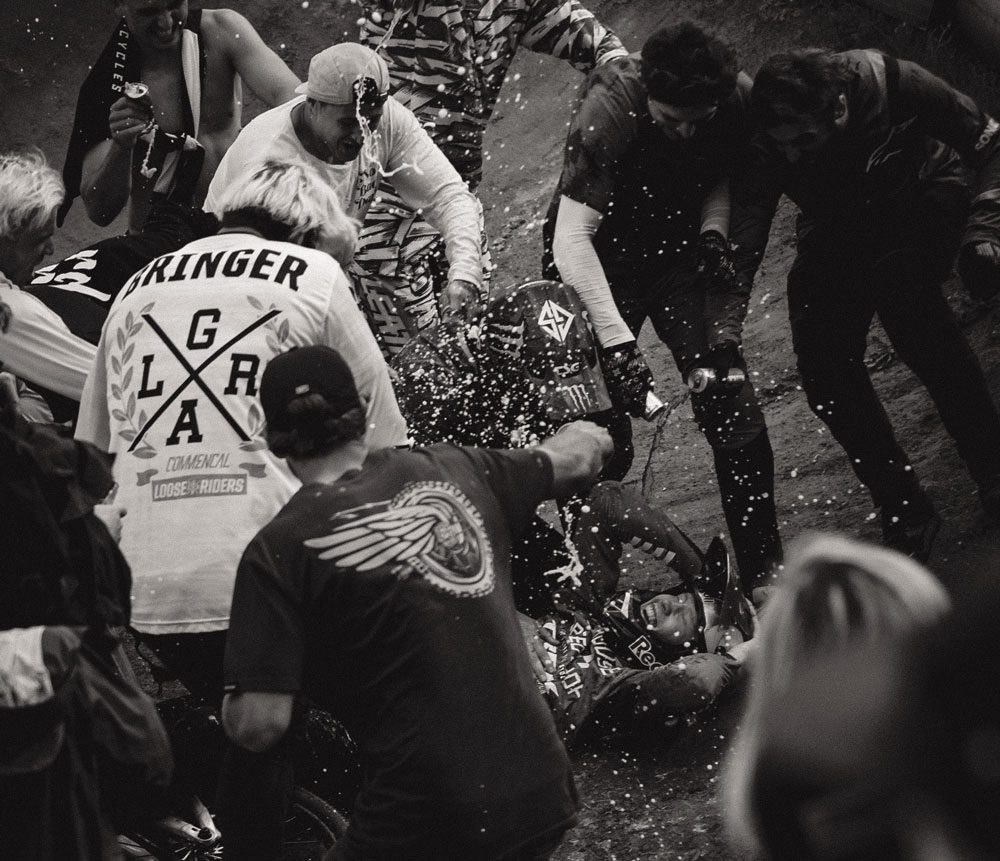
In the event village you’ll find lots of exhibitors with the latest and greatest in mountain bike tech on display, and lots of festival deals going too. A lot of exhibitors bring a fleet of demo bikes, and with Skyline trails right there it is a great chance to do some laps on a range of bikes back-to-back to really get a feel for how they all perform differently.
With crowds missing out last year, it means this year will be even bigger, so it’s worth getting your accommodation booked now. All in all it’s shaping up to be a massive event, and sure to get you and your family fully amped to get out and on to bikes over summer.
Words: Lance Pilbrow
Photography: Cameron Mackenzie
All Thyme Alexandra
I’m just joking. But not about the riding. Alexandra is sprawling with some of the finest singletrack you can find in New Zealand — heck, maybe even the world. For me, it’s up there as one of my favourite spots to ride. I’d put it in my top 10 and, for some reason, even though the riding is so amazing, no one seems to know about it. Well, apart from those who know. In a world where we have information at our fingertips at any time, Alexandra has escaped blowing up on social media and has managed to stay the hidden gem of Central Otago.
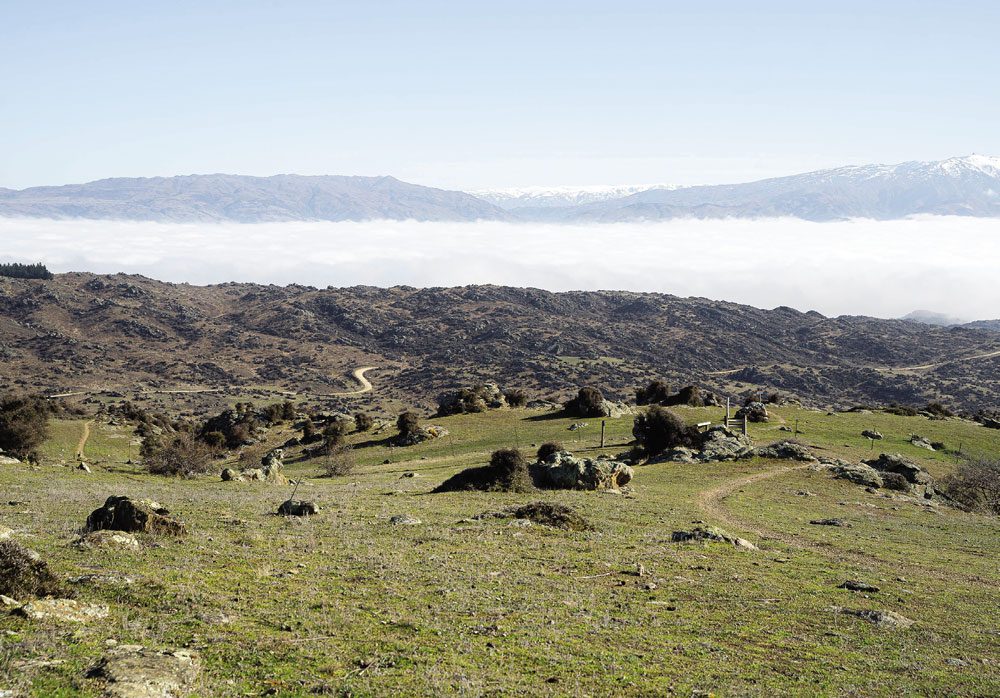
About a one hour drive from Wanaka, 75 minutes from Queenstown, and 2.5 hours from Dunedin, Alexandra is located in the heart of Central Otago. You can track the origins of this quiet sleepy town back to the Central Otago gold rush of the 1860s. Established in 1862, (formally called Lower Dunstan) its humble beginnings and rich history came from gold mining. Miners from all around the globe flocked to Central Otago in search of the precious, shiny, rare metal, hoping to strike it rich. The miners might have gone, but there’s still plenty of gold to be found. Not so much the gold you would find in a wedding ring but the type any mountain biker craves: technical flowing singletrack in an amazing landscape. The magic we all search for.
“Alex”, as it’s affectionately known by locals, has somehow avoided the hustle and bustle craziness of Queenstown and Wanaka. The all go, non-stop, 24/7 mentality of those towns hasn’t travelled across. Instead, you find this beautifully quiet town, where the locals all know each other. They are proud of their town, and so they should be. It’s a stunning little place. There’s a real sense of community that stays true to its humble beginnings. The pace of life seems a lot more relaxed, and you won’t find most of the high street shops open on a Sunday. Instead, people close up shop and make the most of their weekend before starting back into the week. It’s a refreshing feeling in this modern world we live in, but don’t get lured into thinking Alex is a calm place; it’s a town of extremes. Take the climate for example; during the summer it’s the hottest, driest place in New Zealand. Temperatures often reach over 25 degrees Celsius and sometimes even push up into the mid-30s. The flip side of that, is it’s the coldest in winter; on average it’s below 0.

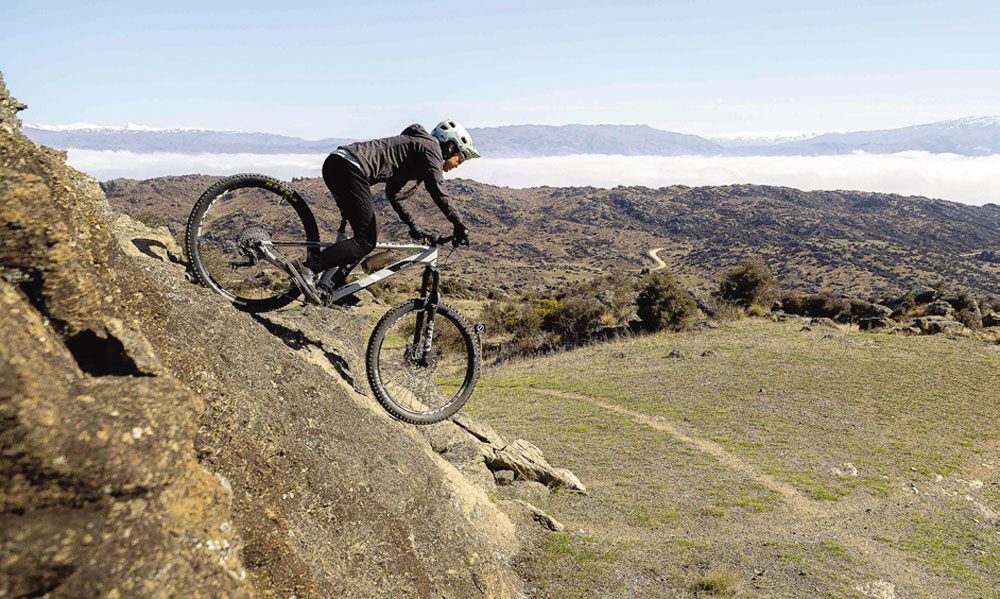
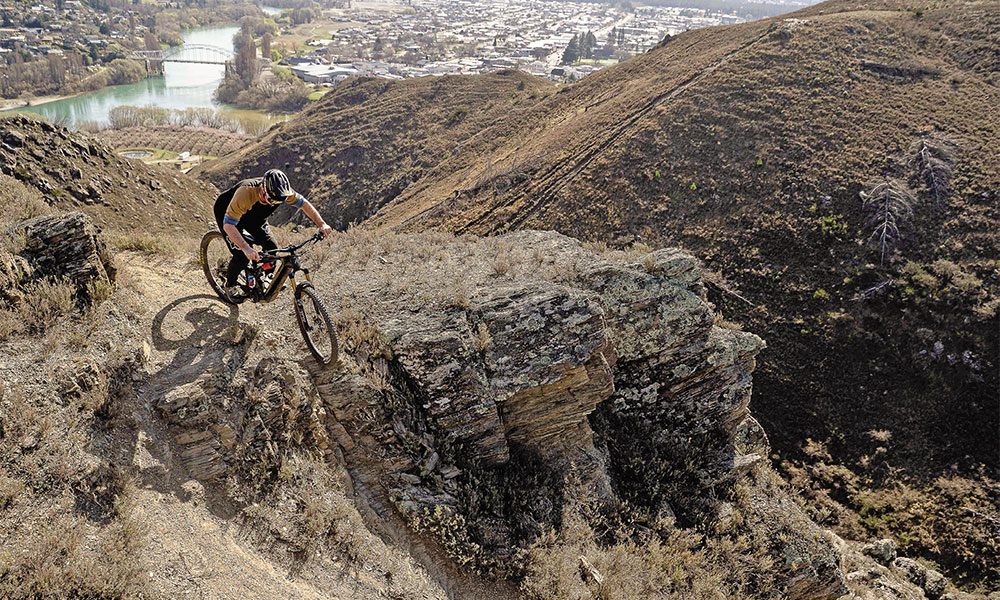
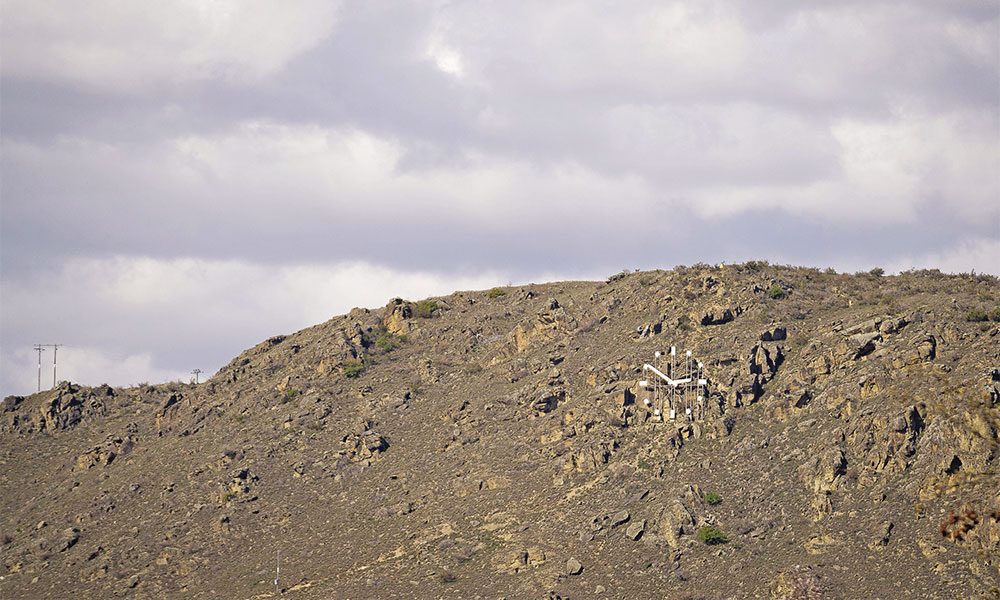
It’s not just the climate that’s extreme, there is the landscape (or moonscape, as some would describe it). In the surrounding hills, it’s rugged wild country. Sharp, rocky outcrops are a common occurrence; they appear to have viciously pierced through the earth’s surface many moons ago, leaving a reminder that it’s tough out here. It makes for a real ‘Mad Max’ feeling. Wildflowers, briar and thyme make up the main vegetation covering the rolling hills. The story goes that miners planted thyme so they could put it in bread for a better taste, but the thyme took off due to the rich, fertile soil. Now, Merino sheep can be found roaming the land, thriving in the extreme conditions of the high country. It’s a landscape that demands respect. Treat it wrong and it will bite back but look after it and it will reward you. If you get it right and catch one of those perfect days, you will see just how beautiful it is. The days when you hit the golden hour, blasting along the narrow hand-built singletrack on the ridges. Purple thyme bush all around, dust trailing behind, in that perfect flow state. It’s at this point Alexandra really takes your breath away.
The mountain bike trails in Alex started like many: illegally. Back in ‘95, Richie Bailey and Gordy Rayner pioneered the way when they started to scratch lines and loops around the area. From what I’ve heard, there were more XC trails in comparison to a lot of the tech you will find in Alex now. As bikes developed, so did the trails. Things started to get harder and more technical. Old motorbike tracks and water races were adapted and made into bike tracks. Although it was very much a stealth operation. Dave Fearnley and Phil Oliver are responsible for a lot of the legendary trails. Initially, they did not realise that they were both building the trails. Each of them went on their own stealth operation but, eventually, they bumped into each other and the rest of history. Phil and Dave are responsible for some of the finest trails found out here. They have this amazing ability to find flow where there shouldn’t be. Scratching in creative lines through the rocky outcrops and chewing through the thyme with the “Thyme Eater” — a petrol push lawnmower that cuts its way through to leave a line in the thyme. They are actually onto the Thyme Eater 2 now.
There are two main riding areas in Alex: behind the clock, and Flat Top Hill. A couple of years ago, Flat Top Hill was the only place to go if you didn’t have a local to show you about. This was due to the trails behind the clock being on private land, so there were no trail maps for them. It was hard to work out where you were whilst up there, as a lot of it looks the same. “Yeah, it’s the trail that starts next to the tree and the rock. The rocky looking rock. After you finish that, head back up the road and take a right next to the cattle gate.” Cue spending hours riding round in circles. After a few times up there, you kind of get an idea of the lay of the land but you could still easily head down the wrong trail.
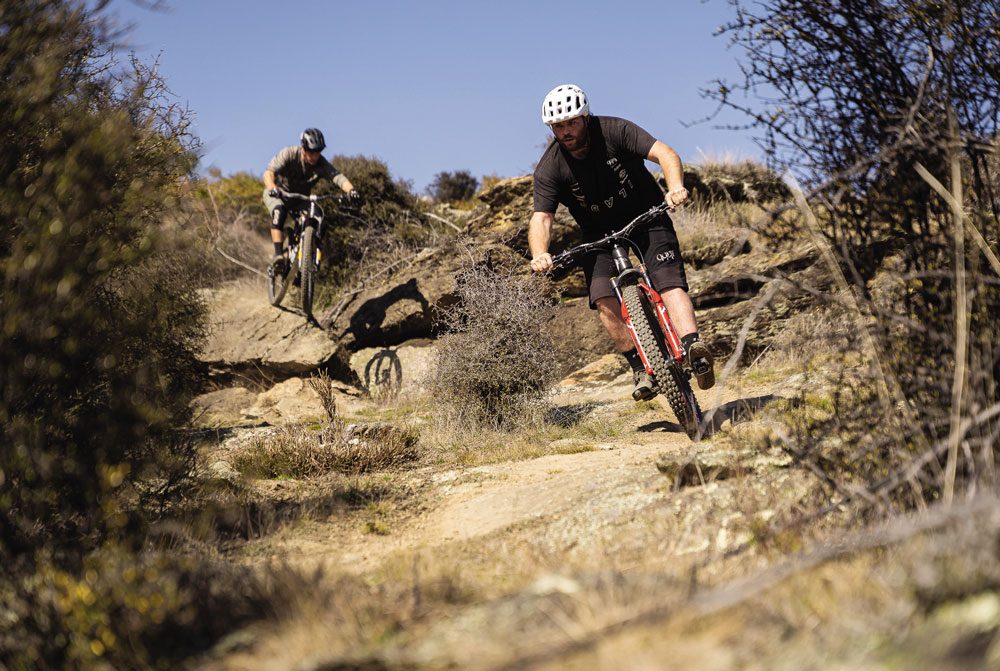
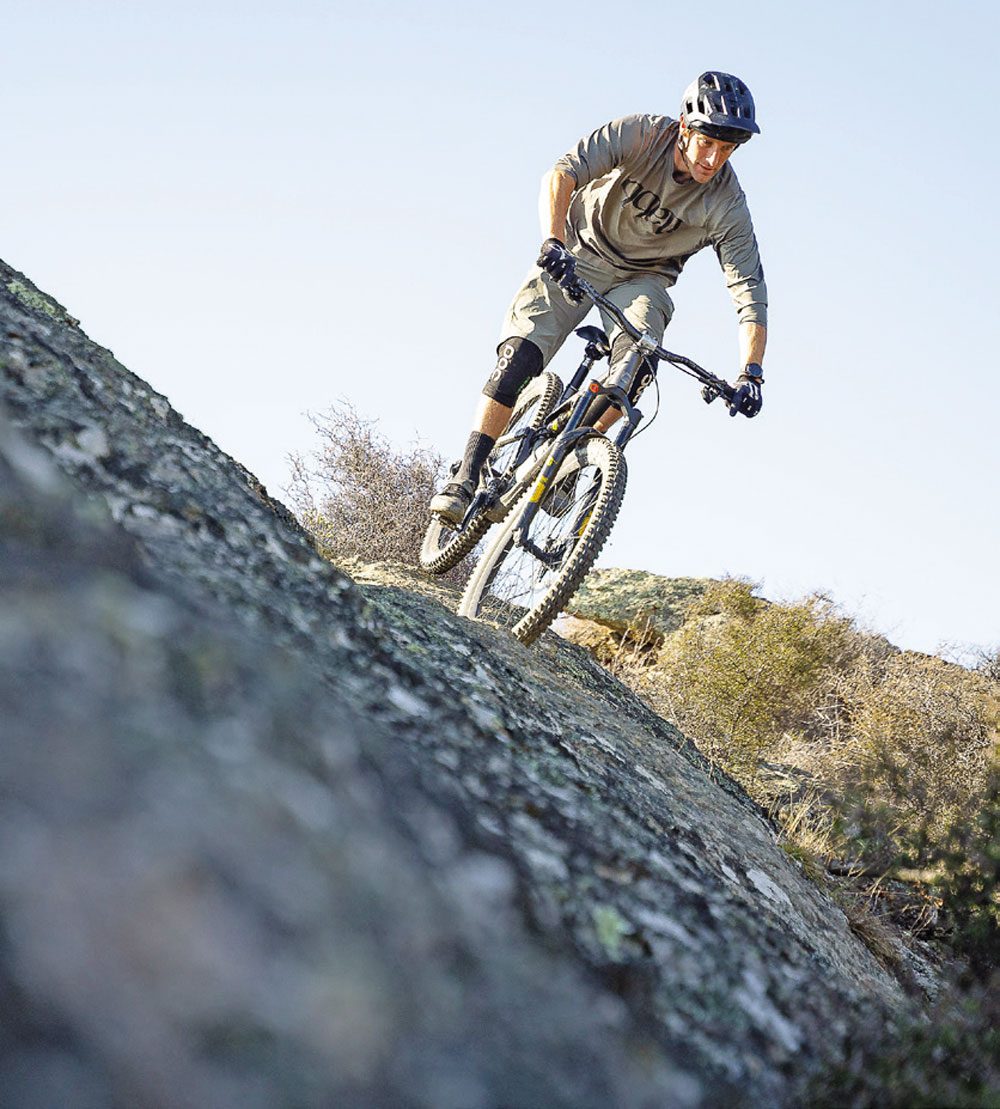
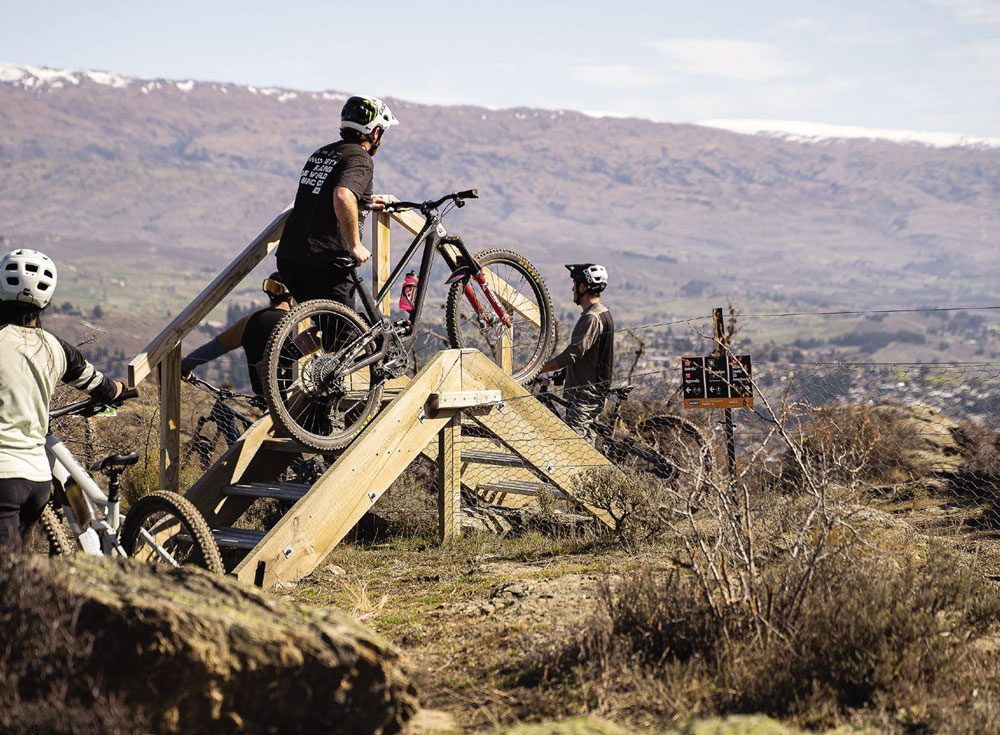
Flat Top, on the other hand, is on DOC land. All the trails on the hill you will be able to find on Trail Forks as they are all legal and sanctioned. Although they never started that way. The Roxburgh Gorge Trail opening up is what really started the Flat Top movement. This trail gave a way to ride out and back to town. Not long after opening, Phil, Dave and the crew started poking about. They scratched out an exceptional bit of trail down the face of the hill to the river trail. These tracks were Ledge of Death to Rock of Doom. It wasn’t long before DOC picked up on this trail. DOC had a meeting with the MOA, ‘Mountain Bikers of Alexandra’, which subsequently led to a land management agreement between MOA and DOC. DOC gave MOA the go ahead to build legal, sustainable trails on Flat Top Hill. Now you can find seven legitimate trails on Flat Top. It’s all signposted with markers to help guide you around the loop. But don’t think that you aren’t getting the creme de la creme just because they are legal, marked trails on DOC land. Far from it. There are some flipping incredible trails up there. I love parking up at the car park right next to Butchers Dam and heading up the wiggly switchback climb to the start of ‘Black and Blue’. A quick buzz down upper Black and Blue then on to Ledge of Death to Rock of Doom. (Yup, there’s some zest in these trails). This takes you down to the Roxburgh Gorge Trail. Head along this the opposite way from Alex and you’ll find a climb to take you back up to the start of Black and Blue. This time around, hit the whole Black and Blue, back down to the carpark, and be sure to also hit the bonus lines. Just make sure you look before you leap. It’s a tremendous loop that has a bit of everything for all abilities.
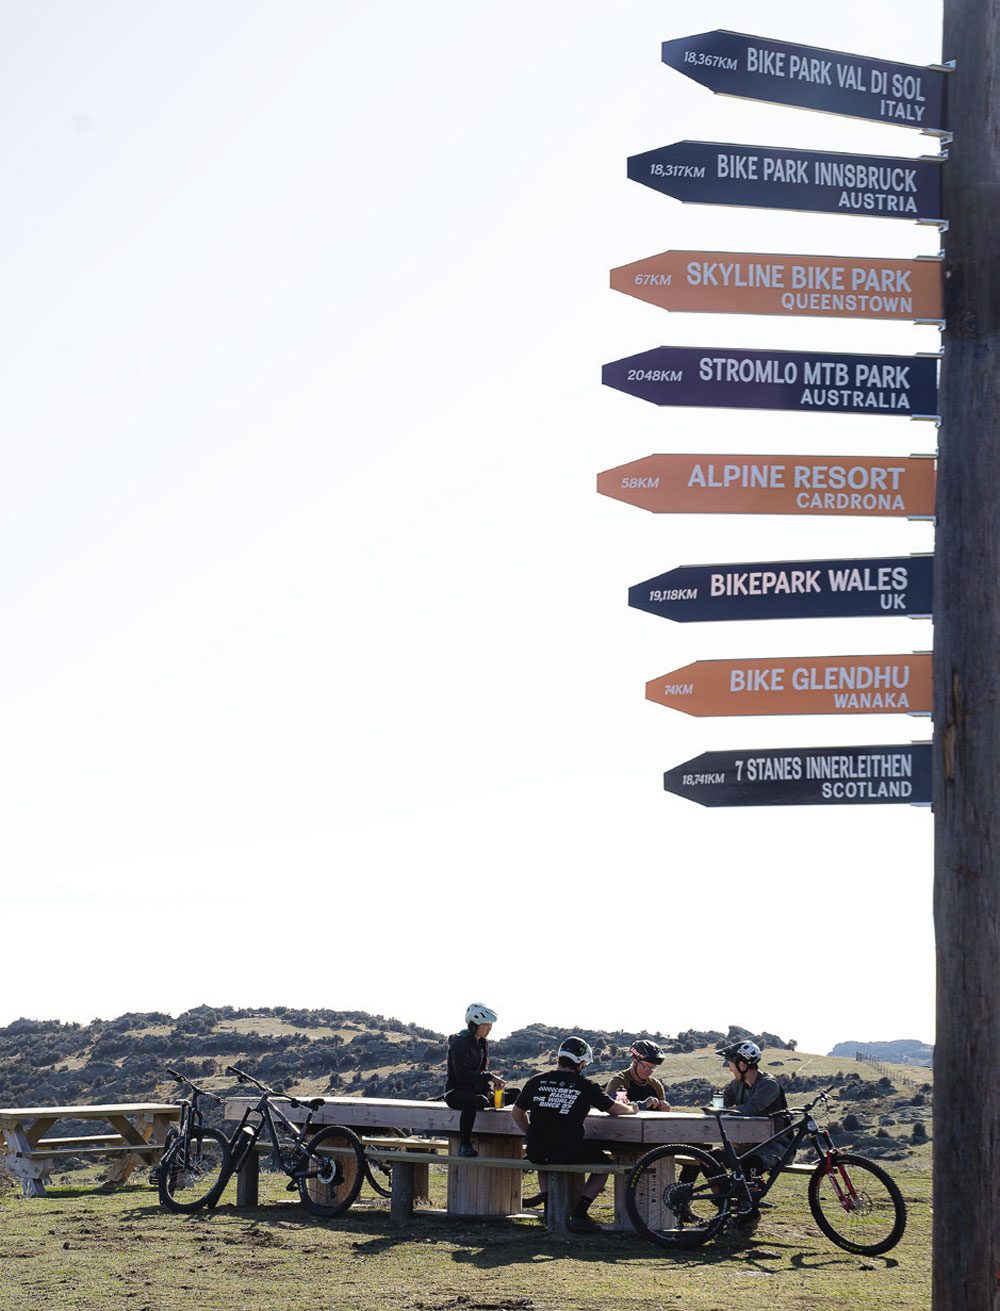
For me, though, the real Alexandra riding experience is behind the clock. Here lies Matangi Station MTB. In 2021, the trails became established and legitimised when the farm owners saw the value in mountain biking and what it brought to the town. Before 2021, the tracks were there, but they were all illegal. The farmers that owned Matangi would kind of turn a blind eye to it. Nothing was marked; you had to be a local to know where you were going. No maps, no signposts, no trail heads. Locals only. If you didn’t know there was riding out there then, you would never know. The Linger and Die (now in its 26th year) was the one race a year where you would be able to get out and have a route to follow, following the pink dots to make it down. Since Matangi Station MTB made the trails official, there has been a big investment in infrastructure of the trail network. There is an extensive trail map, and the trails are all signposted with arrows pointing you in the right direction. Stiles have been put in to help get across the fences. There is a massive table at the top of the hill with a post showing lots of iconic riding spots across the world, including my old stomping ground, Innerleithen. Some of the trails have also had a lot of work making them more sustainable for the future. Passes to ride Matangi can be purchased at Henderson Cycles and Willbike Cycling Central Otago, as well as at the Foursquare and Unichem Pharmacy.
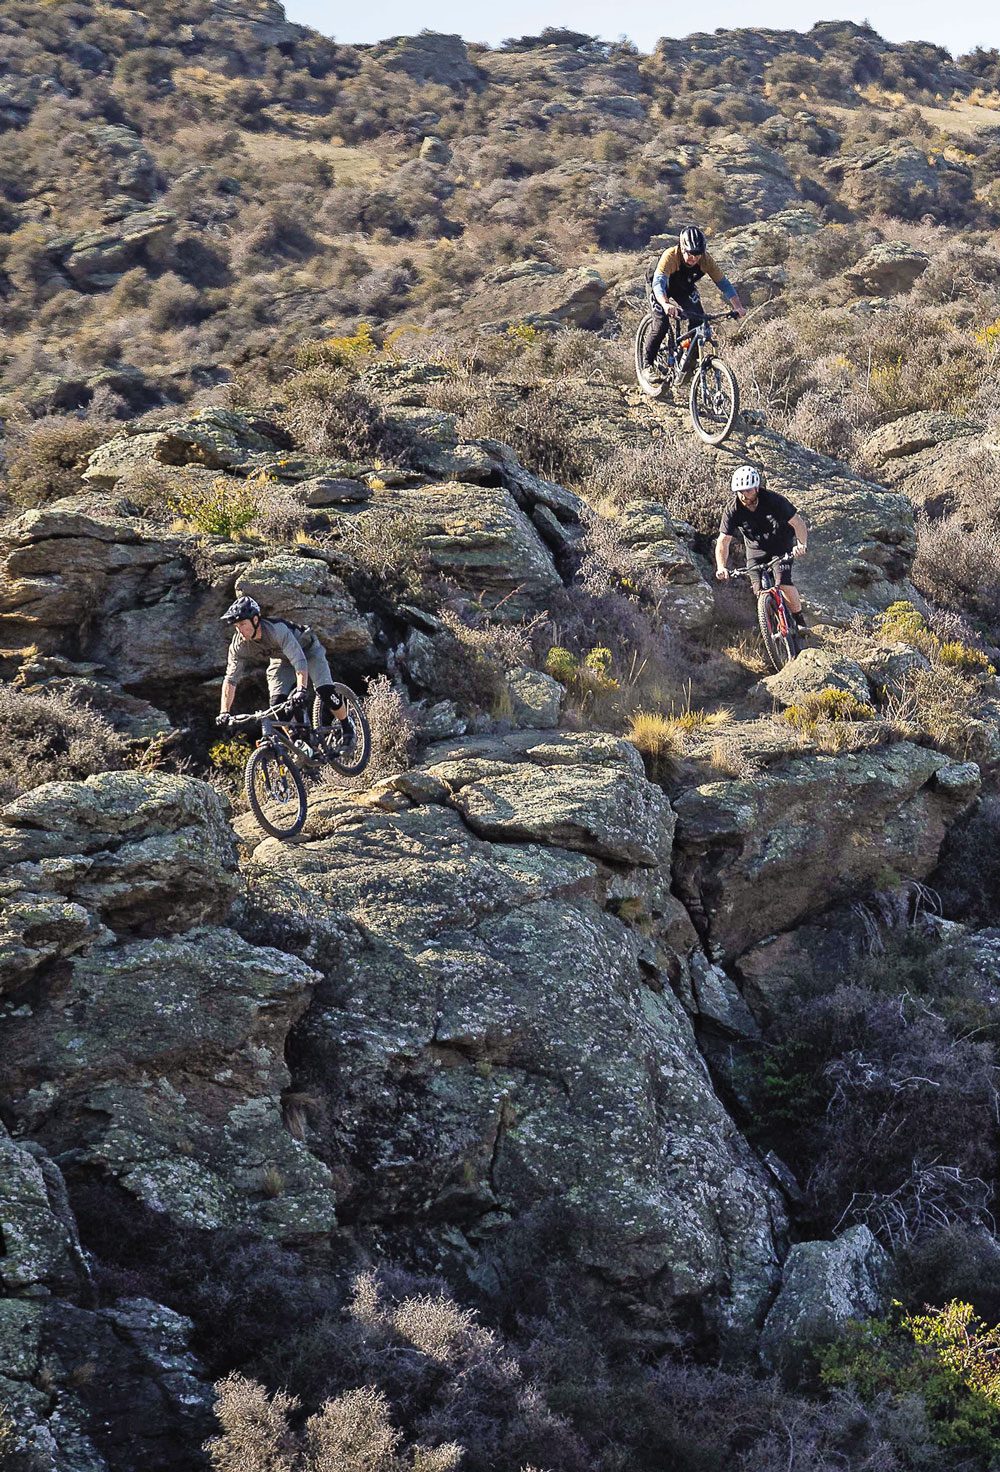
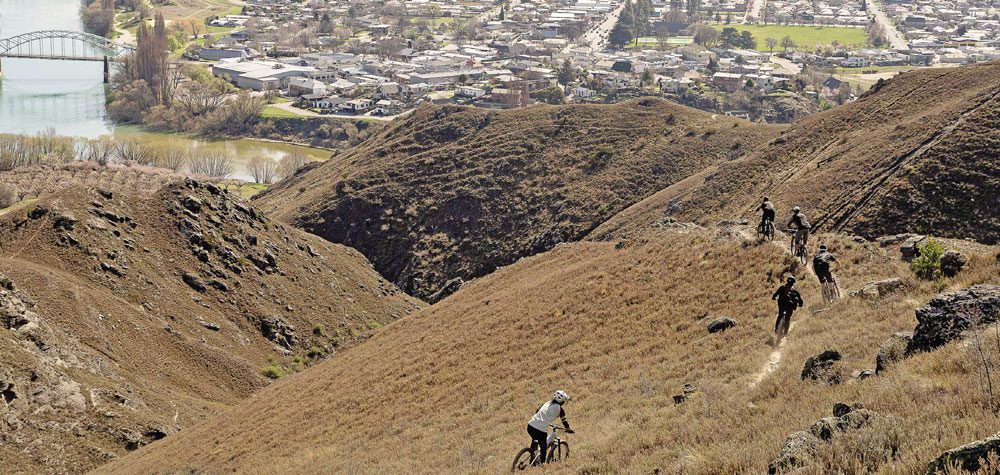
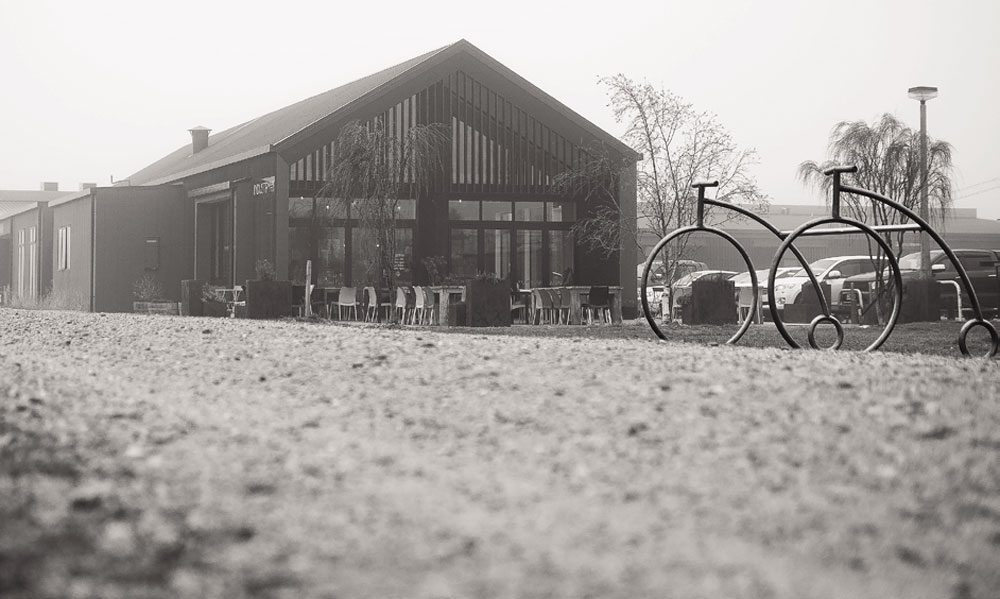
So, what’s the riding like in Matangi Station MTB? Well, I needed a reminder. It had been about three years since I’d last been across to Alex. Having spent the last two years living in the Capital (Wellington), I rounded up some mates and we hit the road to Alexandra. We left on a Saturday afternoon and stayed at the Antique Lodge, in Clyde. A great little spot for the evening, it gave us the full day to make the most of Alex. If we weren’t local-ish it would have been the perfect location to base ourselves for the weekend, as we could spend the day shuttling Clyde DH on one of the days and ride Alex on the other. Breakfast was provided, bright and early, and to let us make the most of the Sunday. Fizz, the host, showed us her gin tasting bar — just to give us the full experience of the place. Definitely a top spot on the list of places to base the weekend out of. We set off on the short drive to Alex to meet up with Phil. It has been years since I had ridden with Phil, so I was looking forward to catching up and trying to hold his tail while he effortlessly guided his bike through the rocks, turns and rolls. Our crew for the day was Phil Oliver, Jimmy Ramsay, Craig Munro, Luci Vo and, later, Ashton Oliver (Phil’s son) would join us. We parked up at Phil’s and rode through town to the Industrial Eater Cafe to pick up some lunches to take with us. An inversion layer had happened during the night, so the town was covered in cloud and fog. There was a grey, moody monotone feel about the place. The streets were quiet, almost lifeless. It seemed like we might have been the only people up and about. After picking up lunch, we set off on our way to the top of Matangi Station MTB.
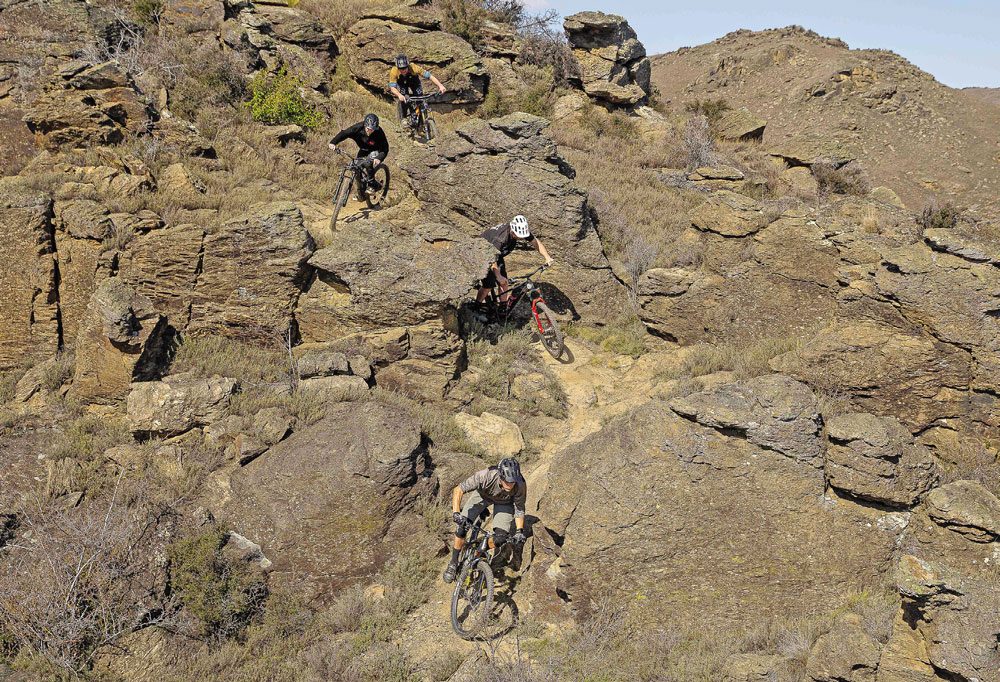
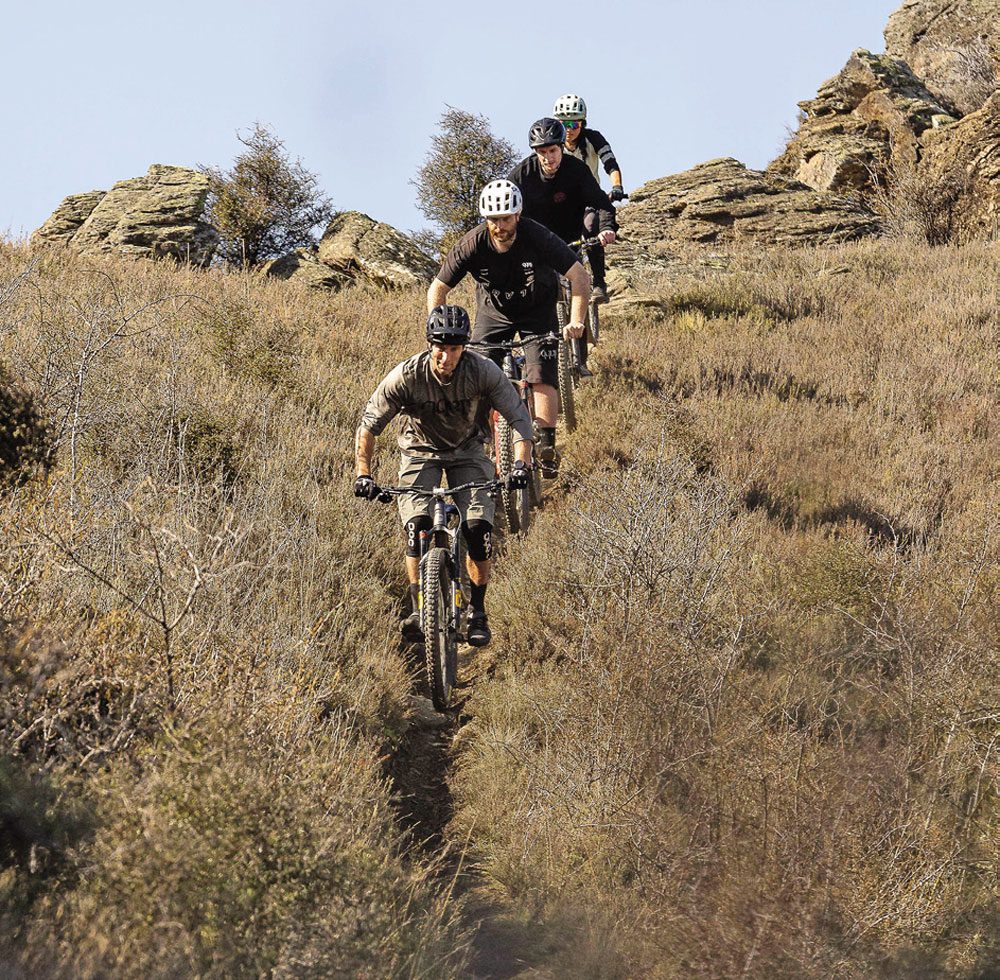
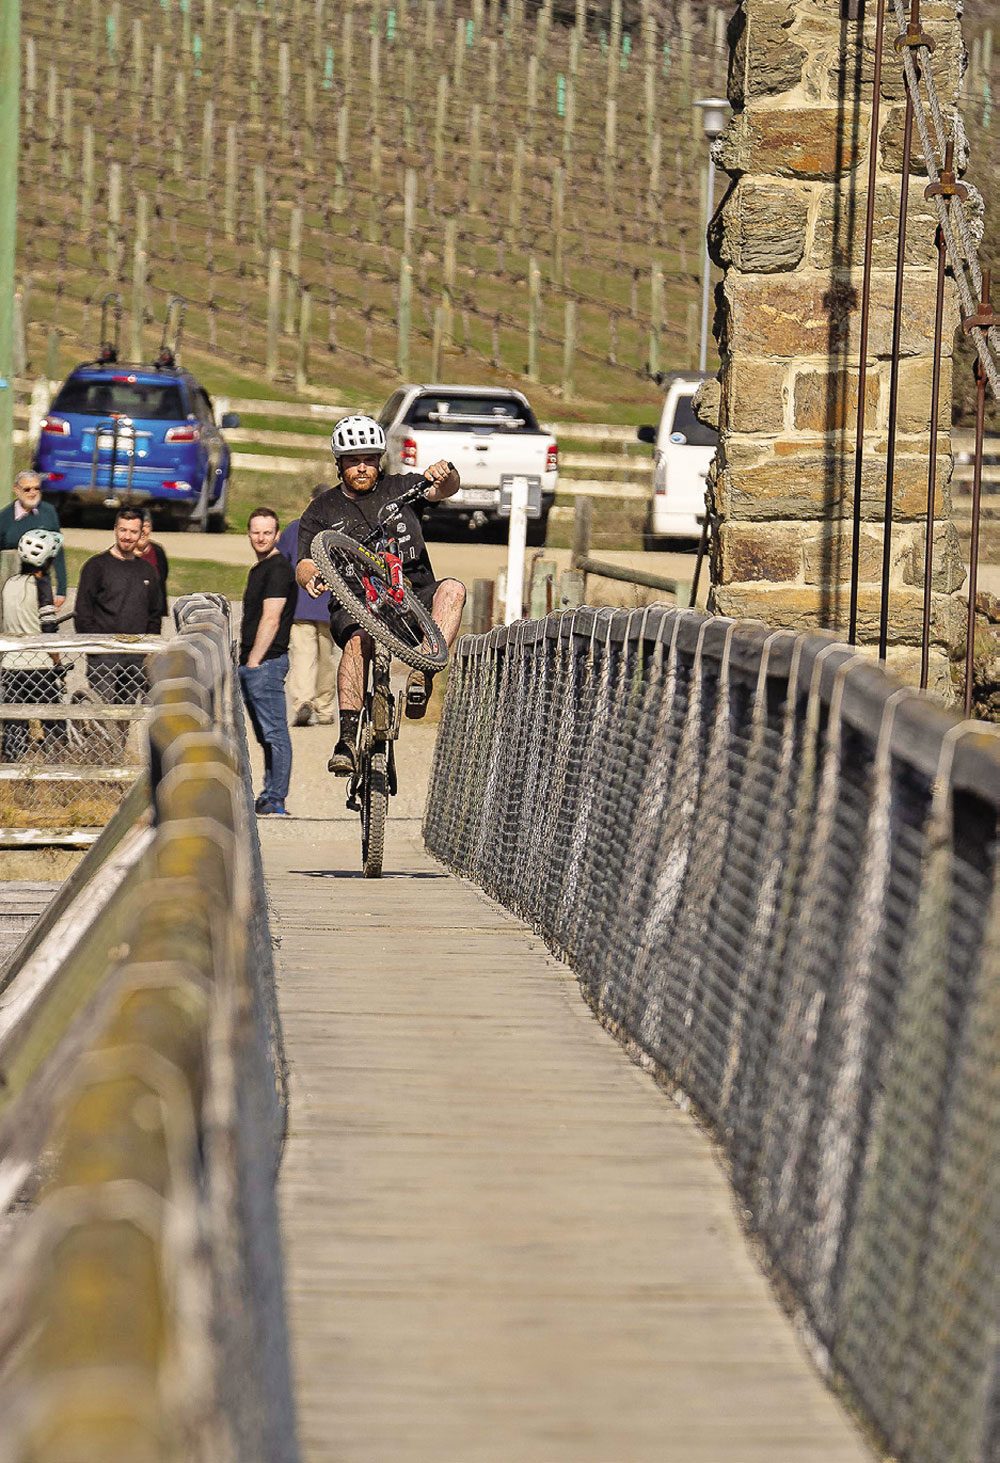
We crossed over the shaky bridge and headed to the start of AC trail. AC I think was formerly known as Shit Track. It’s a slightly techy climb that weaves and meanders its way up through the valleys. The steep hills overlook the trail, covered in lines that zigzag their way down to meet the valley floor, with rocky outcrops towering overhead. The further we headed up the climb, the more the fog started to lift. Eventually, we made it to the start of the second climb, called Carter’s Grind. Like the name suggests, it’s a bit of a grind but it gets you up to the top of the hill in a fast, efficient manner. We made it out of the inversion and were blessed with perfect blue skies. We parked up at the bench at the top of the hill for lunch, with the vast moonscape stretched out ahead of us. Alexandra was still covered in a layer of cloud in the distance. The table really made for a great place to take a rest before dropping into some seriously fantastic singletrack. The first descent of the day was Supercharger. A classic. Right from the get-go you are thrown in at the deep end. The trail sends you charging at high speed over a rock lip, followed by a sweeping left to right. From there you duck, dive and weave your way through the rock fields. Quick right lefts, rocks, rolls, and turns. Up and over obstacles. Holding off cambers. You have to be on the ball. The trail could change direction at any moment. It’s not an easy trail to read. The line is sort of faint. You can’t just ride off instinct. It keeps you on your toes. The flow comes from riding smooth; linking your turns and nailing your braking point. If you get it right it’s oh so rewarding. The rock, if dry, has heaps of grip; you can trust it. You can trust the line as well. It’s built well. There may not be the berms, lumps and jumps that you’re used to but what you will find is raw and rugged. You’ll find Alex berms — ruts that have formed from people riding the lines. There’s just enough support.
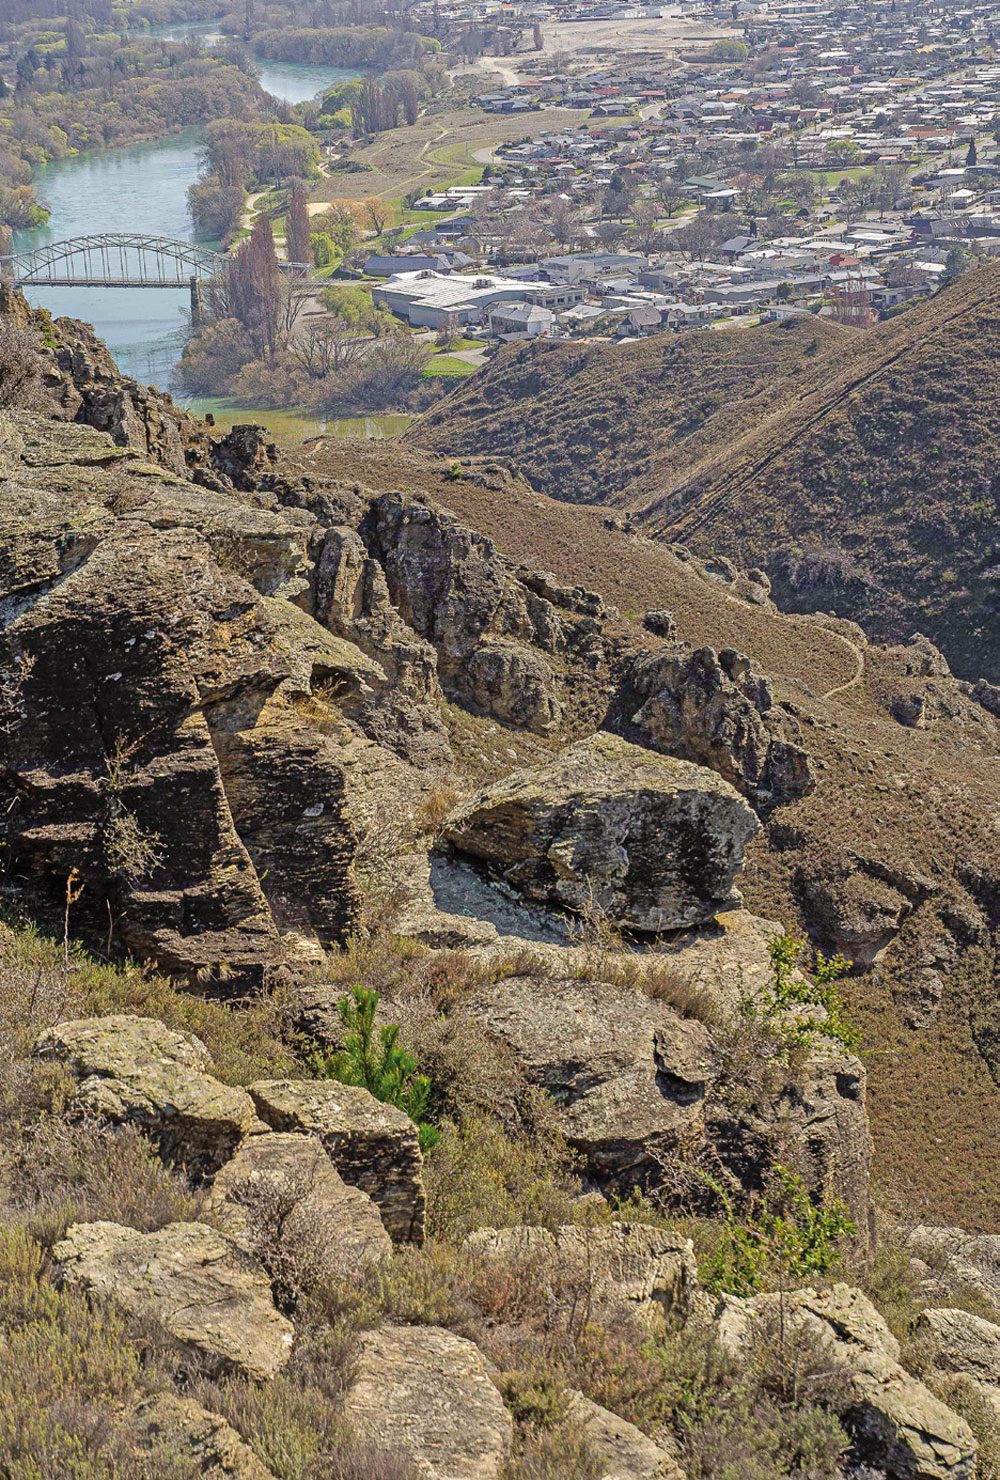
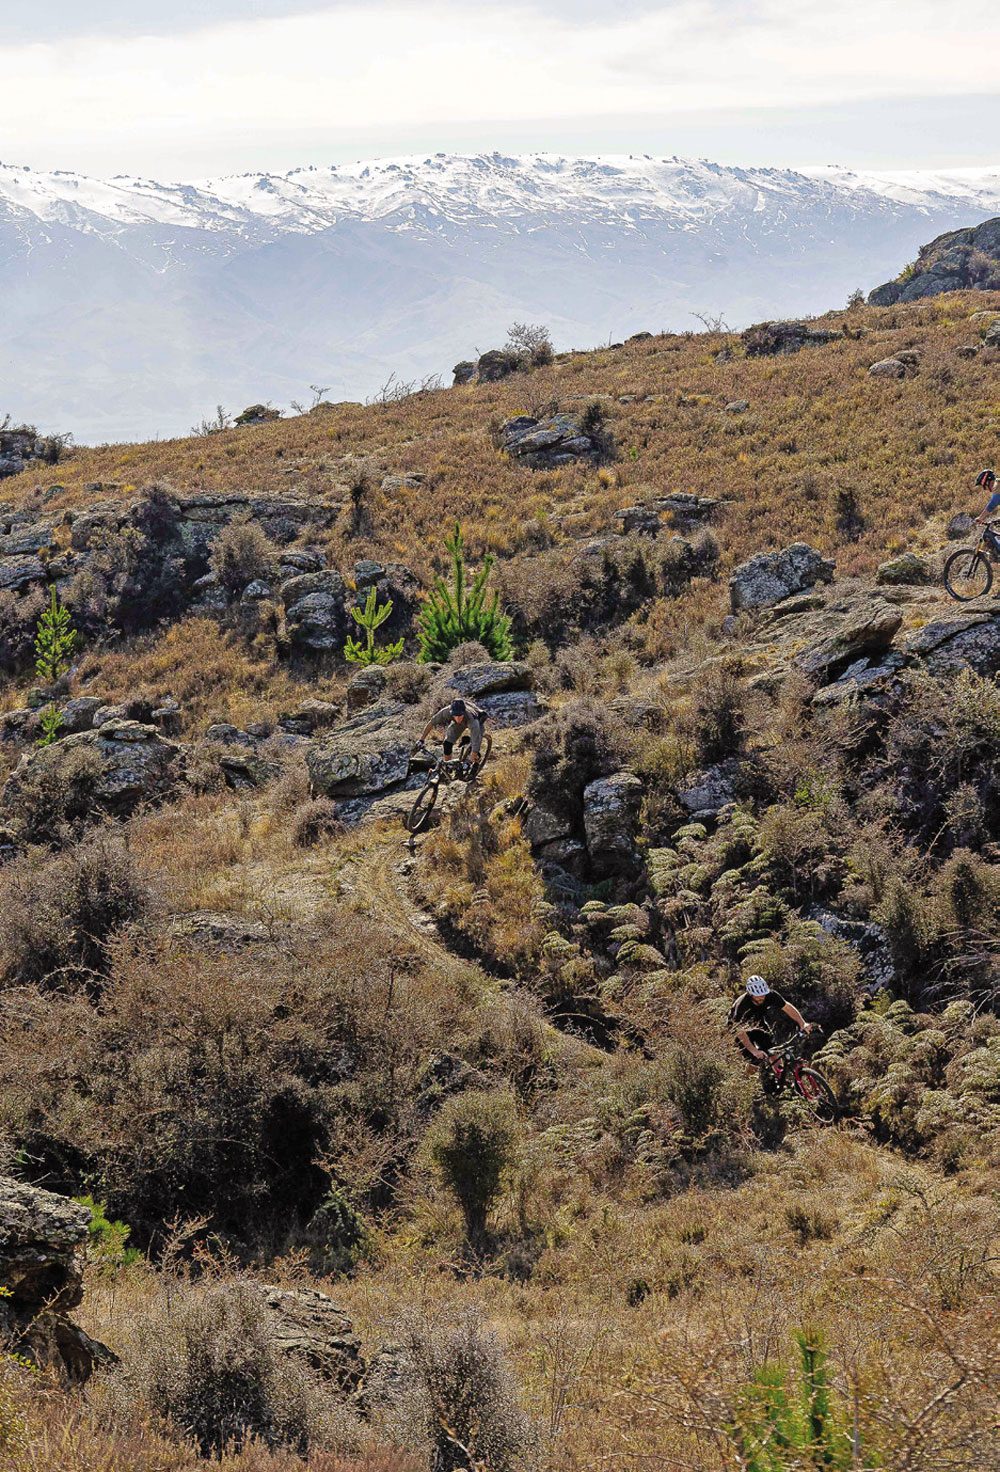
We blasted down Supercharger with big grins on our faces. It was so good that we looped back up to the top for a second blast. This time around it was a bit tidier. We had gotten into the Alex style of riding. It involves thinking about what you’re doing. From the bottom of Supercharger we pedalled back up to the main dirt road, crossed the stile and rode up Connector to take us to the top of one of my all-time favourites, Dr Strangelove. This trail really sums up Alex riding to me. It’s got it all: fast flowing sections where you’re blasting along a ridge on a narrow trail that Thyme Eater has carved out many moons ago, into some tight awkward tech jank before you head into the steeps with Alexandra blossoming below. You can smell the thyme as you fly along the ridges and down the corkscrew. The trail spits you out into the bottom of 5th Amendment, just for a little extra spice when you think you’re close to done. It’s just got a little bit of everything, this trail. Some moments you’re speeding along at mac 10, following your mate’s thyme smelling dust. Next minute you’re at crawling pace, working your way through rock channels trying to make the janky turns flow. The steeps will keep you on your feet; control your braking, drive the line. It’s such a tremendous piece of trail. Just Alexandra riding summed up in one trail.
After we got to the bottom of Dr Strangelove, Luci, Craig and I decided to call it a day and head to the pub for a beer. All good rides should finish with a beer, right? Jimi, Ash and Phil set off for another lap and would meet us at the pub after. We crossed back over the spring bridge and headed to the main pub in town, Monteiths, on the main street. The cloud had burned off and we were graced with Alexandra in all its glory on an early spring day. The cherry blossoms were starting to flower, and the temperature was just right. Just a perfect chilled Sunday afternoon in Alex.
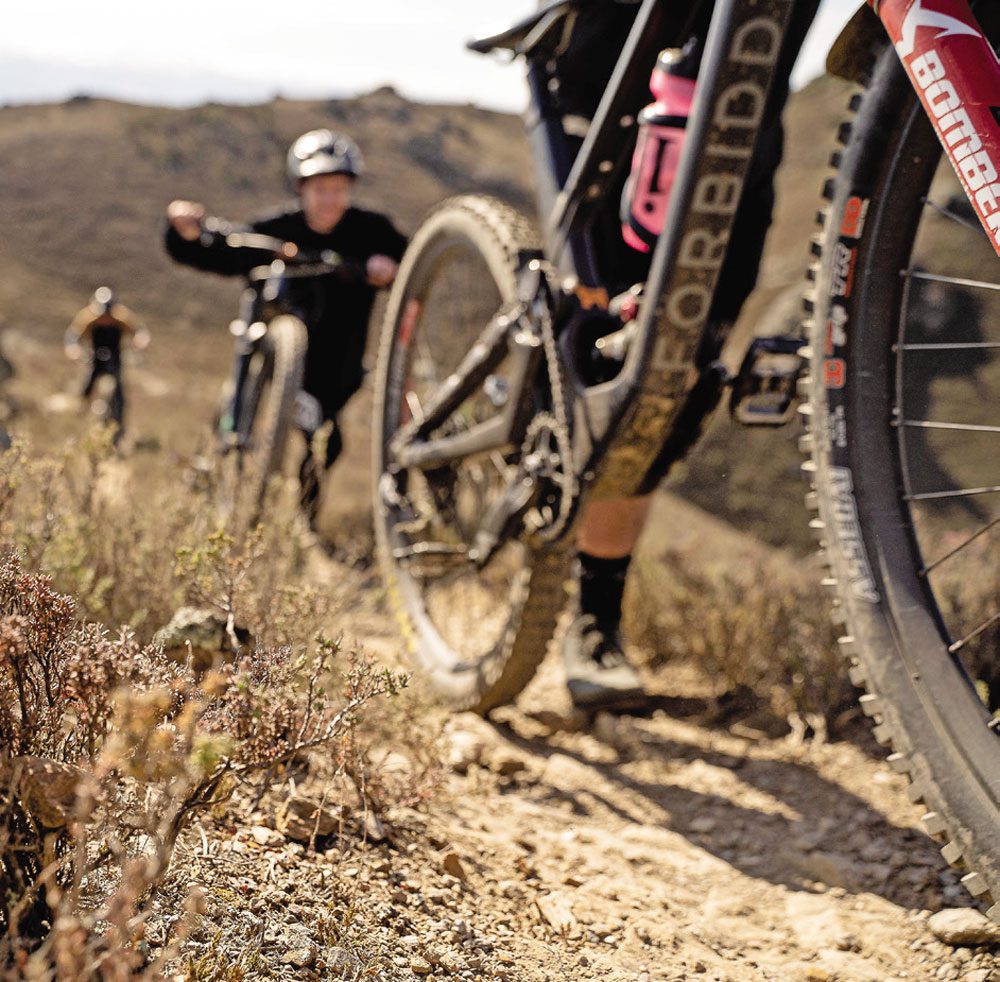
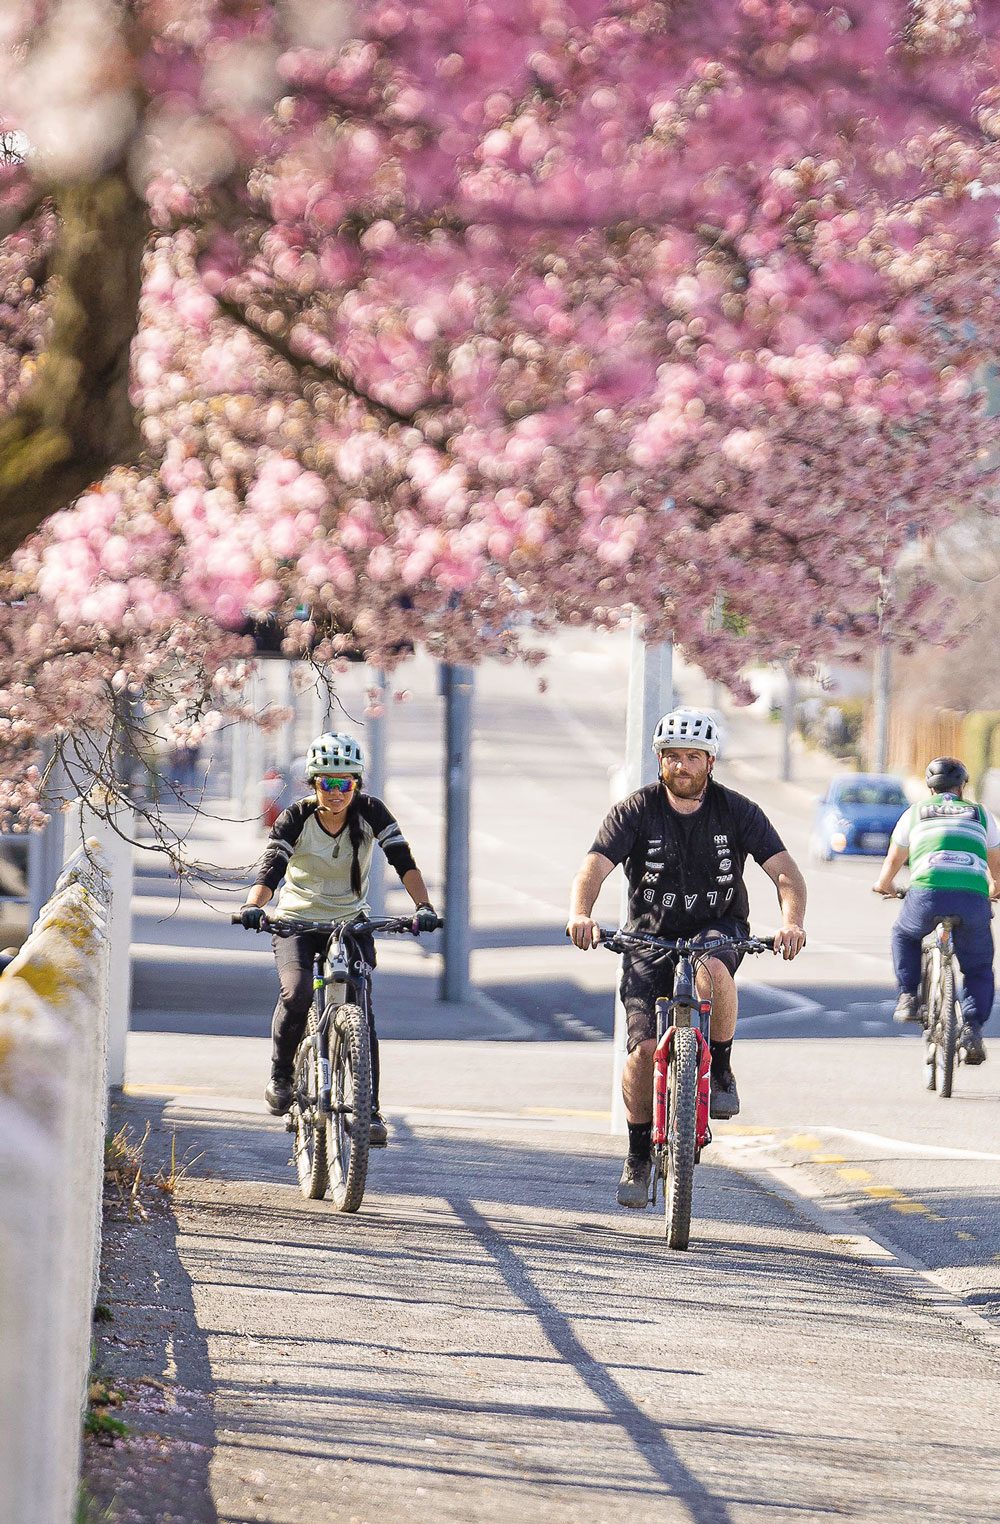
Beers started to flow. The outside beer garden was still getting the sun, and the mood just seemed right. We weren’t the only riders that had the same idea — there were a good few that had been out on the hill that day, all parked up at the pub afterwards for a pint and yarns about the day. Jimi, Ash and Phil joined us after their second ride; they’d smashed out another big loop. More pints were poured and cheers were made to a great day out in Alex. “I’ve said it before, but you never have a bad thyme in Alex.”
As we were sitting, shooting the shit in the sun, Phil was off talking to some locals about their rides. You can really get a sense of how proud the locals are of the riding community and what they have — their exquisite trail network, the local club, and the town itself. It’s fantastic. On Wednesdays they have the local shop ride out, on which you’ll normally find 60 people on average. How cool is that?! During Christmas time this sometimes reaches up to 200. It’s a strong bike community that’s only going to grow stronger with the legacy that has already been left.
I may have painted Alex as a place for extreme riders, but it’s far from just that. There are plenty of great XC loops and trails you can put together. In 2018 and 2019, the Pioneer ran two of its six days in Alex and, since 2021, Phil and James Williamson have been running the Prospector XC stage race — a three-day race named the ultimate XC challenge. For the last two years, riders from all over NZ have come down to give it a go, and have been blown away with just how good the trails are and how great Alex is. For 2023, Phil and James are looking forward to getting some overseas competitors over, to really show them some great racing. There really is riding for everyone here.


So, I’ve broken the first rule of Fight Club. But who cares?! Rules are meant to be broken and people need to know about the gold that still sparkles in the hills around Alex. Should you be putting Alexandra at the top of your ‘must ride’ list? 100%. I really can’t say enough good things about it. The trails are world class, and now the Matangi Station MTB is established, there is no better time to head to Alexandra for a riding trip. It’s in my top five places to ride in NZ — and I’m sure it will be in yours after you go. The riding really is all thyme in Alex.
Words and Photography: Jake Hood
SRAM Eagle Powertrain
Removing the front derailleur.
Removing the wires.
Removing the derailleur hanger.
Removing barriers.
Now, with Eagle Powertrain, we’ve removed the compromises.
Go for Eagle Powertrain.
The complete, seamless and holistic E-MTB system designed to turn on uninterrupted flow.
Go for the better ride.
Eagle Powertrain is inspired innovation, radical simplicity, unmatched integration with Eagle Transmission, clean and simple rider control, and AXS enabled personalization.
Go for unbelievable ease.
The Eagle Powertrain power tune applies natural feeling, traction generating, technical move completing, controllable power to the rear wheel. Developed and proven with BlackBox athletes and profiled to work in concert with how real riders, like you, actually pedal.
Only possible with Eagle.
With Eagle Transmission the harder you pedal, the better it shifts. Nowhere is this more apparent than when paired with Eagle Powertrain.
Total. Pod. Control.
The versatility of AXS pod controllers lets you assign all powertrain rider commands – without the need to compromise the bar with the clutter of additional remotes and bar mounted displays. What’s left? The ultra-clean and intelligent wireless cockpit, indicative of any Eagle AXS system.
Better Batteries. Better everything.
The unique Eagle Powertrain battery streamlines the interface between battery and drive unit. Delivering even more power in a smaller area and super elegant form factor for more pleasing frame silhouettes.
A fully integrated AXS ecosystem allows new levels of personalization for Eagle Powertrain.
Push your buttons.
Layout your cockpit exactly as you desire – AXS makes it possible to assign Pod buttons.
Spin to win or crank it out? Both.
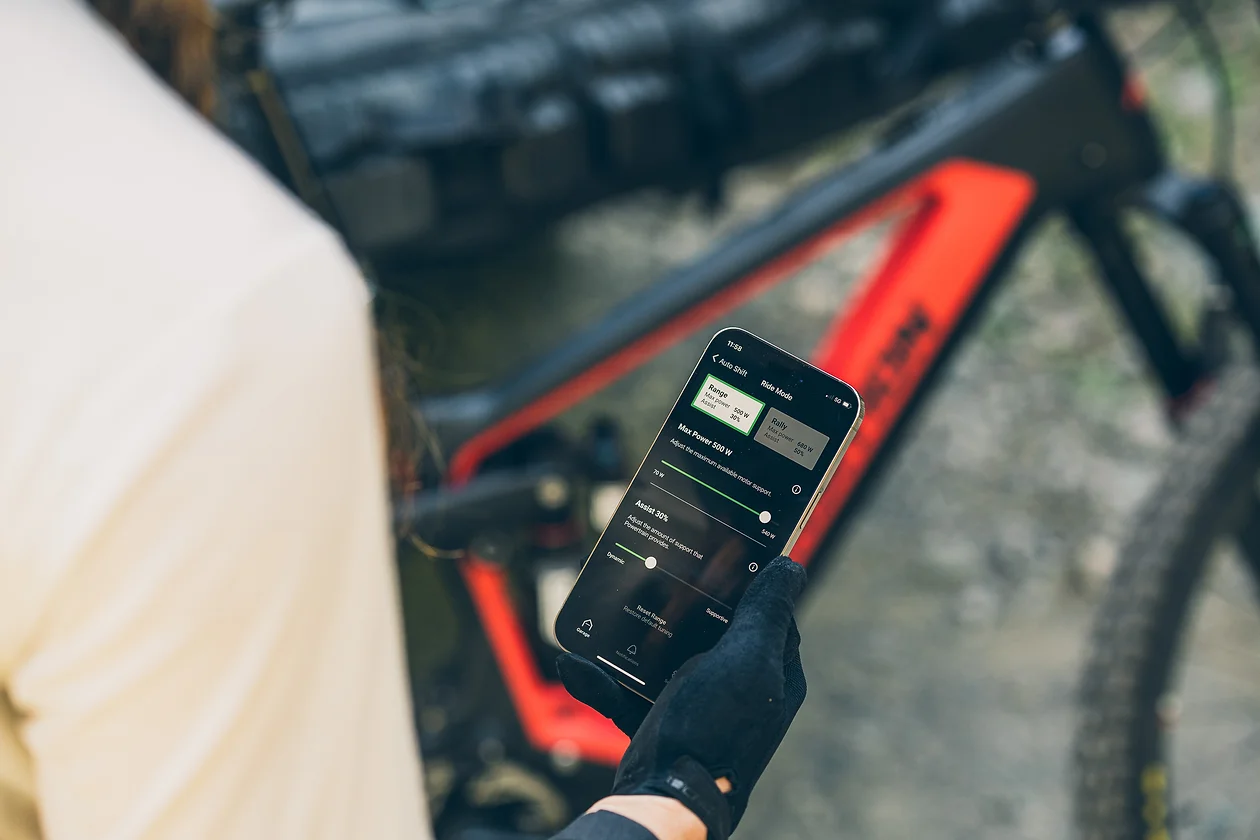
Fine tune the feel of Eagle Powertrain Auto Shift features for terrain or how you’re feeling. Power, in the palm of your hand. The Eagle Powertrain AXS App makes the off-bike experience as rich as the on-bike experience.
Eagle Powertrain has already won the toughest race series out there: The UCI EWS-E.
Born from Blackbox.
Riding with Eagle Powertrain, Yannick Pontal (BlackBox Test Pilot Program) became the reigning champion in the 2022 EWS-E series. His feedback partnership with our engineers and development team allowed SRAM to build a race-winning system at home on the circuit and on your local trails.
“Our focus is always on the rider first. The goal of the system was to provide the rider with a complete, wireless, integrated E-MTB system tuned specifically for performance mountain biking. We simplified the ride allowing the rider to focus on the trail.”
CONTROLS
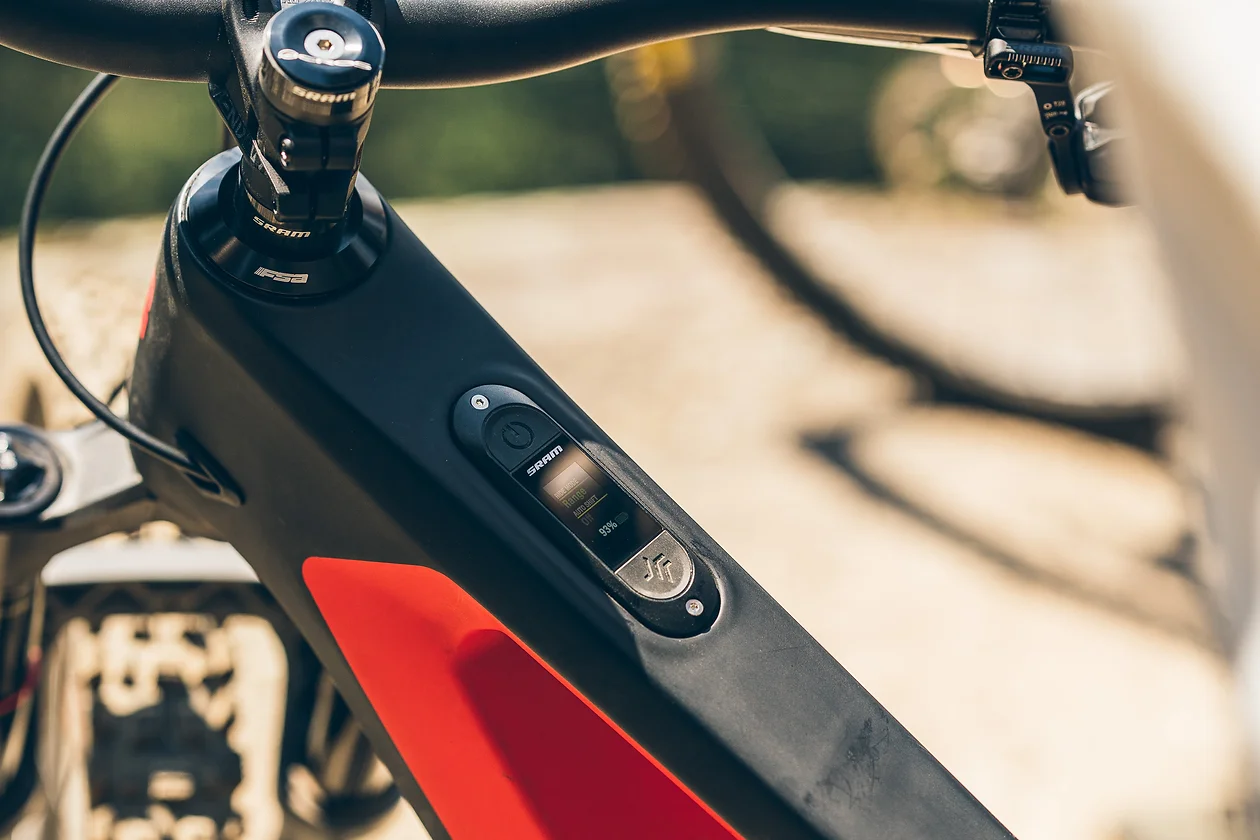
AXS BRIDGE DISPLAY
INTUITIVE RIDER EXPERIENCE
The Eagle Powertrain AXS Bridge Display is the sophisticated nerve center of the entire system, giving you a control unit that greatly simplifies the experience.
Think of it as an onboard extension of the AXS App, providing everything in a brilliantly illuminated, full color, waterproof display, protected under Gorilla Glass.
PODS
FAMILIAR CONTACT POINTS
Toggle between Range and Rally modes. Control your Rockshox Reverb AXS dropper post. Press and hold to multi shift Eagle Transmission. AXS control, encompasses everything.
“Our Auto Shift algorithm is like a bike’s sixth sense, deciding when to shift so riders can stay laser-focused on their ride. It’s not just smart tech, it’s the ultimate riding companion.”
Dominique Fuss and Victor Freyssinet Electrical and Software Engineers
What could feel more natural than not having to think about shifting while you ride? Eagle Powertrain Auto Shift is a feat that senses and translates rider input to deliver an incredibly intuitive experience. Planning an attack or simply want to override the system? Auto Shift seamlessly accepts rider commands, to be ready for your next move.
Eagle Powertrain Coast Shift allows the chainring to move freely from the cranks, letting you shift while coasting. Why? Opening the possibilities of shift anywhere performance (whether pedaling or not) puts you in total control, even when the terrain ahead isn’t.
Two ways to get the most.
Reducing complexity with two support modes that can be easily adjusted and customized for individual desire. Where others give you unnecessary power modes and confusing names, Eagle Powertrain uses just two.
Range Mode
With the touch of a Pod button, toggle to Range Mode for longer routes, easier terrain or when conserving power is a good move.
Rally Mode
Toggle to Rally Mode for shorter rides or whenever you want access to the capabilities of power. Keep it simple.
“It was an incredible opportunity to develop a fully holistic system. All components–from the display to the derailleur–forming one perfectly synced unit. Our wireless AXS technology enabled us to create features like Auto Shift, Coast Shift and the limitless options of Eagle Transmission provide shifting under full load.
Everything in control with the AXS App.
The Eagle Powertrain AXS App makes the off-bike experience as rich as the on bike experience. From customizing drive unit power output to simply checking battery life while off the bike, the AXS App lets you view and fine-tune a host of features, right from your phone.
COMPACT AND FULL SIZE BATTERY
Powering the Eagle Powertrain. Utilizing a unique C-shaped clip-in or optional slide-in interface, the Eagle Powertrain Battery helps to support partner OE manufacturers in their quest to keep the weight low and centered. It comes in at a 630Wh compact or 720Wh full size and is easily removable with a single allen key.
SRAM DRIVE UNIT Powered by BROSE
So much more than merely a motor, the Eagle Powertrain Drive Unit has been engineered with a reimagined power delivery tune that replicates a far more natural pedaling experience. It’s a feel only made possible by our holistic approach to the entire system, where we called upon proven motor hardware and paired it with Eagle Transmission. It’s an approach that took learnings from short-comings that plague other motors, such as common power losses from super-hard riding, and gave us the opportunity to go further by utilizing things such as heat-resistant materials that provide superior thermal performance and enable longer power delivery.
SRAM GX Transmission: First Taste
Throwback to 2018: ‘Old Orange’ was the name of my bike, complete with the original SRAM GX Eagle 12 speed. I won’t fudge it – after having races wasted due to chains breaking and multiple derailleurs self-destructing, I jumped ship and went back to an 11-speed set-up. Thankfully, SRAM did what they do; reworked, refined and, not long after, launched the GX Lunar series with an updated and much more reliable derailleur and new cassette. This new series addressed the issues I had encountered but didn’t sway me back to that groupset on my Enduro bike. My cross-country rig does have a full X01 mechanical setup fitted; I really like its lightweight shift feel – the chains last much longer than other brands, and the overall performance is spot-on.
I’ve never spent any length of time on SRAM’s electronic shifting, outside of a three-day stint aboard their gravel-focussed Rival XPLR groupo (I rated it) for NZ Cycling Journal. My SRAM experience has been purely mechanical on the MTB side of things.
GX AXS launched in late March 2021 and was heralded as electronic shifting for the people. To this day, it remains attainable, reliable and precise, but not necessarily an uber-lightweight option (for the price) for those chasing the electronic dream on a budget. The GX Transmission picks up where the standard GX AXS leave off, and incorporates all the features of the higher-end transmission groupsets, but at a more attainable price point.
Looking to break new ground, SRAM tore up the blueprints for anything we know about the rear derailleur and not only reworked them, but created an entirely new ecosystem by removing the derailleur hangar and creating a place to stand while your bike is lying on the ground. All jokes aside, the new groupset looked to be a pretty game changing piece of kit – even the price was game changing!
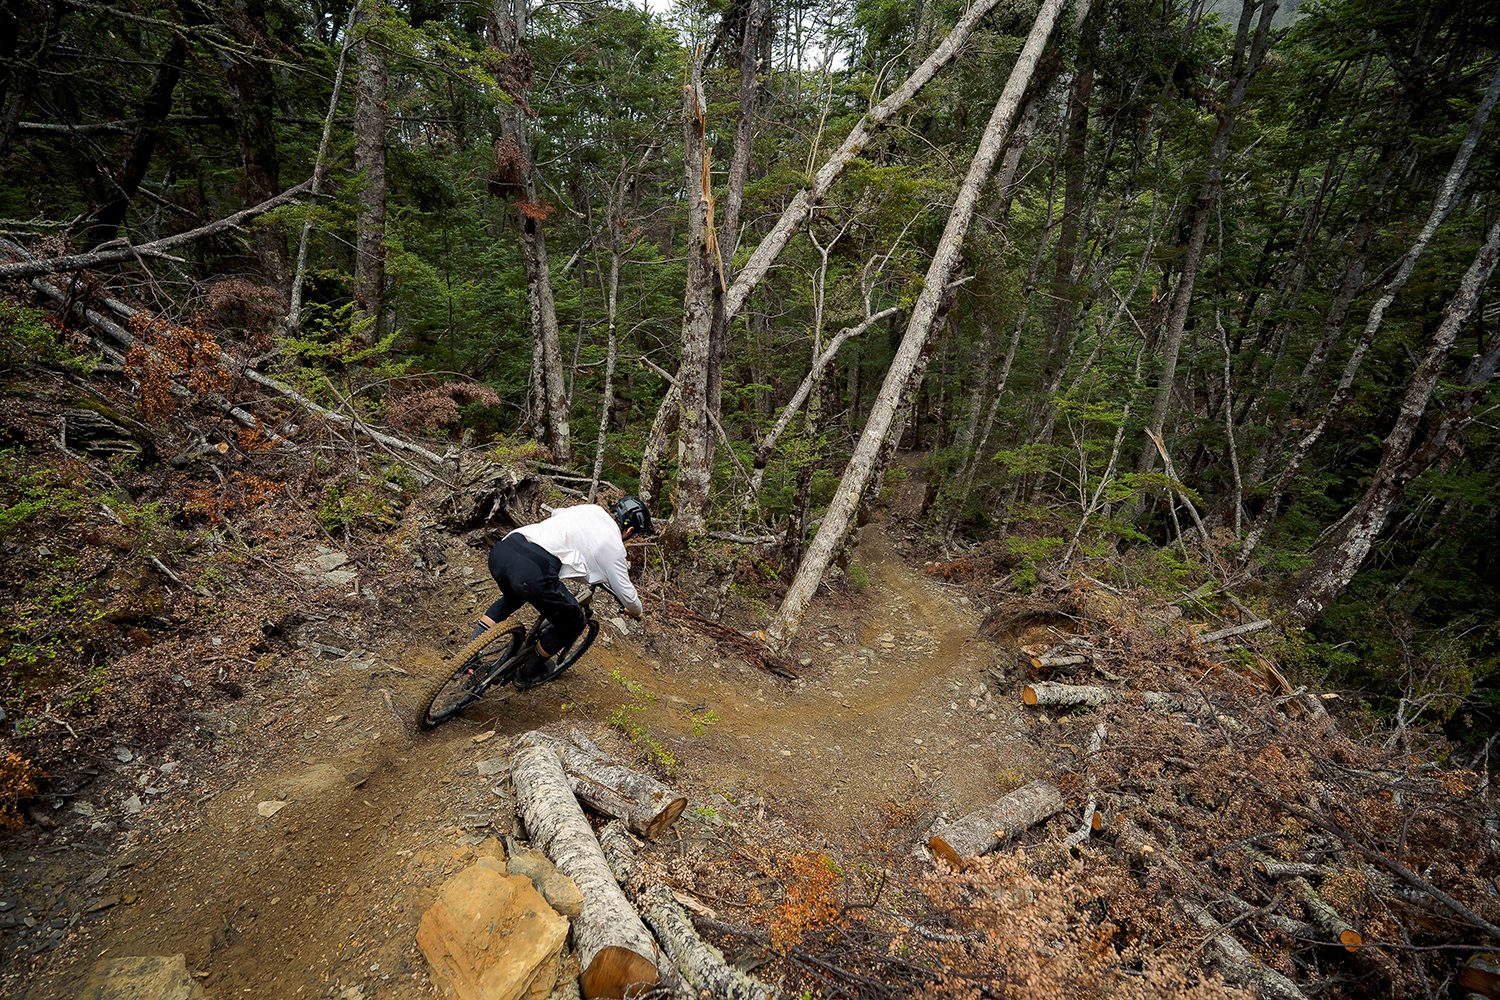
In March this year, SRAM launched the Transmission ecosystem, with their XX SL, XX, and XO levels. Unless you were on an internet-free trip to Mars, in a submarine looking for the Titanic (too soon?) or hidden under a very large rock which had squashed your phone and computer, you’ll have seen its huge launch. For days you couldn’t go anywhere online without seeing pictures of people standing on derailleurs. We won’t delve into the nitty-gritty of the Transmission development or tech in this piece, as that story has largely been told, but we will give some first impressions and point out some differences from what’s already in the market.
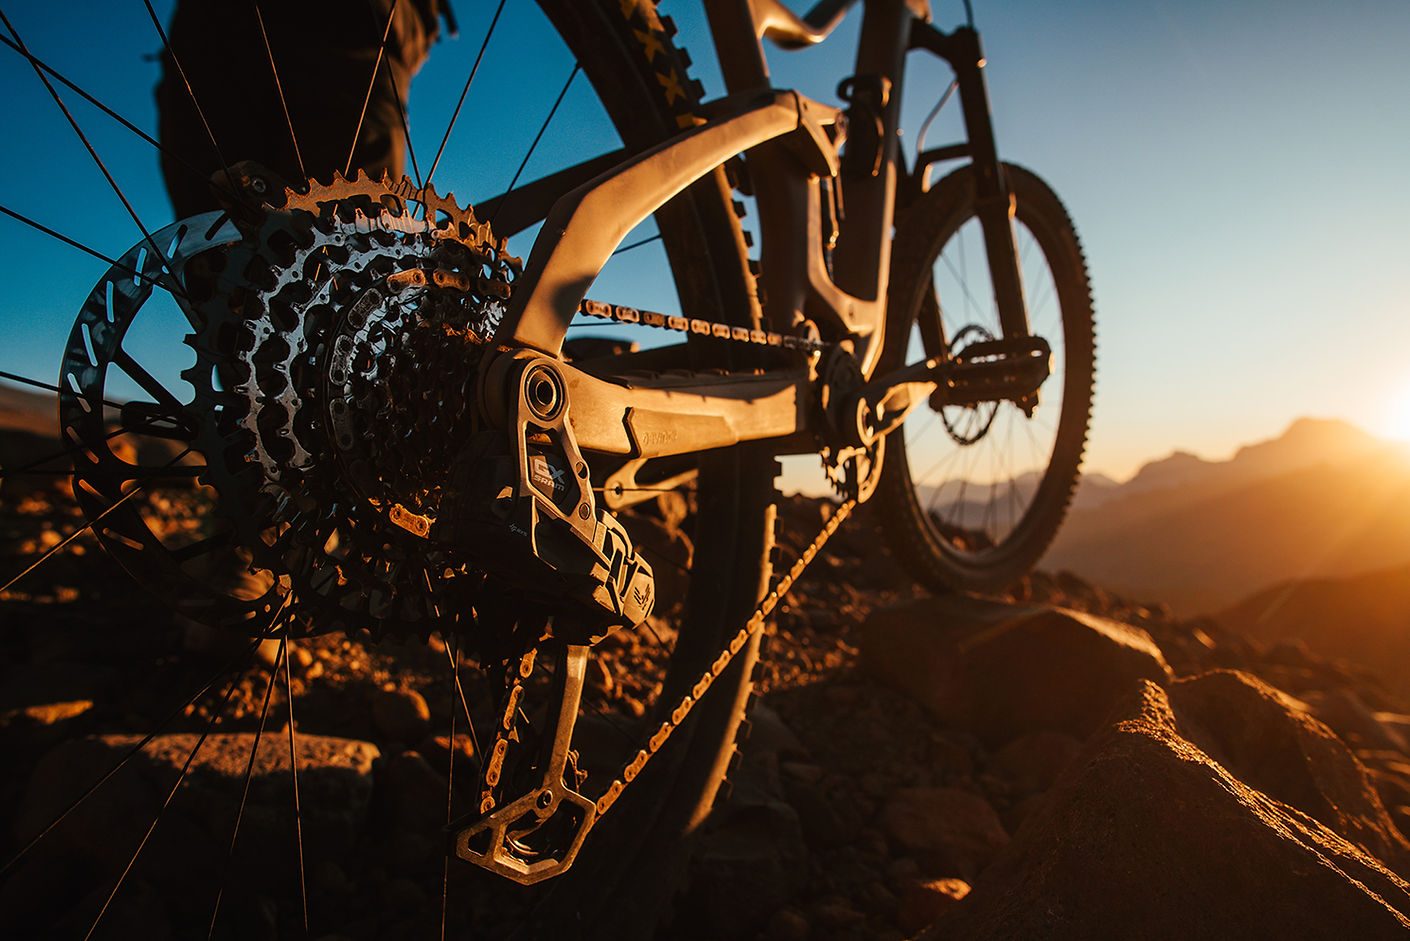
Today marks the launch of part deux of the Transmission story, as SRAM launch the GX series – continuing their ‘All Day’ theme with a groupset designed for all-mountain, all-day missions, at a far more affordable price. What you find on the GX system is largely the same as the higher-end Transmissions released earlier. There are some subtle differences which are visually noticeable from those higher-end units. In particular, the battery is hidden away in what I’ll refer to as the “Derailleur Garage” – keeping it out of harms way – essentially inside the derailleur. Replaceable, protective skid plates have been added, and a two-piece outer link. It also features a tool-free cage assembly – so it’s both removable and upgradeable, should you want to do so. A steel inner cage replaces the carbon of its higher-end brethren. Like the GX AXS of old, it’s been built for riders of the real world.
A couple of weeks before the launch date, a nice cardboard cube arrived on the courier. Hastily, I opened the SRAM Eagle logo-adorned box to find a neatly stacked groupset: three tiers, a layer cake of sorts. The piece de resistance – the derailleur – on the top, with the crank set and cassette making up the second and third tier respectively. The packaging is fully recyclable and recycled cardboard, there’s not a piece of plastic packaging in sight – in fact, the only piece of throwaway plastic I could find was a tiny piece of Sellotape and a cap over the end of the crank spindle. A leap forward from SRAM’s old packaging.
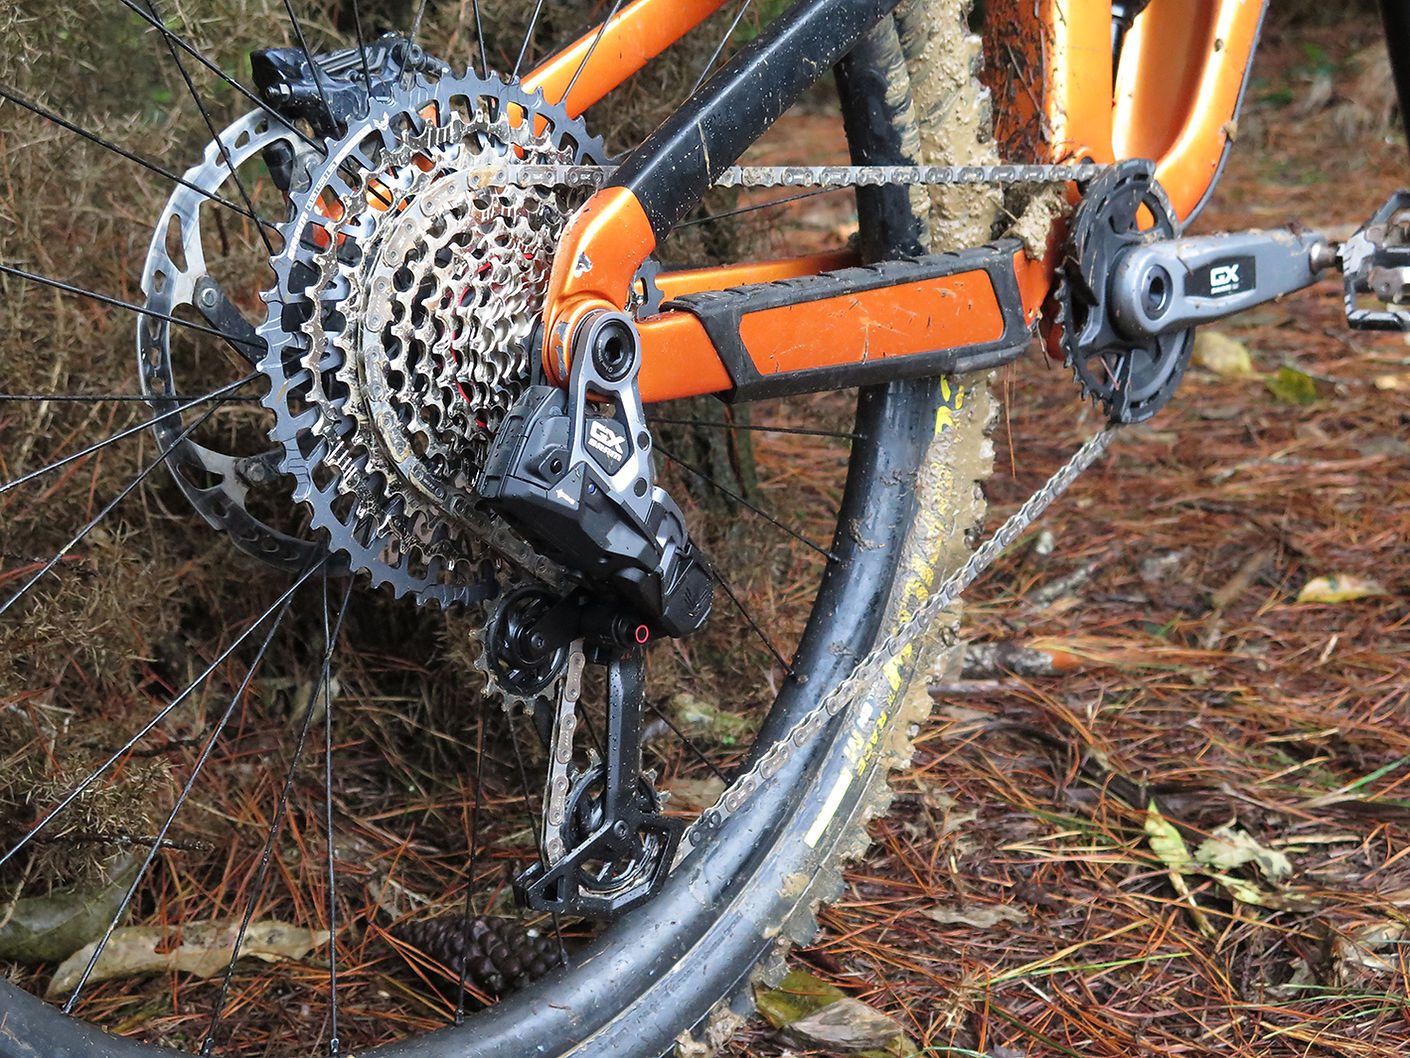
A quick watch of the install video and it was game on. It’s been a long time since I’ve installed anything on my bike that required a proper read of the instructions or, in this case, a video. SRAM does a killer job of stepping through the installation process: whoa-to-go in around 30 minutes. I’d imagine after another couple of goes, a whole Transmission could be installed in about 15 – 20 minutes, maybe even quicker. It really is pretty simple provided you’ve watched the video. My only install hiccup was my inability to pair the system to my phone (no doubt user error, but I’ll figure that out soon) as well as the compatibility of the shifter clamp with my brakes, which aren’t SRAM. It took a bit of jimmying, but I managed to get the two to work together – it did mean that I couldn’t take full advantage of the adjustment that should have been available. Fortunately, the one spot I could get the shifter to sit was just right for me. I see in their documentation a different shifter pod mount is available and this would have completely solved my issue.
After realising there wasn’t an AXS charger in the box (I believe it will ship with one) the derailleur light signalled a critically low battery, so I waited out a few very wet and cold days, borrowed a charger from a mate, finally charged a battery, then hit the trails.
Te Miro MTB Park, just out the back of Cambridge, was my first testing ground. For the uninitiated, the trails are reasonably varied but the general theme is clay and native roots, dispersed amongst meandering climbs with the odd pinch or crux move requiring low cadence torque and fast, precise shifting to get the most out of your bike if speed is your aim. Coming off the back of a few days of intermittent rain, I wasn’t expecting much aside from mud and muck – perfect for bedding in a fresh groupset.
Leaving the car park, I snapped through the gears and made sure everything was still as it should be. I shifted through the cassette and took a couple of looks back just to be sure it had shifted, as it was so smooth and quiet, just a small ‘zit’ noise and a rolling increase of resistance at the pedals. I spun my way up the Easy As climb, taking the harder, steeper lines where possible, purposely shifting at the wrong time and under full power. Thoroughly impressed at how positive the shifting feel and accuracy was I pressed on, thinking to myself, ‘sure, it’s good now, but I bet once there’s some mud in the system it will be just like everything else’.
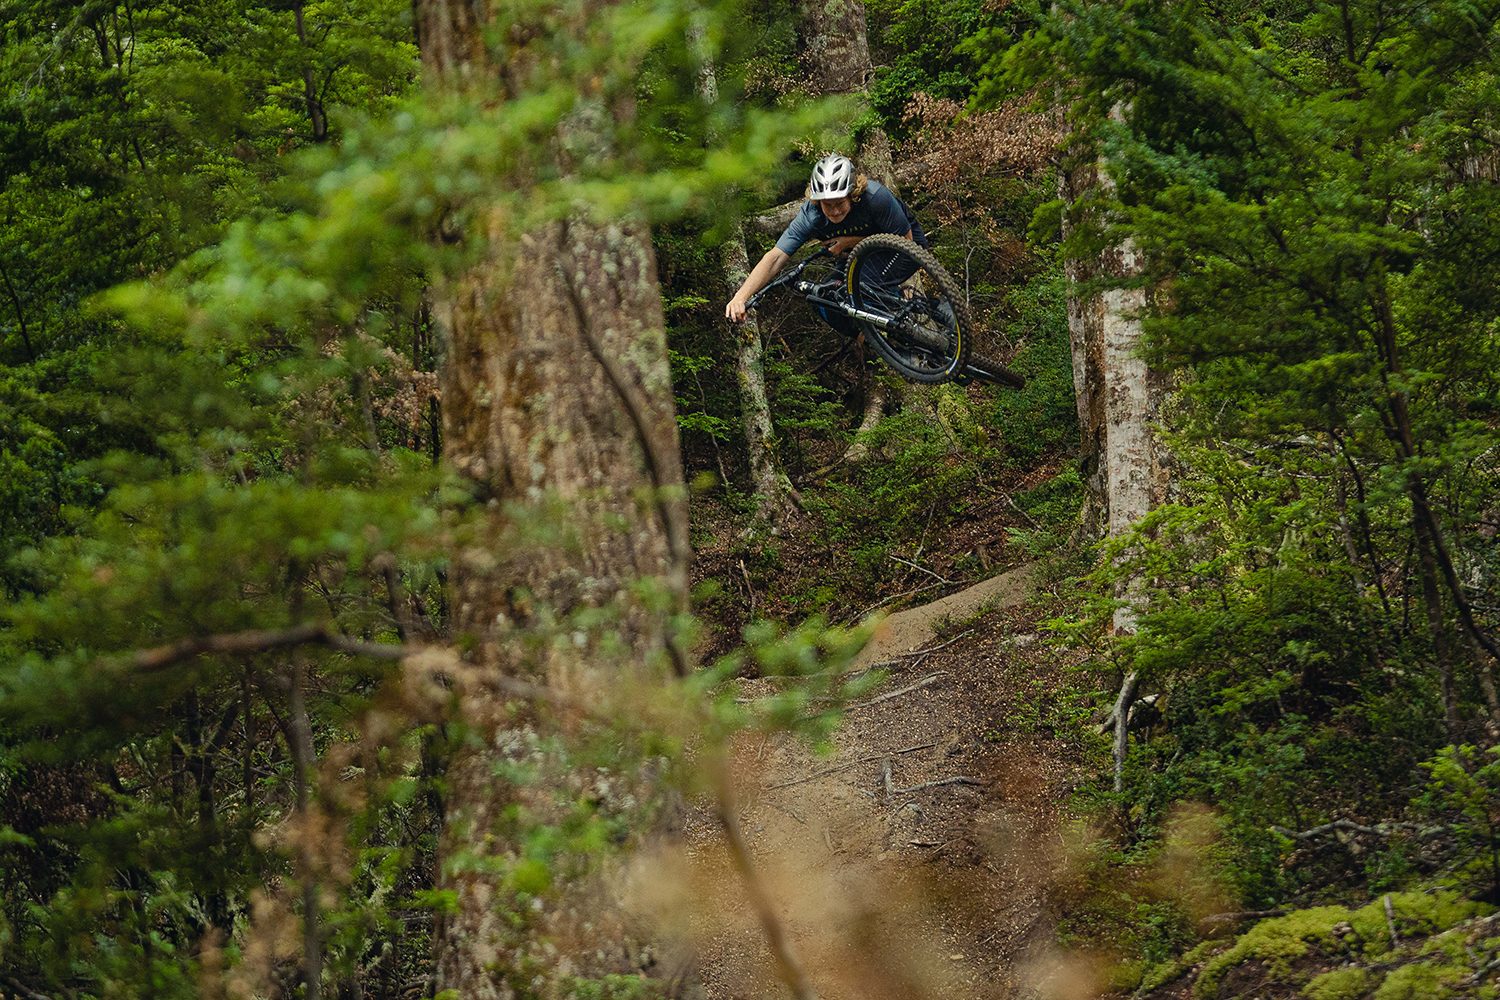
‘Easy As’ caps out and links into the Miro climb; its mellow gradients are broken up with some proper NZ native roots. Regular traffic polishes off the bark and pulls slimy dirt up onto them. You have to have your wits about you to keep the power down and maintain forward momentum, a situation where a mis-shift or slipped gear will likely see you stalled out or on the floor. Again, I was impressed by how accurate the shift was, with no slipping or mis-shifts, regardless of how many shifts under full power, and regardless of cadence.
Words: Lester Perry
Photography: Jake Hood / Lester Perry / Supplied
Bike Review: Trek Fuel EX
In the bike world, we often hear about ‘incremental improvement’. Teams take a lot of things into consideration that seem trivial but, taken on the whole, they add up to the small advantages that make the difference between winning and losing.
The same sort of thing applies to the bikes that get trotted out each season.
The reality is, within most categories, the bikes available have been very good for a long time now. The stuff that gets bolted on has been equally good for just as long. That high level of functionality means incremental improvement is what we get.
In the case of the latest Trek Fuel EX, it is a revision of a model that has been a mainstay for trail riders for 17 years. My personal bike has been one of these things for the last two iterations, and I can attest that although my first one was a very good bike, the next was slightly better and the latest one is better again – for my purposes anyway.
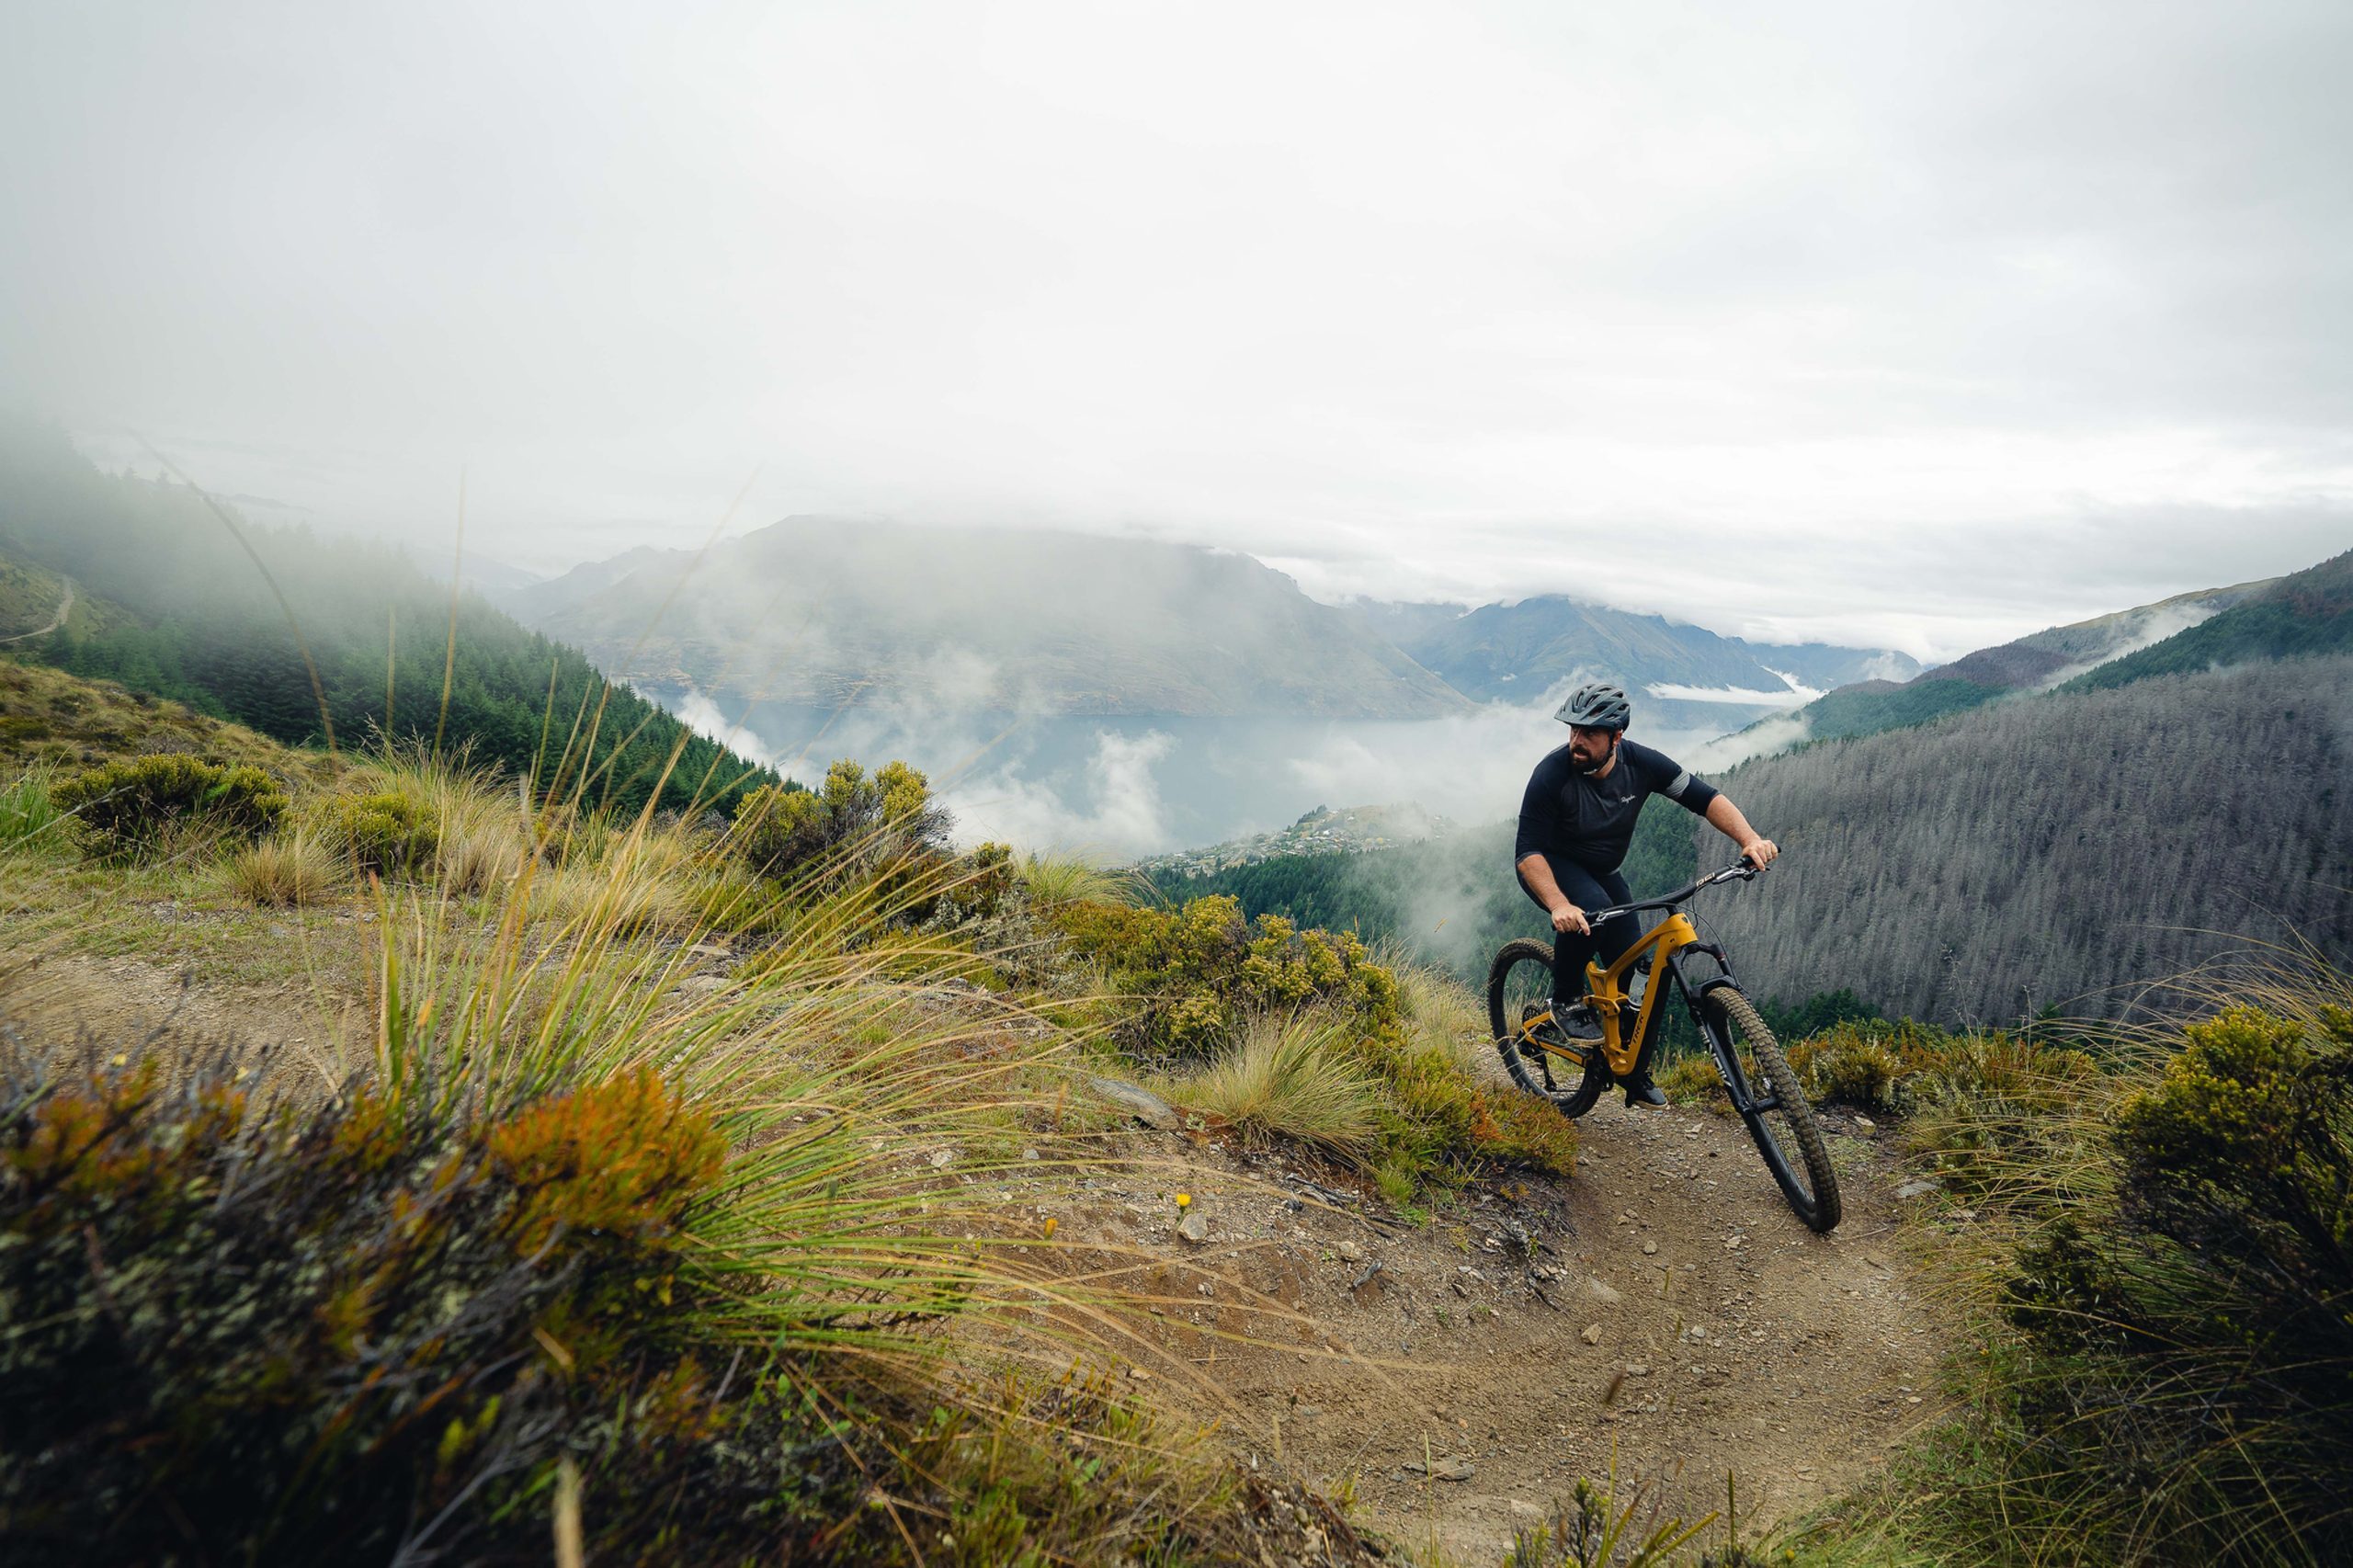
I switched from more boutique brands for a variety of reasons. Practicality, to start with. The bike shop I work with in my day job is a Trek dealer and, yes, I admit I got a good deal on my first Trek. But the main thing that made me give the bike a go was a conversation I had with a friend who runs a high-end bike and sports retail store in Germany.
In his country, Trek is seen as a market-leading brand with the best technology, and customers pay a premium for the products. The retail environment in New Zealand is a bit different, and Trek is one of the brands that is available in the two big chains of retail stores. Not necessarily a bad thing, but it puts a brand in a different sort of light.
I looked at my mate’s input as a reinforcement of my decision to go mainstream, and ordered my first Fuel EX.
I rode that bike for two years, and had the same amount of strife as I had on the boutique brand bike I had been riding. That is, not much. Everything worked, and there were no big problems. So, I was a lot more confident upgrading when the next major model change came along.
My current bike has also given me two years of trouble-free operation, and it was a lesson in the benefits of going with a gigantic company’s offer. A full carbon frame, carbon rims, and decent pile of components for a very keen price.
When I got the chance to spend some time aboard the latest version, I felt well-qualified to feel out what I expected to be very small differences.
The improvements turned out to be more than incremental.
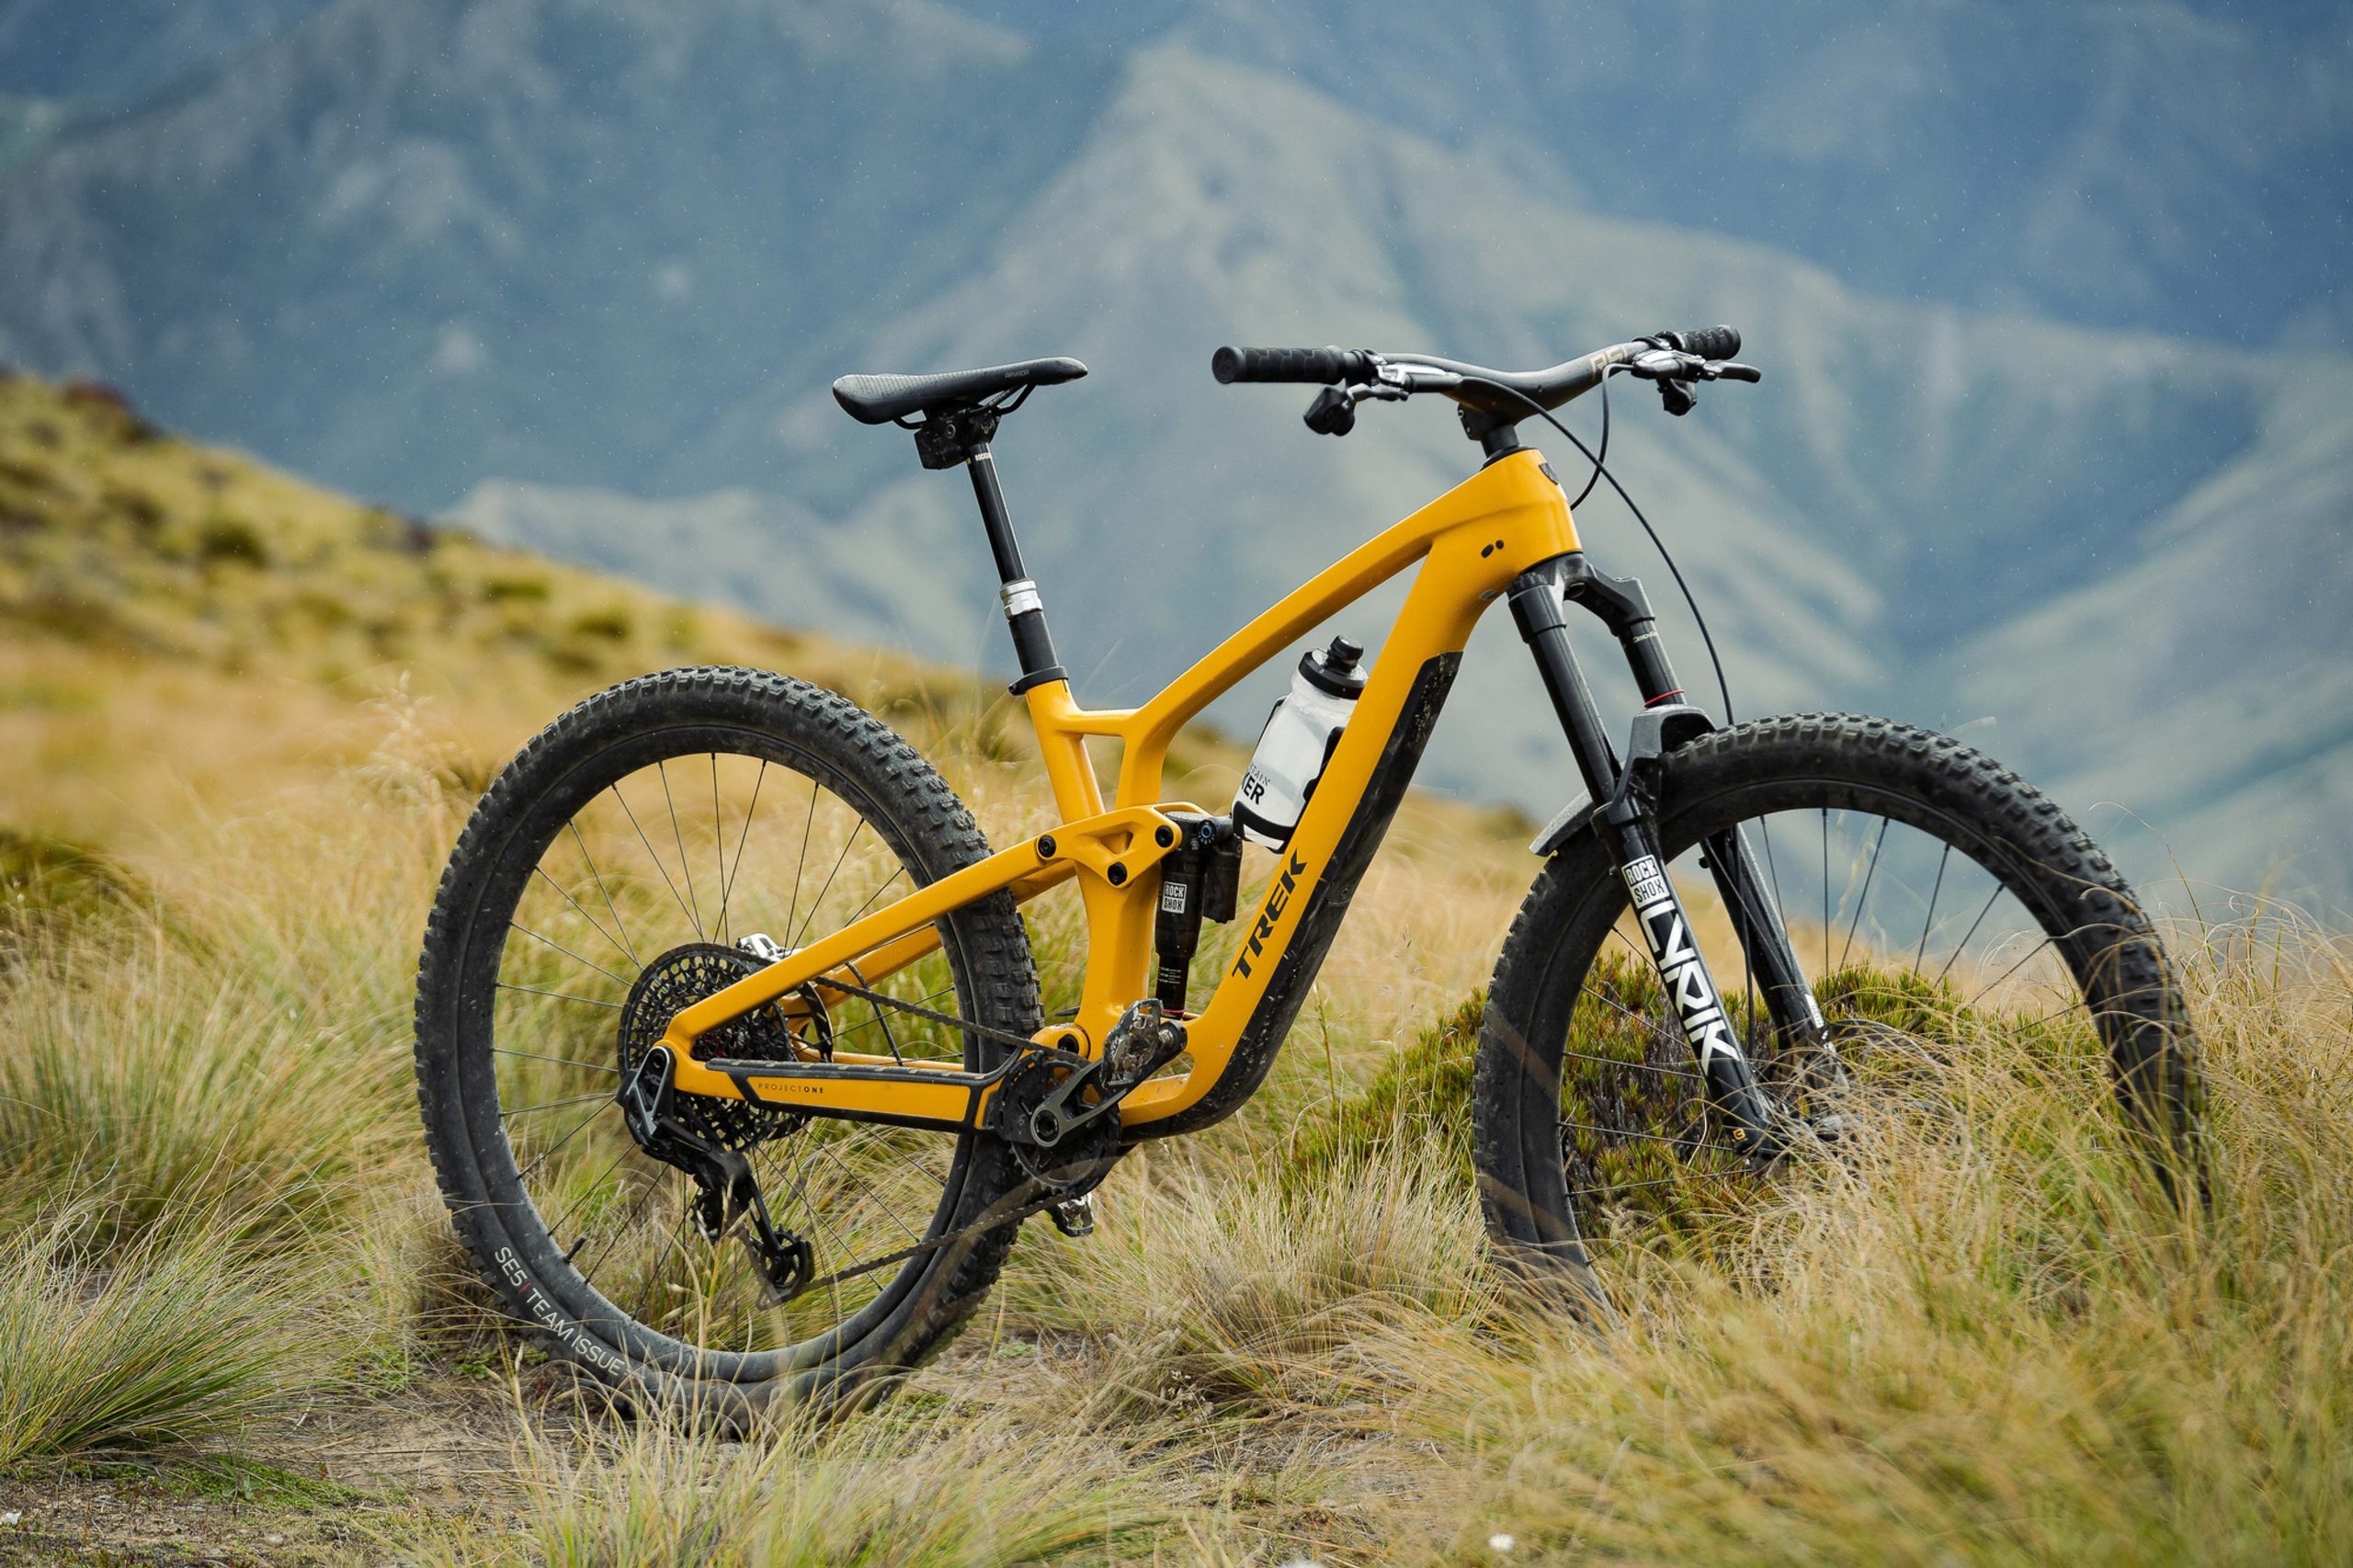
The frame is a thing of beauty – but that is in the eye of the beholder, of course. It has a very similar suspension system to the previous model, with ten millimetres more travel at both ends – they have upped the numbers to a very middle-of-the-pack level for a 29er trail bike: 140mm at the back and 150 in front.
The new model features more adjustability. Trek has offered their ‘Mino Link’ flip chip in the rear suspension for many years. That is an eccentric unit in the upper link of the rear suspension that lets a rider choose between a lower BB height – that makes the front end a fairly slack 64.5 degrees – or a higher BB and half a degree steeper head angle. In the 2023 model, they added a flip chip in the lower shock mount which gives you the option of a linear shock rate in the ‘Less’ setting or a noticeably more progressive rate in the ‘More’ setting. There is also provision for a headset providing a total of two degrees of adjustment.
The frame design makes a coil shock a possibility, and you can even mulletise the beast if you so desire.
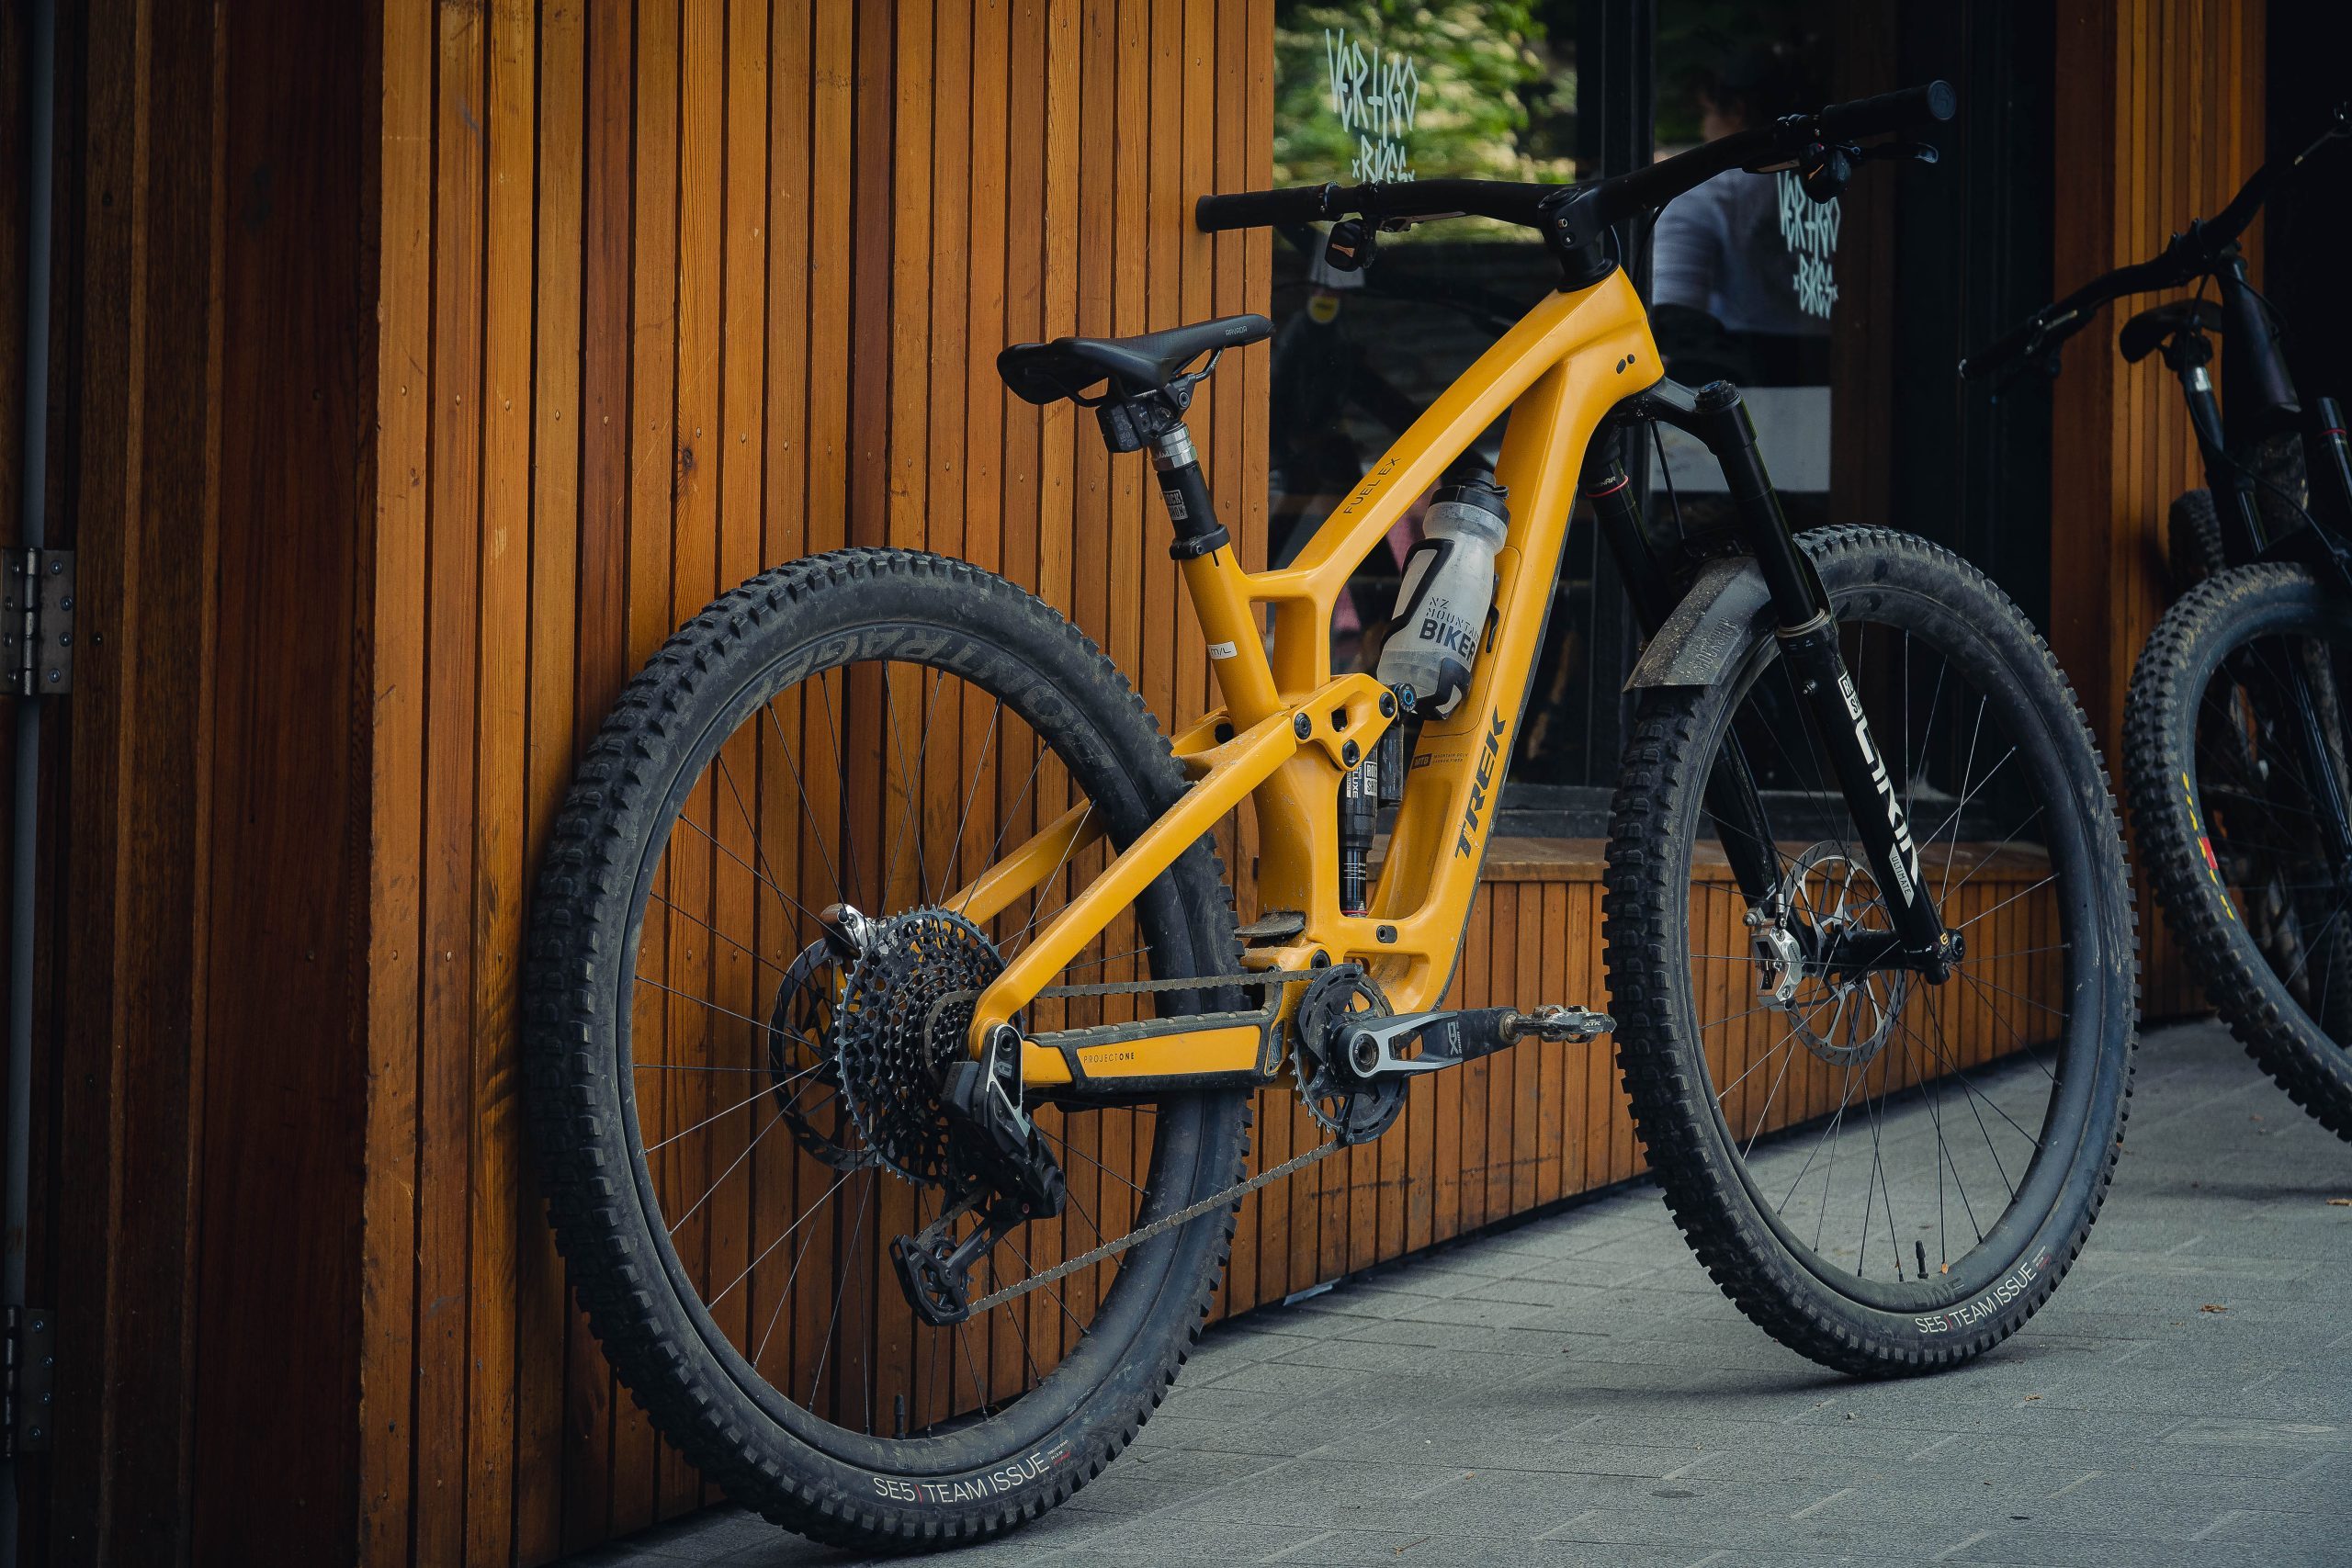
The frame is definitely burly. There is a lot of material in the big tubes and tough-looking support struts in the well-reinforced design. The claimed weight of the Medium sized carbon example is 3.4kg. That translates to a complete bike weight of 14.15kg for this top-drawer model on review. That is not a super light bike these days, and the lower-specced versions can see an extra couple of kgs added on. Does that make much difference to the overall experience of the ride? Not in my opinion.
Heading out into the woods on the new bike, the first thing I noticed was the change of perspective from my cockpit point of view. My ‘old’ bike is a 2020 model, which has a 66 degree head angle and a 140mm fork. A degree and a half slacker, and 10mm more travel, doesn’t sound like much, but it puts that front wheel way out front. The effective seat tube angle has steepened by a whopping 2.5 degrees, to 77.5. The reach is stretched out by 5mm compared to the old machine, but that seat tube angle puts the rider over the centre of the bike.
The next thing I noticed was how spritely it felt. How a bike ‘feels’ is so subjective, I have always wondered why reviewers wax on about it, but now I am one. And how the bike feels is actually more interesting to me than all the numbers, especially the ones that refer to weight.
It feels light. It pedals incredibly well; the suspension platform is very stable with the air and compression settings set according to Trek’s online guide. It goes uphill better than anything in this reviewer’s experience – at least, that is the feeling I got from it. It isn’t a miracle machine, my Strava segments were still very average, but there were some PRs!
Same going down. The bike definitely transmits more chatter to the rider than my previous Fuels, but that could be down to the very stiff, unified bar/stem fitted to the model I had. Dropping a little tyre pressure settled it down a lot. I have not had great relationships with previous sets of Bontrager rubber, but the tyres fitted to this bike worked very well. They are big and heavy, and at a spongy 18psi in the front and 20 odd in the rear, they stuck to the dirt.
The extra ten millimetres of suspension travel doesn’t sound like much but, combined with the geometry tweaks, it really inspired confidence on downhill trails. I might not having been going any faster, but I felt great.
The down tube features the same storage facility that has been on the Fuel from 2020, with a cover that is secured by a lever tucked under the bottle cage, which bolts to the cover. There is enough room in the tube for a spare tube, a small pump, and a toolkit as long as everything is packed so it can’t rattle around. I have been paranoid about damaging the inside of the frame by having something loose floating around in there, so on my Fuel I have repurposed some neoprene things I had kicking around to contain my pump and a multitool. The bikes come with a long folding tube holder, which will hold a lightweight tube if you are patient and careful. It has a red tape on the end to haul it out with, and stowing the tube holder stops anything else form sliding down into the bottom of the tube and out of reach. The only downside to this baggage compartment is that the lid can rattle – it has the weight of a bottle attached to it, which probably doesn’t help. The test bike’s lid didn’t rattle at all. While we are on acoustics, the very generous chain stay protector on the new model quiets the back end of the bike down.
My take on the 2023 Fuel EX is very positive. I liked riding it. For everything I like to do, it was hard to imagine much improvement.
There is a range of build options that all share the same carbon frame.
The test sled was the 9.8 AXS model. It is listed at $12,699 – and that is a fairly eye-watering investment but, when you look at the tech you get, it is a way south of what you would need to spend on many more boutique brands with the same level of kit. Wireless shifting, carbon wheels and bars, Fox suspension.
There is an XTR version at $14,499, but the one that stands out for me is the XT model, at $9499.
Same carbon frame as the pricier bikes, unified carbon bar/stem, carbon Bontrager wheel set, Fox suspension, and the tried-and-true shifting and braking of Shimano XT. Very hard to beat that combo, and you get the back up of a large operation when it comes to the fairly unlikely prospect of a problem. Sometimes big is good.
WORDS: GAZ SULLIVAN
PHOTOGRAPHY: JAKE HOOD
DISTRIBUTOR: TREK NZ
RRP: XT: $9499 / 9.8 GX AXS: $12,699 / XTR: $14,499
Review: Continental Kryptotal & Xynotal Tyres
Reviewed by Lance Pilbrow
Distributed by Worralls
RRP: $148
Continental have recently done a major overhaul of their gravity tyre offering. The range they offer now is almost overwhelming. Four new names, five new tread patterns, three casings, and three rubber compounds. It’s a lot to get your head around. To try and simplify things, let’s run through the tread patterns, which will help you narrow your choice down to match how dry or wet your riding conditions are. For hardpack conditions you start with the Xynotal tread pattern; mixed terrain is the Kryptotal (front and rear specific tread pattern); the Argotal is for loose terrain; and the Hydrotal is for mud. Got it? We’re just getting started. The Xynotal, Kryptotal and Argotal are all offered in Trail, Enduro, Downhill, or Downhill Supersoft casings (the Hydrotal is only offered in DH super soft). Oh, and then you choose how hard or soft you like your rubber: Endurance (harder); Soft (softer than Endurance); or Supersoft (pretty self-explanatory). Still with me? If you like Subway and getting your Sub just the way you like it, then you’ll be in tyre heaven. For all that choice, width wise, the Kryptotal Re is 2.4” or 2.6”, everything else is 2.4”, and that’s it. Everything is available in 29” or 27.5”.
Ok, so you have lots of variants to choose from. No, I did not test every variant. As much as I love new tyres, I have other things to do with my summer. I’ve been riding the Kryptotal Fr (Front) and Kryptotal Re (Rear) in the Enduro Casing, with the Soft compound, in a 2.4” width, this summer. This probably represents a fairly middle of the road option across the board. The tread pattern on the Kryptotal Fr has a 2-3-2 pattern down the centre, whereas the Re has a consistent 2-2-2 pattern. The Enduro casing has three layers of 110 tpi thread count and weighed in at 1125 gm
Out of the box, the tyres actually just look great. I didn’t know I was so attuned to what a quality tyre felt like, but these are that. The finish on the tyres is top notch. The graphics are perfect and there is a unique kind of embossed pattern in the side walls and in between the lugs. It screams German precision and quality. Getting them mounted up on my WheelWorks wheels was pretty tough, I’m going to be honest. Were these the hardest tyres I’ve ever had to mount? No, but it would be getting close. The casing is incredibly stiff. Just getting them on the rim felt like I was going to break tyre levers or damage my rims. Thankfully, that was all in my head, but it took a LOT longer to get them on than any other tyre I’ve used in the past. Once they were on, they sealed up nicely.
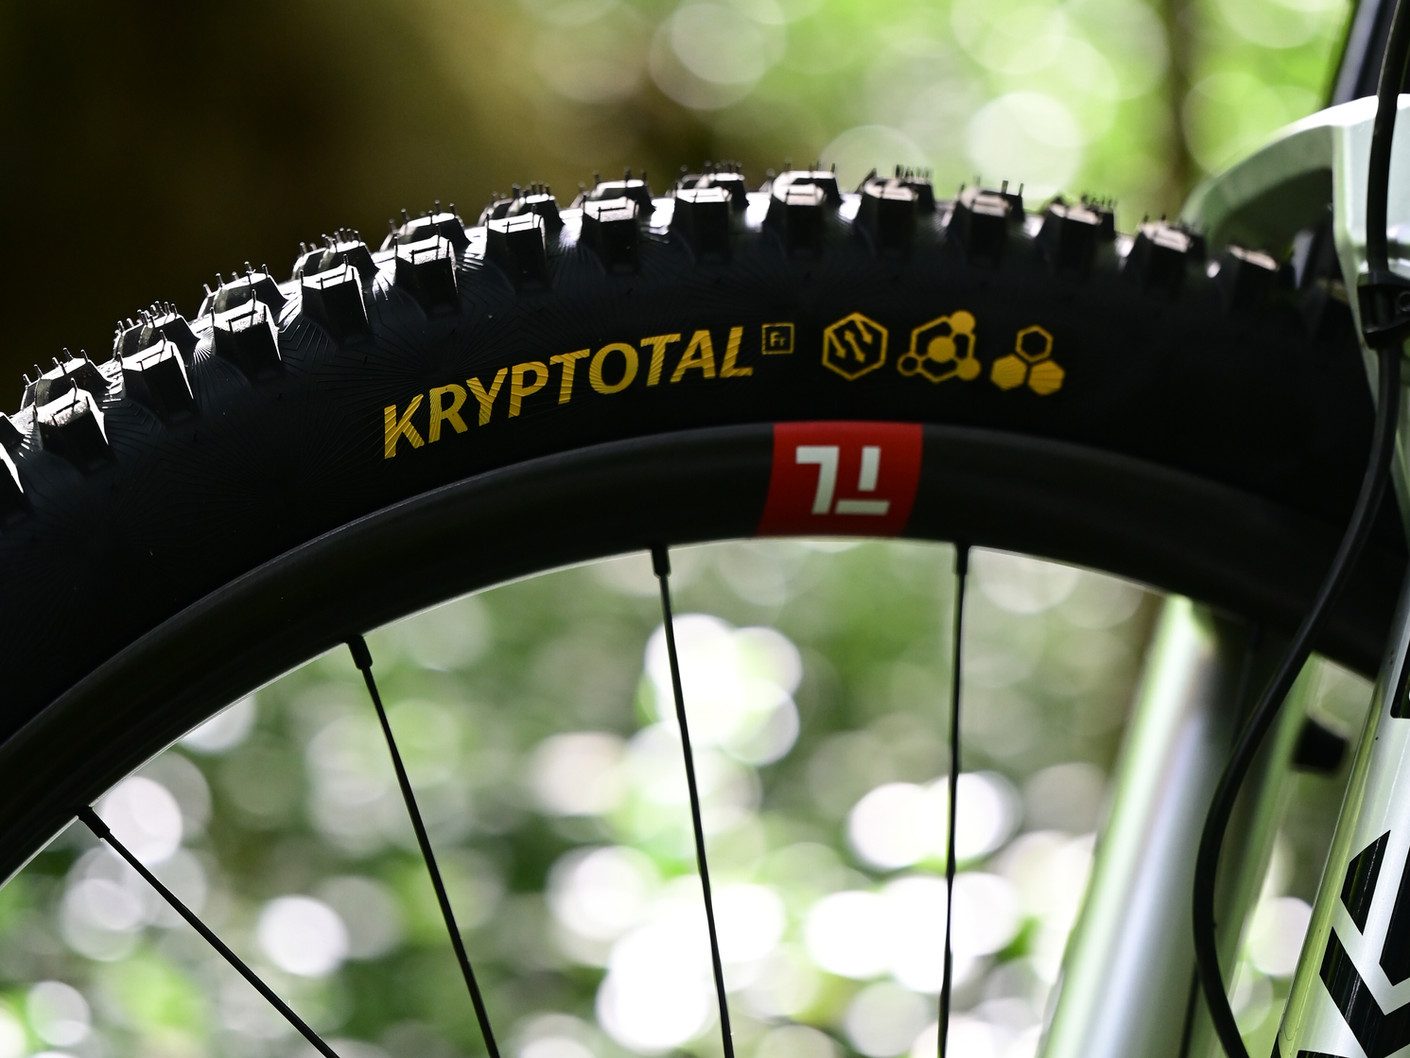
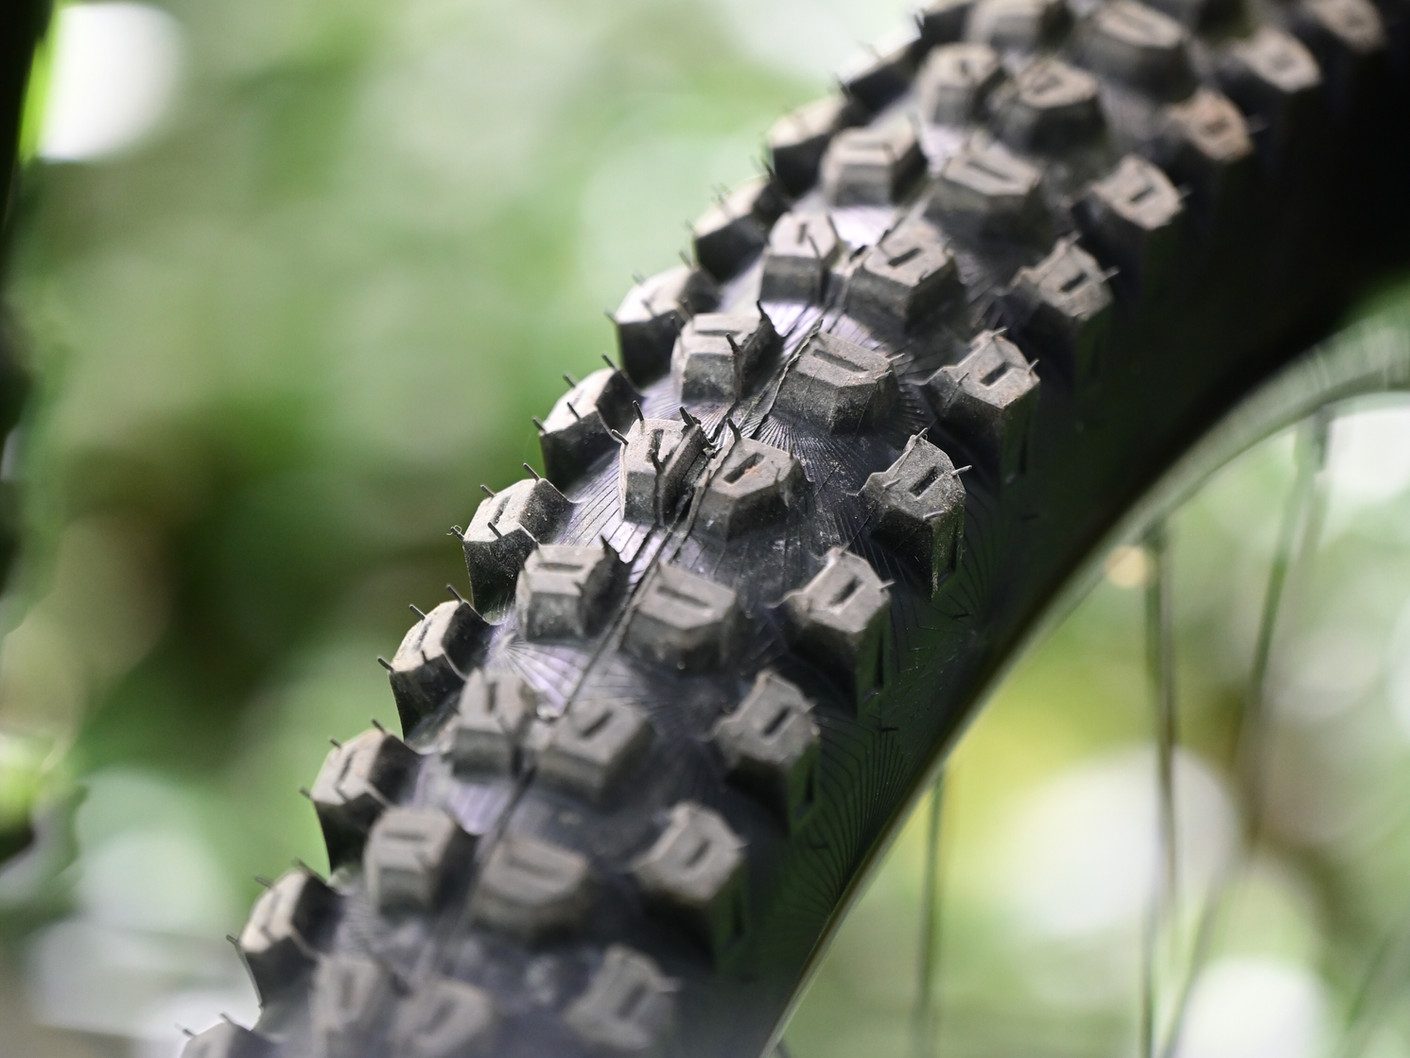
Visually, you can see that these tyres mean business – the lugs are tall and on the front there are generous gaps to help with mud clearance, enabling the tyre to really dig in. Out on the trail I have been really happy with the Kryptotals. The 2.4” width is spot on for trail riding and gives you plenty of rubber for when things get just a bit squirrelly. Having spent a fair bit of time recently on lighter, faster rolling tyres, coming on to the Kryptotals felt like I had traction in spades, and I always felt in control. I could push and push and it would always seem to hold. When heavy braking occurred, it would always hook up strong and this really made me feel confident riding them. I really noticed how, on a few favourite turns, I would try to push through and stay off the brakes, and the Kryptotal held the line incredibly well. Occasionally, I was actually surprised that I didn’t lose the front end, and was left thinking, ‘huh, I rode out of that?!’ with a great big smile across my face. This really helps with confidence and keeping your fingers off the brakes; holding your speed through the corners.
After a summer of riding, I’m happy to say the tyres still look great. The side walls are in great condition, and I haven’t had a single puncture, tear, or burps. If you’ve been a fan of Maxxis Assegai’s or DHR’s then I think you’ll find the Kryptotal to be right up your alley. I’ve been really impressed with these and will be leaving them on my bike for as long as I can. They gave me great confidence to push hard into corners and control when navigating heavy braking down steep descents.

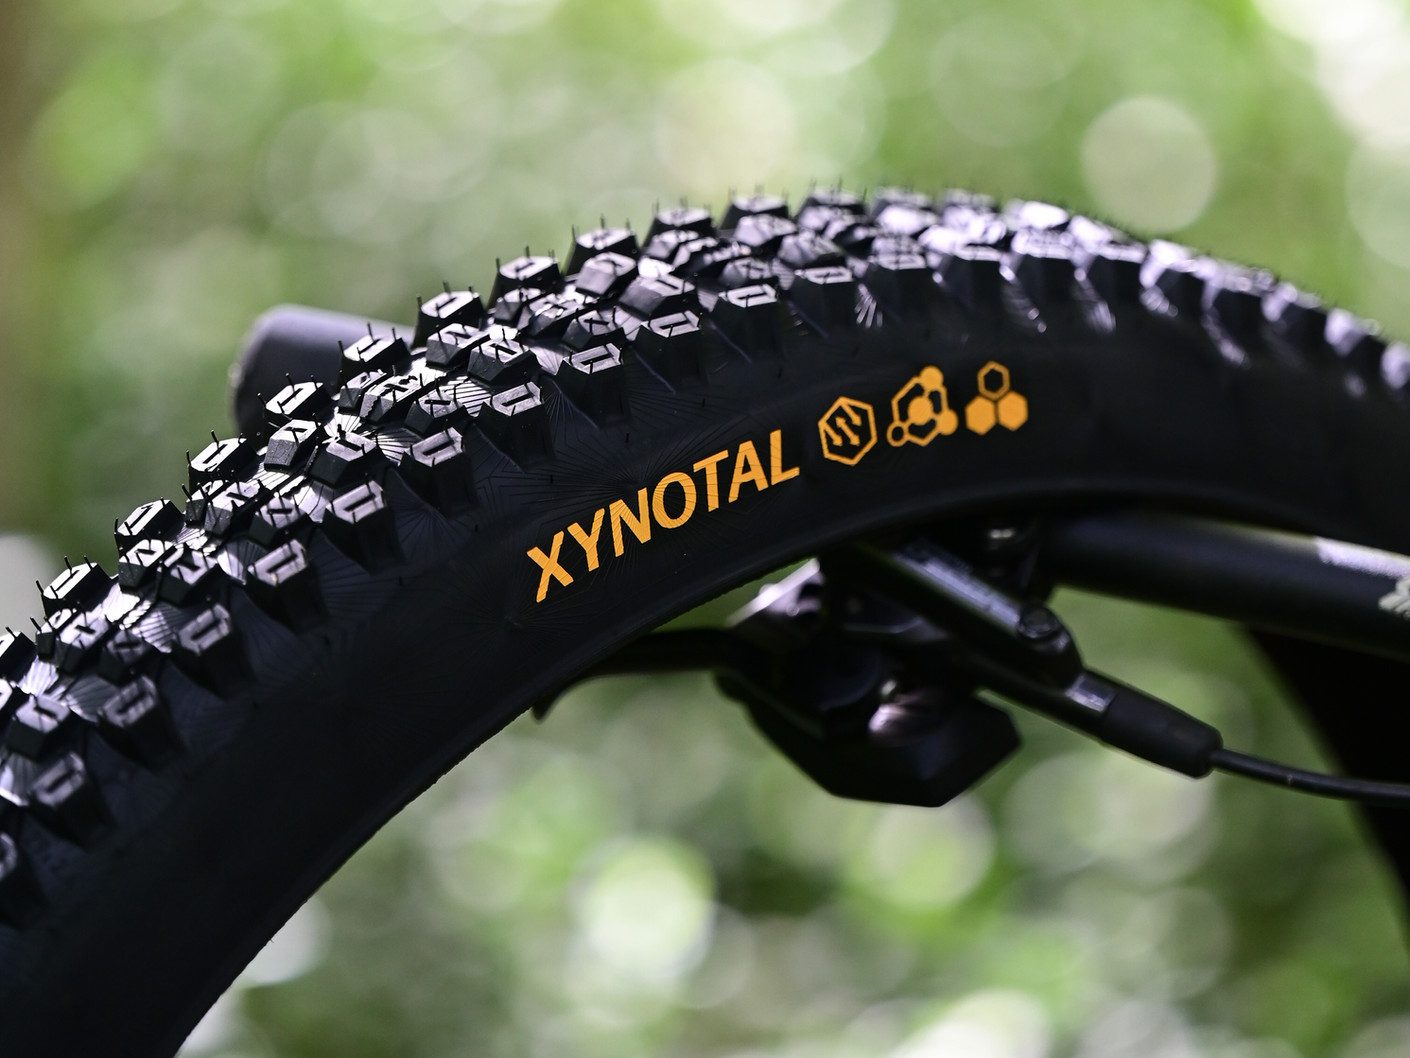
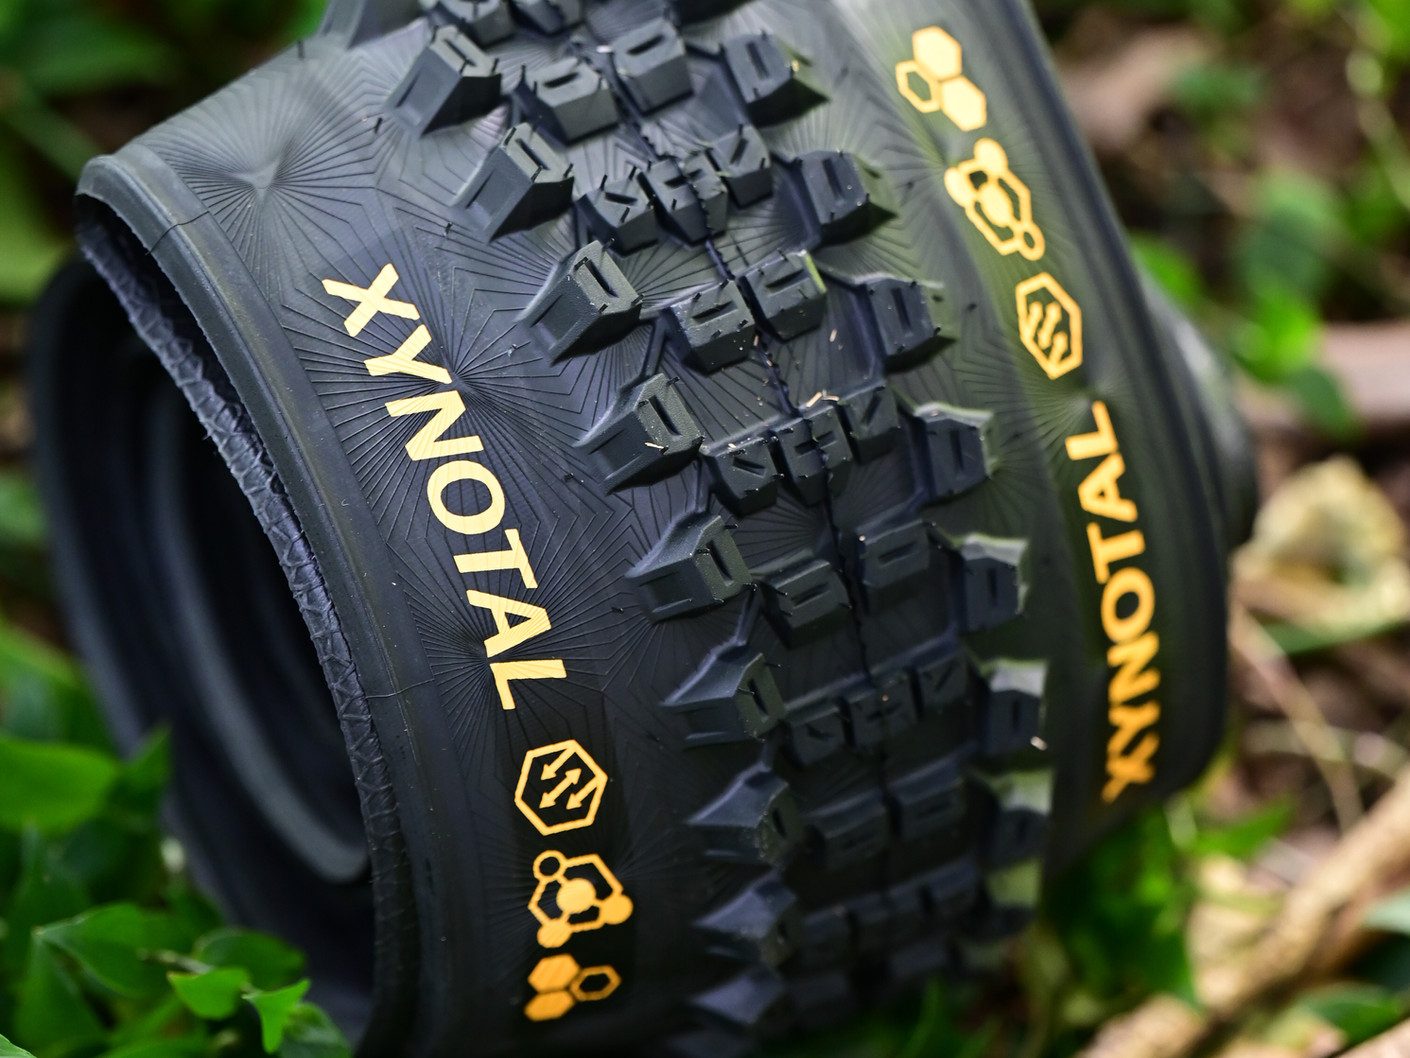
I also was able to spend a small amount of time on the Xynotal tyre too. This one is not offered as front or rear specific and, at a distance, it looks incredibly similar to the Kryptotal Fr. So similar it was a little like one of those ‘spot the difference’ cartoons but, after a bit more of a careful inspection, the Xynotal’s tread pattern is slightly closer together. On the part of the pattern where there are ‘2’ centre lugs, the Xynotal groups these closer together, whereas the Kryptotal keeps these further apart – presumably this helps the Kryptotal with mud clearance and hooking up in looser conditions (which is what it is targeted to do.) The Xynotal’s lugs are also considerably more bevelled down at the leading edge which should help reduce rolling resistance. All in all the Xynotal is theoretically designed for more hard pack conditions and may help the rider retain a bit more speed. On the trail, I found it really hard to tell the difference between the two – aside from generally feeling that the Kryptotal just had a bit more ‘bite’ to it. If I noticed it anywhere, it was on steep chutes under heavy braking. The Kryptotal just seemed to be able to hold traction for that fraction longer. This is all pretty arbitrary really, as it’s hardly a controlled test, but if hardpack conditions are where you ride, the Xynotal would do the job perfectly. As an all-rounder, I’d probably err towards the Kryptotal – and I like the front and rear specific options it gives.
The fact that the new Continental range is offered in so many variations of patterns, compounds and sidewalls is slightly overwhelming at first, but it means you can find a tyre that perfectly suits your riding style. Pricing varies across the range, depending on your variant. The Kryptotal’s and the Xynotal come in at $148 each.
