Ride Camp: SRAM Eagle Transmission
Words and Photography: Jake Hood
Where do you even start with this? Is it by talking about the radically new and different transmission system SRAM has just come out with? Or should I start by saying just how much of an all-star crew we had for this trip? How about the epic riding Queenstown provided? Or should we just talk about how good the food was at Atlas? Well, I guess I’ll cover it all below.
I’m a bit of a super tech bike nerd. I love trolling through the Vital MTB forums, looking at all the new and interesting stuff people dig up and find out there on the World Wide Web. How they find what they do I will never know.
They even manage to find stuff that is meant to be hidden from the public, months before it’s due to be released. It must be a nightmare for brands trying to keep things hush-hush, but it helps builds mystery and a lust for the things we can’t have yet. One of the very things I saw on this forum was SRAM’s new AXS drive chains. They weren’t really hiding it from the public, though, as it was already on a few of the pro’s bikes in the latter half of the EWS and XC season last year. The derailleur, cassette and chain were different; instead of being mounted to a hanger, the derailleur is mounted directly to the frame. I saw it and thought to myself, ‘that’s really cool, I like what they’re doing there’, then sort of left it. I didn’t really think about it all that much after that. I was sure it was going to be as good as any other AXS derailleur when it came out. Boy, was I wrong.
When Liam called about this trip, I was flipping stoked. Not just because we would get to ride the new product, but mostly because Chris Mandell from SRAM was coming over to talk us through the product and ride with us. I originally met Chris in Whistler, way back in the day when I lived there. I got to do a few laps of the bike park with him and boy oh boy, can he ride a bike well! I think I first read about Chris in Dirt magazine; it was a short piece about him, his BMX background and the Kona Entourage. Chris has done many things in the industry, he’s a man who’s worn many caps, including working at Kona, designing the original process line of bikes (technical Gen 2 processes) – that you could argue really started the longer, lower slacker trend – and working at Rock Shox as rear shock product manager. The latest Super Deluxe Air is his baby and that shock rips. And now he’s working for SRAM. I’d say I’m a little bit of a Chris Mandell superfan, so I was stoked to get to ride with him again and show him around Queenstown.
My original plan for the few days we had, was to start with a sunrise shoot at Ben Lomond saddle. It would have been a 4am grind up to the saddle to get the sun just poking over the Remarkables. For the five weeks prior, in Queenstown, we had really lucked out on the weather. There hadn’t been a drop of rain and no clouds to be seen, but the weather forecast was predicting rain for the days we wanted to ride and shoot. Typical. Liam and I caught up with Chris the night before the shoot/ride days started. We headed to Atlas for food, beer, planning and shooting the shit. Chris was stoked on the idea of a super-early-start sunrise mission, so we hummed and hawed about the idea. Rechecking all the weather apps suggested rain in the morning and not clearing until later in the day, so the 4am idea got sacked off. The new plan was for everyone to meet at a cafe in the morning and go from there – a bit more of a leisurely time.
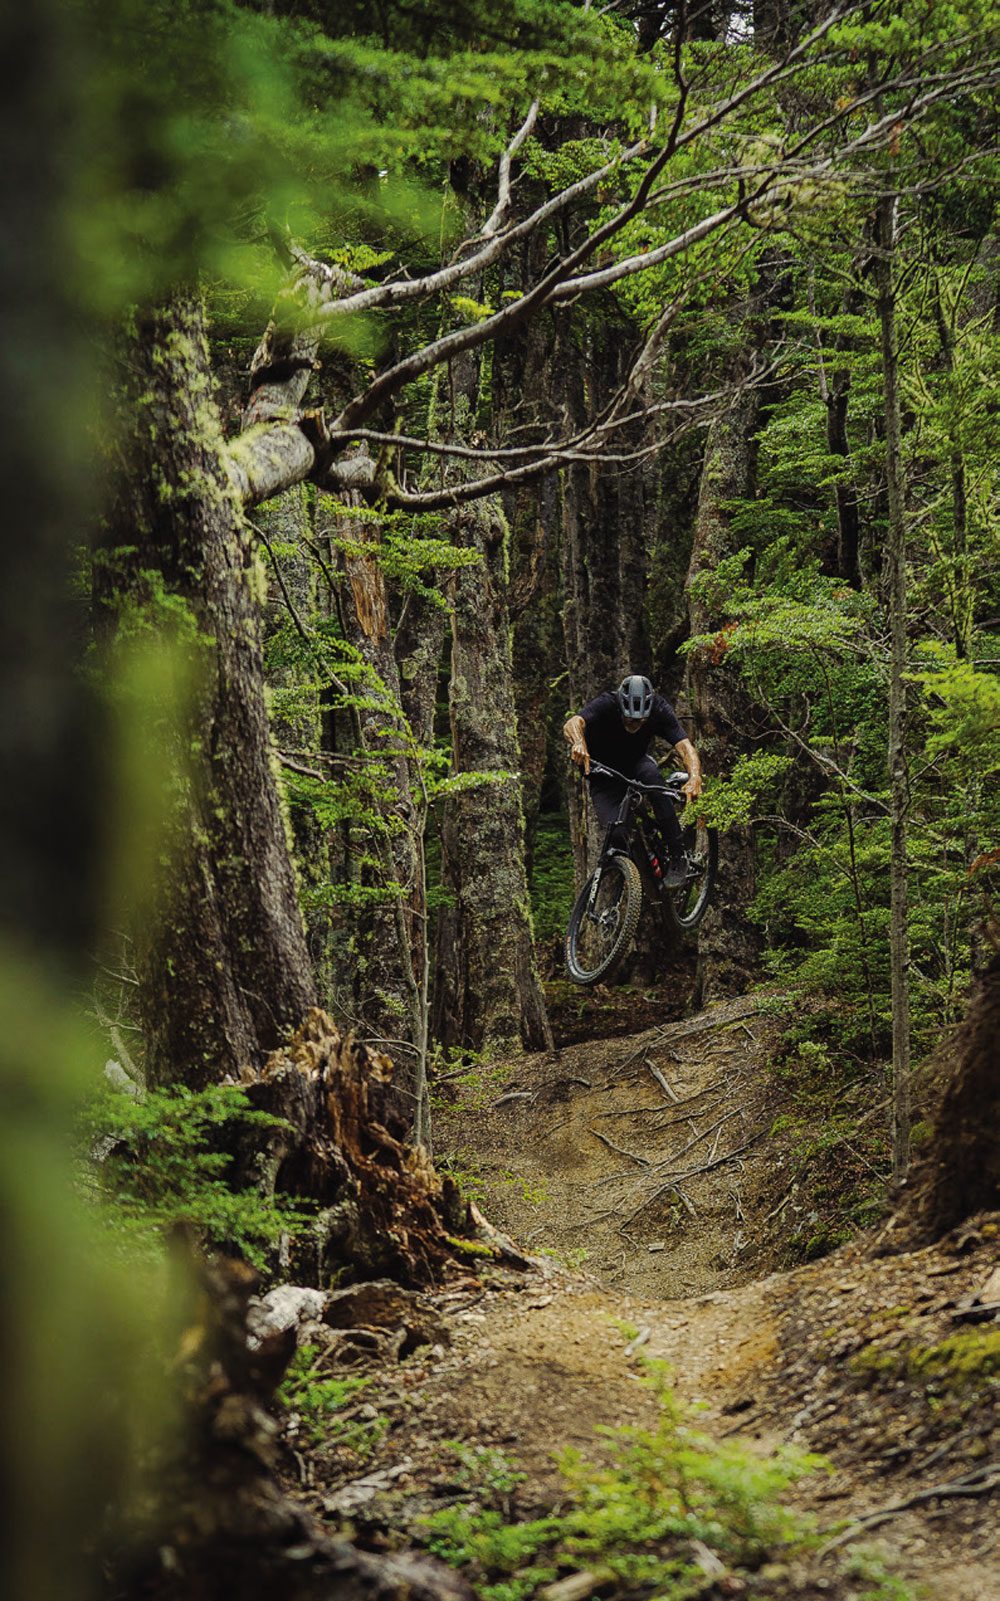
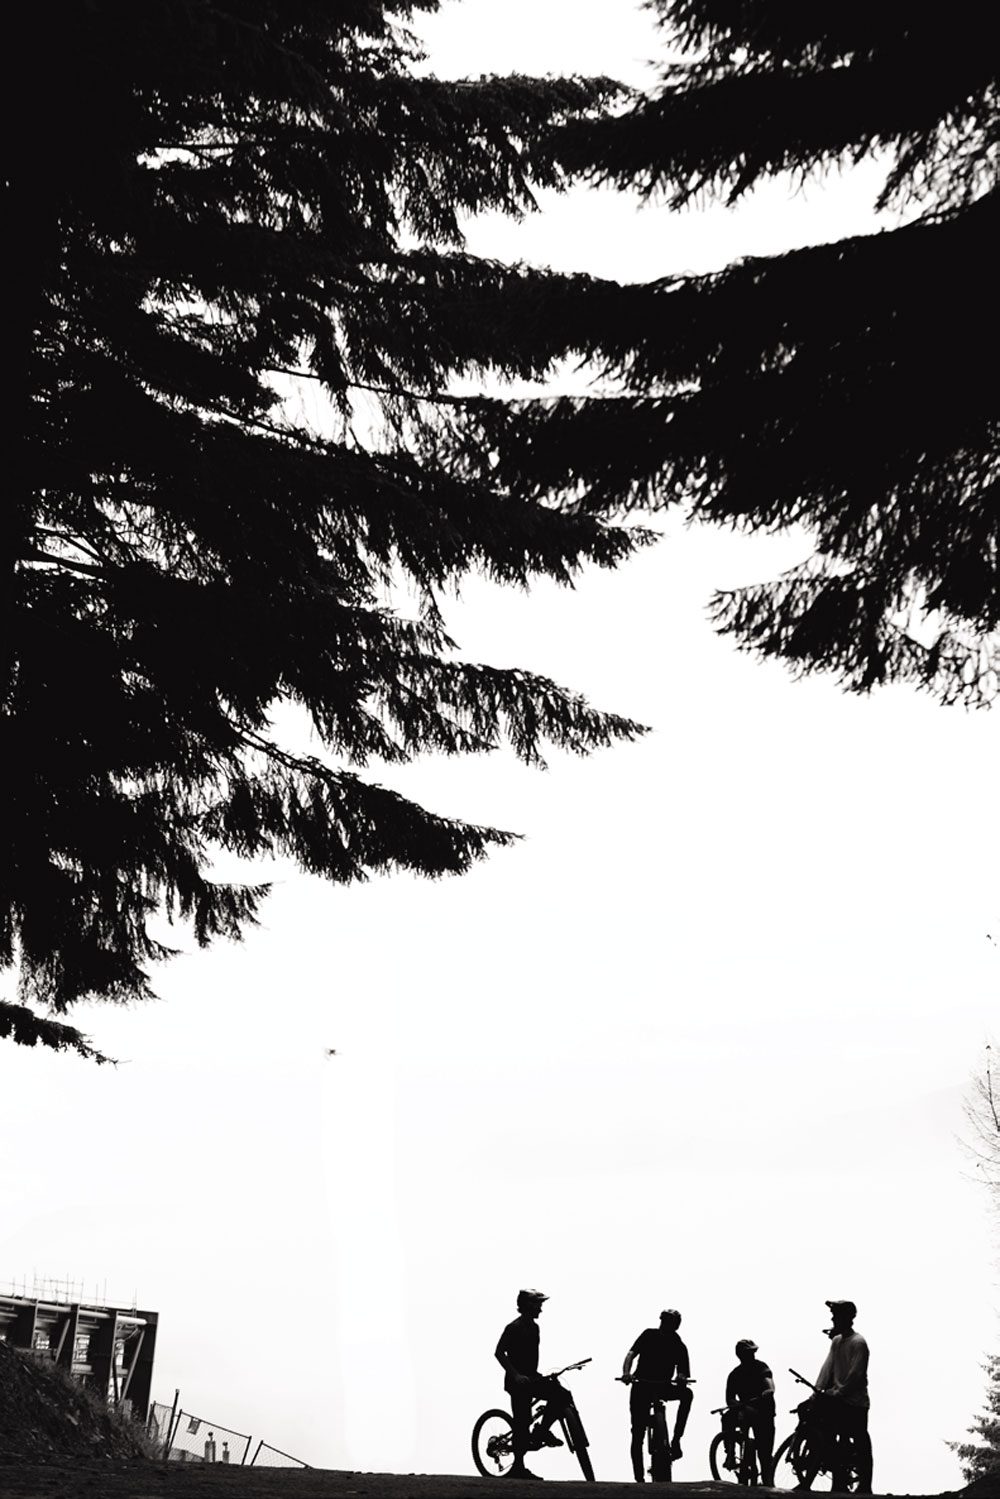
IN THE MORNING WE MET UP WITH THE REST OF THE CREW. A BUNCH OF HEAVY HITTERS. LOW-KEY SAVAGES ON 2 WHEELS, ALL AS HUMBLE AS THEY COME.
That morning, we met up with the rest of the crew: a bunch of heavy hitters; low-key savages on two wheels – and all as humble as they come.
Ben Hildred, the Vertical Metre Eater.
This lanky, tea-drinking Englishman has probably climbed more metres than anyone else in New Zealand, from Everesting and Double Everesting to being the first to complete the Olympus Mons Challenge, doing K2 and climbing one million feet in 200 days. He just loves riding his bike – and all things related to bikes. With a previous history in BMX, he brings that culture to his riding – playing about with the trail, jibing and getting creative – even on the uphills. He treats his 29er trail bike like a BMX, using his long limbs to his advantage.
Dan Booker, the Mayor of Maydena.
A flat-pedal assassin that has more raw talent than many of the top pros. His bike skills and balance are incredible. Seriously, watch some of his manual videos. Silky smooth whilst being stupidly fast. I’d argue he will de-throne Sam Hill soon for the title of fastest flat-pedal rider. It wouldn’t surprise me if you see him nearing the top step in this year’s EWS season.
Last but not least, Andrew Clark.
Hailing from Scotland but now residing in New Zealand, Andrew is the most low-key, chilled-out chap and is as humble as they come. He’s one of the best bike riders that no one knows about! He oozes style, with an ability to contort his bike and body into positions that the laws of physics shouldn’t allow. Take Newton’s laws of motion and throw them out the window when Andrew rides. It’s mind-bending to watch. All while having a massive smile on his face. I wanted Chris to meet him and see what he can do, because it really is something special to watch.
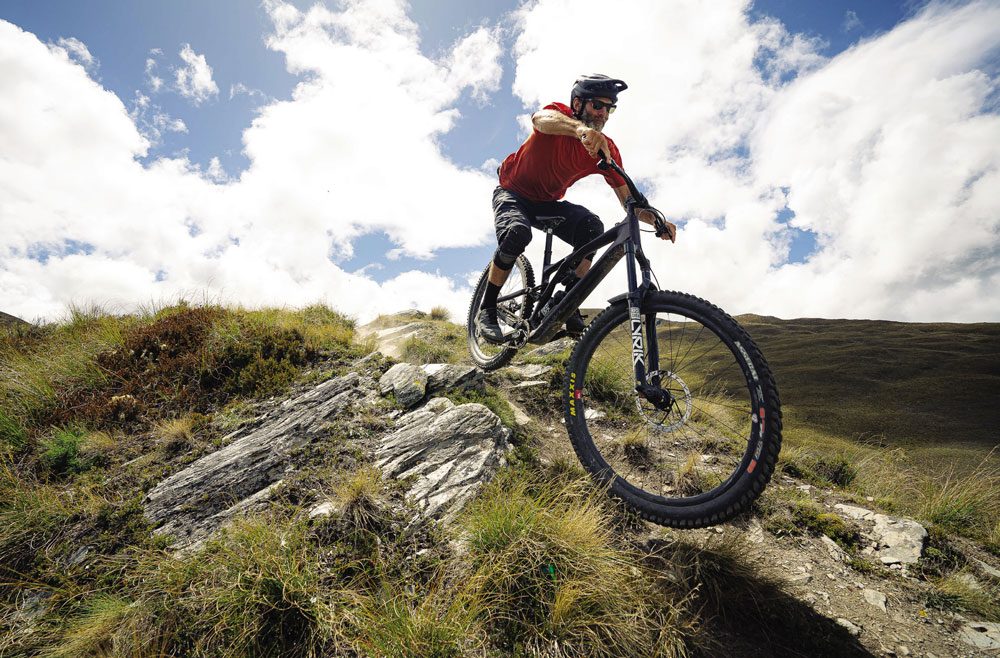
THE LEVERS NOW RUN PARALLEL WITH THE BARS. WHEN YOU SEE THEM YOU ARE LIKE “WHY HAVEN’T THEY DONE THIS BEFORE!” IT MAKES SO MUCH SENSE.
The rain was coming down as we inhaled our coffees the following morning. But, up the lake, you could see it starting to get brighter. We decided to make a move and go ride some bikes. We were heading to the beech forest anyway and like my mother used to say; “you’re not made of sugar”.
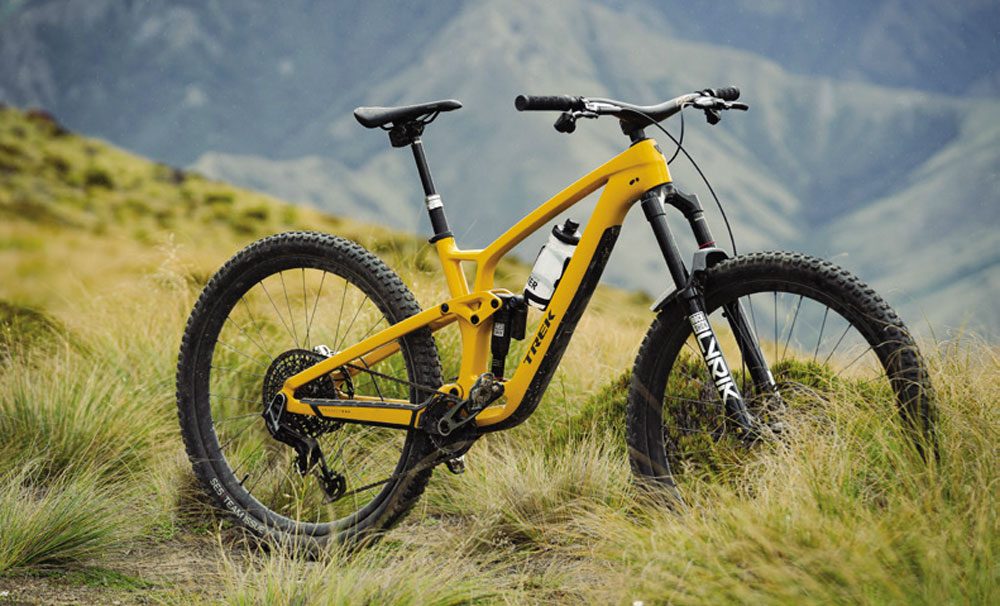
We parked at the bottom of the Skyline access road and, as we unloaded our bikes, I finally got to take a good look at the new stuff. It was quite the radical departure from your traditional mech. Mounted directly to the frame via a big clevis mount, the derailleur looked slick and futuristic. It had almost taken some of the cyberpunk aesthetic and feel that Hyundai is using in their cars with sharp lines throughout, highlighted by the brushed alloy metal on the black derailleur. It’s a solid unit of a mech – it looks like you could take this thing through the gates of hell, and it would come out unscathed. The new cassette was a work of art as well. As you look closer you realise SRAM have added X Sync to the cassette. Like, mind-blowing stuff. The new shifter – or pods as SRAM refer to them – have a more traditional, ergonomic design to them compared to the previous generation. It uses a two-button system, one placed above the other, with rubber paddles that require a push to make them feel like a shift versus a tap. The return spring built into the paddle gives you that positive, almost mechanical, feel. To me though, the pièce de résistance was the new XO cranks. They are gorgeous. A change from carbon to alloy, they are unlike anything else on the market (well, minus 5 Dev). They’re minimalist, cyberpunky and abstract. You can tell they used what they learned about their AI crank program and applied it to this. There’s a hole near the crank bolt, highlighted by the brushed metal accent that gives the look of a drawing compass. The bushed metal part has been placed in the part of the crank where you’re most likely to get foot rub, thus keeping the crank looking brand new for years for us chronic shoe crank pedal rubbers. The final piece that sets these apart, is the return of the bash guard. Why these ever fell out of fashion I don’t know, but I’m so glad to see them back. They mount on the chainring and can be removed if you see fit. I’m such a fan of these.
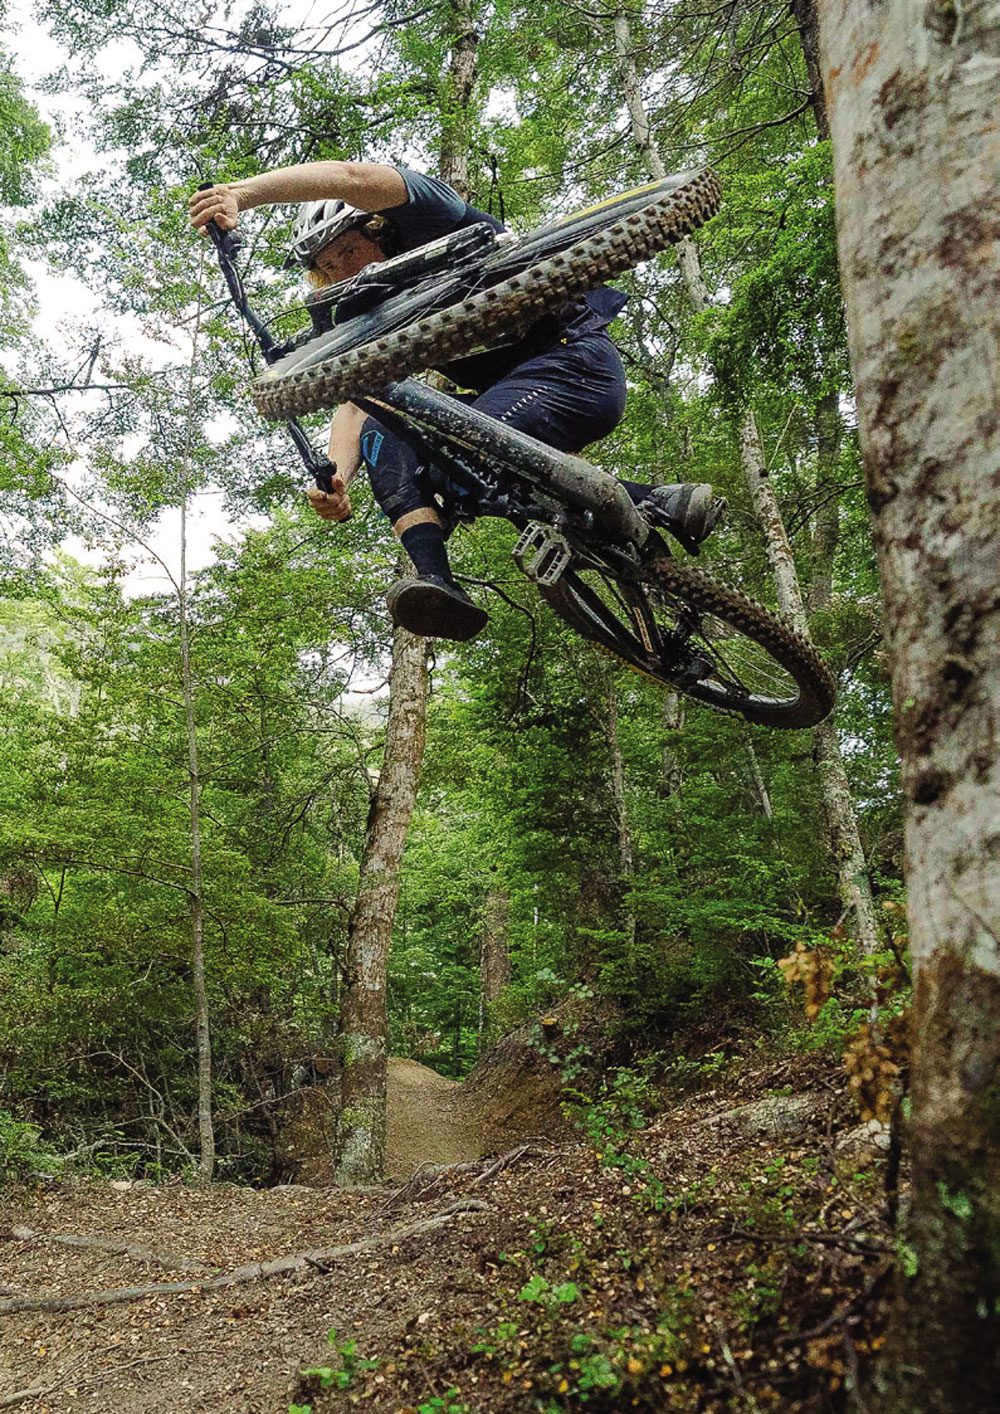
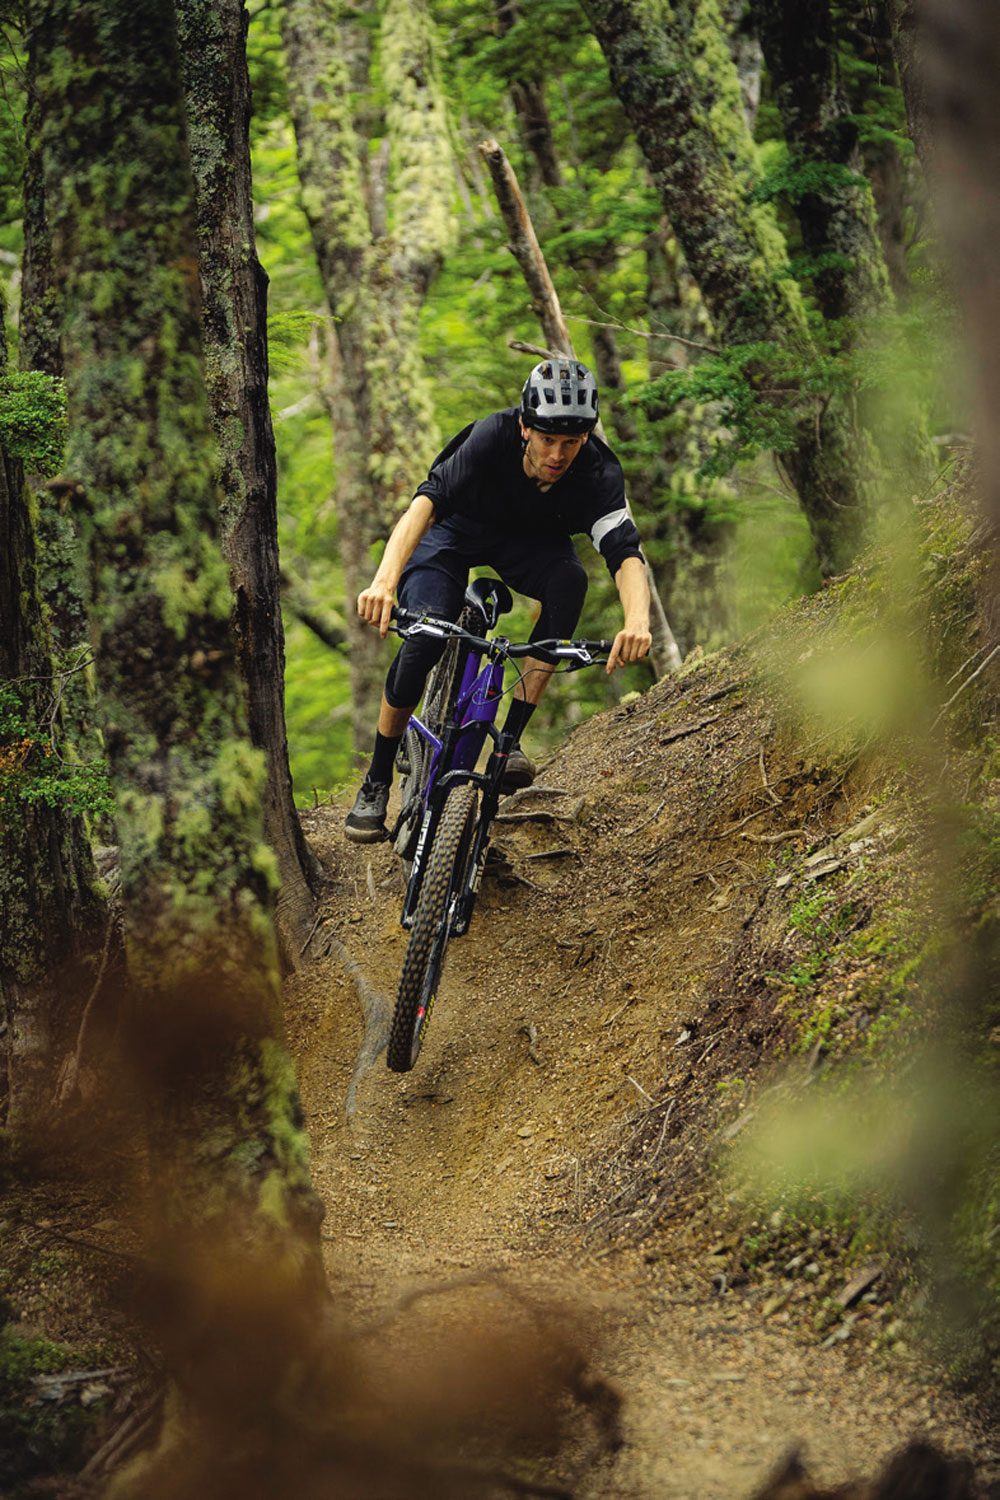
I was so distracted by the transmission that I didn’t even notice the new code brakes. The silver and black theme continued here. The polished calipers are a thing of beauty; these have stayed the same as the current codes, but where the changes have been made is in the lever. The levers now run parallel with the bars. When you see them, you’re like; “why haven’t they done this before?!”. It just makes so much sense. No more sticking out at 45-degrees, and the cables run much nicer. I feel like the 45-degree brake is just a hangover from V brake levers and no one ever thought, ‘hey, we could just make them run parallel with the bar, keep it nice and tidy’. From the first couple of pulls on the levers, you can tell there’s been some reworking for the internals. Lighter to pull than the previous code RSC. What I did think was weird, was that the new caliper – that had been seen on some of the World Cup racer’s bikes this last season – wasn’t there. Maybe SRAM is holding it back for another brake. I guess time will tell.
Chris explained that there are three tiers of these new AXS groupsets: X01, XX1 and XX1 SL.
We all jumped on our bikes and set off up Skyline access road in search of trails in the beech forest just outside the bike park. It’s a steep grind of a road – anyone who has ridden it will know. Starting at its steepest for the first third, before mellowing off a bit. The clouds were spitting a light amount of rain which was a refreshing change from the previous weeks of blaring sun and no shade – you didn’t feel like you were about to melt into a puddle by the fourth steep switchback. The steep fire road was the perfect place to test the gears under load. The gradient means you have to put a lot of force through the transmission and, being a road, it let you concentrate on what the gears were doing when you shifted. I guess I was in the perfect place to shift like an idiot under load and test these new gears. From the first shift, you realise this is something special – it’s not just another groupset, another new drive chain, it’s more than that. It’s the crispest shifting I’ve ever experienced. It has such a positive feel to it. There is that reassuring ‘clunk’ as it moves into gear, almost mechanical but with the precision of electronics. Lightning fast; instant, precise. Even under load in the worst possible moment to shift, it was still absolutely light years ahead of everything else. Whatever you have learned about not shifting under load, you can now throw out the window. This new system does it with ease. I think a big factor is the added stiffness of the direct mount, and the X Sync teeth on the cassette, but SRAM have also made many tiny tweaks that have really optimised the system. We’ll discuss them later.
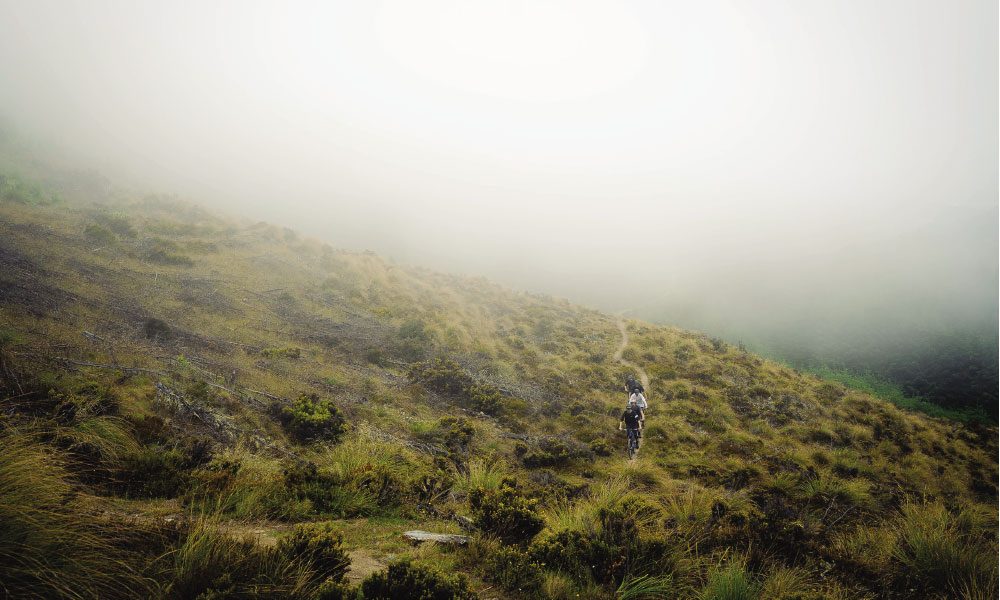
The pace was hot, with Ben leading the charge. I guess that’s what happens when you are riding with a bunch of absolute savages. The relentless access road mellowed slightly towards mid-way and gave me time to get my breath under control. We stopped at the mid-way point and Chris told us some stories about the adventures he’d been on. After a quick break, we set off again up the second part of the road. I’ve ridden this road so many times over the years and it never gets any easier. If you get fitter, you just end up going faster. It’s surprisingly addictive to pedal up the road – even though it shouldn’t be. As the trees start to thin out, you reach the Skyline top gondola. We continued heading up via Beeched As, then Ben Lomond walking track to Lower Missing Link – a favourite trail of mine. It’s a perfect balance of flowy beech forest mixed with a little bit of tech. It’s a fantastic trail that works for all abilities, and it was running great after recent maintenance work by the crew at Elevate Trails.
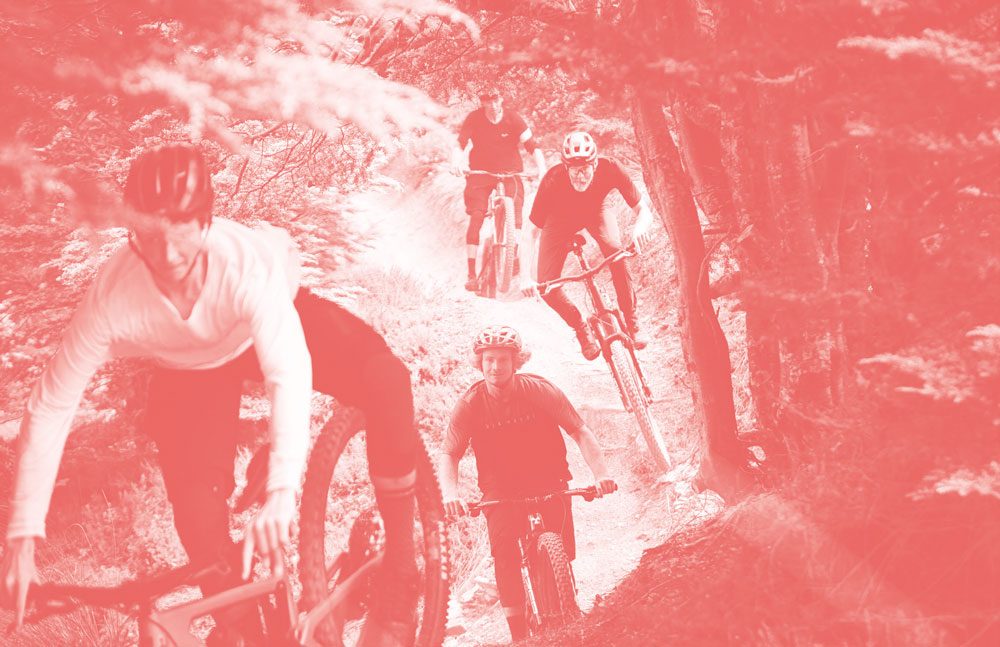
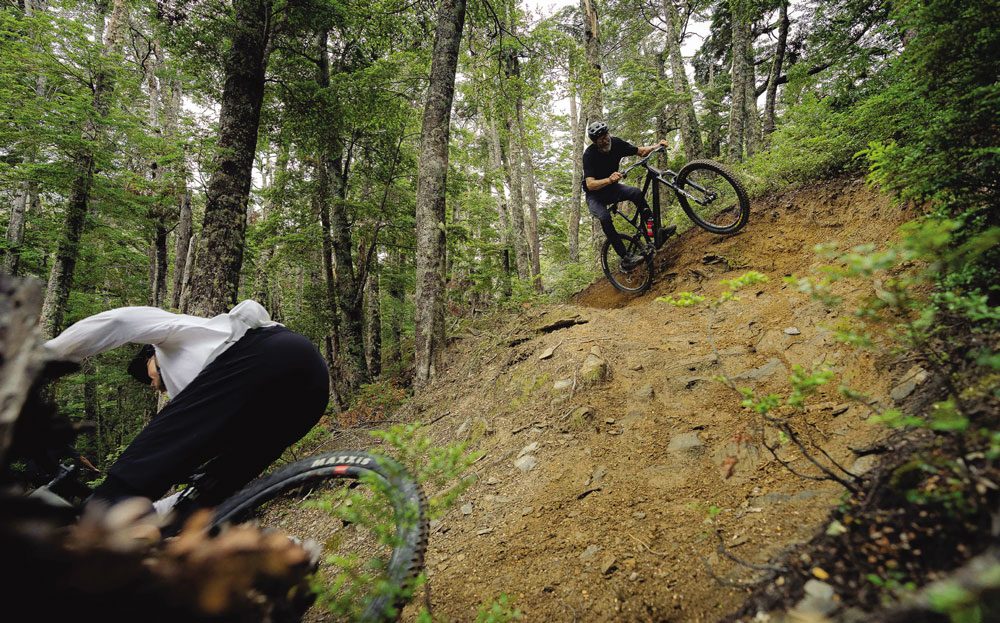
The trail starts off out in the open and winds its way down into the beech forest – this is where it really gets good. We stopped and sessioned bits on the trail while I shot photos. The first feature we stopped on was a bomb hole compression to a small jump. From the get-go, Andrew was blowing minds. He had literally just jumped on the SRAM-equipped Megatower that morning, without any time to get used to it, and rough settings. He came over the rise into the bomb hole, doing an inverted nose press over it, all tucked up in ways that shouldn’t be possible. Smooth as you like. Chris’s face lit up – “what the heck?!” From that point on, I knew we were in for a good day.
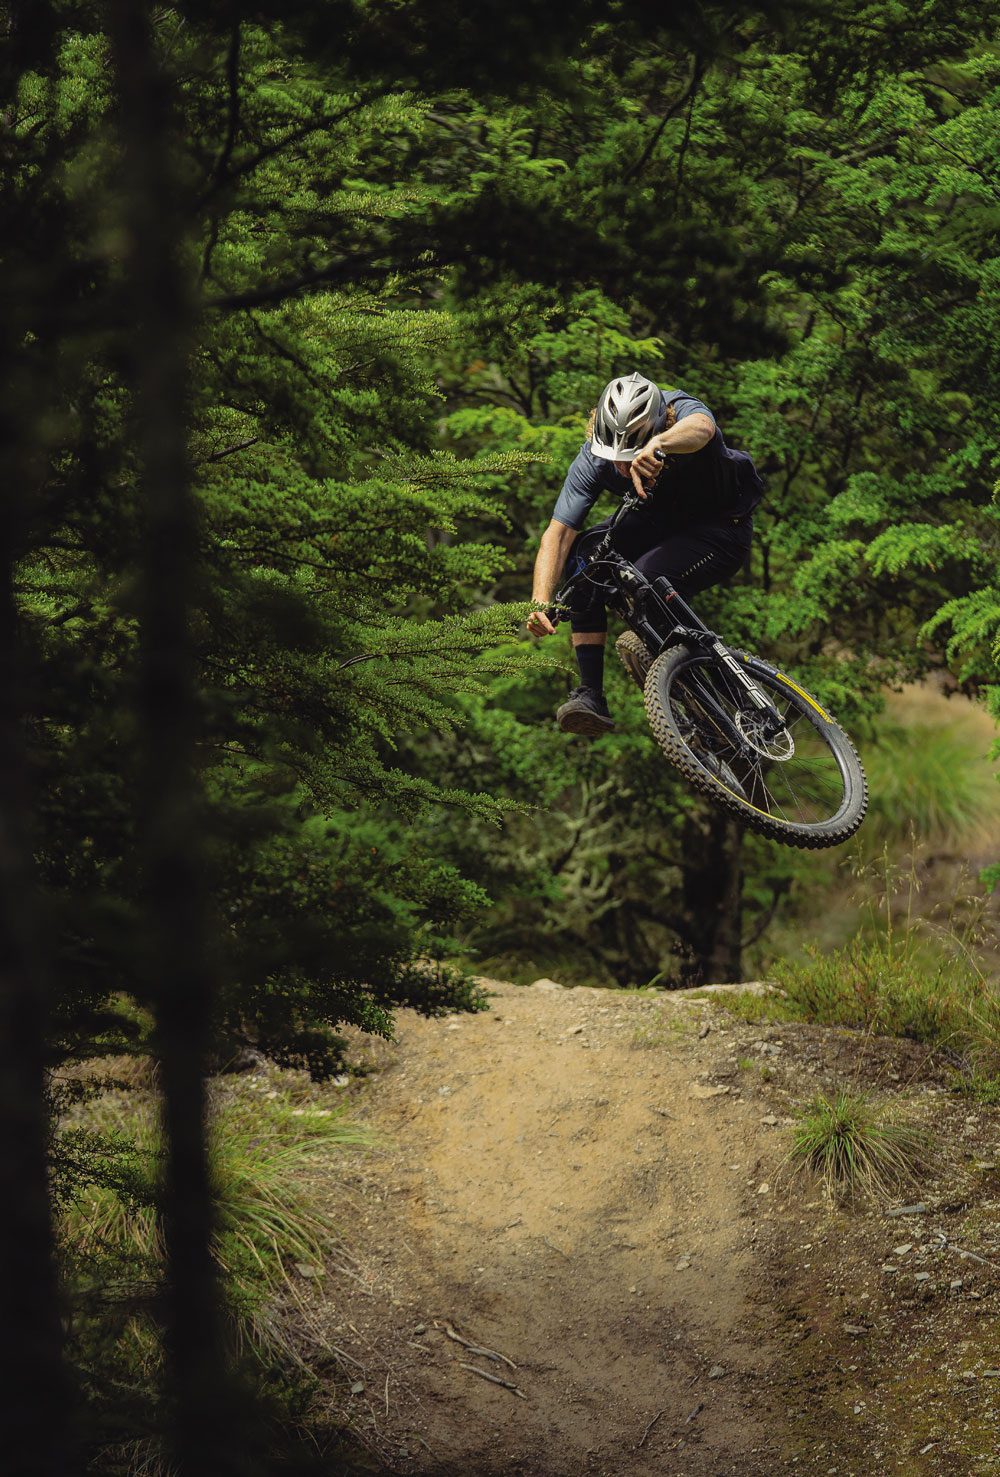
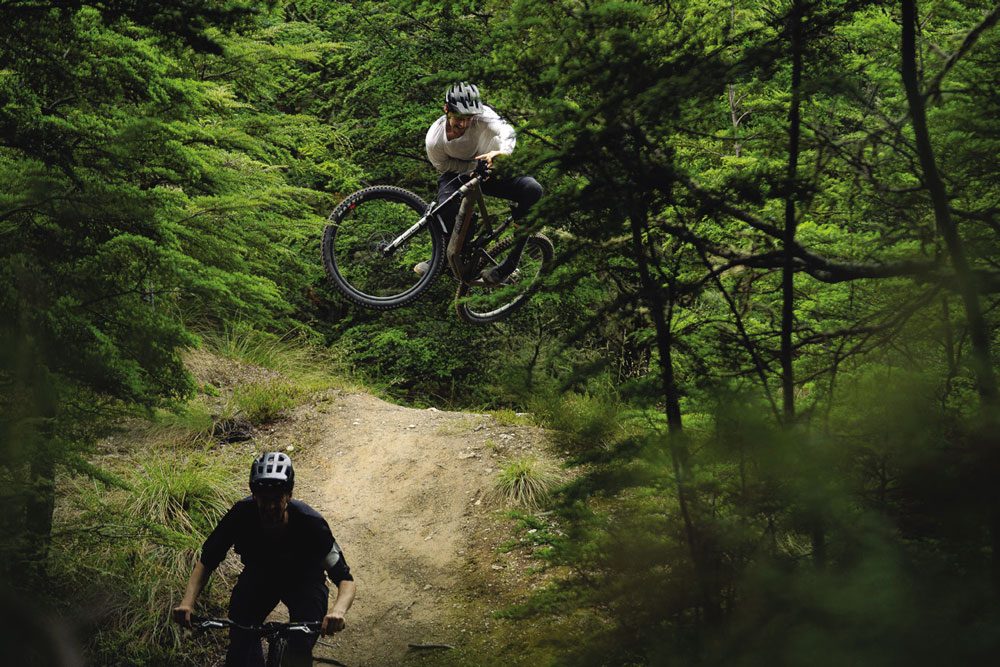
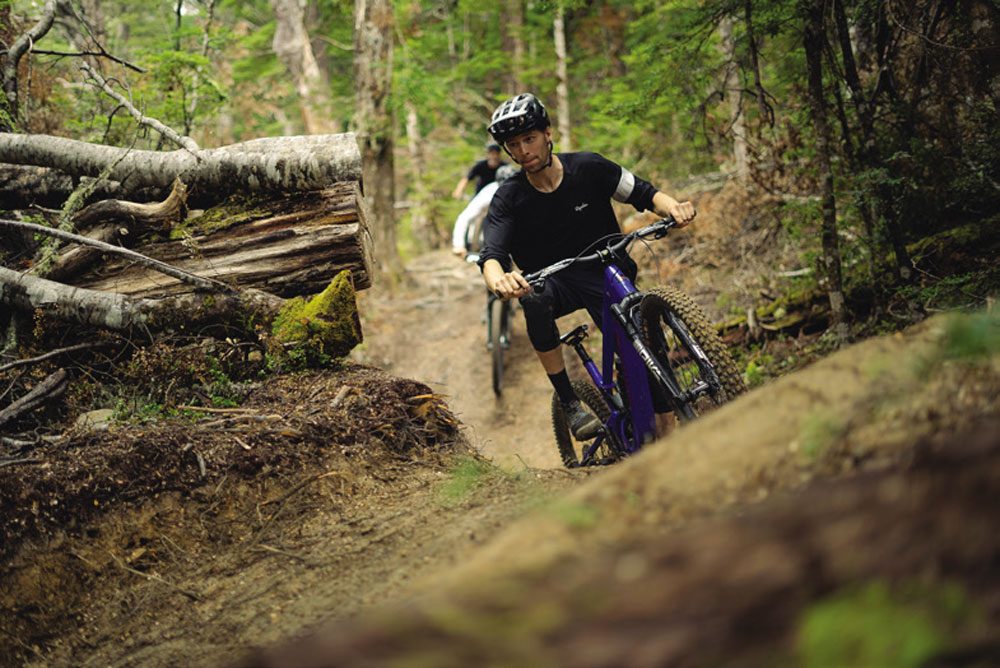
We worked our way down the trail, sessioning different parts. Everyone fed off the energy of each other. Dan would be throwing some huge shapes off the smallest mounds while also travelling at a ridiculous speed through the turns. You could feel the earth trembling as he passed. Andrew was doing Andrew things; bending the laws of physics and gapping into switchback turns that shouldn’t be gapped into. Both Dan and Andrew’s styles complement each other, making it so good to watch. Chris was the hype man of the day, throwing out hype and stoke every time something cool happened, genuinely so excited by what was going on. Throwing out ideas. It was infectious. Everyone was just going harder and harder. Chris and Ben were bringing their BMX background to the trail. Throwing down tweaks that are better than a lot of the pros, dancing their bikes down the trail in such a beautiful manner. Smooth and light, their long limbs smoothing out the compressions, they’re two great people to watch flow down a trail. Such a joy to watch. Fantastic.
After Missing Link we headed down Creaky Winders and shot some more photos. This is another absolute gem of a trail. It snakes off of Beeched As and is a perfect mix of tech and flow. It’s niggly and tight in some spots; weaving up and down. It keeps you on your feet with lots of little features, surrounded by beautiful beech forest. It’s tremendous. Everyone was just peaking on this trail; fizzing and pushing each other, over and over. We worked our way down the trail, checking off features as we went. Near the end of the trail, I could tell people were getting tired. Mistakes were happening. I called it a day on the shoot. It was time to head to town and refuel.
We followed the Fernhill Loop back to the bike park and down Squid Run in a train. The crew might have been tired but that wasn’t slowing anyone down. We weaved our way down trying to hold the wheel of Dan. It was another good test of the transmission, which was a lot quieter than my current GX AXS – less chain slap. The shift was more positive even on the way down. Some will say, “ah yeah, that’s just because it’s brand new!”. But the set I was riding wasn’t – it had been used for a few weeks, making how well it worked even more impressive. It was an absolute blast training down Squid Run at the pace we were going. Borderline dangerous with everyone feeling so tired. At the bottom, we all had huge grins on our faces.
THE MORE I RODE THE PRODUCT THE MORE I LIKED USING IT. IT’S AN ABSOLUTE JOY TO USE.
All good rides finish with a beer, right?
We rolled back down to the local watering hole to refuel – there was only one place to go, and Atlas was that place. I’ve said it once and I’ll say it again: it’s the perfect after-ride spot, with great atmosphere, lovely staff, killer food and 22 taps of fantastic beverages to choose from. We fueled up on beer and burgers whilst chatting bikes and trails. Before the inevitable food coma set in, we headed out quickly for a little more time on the products. A few chilled laps in the Fernhill/ McGnarly area, with one lap down Skyripper and a McGnarly to finish the day’s riding. The more I rode the product, the more I liked using it. You just know that when you pull the button to shift, it will do it; there’s no need to worry about a little under-power half pedal to help it shift – just pedal as you would, and the chain will shift on the cog. It really does improve the enjoyment of climbing. The slightly altered rations in the cassette were also a welcome improvement. No more big jumps between the 42t to 52t; instead you 44-52 jump, which feels a lot nicer. It doesn’t sound like a lot, but it makes a difference – there’s less of a sudden change in ratio. It’s hard to put in words the feeling of the new transmission over the previous stuff, it’s just an overall feeling of a much nicer time while shifting. A good analogy would be to compare driving a car from 10 years ago to driving a brand new, modern car with all the bells and whistles. Both do the same thing, but the newer car is easier to drive, more relaxing, quieter, with more features to assist you. Overall it’s just a more enjoyable experience.
Both laps of the Fernhill area were a blast. The party train down McGnarly was ridiculous. Bikes were dancing left and right over the jumps. Berms were being blown up by Andrew, Dan, Ben and Chris. Dust explosions everywhere. It was flipping awesome. Too much fun. Then things started falling apart on Skyripper. The long day had taken its toll, everyone was tired and mistakes started happening. I set off first, only to hear carnage behind me. Dan had blown off take on the steepest part. I think Andrew also had a wee washout. Everyone’s concentration had gone. It was time to call it a day on the riding.
“THAT’S ALL VERY WELL A GOOD BUT WHAT HAPPENS IF I CRASH AND ABSOLUTELY SMASH IT INTO A ROCK OR SOMETHING AND MANAGE TO BEND IT?”. WELL YES. SHIT DOES HAPPEN.
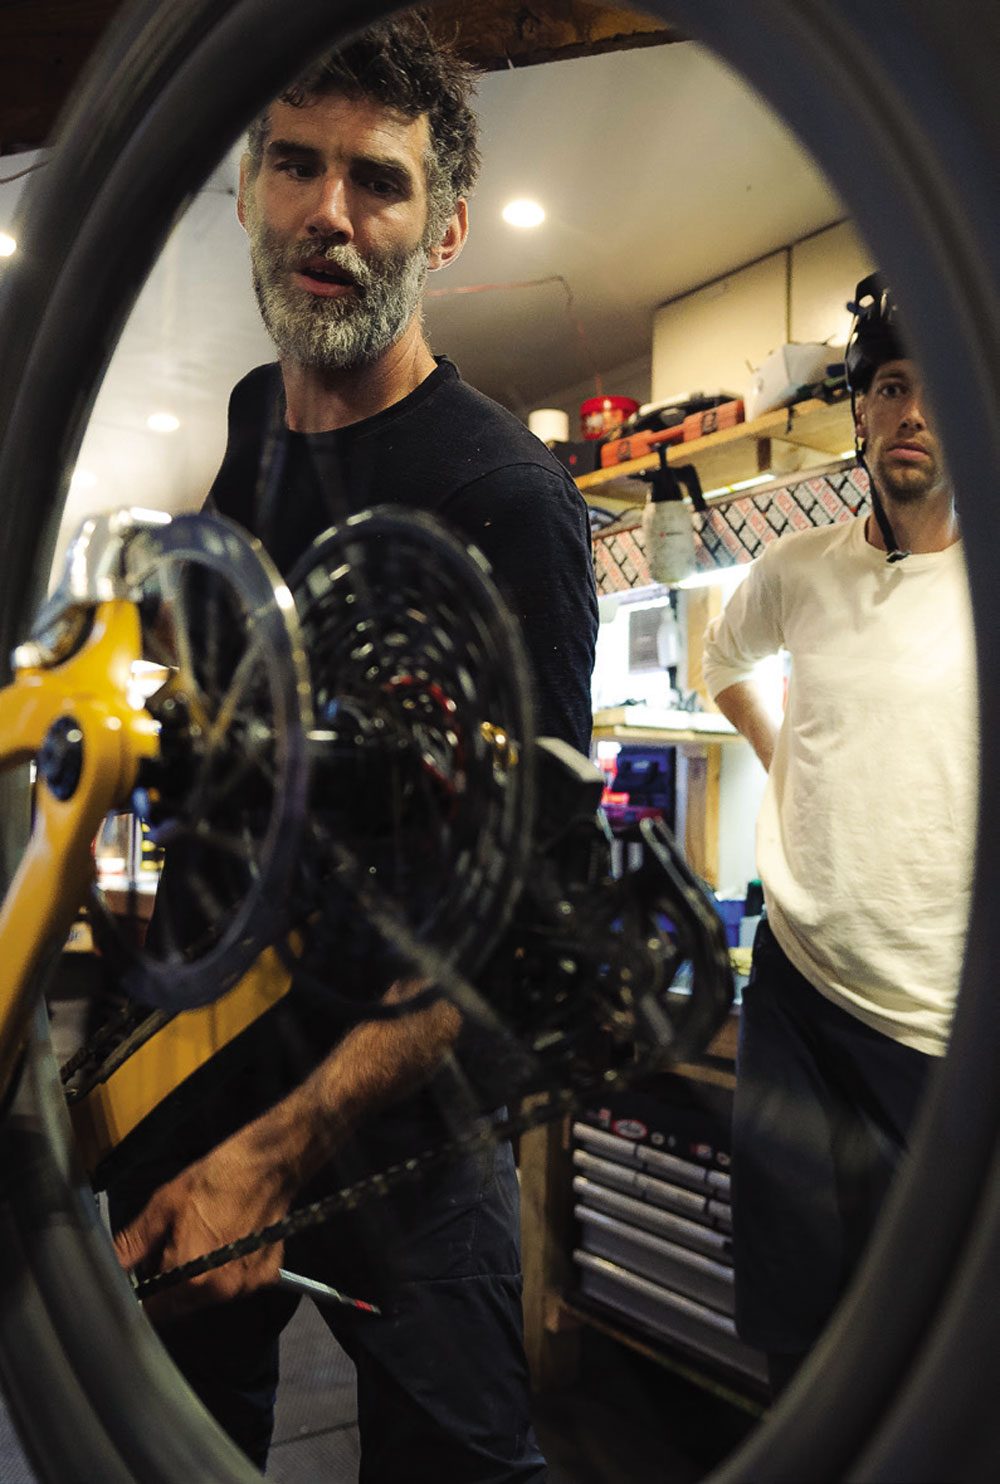
We rode back to town and into Vertigo Bikes for Chris to give us the full tech run down on the product and how it works. The new system is designed to work on bikes that use a SRAM UDH hanger interface. A couple of years ago, SRAM brought out the UDH (universe derailleur hanger). The purpose of that was to create a better derailleur hanger that bike brands could adopt. It was a standard that made sense and, slowly, more and more bike brands have been getting on board with the standard. It was a solid move forward for the bike industry. This new AXS system builds on top of that: the hanger is replaced by a direct mount clevis system to the frame. In doing this, you massively increase the stiffness and strength of the derailleur. It’s not just held by a single bolt to the hanger, instead, it mounts both sides of the frame.
When you induce the hub, frame and axle, it creates an interface that is incredibly stiff and really strong, so much so that you can put your bike on the ground, stand on the derailleur on one foot and get back on your bike, ride away and the shifting will still be perfect. That’s not possible on a normal hanger set-up – something will bend. I had my doubts about it until Chris showed us. It was super impressive.
The derailleur keeps the override clutch system that allows the mech to move out of the way when it’s stuck by an object. It’s fantastic, and something that seems to get used regularly on my current GX AXS. It has saved my hanger from getting bent so many times and I’ve never needing to straighten it like I would have with a normal cable set up. The clevis mount combined with the override clutch ensures you have a system that should, in theory, be very hard to put out of tune. It’s just a more reliable system; more pierce gear shifting, and a better experience on the trail.
SRAM has introduced other technology to these groupsets: flat-top chains that come from their road bike groupset. These increase efficiency and durability while looking flipping awesome. X Sync can now be seen on the cassette, improving the shifting and chain reaction. It really lets you shift under load without the worry of skipping gears. I’d imagine it also helps the durability of the cassette. The recent SRAM x Dome cassettes have an incredible lifespan if you replace the chain regularly. I think these new ones will blow them out of the water as long as you keep up-to-date on replacing the chain when it’s worn.

The smart engineers at SRAM Germany really went to town on this. They have gone over everything with a fine-tooth comb. Chris said that they looked at all the warranty data collected over the past 10 years, and tried to eliminate as many of the issues as they could.
The way they did was by redesigning the whole system and imagining a new way of doing things. The clevis mount gave the ability to produce a far superior product and gave the engineers more ability to optimise every last bit. There are so many little things they have done that just make it a joy to use, such as the slight bend in the derailleur cage. It looks like it has been bent on the trail but, in actual fact, it’s meant to be like that. It helps keep the pulley chain interface better aligned when in the extreme ends of the cassette. There are two different modes to set the cage to, depending on the chainstay length. The new magic jockey wheel, that features on the XX1 and XX1sl models, ensures it will still spin even if an object gets stuck in there.
As well as all of this, set up has become easier than ever before. I’m not going to go into the whole way you go about it – the SRAM technical manuals have that all dialed and are a great source of information. “We gave this product out to some of our racers this year, on the EWS, and the mechanics keep overthinking the setting up of the system,” explains Chris. “It can’t be this easy, they keep telling me.” Easier set-up leads to fewer problems and fewer tuning errors from the get-go.
Now, I imagine that you’re thinking, ‘that’s all well and good, but what happens if I crash and absolutely smash it into a rock and manage to bend it?’. Well, shit does happen and, in that case, on a normal hanger mech situation, both of them would probably be a full write-off and due for the bin. In the case of this new system, however, I’d be very surprised if you could bend the clevis. It is really that strong and stiff. The good news is that the rest of the derailleurs are rebuildable. If you do damage a part, it will most likely be replaceable. You can remove the cage without using any tools. A simple little tap while unscrewing the cage will loosen it up. The tension spring and clutch are now built into the cage.

Servicing and cleaning these parts is super easy and something that can be done in no time at all. The protection covers on the B-knuckle and outer link ensures they are fully replaceable, or upgradeable to the XX skid plate. Is your mech looking a bit scratched up and tired after a year of use and abuse? Simply slap some new ones on and it will look brand new. I’m really behind this, I love it when brands make their products rebuildable and serviceable – products they want to see being used for years and years, products you can fix rather than just replace. It’s the way our industry should be heading instead of adding to a throwaway society just because one tiny part breaks or wears out that’s not replaceable.
The next day we were up and out, bright and early again. Straight back up Skyline access road then straight up the Ben Lomond walking track. Now, this is a walking track, but there must have been something in the crew coffee that morning because they pedaled up the whole thing. I’ll say it again: absolute savages this lot. It’s pretty relentless the whole way, just a hard going grind, but it rewards you with breathtaking views once you reach the Ben Lomond saddle. There was now 1000m of vertical descent ahead of us, back down to Queenstown. What a treat to be had. We hopped onto Upper Missing Link and stopped at the rock feature near the top. There, I had this idea for a photo I wanted to shoot. Everyone had a run-through, wall riding on the rock, and I got what I wanted. Chris pushed back up to hit it again. He came into the rock at a weird angle, going straight into it; next thing he extended his bike up over vertical and foot planted on the rock. Everyone was freaking out. It was so unreal! There had been a lot of BMX chat on the way up and I guess Chris was feeling inspired. I didn’t think a foot plant on that rock was possible. Next, Dan and Andrew started giving it a go. Popping up high before planting the foot, with the bike basically upside down. It was mind-bending. If they got the foot placement wrong, it would have been a good fall down the other side. Dan and Andrew just shut the rock down. Amazing stuff.
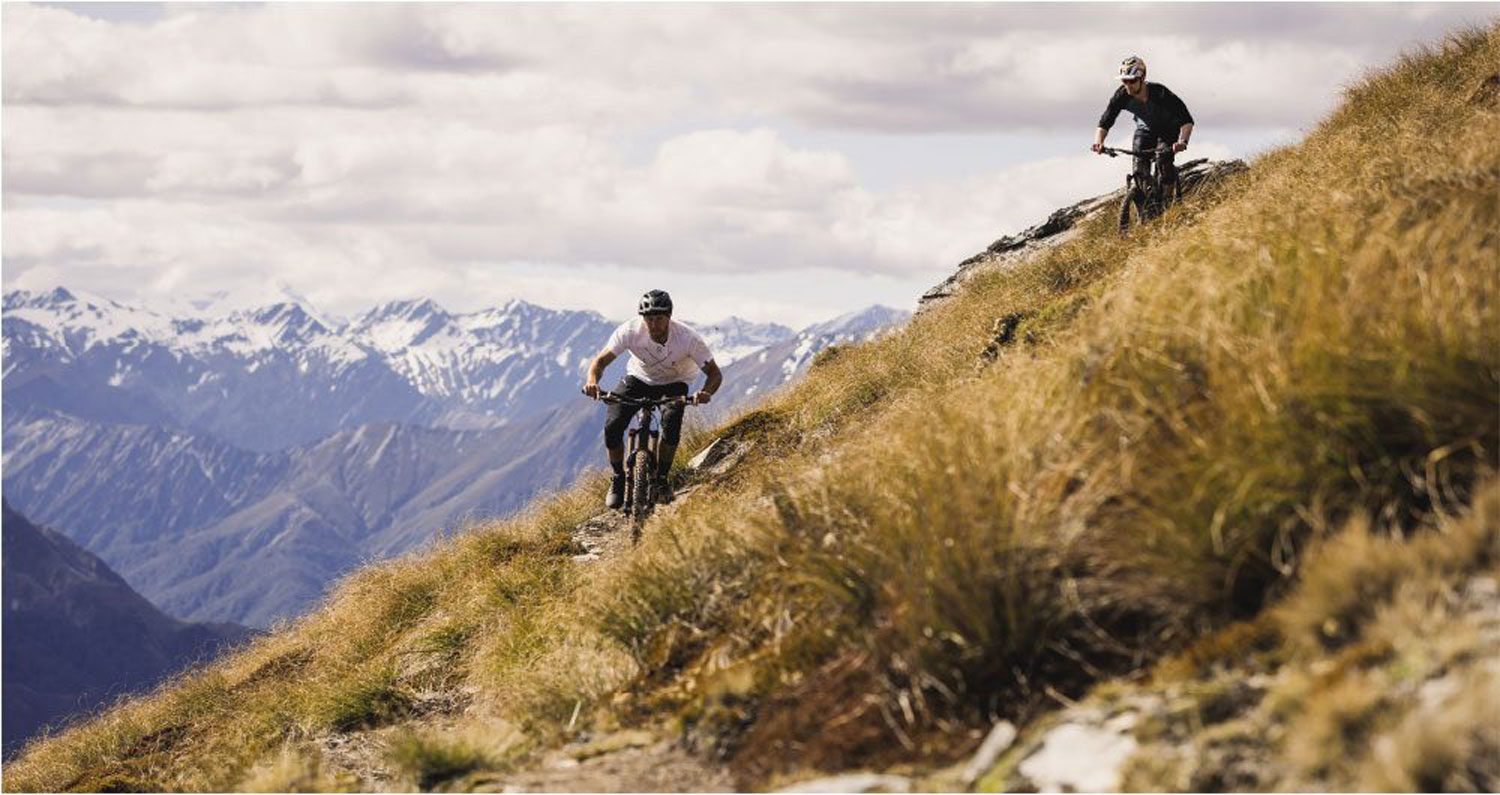
We continued down Upper Missing Link, weaving and dancing our way along the ridgeline, the narrow singletrack snaking through rocks and tussocks. From there, we headed down what you could argue is one of the best trails in New Zealand. I’m not going to tell you where it is or what it’s called – if you know, you know. It’s an absolute gem of a trail. A true mix of everything. Three trails in one – flowing, flat-out beech forest and dark turny pines to Val de Sol-like rock gardens. It’s got it all. As you hammer along the beech forest section, you’re treated to huge compression and little gaps. Flat out straights into tight turns. Cornflakes cover the track and hide the roots below. The new brakes really started to show their improvement over the old ones. The power seemed to have increased, the lighter lever feel was a welcome addition, easing the arm pump on this long run. The classic SRAM modulation was still there, offering heaps of control.
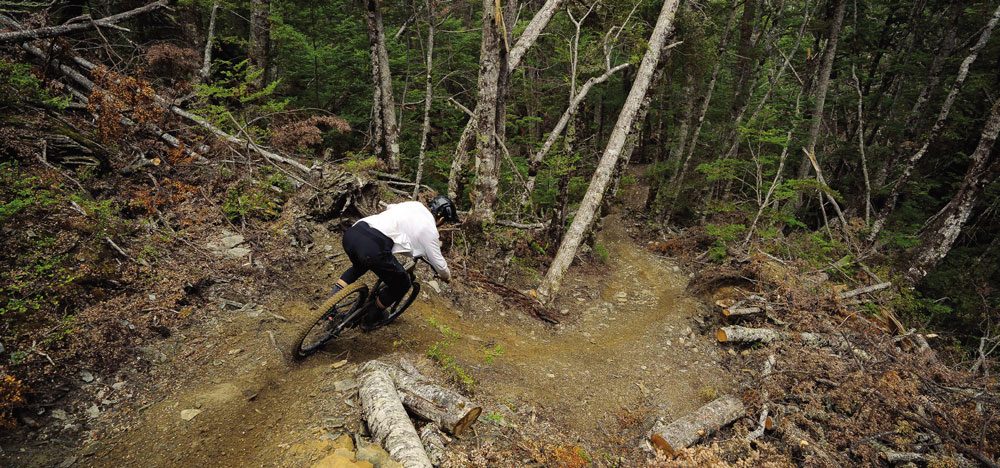
Once you finish the beech part of this trail, you hit the dark pine at what feels like warp speed. Your eyes don’t have long to adjust to the light conditions; turns come up fast, a couple of lefts and rights before coming into a rock roll feature. From there, you head through a small slither of Sycamores, lighting the place up in green haze. The dirt in this section is treacherous in the wet, almost like riding on ice. Finally, you end up with what I imagine a fresh, slightly tamer version of Val de Sol would feel like: deep loam and lots of rocks. I was barreling through this section and smoked the derailleur into something. The sound was horrendous. In my head, I was thinking, ‘ahh, well that’s fucked then’. I didn’t stop though, and continued on to the bottom of the trail. To my absolute amazement, it was fine. Although it sure looked like it had been hit – there were scratches, a big chunk of material missing and rock debris – the shifting was still absolutely perfect. If this was any other system, this would not have been the case. Really impressive.
You know where this ends. It’s the end of the ride, we’re hungry and thirsty. Only one place to go then – back to Atlas. We cheers-ed to a fantastic weekend of riding over some cold crisp pints. What a weekend. What amazing trails. What a tremendous crew. And – what a fantastic transmission! The new benchmark has been set.
SRAM has really knocked it out of the park on this. It’s hard to think how you can improve on what they have delivered here. It’s truly fantastic. It’s robust, designed from the ground up for mountain biking, and finally moving on from the hanger system that came from road bikes so many years ago. I’m a massive fan of the ability to be able to rebuild and replace parts on the derailleur. The shifting is light years ahead of the others. Will this groupset make you faster? You could argue that it will, but I don’t think that’s the right question to ask. Will this groupset enhance the experience of your ride? 100% it will – it’s an absolute joy to use; it makes you want to shift more and it’s easy to set up. It’s built to last; is robust and strong – you don’t really have to worry about it. Going off the reliability of the previous AXS stuff – which was in my opinion the best out there – this should be able to last an apocalypse. I’m not normally the sort of person to fork out for an expensive drive chain, instead, I normally run the cheapest I can get away with. Gen 1 of AXS changed my mind about that a bit, but this new stuff has 100% flipped my view. It’s something that’s worth saving up for and putting on your next bike. It’s something worth investing in. You won’t regret it.
Hat’s off to you SRAM. Well done.
The Kitchen: Homemade Granola Bar
Words: Liam Friary
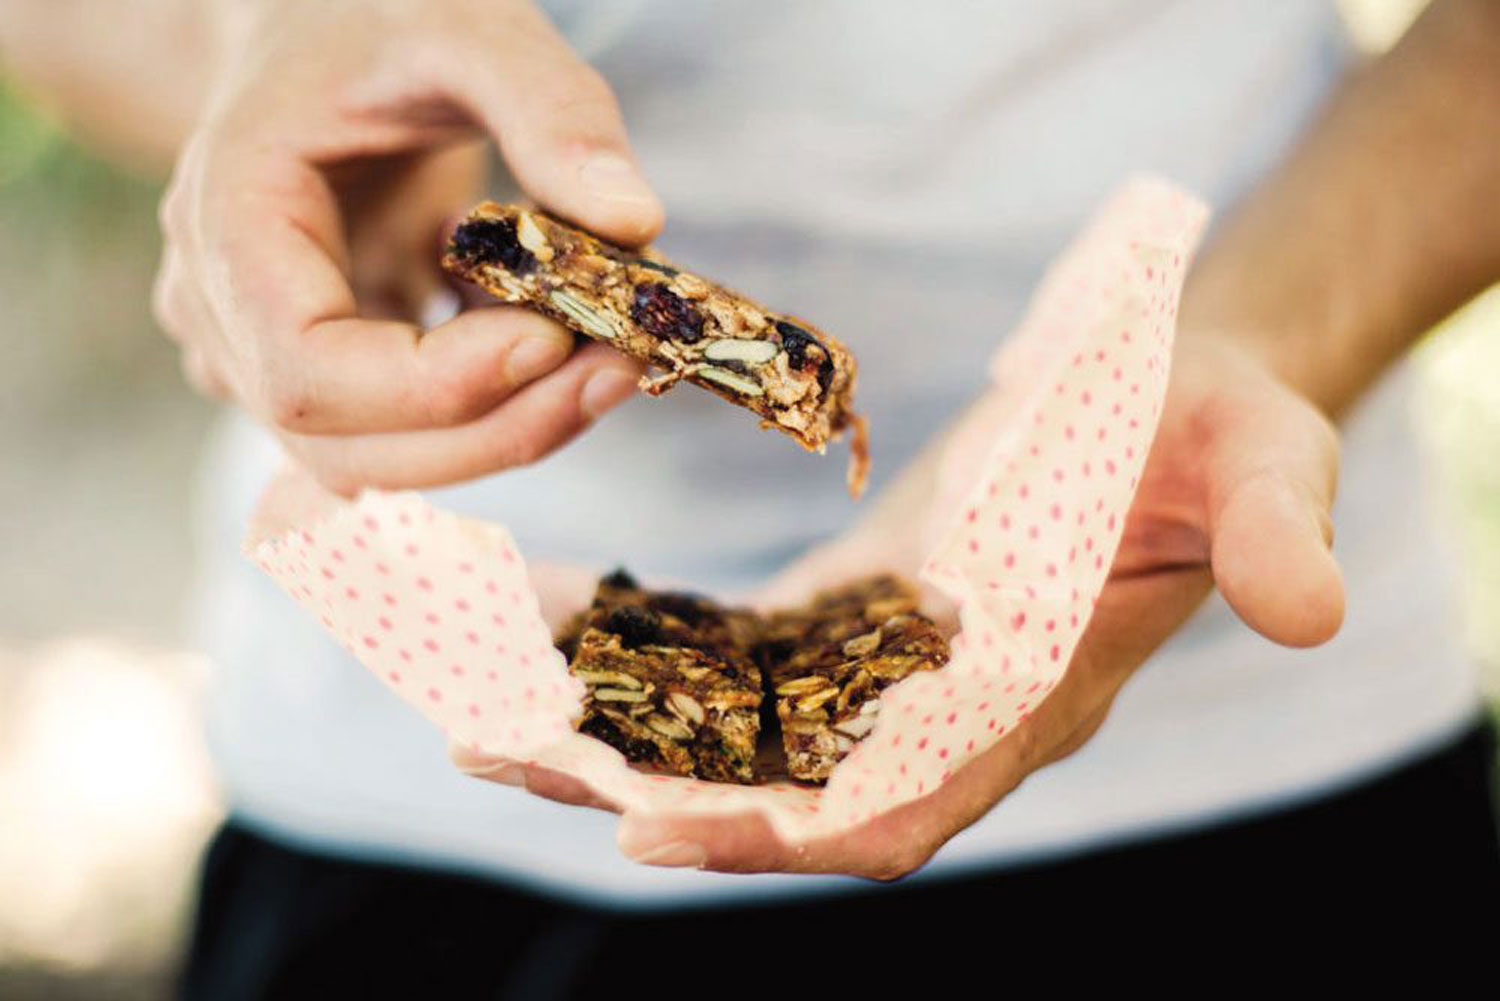
Hesitant to buy another expensive, sugar-packed, individually wrapped energy bar? This homemade granola bar is a snack that tastes great and is built to survive being bashed around in your pocket or hip bag. Without further ado, here’s the recipe:
Ingredients – (makes 10 – 12 bars)
3 cups (300g) rolled oats
½ cup (50g) chopped raw almonds
½ cup (100g) butter
3 tablespoons honey
1 ½ cup (300g) dates
⅛ cup (15g) pumpkin seeds
⅛ cup (15g) dried cranberries
Method –
- Preheat the oven to 160°C.
- Spread the oats onto a baking tray and toast them in the oven for about 15min.
- In the meantime, simmer the dates (pits removed) in a pot with ½ cup of water for ten minutes, or until soft. Let the dates cool down for a bit, then blend them to a smooth puree.
- Combine all the ingredients in a large mixing bowl and stir until all ingredients are covered.
- Spread the mixture onto a baking tray lined with baking paper and put it in the oven at 160°C for about 25 min.
- Remove the tray from the oven, let it cool down before placing another baking parchment on top then adding another baking tray (or flat object) on top with some weight to hold it down (I used water bottles).
- Let it cool fully overnight, cut the bars, and enjoy.
A year in review: A team manager's perspective - Behind the tape
Words: Cam Cole
Photography: Sven Martin
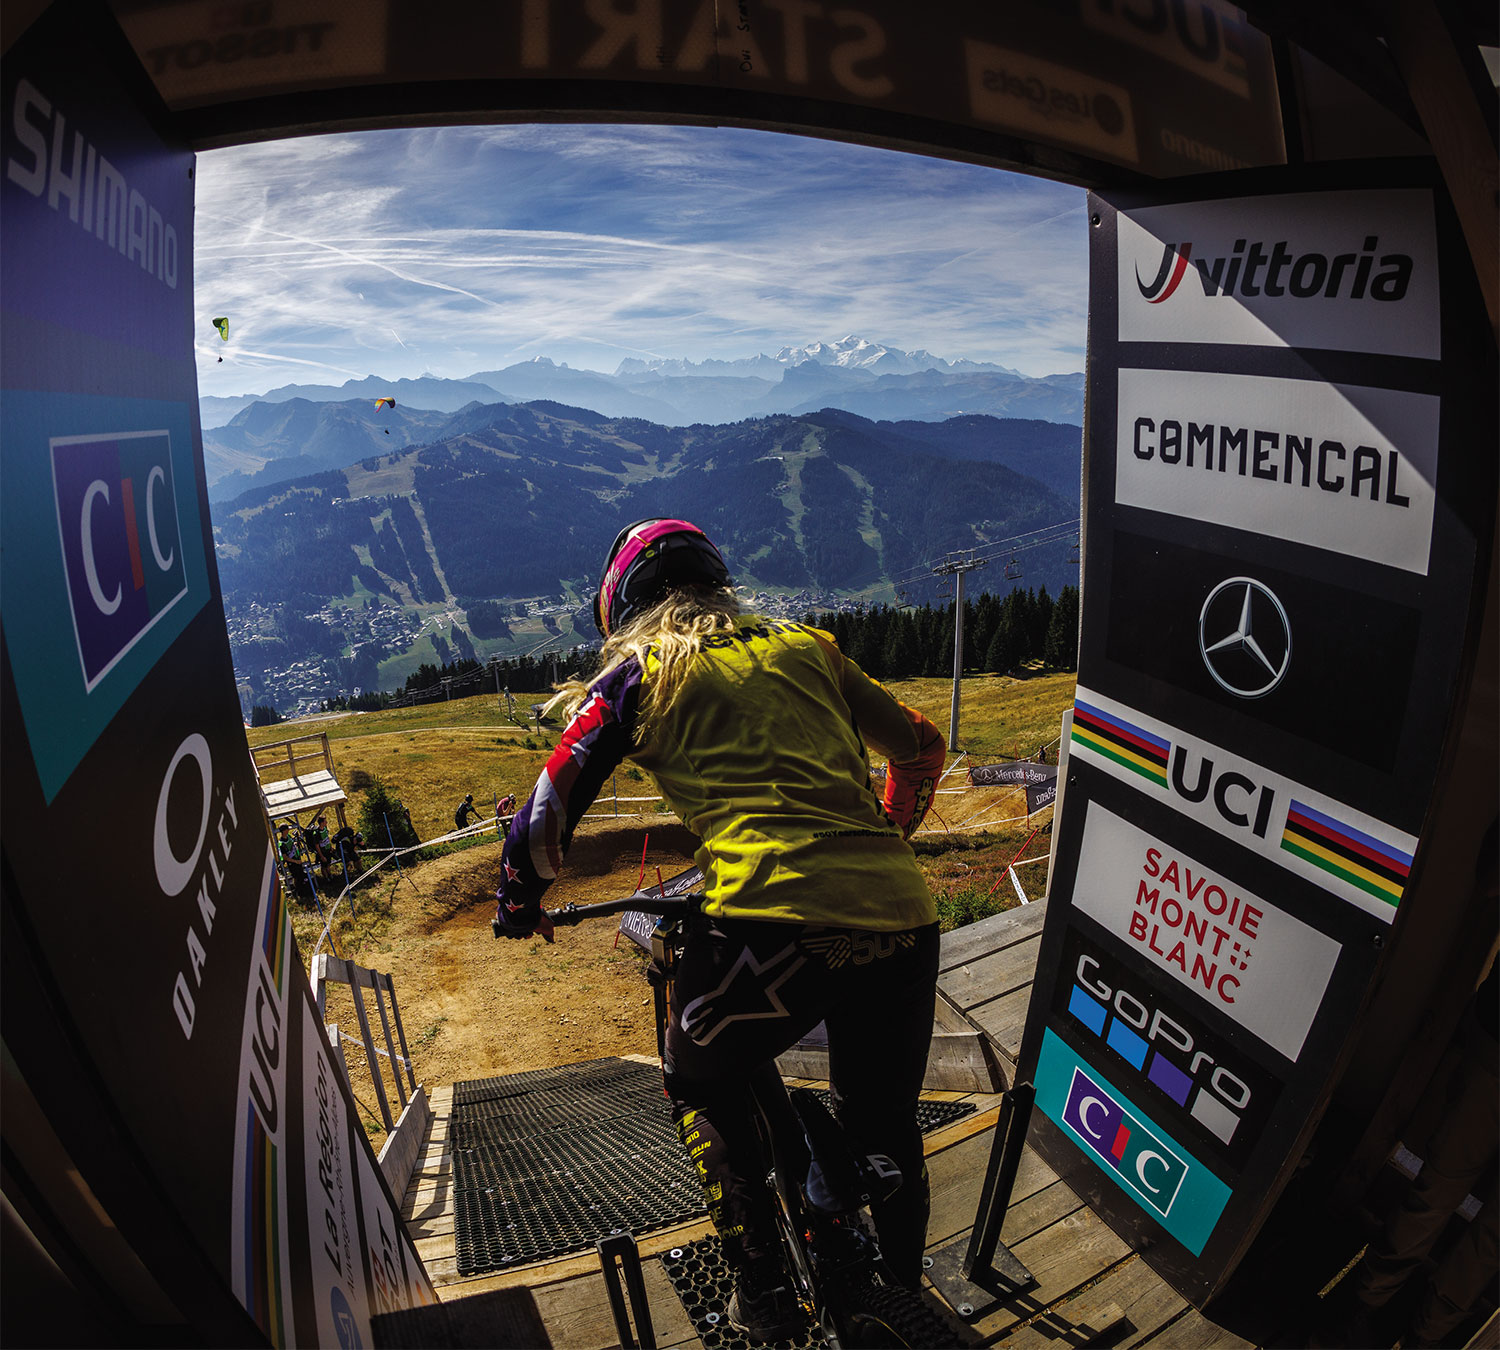
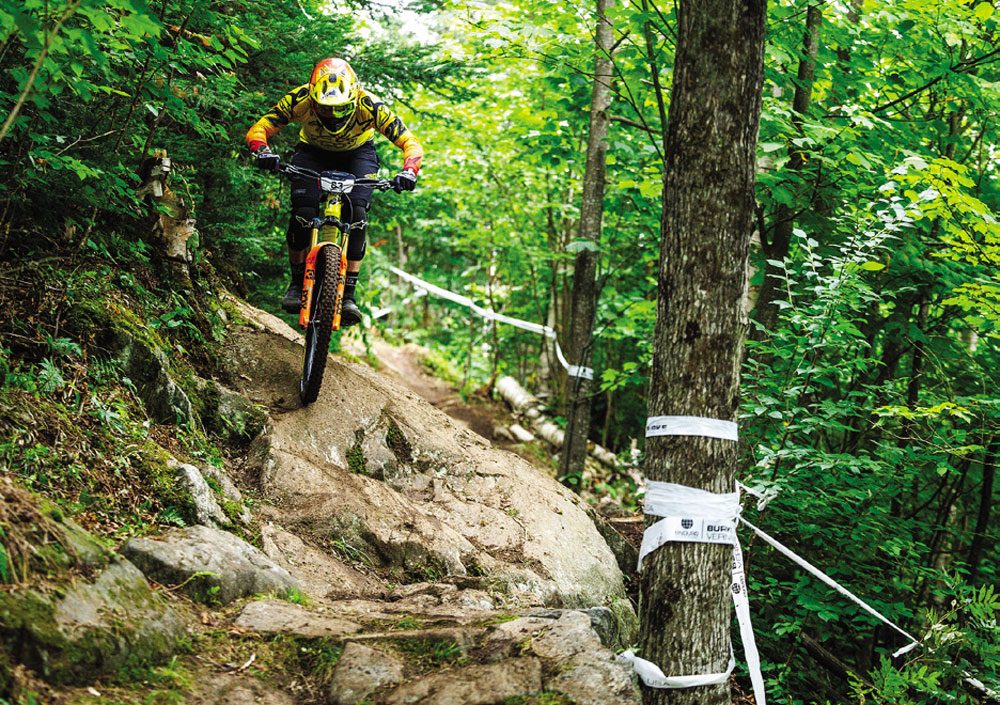
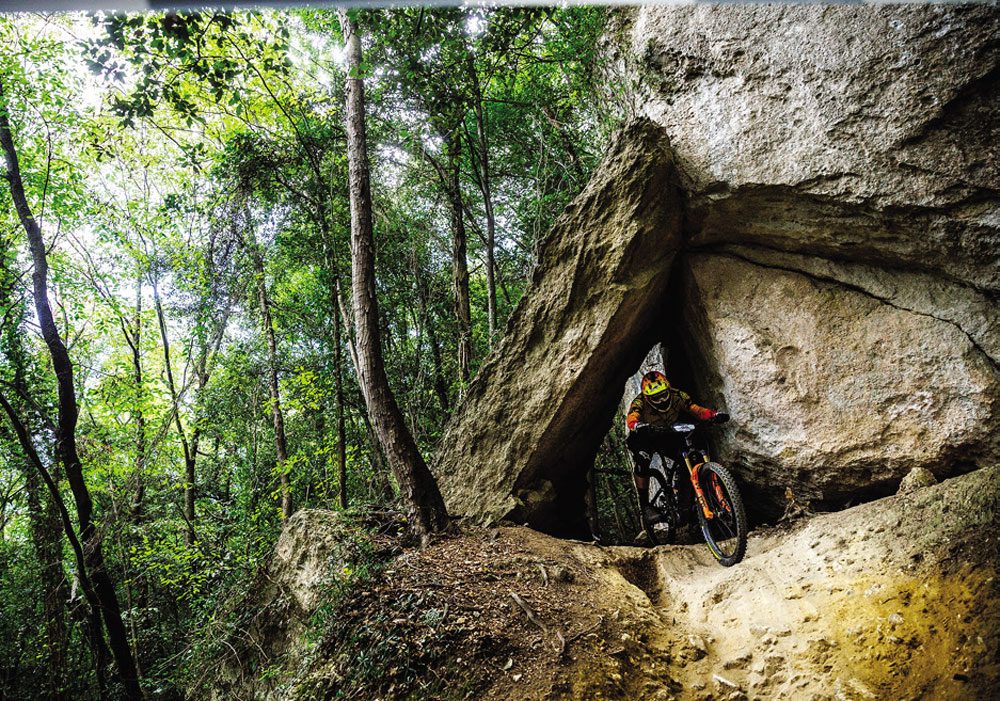
Winding the clock back, I started in the role of GT team and performance manager back in November 2021. This opportunity emerged while I was attending the 2021 UCI Mountain Bike World Champs in Val Di sole as the stand-in New Zealand team manager while our borders were still virtually closed, in the middle of the Covid pandemic.
The 2022 northern hemisphere summer has been and gone. In fact, it’s now well and truly in the rear view mirror. For me, in a diverse role supporting GT Factory Racing (GTFR), this came with thanks after many long days spent track side, pointing at riding lines scattered with rocks, roots, dust and mud; being holed up in event villages running errands, cooking meals, making coffee, setting up team pit infrastructure only to tear it down again; travel days navigating narrow Scottish roads in long, heavy team vehicles, attempting to peel tyres off rental cars, boarding ferries and flights spanning oceans, countries and continents; and of course, in classic GT Factory Racing style, our fair share of good times. After an opportune catch up with some old mates from my days as a professional rider (that’s a story I will save for later) some ideas were thrown about and a couple of months later I was signed on to the team. Soon enough, I was buried in online meetings, planning the 2022 racing season, and numerous spreadsheets as the management staff ground through all of the leg work that would allow the team to operate during the 2022 racing season.
Team and Performance Manager — an ever-changing role
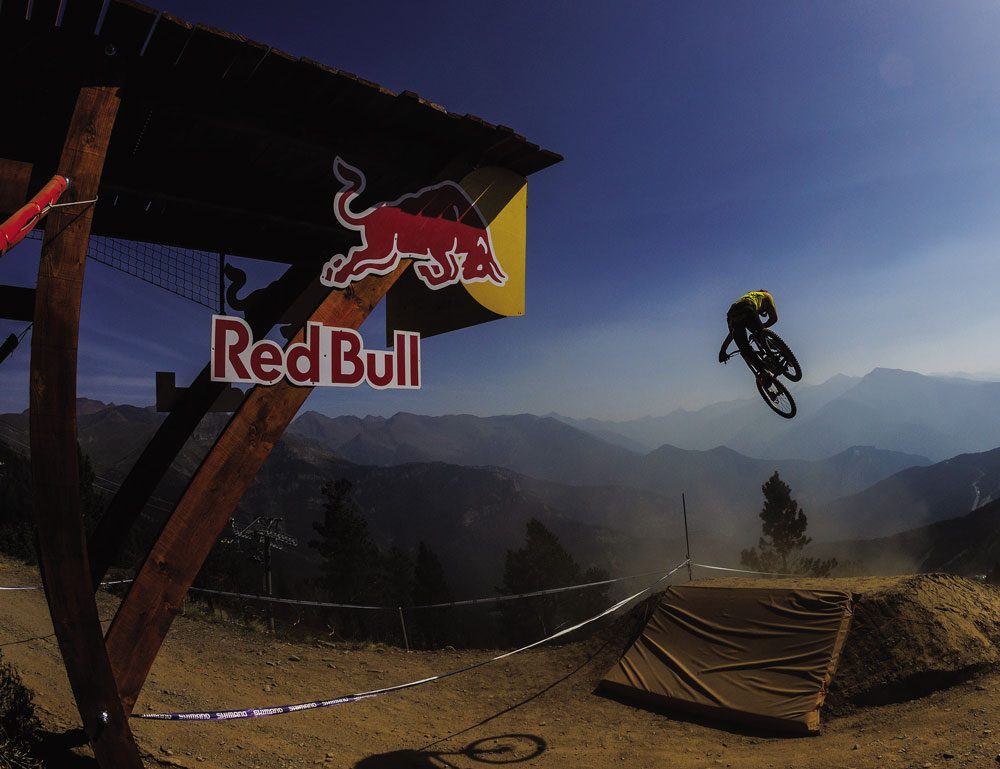
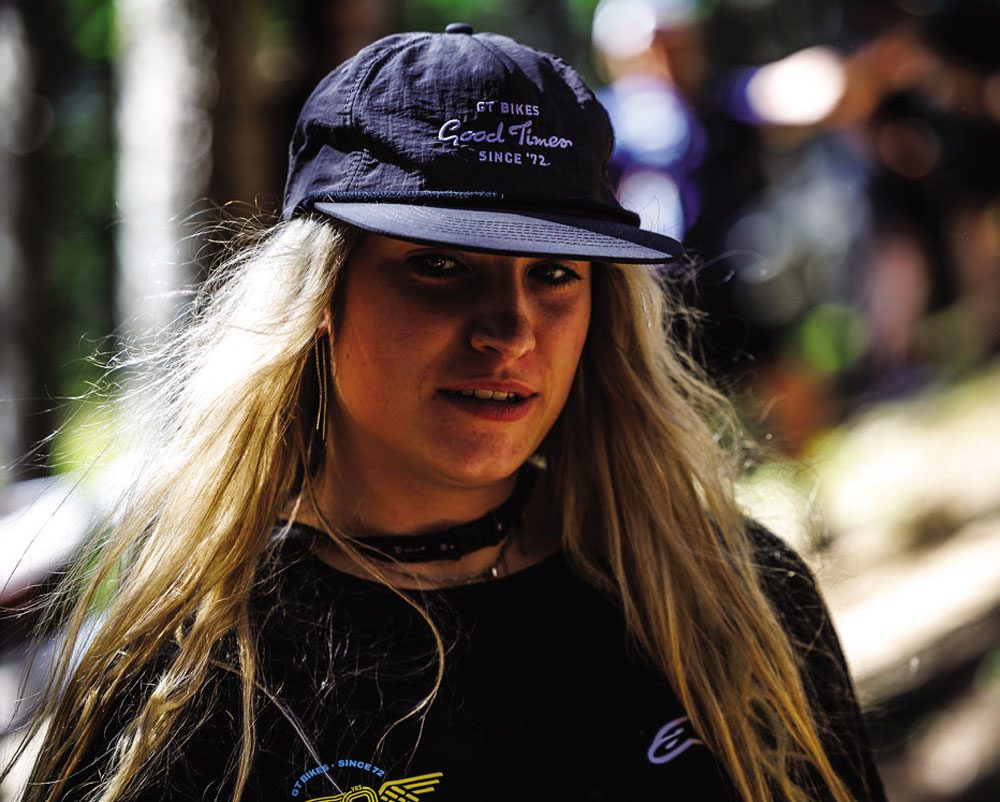
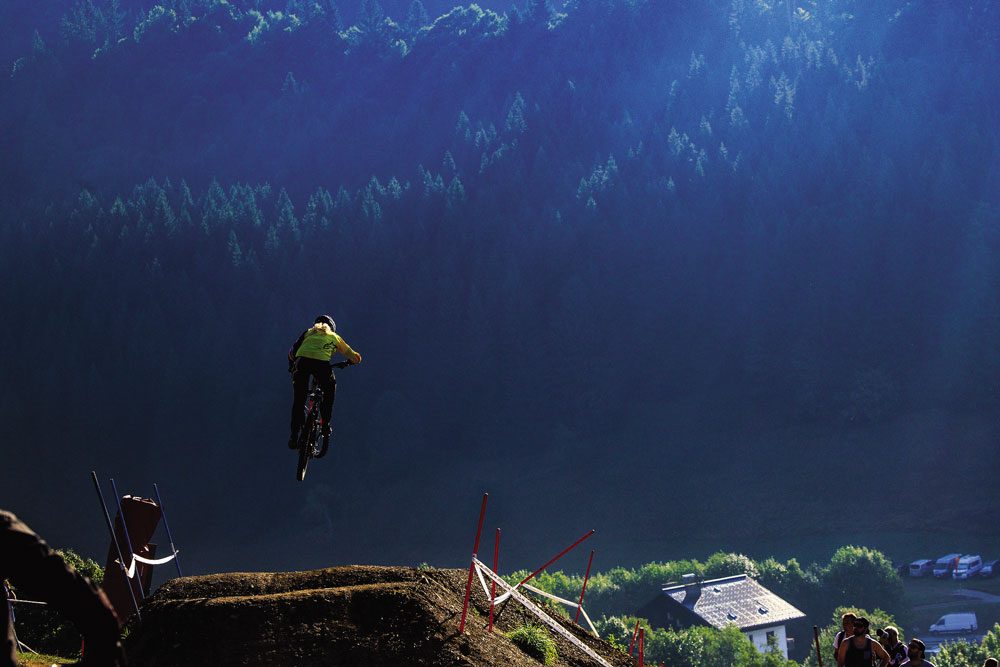
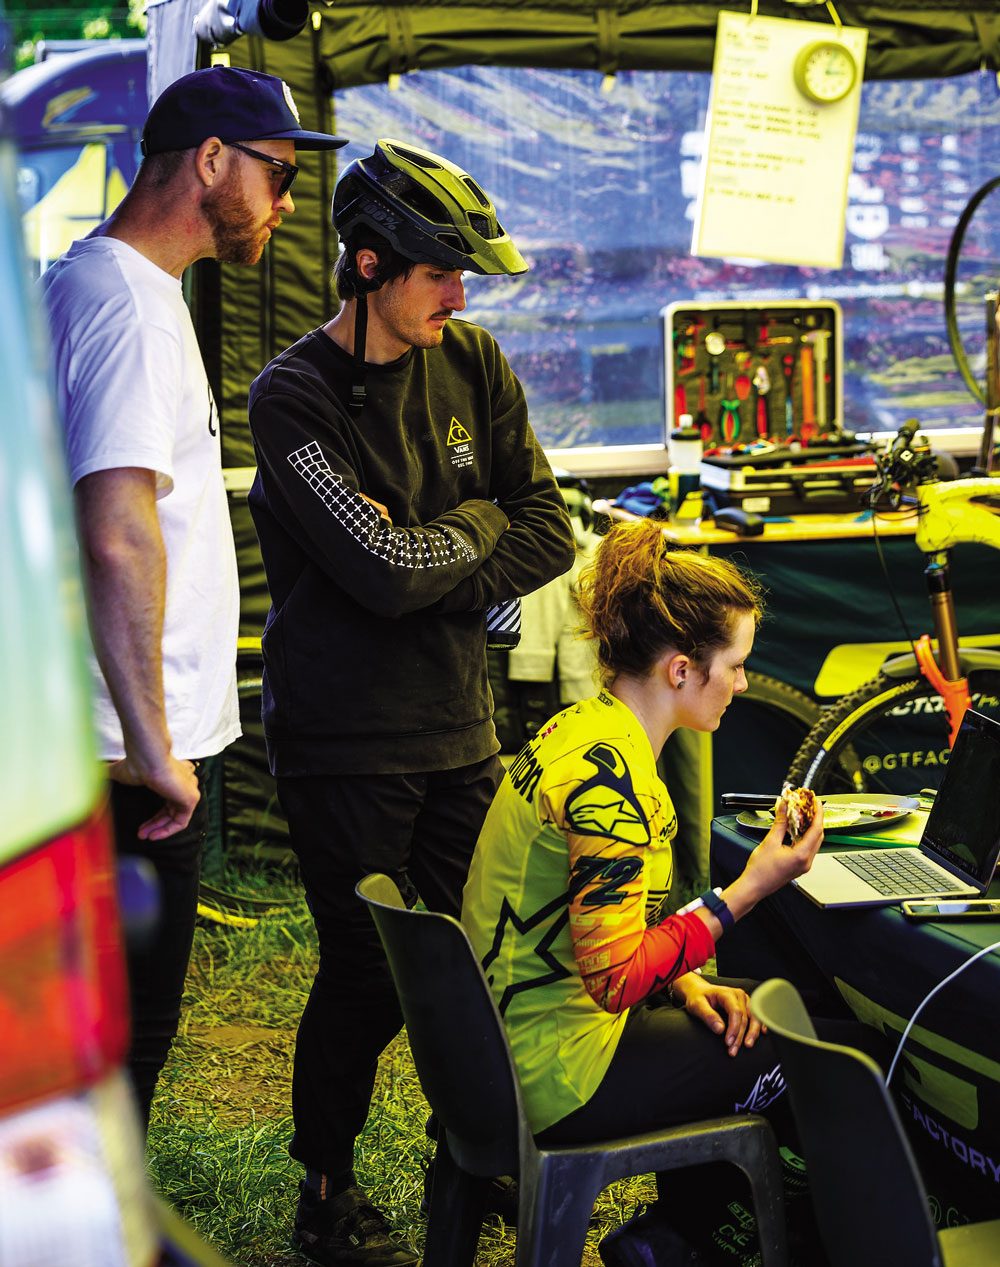
The role I’ve taken on with GTFR is a diverse one. It’s a role that evolves in its nature depending on the time of year. In the off season months, it looks and feels like any administrative role. Duties include event planning: from building out the team calendar for the season, booking flights and accommodation, all the way through to working closely with the chef team that supports us at the World Cups. On the performance side, I am frequently in contact with the riders so that the team is updated and aware of their off season progress and so we can keep them updated on any news coming from GT HQ or team partners. On this aspect of the role, my experience as a former professional rider is valuable in ensuring the riders are supported and that the team can assist them in their professional and athletic development. Ultimately though, the athletes on the team are highly motivated and require only guidance as we work together to refine their approach to top level international racing. On the marketing and business side there are general communications aspects of the role, to ensure info is flowing in all directions between the team, several of the GT business functions and GTFR team partners. In addition, there is budgeting and budget tracking. During the off season months, I work closely with Steve Spencer on the sports marketing side at GT HQ and Mark Maurissen, who works on the product and tech side for the team, taking care of all product ordering and allocations for the team as well as supporting the logistics planning. During the season, Mark is both a mechanic and logistics operations support. Additional staff include Rich Simpson, based in the UK, Matteo Nati, who divides his time between Italy and New Zealand, and our two French media mates, Louis and Jules. During the racing season, my job morphs into more of an operations role as the season plan rolls out week by week, race by race. The hours stack up quickly with early mornings in the pits helping the mechanics set up for the day, and generally end late with planning for the next day and site clean-up. Energy is what you need for this part of the job, especially since we are a relatively small factory team and one of only a few that compete in both the Downhill World Cup and Enduro World Series (EWS). For most of the Downhill World Cups in 2022 we were four to five staff looking after four riders, compared to the likes of Commencal Muc-off who have upwards of 10 staff for four to five riders. My days at the events are stacked with general race and team admin, such as assisting with the maintenance of team equipment and supplementary grocery shopping. On the performance side, it becomes more intensive at the events, ensuring riders have what they need to do their job well. The on-track support for the riders is a big part of it when I’m at the races. For DH that means standing track side sighting lines, coaching or suggesting racing tactics and strategies. Sometimes communicating with mechanics about bike set up is required. During the peak of the season sometimes all we can do is react. Dealing with cancelled flights (thanks Easy Jet), adjusting race plans as the inevitable injuries pop up and just generally rolling with the punches that are thrown at you daily when you are managing a dozen people traveling and racing all over the world is par for the course.
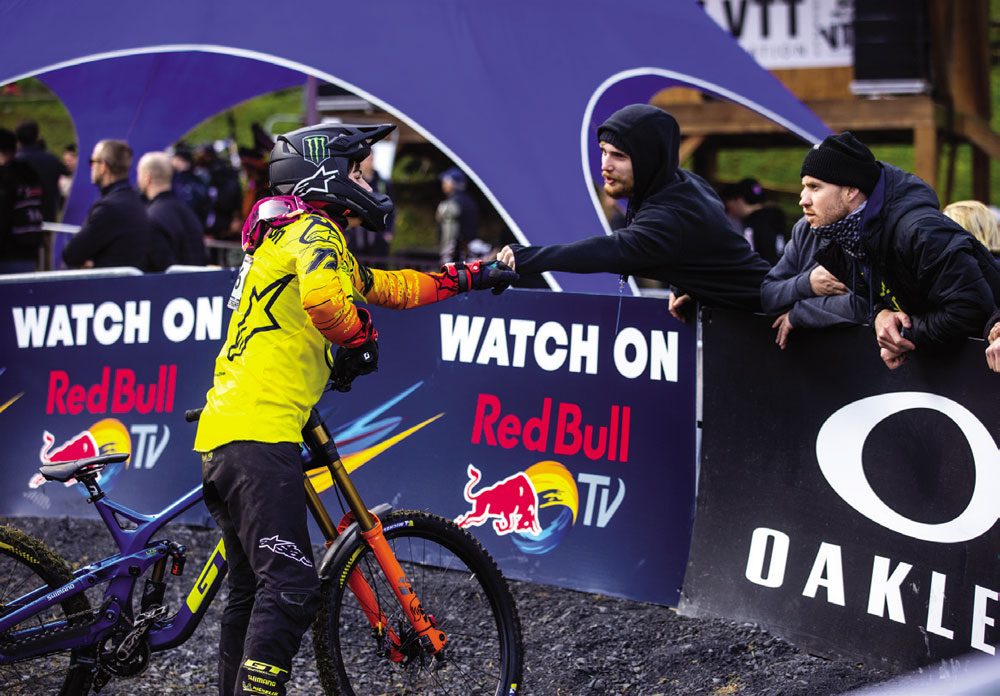
The Racing Season
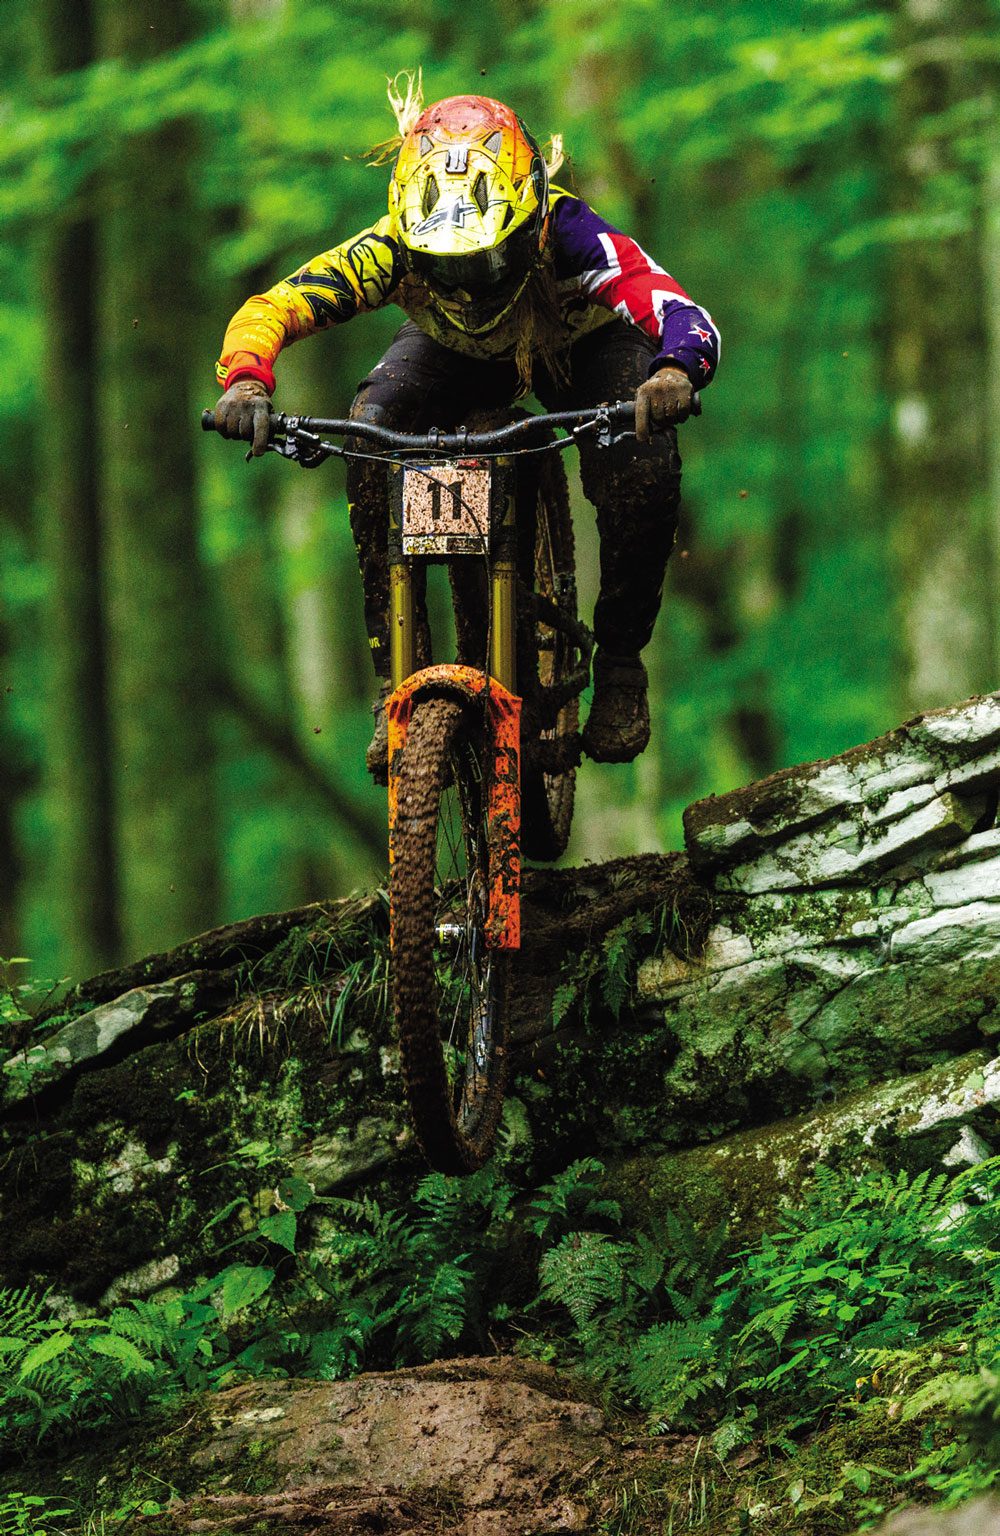
Soon enough, the 2022 racing season was underway, and we were on the ground putting plans into action. We kicked things off in early March ’22 with a preseason block of training and racing in bitterly cold central southern France, before heading further south into Portugal in search of a little bit of sunshine to boost the mood prior to the unusually early start to the Downhill World Cup season, in Lourdes. At this point, we were still missing Jess Blewitt from the team, due to her delayed return to international racing after taking the entire New Zealand summer off to ensure full recovery from the injuries she sustained at the 2021 World Cup finals in Snowshoe. Nevertheless, we still had a strong group of riders in Ethan Craik, Ryan Pinkerton and, of course, none other than Wyn Masters. Although highlights of this first block of racing included all riders making the podium at a Portugal Cup downhill race, and sucking on juicy Portuguese oranges, the Lourdes World Cup was a reality check. This race showed us the brutal nature of World Cup Downhill racing both in terms of the course and quality of the athletes. For round two, in Fort William, we would have all of our riders on an updated version of GT’s downhill bike. This, along with a revised focus after Round 1 and having Jess back on board, was a huge boost for the team and paved the way for several substantial steps in a positive direction. Despite Jess picking up a small fracture in her collar bone, her pace was on target for a solid result and Ethan was riding on pace for a top 10 – 15 result until he unluckily misjudged a heavily degrading corner and fell victim to the wet and windy Scottish conditions on finals day. The Enduro World Series season kicked off on the first weekend of June, two weekends after the Fort William Downhill World Cup, so after a short breather I joined the Enduro team in Innerleithen, Scotland. Although we didn’t come away with the comfort of knowing our outright race pace matched that of our competitors, we did maintain a positive and ‘can do’ approach to picking up the pace up throughout the season. Sometimes, things just don’t go your way in racing, but the only way forward is to reflect on a situation and truthfully answer any questions that the facts present you with, in any situation you find yourself in. Having been a professional international racer myself, from 2006 – 2014, I understand the pressures and demands the riders and teams face. I have had many successes at the top level of the sport. Many of those have come after times of truthful self-reflection and facing the ‘no blame’ facts presented to me. These were often that I was not prepared to race at the highest level due to physical, mental or emotional shortcomings, or that I was just not executing my races in a free and relaxed state. This was true for the Enduro team. There was no flow happening both in and out of the events. Things were just not happening as easily as they should have been for the quality of the team we were on paper. The struggle continued into rounds 2 and 3 of the World Series, in Slovenia and Italy. Noga Korem looked like she was riding well on track, but was just not feeling completely confident at full race pace. Katy Winton was in a similar position, but was feeling like there was something deeper at play holding her back. After fighting through an entire season as a privateer in 2021, her efforts to get to this point in mid-2022 – and back on a factory team – were becoming too much to sustain the detail-oriented approach that is required to maintain the level of performance Katy and the team expected. So Katy bravely made the decision to suspend her racing season so that she could take some time to reflect and dig into what factors were holding her back. With the first major travel and racing blocks of 2022 under our belt at GT Factory Racing, we had forward momentum on our side regardless of the positive or negative nature of the situation. I personally find it better to at least know where you stand and from that point feel equipped with the facts so you can address the situation as it presents. After the Val di Fassa EWS round there was a week break before we faced nine races in nine weeks through July and August, across both the EWS and World Cup Downhill series. This included the Lenzerheide, Andorra, Snowshoe, Mont Sainte Anne and Val di Sole World Cups, and the North America triple of EWS races, as well as World Championships in Les Gets, France. Highlights from this intense string of racing included Jess’s first Elite Women’s World Cup DH podium in Andorra, which she promptly followed up two races later with another fourth place. Jess rounded out the season strongly by achieving another podium place finish at the World Cup finals in Val di Sole, on the most technically and physically demanding course of the year. Ethan, in his first year as an elite male, also achieved a career first when he placed seventh in his first elite Top 10 at the Mont Saint Anne World Cup, and was showing serious speed at the World Champs until a crash on the morning of race day slowed him down substantially. Finally, Ryan Pinkerton rode to a solid second place at the World Cup finals, topping off his first year in the junior ranks. But, if you think it was all champagne showers for the team, I should mention a challenging travel day from Washington Dulles airport after the Snowshoe World Cup, to Mont Sainte Anne for the following race. The day started early with two flights from Dulles to Quebec, via Toronto. When we arrived in Quebec we found the rental car company had cancelled our reservation and permanently shut its doors, but had decided they didn’t need to let us know about it. Since many of the World Cup Downhill and Cross Country teams were flying into Quebec City airport at that time, there was no chance of any rental stock being available that would allow us to move seven people around Quebec and Vermont for the following two weeks. In the end, we decided to fight that fight another day. After taking taxis to Mont Saint Anne, we sat at one of a few local restaurants and ordered dinner – which took forever to reach the table. After a late finish to the meal, we decided it was time to check into the two apartments I had booked for the week. The check in process ended around midnight with Mark breaking down a door to one of the apartments as the digital panel controlling the lock had failed. With that, you start to understand the mental approach and skillset that is required when being part of a team of 12 people who for five months of the year are constantly on the move and not always in the same place, let alone the same time zones. By mid-September, there were just the final two EWS races remaining in the 2022 international season for the team. For these last events we were still missing Katy, but through her time spent away from the races, reflecting, she was beginning to see the early steps required to return to racing at the top level. With the support of GTFR and her immediate support team, she was regaining the fire and energy it takes to ride a bike fast and to one’s potential. In terms of outright results, Noga finished the season very strongly by placing fourth at both the Crans Montana and Loudenvielle races, and was once again having fun at the races and on her bike. This was a relief for her and the team. Ultimately, I do this because I enjoy the process of learning and striving for performance but what really makes it so good is seeing the riders expand their personal horizons and have fun racing their bikes.
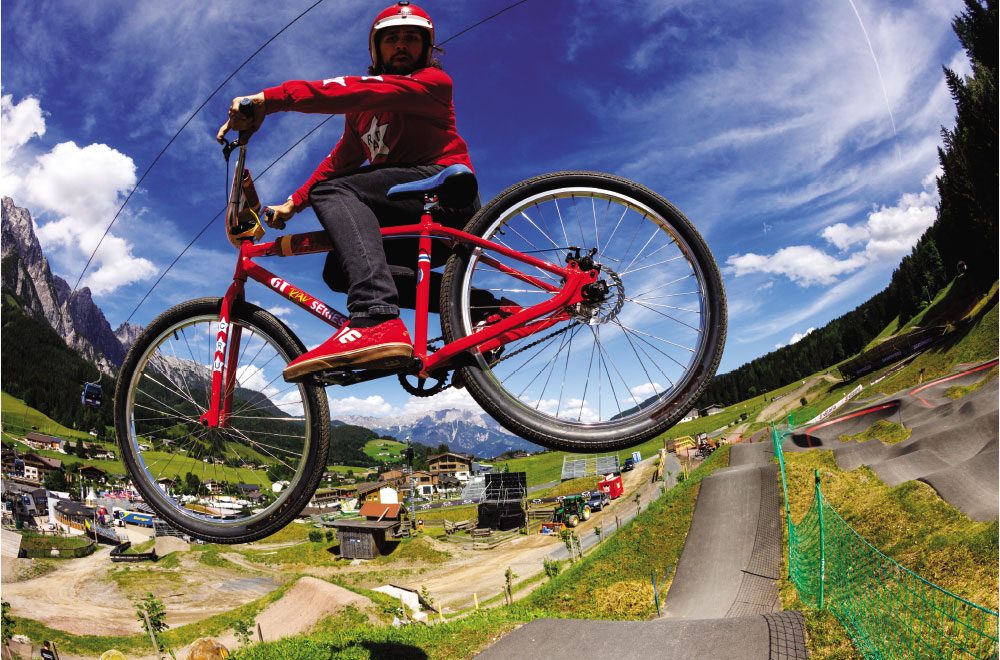
Reflections
Since the end of the season, after the final EWS race in Loudenvielle, we have had the chance to back off the gas, unwind and spend some time recovering physically and mentally. However, for those at the sharp end of this business, this time of the year is utilised as a chance to reflect on the past season while it is still fresh in the mind. While it is a good time of year to catch up on any night time reading that is missed during the season, it is also a chance to take notes and brainstorm new ways of doing things, that could be implemented in order to improve performance. Since the end of the 2022 season, we have already overcome some of the challenges that presented themselves over the year. But, we have many more ahead of us. For me, this is the lure of being part of a team competing in the highest level of competition, in any context. No matter what the result, there is always more to be improved on. Competing in an environment such as this forces teams through a process and journey of improvement. You don’t have a choice if you want to remain competitive in this game. Looking ahead to 2023, it’s going to be another busy year. Although there are still many months until the Downhill season kicks off, the first EWS races take place at the end of March, in Tasmania. So, for me, it’s swiftly back to the usual off-season duties.
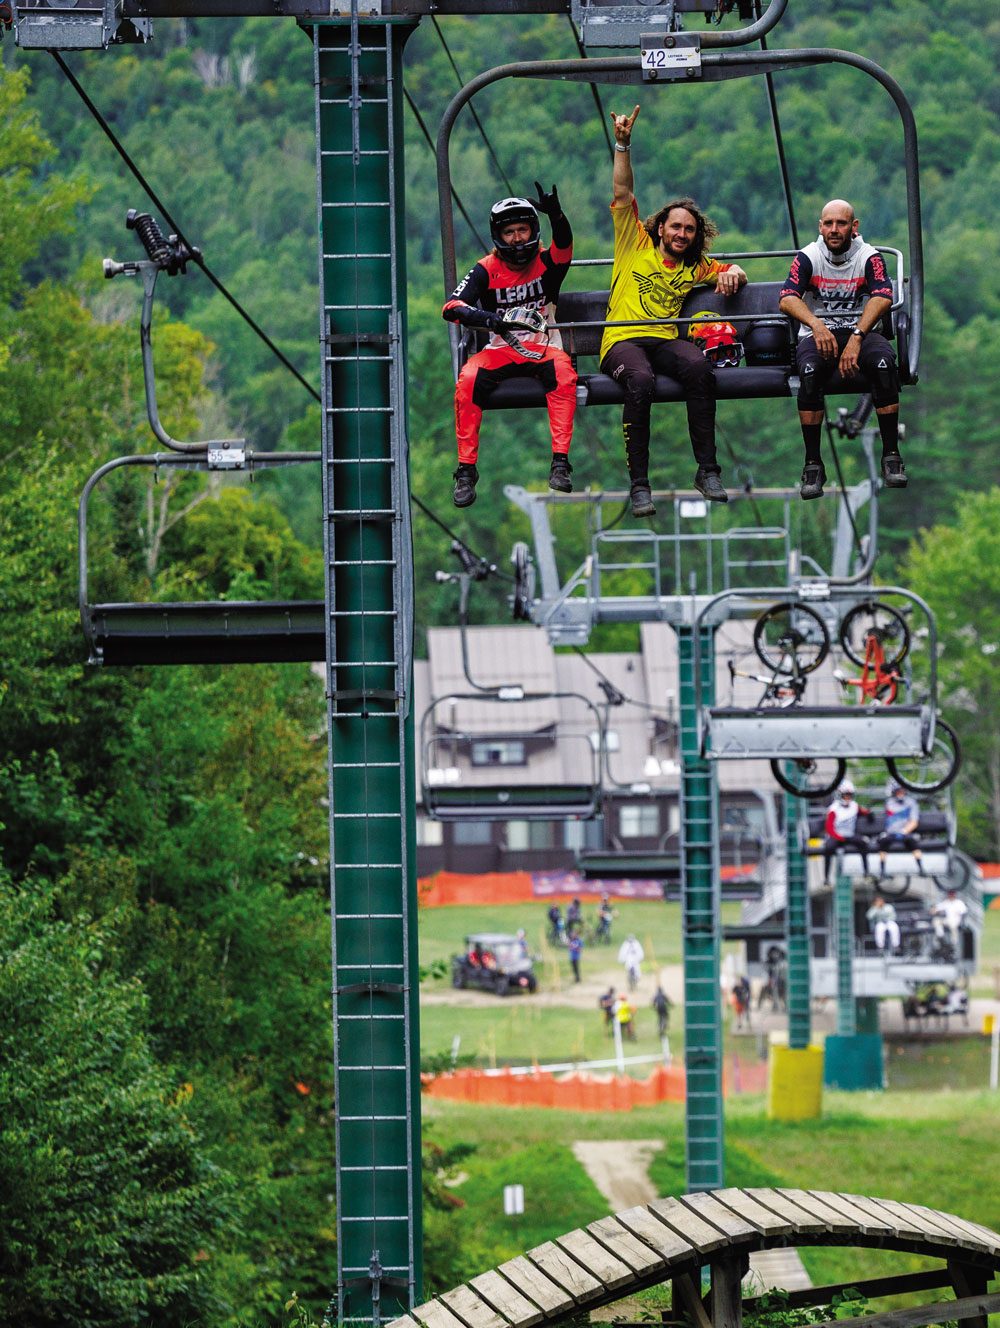
ENERGY IS WHAT YOU NEED FOR THIS PART OF THE JOB, ESPECIALLY SINCE WE ARE A RELATIVELY SMALL FACTORY TEAM AND ONE OF ONLY A FEW THAT COMPETE IN BOTH THE DOWNHILL WORLD CUP AND ENDURO WORLD SERIES (EWS).
I PERSONALLY FIND IT BETTER TO AT LEAST KNOW WHERE YOU STAND AND FROM THAT POINT FEEL EQUIPPED WITH THE FACTS SO YOU CAN ADDRESS THE SITUATION AS IT PRESENTS.

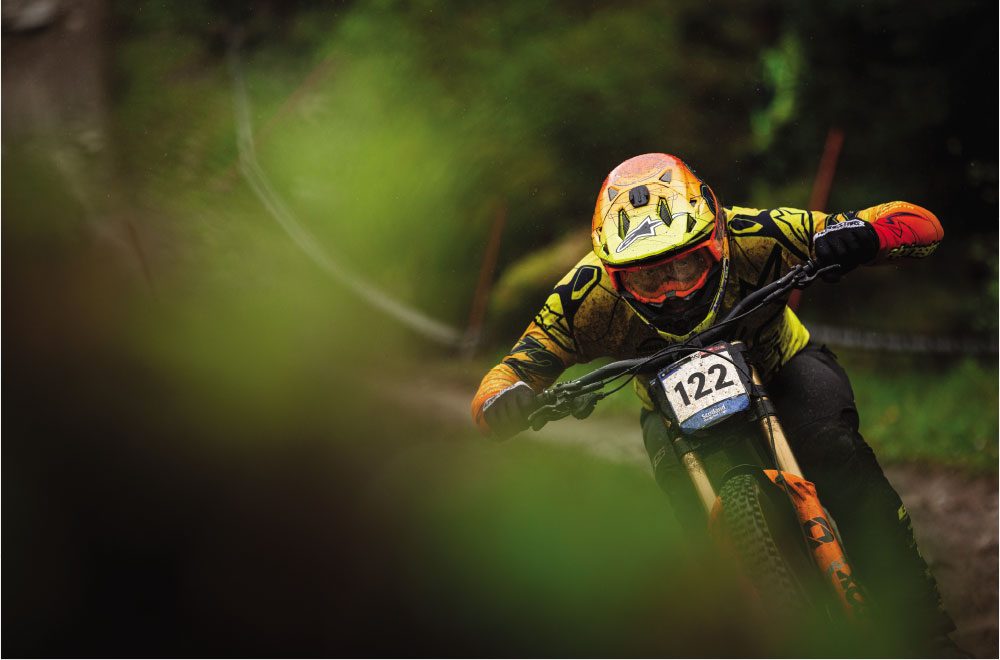

An interview with Sam Blenkinsop
Words: Lance Pilbrow
Photography: Cameron Mackenzie & Sven Martin
I’m two minutes into our Zoom interview and Sam is juggling kids on his lap. Prior to this, he’s been on another Zoom, negotiating deals that will form part of his 2023 season. Undoubtedly, his kids will have let his potential sponsors know that Sam, their dad, should really be giving them his undivided attention. But this is the new normal for Sam. The Juggle.
Most New Zealand Mountain Biker readers will be familiar with Sam Blenkinsop in some form or another. If longevity is a sign of success, then Sam could arguably be New Zealand’s most successful downhill mountain bike rider, having been riding professionally for 19 years. He’s been a fixture on the NZ riding scene for as long as many of us can remember. I personally remember watching Sam ride at the 2006 Rotorua World Mountain Bike Championships where he came second in the juniors. I was blown away by how fast he was riding and just how much style he had on the bike — his bike seemed to effortlessly drift through corners, through the air, always slightly sideways, slightly tweaked. Somehow, he made it look more fun than anyone else.
Fast forward to 2022 and Sam is now one of the seasoned veterans on the World Cup circuit. And a lot has changed over that time. Most notably, he now has a wife and two children to join him as he moves around the globe following the UCI circuit. With his experience on the circuit, and confidence to try something different, in 2022, he ditched the established way of doing things, bought a motorhome and hit the road racing; wife and two kids along for the ride too, as support crew. “We purchased a motorhome in the UK, and just drove the whole of Europe,” says Sam. “We did something like 9000km.”
Having recently toured New Zealand in summer with my own family, I’m well aware that life on the road isn’t always plain sailing. The idea of taking a family on the road, managing a race schedule and the pressure of performing at an elite level made me wonder if he’d had a few too many knocks to his head. But he assured me it was fine. How was it for his wife, Lysh, though? “It was hard for Lysh, for sure. She had to deal with our younger one in the motorhome; there is all the feeding. Yeah, it wasn’t aways easy,” explains Sam.
Sam’s kids come in and out of view on his webcam. In the background, I can hear some fighting over toys, and I’m imagining doing all of this inside the close confines of a motorhome — for six months. On the whole, it’s clear Sam, at least, had really enjoyed the past season.
“To be honest, it was awesome,” he admits. “It was just so exciting having the family there. It was like learning a new way of racing; racing while being a dad. It was more interesting than other years because I was going to all these places I’ve been to for 19 years, but I realised I actually never saw them properly. Typically, I’d just be with the team and at the hotel, and I wouldn’t really enjoy the place as much. Now, I’d be at practice, then as soon as that was done I’d go hang out with the family and really enjoy everything. It was great being with them and not just having the race as the only thing. It was like being on holiday with the family, but getting to race too, which was like an awesome bonus.”
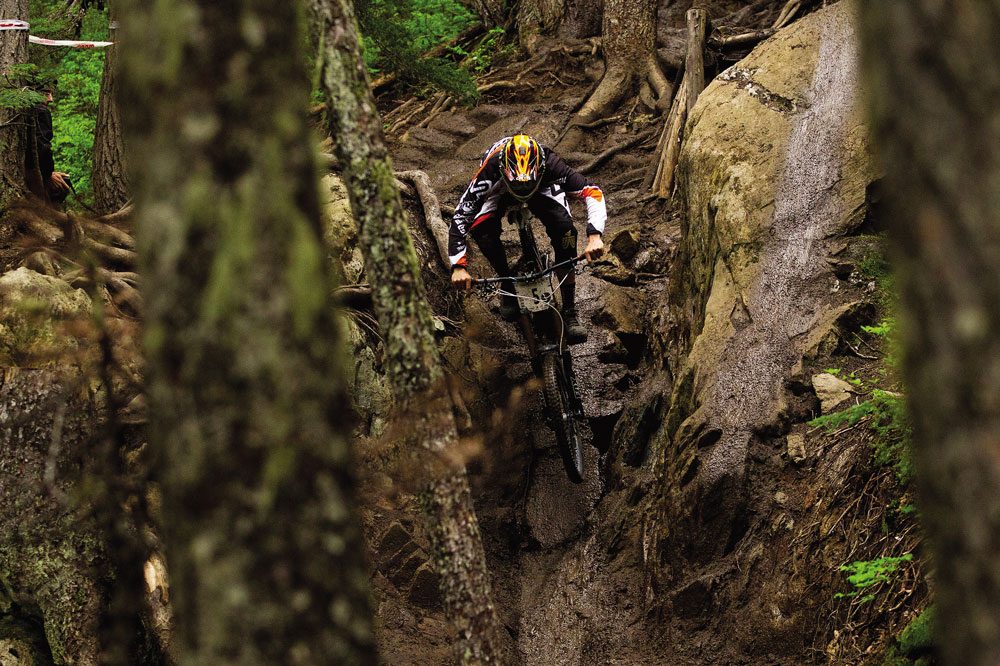
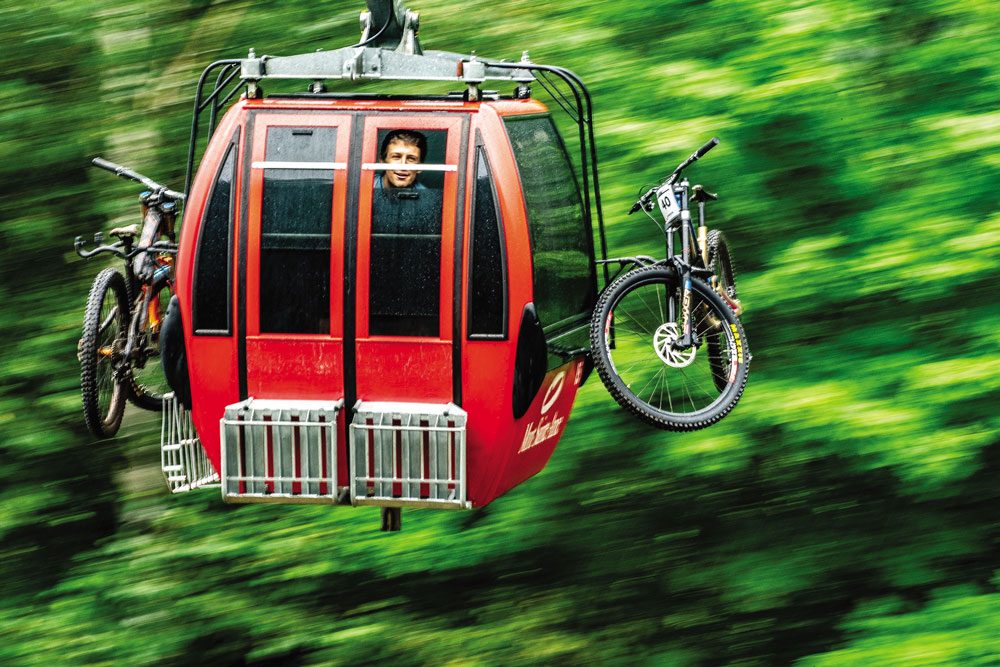
This change of pace seems to suit Sam. The more we talk, the more he seems to relax. He’s reflective on his time as a racer, and the privilege that has been, but also how the reality of being on the road has real downsides. “When you’re with a team, everyone can be in their own bubble and often they don’t really do much. It can actually be quite boring a lot of the time. It’s crazy!”
But he hasn’t always been this way, and he seems to be able to see his own evolution and maturity as racer. “When I was younger, I was more like how I see other younger racers now — it was just racing, racing, racing! Everything had to be absolutely perfect.” He laughs, seeming to sense a bit of irony at what he is saying. “But now I’m old!” I’m a little surprised at just how casual he seems about it all, he just seems to be more realistic. “I just feel like I know what goes into racing — what works and what doesn’t. But actually seeing places differently, that’s what changes when you become a parent. It’s interesting in new ways,” Sam laughs. “Now I’m just looking for the best playgrounds and parks!”
But despite the highs of having his family on the road with him, the challenge any professional athlete faces is that results still matter. So, I asked him if he had achieved what he wanted to this year? “To be honest, my race results weren’t where I wanted them to be. It was pretty frustrating,” Sam admits. “I would get a mechanical or a flat tyre, it was… annoying.” Fort William was one such race. He missed out on qualifying for the main event, a race that is usually one of his favourites and one he performs well on. “I got a flat tyre halfway down…. I missed out on qualifying by half a second.” This was a tough pill to swallow. “I hadn’t been that angry for a long time. We’d driven all this way, I’d been with the family, it was a week of shitty weather, everyone was cooped up in the motorhome, there were midges everywhere, kids couldn’t do anything.” I ask him if having his family there changed how he was able to cope with a disappointing race. “Having the family there changes everything. In the past, if I was at a race and I didn’t do well, I would be thinking, ‘man I wish I was at home’. But, with the family there, it was completely different. It was just like, ‘ah, it doesn’t matter, it’s just part of it’.” This family thing sounds like the ultimate racer’s edge: great support when things are tough and the people you most want to celebrate with when things go well. Like at Mt St Anne, in Canada, where he was back in the top ten: “The high of that whole weekend was really just having the family there with me. It was just the best thing ever.”
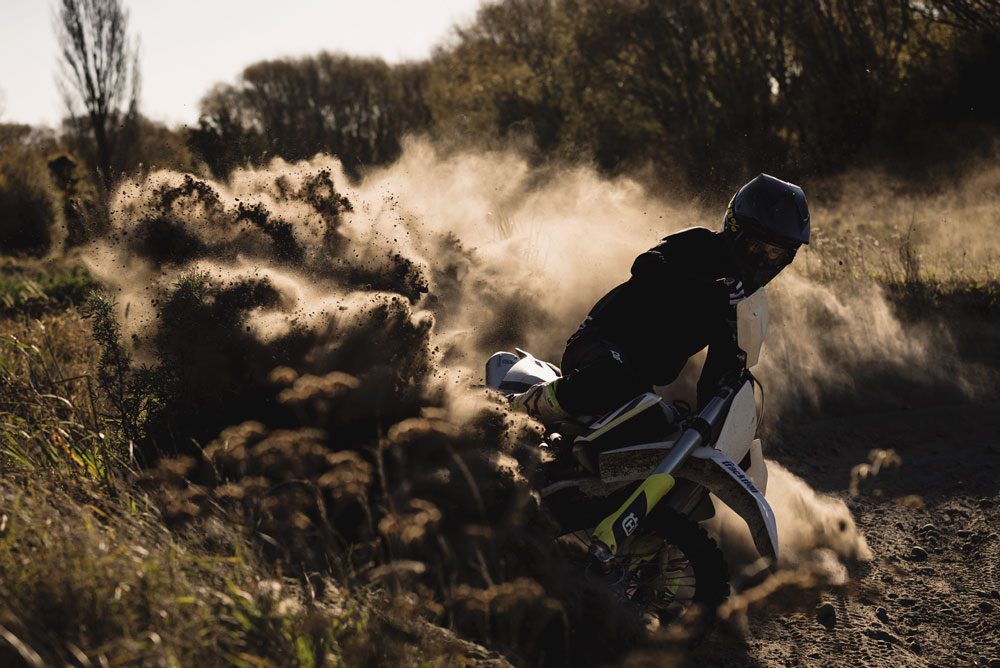
Sam seems to have been able to carve out a career as a racer that is pretty enviable, and the longevity of it all is unique. In fact, just staying healthy in a high risk sport like downhill is a challenge; always balancing risk and reward. “When I was younger, I just wanted to go as fast as I could,” says Sam. “But you figure out pretty quickly that it doesn’t really work well that way. You just can’t ride that way all of the time, ‘cause you just end up crashing.” I ask him if this is, however, just what is required to be at the very top? He agrees. “Those guys [Loic Bruni and Amuary Pierron] just ride at such a high level. The risk is so high. But, if anything happens, when they hit the ground, they’re done, the season’s over. I can ride at that pace too, but it’s risky. You need to be comfortable with it.”
Staying healthy, staying on the bike, and showing up to races year in, year out has helped Sam keep sponsors happy. He has just finished up a contract with Norco, after seven years working together, to explore something new. Now, he’s taking charge of managing his own sponsors and race schedule. This seems like a lot of work to me; I ask him why he’s doing it? “I always wanted to run my own program, and I’m finally getting a chance to do that. I feel like I’m going back to my roots — not like a privateer, I’ll have factory support and I’ll have a good budget — it’s just a simpler operation.” Being on the Norco factory team, Sam has seen it all. It’s big business with big overheads. “In a big team, the team takes everything you make them. The managers get paid because of you; the budget is massive to move a team around. I realised this year, in taking myself on the road, it just doesn’t actually cost that much. But, with a team, you’re spending so much money with hotels, mechanics, managers and different staff. The amount of money that gets blown is unreal. With Norco, about twenty people were involved with the team; mechanics, ex riders, masseuse, other staff, an on-track guy.
They were a Canadian team, so lots of them would go to the race and then fly back to Canada each week. The amount of money that got wasted… I couldn’t believe it. So I just knew I could do something simpler that would still allow me to make it work.”
Sam seems to be confident in his own experience. Confident he’s developed skills he can now use to help navigate the new reality of racing whilst also being a family man. “I’m excited about the direction I’m going in, I really feel I can be in the top 10 for sure. I still believe my riding is at that level. I still feel like I can be on the podium the weekends that the track suits me and I’m feeling good.” But the sponsorship side of things is a steep learning curve. “It was so much easier when I had a manager doing all this! Now it’s way harder. I’m just not used to doing it. I’m so Kiwi! We just don’t say, ‘I need this much money so could you please give it to me?’. We’re more reserved and sort of just end up asking for something, anything. Often, I’ll say a number and sponsors will be come back to me with; ‘we can do more than that — you should really be asking for more!’ So, I’m learning I need to be a bit more cocky really. Sponsors often have more to offer than I think they do. But I like that I’m learning all this.”
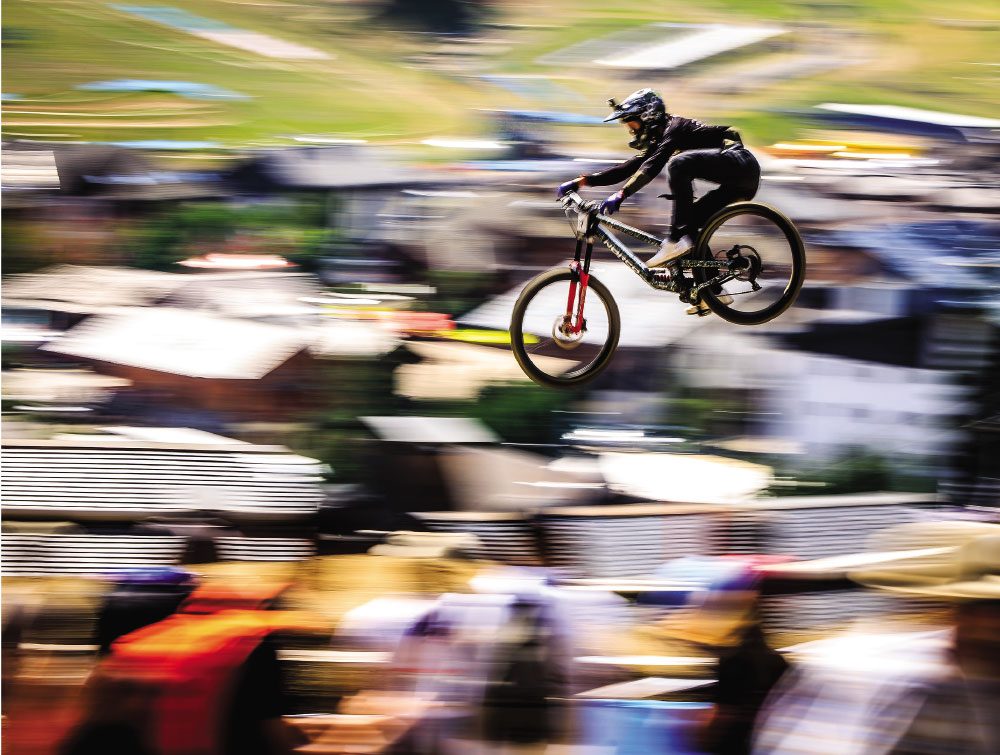
Taking charge of his own program is about creating new opportunities. For example, he’s getting to work directly with the brands he has always wanted to work with, and working with them directly instead of through a manager or a team. “So often I’m hearing the brands say how good it is to be dealing with me directly. They’ll tell me they’ve always wanted to work with me, not this other person or a team I have been associated with. Often, they just want to do a little deal with me directly but they’ve had to negotiate with the whole team. So it’s cool to be able to work more directly with the actual companies and hear this kind of stuff.”
It’s not all plain sailing, though, and even trying to ensure he gets enough support to run the lean operation that he has in mind for next year has challenges. “It’s hard at this time, all the sponsors are tightening up. They’re not selling as much and everyone is overstocked, and everyone’s freaking out, and just taking so long to return calls and emails.” But Sam’s confident it will all come together, and he’ll be back on the circuit next year. He won’t tell me what bike he’s riding just yet, but he’s obviously excited about it. “I’ve pretty much got everything locked in but there are still a couple of things we’re waiting on. In terms of the industry, to be honest, it is probably the worst time to do it.” But he’s enjoying the new challenges of management, and of the conversations he is getting to have. “It’s just great to be able to choose the people I want to work with, and work with the people I like to work with. Everyone that I’m working with is a friend; I’ve worked with them for years and they are fans of me and I feel like I’ll be able to have a long future working with them. I was with Norco for a long time, and a part of me was just thinking, ‘this would be good if it carries on forever’, but in other ways a fresh start is exciting too.”
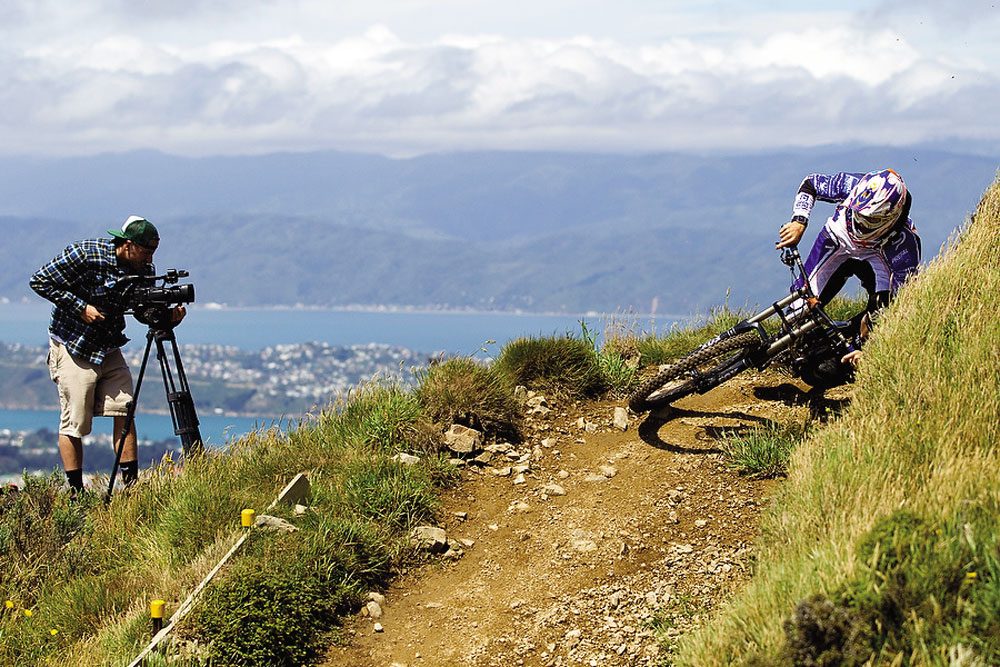
There are other changes on the horizon, too. Not least of all Discovery TV taking over the broadcasting rights to the UCI Mountain Bike World Cup. Something that has a lot of riders, Sam included, curious to see how it all unfolds. It’s a complicated business working with the UCI, and the relationship between the UCI and riders has often been fraught. Plus, there are lots of unknowns. “We don’t even know how many people are going to qualify; how many people they are going to show on TV… It seems like they are trying to suck every cent out of us,” explains Sam, candidly.
On the other hand, Sam has always been a fixture on the Crankworx schedule, something some of the other riders don’t seem to prioritise. The reason is simple; “I’ve just always enjoyed the Crankworx events,” says Sam. “If you go to a UCI World Cup, the organisers don’t really care about you at all. You are the show, but they just aren’t bothered. The Crankworx guys, though — you go to the race, and they do everything for you. They are so supportive of you; they help you out with everything. You email the organiser and ten minutes later you’ve got an answer. They just really take care of the riders.” And the festival-style race schedule appeals to Sam, too. “All the events are so fun. They just pack the events in, too. You do one race one day, and if you do badly in that one race, you’re like, ‘oh well, I’ve got another race tomorrow’. It’s busy, and I like that. At Rotorua this year I had the downhill practice, slalom and pump track all in one day. The people love it. I’ve always told the organisers I’ll race these ‘til I can’t race anymore.”
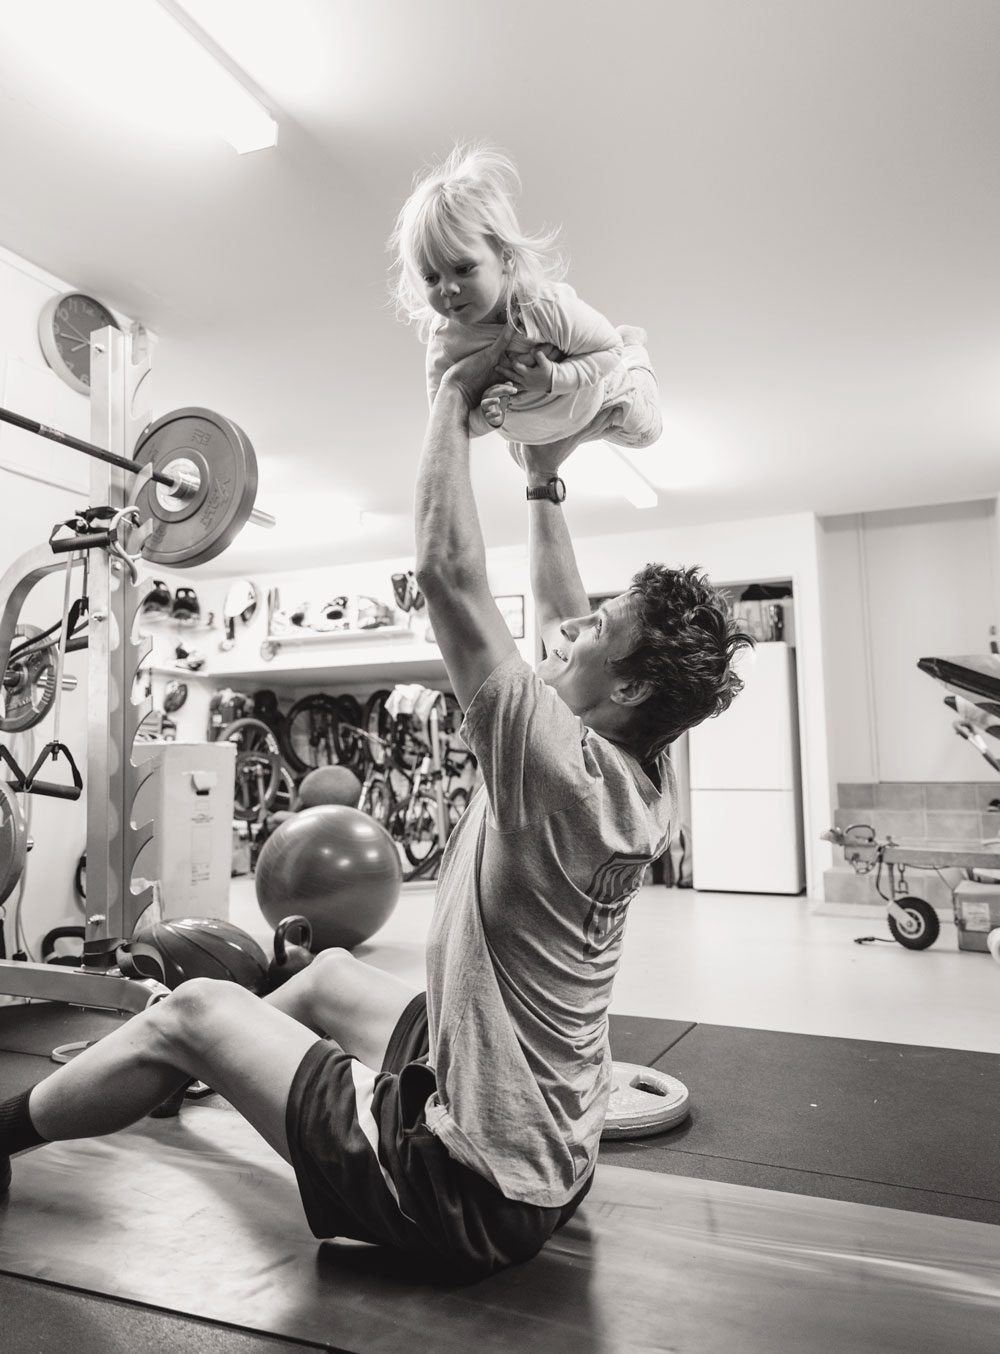
Right now, however, it’s the off season and, for Sam, this means it’s time off the bike and a different pace of life. “I drop my daughter (Indie) at pre-school, then I take Blake (his son) for a spin in the bike trailer.” Family commitments mean Sam doesn’t have the luxury of training whenever he wants, either, so he’s being more efficient than ever with his time — doing weights in the garage before the children wake up being just one example. But his off season is more than just being off the circuit, its exploring other passions too. “I love hunting and spearfishing and that’s what I love doing when I’m not racing. This time of year I love those things even more than biking… Racing is so intense, but with diving you’ve got to really slow your heart rate right down and be relaxed. Plus, it’s all about just being in another environment. Hunting is the same, you have to be calm.”
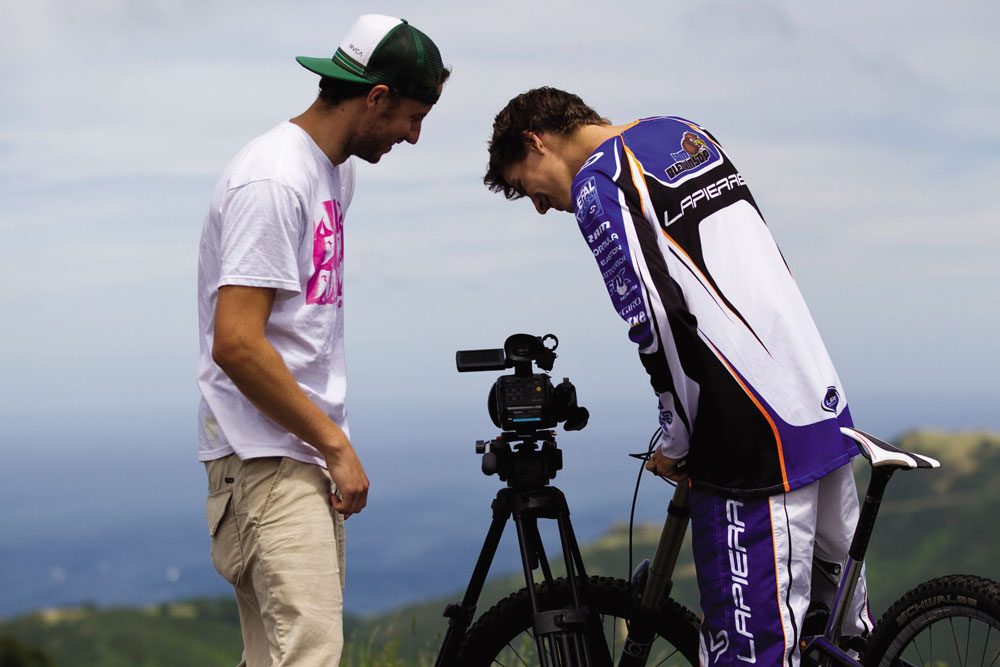
Nineteen years in any career that takes you on the road for six months of every year is a challenge that could wear thin, but it seems to suit Sam just fine. “I can’t stay in one place for too long. I don’t know how people live in one place for so long! After being in Christchurch for seven months, I’m ready to go back to Europe and start racing again. I just – still – love racing. That’s what I realised this year; I just love racing.” I ask him how he’s stayed in the game for so long, and how many other riders he seen come and go, and his answer reminds me of the day I watched him race in Rotorua: “I think it’s just because I enjoy it so much”. We talk about this for a while, and Sam mentions that one thing he’s wondered about is whether his ability to really enjoy life off the bike has helped him enjoy life on the bike even more. “I think, guys who didn’t stay in that long, all they did was ride their bike. I think if you’re just doing that all the time, you’ll get over it. It’s almost like they’ve put too much into it. To be honest, in my off season I hardly ride a bike. I just do other things – hunting, fishing, diving, and spending time with the kids. Just having other things going on aside from racing is so important.”
Sam acknowledges it hasn’t always been this way. Without being arrogant, he seems proud that he’s been able to evolve over the years to approach riding in a more mature way. “When you’re young you need to be on the bike all the time, you need to do that to get the skills and that’s exactly what I did. I just rode my bike every day, did dirt jumps, pushed up to do downhill runs, XC — whatever I could do. I spent every day on my bike, from dawn ‘til dusk. It was all about biking. But now, I know I’ve got those skills, so it’s more about having fun on the bike and enjoying it and not getting burnt out. It’s key to know when to train and when to stop – to avoid getting burnt out with training. It’s a learning thing — and I’m still learning.” He seems genuine. Genuine that he really does still just love riding his bike, but hungry for more too. “I feel like I’ve got a lot more in me. There’s a lot of young kids coming through the local scene, but they don’t seem to be able to beat me yet, so I might as well keep going.”
Might as well.

Queenstown = Dreamstown
Words by Jake Hood
Photography by Jake Hood, Cameron Mackenzie & Jay French
Can a photo be life changing? I’m not just talking about a photo that makes you go, ‘Wow that’s amazing!’, but an image that actually changes the path in which you are destined to take in life. It’s a turning point; a defining moment. Well, this is what happened to me.
Let’s turn back the clock a few years – back to when I had fewer wrinkles and a lot more hair. I was a know-it-all grom, working in a bike shop in Scotland. On my lunch break, I was flicking through a UK-based mountain bike magazine when I stopped turning the pages, captivated by this one image that caught my eye. It was a photo of a beautiful golden landscape, featuring three riders carving their way down this unbelievable bit of track that snaked its way through the orange, sun-kissed hillside. There were huge mountains in the background. The corners of the track looked like those perfect berms you only dream about, and dust clouds tailed the riders, highlighted by the evening sun. The golden orange light contrasted the dark moody hills perfectly in the background. It was such a defining photo. A photo that I needed to know more about.
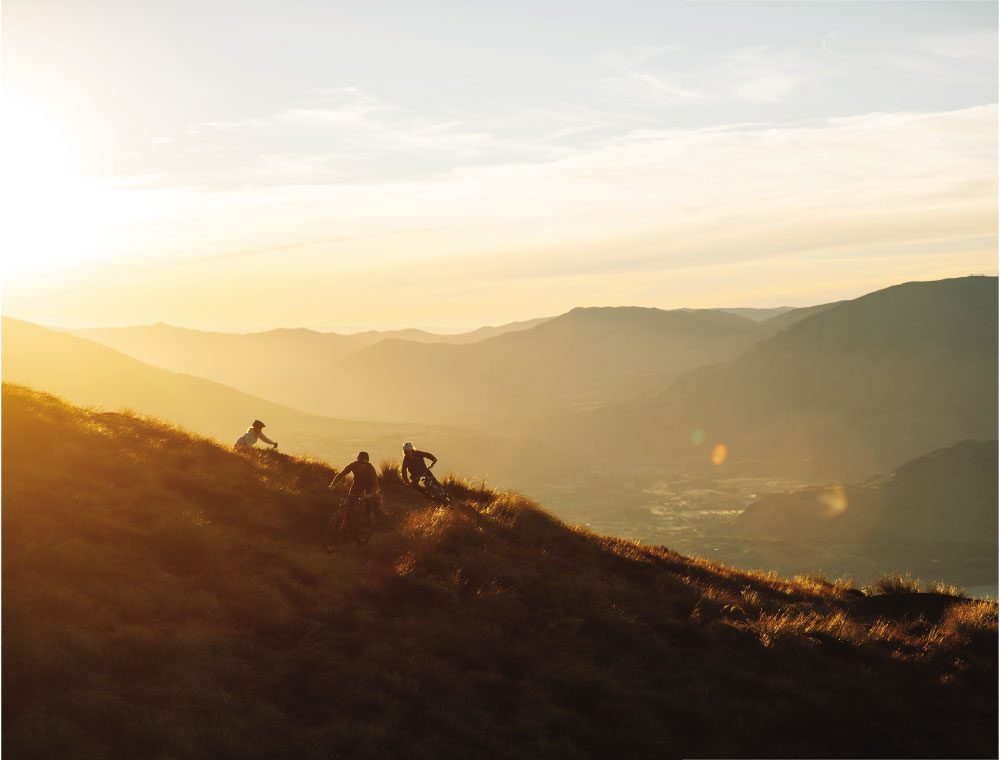
FROM THE MOMENT I STEPPED OFF THE PLANE, I KNEW THIS PLACE WAS SOMETHING SPECIAL.
‘Where is that?’ I thought. ‘I need to see this place, I need to experience it for myself! It looks like paradise.’ Well, it turned out to be Queenstown, New Zealand – or as I like to call it: Dreamstown.
A couple of years after first seeing that photo, I moved to Aotearoa New Zealand, the land of the long white cloud, and set up camp on the alpine shores of Lake Whakatipu. From the moment I stepped off the plane, I knew this place was something special. The mountain air felt dense. Jagged, craggy mountain peaks towered over the lake, while the small, sunny town below basked in the late evening sun. The energy of the town seemed to echo through the valleys. I remember getting a taxi from the airport to town and seeing the Skyline Gondola for the first time. It literally went straight up – like, vertical. How was that even possible?! How could there be trails off that hill? My mind was blown. The first summer I spent here, I experienced as many of the myriad trails as possible. I would finish work and commute home via the gondola back to Fernhill. There were just so many trails to explore and places to see. I kept having to pinch myself to remember I was really living here, in Dreamstown. This place really made an impression on me. But something weird happened after living and riding in this amazing place for a summer. I started to realise that it’s not just the landscape, town or trails that make Queenstown oh-so-special. Yeah, these aspects are amazing, but there is something else that makes this place special… I’ll come back to that later.
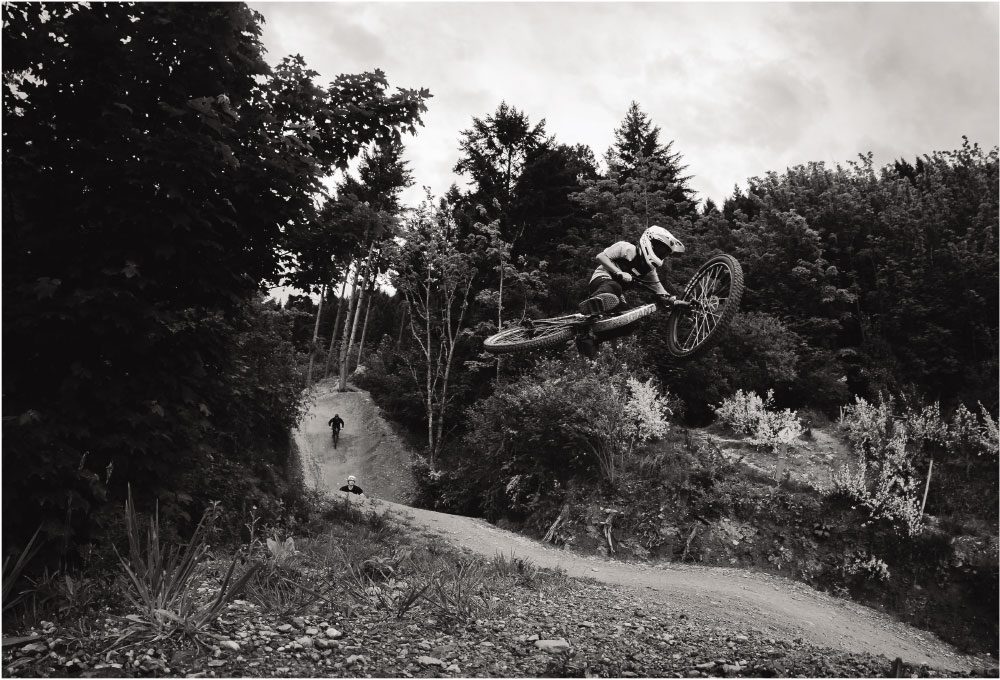
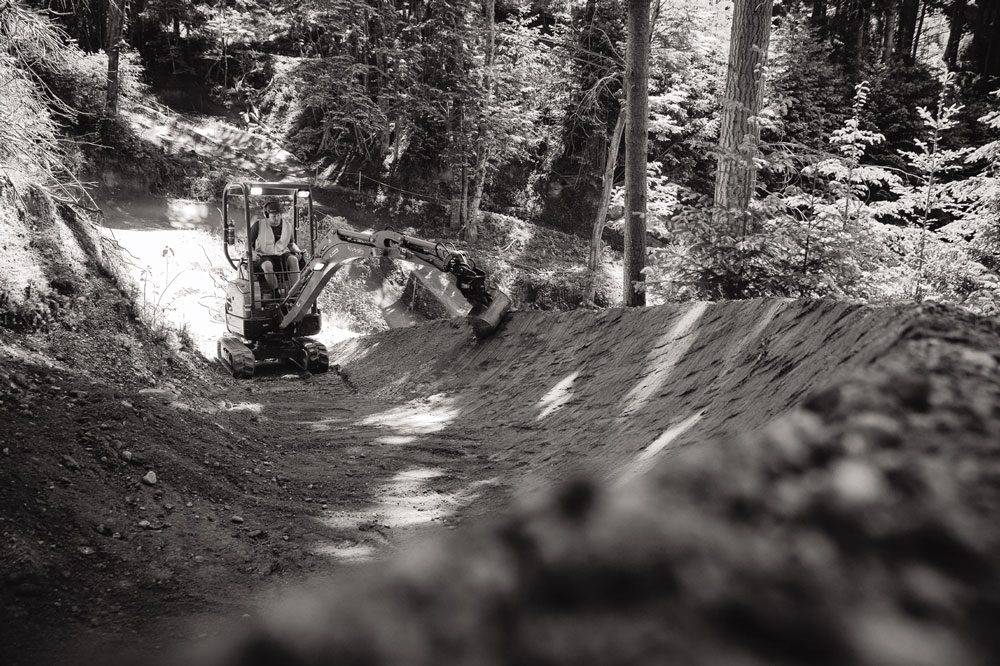
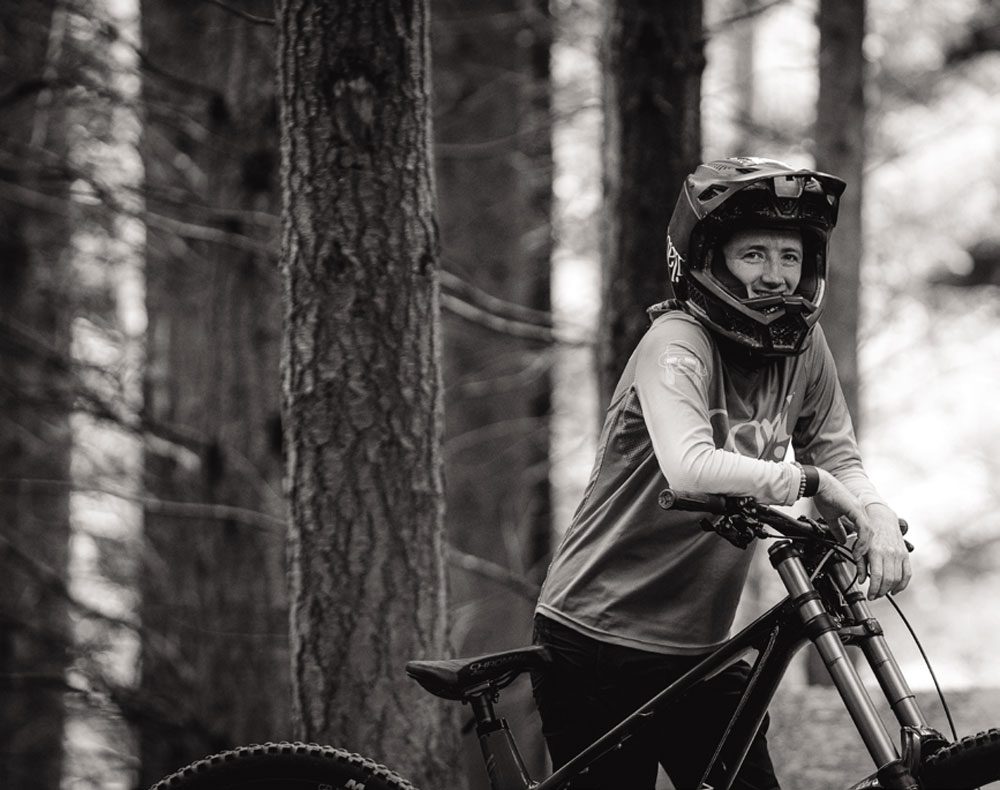
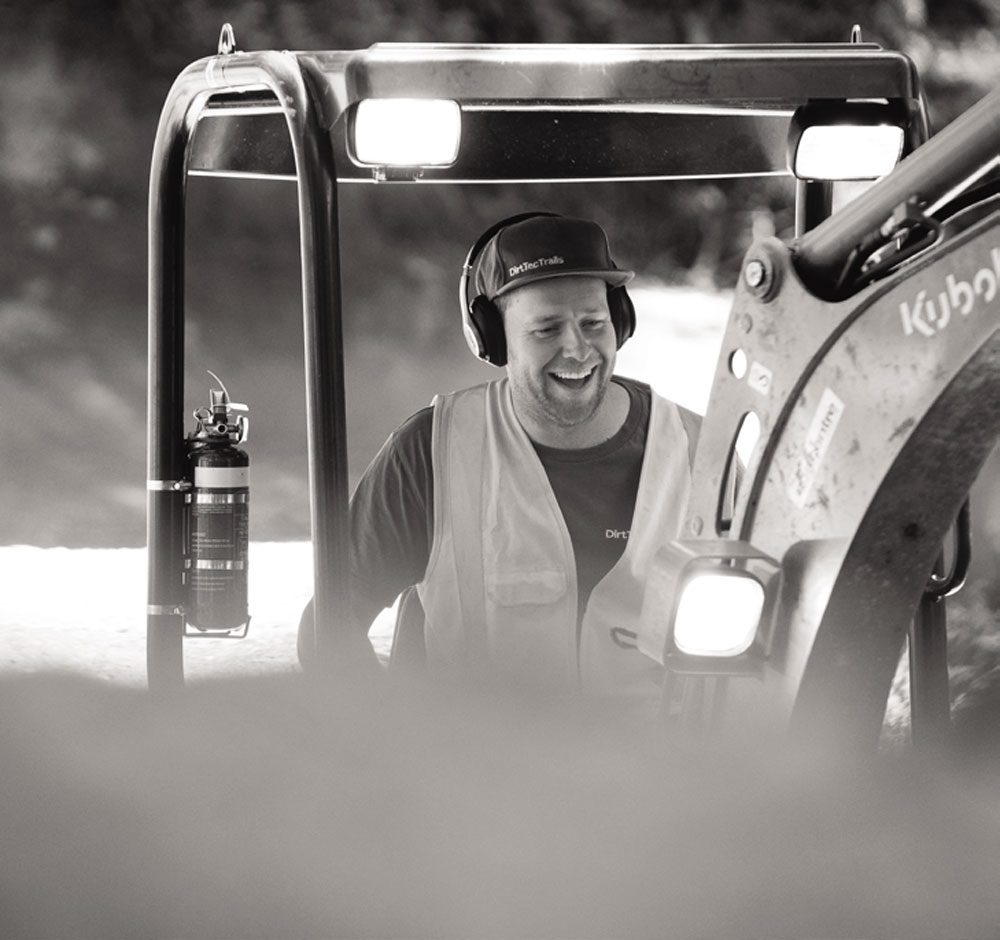
It would be hard not to talk about the trails whilst on the topic of Queenstown. There is such a variety, spanning the 7 Mile riding area to Arrowtown. Over a weekend, you would be lucky to just scratch the surface of the amount of riding there is. Every year, this network grows, and us Queenstown riders get better and better trails. In the past few years, the quality of new trails has skyrocketed. The driving force behind this movement are Elevate Trail Building and Dirt Tec Trails. Tom Hey from Elevate Trail Building started shaping the trails of Queenstown in 2013, with Rude Rock being one of his first builds, supported by Queenstown Mountain Bike Club (QMTBC) and and Queenstown Trails Trust (QTT). This trail was an instant classic and is now known across the world. Since then, Tom’s been shaping the dirt, rocks and roots of Queenstown into some of the finest bits of singletrack on the planet. Like an artist with his paintbrush, he has this amazing ability to build perfect bits of trail that become instant hits. Kepler Rek, local trail building legend, was working at Skyline Gondola from 2013-2015, as a lifty and running trail maintenance. In 2015 he started transforming the Ben Lomond Trails and moved up the ranks to the manager of the bike park. This is when the bike park started to transform into what it is now – up there as one of the best in the world. Before 2015, all the trails had a bit of an old-school feel about them; very fast and straight. Nothing lined up well; they were very janky, you could say. Once Kep was on the scene, he started the process of transformation. The first big shift in the park was Huck Yeah – a Queenstown Mountain Bike Club-funded jump trail in the park. This was the catalyst for the rest of the park getting rebuilt. Things got de-janked, rebuilt and realigned – and safety was also improved. It was such a shift forward, and every year things kept getting better in the park. More trails were built with more variety of terrain, including new blue and green trails, so riders of all abilities could test their limits. It was the shift the park needed and involved a more ‘new school’ way of building. It also brought the trails up to a modern, sustainable standard that improved flow whilst also leaving character. In 2017, Kep joined the Elevate Trail Building team. From that point, Tom and Kep went on to build and shape the next generation of Queenstown mountain bike trails, such as Nearly McGnarly and Hot Rod – trails that are now world-famous. Last year alone, Nearly McGnarly was ridden 75,000 times and Hot Rod was ridden 67,000 times. These are trails that work for all abilities, from beginners to the best riders in the world. It’s these types of trails that are helping get new people into the sport and giving beginners a place to improve their skills in a safe environment. For many people visiting Queenstown, Nearly McGnarly and Hot Rod are on the must-ride list – but there is so much more to be enjoyed. From flowing beech forest singletrack, like Missing Link, to Creaky Winder and steep, techy trails like Salmon Run – and everything in between. Throw some jumps into the mix, such as the world-famous Dreamtrack, Gorge Road Jump Park, and Kerry Road pump track, and you’ll find something for everyone to enjoy. Just last year, Kep went on to start his own company, Dirt Tec Trails, with Skyline taking a back seat in running the bike park. Dirt Tec Trails is now in charge of all the maintenance in the park and I have to say, the park has never been better. Dirt Tec Trails is also lending a hand to other projects around town – most recently, the new BluGazi trail. To say we are spoiled for passionate trail builders in Queenstown is an understatement. With two of New Zealand’s best trail builders living here, it’s easy to see why Queenstown, as a biking destination, is known around the world.
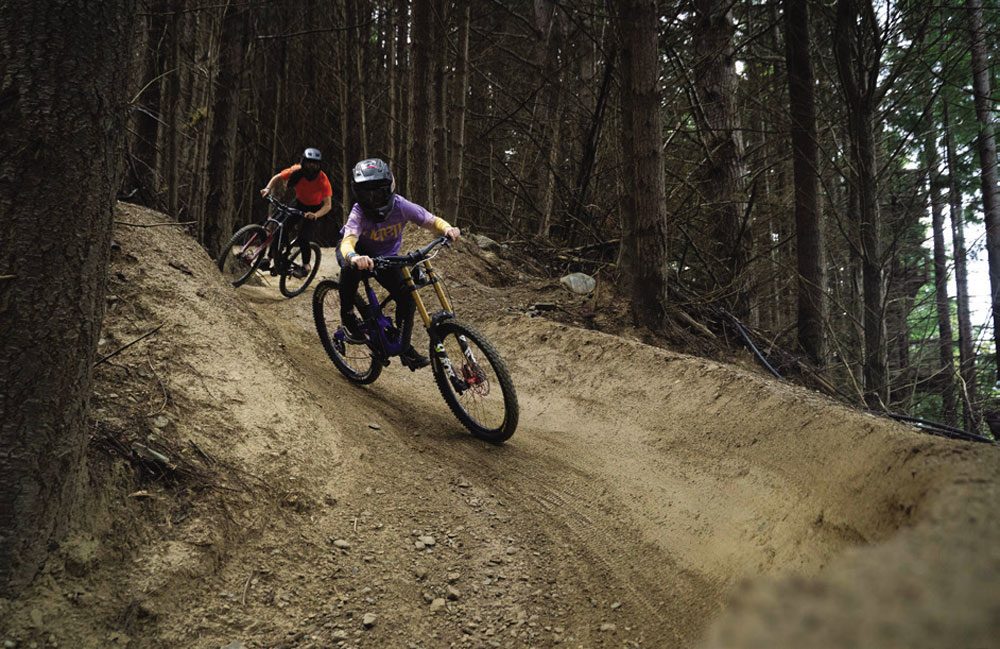
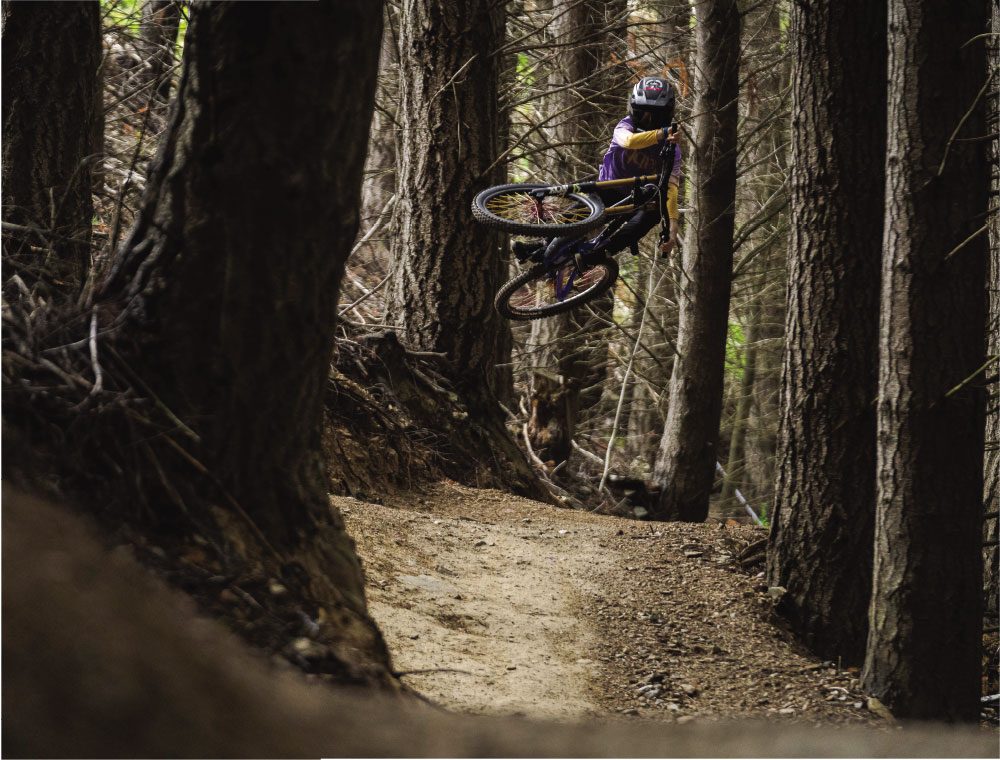
The other big reason Queenstown’s mountain biking scene is what it is today comes down to all the hard work put in by the QMTBC. Since forming in 2003, the club has really brought to life the vision of so many people, making Queenstown a world-famous destination for mountain biking. The amount of work these local legends get done is nothing short of a miracle – and it’s all volunteer work. There is an ever-changing group that takes the reins of this juggernaut of a club. Every year at the AGM, club members can nominate themself to become committee members for the following year. This constant change of committee members keeps the club moving forward and ensures fresh ideas come in year after year. These committee members are the true unsung heroes of the mountain biking scene in Queenstown. From trail network planning and gaining land consents, to running weekly dig nights, local jump sessions, fundraising events and getting new members on board, the work this club achieves is endless. What the club gets done is monumental but, through all this, we have this amazing thriving group of locals that just keeps growing and growing. Every year, membership numbers go up and the club receives more consent for trails; the community grows, and new trails get built. Overall, this club has been such a benefit to the Queenstown region and its community.
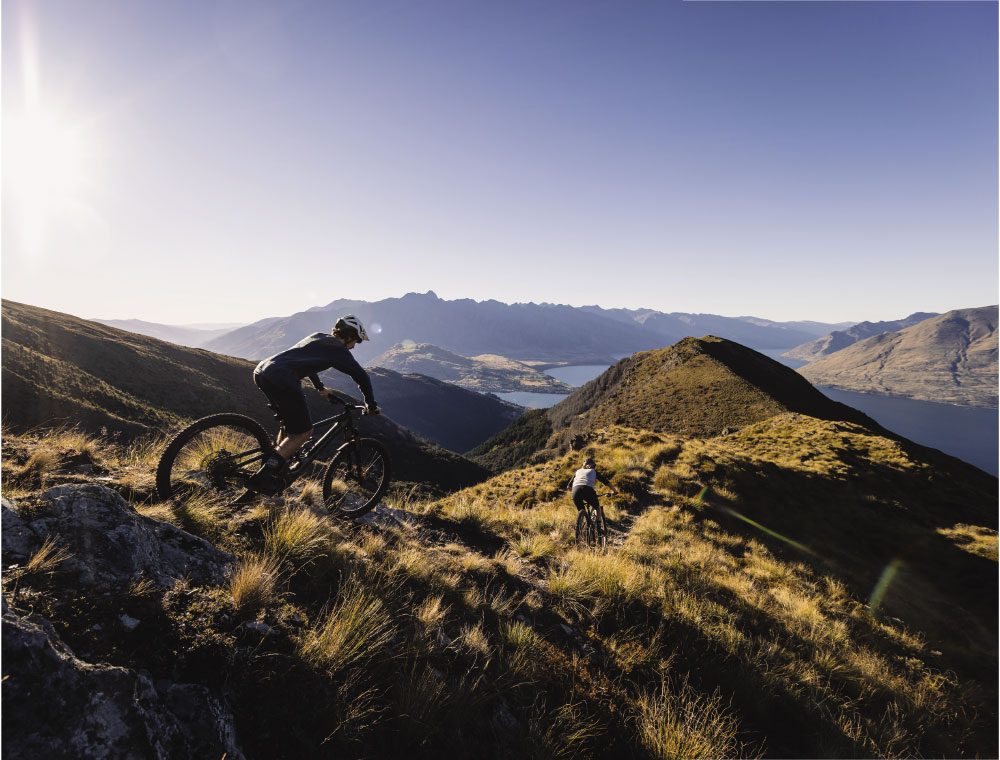
The network of trails that spans the basin is the artery that joins everything together all thanks to the Queenstown Trails Trusts. The QTT is responsible for the gravel trails that connect the Queenstown area together, giving access to different parts of the region without the need to ride on busy roads. The QMTBC and QTT work together to create a bigger, better network. Recent projects, like Bush Creek, a single track that has connected Coronet Peak to Arrowtown, has massively improved the famous ride, ‘Corotown’, by removing all the horrible river crossings. By using the QTT network and the QMTBC network, you can link up huge rides whilst mostly avoiding the roads. It’s flipping fantastic! And, if you’re not in the mood to ride mountain bikes but still want to get out and about, it’s easy to grab a gravel bike and smash out the k’s. With over 130km of gravel trails in the area, there is more than enough to keep you busy. For those who feel up to a big backcountry XC ride that feels kind of remote, I can’t go past recommending the Coronet XC loop that takes you around the back of Coronet Peak. These trails and networks are all possible due to the hard work QTT puts in. I’ve heard about the plans for the future and if they get the go-ahead, it’s going to make Queenstown an even more connected cycle network, which is a huge win in my books. With such a host of trails available on Queenstown’s doorstep, it’s easy to see why there are a bunch of locals doing so well on the world circuit in downhill, enduro and freeride events. The list of riders who now reside in the small alpine town during the summer months is pretty ridiculous: Eddie Masters, Matt Walker, Cole Locus, George Brannigan, Louise Ferguson, Vinny Armstrong, Jess Blewit and Robin Goomes, just to mention a few. In the lead-up to the World Cup, Enduro World Series, and Crankworx seasons, there is a whole host of teams and pros that come to town for testing and training. Line up at the Skyline Gondola in the latter half of the season and you will see everyone from Loïc Bruini to Emil Johansson lapping the park. And it’s not just the big names that are savage riders – there are so many low-key shredders in town. People that you have never even heard of, who can outride the best. There is something in the water here. People will come for a season and progress so much in that time. Being able to ride after work probably helps a lot – and I mean, literally from your office to the bike park, just two minutes out of town – but another big factor is being able to ride with people that are better than you. From trying to hold your mate’s wheel down a track while you chase him at a pace you don’t really want to ride at, to rolling up to Wynyard Bike Park for a jump session with your mates and getting spurred on by them making cool shapes while in the air — there is a culture of moving forward, of improving, taking inspiration from others, and applying it to your own riding. The progression levels of everyone seem to go up every year. It’s really a product of its own environment: with lots of variety of trails and long summer days giving you heaps of time to get out on the bike, the bike time just racks up. I will warn you though – don’t drop-in in front of the grommets, because they’ll be flying past you in no time, with more style than you could imagine. The next generation coming up are talented beyond what I can comprehend. They are so incredibly fast and stylish. It’s like they watch a YouTube video, and then just go do it — there’s no question about how they do it; they just do it. It’s so impressive and I think in the next few years we’ll see even more big names come out of this small town.
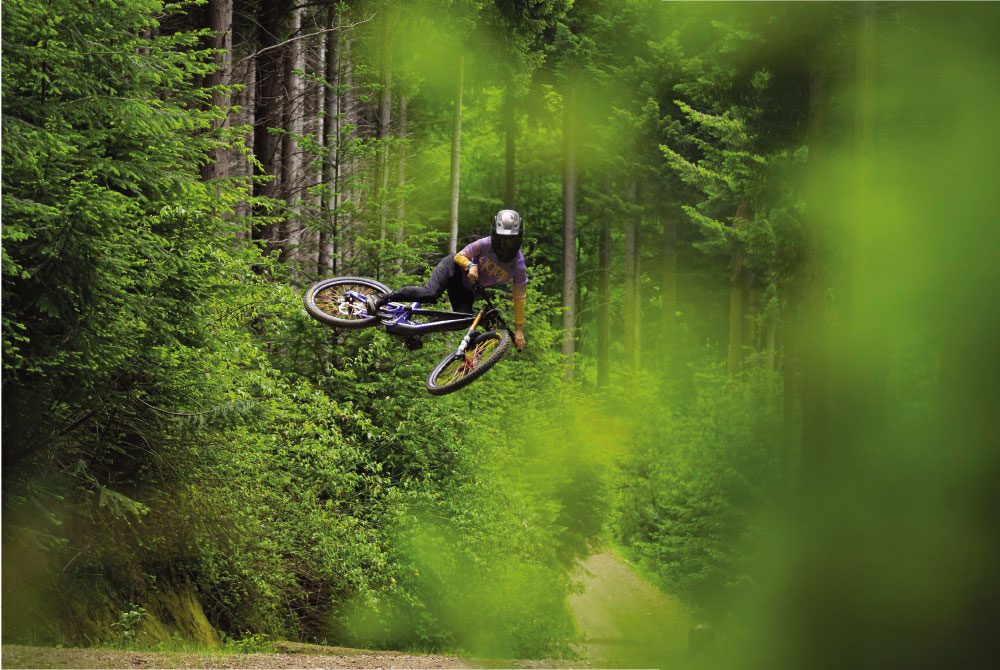
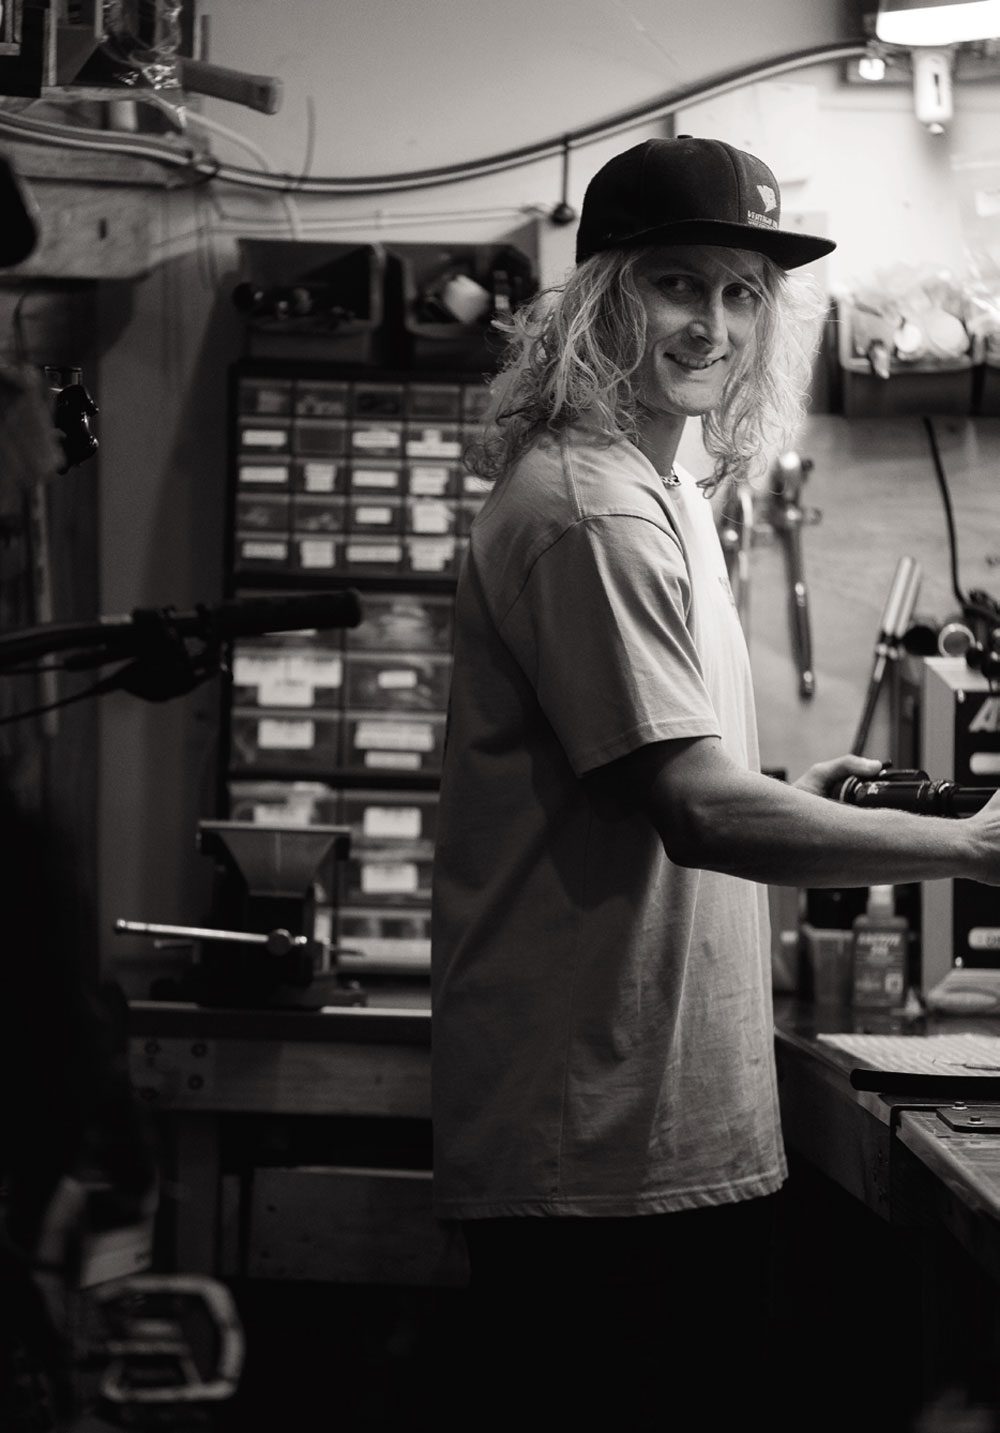
I think one of the reasons we have so many fast grommets in town is due to the Vertigo Summer Series race events. The main man behind this series is Paul Angus (a.k.a Pang), a legendary figure around Queenstown. Co-owner of Vertigo Bikes, and sometimes known as the ‘Huck Wizard’, Pang has seen and done it all in Queenstown. He lives and breathes the sport that we all love. As a former World Cup racer, he’s deadly fast on a bike, riding with pinpoint precision, and as stylish as they come, making him a great person to watch flow down the steep trails of Queenstown. His passion for downhill is prevalent from the moment you step foot into Vertigo Bikes. There’s a museum of old downhill bikes as you walk in the front door and dotted around the shop are old classic parts and frames. Pictures of the staff out shredding the local trails, cover the walls.
There’s a vibe you can feel as soon as you enter and you can sense the passion which is shared by everyone who works there. The smell of the workshop lingers in the air; that classic old bike shop smell, it’s fantastic. Vertigo has such a rich history in mountain biking in Queenstown, that it’s such a staple in the community. Throughout the summer, Pang, Jimi Ramsay (manager at Skyline MTB) and a few legends from Skyline run the Vertigo Summer Series in the Ben Lomond Trails. A grassroots race series that consists of four rounds, with the Whakatipu World Champs wrapping it up. Pang and Jimi pour their heart and soul into these well-organised races, which are a passion project of theirs, along with volunteers who donate their time on race day. It’s a hotly contested race series – everyone comes out to race their mates and settle the trash-talk that’s been going on all summer. The turnout is huge and normally you have to pre-register to enter. All the funds raised at the races go back to the Queenstown Mountain Bike Club.
The groms make up a huge number of participants and their times are within seconds of the elites. Each race is on a different track and often have fresh bits of track dug in for the racing. The atmosphere at the side of the track is electric. They are awesome events to be involved with and it’s so cool to see all the young, up-and-coming riders get to race on the local trails.
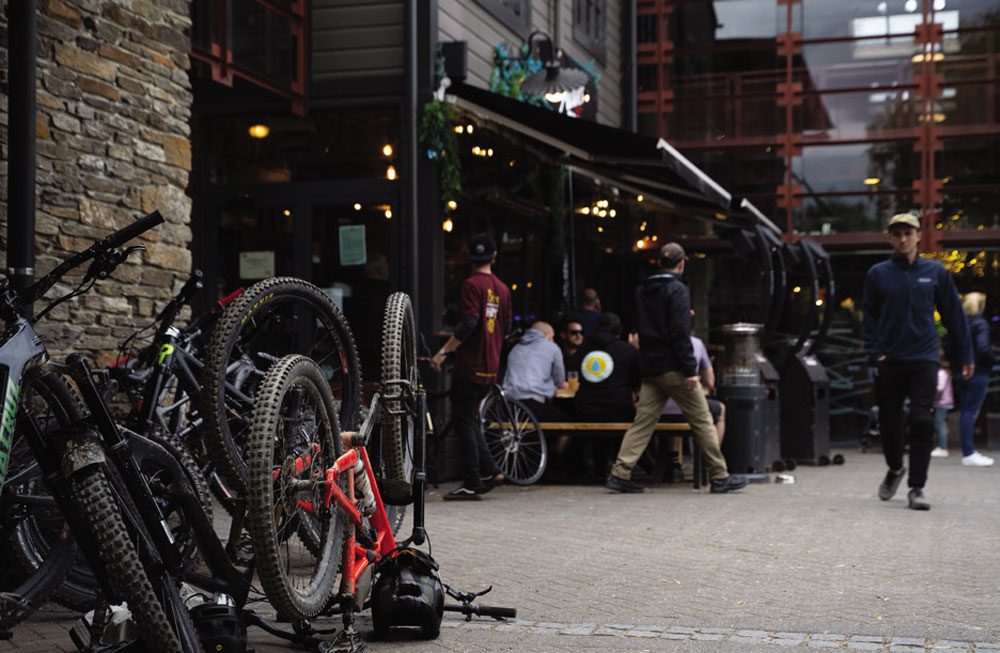
If you want to see a representation of this local scene, there’s no better place to be than Atlas Beer Cafe on a summer’s evening. This tiny yet wholesome pub will be packed to the brim with locals after finishing their ride. There are bikes everywhere, parked up all over the place, and smiles and cheers getting thrown about left, right and centre. Big hearty pints are being poured from the range of 24 beer taps that consume the wall of the bar, and the warm, welcoming atmosphere sucks you in. Above the bar hangs Kelly McGarry’s bike that was famously flipped over the canyon gap at Red Bull Rampage. Other bike memorabilia is scattered around the place, and the friendly staff always want to know about your ride as they pour you a beverage to quench your thirst. If you’re a local and you come to Atlas on a Friday evening, you will be sure to bump into someone you know. You don’t need to plan your evening, as it’s one of the best places be post-ride. It’s a common place us riders like to descend on to catch up with each other after the week’s events and plan the weekend’s adventures. There are two reasons why everyone comes here though; 1) the fact it’s just a fantastic little bar that has a vibe that is second-to-none; and 2) Atlas give so much back to the mountain bike community. Atlas’s owner, Davey Mackenzie, and all the staff put so much effort into helping the Queenstown Mountain Bike Club, from organising and running fundraisers – like the SOS (Season of Shred) Party at the start of summer as well as the end-of-season wrap-up party – to sponsoring trails and the club’s trailer. The staff outdo themselves every year by putting so much effort into these great events that see a huge turnout – they are always a night to remember.
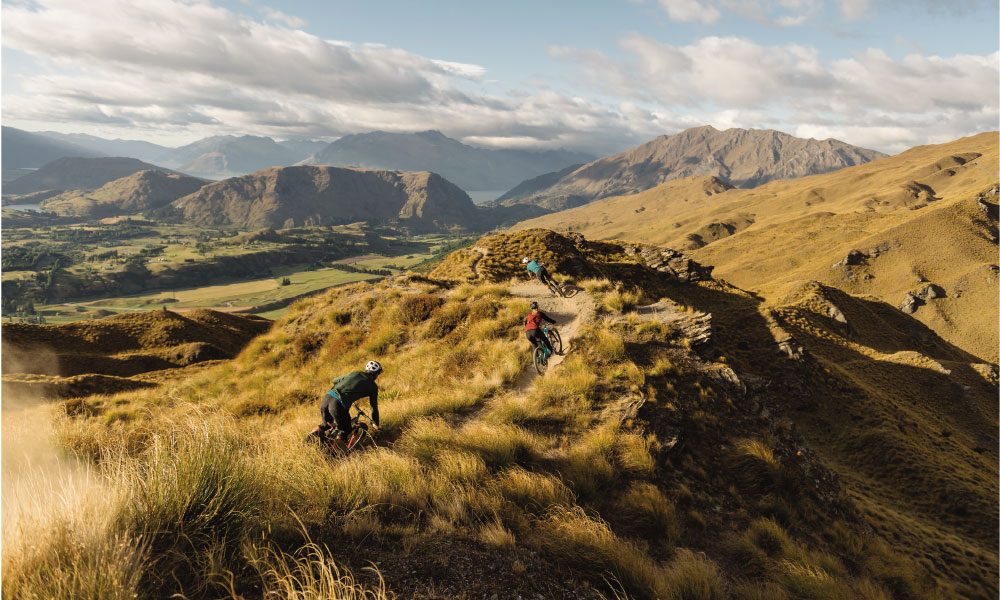
Personally, it’s not Queenstown that makes Queenstown such a special place to be. Yes, I’ll say it again, the riding is pretty extraordinary, the landscape is breathtaking and having three lift-accessed parks in close proximity really does add to the appeal. But that’s all just a bonus. What really makes this place oh-so-special? It’s the people who live here. They really make this place what it is. I’ve never lived in a place where the community feel is so prevalent – it’s more like a big family.
I’m so glad I saw that photo and it changed the trajectory of my life so many years ago. I’m happy I made the leap of faith by moving about as far away from home as possible. After a few years of living here, Queenstown is my home. When I head away on holiday, instead of dreading coming home, I find myself looking forward to being back. The breathtaking landscape, vibrant energy and unbelievably good trails on its doorstep, really make this a special place. You soon realize, it’s the people that make Queenstown, Dreamstown.
A little slice of paradise.

Trail Builder: The Gift That Keeps Giving
Words: Meagan Robertson
Photography: Specialized
Thanks to its Soil Searching initiative — created to recognise, celebrate and support trail builders — Specialized has helped enable future trail building efforts through one local legend and a generous Trail Fund donation.
Talk about making the most of winter — while some hung up their bikes to avoid battering sloppy trails, and others jetted off for an overdue overseas trip, Specialized set its sights on finding and rewarding the nation’s top trail builder with a limited edition Soil Searching Specialized Levo, then auctioning off a second and donating all the proceeds — an incredible $17, 850! — to Trail Fund NZ.
BUILT FOR TRAIL BUILDERS
Designed for trail building, and to reward trail builders, the Mountain Guardian is one of 50 Soil Searching Specialized Levos produced worldwide. Featuring the Specialized Soil Searching logo to reiterate the importance of trail building while following sustainable building practices, the custom made eBike boasts Soil Searching Paint, RockShox Zeb Select + Fork, RockShox Super Deluxe Select + Shock, SRAM XO1 Groupset, Code RS Brakes, Soil Searching Tyres, Roval Traverse Alloy Wheels and TCU2 Display.
In mid-July, Specialized put the call out to ensure one of the two Mountain Guardians in New Zealand landed in the hands of New Zealand’s best trail builder. In a country known for its incredibly high number of volunteers, the nominations came in hard and fast, with more than 100 committed and talented trail builders in the running.
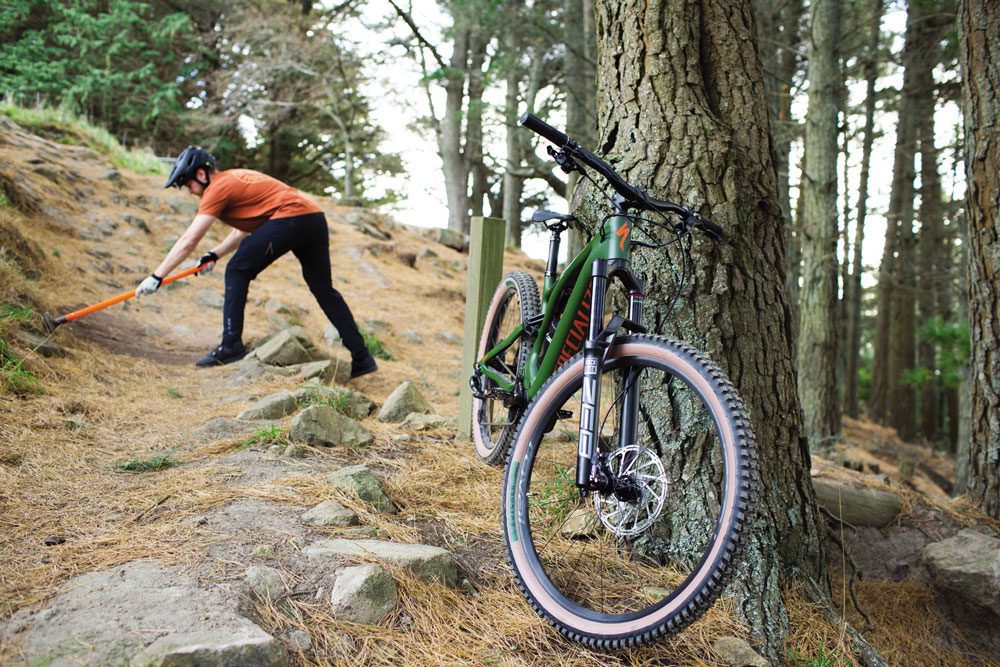
THE REAL DEAL
With only one Mountain Guardian to give, Specialized NZ reviewed every application and, according to Specialized’s Marketing and Events Coordinator, Ben Crowley, choosing the winner was no easy task.
“Trail builders are the unsung heroes of mountain biking, and we are committed to changing that by recognising, celebrating, and supporting the trail builders who help shape our sport and our stoke,” explained Ben.
“That said, there are a lot of them, and so many are volunteering in a way that is truly outstanding that it made the choice incredible difficult. In the end, we decided on a guy that sums up what Soil Searching is all about — Marty Richards.”
A key part of the Cable Bay Adventure Park trail crew based in Nelson, Marty is a trail builder that leads by example.
“Marty is a serial volunteer whose contributions to various projects have improved the trail offerings for all in Nelson and, over the past three years, he has had direct involvement with all of the 18 trails built at Cable Bay,” says Richard Ussher.
“Marty is super approachable and always willing to help or give advice to new trail builders. He never asks for anything, or expects anything in return, and truly does it for the love of mountain biking. He has inspired and imparted a lot of knowledge to a wide group of people, which has helped grow the competence of trail builders in the region.
“Probably the biggest influence he has had is with the ‘Sunday School’ team. This is a group of teenagers from a variety of backgrounds who come out to the Adventure Park to regularly dig and maintain trails with Marty. Nicknamed ‘Dad’ in the group chat due to his mentoring, Marty organises transportation, oversees the trail building and drives shuttles for them afterwards.
“The Sunday School crew often do some of the toughest yards on the sections that others shy away from, and it is easy to see the positive influence impact he has had on them.”
Richard says Marty is so committed to ensuring the best experience for Cable Bay riders that he has — largely by himself — built a 1km walking track for the sole purpose of getting walkers and other non-mountain bike users off the main exit trail at the park.
“It is hard to overstate what a positive member of the mountain bike community he is. He is never looking for recognition and just gets on and does what he loves — digging and riding. The region would undoubtably be significantly poorer without his massive efforts.”
Marty was absolutely thrilled to receive the Mountain Guardian and is already putting it to good use!
“I feel so privileged to know such an awesome group of people and so humbled from the support I’ve received from the Nelson MTB community and Cable Bay Trail Crew,” said Marty.
“It’s been quite overwhelming. I think I’ll go hide in the bush for a bit… and go dig a track.”

Marty Richards.
PAYING IT FORWARD
With one Mountain Guardian out the door, Specialized looked to further support trail building through a different channel — Trail Fund NZ.
“We created Specialized Soil Searching to fuel and support the energy and passion of the trail building community,” says Ben. “So, we thought, what better way to do that than fundraise for an organisation that is already doing that on a regular basis?”
Founded in 2012, Trail Fund NZ is a not-for-profit organisation, run solely by volunteers, supporting the development and maintenance of publicly available, environmentally sensitive and sustainable mountain bike-accessible trails in New Zealand. It is also committed to providing funding for — and education on — trail building, as well as advocating on behalf of mountain bikers to Government.
Since its inception, Trail Fund has distributed more than 150 grants — totaling more than $400,000 — to a wide variety of mountain bike trails. From Thames to Taupo to Wanaka to Bluff, from Grade 5 singletrack to skills parks, Trail Fund has tried to cater for riders of all abilities around the country.
And now, thanks to Specialized donating the proceeds of the second Mountain Guardian to Trail Fund NZ, the organisation can provide even more grants than normal in the coming months.
“We are so thrilled to be able to pass on the money raised by Specialized to trail building groups around the country using our well-established funding process,” says Trail Fund president, Hasely Lobb.
“This is the most substantial donation we have received to date and it’s great to see bike brands investing in the trails their customers love to ride.”
Thanks to the donation, Trail Fund’s next funding round is our biggest in many years, with four grants of up to $4,000 available. The deadline is 1 December. For more details, see the ‘Get Funded’ section on trailfund.org.nz
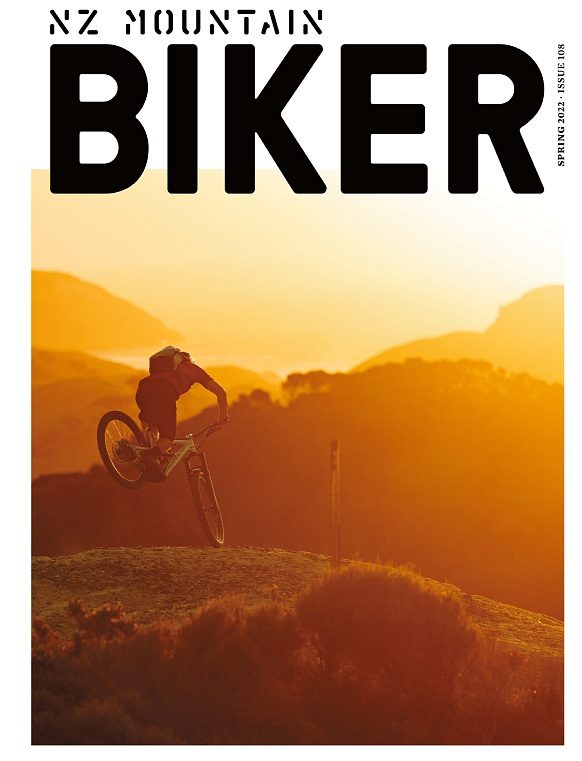
The kitchen: Rice Cakes
Words: Liam Friary
Yes, these are rice cakes. They are a super simple staple that will keep you fuelled during long days on the bike. Bonus — they are easily made ahead and carried on a ride. This recipe is just a starting point; depending on preferences, what foods are in season and what’s available in your pantry, additions can be made. Add anything from maple and bacon to blueberries and chunks of dark chocolate. Get creative with what you like and what you have on hand, wherever it is you’re cooking and riding.
Ingredients –
4 cups tap water
2 ¼ cups white short grain rice
2 ½ cups full fat cream cheese
2 Tablespoons granulated white sugar
2 Tablespoons melted coconut oil
1 teaspoon vanilla extract

Method –
- In a rice cooker, combine your water, rice, sugar, and coconut oil. Turn it on (white rice setting, if your rice cooker specifies) and let cook. Once cooked, mix cream cheese and vanilla into rice. Note: this is also the time to throw in any spices, fruit, chocolate, nuts, etc that you’d like to add to your rice cake.
- Spoon into a large zip-closure freezer bag. Flatten, smooth the air out and leave to cool on a flat tray. Once cool, transfer to the refrigerator to chill overnight. In the morning, slide your tasty slab of rice onto a cutting board. Cut into approximately 20 squares. You can either keep them all together in an airtight container, or individually wrap them in foil. Either way, they should be stored in the fridge until needed. Refrigerated, they will keep for about four days.

Musings Issue 108
Words and illustration by Gaz Sullivan
“Leaving the power setting on high makes me feel both good and bad at the same time.”
Elsewhere in this very magazine, I wrote a piece about my time aboard the Trek EXe, my first extended period atop an electric-assist machine. I finished by saying: “when I get one”.
Going trail riding on the e-bike is ridiculous fun. The e-assist provides the buzz of riding a mountain bike fast, almost anywhere. The speed available on a flattish trail makes the chore of climbing to the top of a downhill run almost unnecessary. And of course, if you do want a downhill run or three, they are easier to get to.
Surely that is what we look for when we go mountain biking?
It is hard to express exactly why we ride. Sometimes it is for that endorphin payoff available when a difficult task is performed as well as we can do it. Everybody has their own little envelope of bike riding ability and being out there in the woods doing your best is part of why we go out. The desire to do that more often, to make more of your bike time inhabiting that zone, is what has driven the whole phenomenon of shuttling, and for that matter, adding electricity.

A pile of watts that can’t be delivered personally gets us more of that sweet spot we look for.
Well, maybe.
Meanwhile, the Luddite in me has been quietly niggling away in the back of my mind.
I really like the simplicity of basic bikes. I like steel frames, five of the six rideable bikes in my stable are ferrous. I like bikes I can work on myself, which means they have to be simple. I can dismantle and reassemble any of my steel bikes without needing assistance or therapy afterwards.
My carbon, fully-suspended mountain bike with hydraulic brakes and tubeless tyres is bristling with things I don’t feel qualified to mess around with. Yes, I know, these are personal shortcomings I could address, but adding electronics, several batteries and a motor won’t help.
I like going out on my bike with no fixed plan, and riding until I can’t. Having a digital readout on the top tube telling me how much range I have left is a different experience. After a dozen rides I have figured out how much of the battery is required to get me up various hills, in various power modes. Because I know my patch pretty well, I can wring the thing dry most rides. I took great pleasure in arriving home with the readout showing less than ten percent. Several times it was two, and on one occasion, one. How that would work out in unknown territory is something I have yet to experience.
Part of bike riding is also sort of masochistic. People say that getting fitter doesn’t make things easier, just faster. I like to feel how I feel… hard to explain to the outsider but getting to a particular part of a certain ride and feeling slightly less discomfort than the previous episode in that place is a good thing. Adding an external power source doesn’t remove that possibility, but it makes it harder to judge.
Maybe that is the niggling thought I have. When I am on the E, hooning up the climbing section of the jungle trail that is my favourite five kilometres in our local patch, the most accurate description of what I am feeling is probably guilt.
Like, this should be harder. I can make it harder, by buttoning down the power. But I don’t, because the power is what makes this section with the diagonal roots across the trail so much fun.
And leaving the power setting on high makes me feel both good and bad at the same time.

Beer Guide Issue 108
‘No alcohol’ is the boom category at the moment, and New Zealand craft breweries make some of the best non-alcoholic beverages in the world.
You’re reading a mountain biking magazine. You love being fit and getting the most out of your body and being in the outdoors.
That makes you a target audience for “lifestyle” beers — which means low and no alcohol, low carb and gluten-free options.
These are sometimes called “better for you” options. And the good news is that “better for you” also means better tasting these days.
Let’s go through some recommendations in all these categories.
THE HEROES OF ZEROES
‘No alcohol’ is the boom category at the moment. I can put my hand on my heart and tell you that New Zealand craft breweries make some of the best non-alcoholic beverages in the world. Believe me, I’ve tried everything on offer.
It’s fair to say imported beers never taste as good as they would if you bought them in the country of origin. “Beer should be drunk in the shadow of the brewery”, is a phrase that still holds true because travel of any kind takes the edge off even the best beer. That’s even more so for non-alcoholic beverages because alcohol is a preservative and therefore, a zero-alcohol beer is not going to travel anywhere near as well as something with alcohol in it, so I’d avoid imported beers in this category.
It’s worth nothing that the legal definition on non-alcoholic in New Zealand is less than 1.15 per cent ABV, which seems high by world standards. While that’s the legal benchmark, most breweries work to the accepted guideline of less than 0.5 per cent ABV.
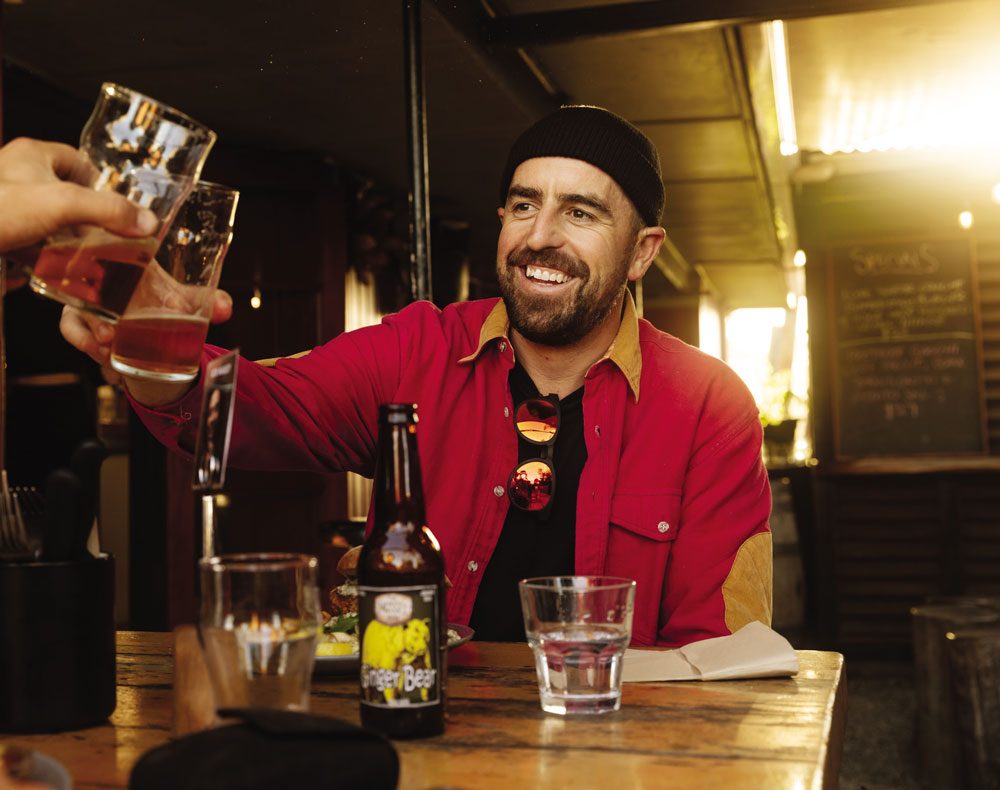
Bach All Day Hazy IPA
Bach created the breakthrough non-alc craft beer with their All Day IPA and this hazy version is a step up from that. Stick with the original if you like clear beer, but this hazy has heaps more flavour.
Garage Project Tiny
Almost a cult beer now because it’s from Garage Project. Lightly lemony hoppy.
Brothers Beer Fill Yer Boots
Another hazy (and as a rule hazies work really well in this category because of the fatter mouthfeel). This has a nice tang of grassy bitterness.
Good George Virtual Reality
A superb offering from Good George. Up there with Garage Project and Bach.
Sawmill Bare Beer
The one non-alc pale ale in this line-up and the only one in a bottle. This has a bite more bitterness than the hazies.
LOW CARB ULTRA TRENDY
While non-alcoholic beers are trending, there’s nothing growing as fast as low-carb beers.
There are many reasons to choose a low carb beer — it could be that you’re on a ketogenic diet, or just trying to reduce the carbohydrate you consume. Or it could be for more important reasons, such as having Type 1 diabetes.
Beers labelled “low carb” have been tested and should come with nutritional panel telling you how many carbs per 100ml they contain. A good guideline is that a low carb beer should have 1-2g of carbohydrate per 100ml.
It’s important to note that low carb does not equal low calorie, though in the case of the beers listed here, some are definitely lower in calories as well. A beer’s ABV (alcohol by volume) will play a big part in the total calories as alcohol sits somewhere between carbohydrate and fat in its calorie density. So, if cutting calories is your thing, do check the labels.
The best thing about modern low carb beers is that they are super- flavoursome. Brewers use a special enzyme, naturally found in malt, to help ferment out any residual sugars.
That has a number of effects on the beer. First, the lack of residual sugar means the beer doesn’t feel as heavy in your mouth. In fact, low carb beers are often very light-bodied and quaffable. Second, low carb beers finish very dry compared with normal beers, which many drinkers prefer anyway.
Low carb pale ales and IPAs are a great place to start if you’re after flavoursome low carb beers. That because the extra hop additions add both mouthfeel, through hop oils, and added flavour. Plus fruity varieties of hops can add a perception of sweetness that covers up the lack of sugar.
Epic Blue Pale Ale
4.8%, Carbs 1g/100ml As you’d expect from Epic, it has great hop flavour — juicy and citrusy — that’s well integrated into the light body. It’s so good for a low carb beer that it made it into the New World Beer & Cider Awards Top-30 on its merits as a pale ale, that’s how tasty it is.
Deep Creek LoCal IPA
3.5% ABV, Carbs 2g/100ml A super low ABV beer compared to others in the range, but you’d struggle to pick it. Brilliantly executed in terms of balance and flavour. A gold medal winner at the 2022 Australian International Beer Awards. Very low calorie count to boot.
Urbanaut Miami Brut Lager
5%, Carbs 1.5g/100ml Packed to the seams with sweet passionfruit and lime hop flavours. A sparkling carbonation and punchy hops on a light and airy body. You won’t pick it as low carb. Urbanaut’s Copacabana IPA is also officially low carb now and is one of the best beers on the market, full-stop.
Emerson’s Super Quench
Pacific Pilsner 4%, Carbs 1.9g/100ml Super pretty beer to look at and, frankly, delicious. Hoppy, refreshing and spritzy light without any soda water notes.
Bach Brut Ultra IPA
4.4%, Carbs 1.7g/100ml Super-fruity with aroma and hop flavour rolling out of the glass thanks to a massive dry-hop bill that features all your favourites: Citra, Mosaic, Riwaka, and Rakau.
LIGHT BEERS ON THE RISE
We don’t use the term “light” the way Americans do to reference their very pale lagers. Here, light means low alcohol — generally regarded as anything below 2.5 percent.
The range of beers in this category is more expansive than in the zero and low carb range, as that little bit of ABV helps create a canvas for flavour.
North End Petit Luna
A clever little beer. Hibiscus brings some fruity character and a lovely pink colour. Kaffir lime coupled with spicy Belgian yeast does some heavy lifting when it comes to flavour. Slightly tart and spritzy.
Sunshine Light Pilsner
Smells like the real deal and tastes great too. The body, naturally, is a little shallow, but shallow can be good: like standing knee deep in the ocean and having the waves splash around your legs. A hoppy aftertaste, with a broad bitterness.
Croucher Low Rider Small IPA
Probably New Zealand’s most celebrated low-alcohol beer. In many ways, it’s almost become the flagship beer for Rotorua’s Croucher Brewing — a remarkable feat for such a low ABV product. It’s changed and evolved over the years into an almost perfect distillation of all the best aromas and flavours of an IPA.
Townshend Half Mast
Typically, of Townshend beers, this is all about balance and the fruity expressive hops are perfectly restrained to match the 2.2 percent base. A wee gem.
8 Wired Lo-Fi
This hoppy sour is sharp as a tack with pinging citrus and light acidity it packs way more flavour that should be feasible at 2 percent ABV.
GLUTEN FREE
It used to be that gluten free was a dirty word in beer (in short they tasted foul) but Upper Hutt’s Kereru Brewing have changed the game dramatically. They are unrivalled when it comes to gluten free beer.
Their Hazee, a gluten-free hazy pale ale, has to be tried to be believed. It’s as good as a normal hazy pale and you don’t even notice the gluten-free aspect. They have a standard gluten-free APA, nice and hoppy, and a clever raspberry-infused version of their original Auro, a golden ale. And they’ve just released a gluten-free Mocha Porter. You can order a mixed box of the gluten-free beers from their website.
Words: Michael Donaldson
Photography: Henry Jaine.
Product Review: Rapha Trail Shorts
“Every piece of clothing comes with a field repair kit containing fabric matching iron-on patches to keep you looking good after a crash.”
It’s no secret that this brand comes from the ‘roadie’ scene. But this means they know a thing or two about use of good fabrics and have been making ‘roadies’ look good for years. Rapha has now employed their knowledge around textiles to mountain bike apparel. Their focuses are on sustainability and longevity — and I can vouch for their products lasting many seasons. Rapha’s colourways are normally subtle, so you needn’t worry about being out of vogue whilst on the trail.
The Trail Short is a built from four-way stretch material that is Bluesign certified, meaning it is built from sustainable sources with minimised environmental impact. An integrated, contoured waistband allows for precise fit adjustment and there are four pockets, two of which have zippers with an integrated phone sleeve to keep items from sliding around. The cut is fairly form fitting but has been designed to work with or without knee pads.
The Trail Short have a relaxed and comfortable fit that slides over small to medium knee pads with no issues. Larger, downhill style knee pads may cause the shorts to bunch up and sit on top of the pad, though. I found they fitted my medium knee pads well and were also good without, too. The short is a little more form cut, which means there’s no bunching and they don’t get in the way when you’re pedalling. They certainly don’t have the bagginess of other shorts on the market.
The adjustable waist is neat and easy to use, locking in a personalised fit with no slipping of the belt. The size medium was a perfect fit in both the waist and length for me. Having had these shorts for a while, I found the breathability to be moderate even in the warmer months. They breathe well and don’t overheat, but a few vents would just allow a bit more airflow, especially if you’re wearing a bib-short underneath. The zippered pockets keep trail essentials secure, and the phone sleeve is a very well thought out solution to keep your phone from bouncing around. I really like this feature, and the position means the phone feels like it’s out of the way but always accessible for that quick pic or vid.
Rapha has priced these shorts consistently with the market and offers several services, such as free repairs and free returns if you’re not happy with them. Every piece of clothing comes with a field repair kit containing fabric matching iron-on patches to keep you looking good after a crash. Heck, if you shed some kilos they will offer 50% off your jersey in a smaller size. I’m a big fan of buying a quality piece once, rather than buying cheap stuff every year — and Rapha promises exactly that: quality and longevity, with repairs if you do happen to find a way to destroy it.
REVIEW: LIAM FRIARY
DISTRIBUTOR: IRIDE / RAPHA
RRP: $195 AUD
nar dapibus leo.


