

MY27 Santa Cruz Nomad 7 - First Look
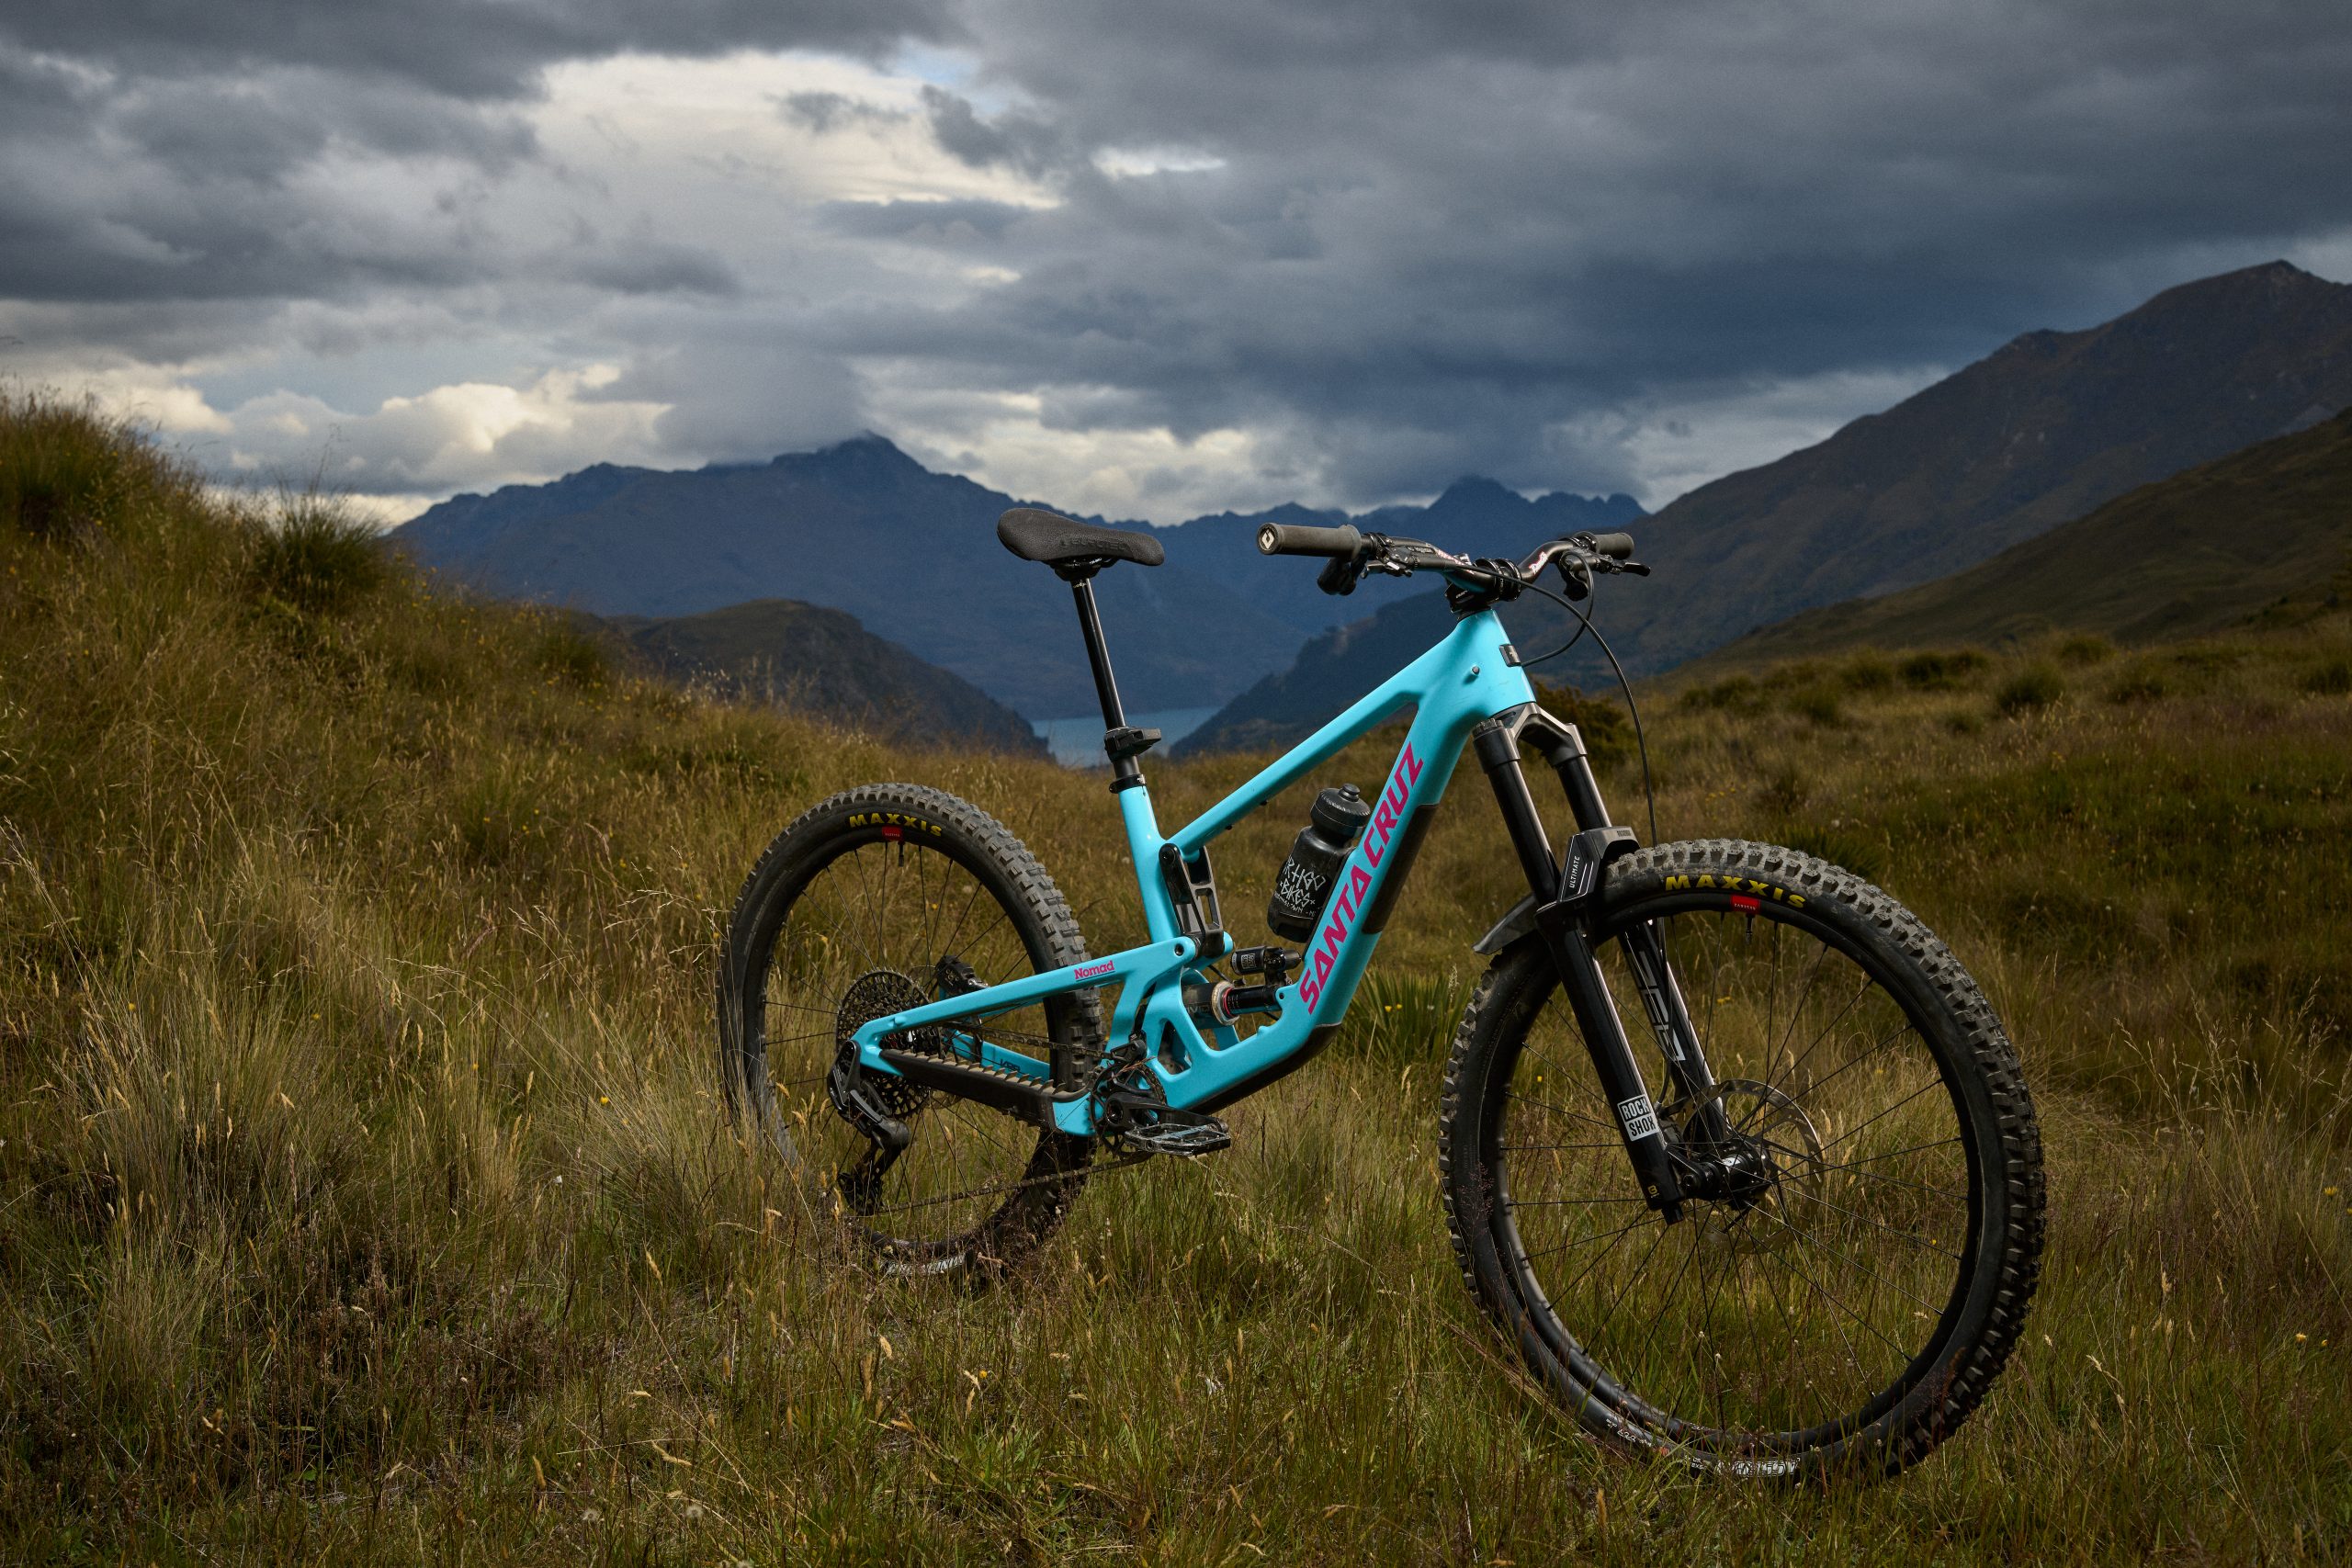
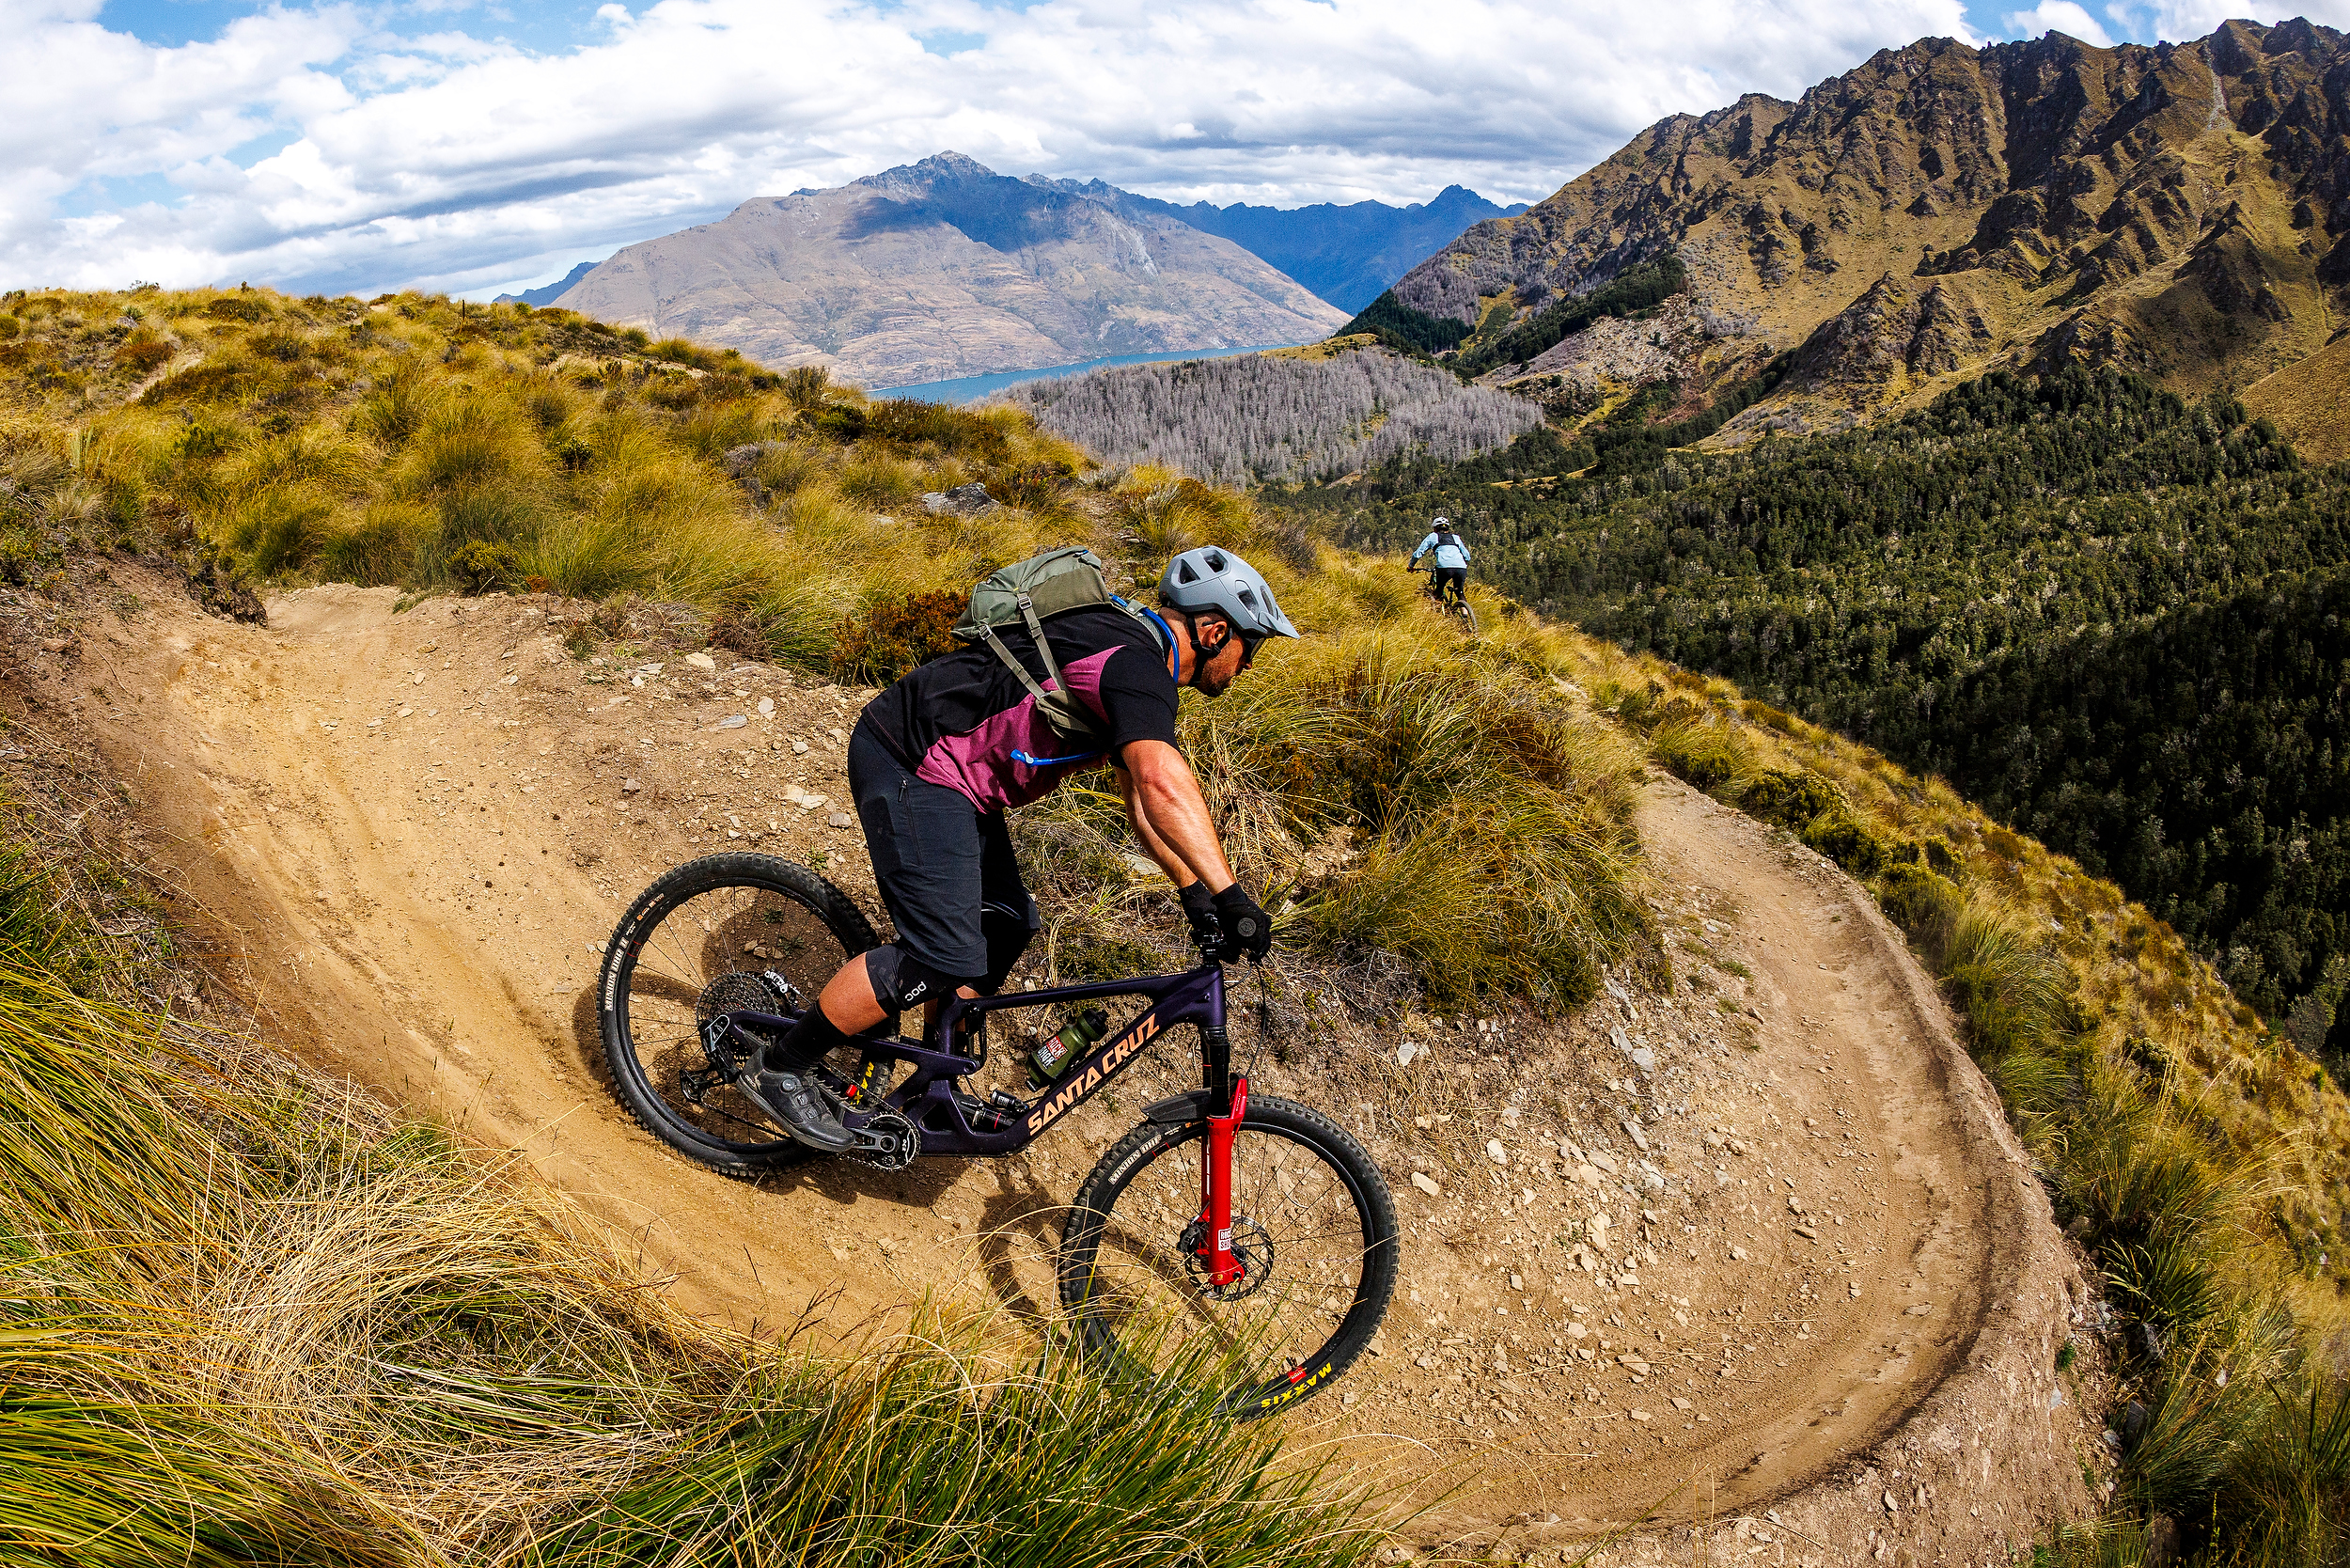
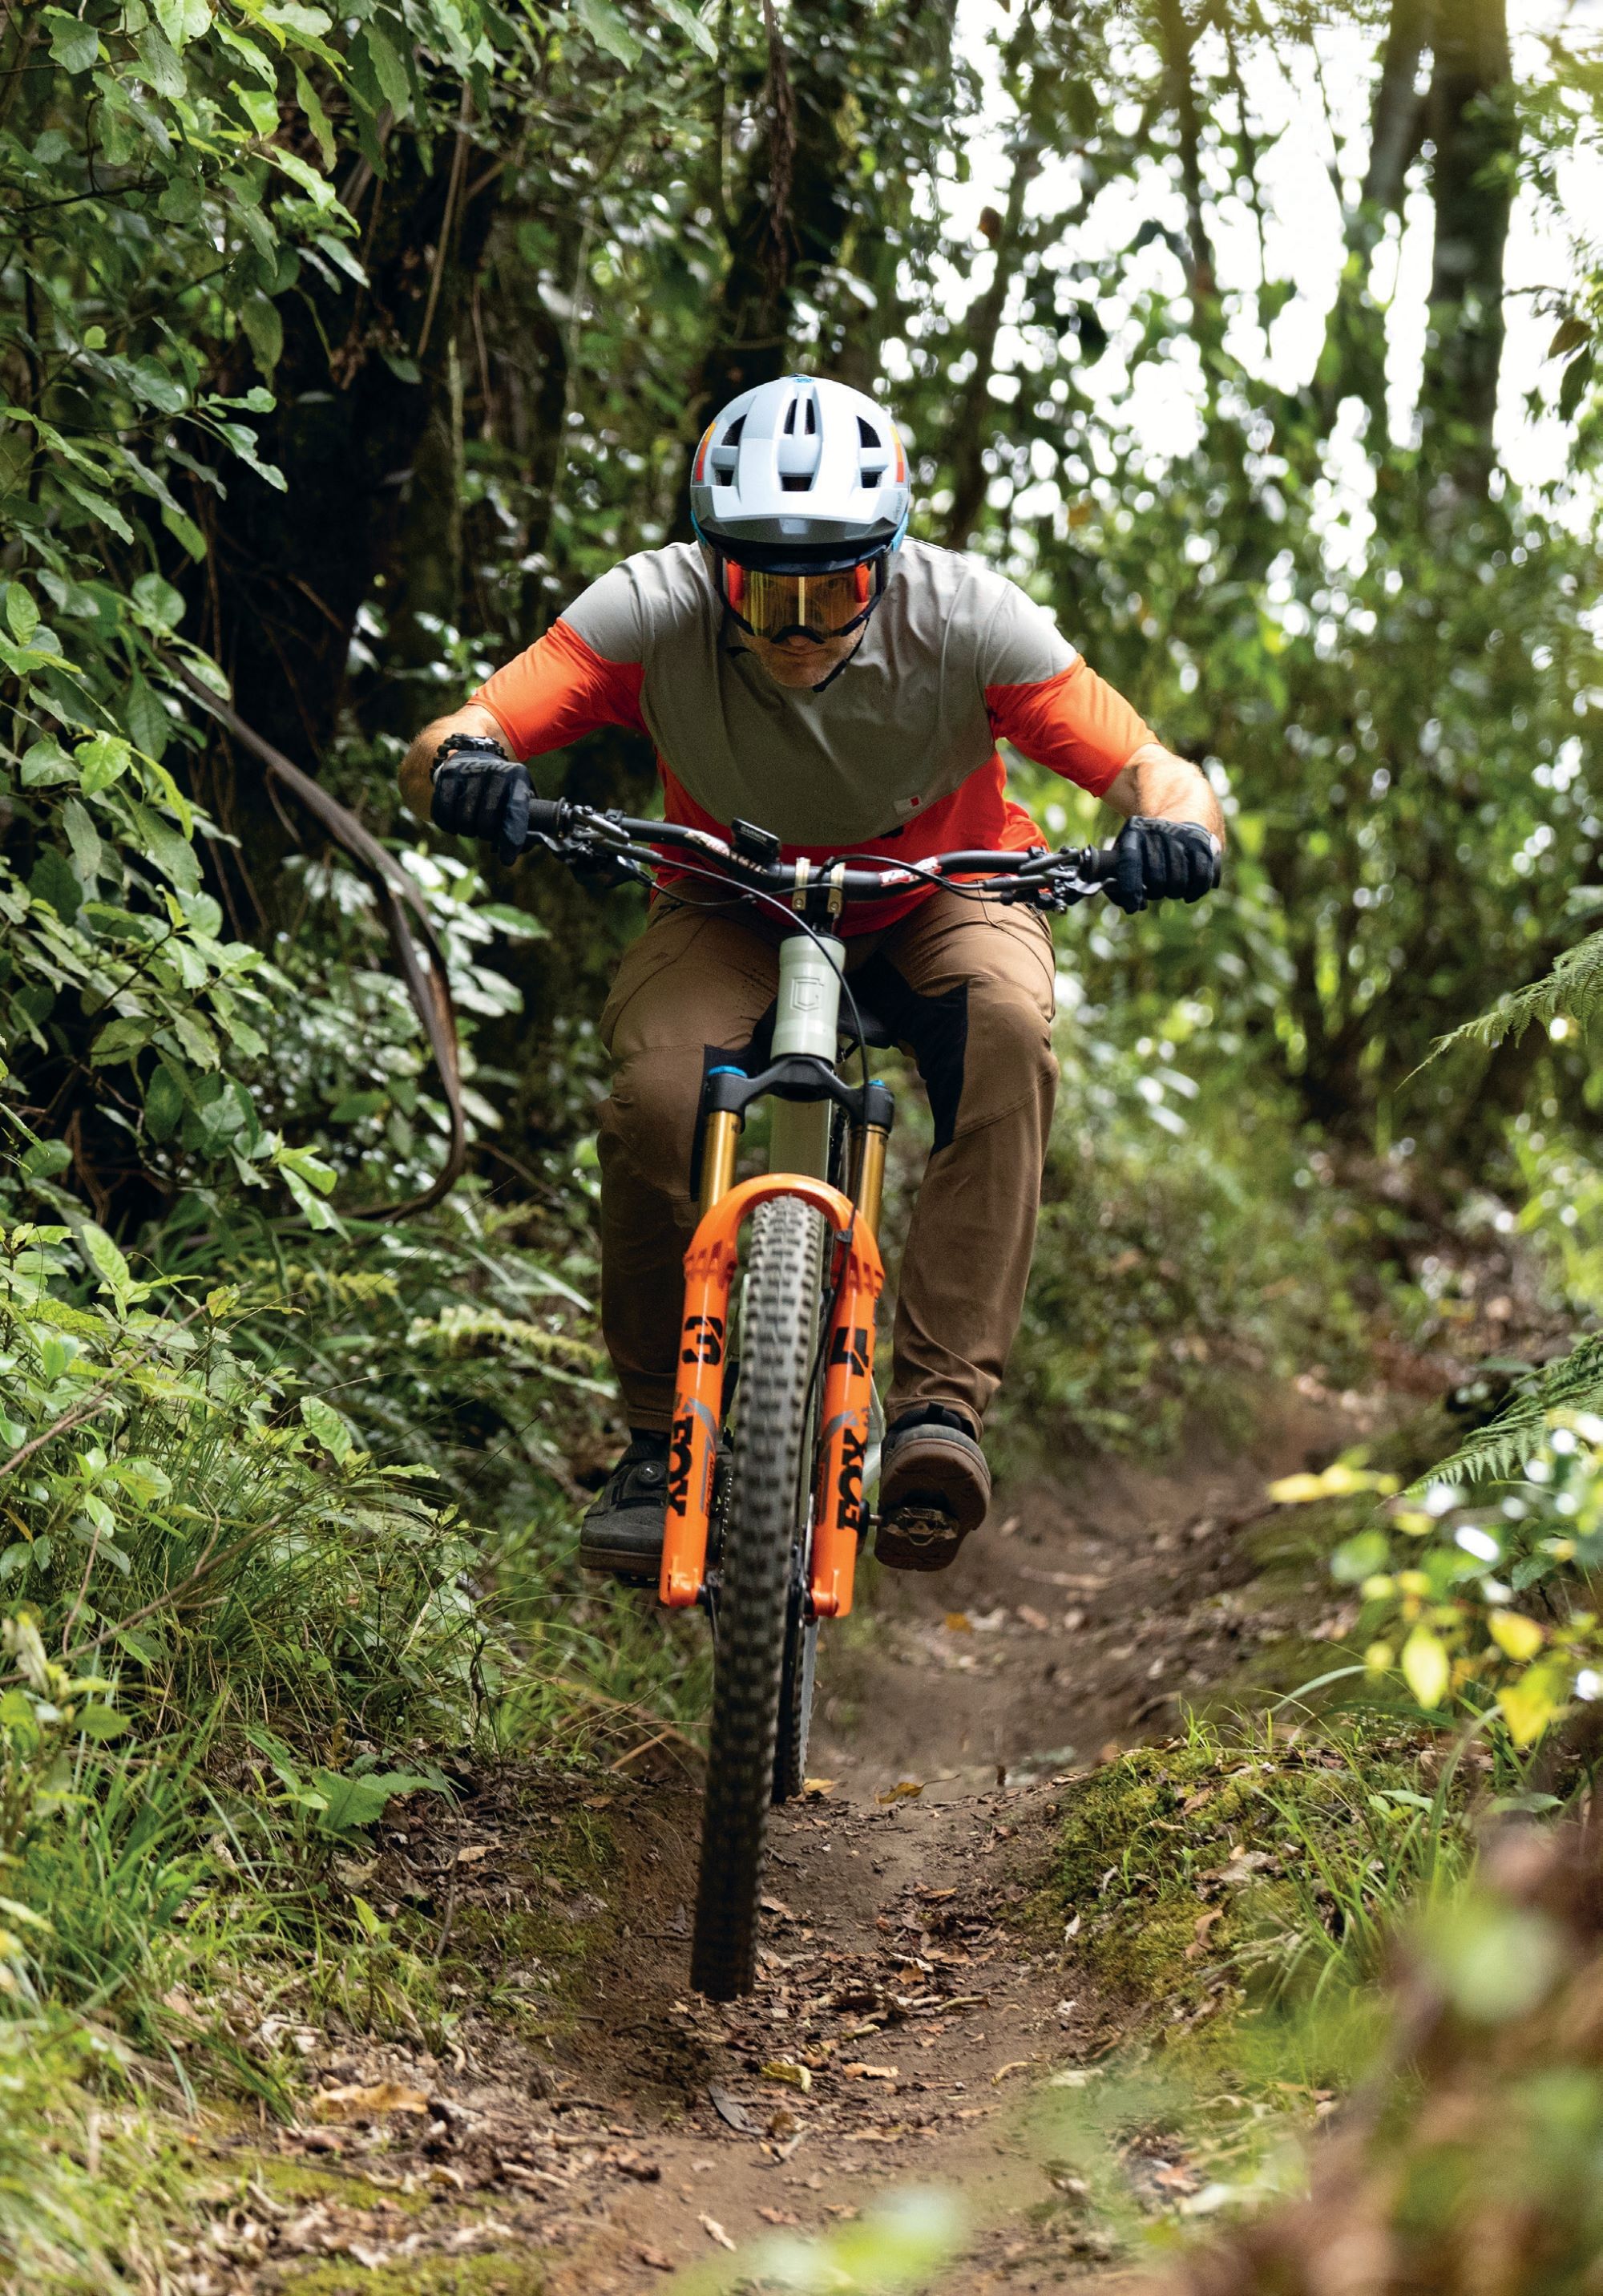
Santa Cruz just refreshed one of their most popular and heavy-hitting models, the Nomad. For the uninitiated, the Nomad is a 170mm travel mixed wheel weapon. It’s not a classic Enduro race bike, although it sits under the ‘Enduro’ category on their website; it’s much more fun than a pure race bike, although I’m not sure I’d peg it as a freeride bike either. In my mind, it’s a mash-up of a few categories that, when melded together, create an exceptionally fun and fast result. Fast is fun, faster is funner (is that a thing?).
From the alloy framed early edition launched in 2005, to the unmissable green and pink colourway of the 2021 Nomad, now in its 7th generation, the intent remains the same; provide riders a downhill oriented platform worthy of hours winching themselves up long alpine climbs purely to shred the descent, no holds barred, don’t let the bike hold them back on a descent.
I’ve been stoked to get aboard the new Nomad 7 for a few rides before launch day. Here’s an overview of my experiences, just a few rides in. We’ll have a more in-depth review dropping in a few weeks.
What’s new?
This fresh Nomad is very familiar at a glance, although many small tweaks and iterative changes put this new Nomad a peg up on the outgoing generation. We’re still getting a 170mm, mullet-specific (29/27.5 wheeled) chassis, but this time it’s only available in the high-end, high-modulus Carbon ‘CC’ version.
The use of CC carbon lowers the weight a smidge, 86g over the ‘old’ CC frame, retaining the robustness while achieving improved ride quality. Better carbon also opened the door for a refined, smaller downtube, assisting in weight saving and helping give a more compliant ride. Interestingly, the downtube is barely larger than the Stigmata gravel bike, a drastic decrease in size from the Nomad 6.
Visually, the bike is very similar; the most obvious change is just above the bottom bracket junction. The bike now gets the more open, “shock tunnel” cutaway shape the Hightower and Bronson received during their most recent refreshes. The rear shock and lower suspension link are now far more accessible, something which was a headache on previous models.
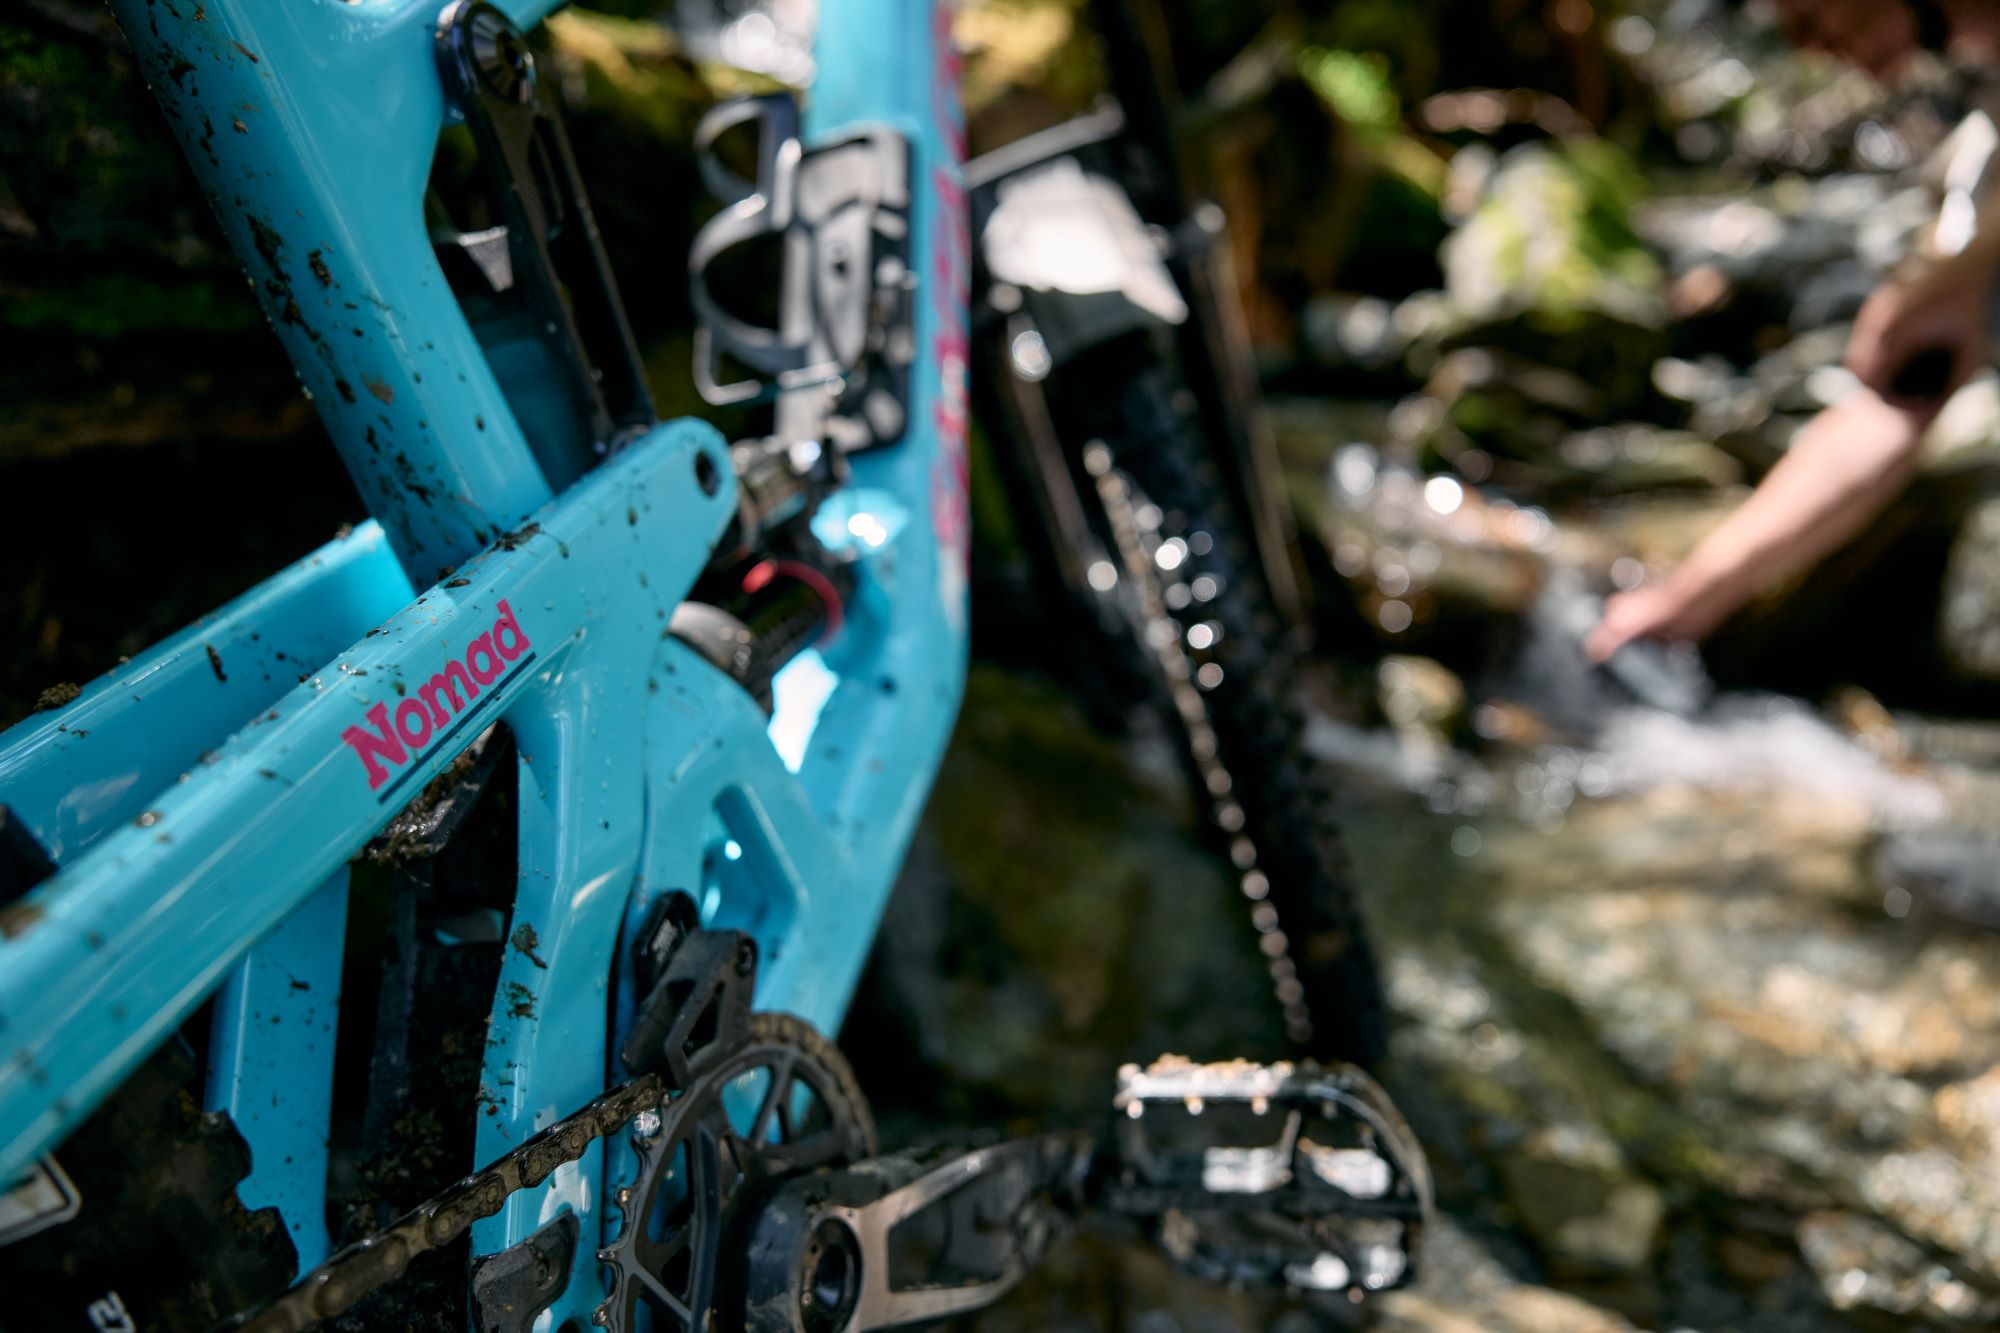
A subtly redesigned Glove Box, the v2, fits tighter than before with no rattle or movement. The latch feels positive and sturdy. Thankfully, the smaller downtube still fits the same amount of gear as the previous, larger version.
The shock has a flip chip, offering riders a small amount of adjustability. Plus or minus 3mm of bottom bracket height and plus or minus 0.3 degrees head angle, not a lot, but there’s adjustment there. Under the toptube, an accessory mount adds options for riders who need quicker access to anything that they can’t cram in their downtube.
After the uproar in the Pinkbike comments when the 2025 Bronson CC frame launched without them, the purists amongst us will be glad to see internal routing for mechanical drivetrains included on this frame.
As has been customary with Santa Cruz’s bikes (outside of the Blur), there are grease ports on key pivot points. Good grease in, bad grease out, simple. When fresh grease doesn’t do the trick, like all Santa Cruz bikes, free bearings for the lifetime of the frame are available.
Santa Cruz raised some eyebrows (and more Pinkbike comments!) when their Vala e-bike launched with its 4-bar suspension layout. Although they considered using it, without the drive-unit in the way of the lower link, there was no need and their tried-and-true VPP linkage was still the best option to retain and build on the performance of the Nomad. Inspired by the changes to the suspension kinematics of Bronson and Vala, the Nomad suspension is tweaked to reduce pedal kickback and lower anti-squat, resulting in better climbing and increased performance through rough terrain and square-edge hits.
With a slightly slacker head angle (63.6/63.3) and a smidge steeper seat tube angle (77.4 in High setting), the geometry is nearly identical to the previous generation. The size large I’m riding is a 475mm reach, seemingly a pretty ‘normal’ reach for size Large bikes now across many brands.
Ride Impressions
Cracking open the Nomad’s cardboard box, the first thing that struck me was the paint scheme, a definite nod to the 2015 Nomad and its Miami Vice, ‘Gloss Aqua Magenta’ colours. That paint was polarising then, and I’m sure it will be polarising now. Fortunately, if you dislike the 80’s throwback, a more subdued ‘Matte Metallic Earth’ is also available.
Before throwing a leg over the bike, I didn’t read any pre-launch info in an attempt to make my own impartial assumptions on how the rig rides and where it’s aimed. After having now spent some time in the launch docs, I’m glad to see many of my assumptions line up with Santa Cruz’s claims.
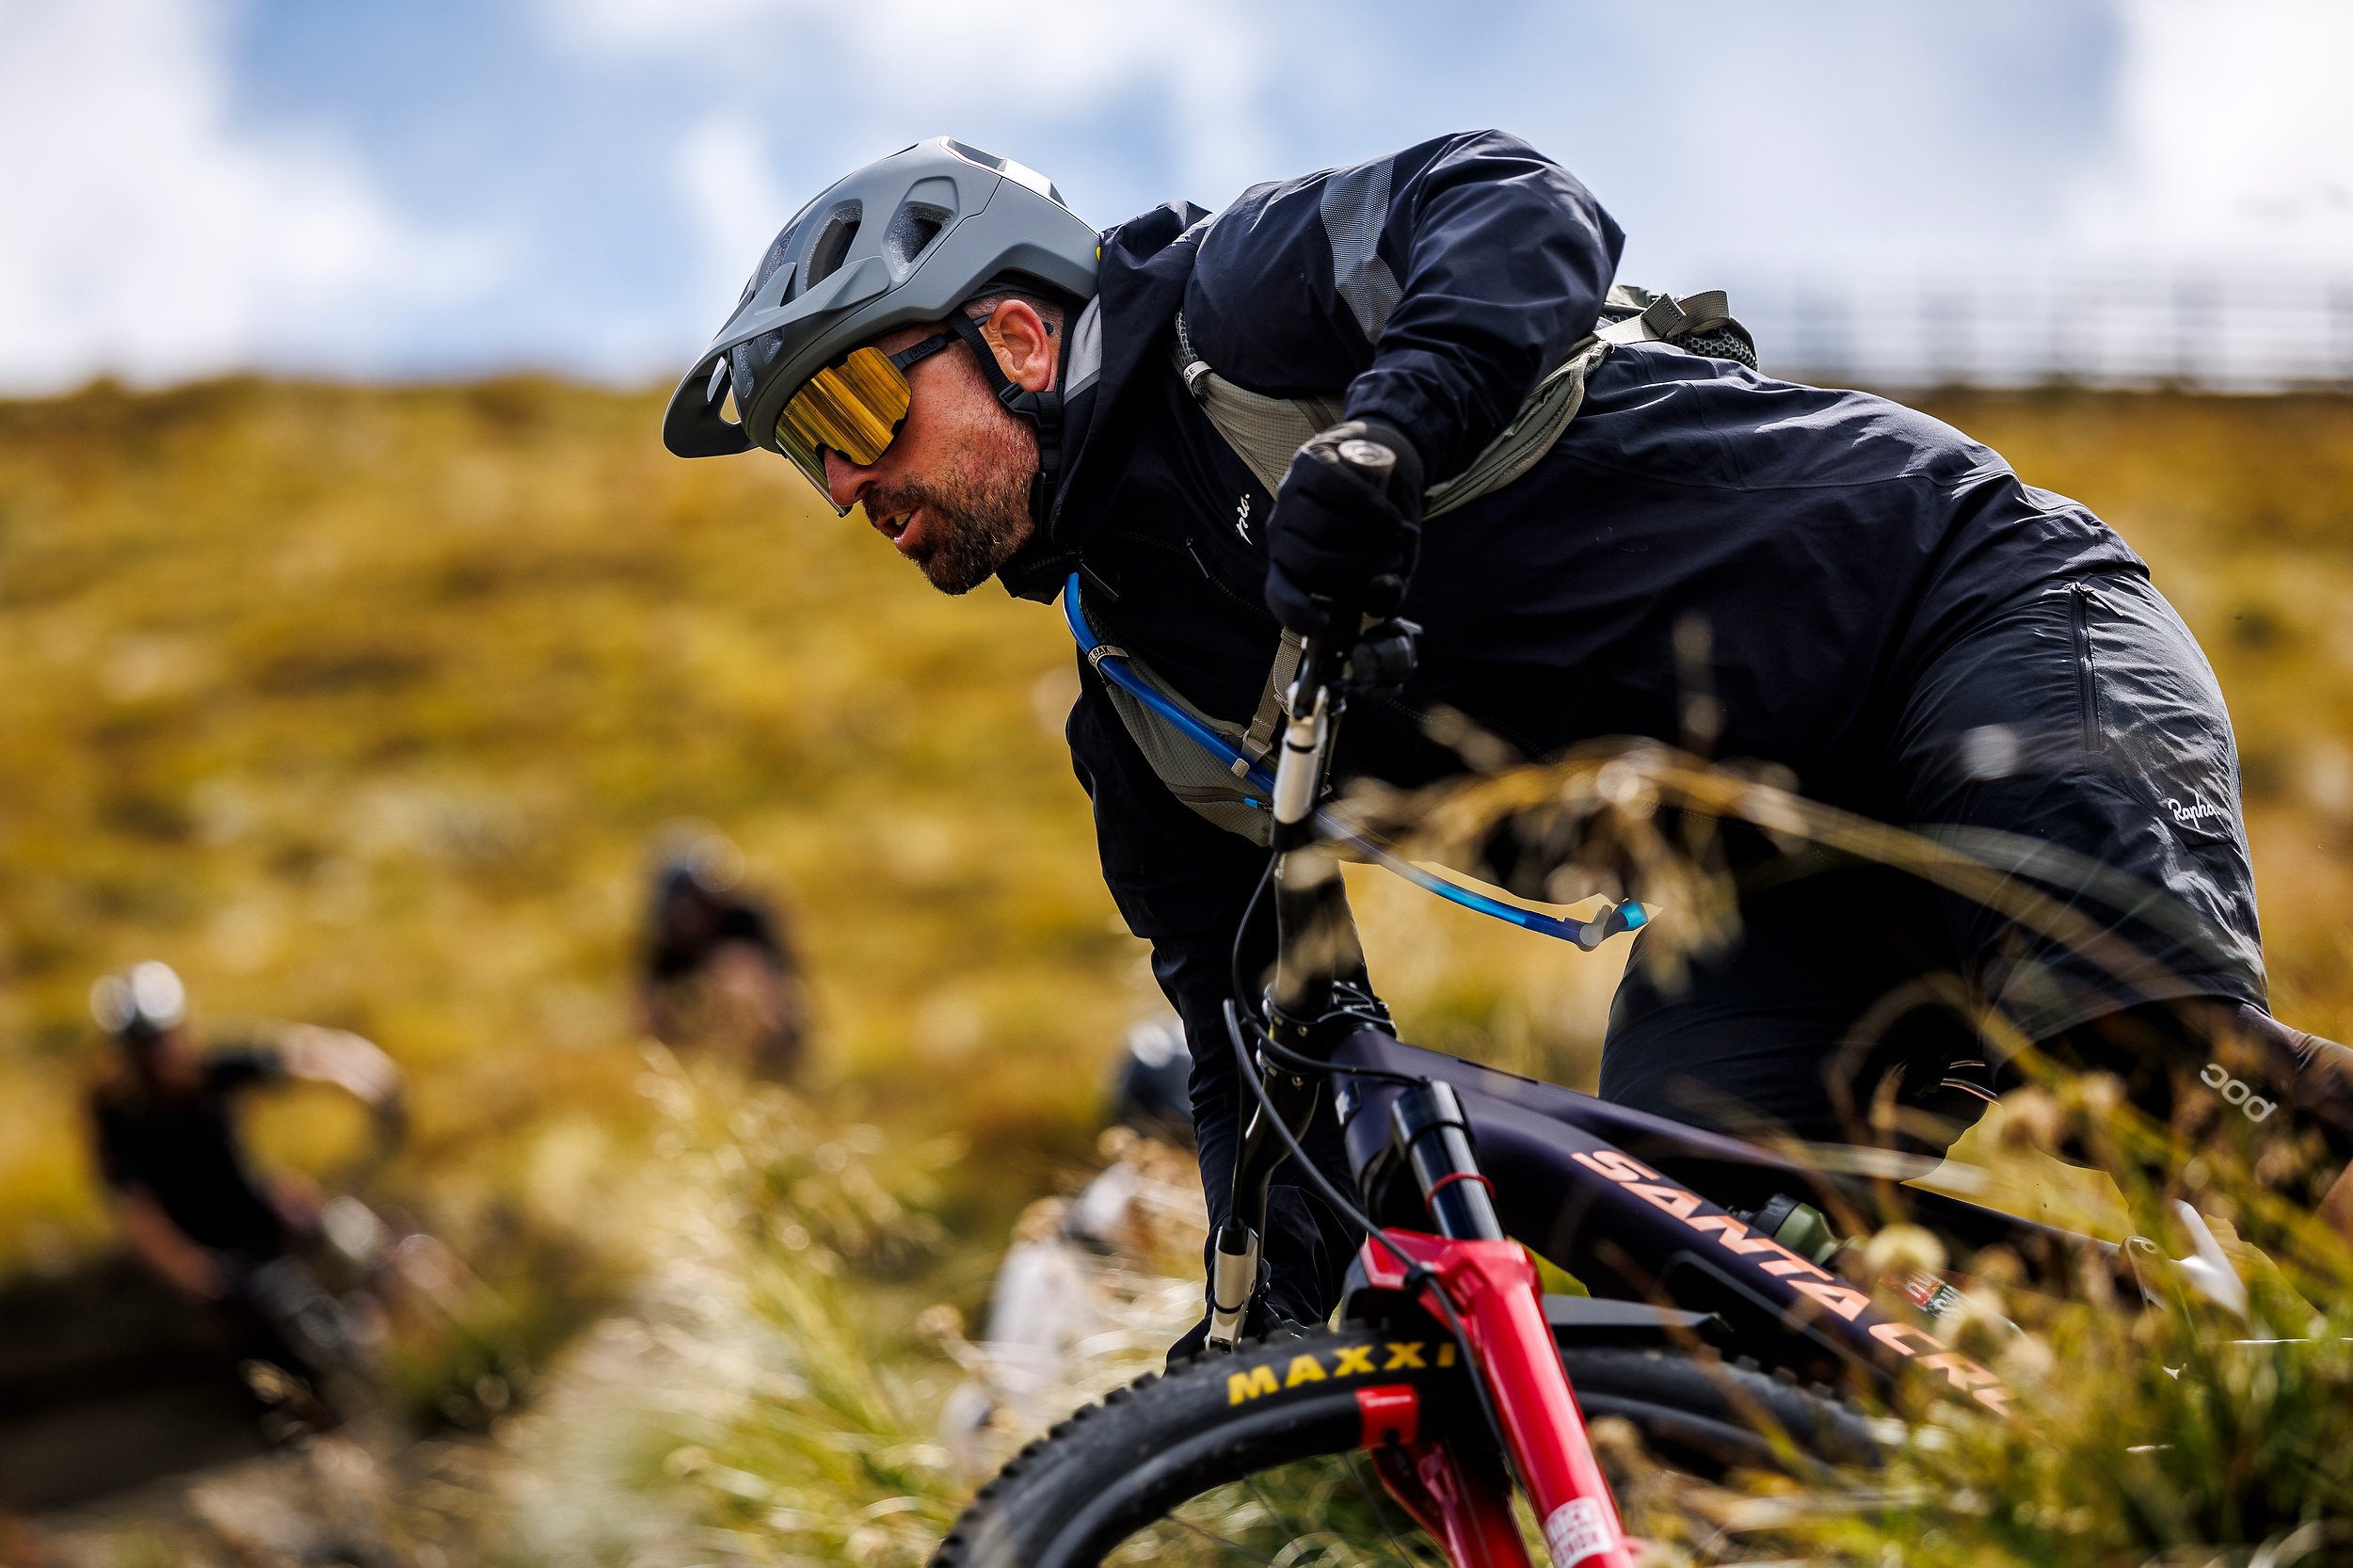
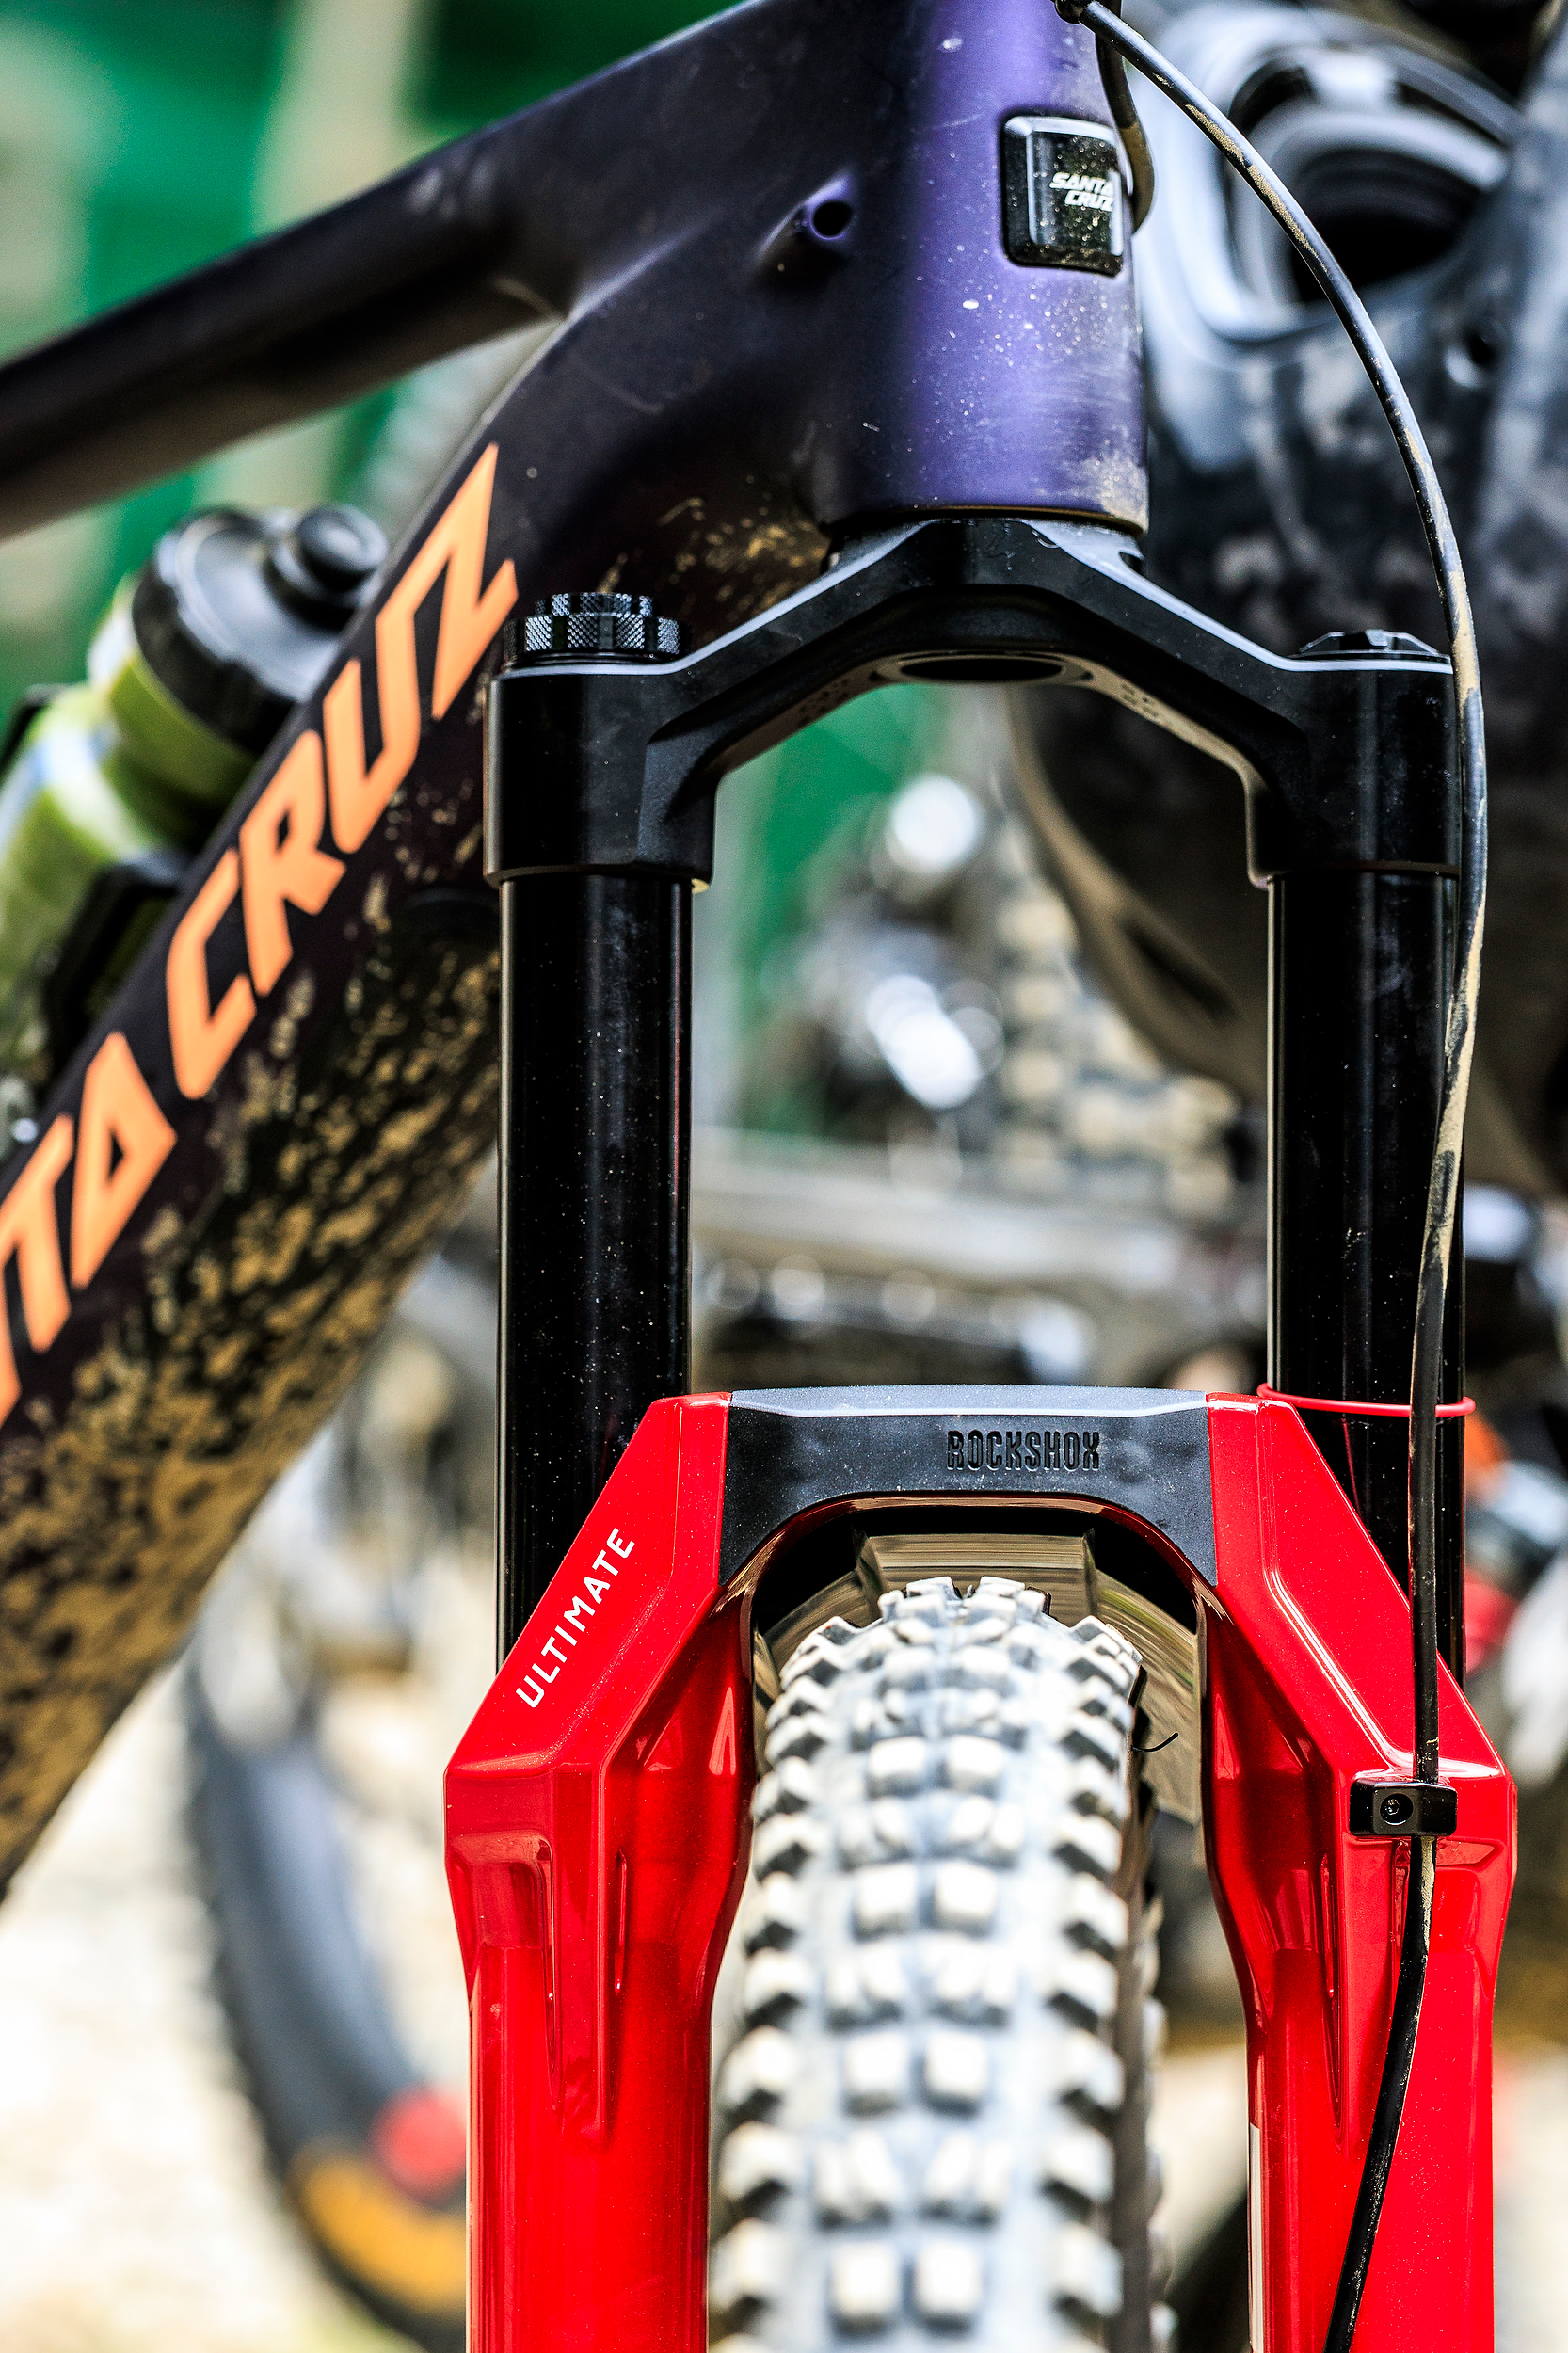
For clarity, the bike I’ve been riding is non-stock, built with a freshly launched Rock Shox ZEB Ultimate fork and Vivid Ultimate air shock, neither of which features on any of the stock Nomad builds. The stock FOX suspension will be more than up to par, though, the largest difference being the rear shock having a coil spring as opposed to the air on the model I rode – so perhaps even more buttery than the Vivid?
I haven’t been a huge fan of long travel bikes in recent years, heck, even smaller travel (150-160mm) bikes in some cases have been cumbersome, overweight behemoths that go great in a straight line, or down a decent gradient, but point them at a mellow trail, or a steep climb, and no bueno. Excess weight and overly slack geometry mean they perform in a narrow band of trails.
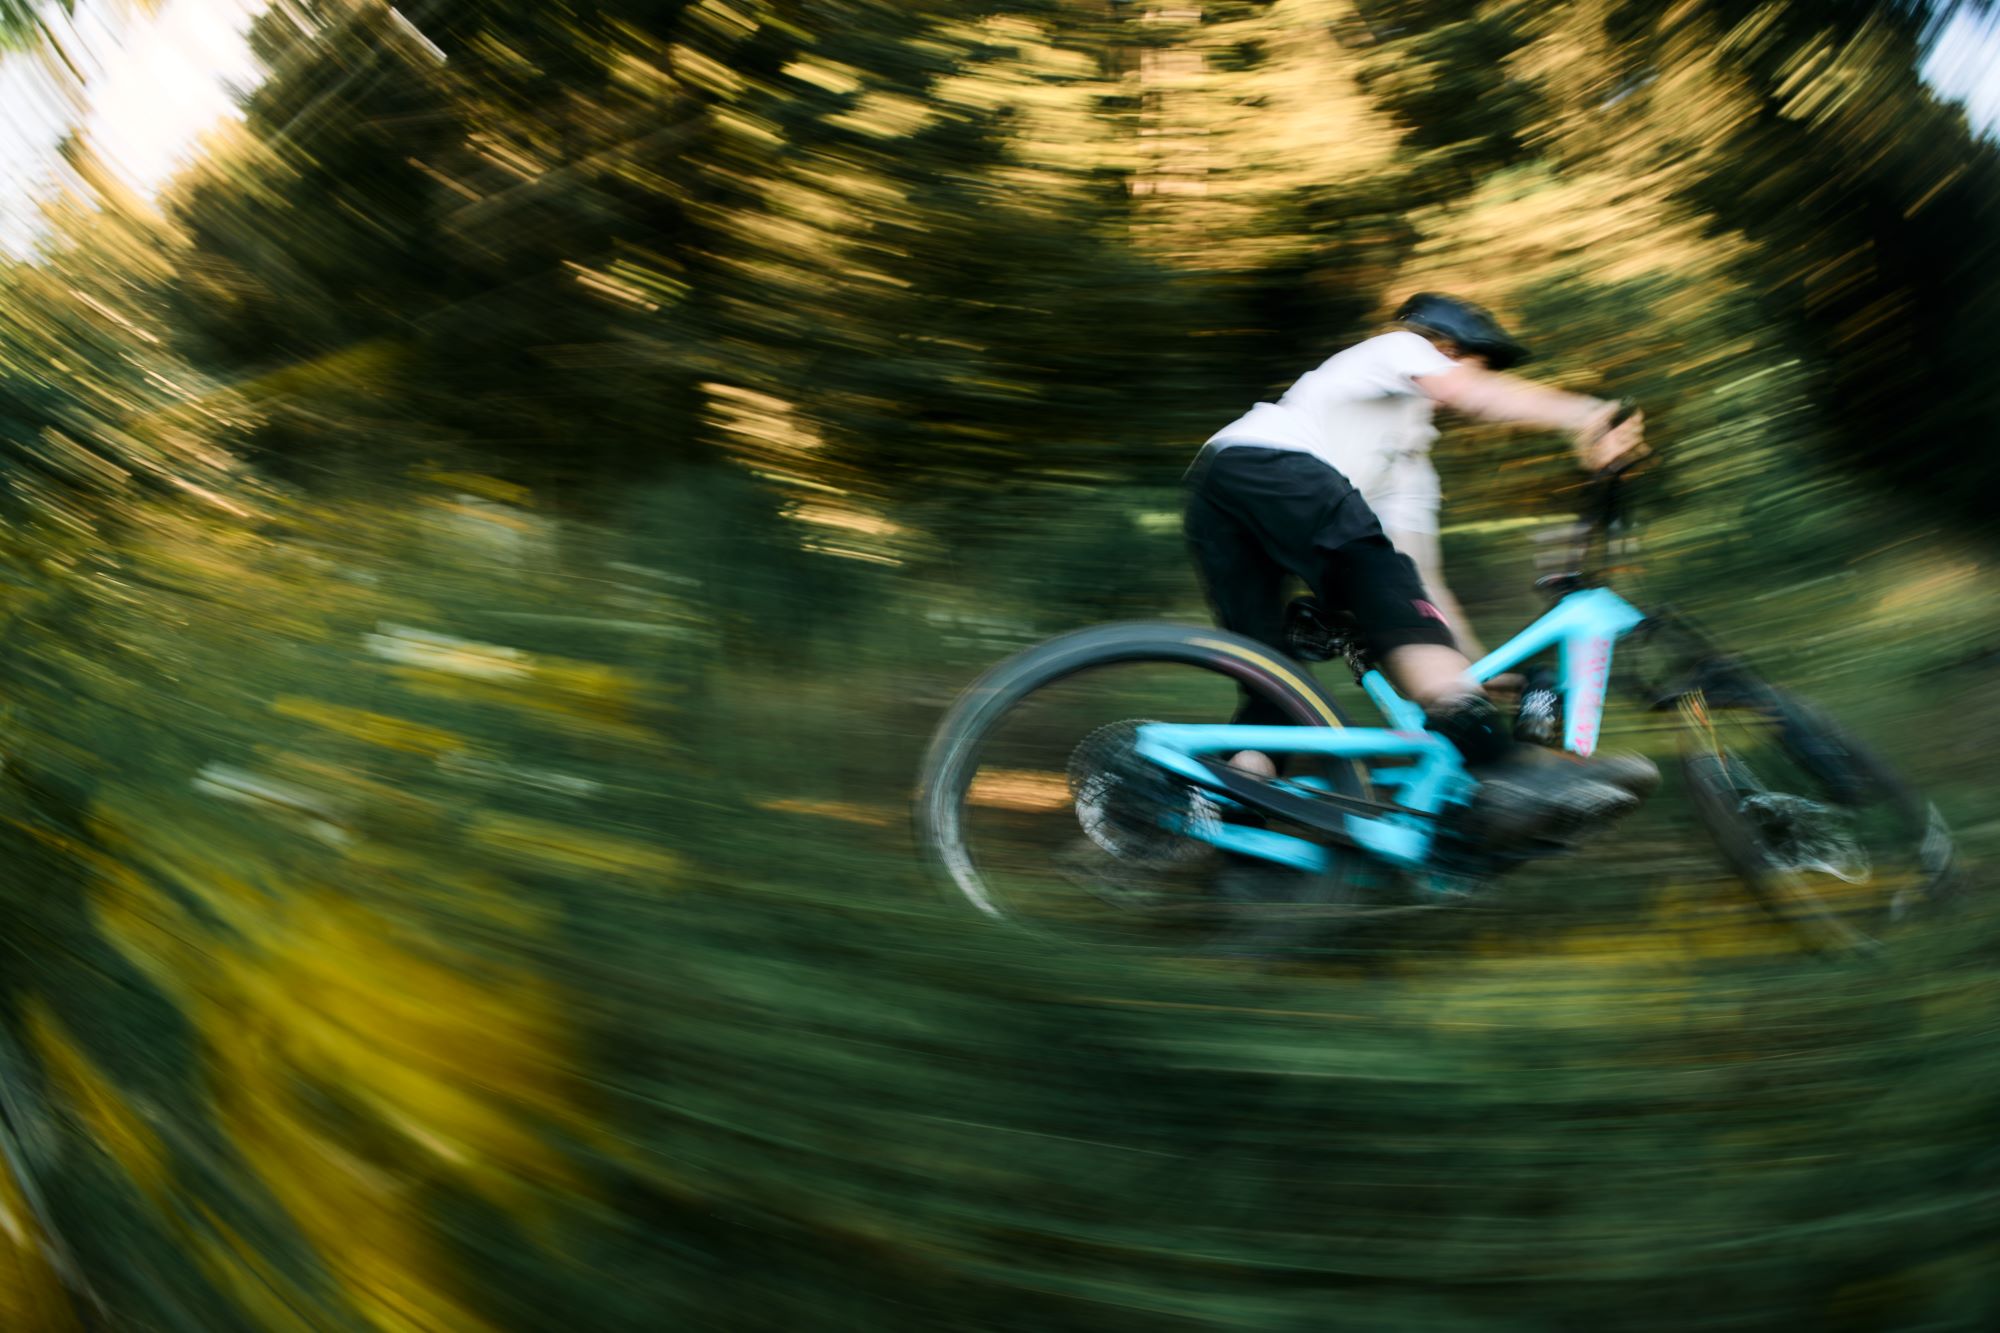
What was obvious from the first ride is that this new Nomad is a big travel that plays like a smaller bike, in all the best ways. Big bike advantages without being cumbersome and a burden on flatter trails or climbs.
Seated climbing is surprisingly spritely for a 170mm travel bike. The reduction in anti-squat means it climbs more efficiently than the previous model. I found myself resorting to the shock’s lockout lever less than many shorter-travel bikes. Even when the shock is fully open, sprinting up short pinches or across flat sections proves how well it pedals. I wouldn’t go as far as to call it “snappy”, but given its travel, it pedals exceptionally well. I’ve been perfectly happy repeatedly spinning my way up long climbs just to bomb down, some of this will be down to the overall light weight of the bike, and some due to that anti-squat.
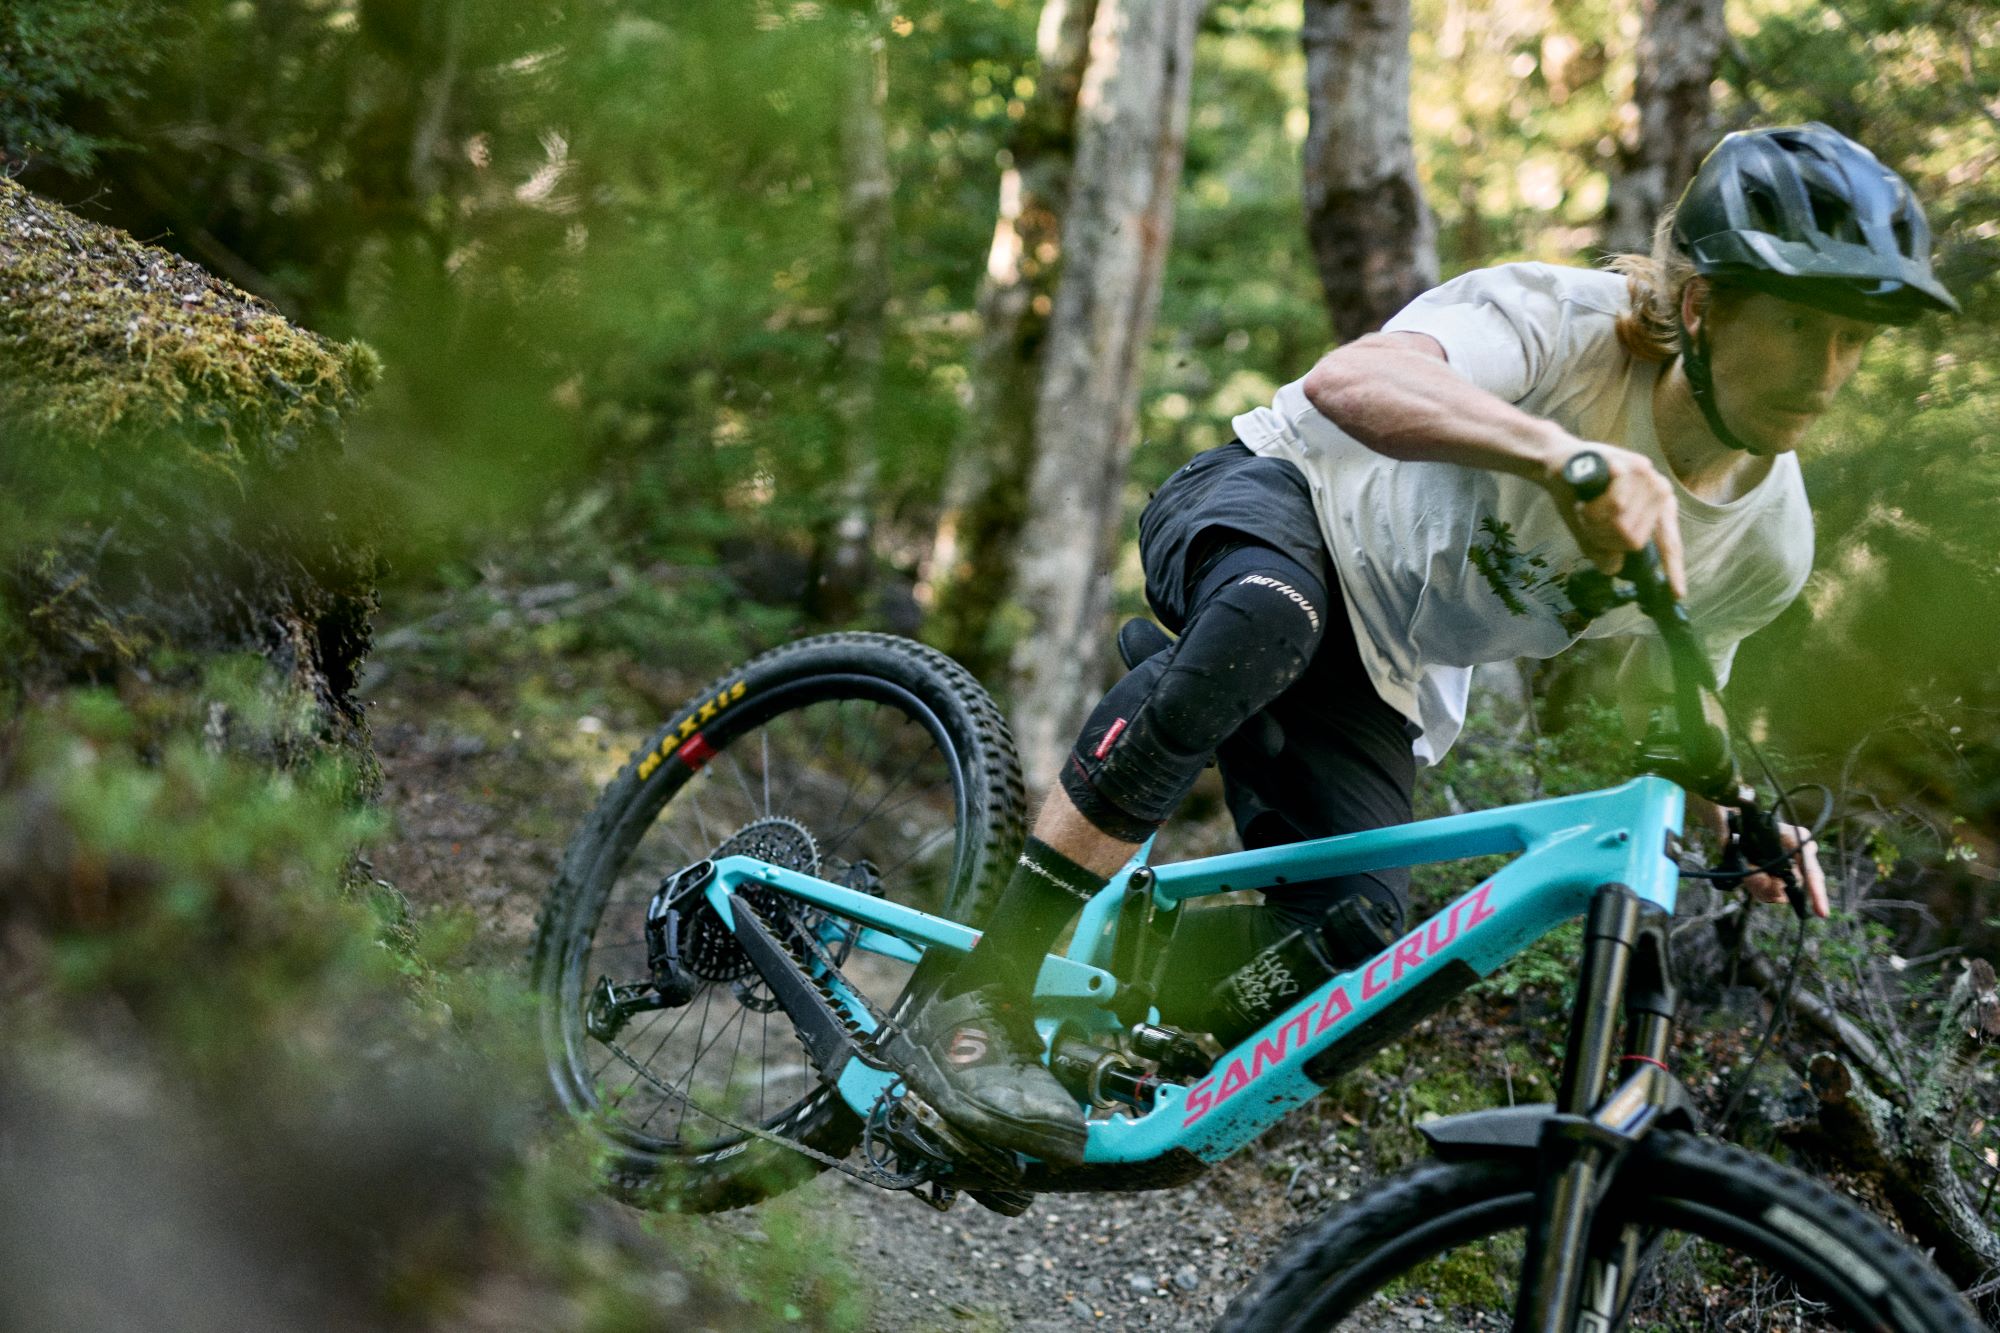
Downhills are really what this rig is targeted at, and after seeing how good it climbs, I wondered if, when it was thrown down steep, rough trails, it might have some quirks. It doesn’t. It’s surefooted, balanced and predictable through the rough stuff. The VPP’s slightly rearward axle path and reduced anti-squat helps remove the ‘hung up’ feeling many 27.5 rear wheeled bikes get when the going gets rough – I haven’t had this feeling at all on the bike, and it has me questioning my “I’ll only ride full 29er” stance, having been put off some mixed wheel bikes with this feeling in the past.
This is a big bike, no doubt, and 170mm is a lot of travel to be dealing with, but the speed and lines it unlocks are bonkers and have taken some time to get used to. The suspension curve gives a buttery feel off the top, a reasonably linear feel through the middle, and a progressive ramp at the end to avoid harsh bottom outs. Even though it’s a long legged beauty, the Nomad doesn’t feel like it ever wallows in its travel, there’s always some support to push against and it doesn’t get bogged down over successive hits or deep g-outs that catch you off guard – it’s really predictable.
After ‘writing off’ big bikes and thinking they never suit my local trails, in my head, reserving them for proper mountains and chair lifts, the Nomad has been a breath of fresh air. I still need some time to really solidify my opinions, but so far, so good. What a weapon this bike is!
Watch this space for a full feature on the 2027 Nomad.
RockShox Zeb Ultimate
Words: Liam Friary
Images: Sven Martin & Callum Wood
Distributor: Worralls
RRP: $2495
Components, suspension and bikes are always going through a process of constant refinement. Often it can seem a bit like a ploy to get us all to consume more, and that’s a valid perspective.
But the thing is, often the refinement stems from the sport’s progression and riders getting faster and hitting harder.
This drive is mainly through the competitive elements of the sport, such as downhill and enduro, but there’s still a strong case for the everyday trail rider. There’s also continued progression with trails, bike parks, and terrain, and this often means riders demand more of their bikes, suspension and products.
The newly updated, burly RockShox Zeb falls into the progression category and draws direct inspiration from the RockShox Boxxer. This development stems from the latest advancements in world cup downhill racing, which have driven the suspension updates across the RockShox Zeb Lyrik Vivid and Super Deluxe models. Across this issue, I’ve shared some insights from a press camp I attended in February. Queenstown hosted editors from global mountain bike media outlets who spent a week riding RockShox’s new downhill and trail suspension. I rode a Santa Cruz Hightower equipped with a RockShox Lyrik fork and a FOX Float X Factory shock. We tested our current setups for a few days before switching between them using an a-b-a testing method. This involved cycling back and forth between our old suspension, specifically the previous generation RockShox Lyrik, and the new RockShox Zeb. The launch event included six days of riding followed by another month of ride testing on more familiar local trails.
The centrepiece of the new Zeb update is the new Linear XL air spring, and it’s worth understanding what it does rather than letting it blur into the spec sheet. It’s not a marketing name. It describes a specific engineering approach that changes how the fork feels through its travel, and it’s the main reason the new Zeb rides differently to the old one.
Most air springs are progressive by nature. That’s not a flaw, it’s physics. As you compress an air chamber the pressure rises, which means the further you push into the travel the harder the spring pushes back. The result is a spring curve that ramps up toward the end of the stroke. This gives you bottom-out resistance without needing a separate mechanical bumper, but it also means the fork feels different at twenty percent of travel than it does at eighty percent. Predictable it is not. You get a supple initial response that stiffens noticeably mid-stroke and firms up hard near the end. Riders learn to work with this but they’re always adjusting for it, consciously or not. A linear spring does roughly the same thing throughout its travel. The fork feels the same at twenty percent as it does at sixty. What you set up is what you get.
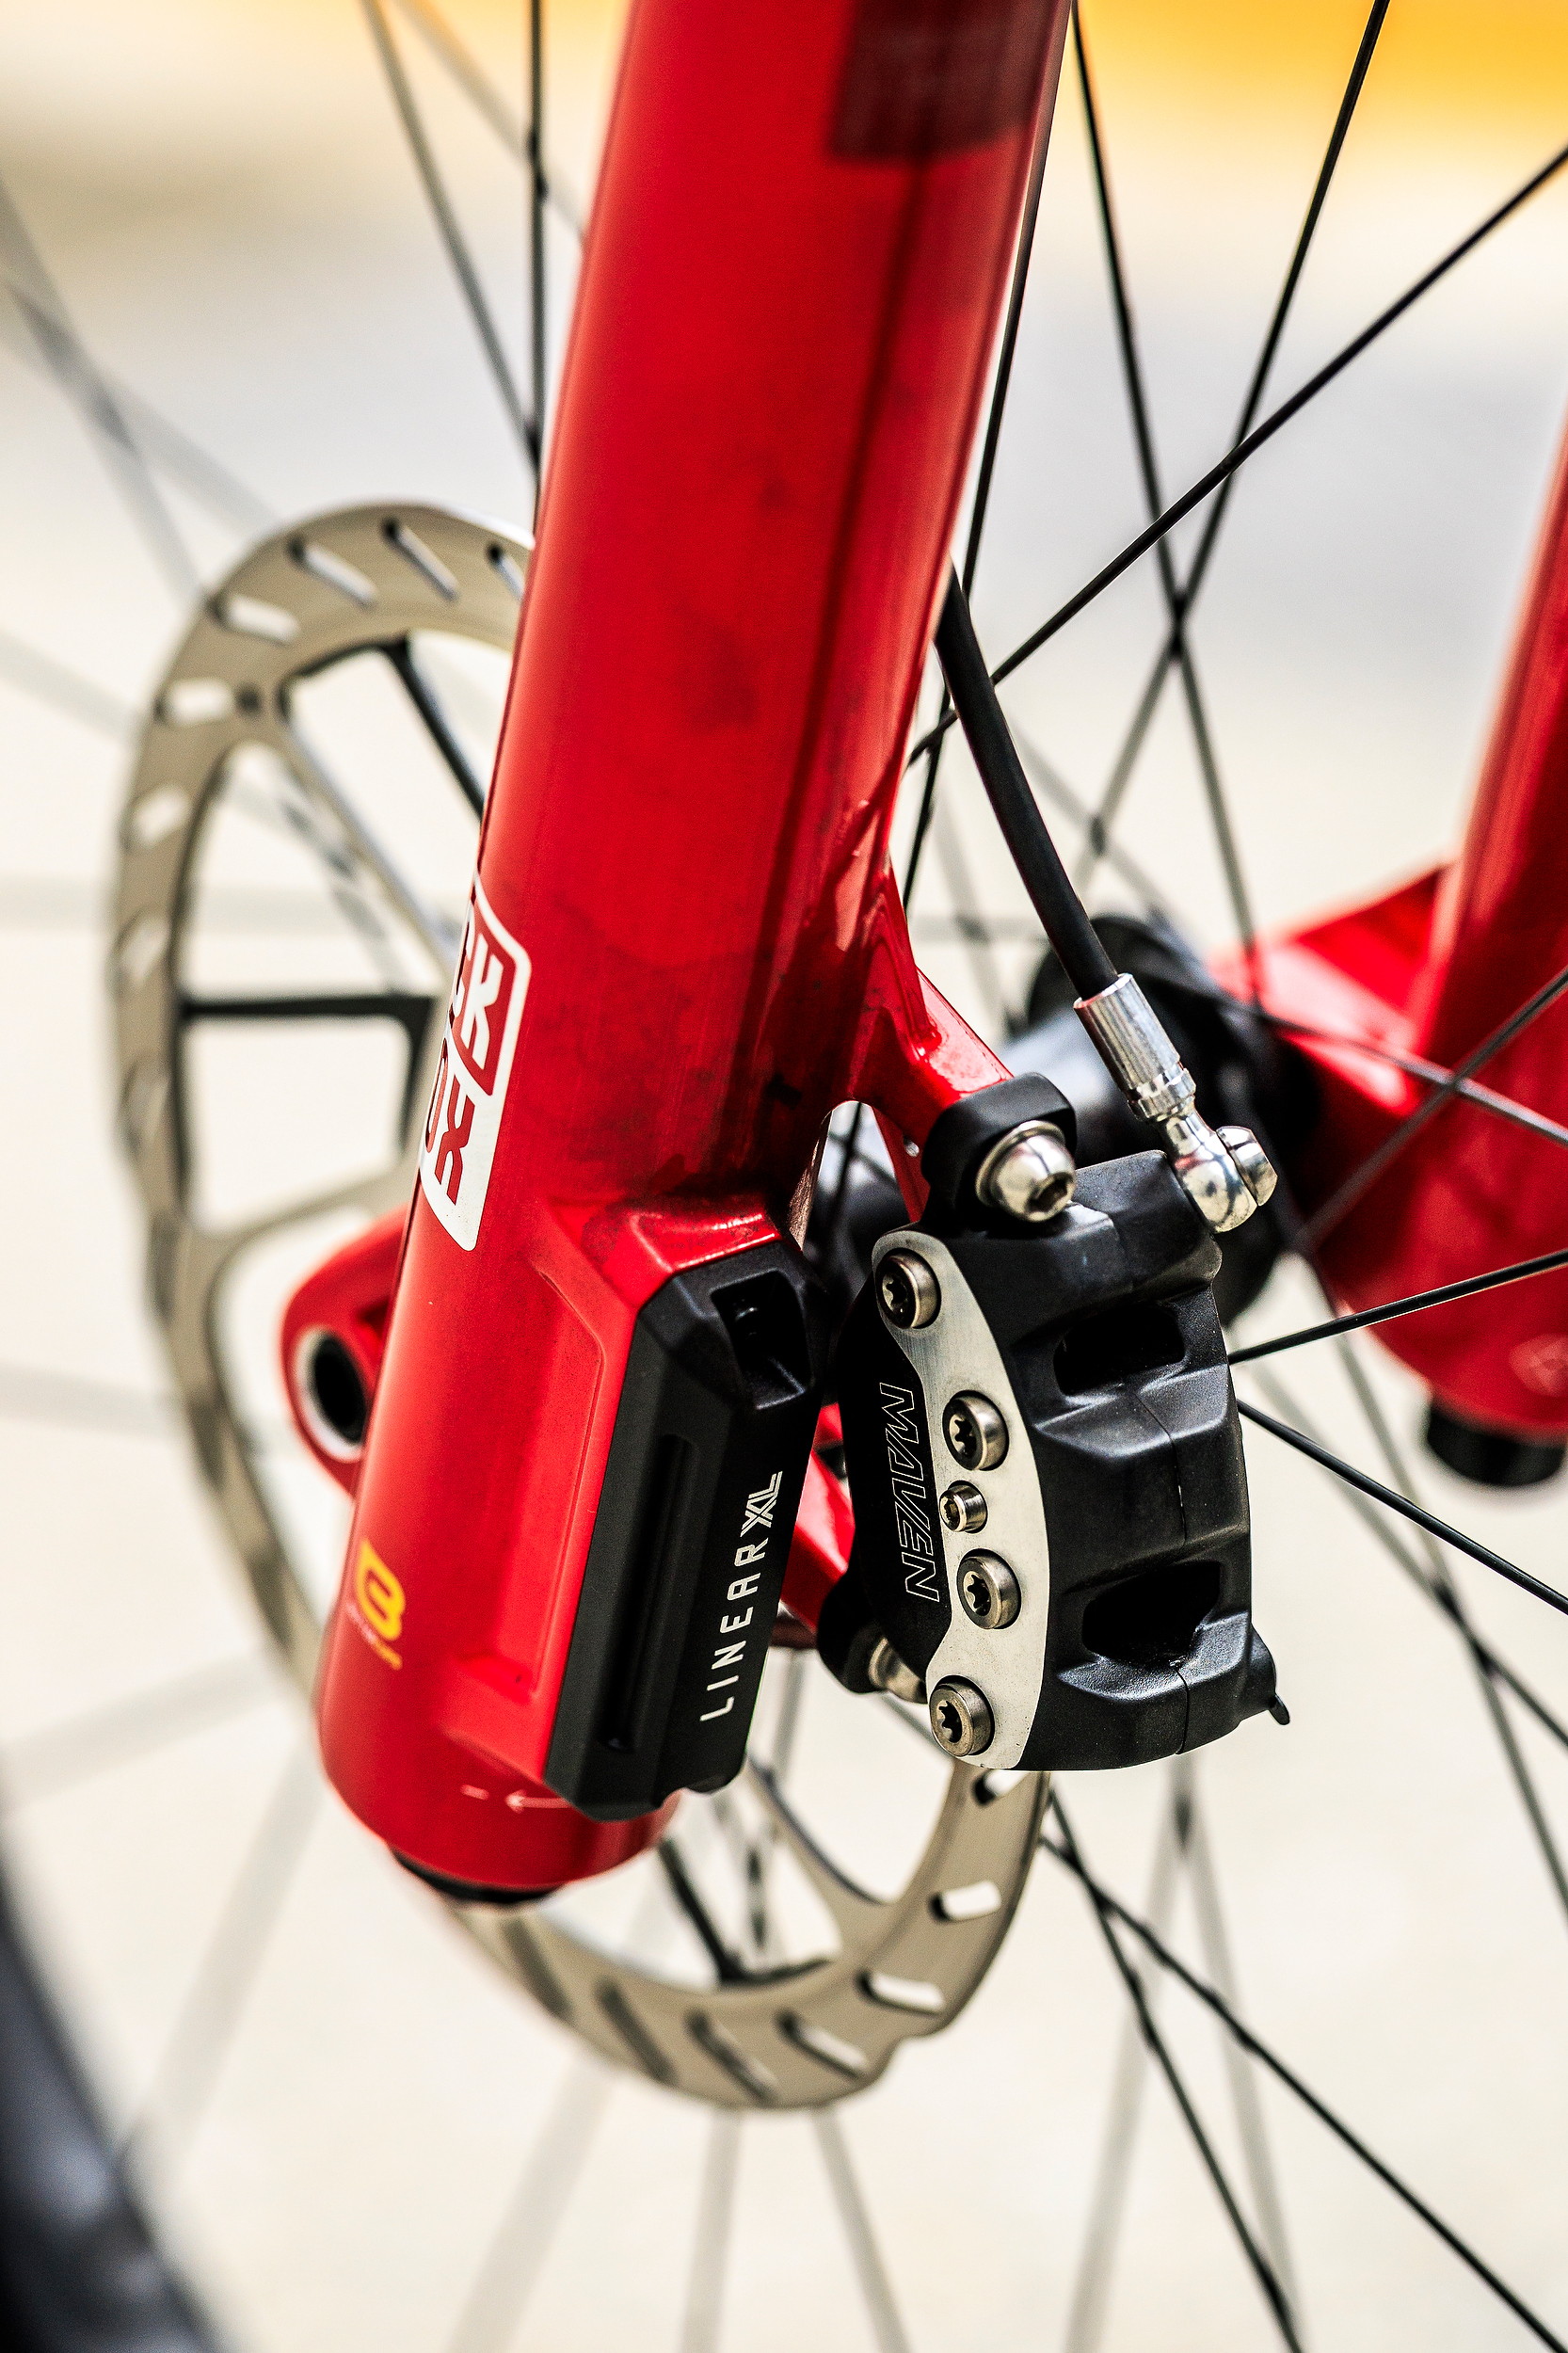
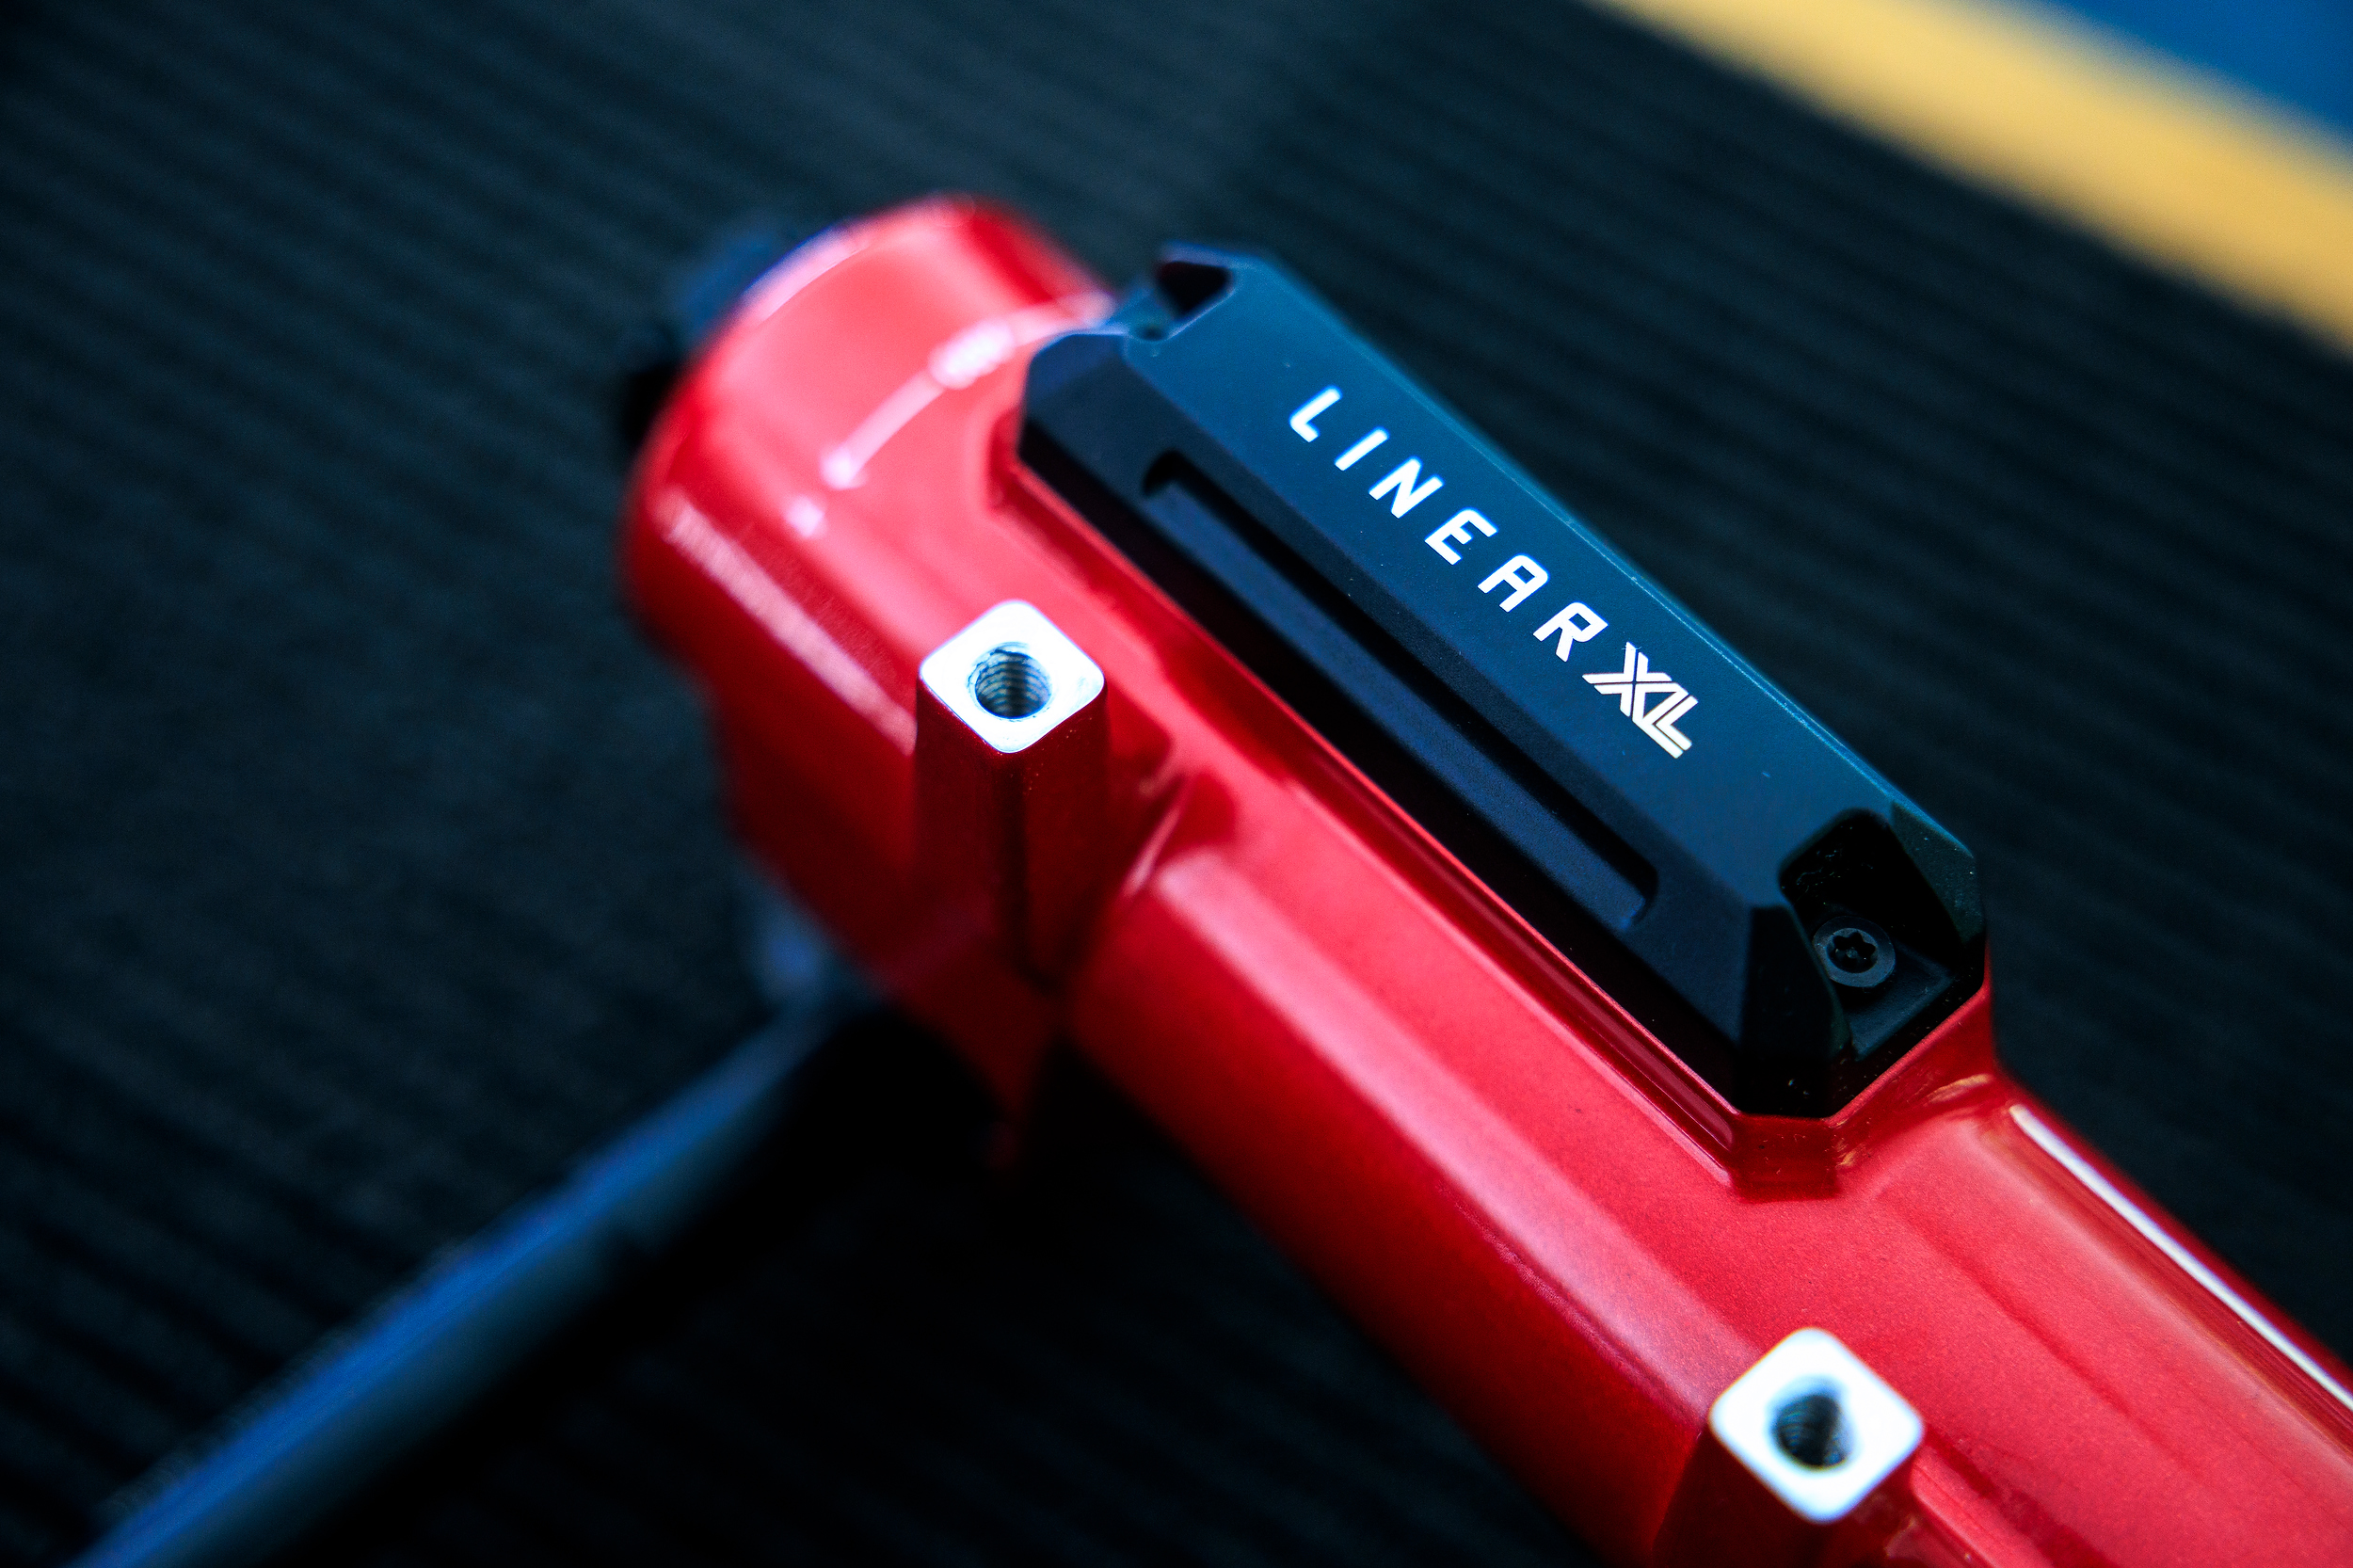
RockShox’s Linear XL system is an attempt to flatten that curve. The approach involves increasing the volume of both the positive and negative air chambers while simultaneously reducing the piston diameter and increasing the inner diameter of the shaft. Taken together these changes mean the fork runs at higher pressure but the rate the pressure increases as you compress through the travel is slower and more consistent. The Air Annex, an additional air chamber mounted on the side of the fork leg, adds further volume to the lower leg, reinforcing the flatter spring curve. The result is a spring that behaves more like a coil: predictable throughout the stroke rather than stiffening in stages.
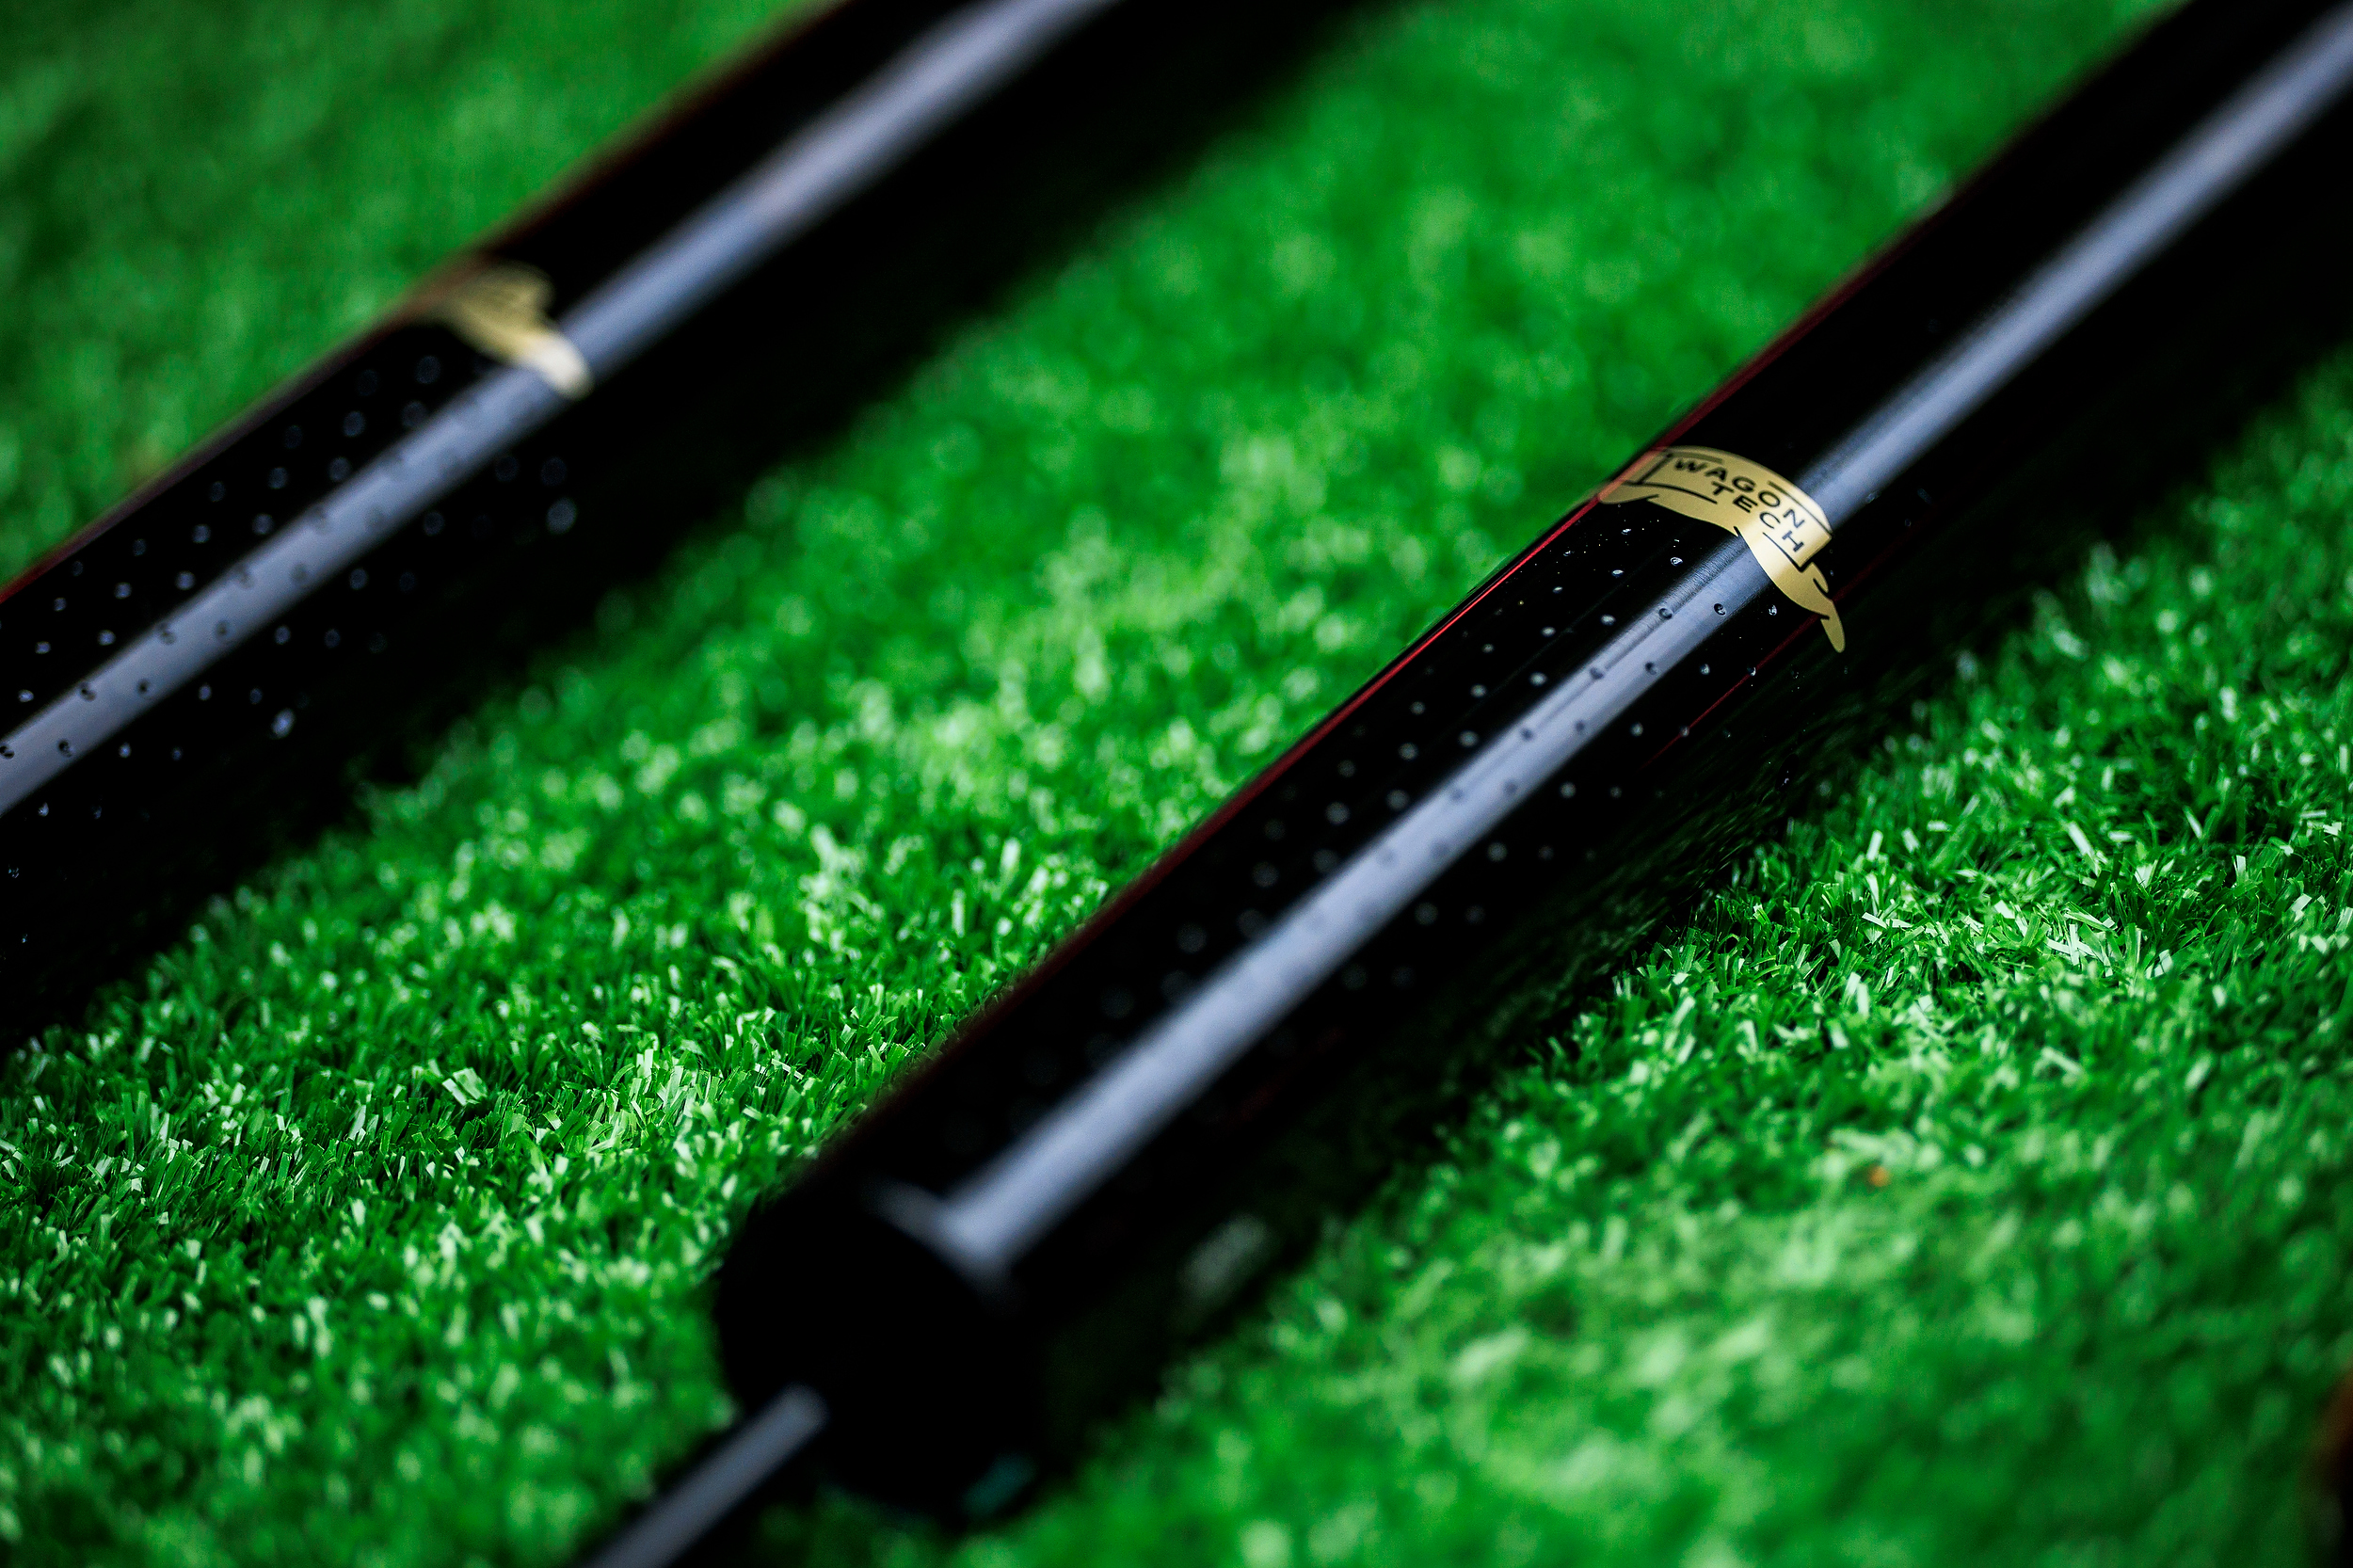
RockShox also refined the fork’s lubrication and small-bump behaviour through two supporting technologies. ButterWagonTech introduces small indentations machined across the lower section of the stanchions, below the dust wipers, which draw oil upward during rebound. On every stroke out, oil is actively redistributed across the bushing contact area rather than relying on gravity alone. Less friction throughout the stroke, more consistent movement, less arm pump on long rough runs. Complementing this are the ButterCups – elastomers mounted on both the spring and damping sides that filter small impacts and high-frequency vibrations, taking the edge off chatter before it reaches your hands. Then there are the breather holes, two small drill holes in each stanchion just below the oil seal. In a big hit the air trapped in the casting has somewhere to go, distributing quickly and evenly rather than creating a pressure spike. Oil circulation improves too, keeping damping consistent under repeated hard impacts. Together these three details are about keeping the fork moving cleanly and, honestly, not letting friction and trapped air compromise the spring curve the Linear XL system is working to deliver.
The Linear XL spring doesn’t work in isolation. Because the spring is more linear, less progressive, the Charger 3.2 damper that pairs with it in the new Zeb is tuned more progressively to compensate. The damper picks up where the spring backs off. This is important to understand because putting a Charger 3.2 into an older fork would feel unusually firm — the damper is calibrated specifically for the flatter spring curve, not for the progressive curve of the previous generation. The system is designed to work as a matched pair. RockShox describe the goal as coil-spring feel without giving up air’s key advantage — tune it with a pump rather than swap a spring.
On trail the difference is in the consistency. With a progressive spring curve, you develop a sense of where the fork is in its travel and you ride accordingly, backing off slightly before the middle of the stroke stiffens, or driving harder knowing the end of travel will support you. With a more linear spring that calibration becomes simpler. The fork is doing roughly the same thing throughout. Put simply, you can stop thinking about where you are in the travel and start thinking about the trail in front of you, which is exactly where your attention should be. During the camp in Queenstown this was most noticeable on repeated laps of the same trails, the fork felt consistent in a way that let you push harder without having to relearn its behaviour each time. Compared to the previous generation Lyrik, the Zeb felt firmer and stiffer but still nimble. It could hit harder when asked to, which is partly a function of the increased travel (150mm Lyrik to 170mm Zeb), but across the stroke it felt plusher , which is the Linear XL story in a single ride impression. The weight increase is noticeable if you’re looking for it, but the performance gain makes it an easy trade. What stood out most was the grip in technical terrain at lower speeds, the kind of riding where a fork that sits high and active in its travel makes the difference between traction and washing out. The steep, chunky terrain of Queenstown tested the support end of that equation. Rotorua tested the suppleness end, root-littered trails where the fork needed to stay planted and small-bump sensitive at the same time. It held up well in both.
From the outset, the even and therefore more predictable spring curve immediately draws attention. The fork responds sensitively to small bumps and irregularities offering plenty of feedback. This is complemented by a progressive damping tune providing adequate support during hard compressions and fast berms. Even under heavy braking the front remains responsive without diving too deep, and the fork consistently rides pleasantly high in its travel.
The a-b-a testing format at the camp – old fork, new fork, old fork again on the same trails – is exactly the kind of structured comparison that makes this difference legible rather than just ‘felt’. The Zeb with the updated spring felt less variable through its travel. Less time spent managing the fork, more time spent riding the trail. And it performed well during the multiple runs in Queenstown. The solid chassis helped with confidence on steep tech terrain and behaved well in those relentless braking ruts. As for more pedalling on trails, the fork felt predictable and planted when transitioning to flatter or technical climbs. It was slacker than what I was used to but after a few rides it wasn’t a thing, and I liked having more travel on the descents so the payoff was well worth it. That said, I’d like to try the new RockShox Lyrik with similar internals of the Zeb for more all-mountain or pedalling days that I’m more used to.
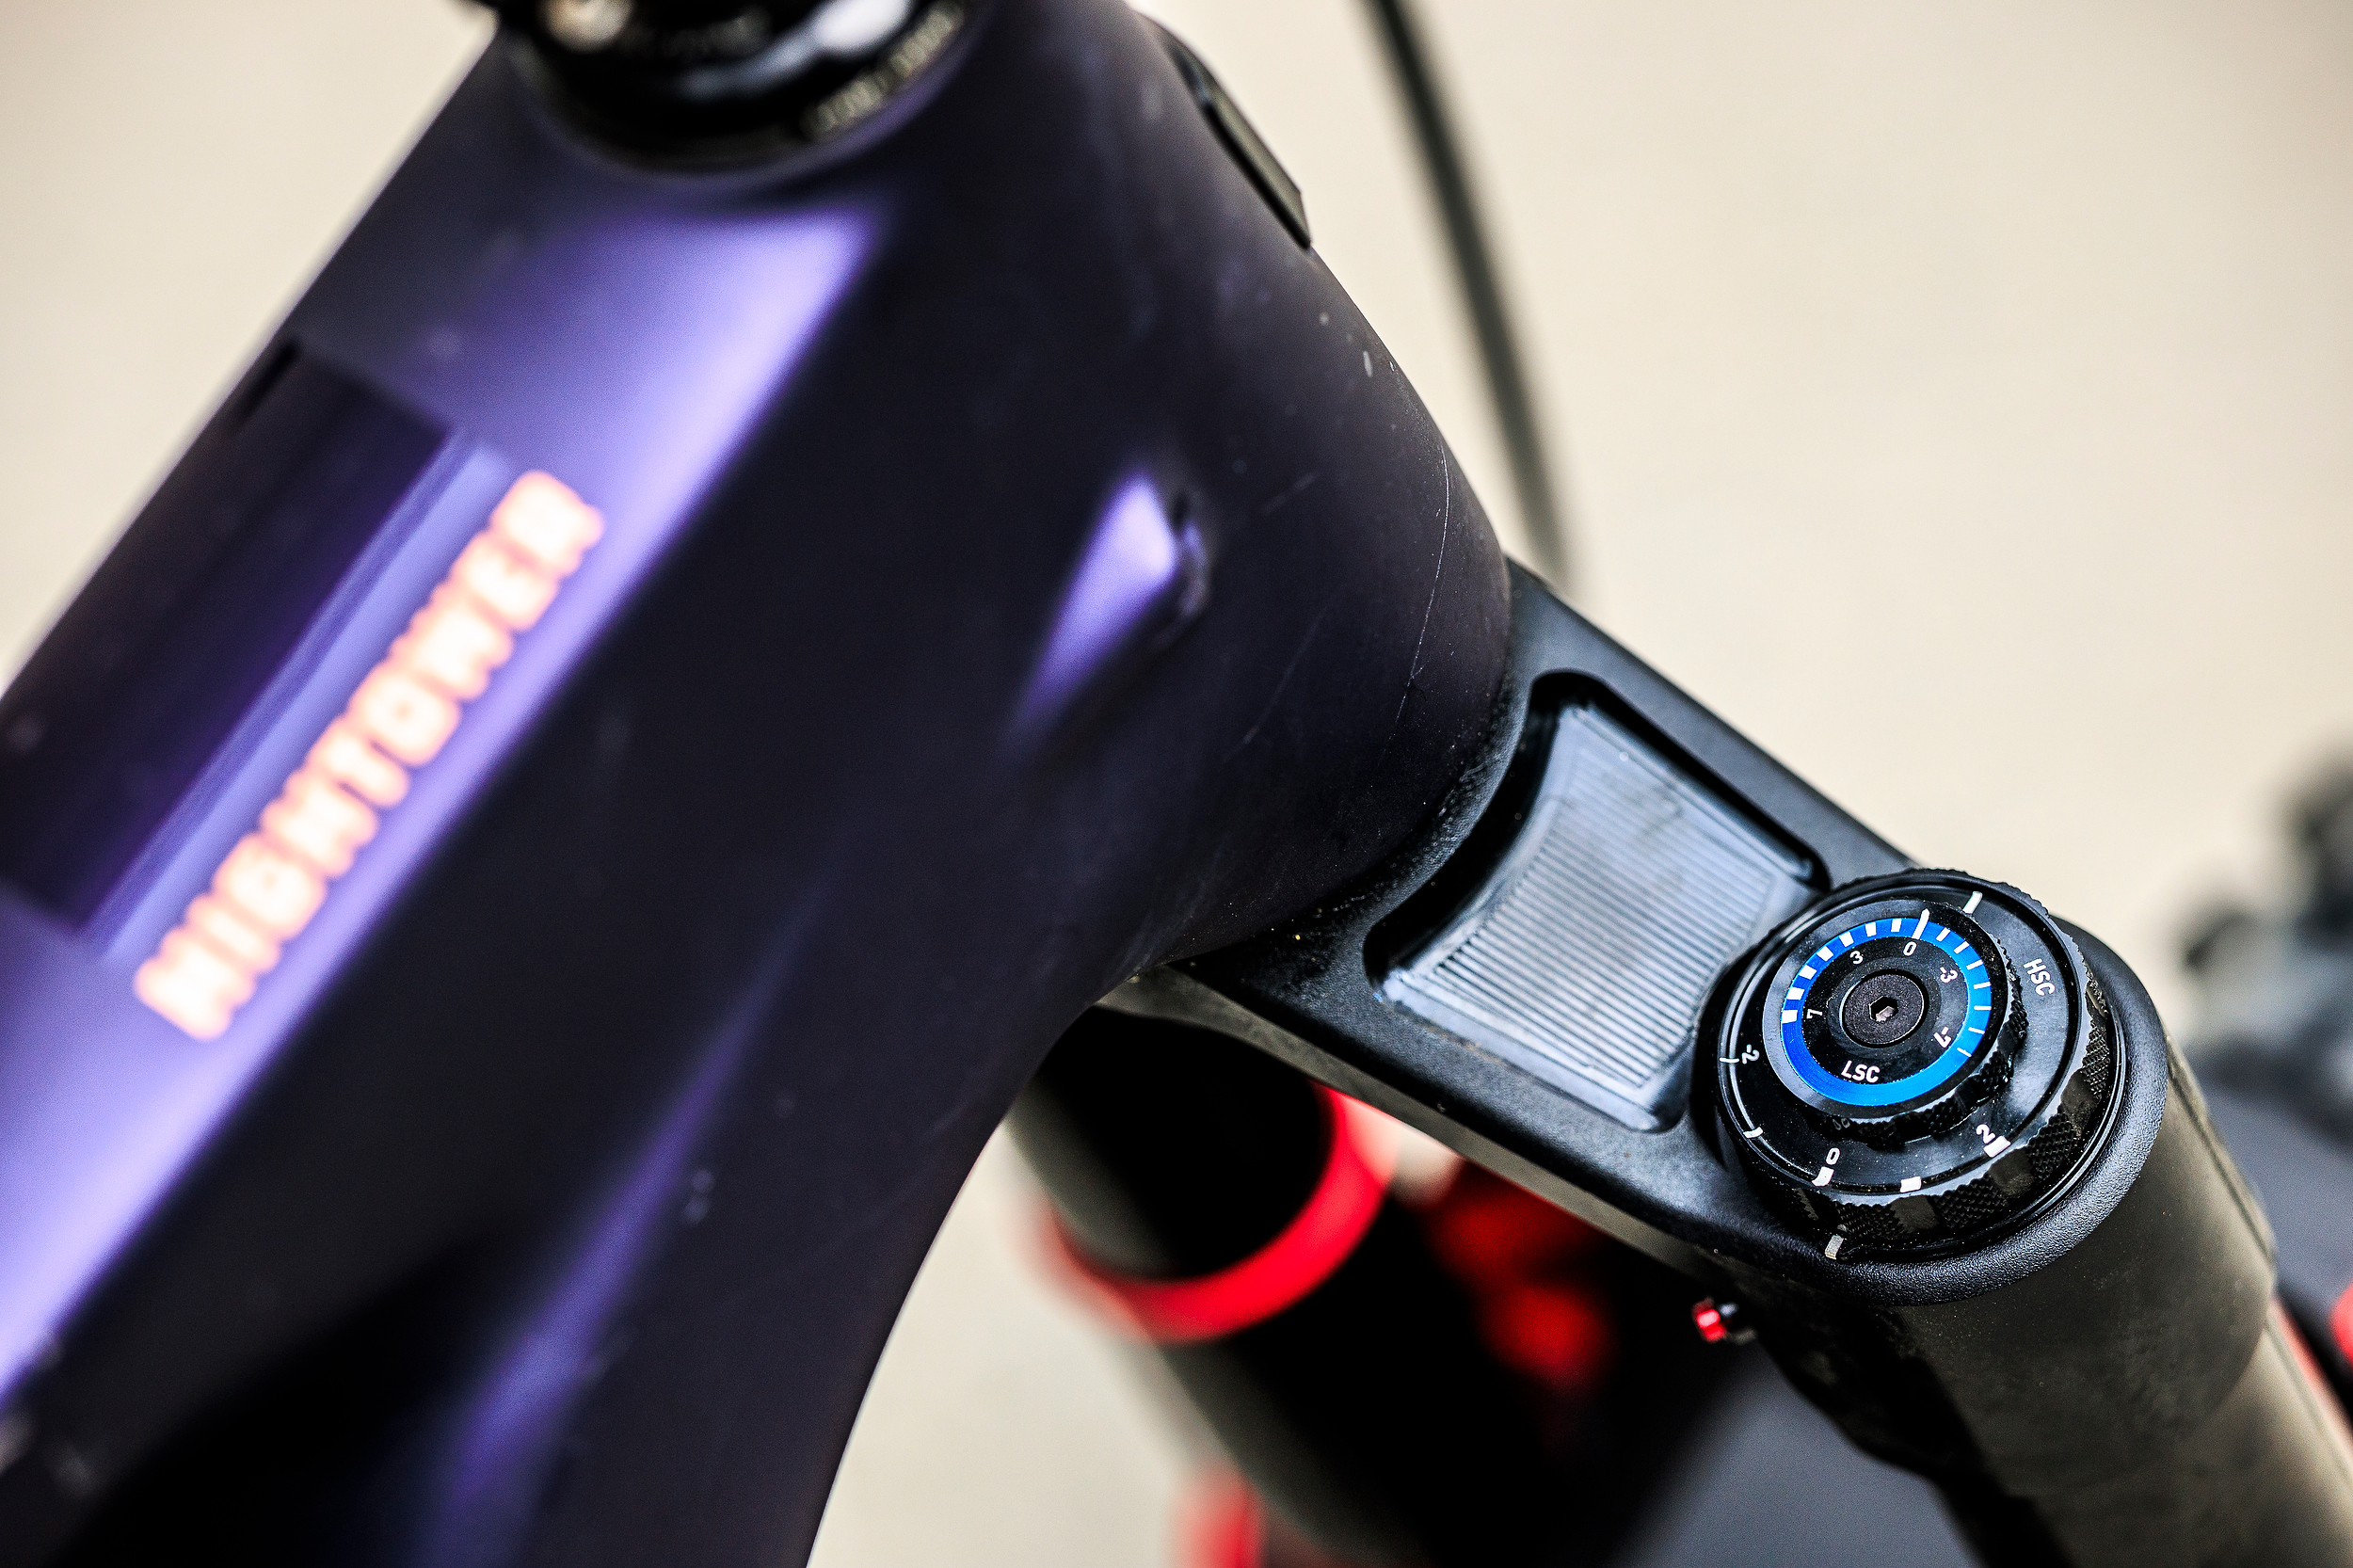
RockShox has refined the setup with clearer, numbered adjuster dials and additional height indicators on the stanchions. One thing worth knowing: Linear XL runs higher setup pressures than the previous generation, so if the numbers on the pump look wrong, that’s why. The smaller piston needs more air to reach the same SAG — get it right and the spring rewards you. As usual, there are SAG markings and a sticker on the fork for quick base setup. It’s remarkable how much the adjuster dials affect the fork’s behaviour. The high-speed compression circuit, in particular, significantly influences the fork’s travel height. With just a few clicks, the setup can be easily adapted to various trails – from rough high-speed tracks to steep downhill sections, flowy bike park runs to loamy fern littered trails of Rotorua.
The new Zeb is a brawler’s dream, perfect for park laps, technical trails, steep shuts, swift descents and anything else thrown its way. It’s a solid companion for an enduro brawler or long-travel eMTB and I think it’d be a great fit. I’m eager to get an eMTB to fit the Zeb onto to see how it responds. It’s a classic evolution with a clear focus on a more linear and predictable spring curve. After my initial testing period, it responds sensitively, behaves predictably and maintains a pleasant travel height. The overhauled Zeb fork levels it up for today’s riders.
For more in-depth reviews on RockShox’s Vivid Air shock, sign up to our email newsletter, visit our website or follow us on Instagram.
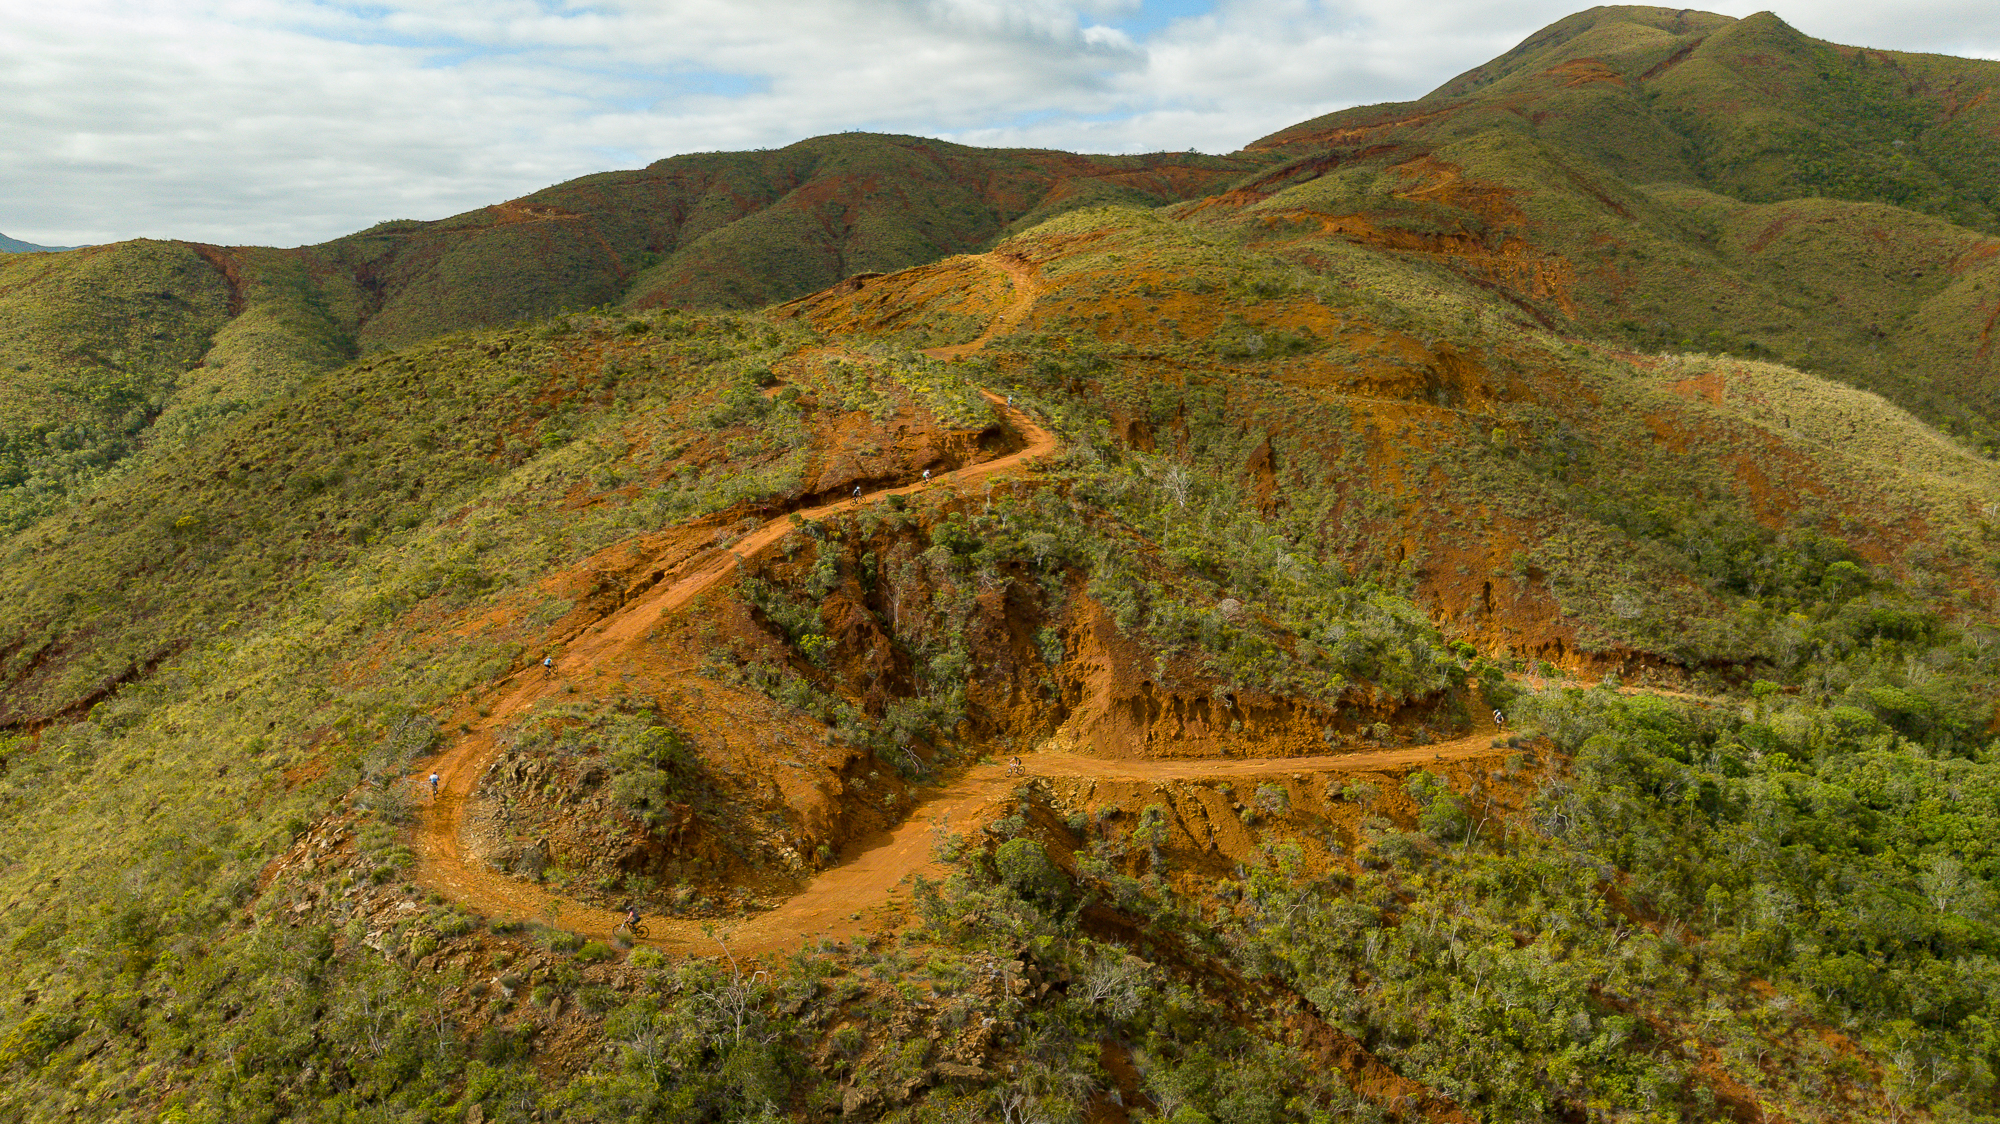
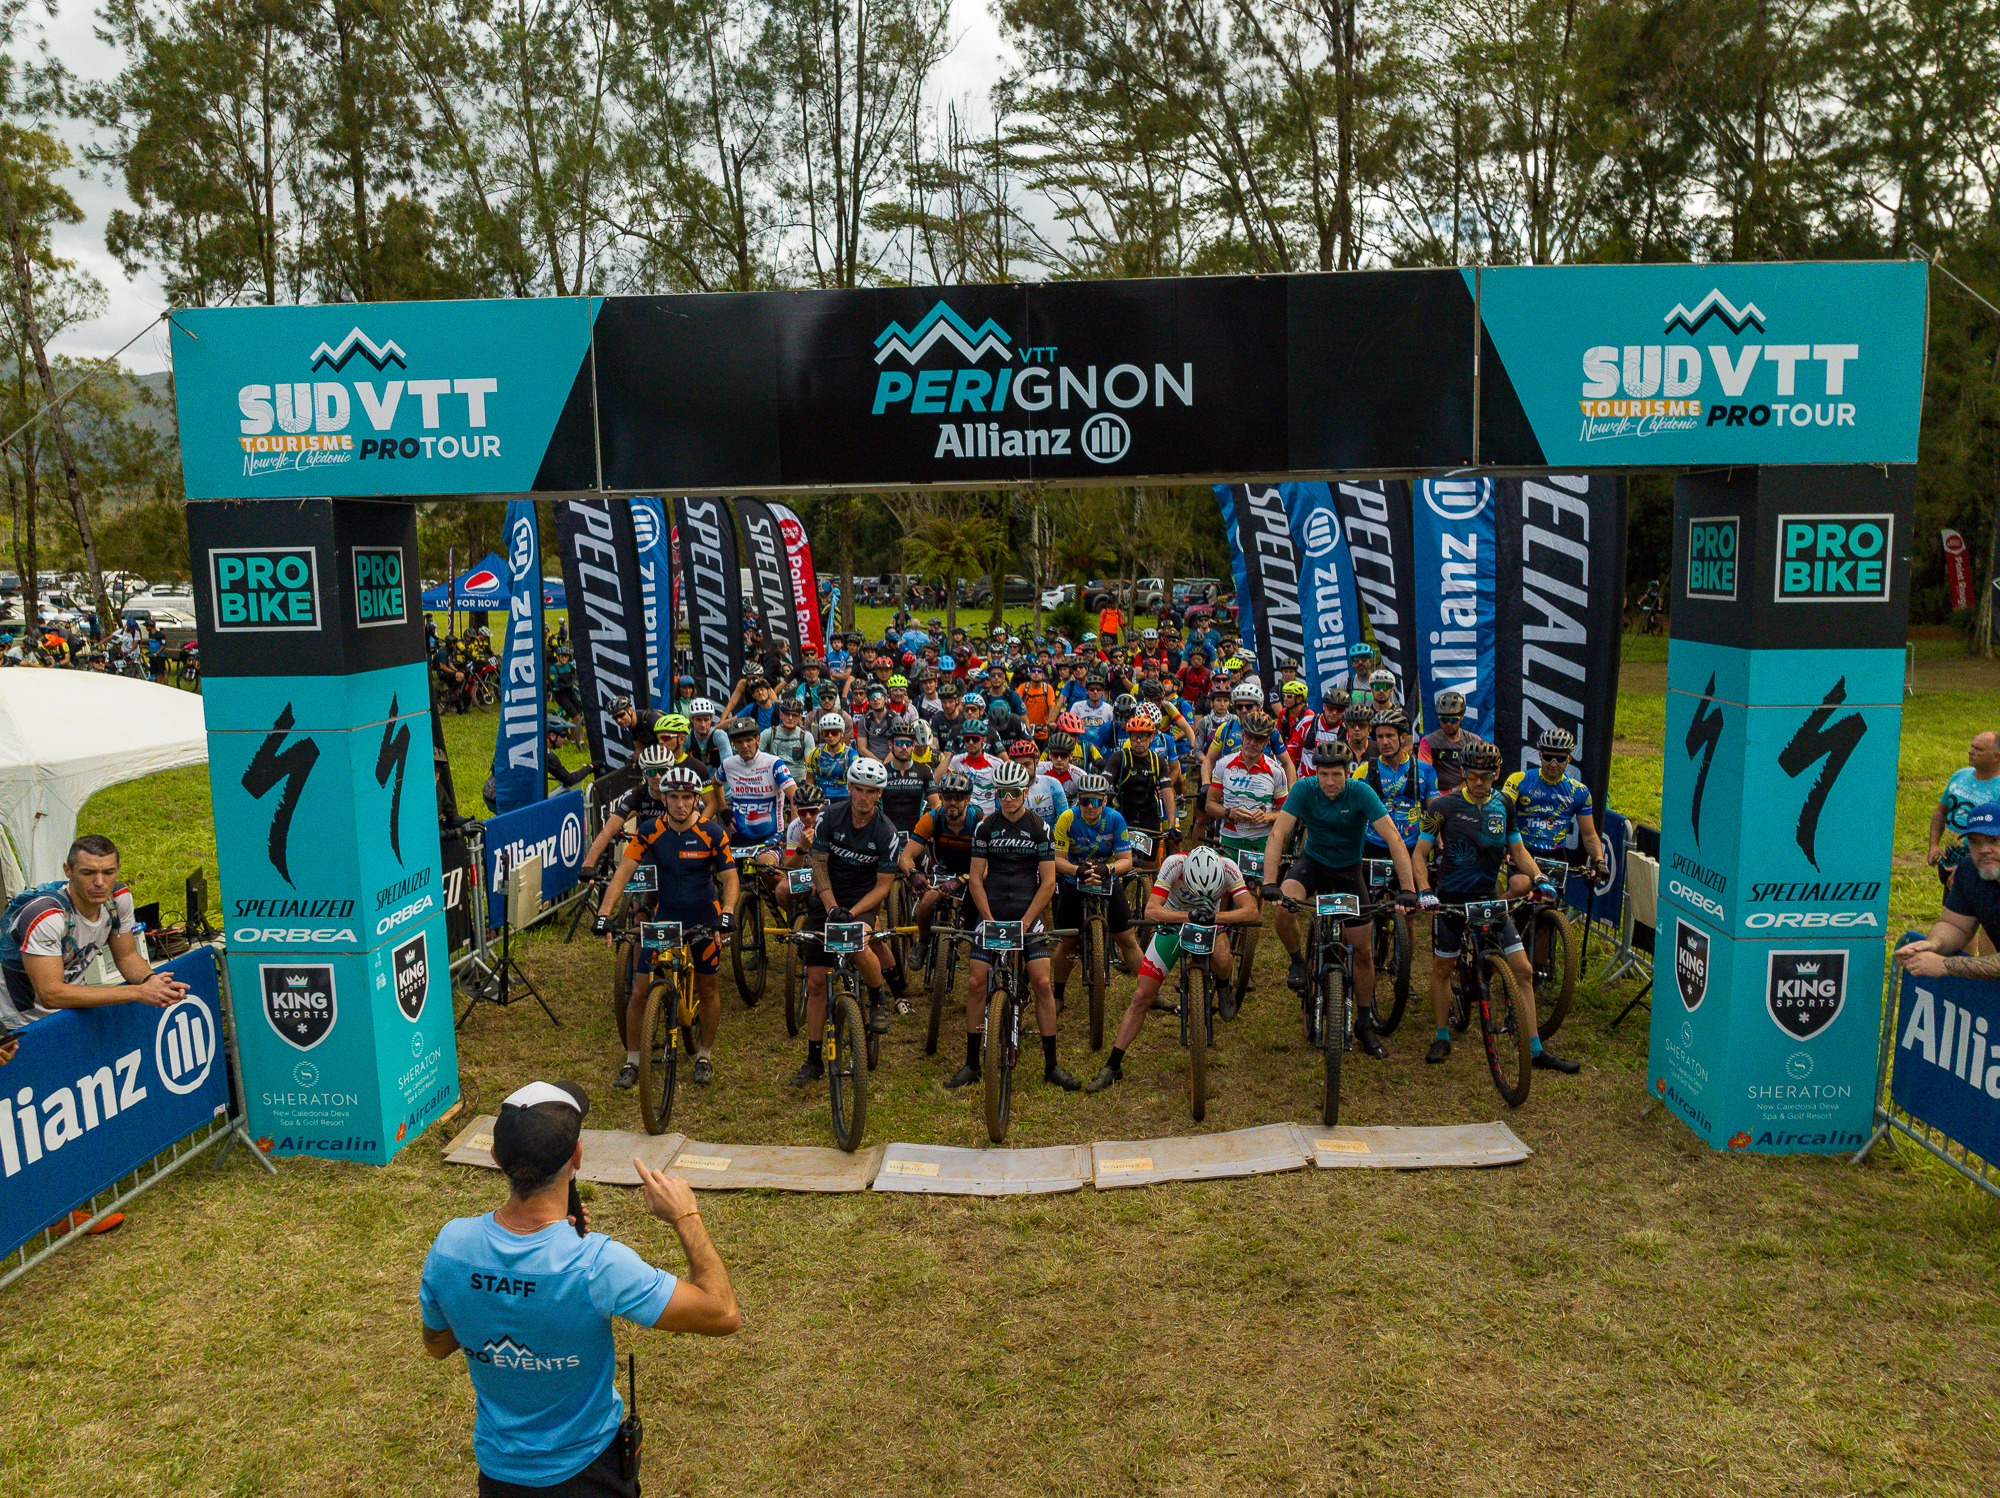
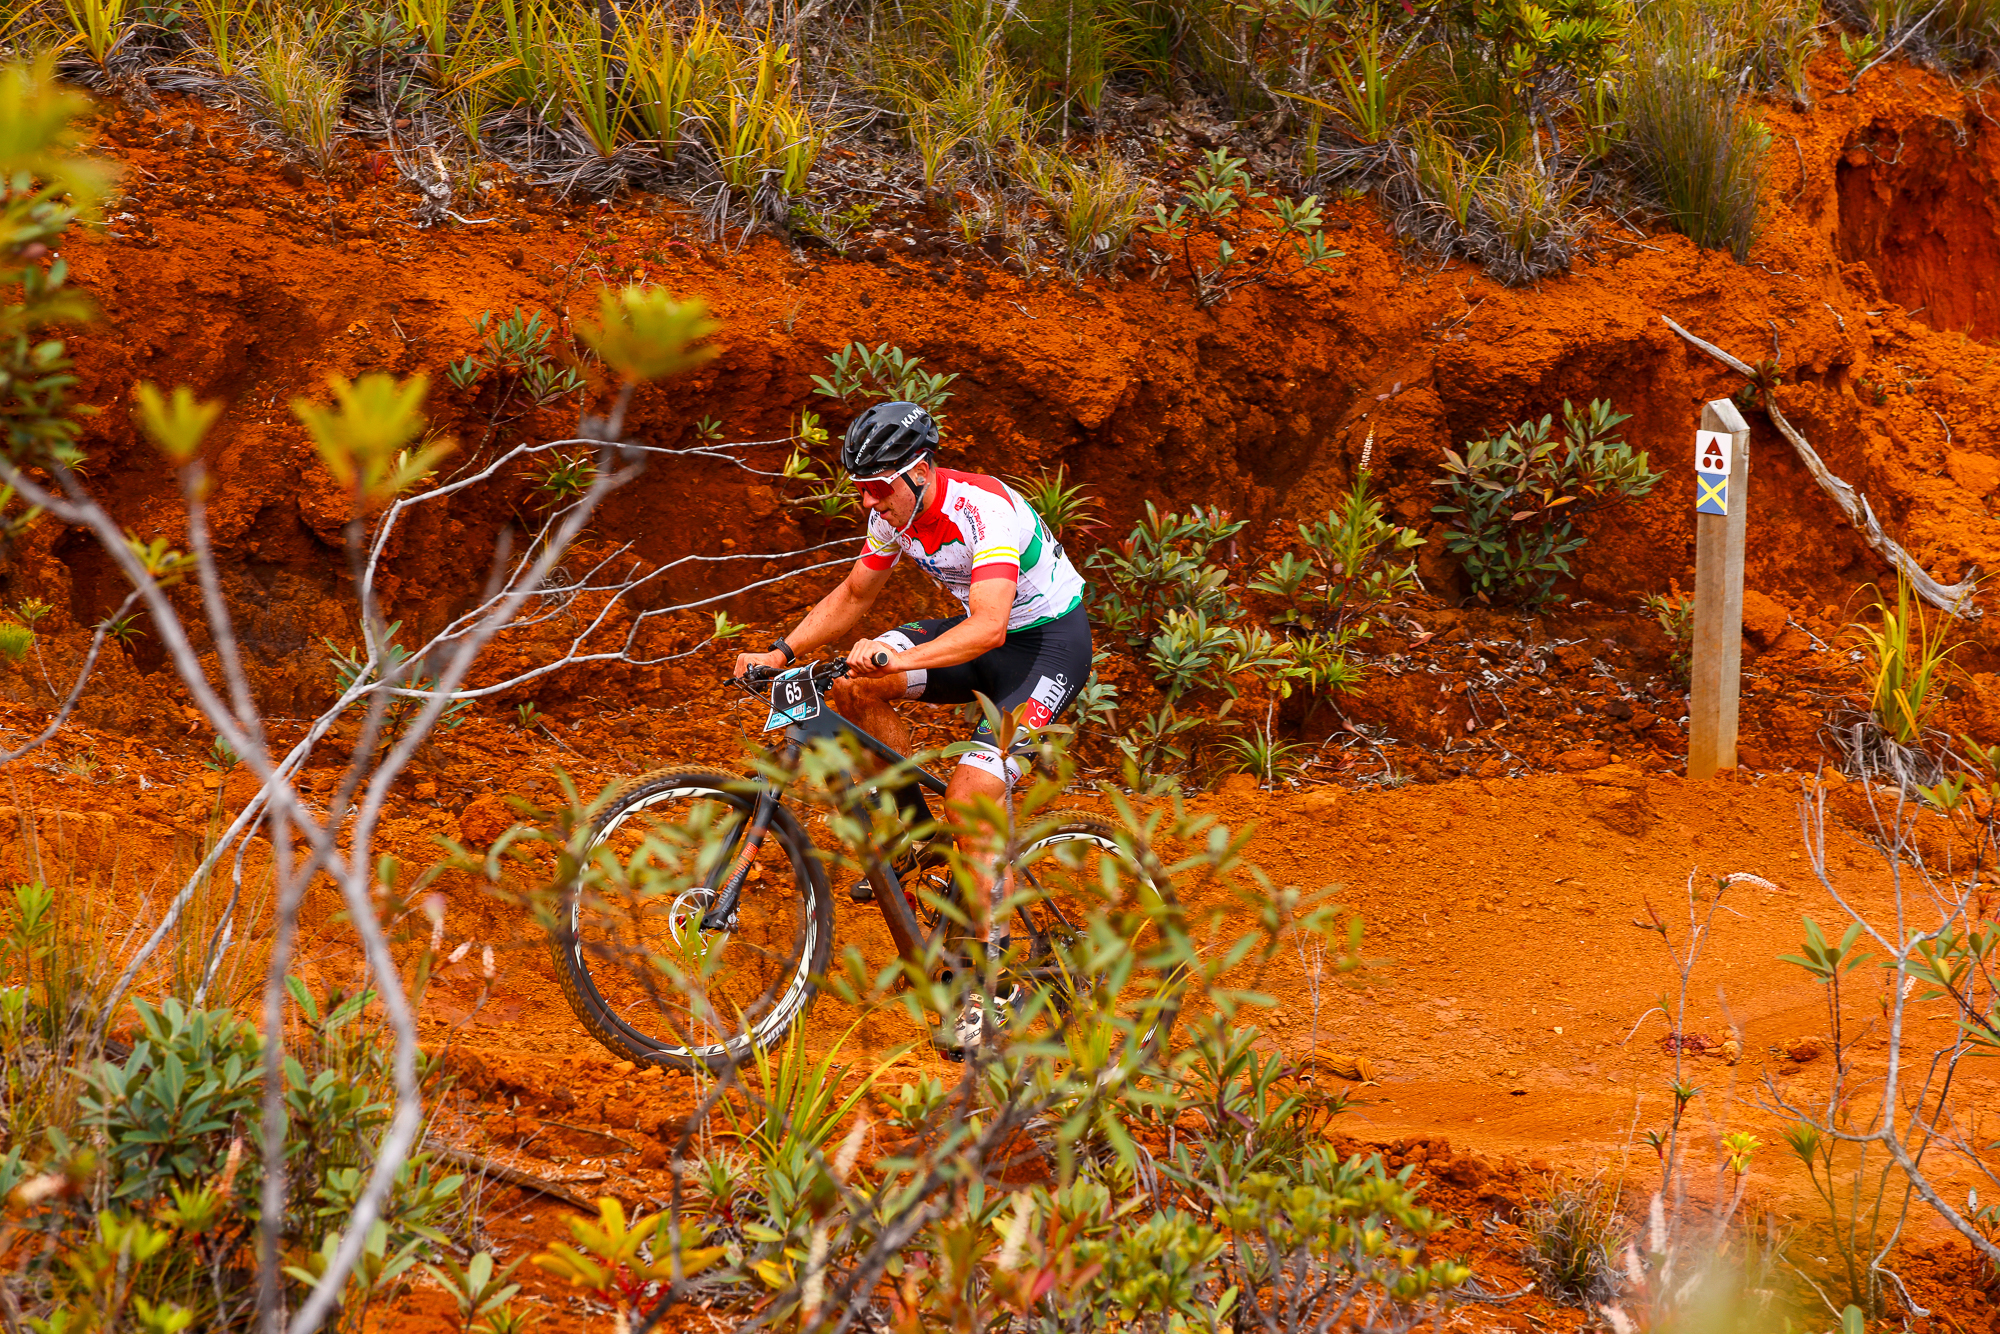
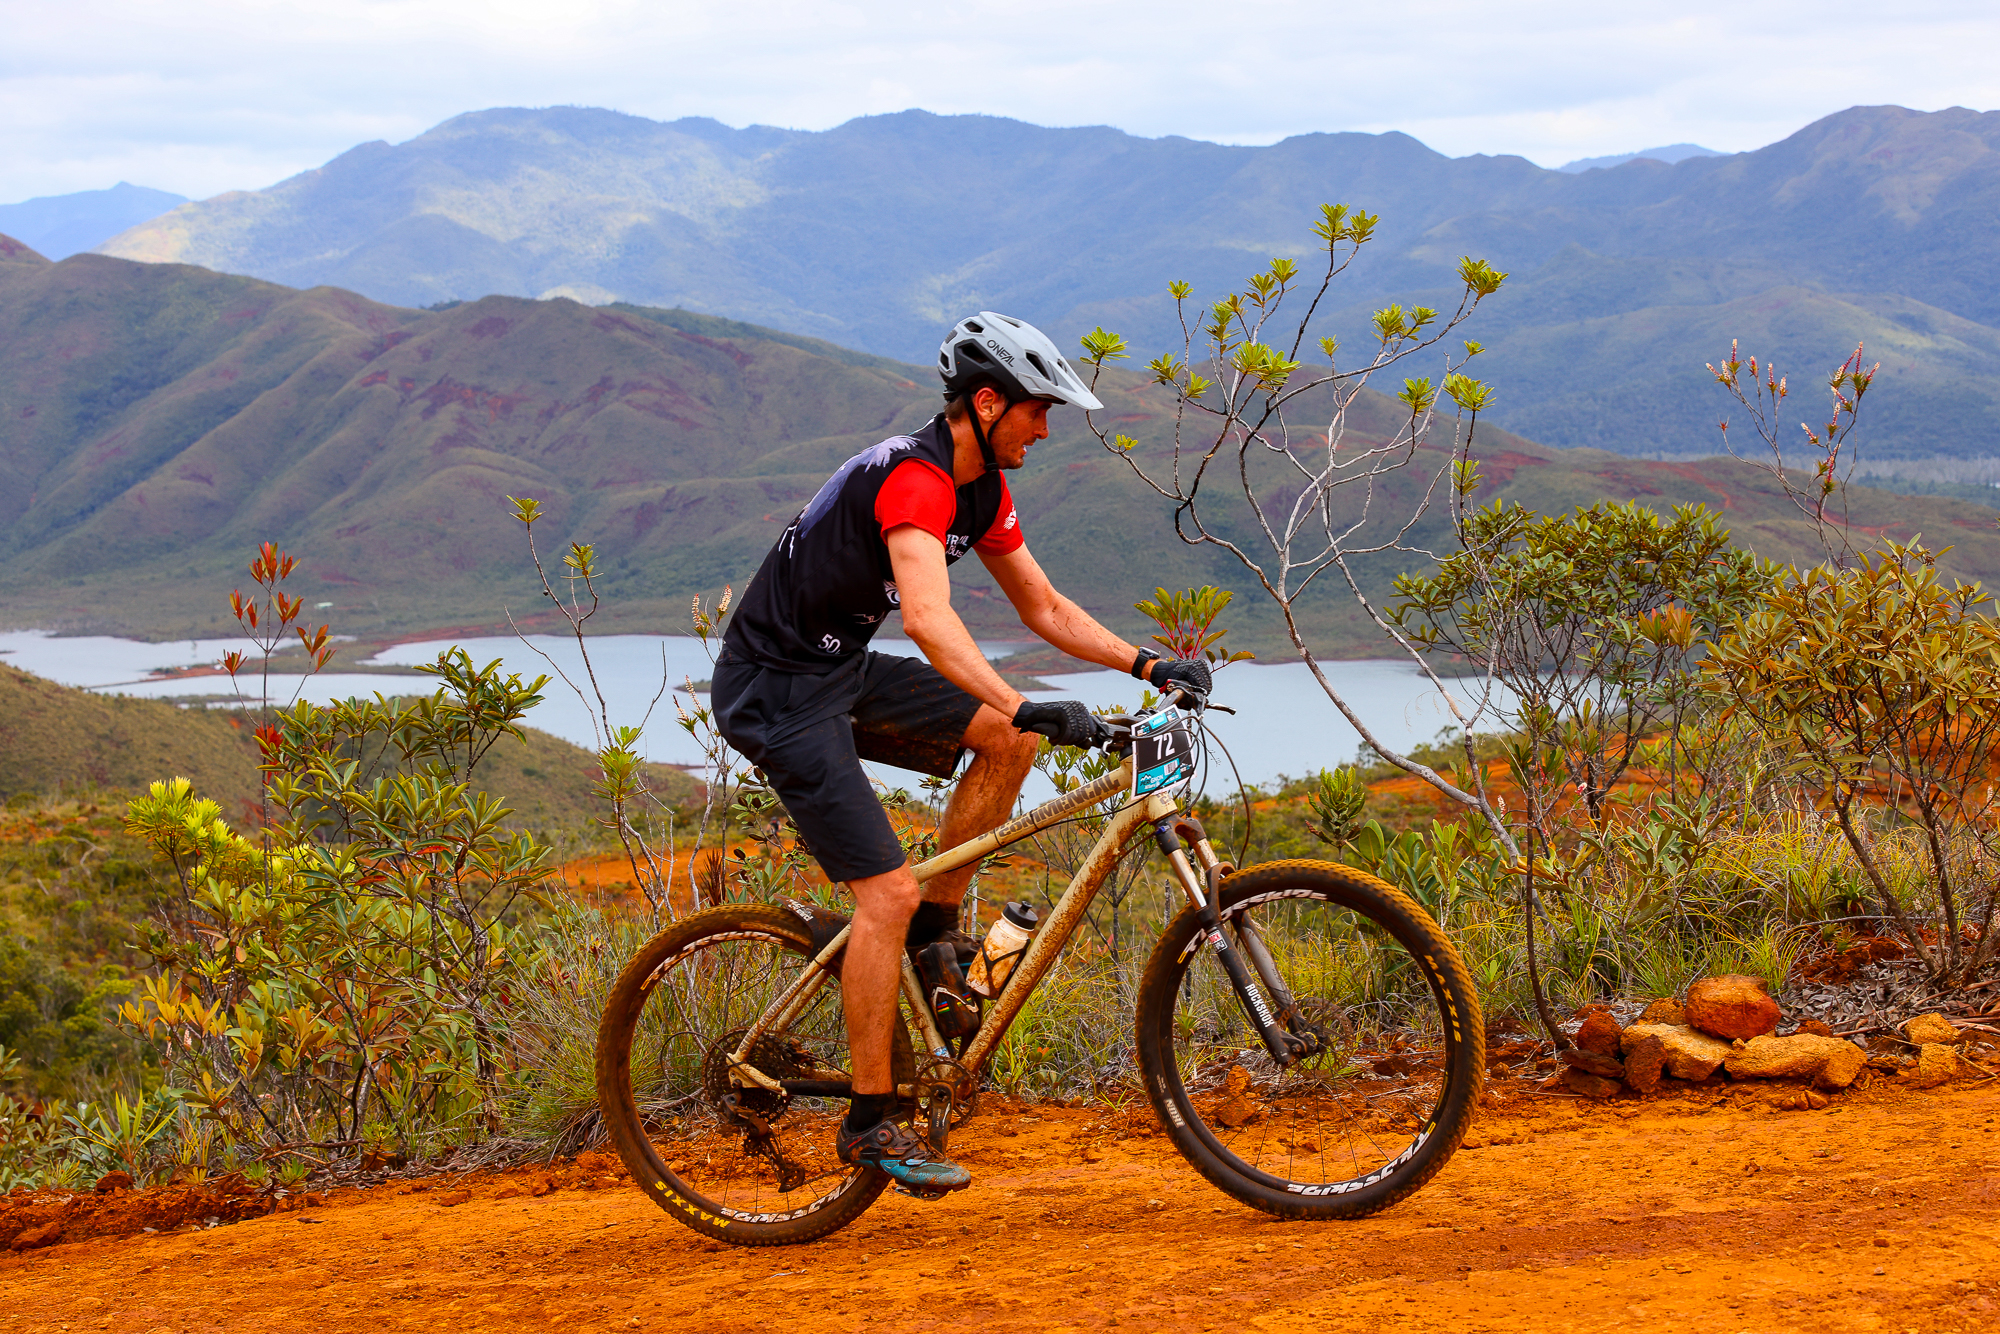
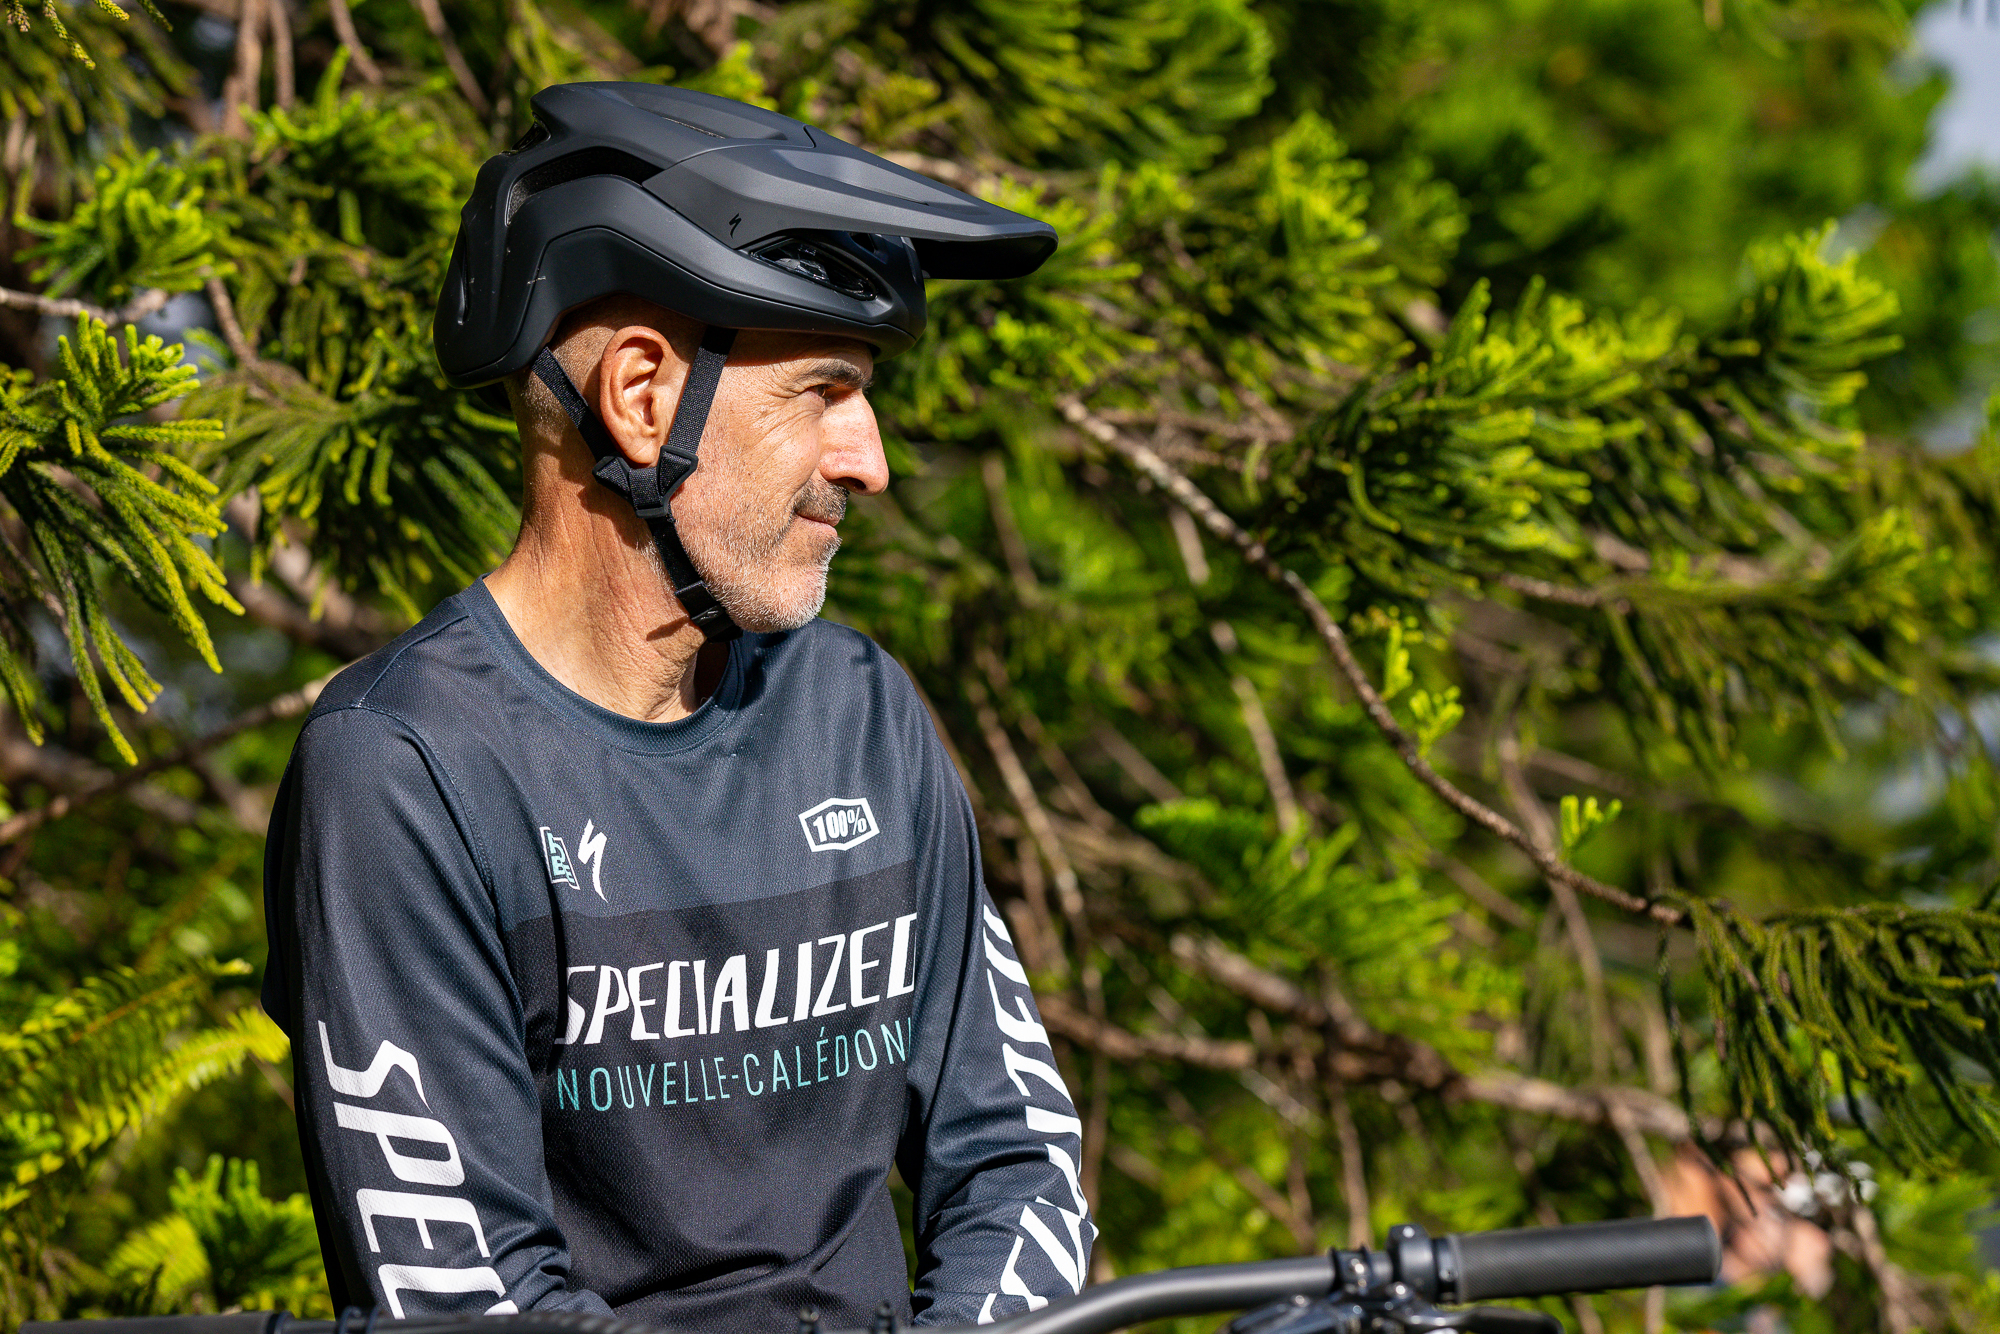
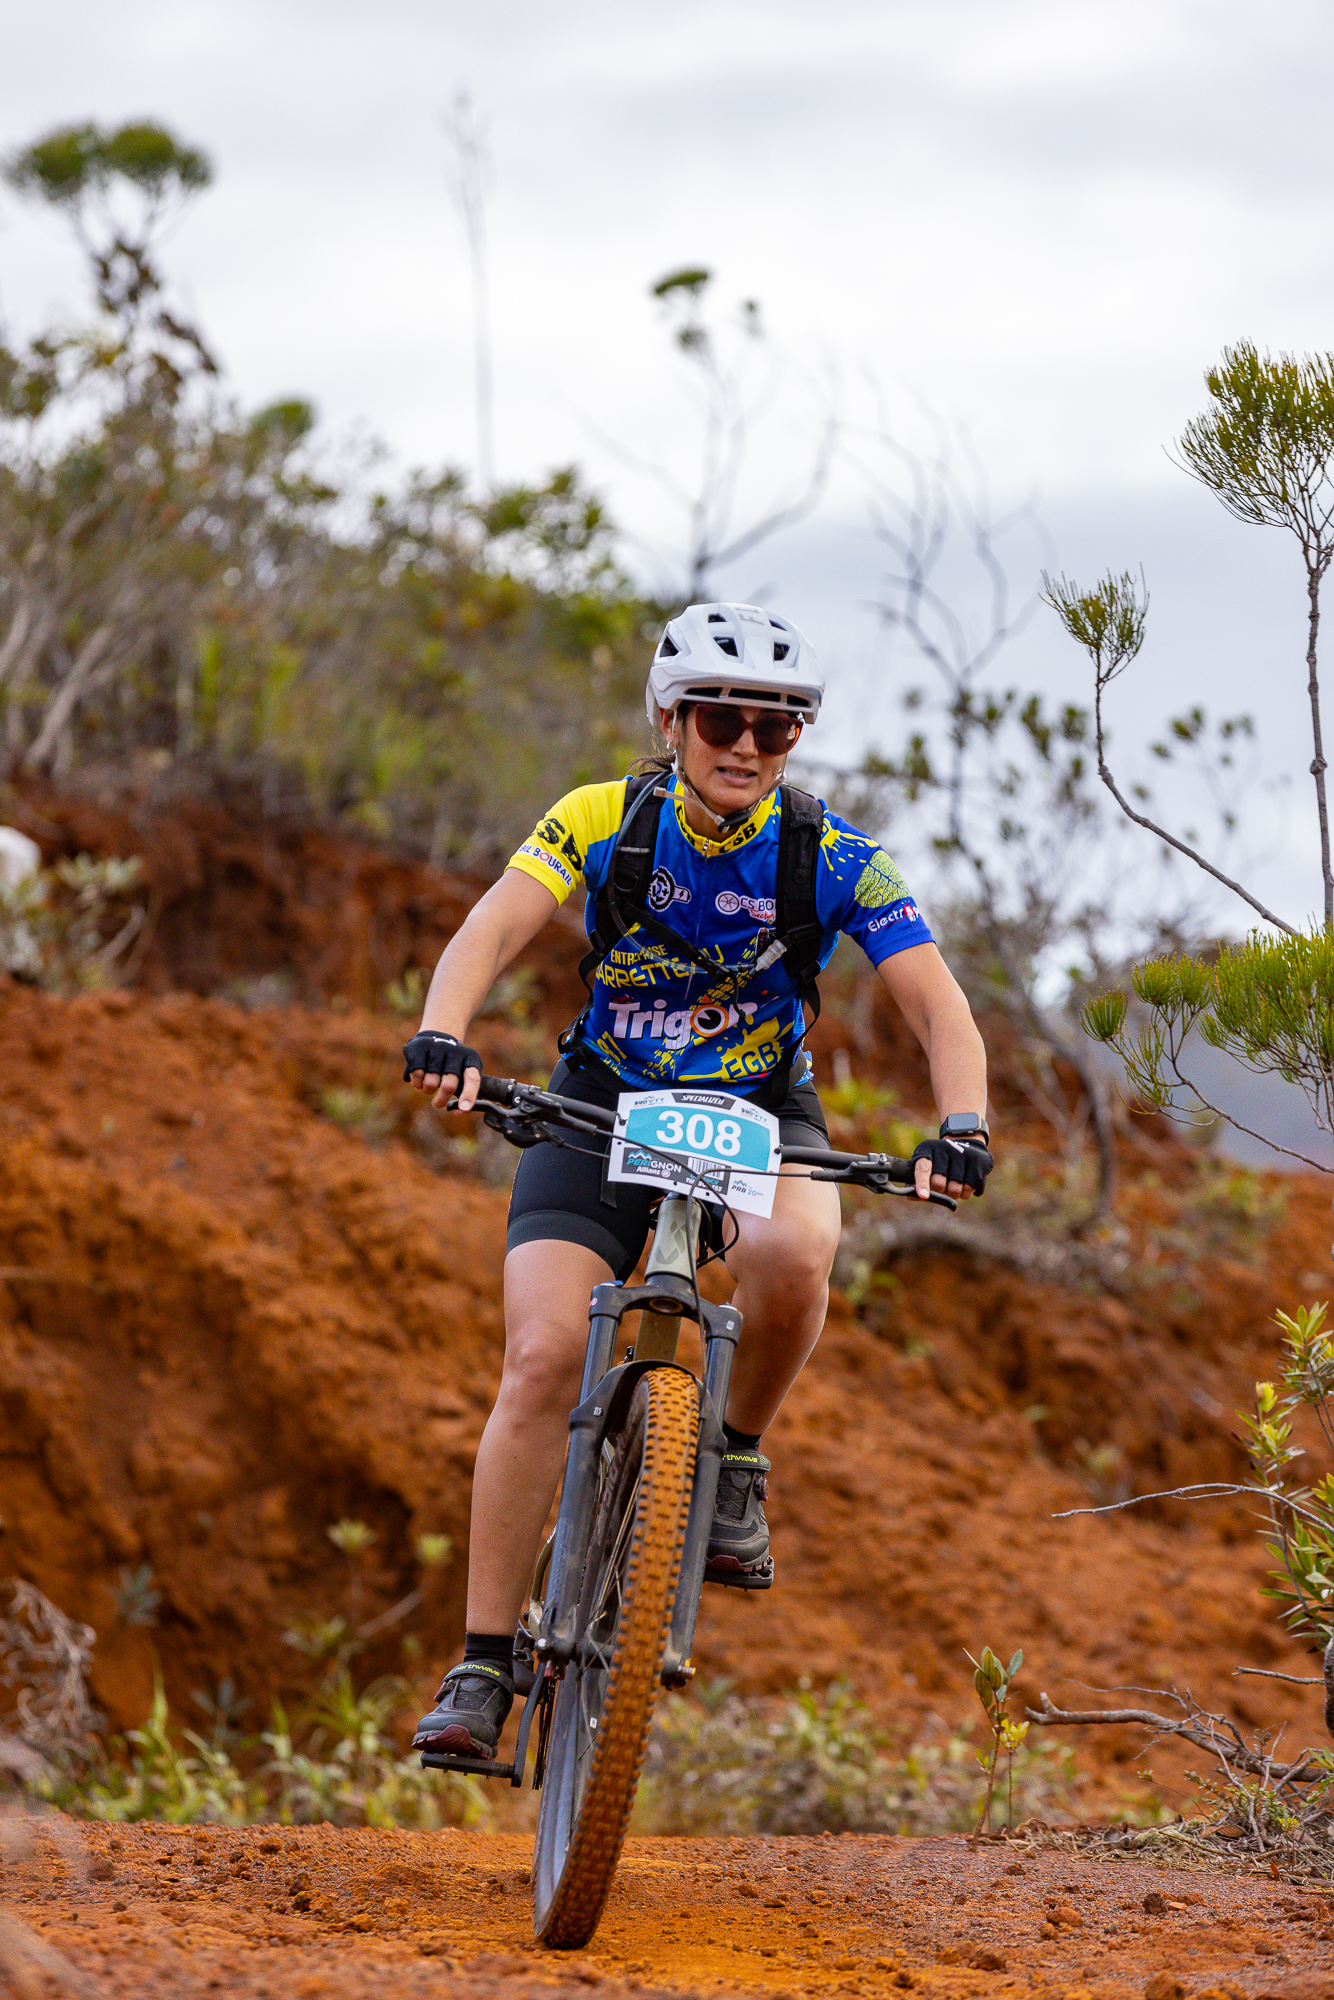
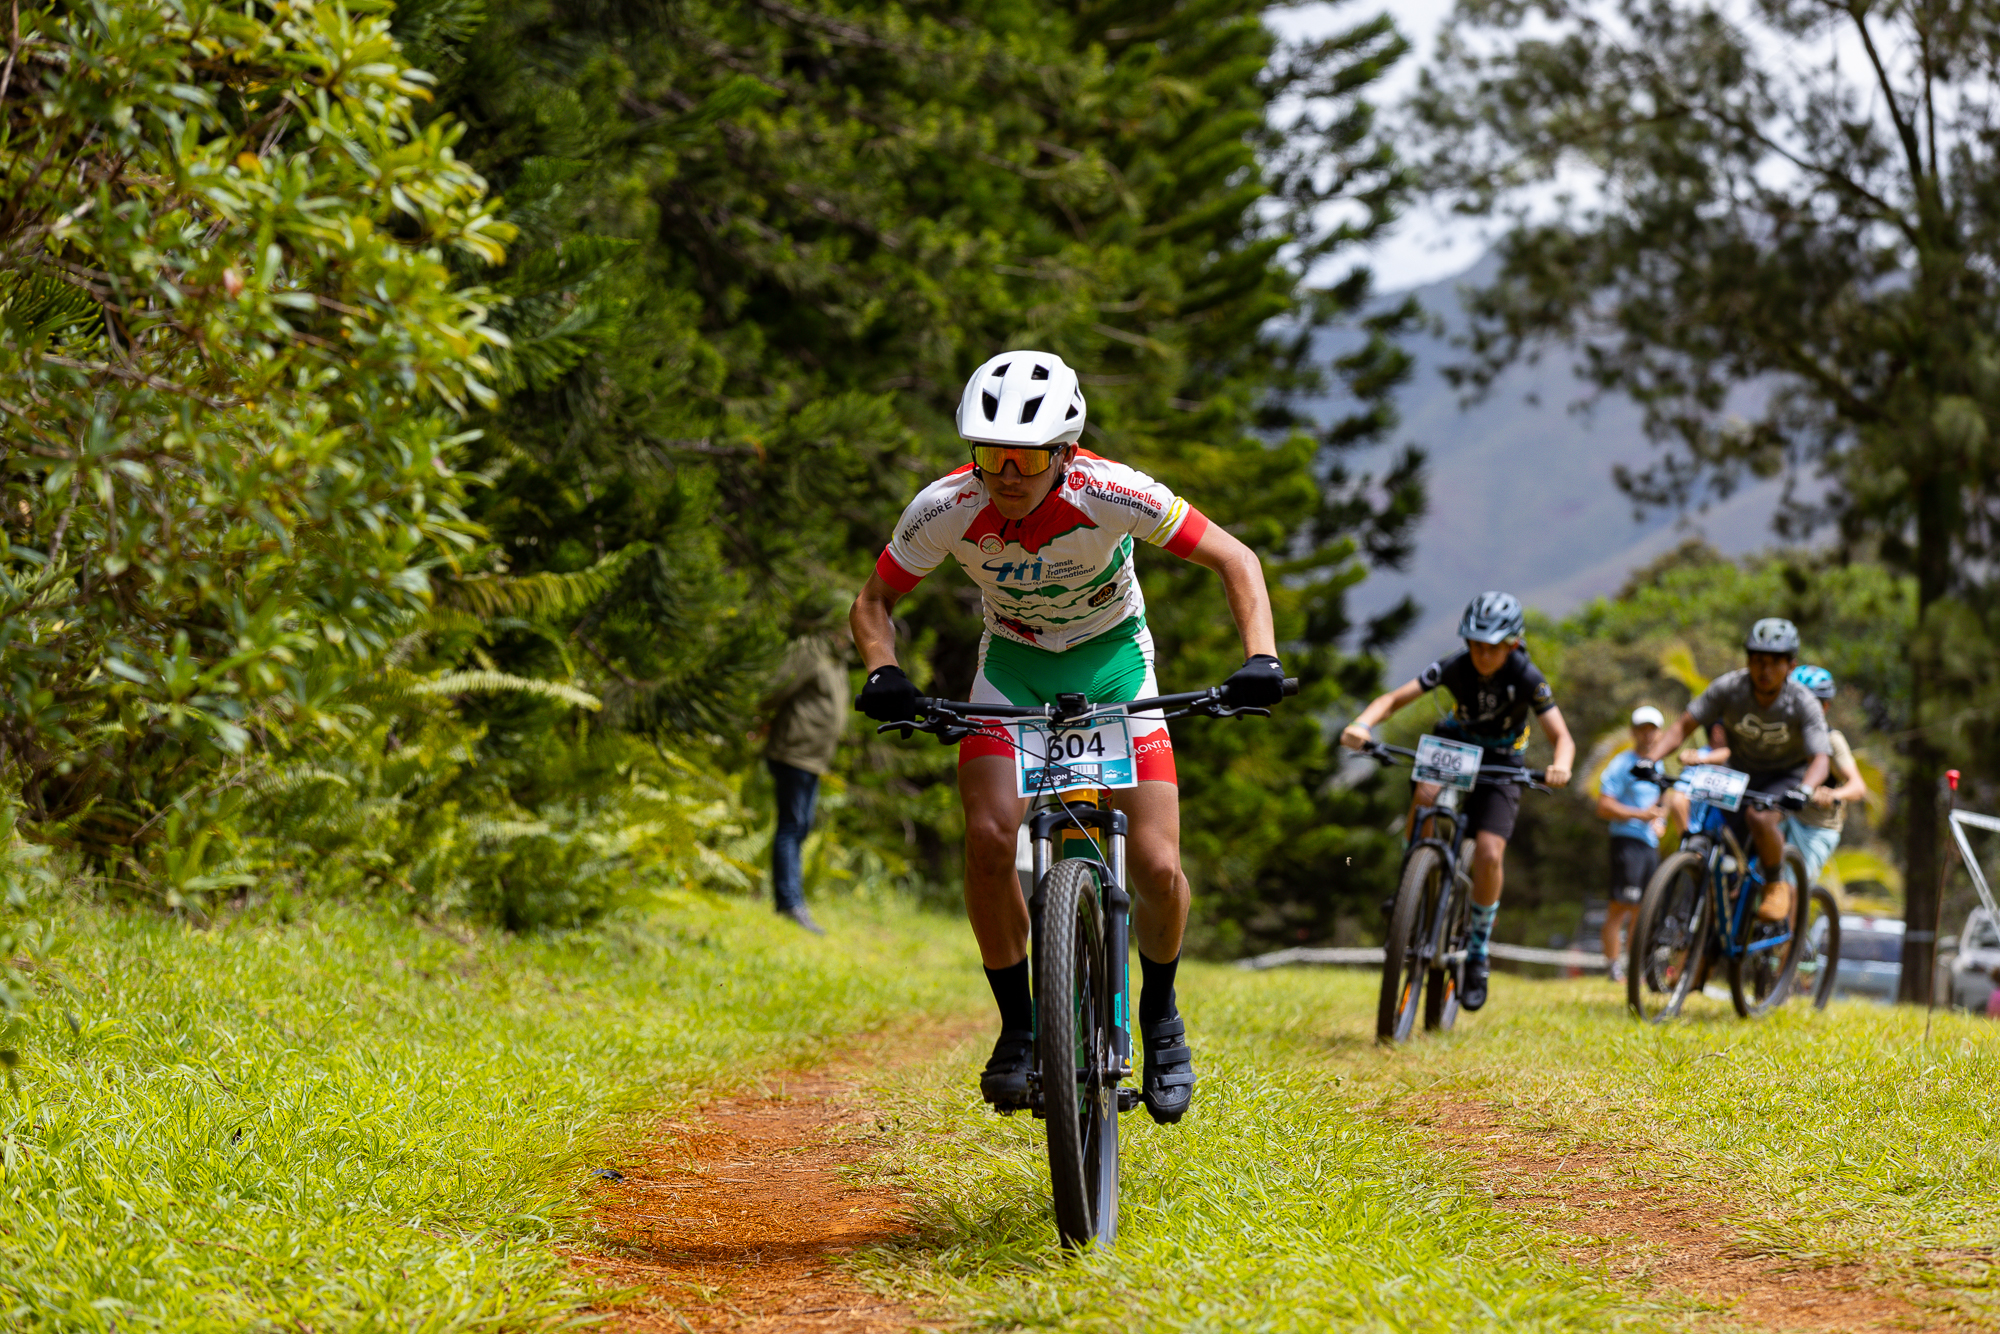
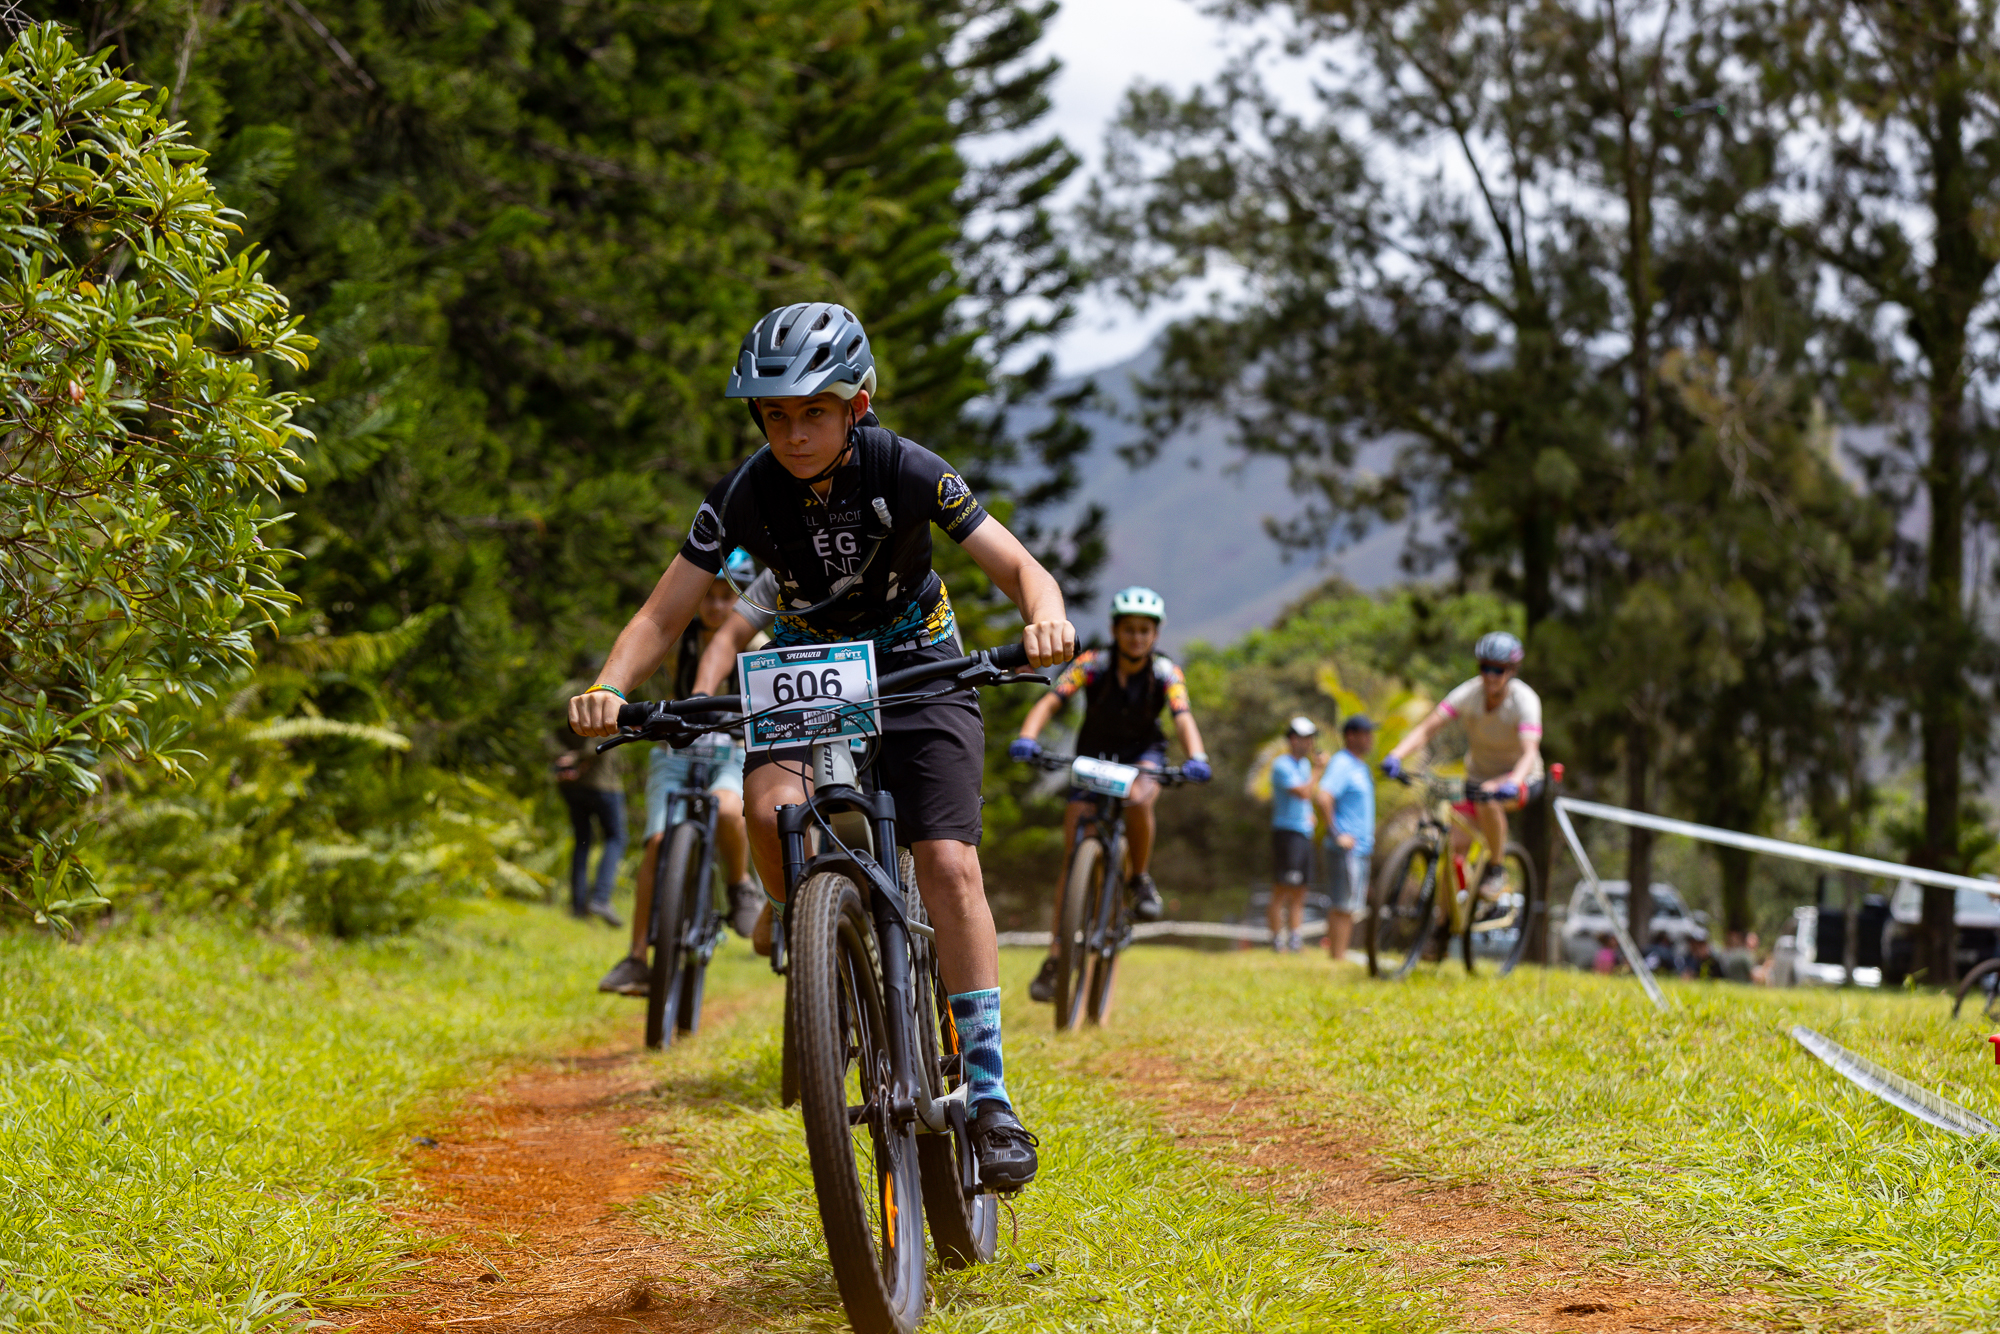
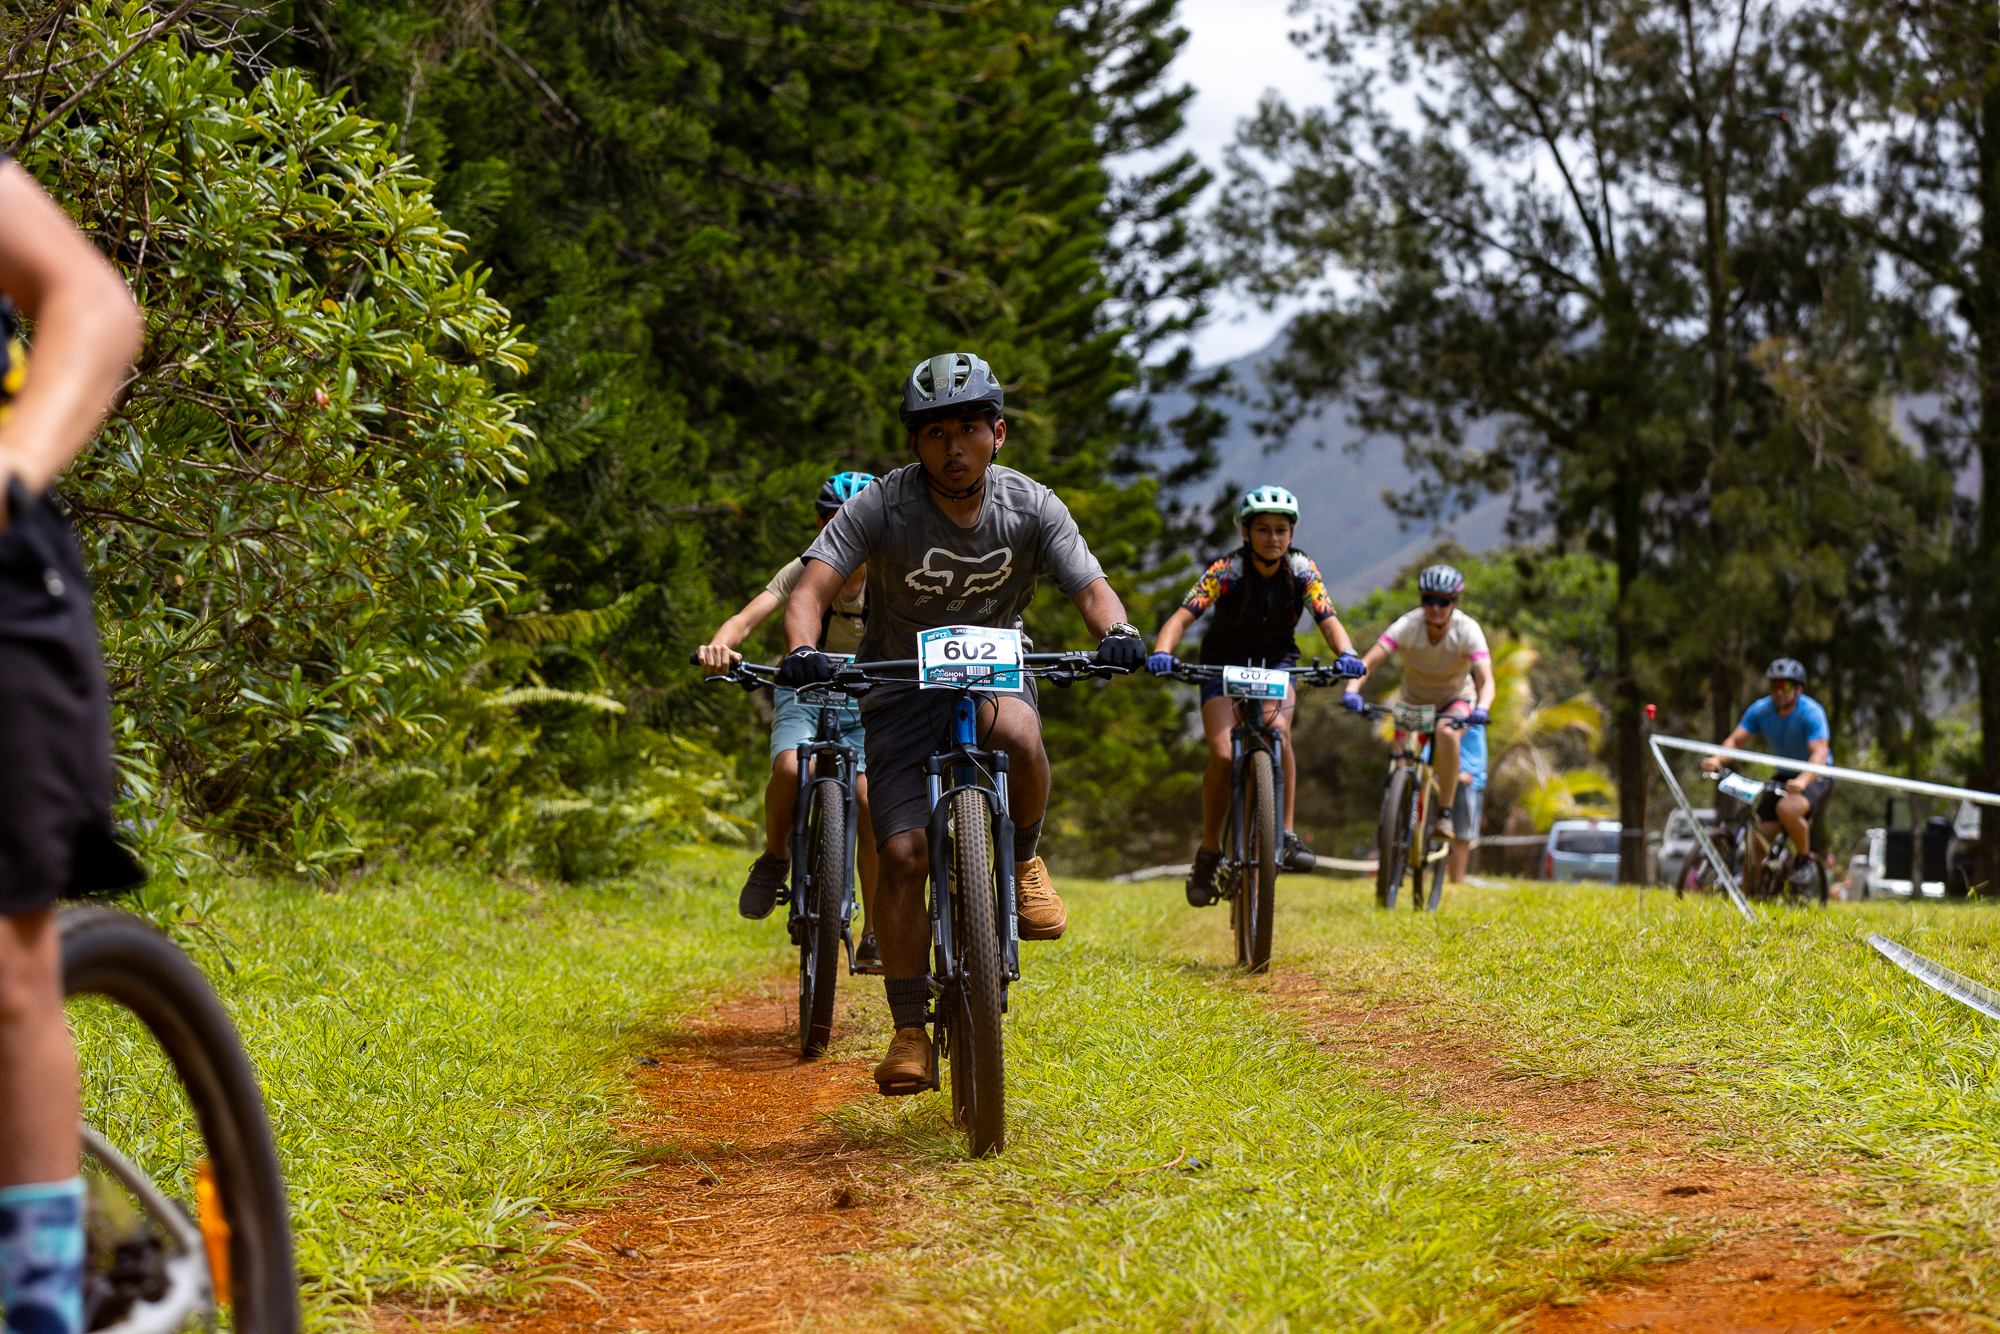
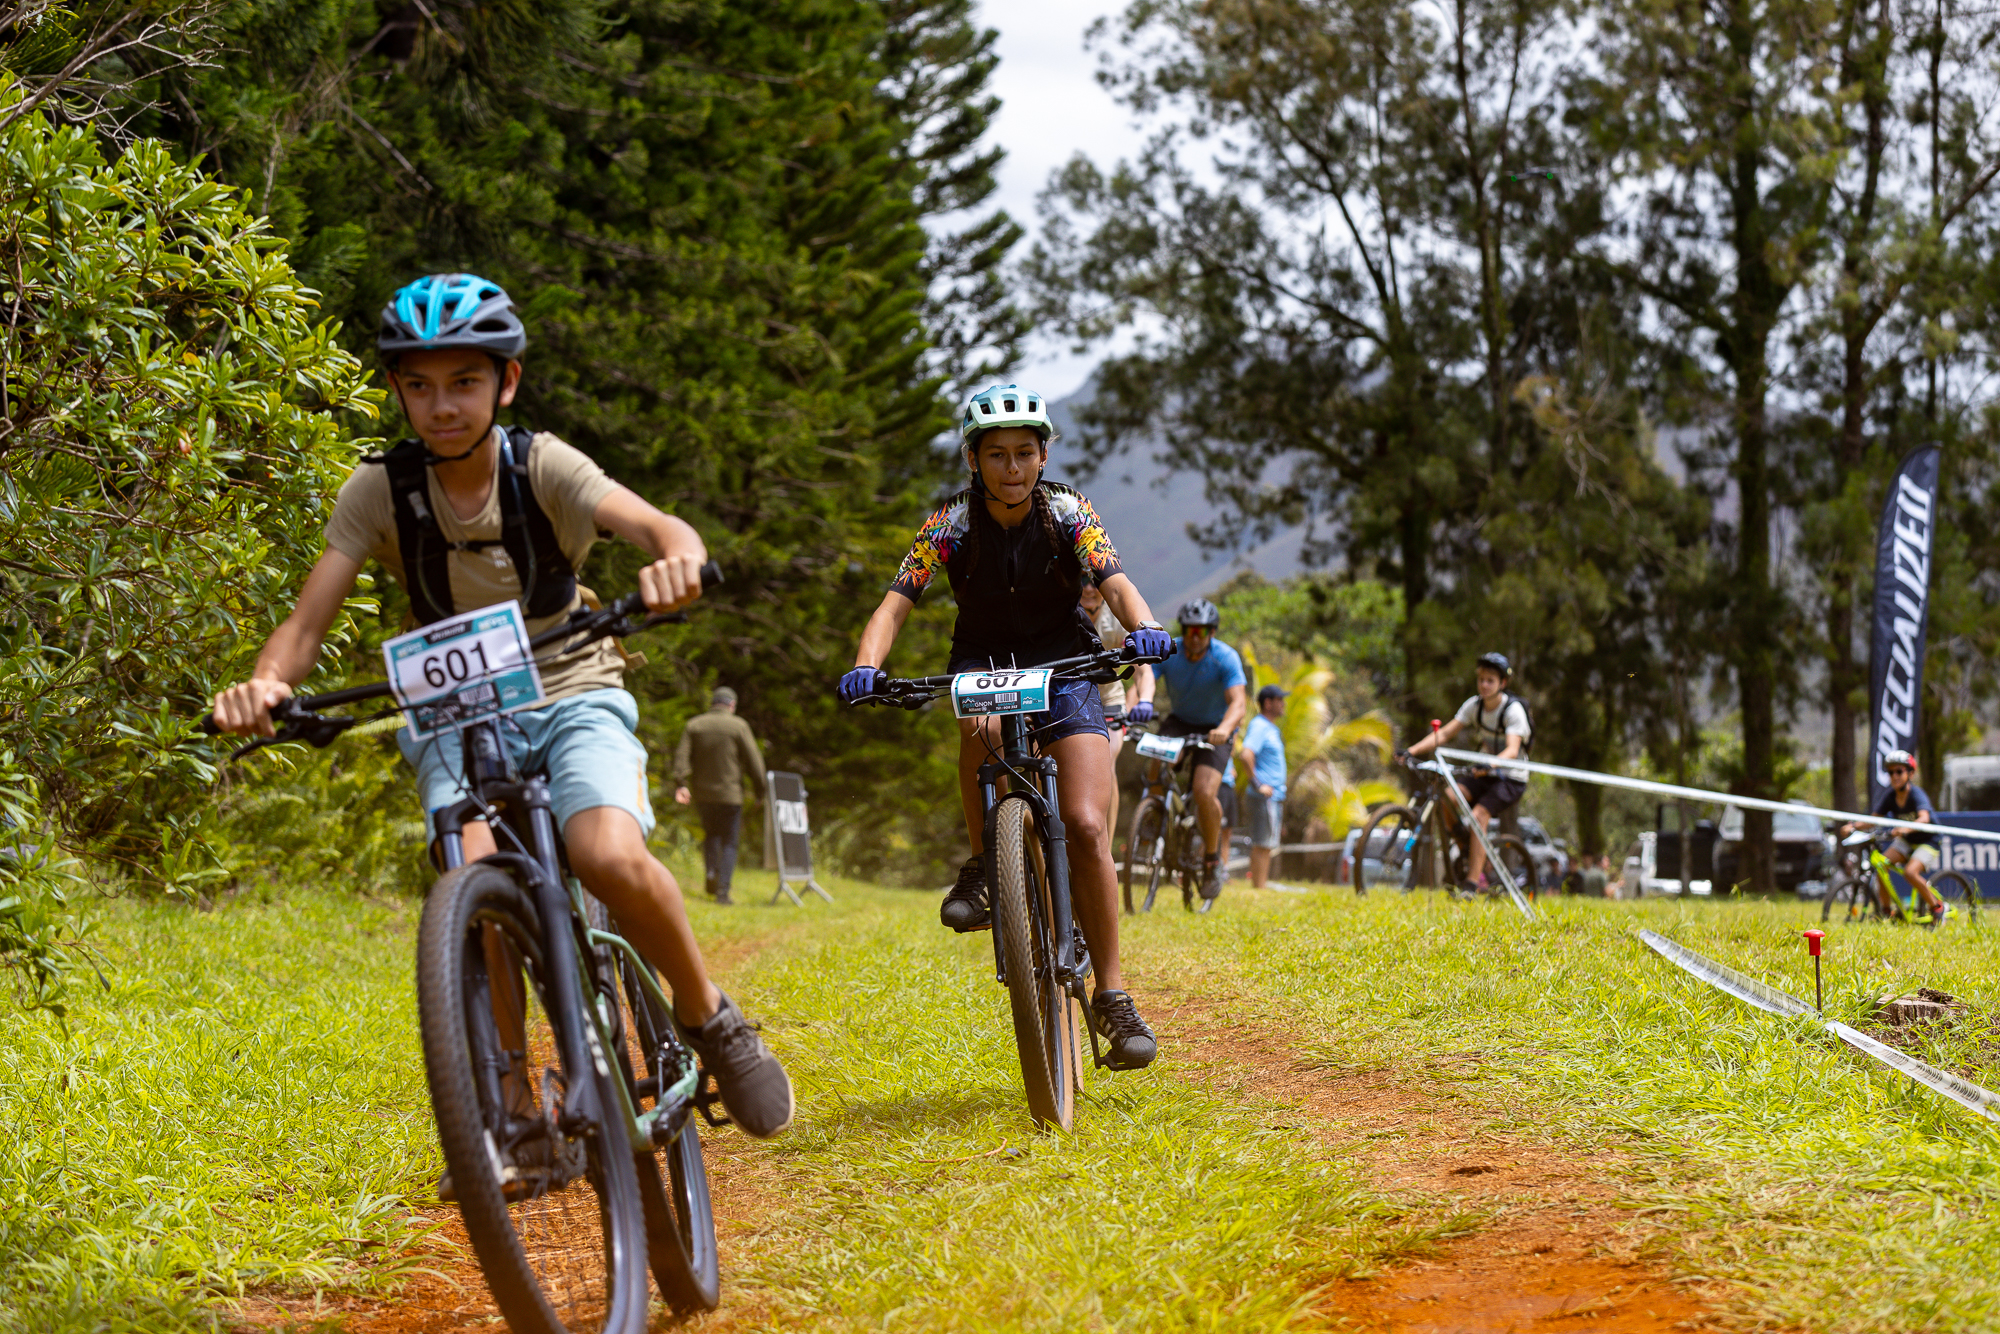
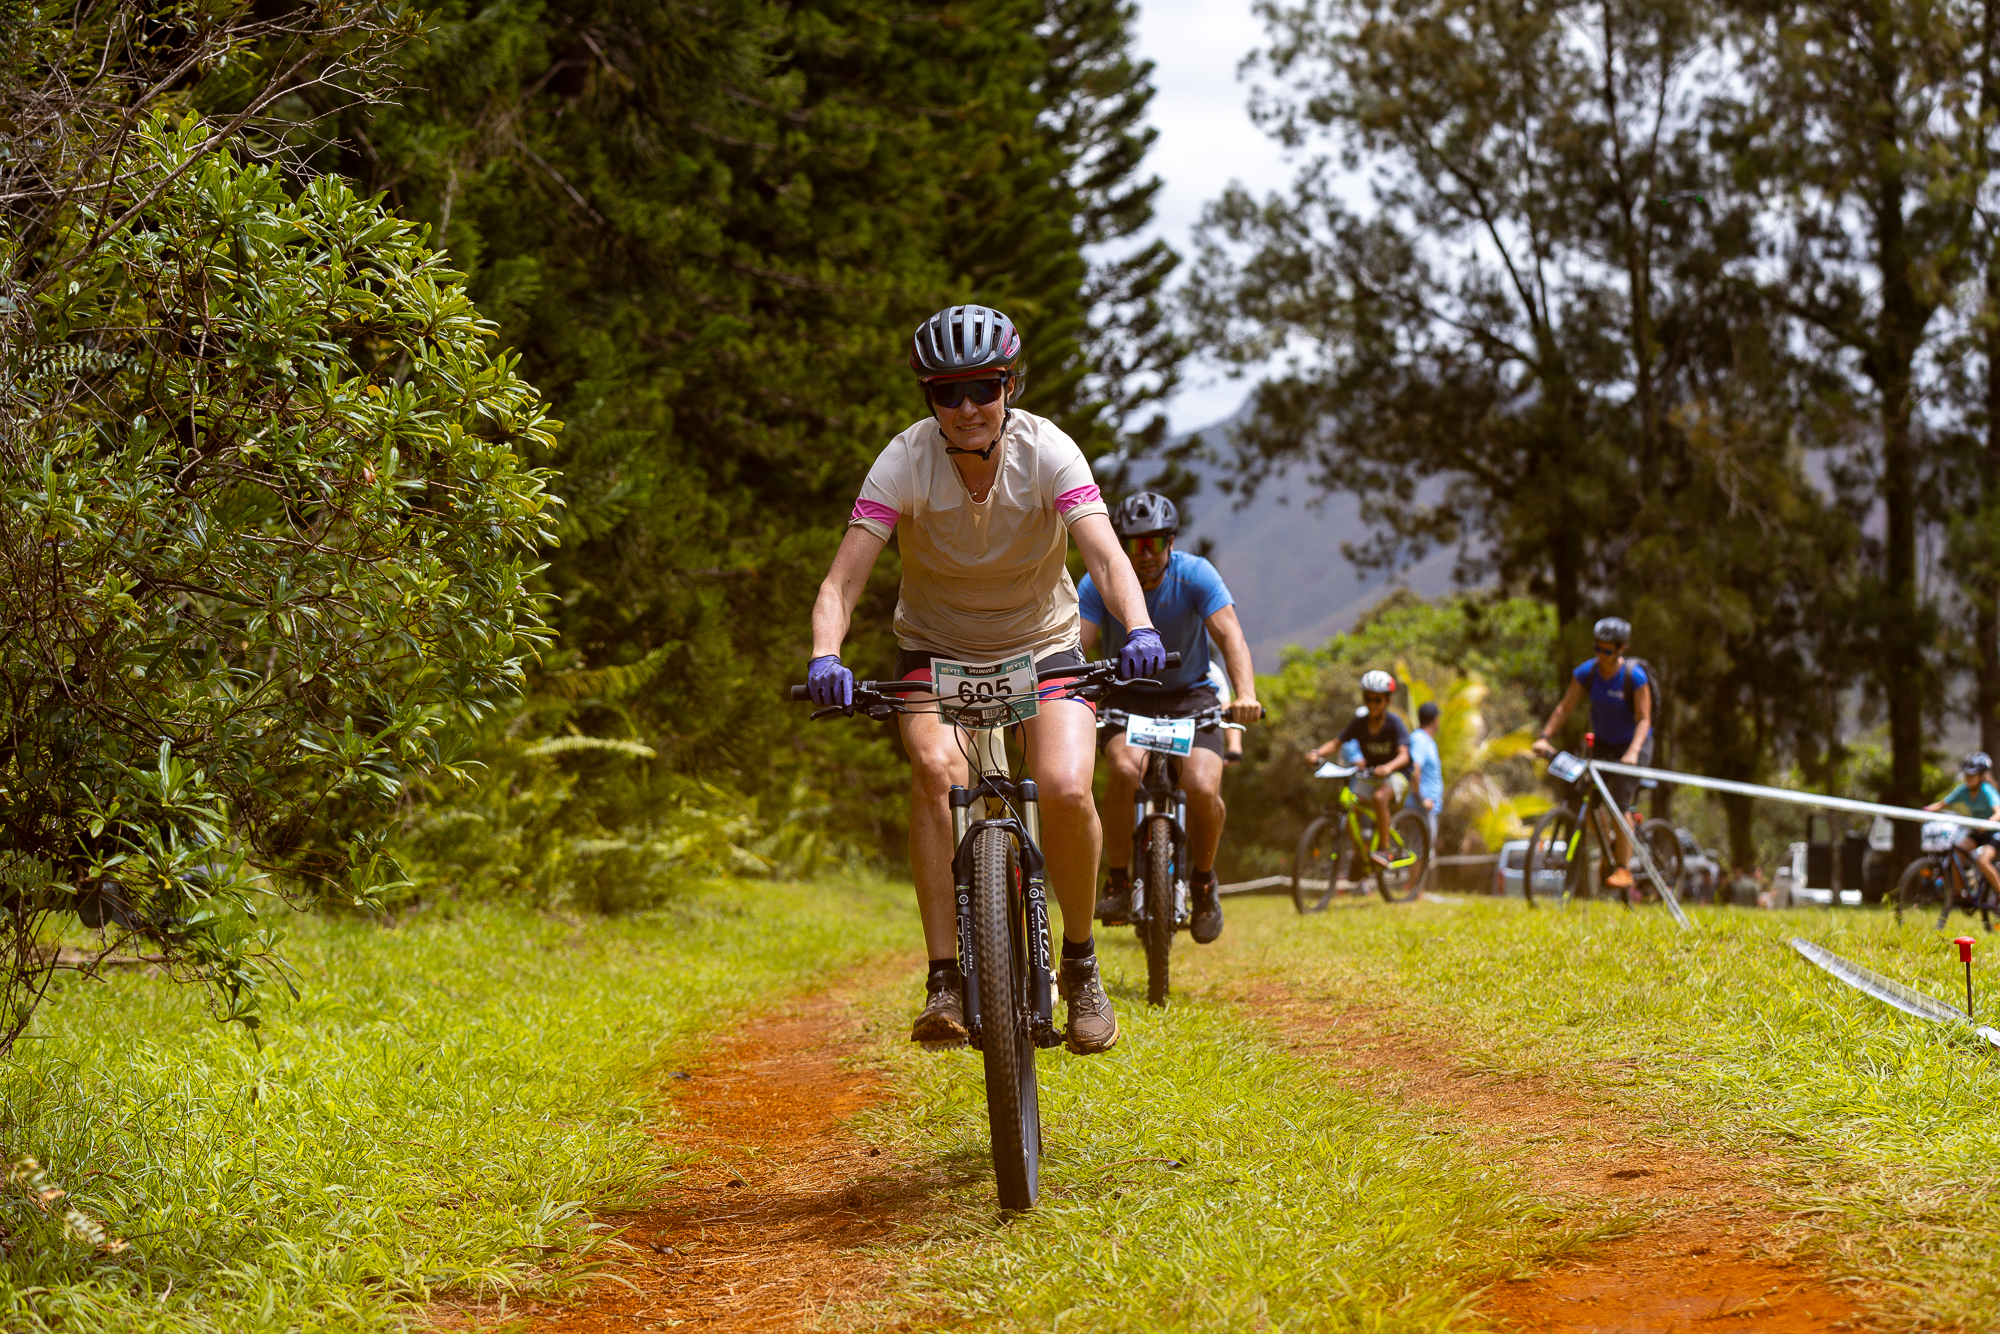
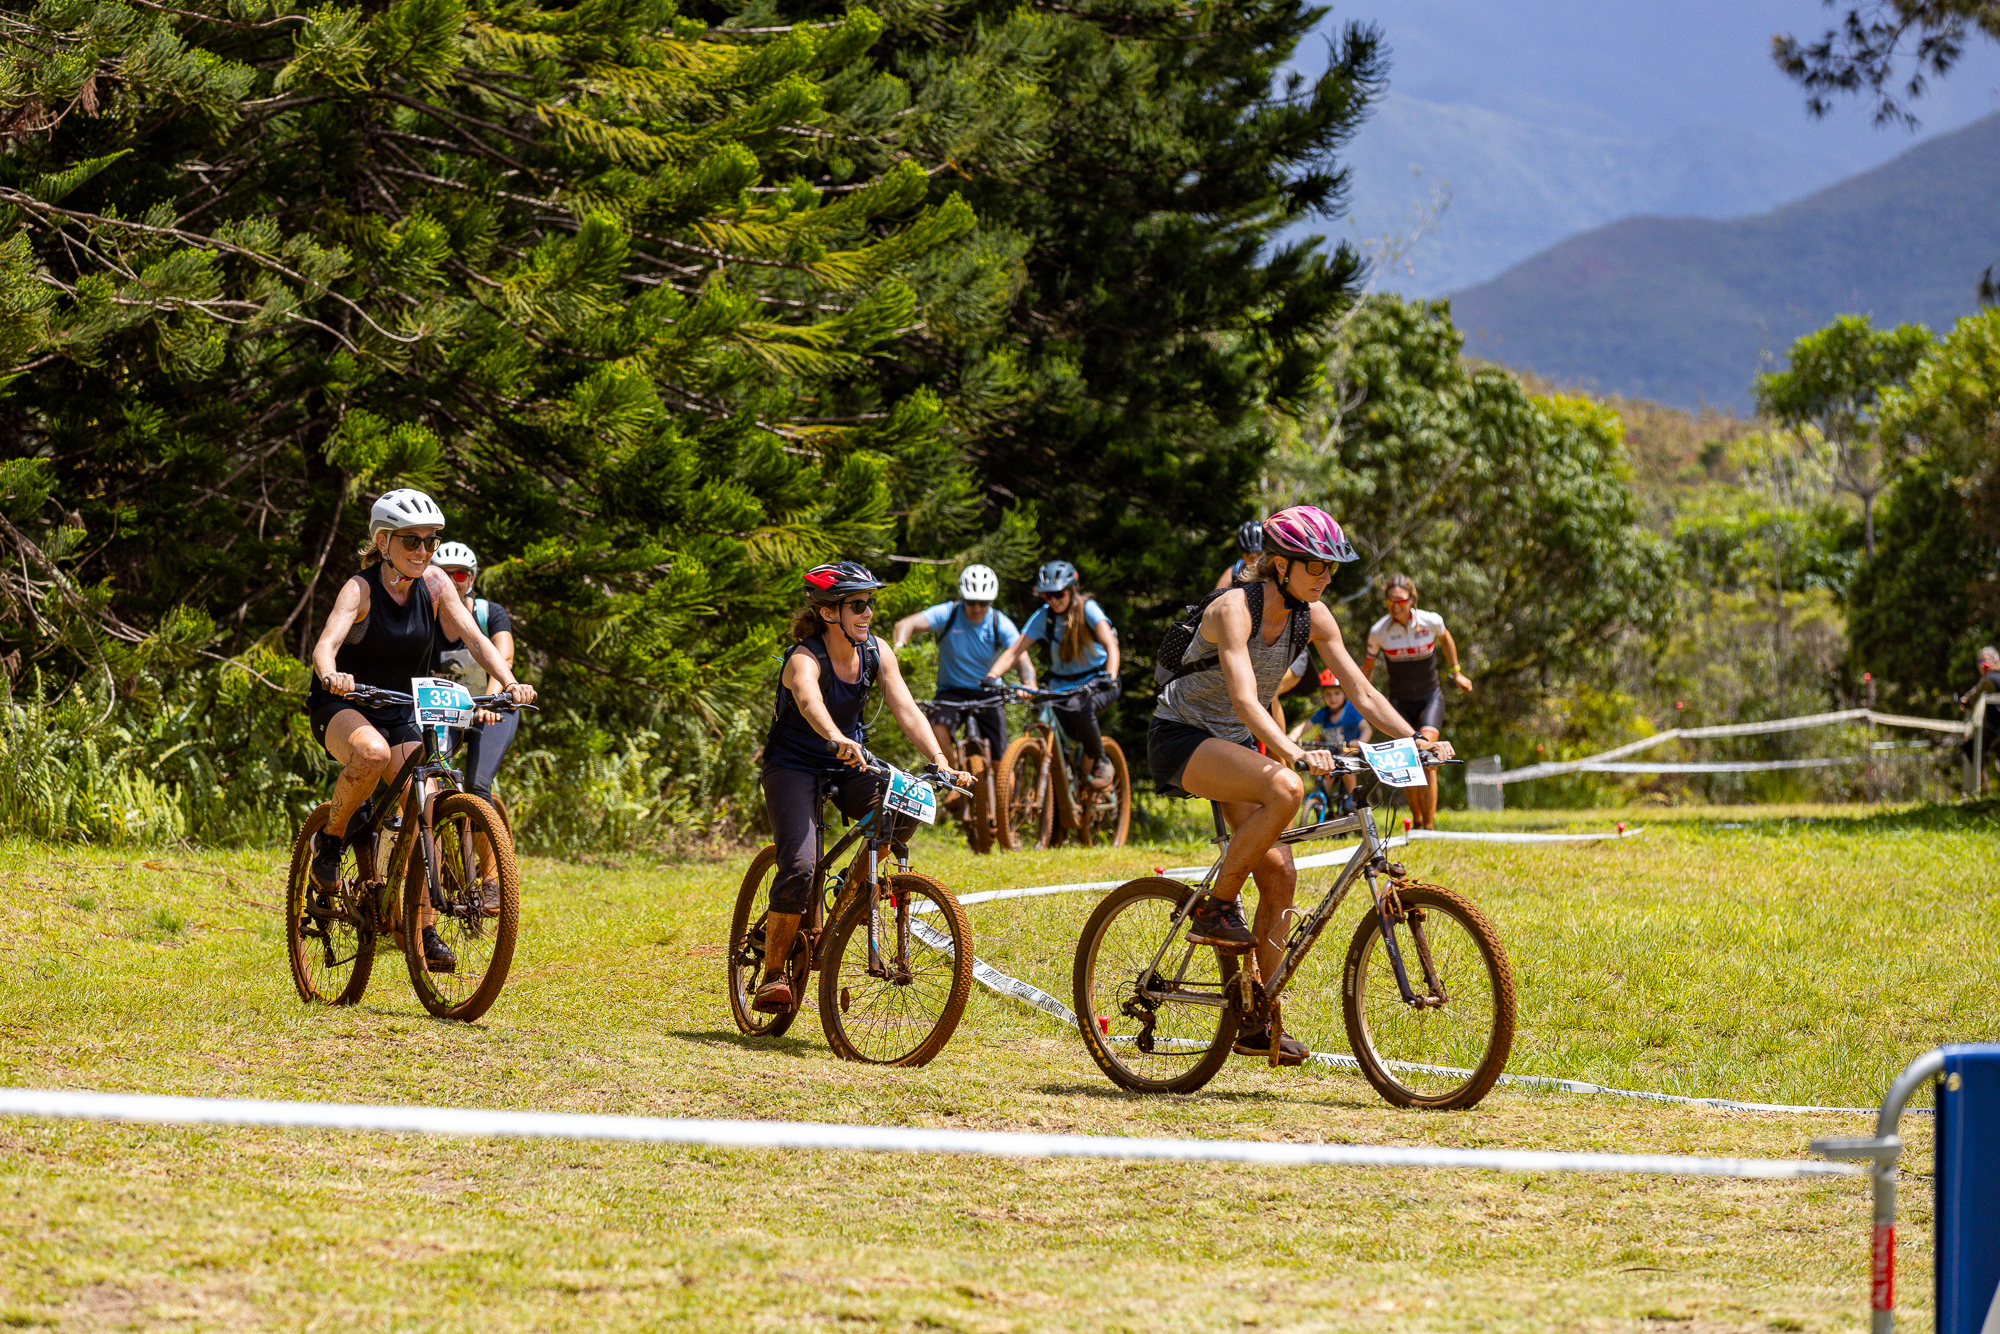
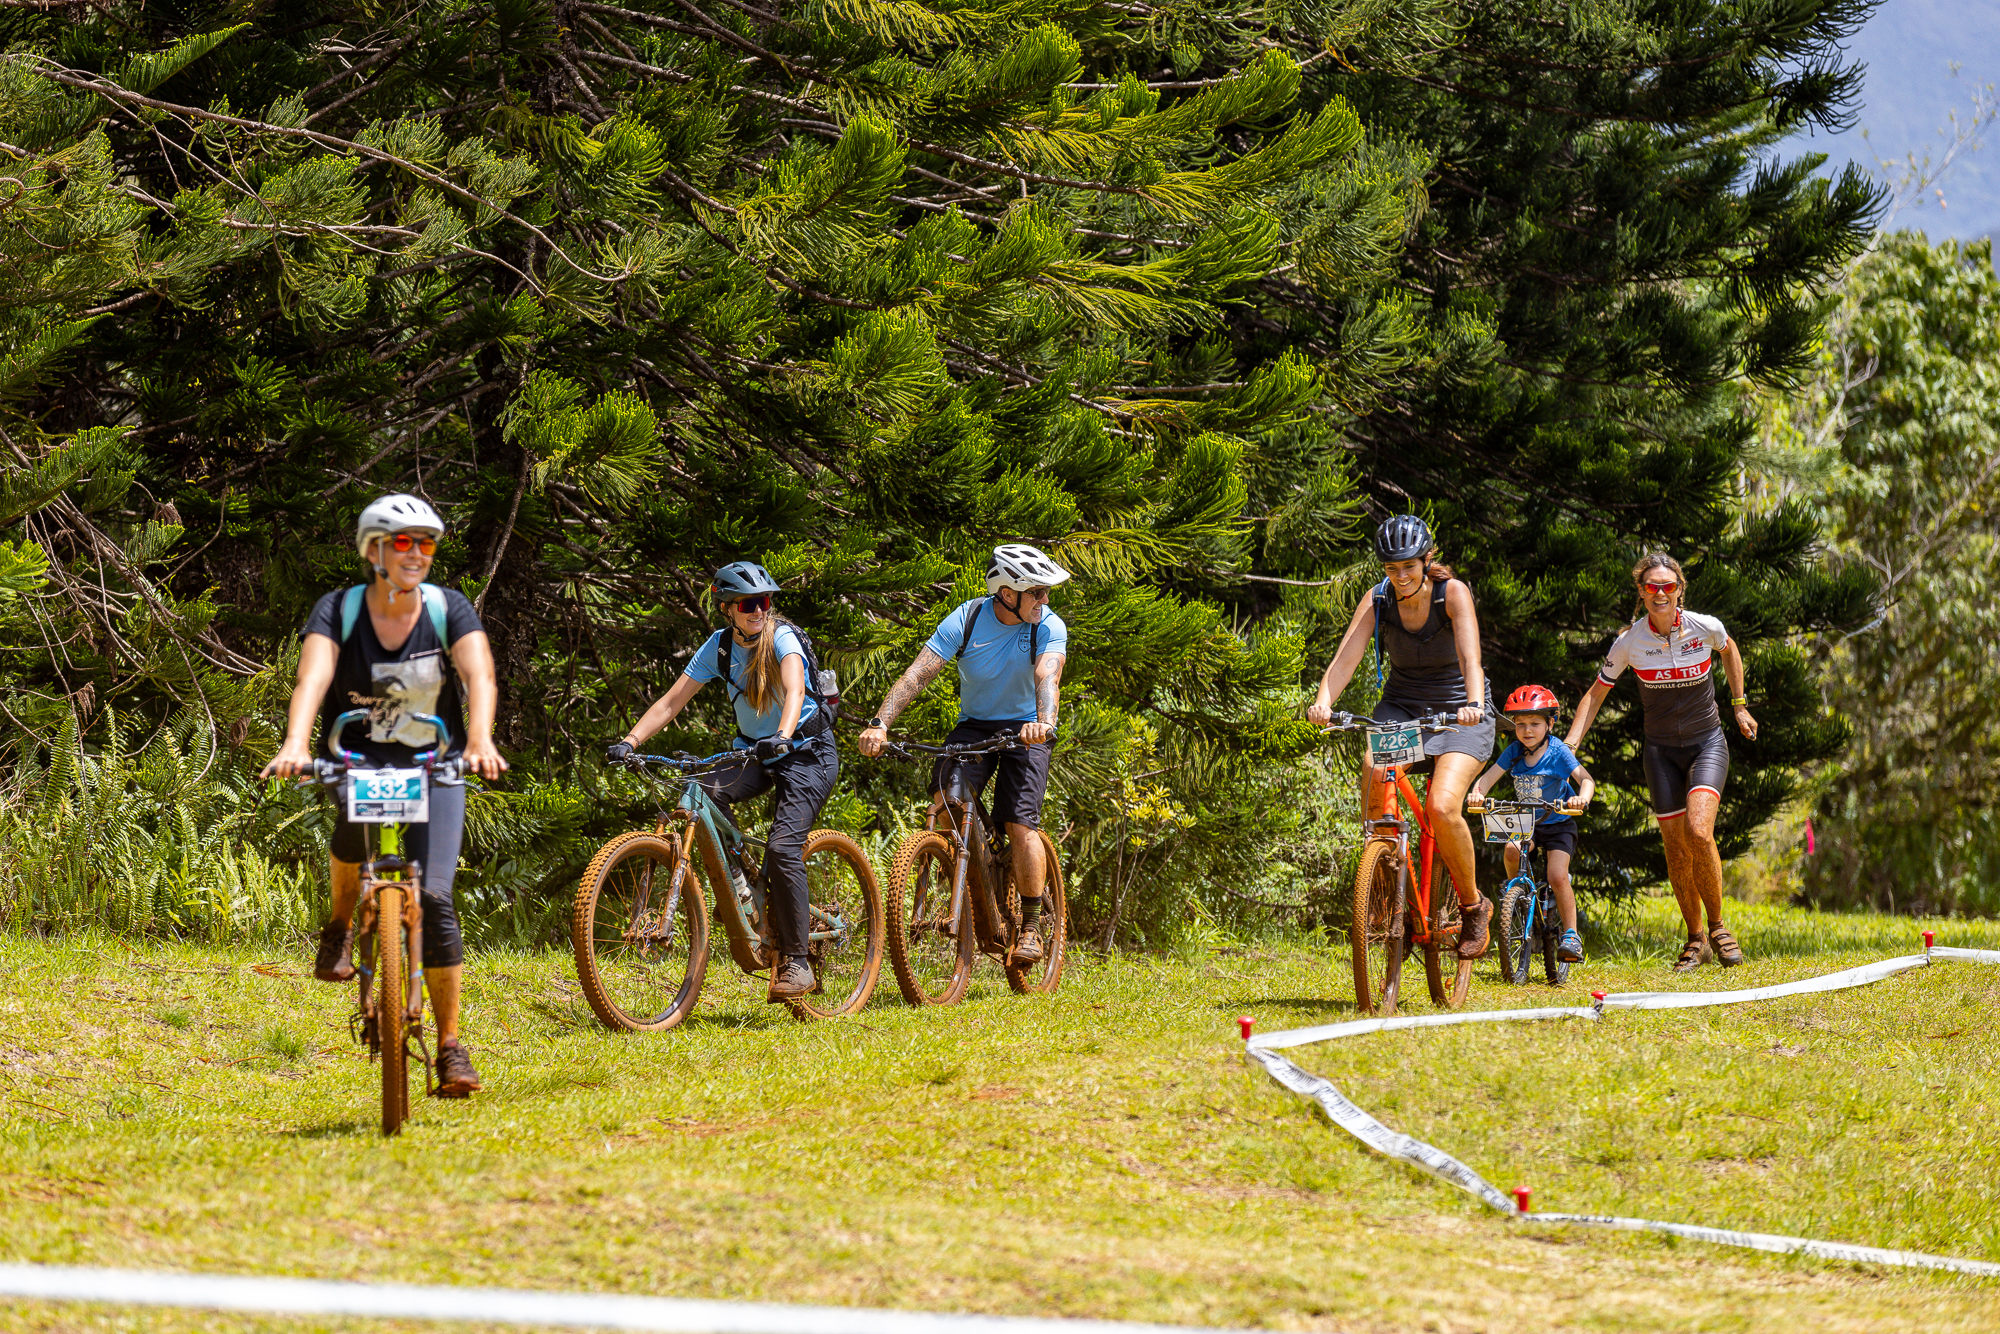
Paradise Found: New Caledonia
There are places that exist in your peripheral vision, destinations you’ve heard whispered about but never quite focused on. New Caledonia was one of those places for me. A French territory floating in the South Pacific, closer than you’d think yet somehow still undiscovered by the masses that flood more predictable island escapes.
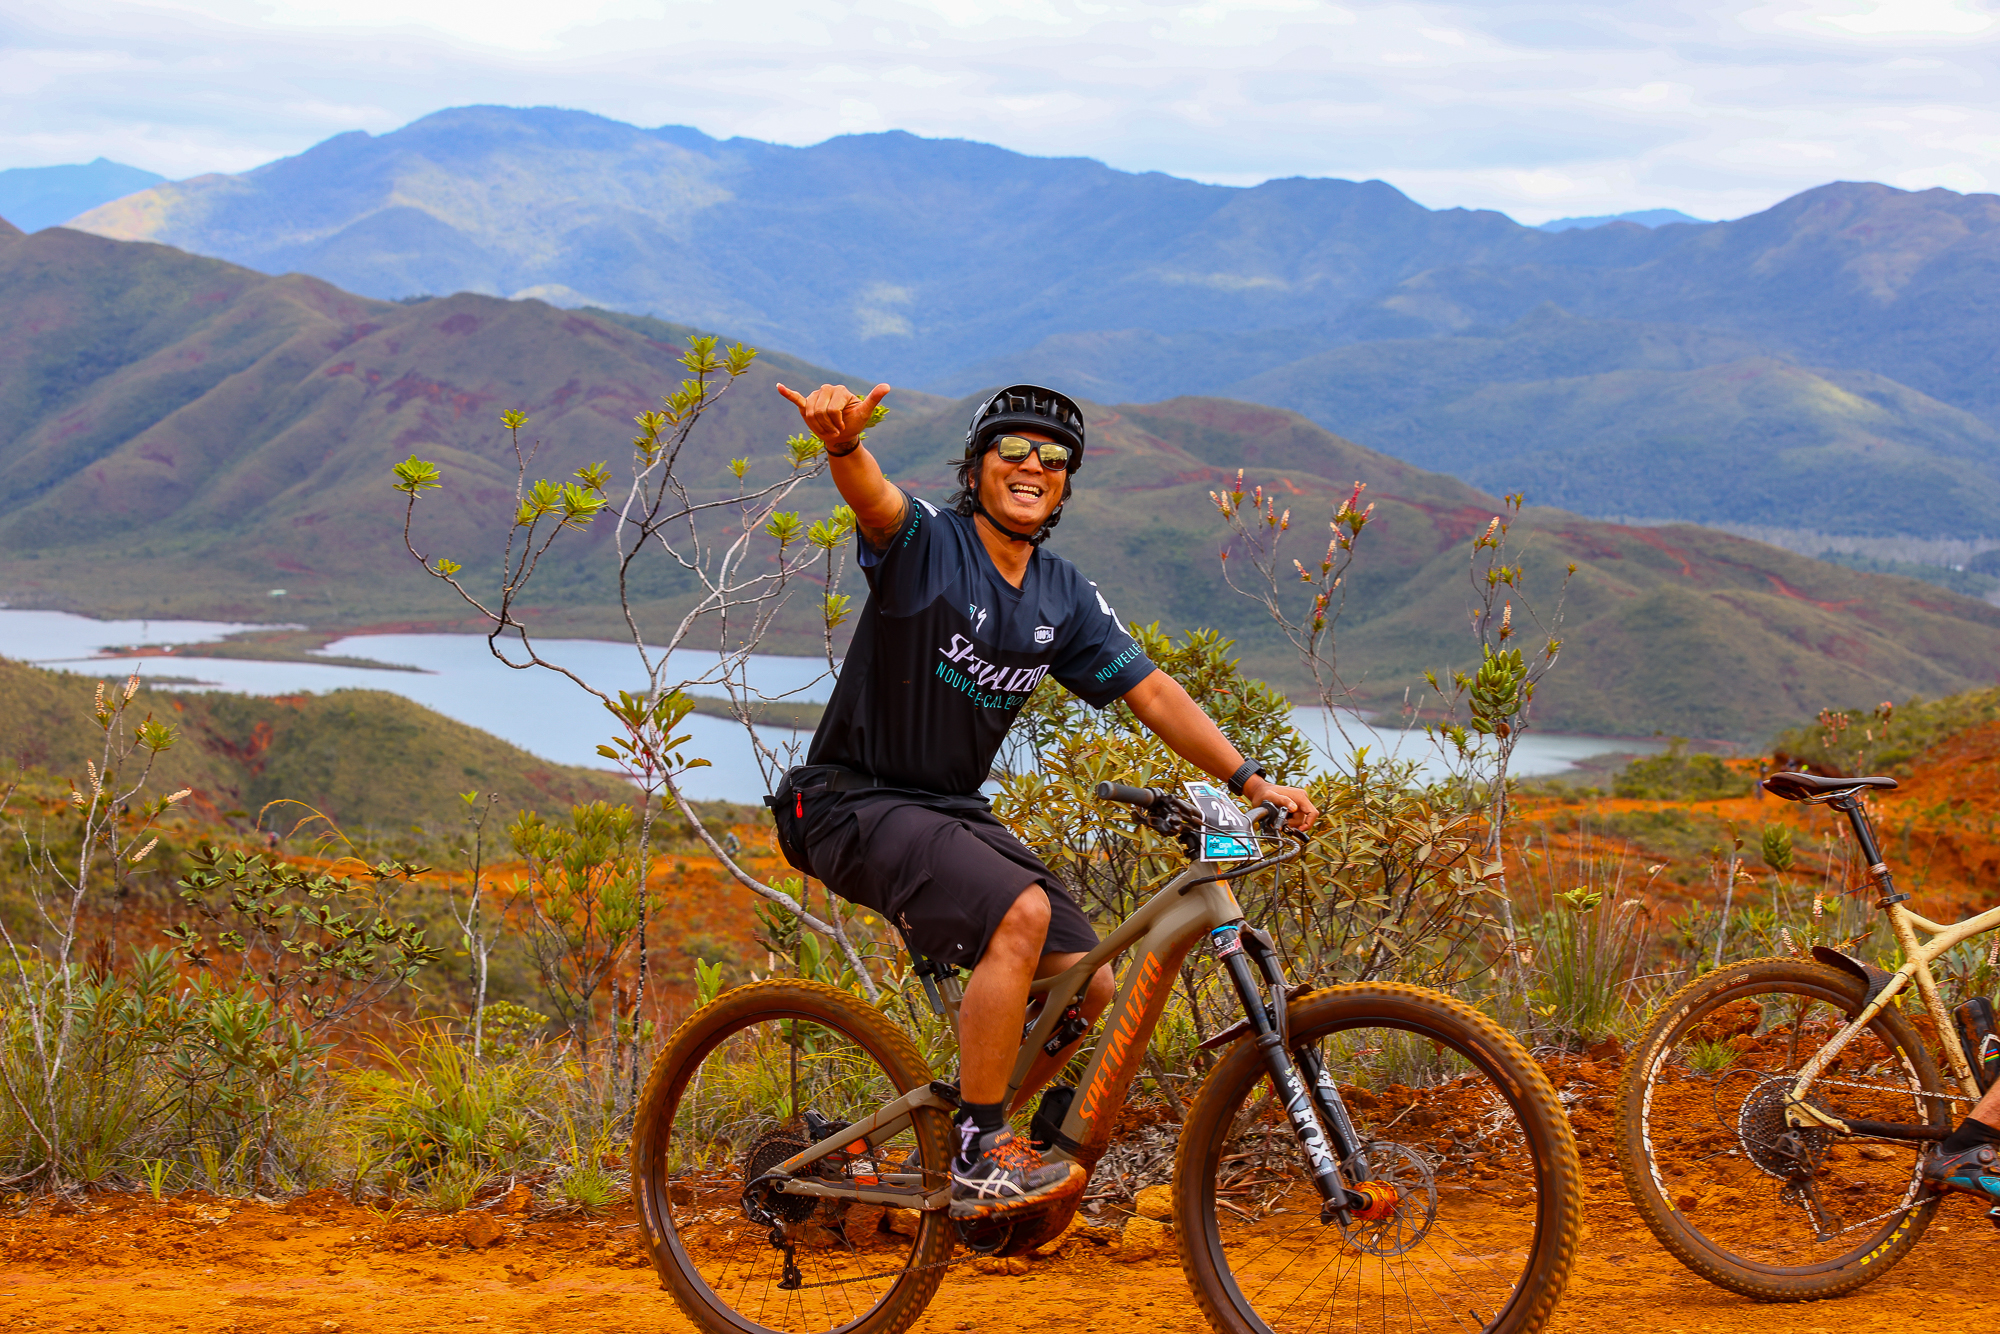
I’d be lying if I said the draw was purely romantic. Sure, the promise of lagoons so impossibly turquoise they look Photoshopped played a part. But what really caught my attention was something unexpected: mountain biking. Proper, technical, lung-burning mountain biking on a tropical island. The kind of riding that makes your quads scream and your mind go quiet.
And here’s the thing that sealed it: getting there from New Zealand is absurdly easy. Three hours from Auckland with Aircalin, and suddenly you’re stepping off a plane into French Polynesian warmth, where the croissants are legitimate and the trails are waiting.
A Territory Still Finding Its Feet
I need to address something before we go further. New Caledonia is recovering. In 2024, civil unrest shook this island, tensions boiling over around questions of independence and identity that have simmered for decades. It wasn’t the paradise-postcard story tourism boards want to tell, but it’s the truth, and ignoring it would be dishonest.
The violence has subsided. The streets of Nouméa, the capital, have found their rhythm again. But the scars are still visible if you know where to look, and the path forward remains uncertain. Some might see this as reason to stay away. I see it differently.
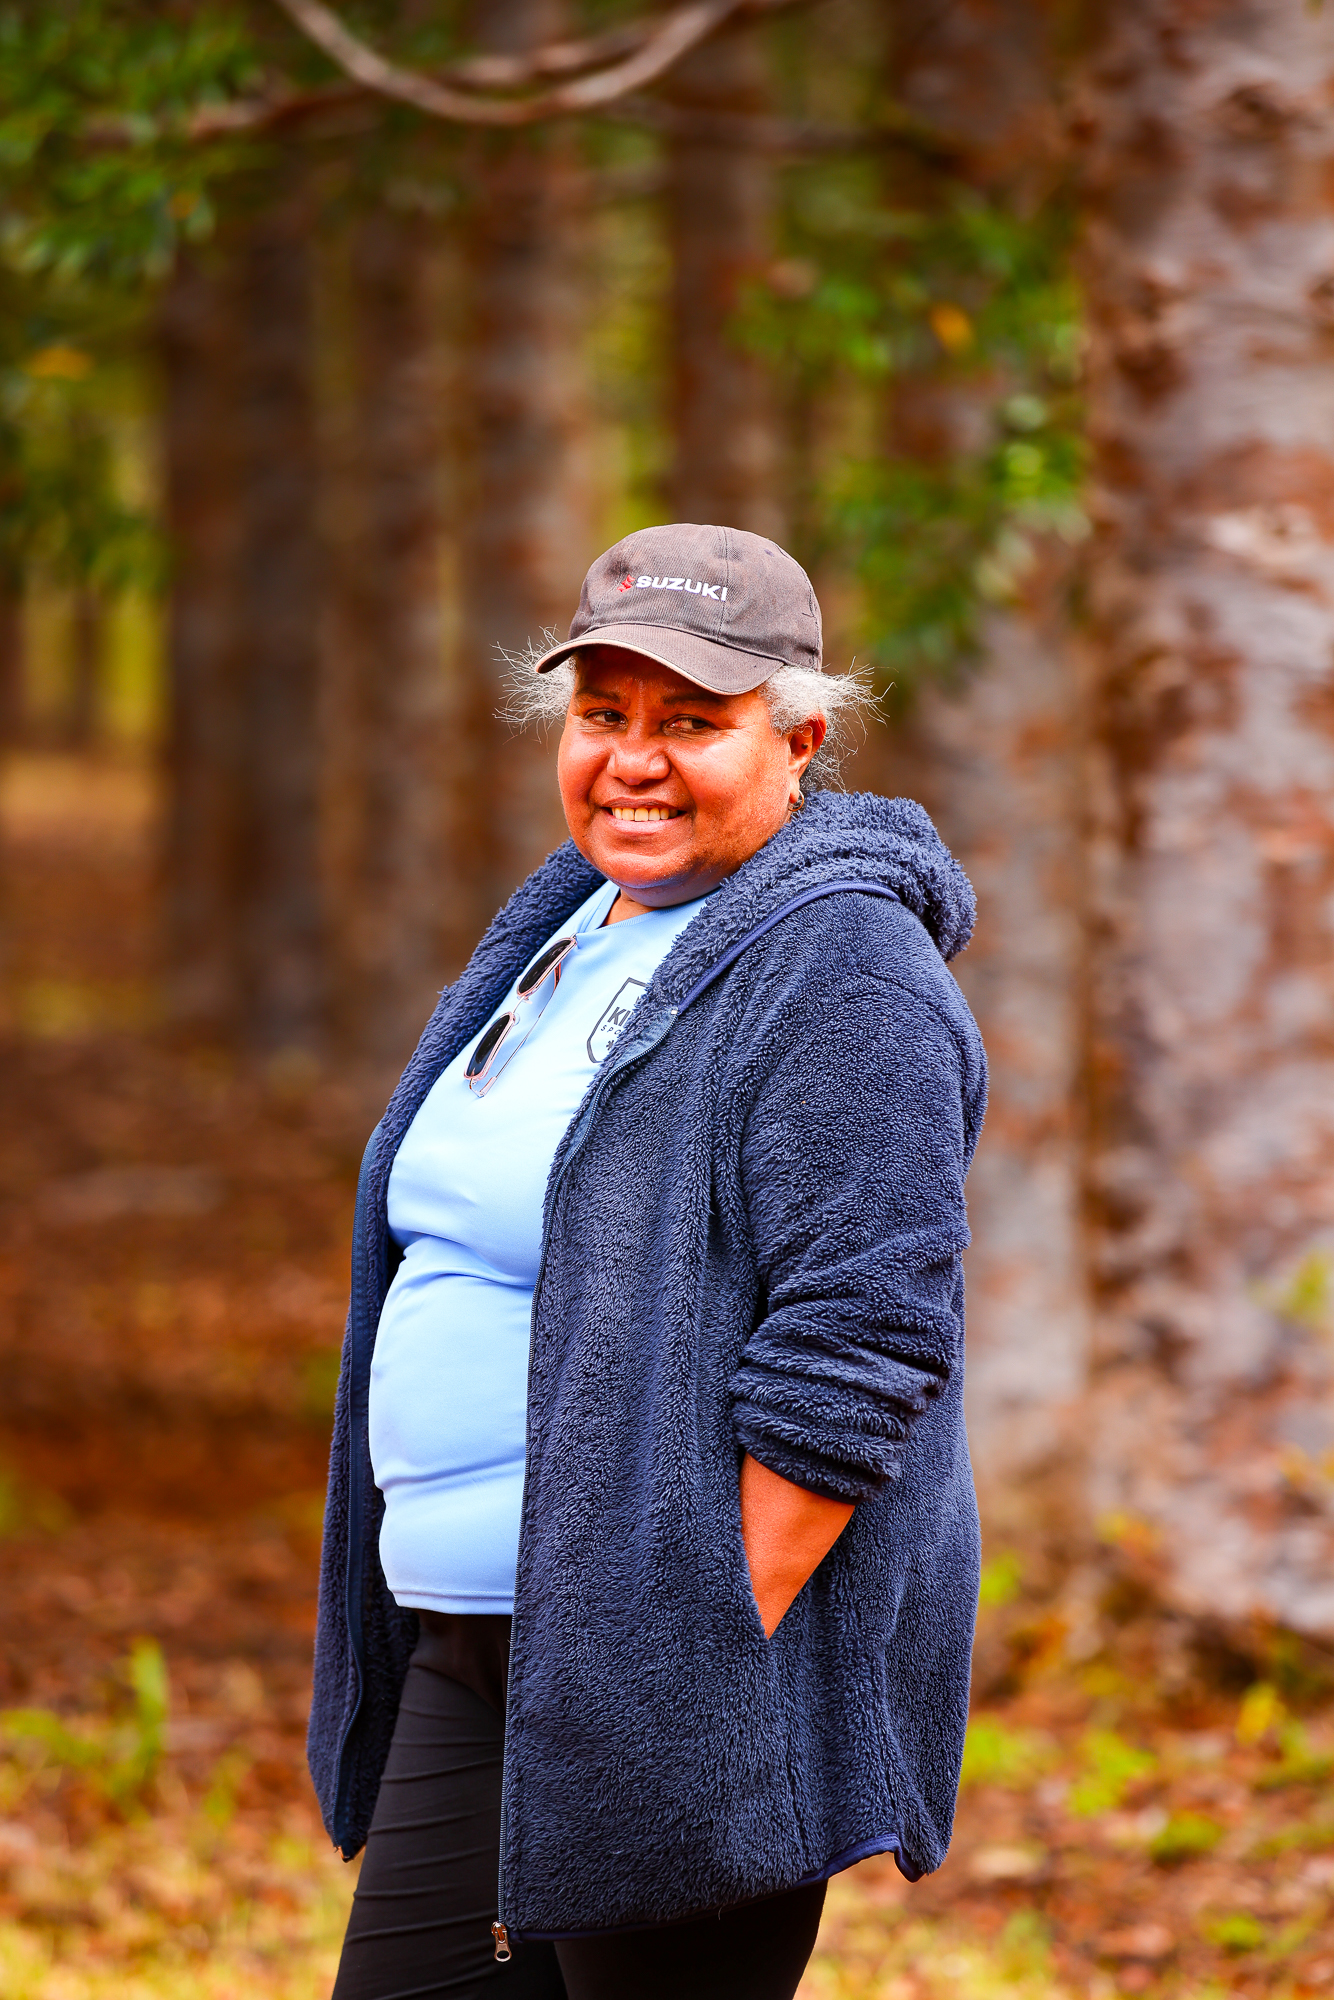
Tourism matters here. It employs people. It sustains communities. It gives young Kanak locals opportunities beyond subsistence. Visiting now, with eyes open and respect intact, isn’t exploitation – it’s engagement. It’s choosing to see a place in its complexity rather than demanding it perform simplified paradise for your comfort.
So yes, I went. And I’d go again.
The Proximity Problem (Which Isn’t Actually a Problem)
Here’s what surprises most people: New Caledonia is genuinely close. Not “close for the South Pacific” close. Actually close. Three hours from Auckland. Three hours from Sydney. Two hours from Brisbane. The flight on Aircalin is the kind where you board with a coffee, read a few articles, maybe watch half a film, and then you’re descending over that absurd lagoon.
I remember looking out the window during final approach, seeing the reef system from above – this massive natural barrier protecting the main island like a turquoise moat. It’s UNESCO-listed, apparently one of the longest barrier reefs on the planet. From 10,000 feet, it looks painted on.
La Tontouta International Airport sits about 45 minutes outside Nouméa. I’d arranged a car through Europcar, and within an hour of landing, I had a bike rack strapped to the roof and the windows down, driving toward accommodation with that specific kind of excited exhaustion that comes from crossing into somewhere new.

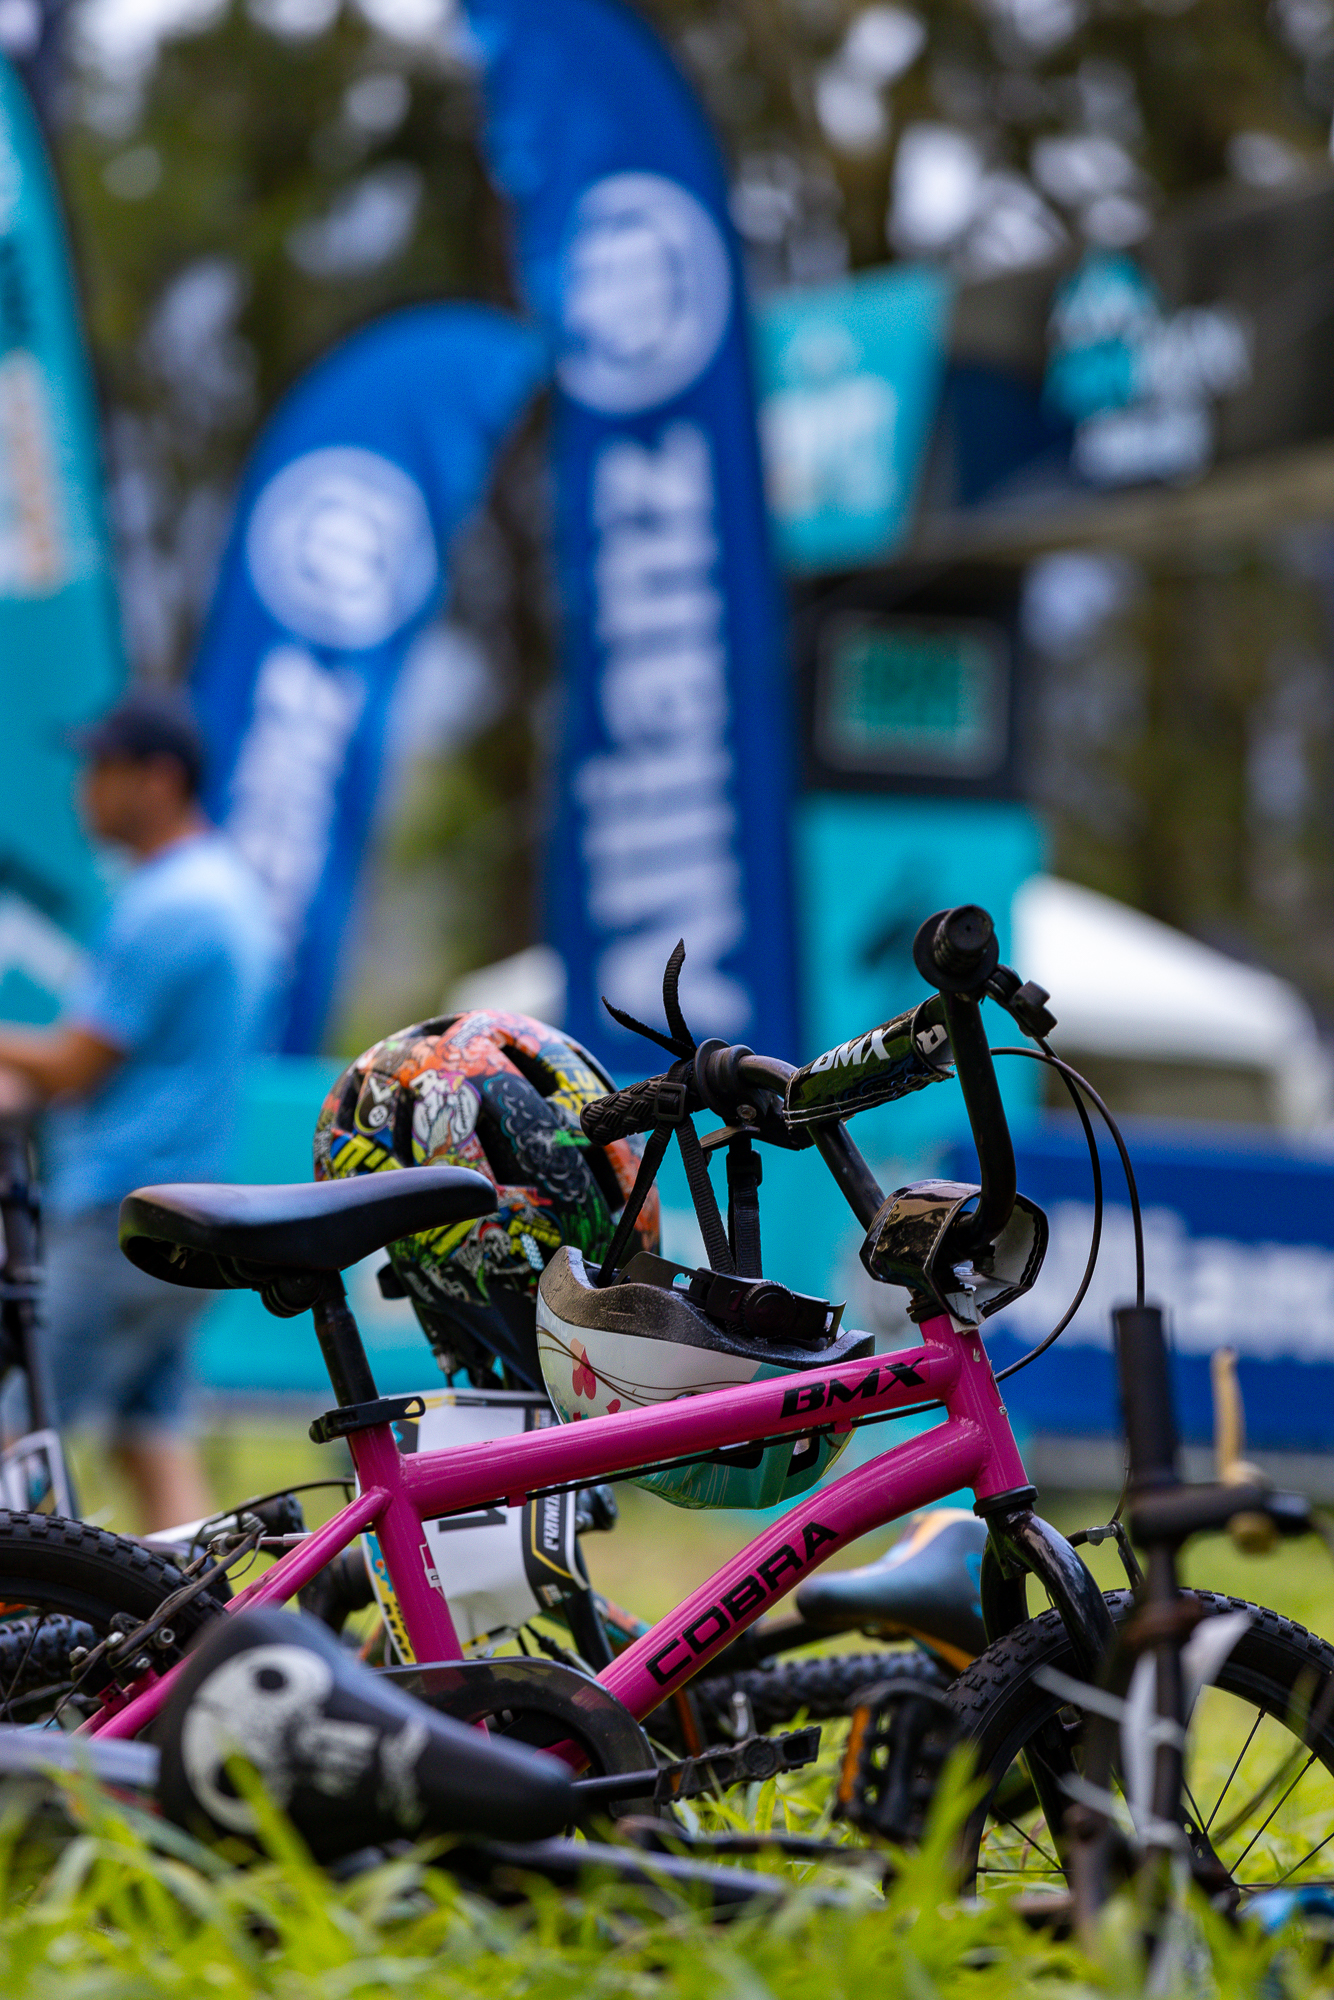
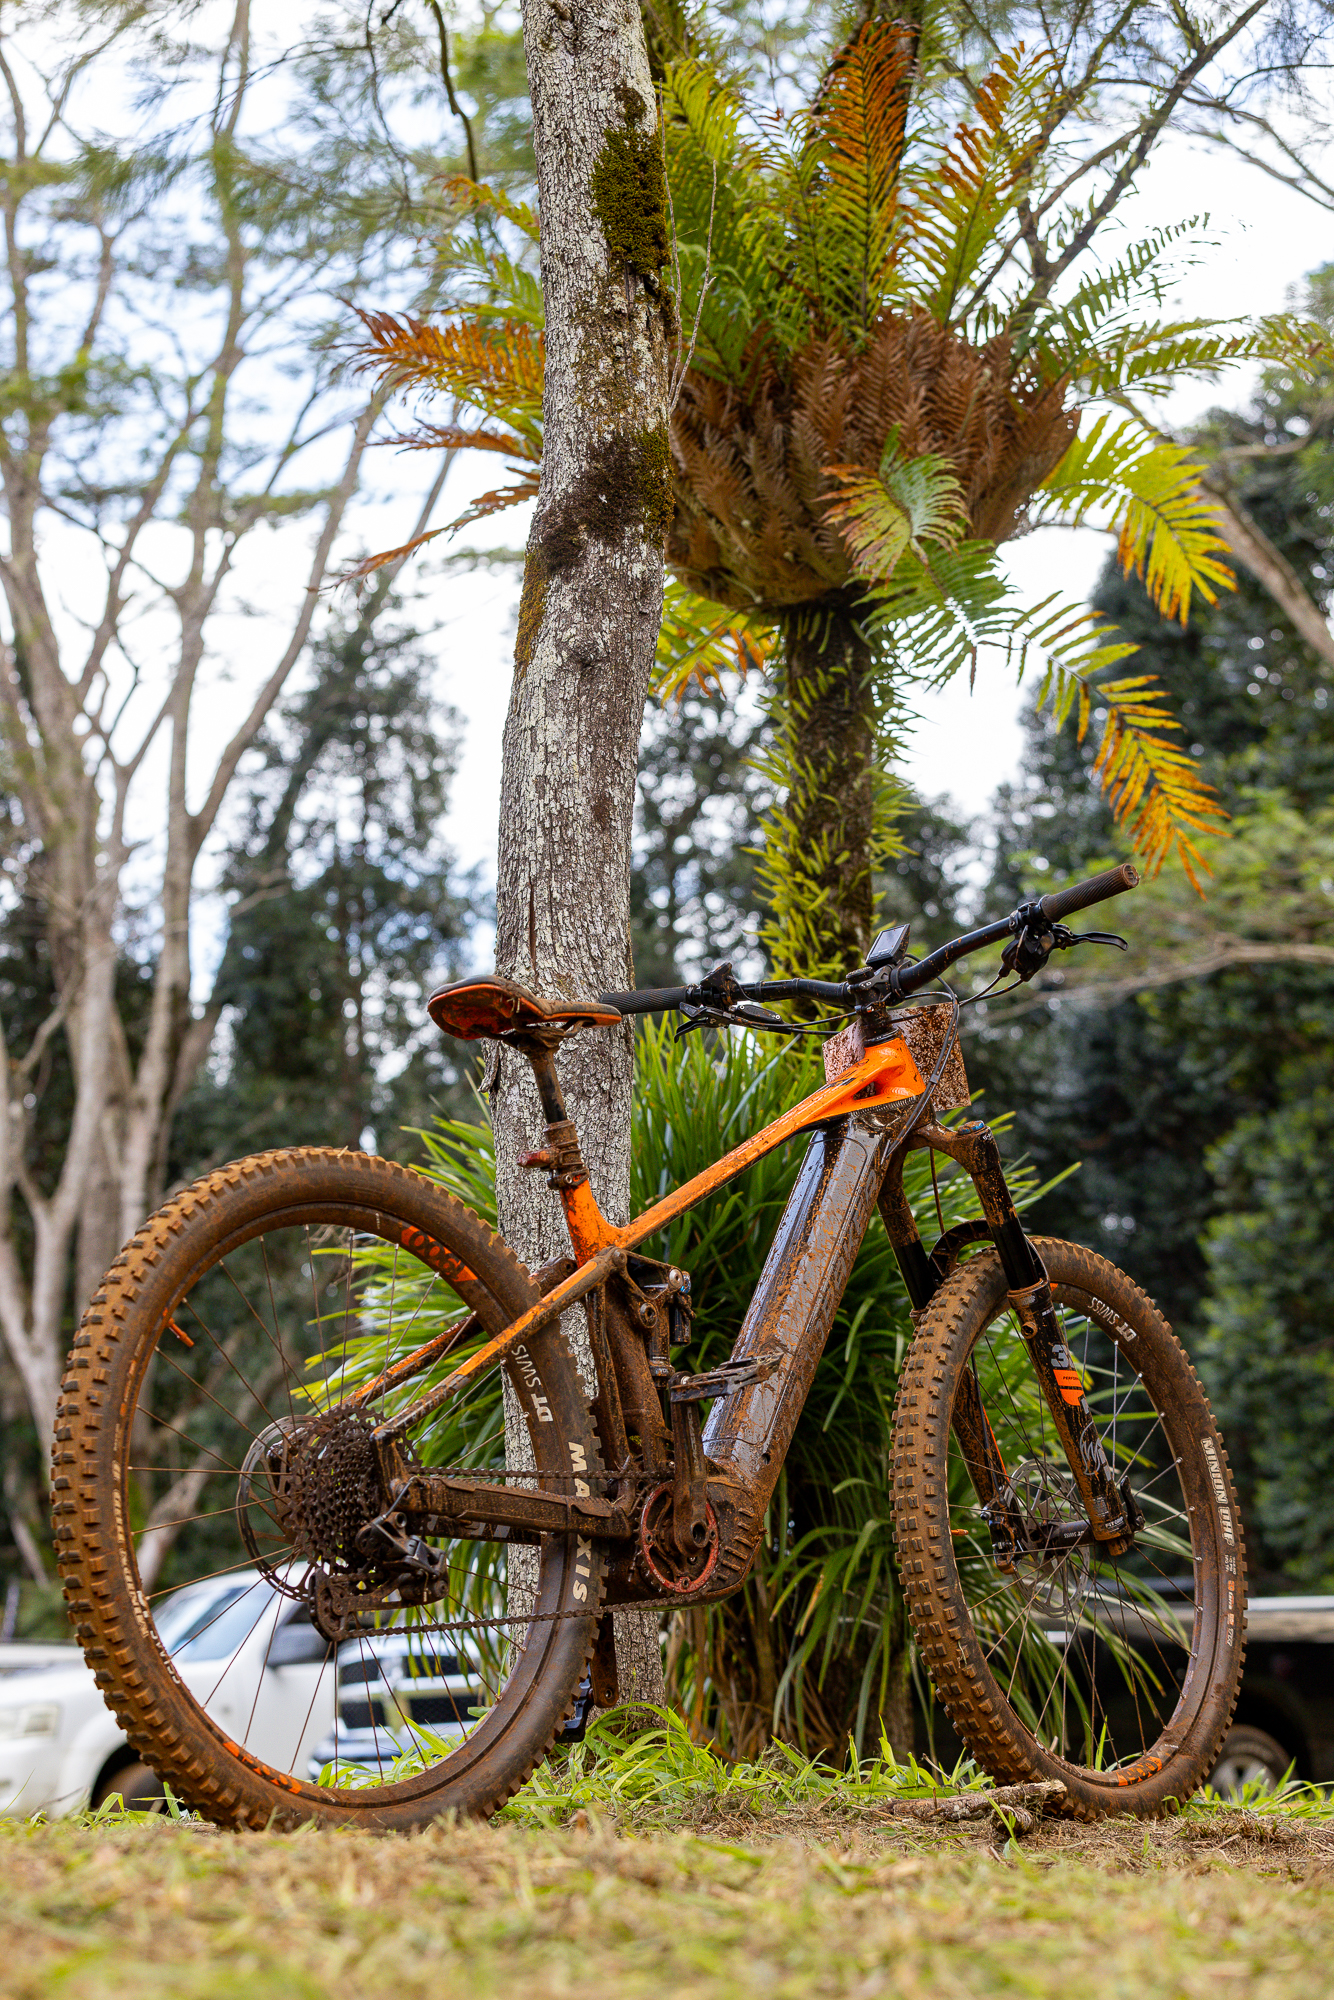
Where the Riding Lives
Let’s talk about why you’d bring a mountain bike to a tropical island. New Caledonia has a network of trails that would make most dedicated riding destinations envious. They’re technical without being punishing, scenic without sacrificing challenge, and crucially, they’re accessible.
Parc des Grandes Fougères
The name translates to “Park of the Great Ferns,” which undersells it considerably. This is rainforest riding – dark, humid, technical. The trails wind through ancient tree ferns and native kauri, cutting lines through terrain that feels genuinely primeval. It’s not a massive network, but what’s there is quality. Expect roots, expect rocks, expect your brakes to work overtime.
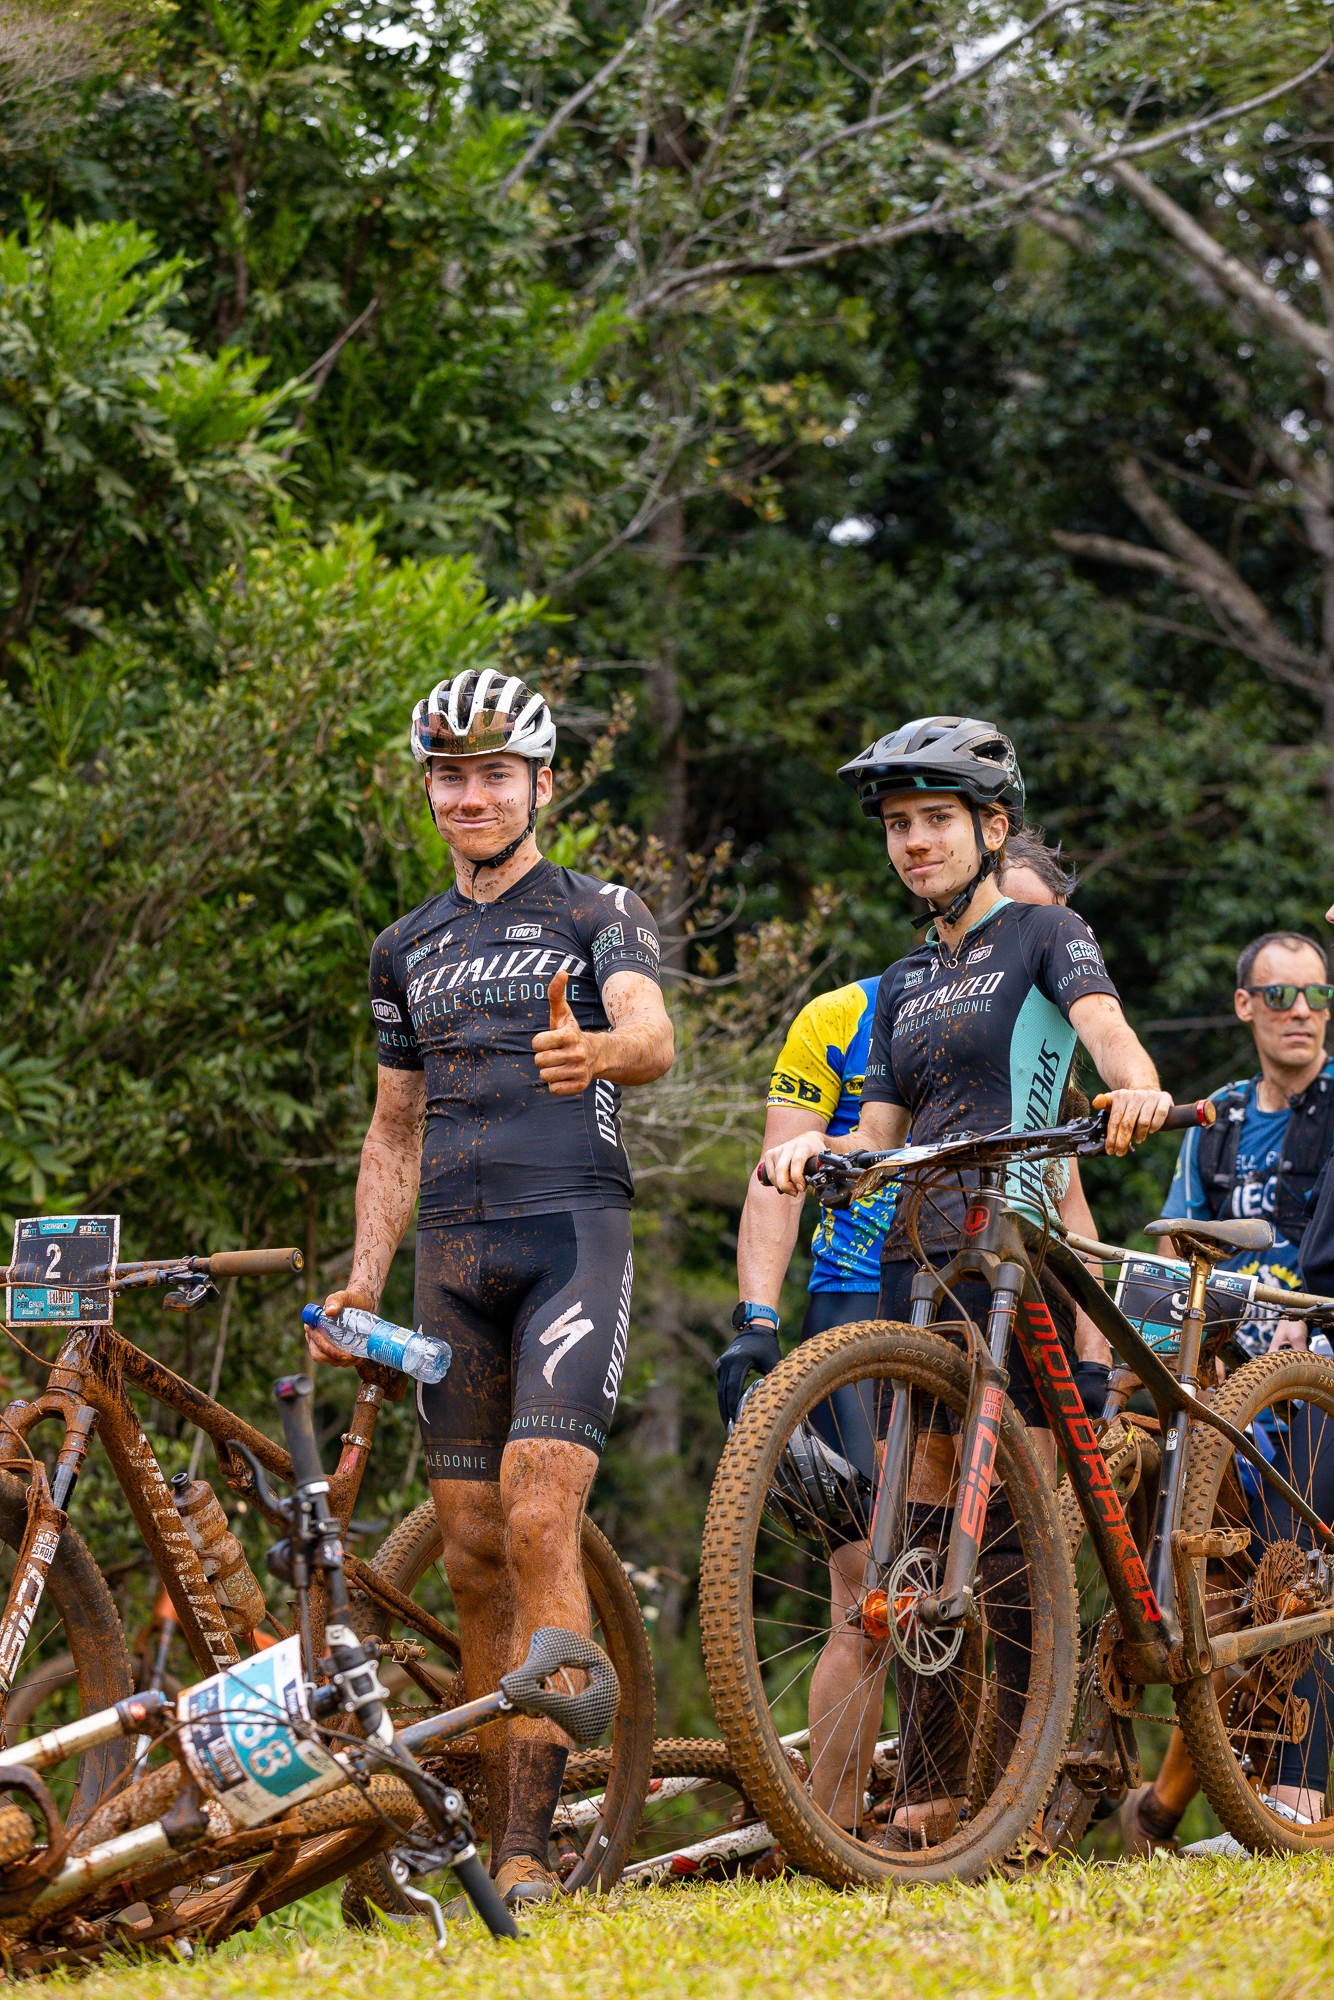
Domaine de Deva
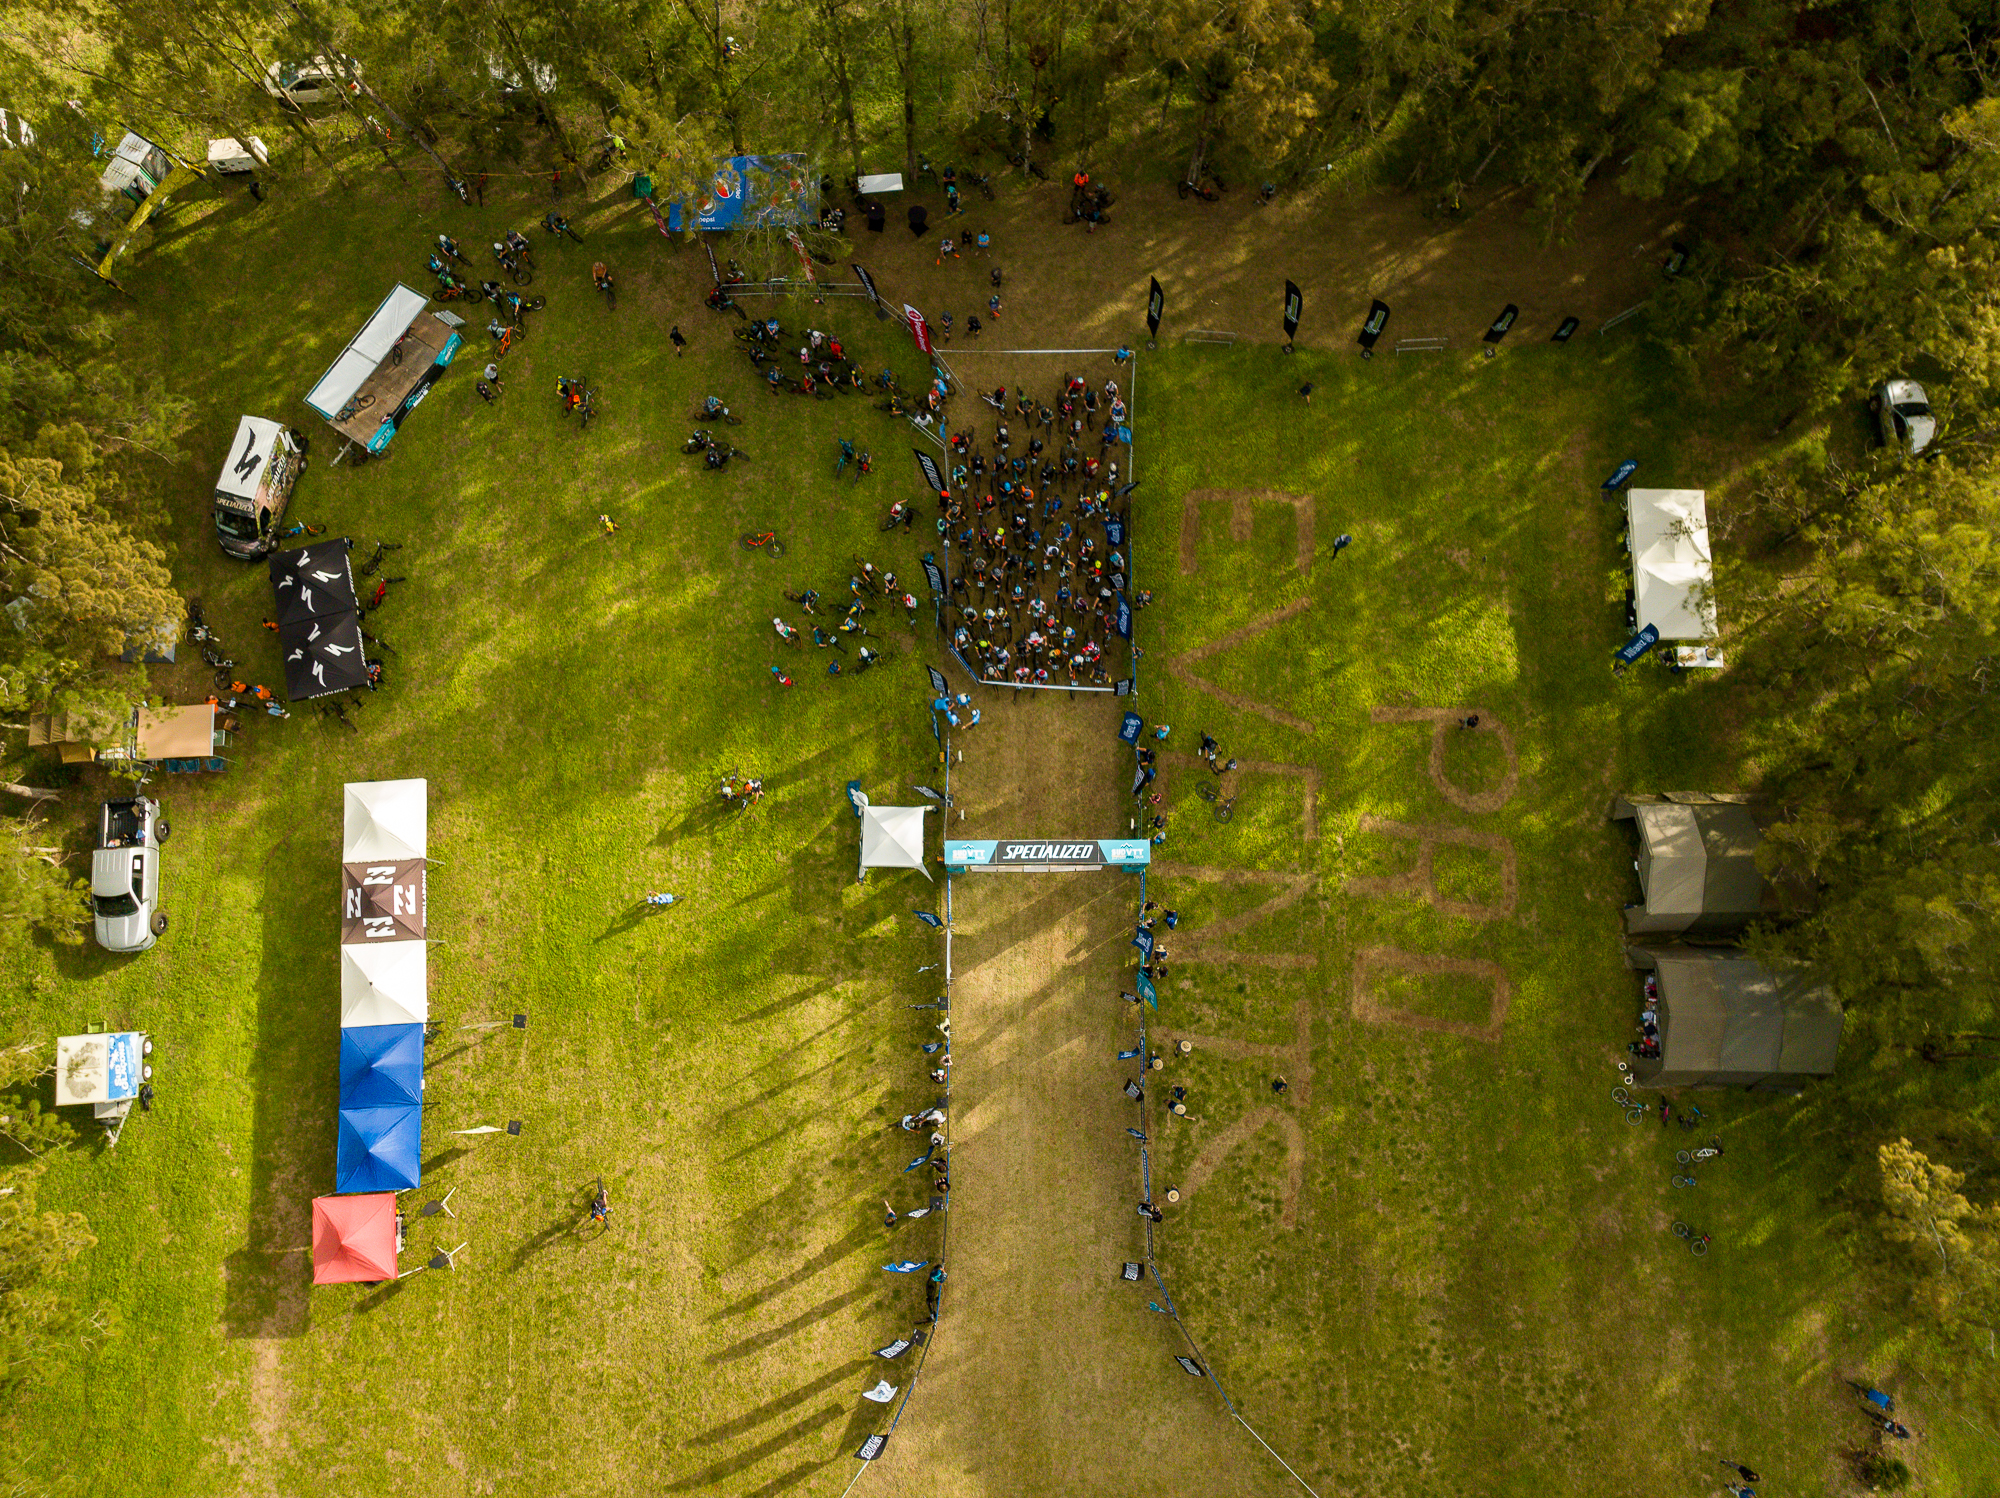
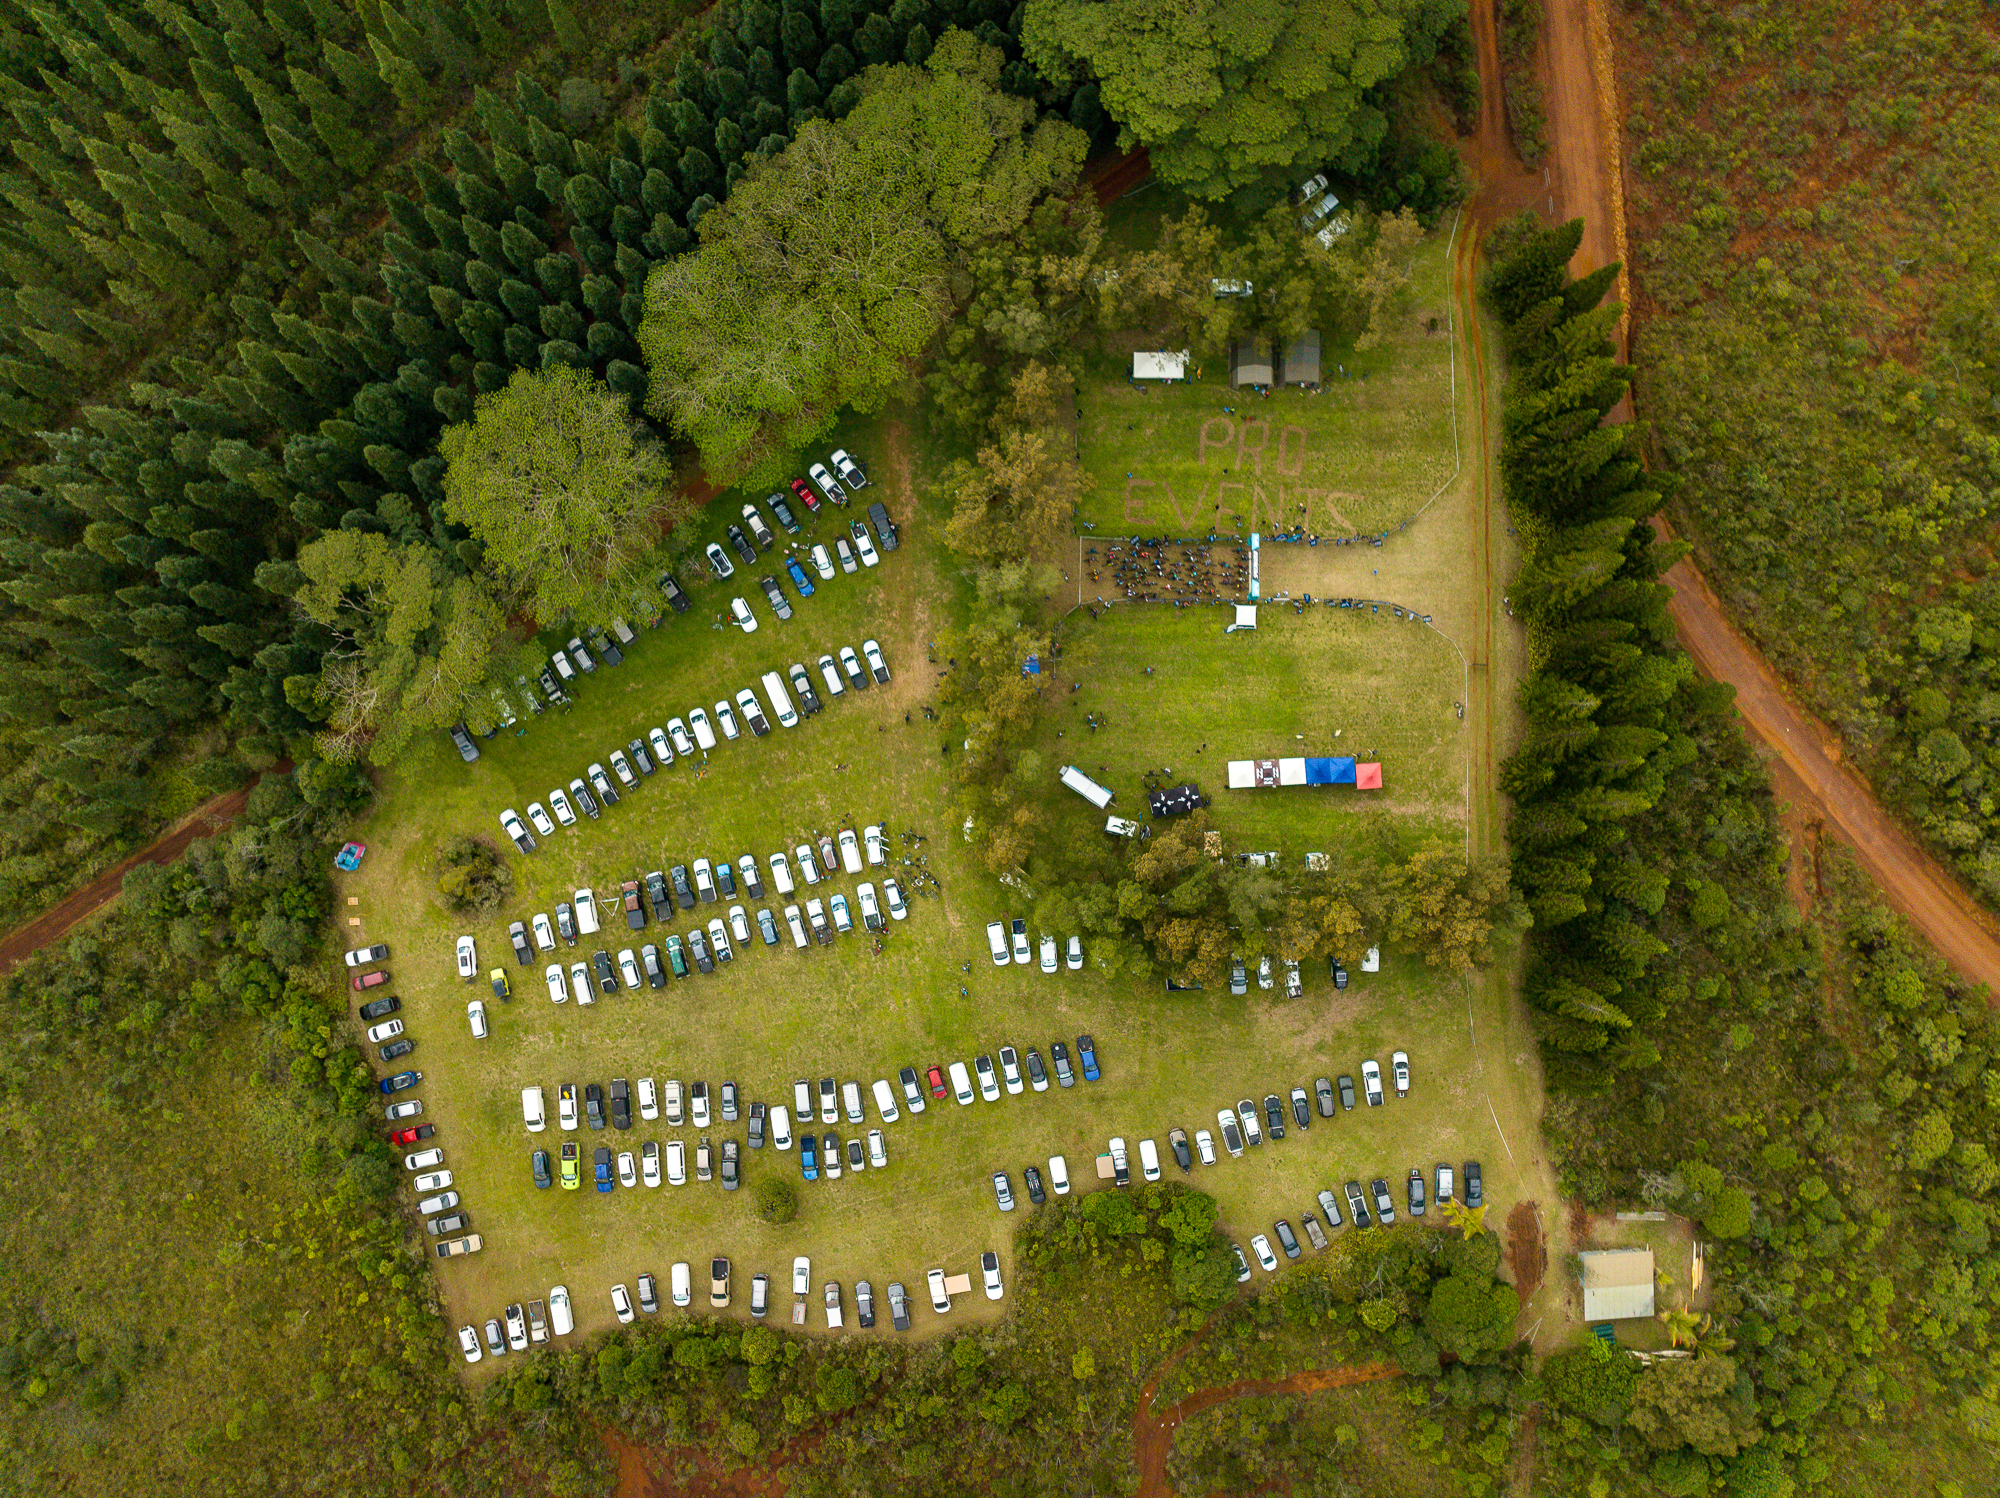
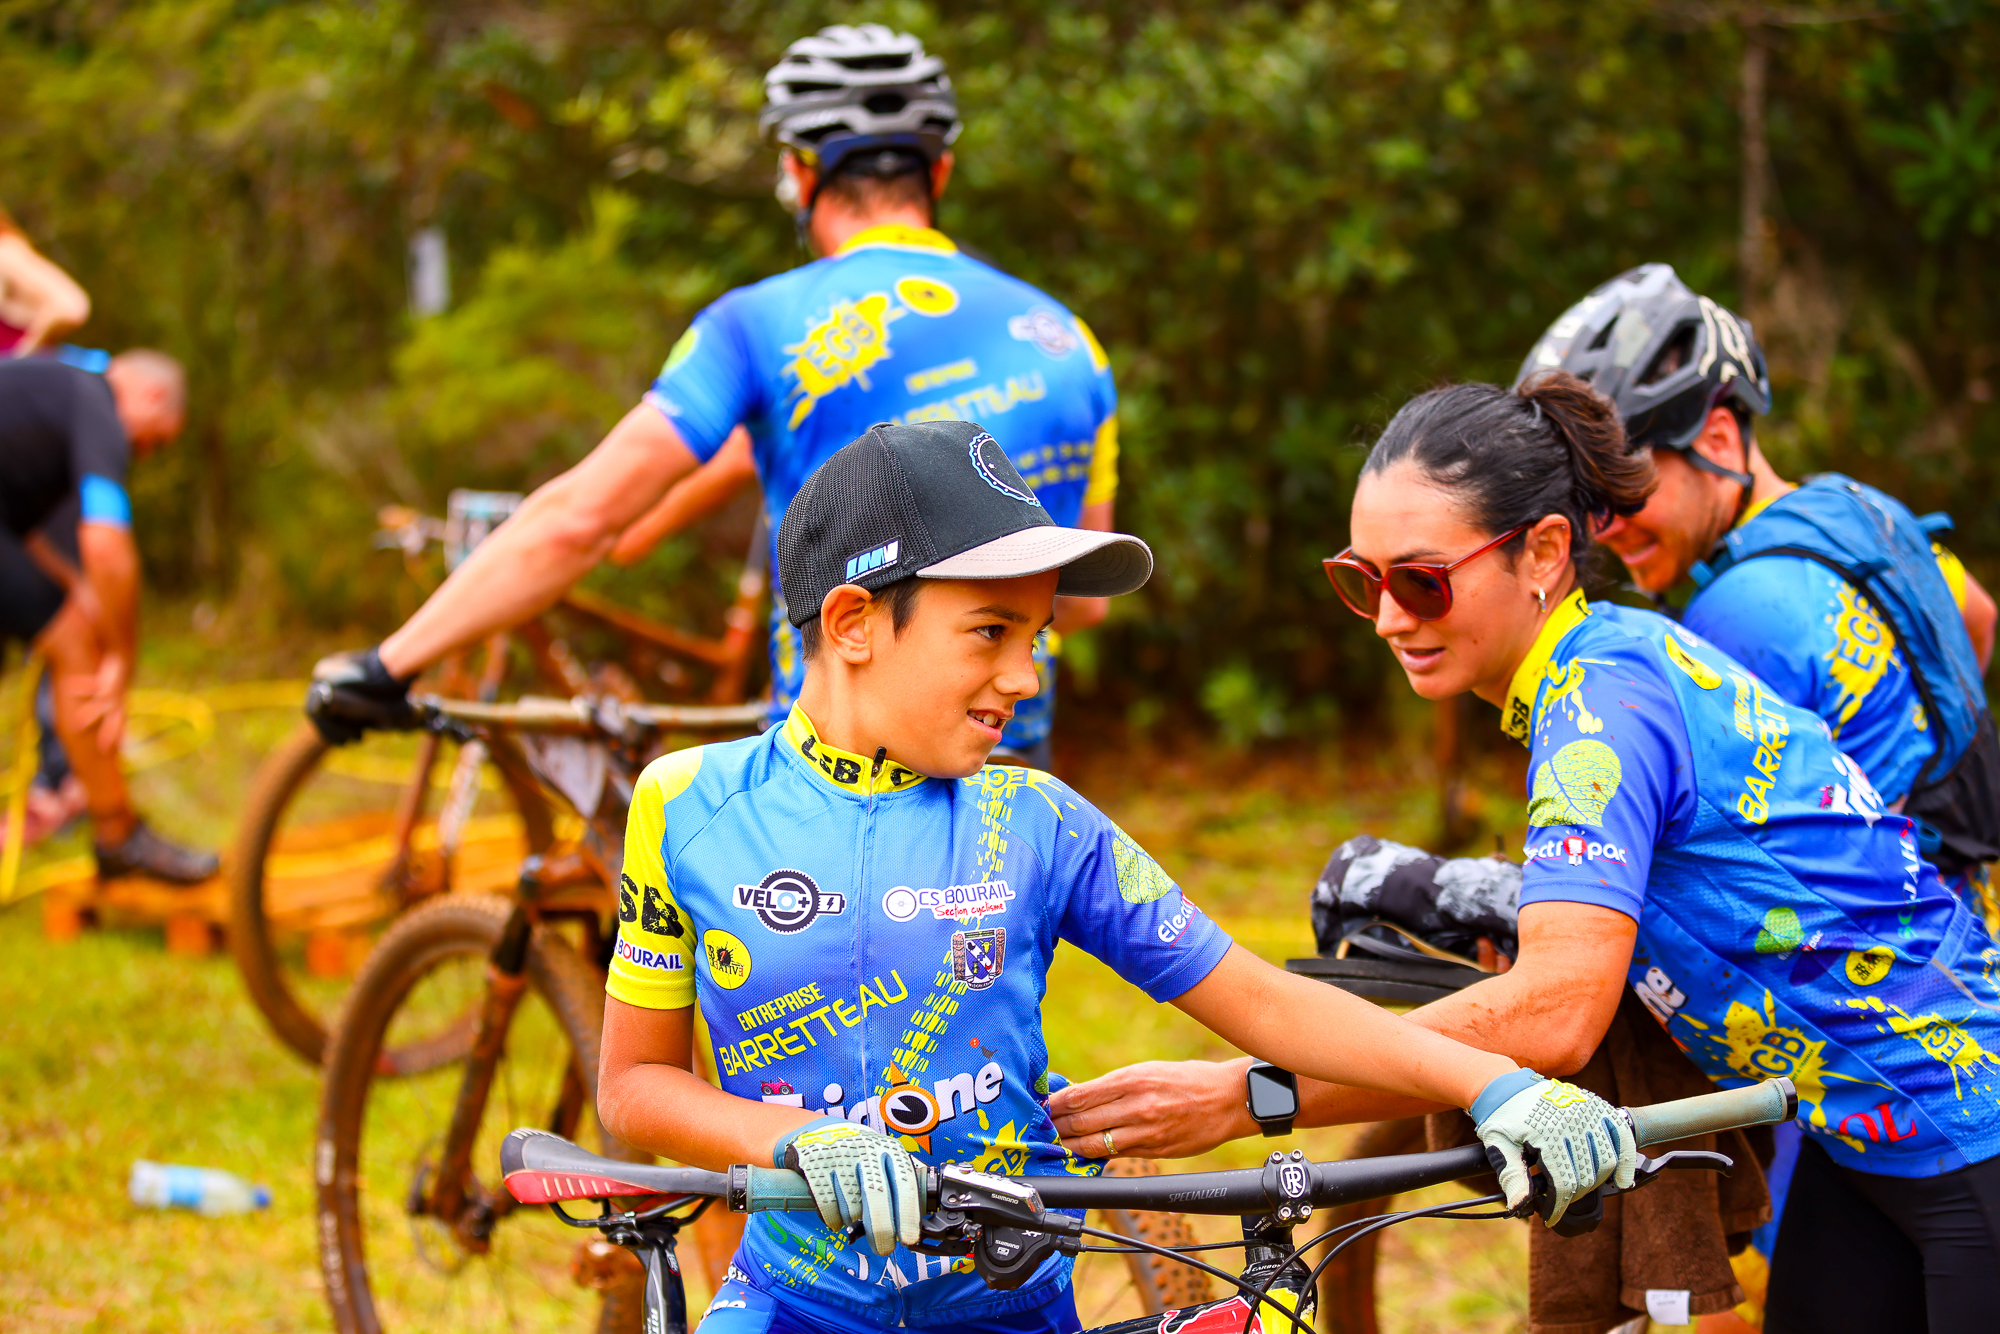
This is where things get serious. Domaine de Deva hosts the DEVA100 race every June, a two-day endurance event that attracts riders from across the Pacific. Even if you’re not racing, the trails here are worth multiple visits. They range from flowy XC loops to proper technical descents, all threaded through West Coast landscapes that alternate between dry scrub and sudden green.
The Deva100 race itself runs June 27-28 in 2026, and if you’re the kind of rider who likes suffering in beautiful places, I’d recommend registering. The event has that slightly chaotic, under-commercialized energy that makes regional races memorable.
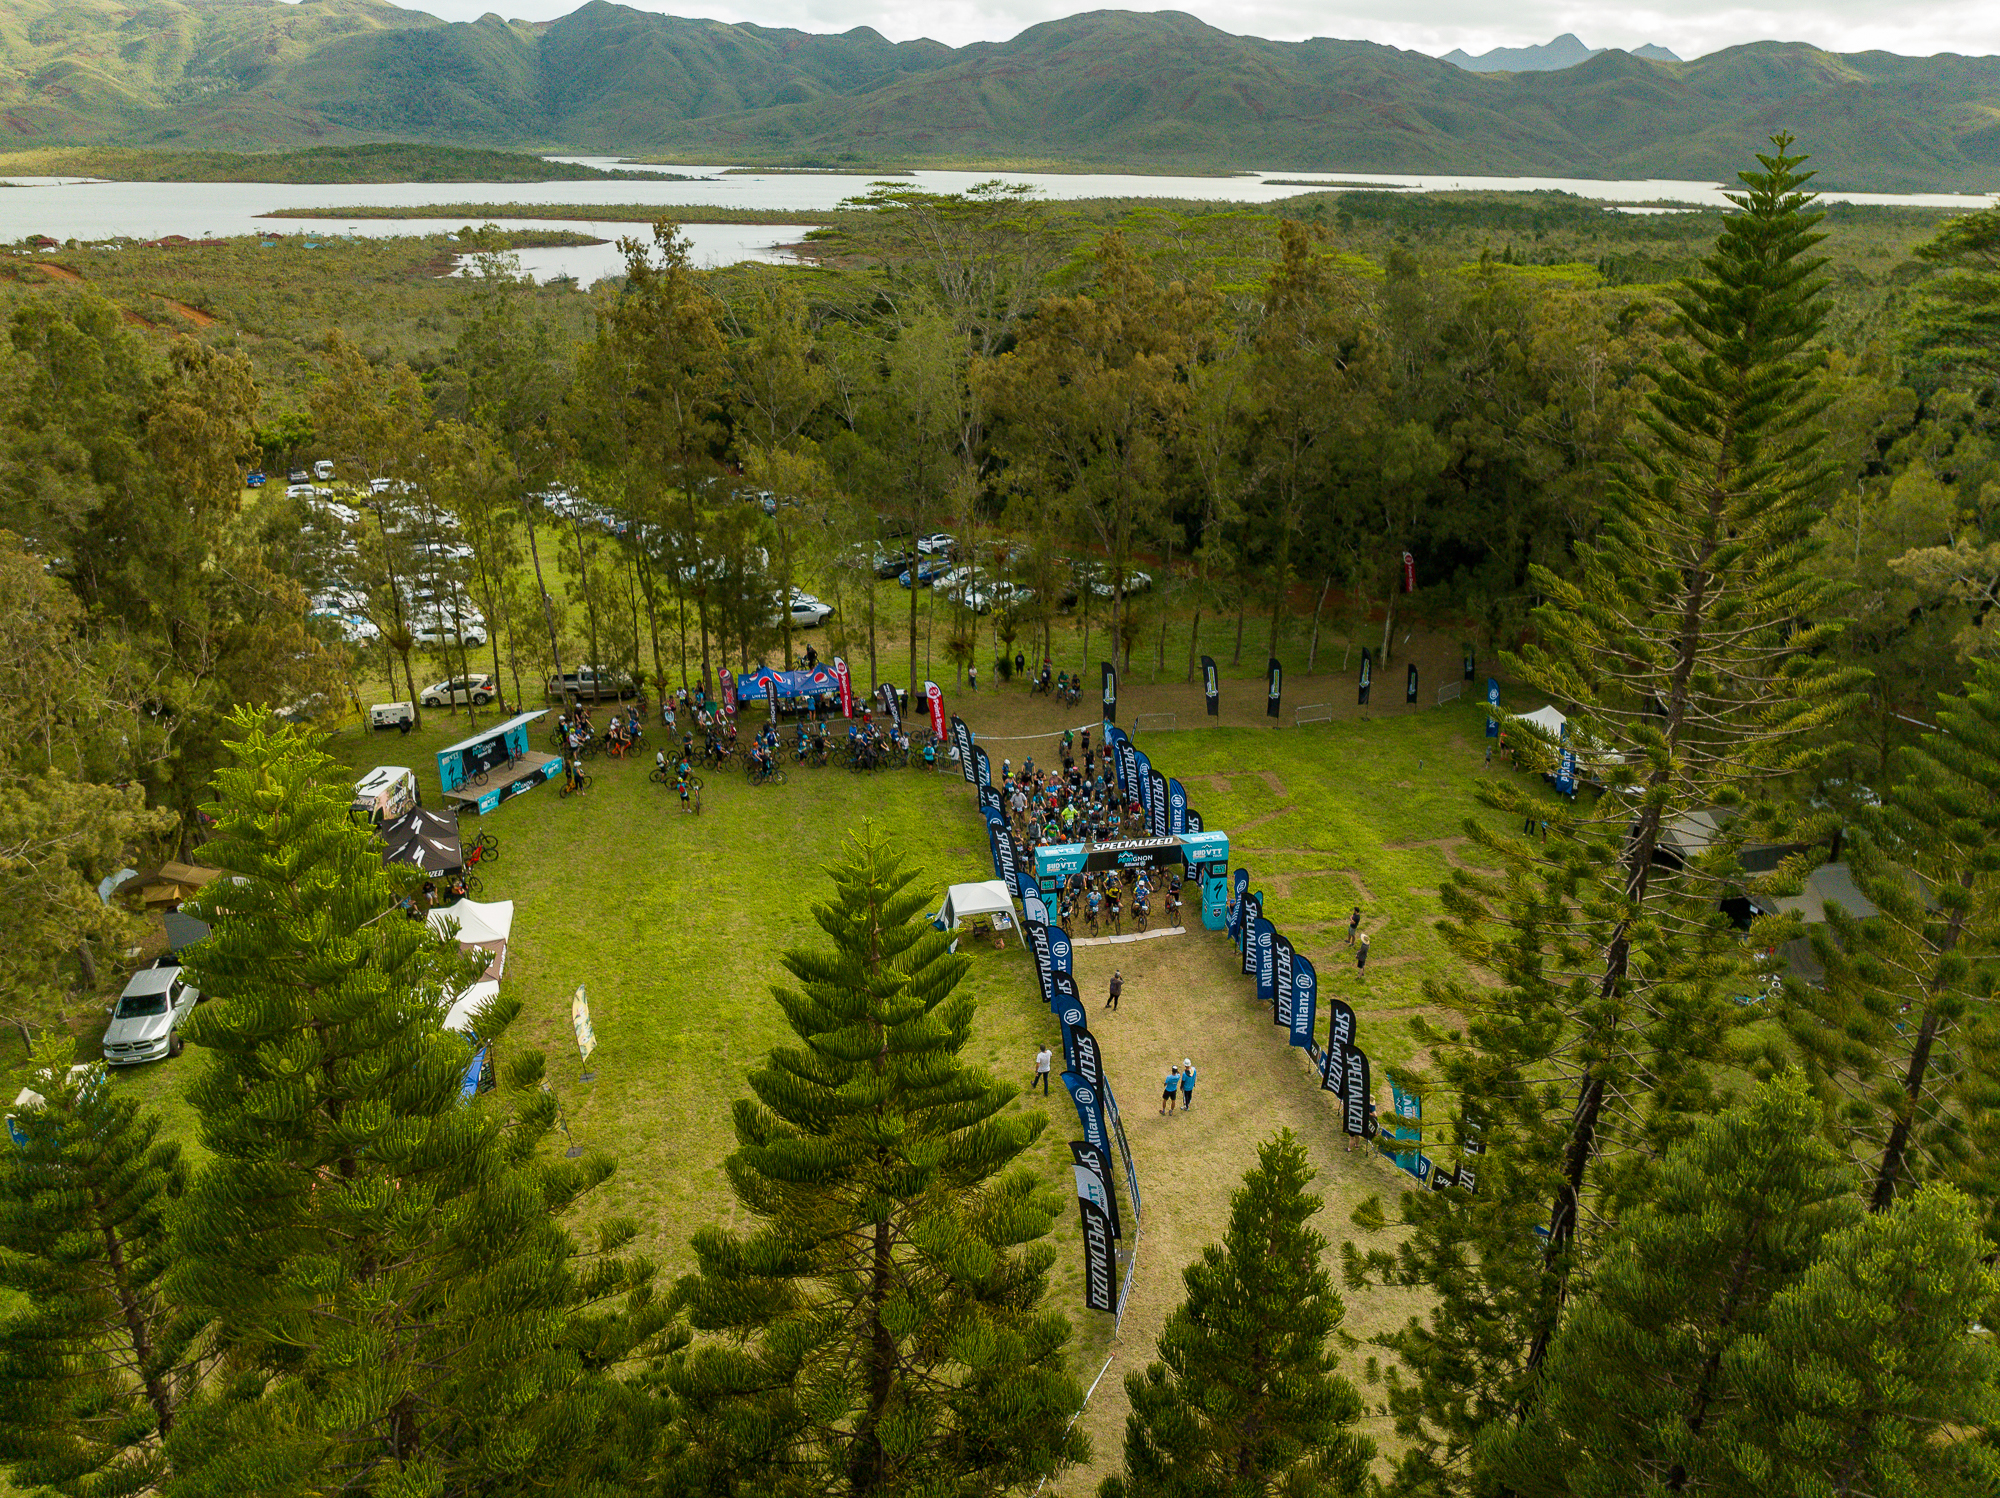
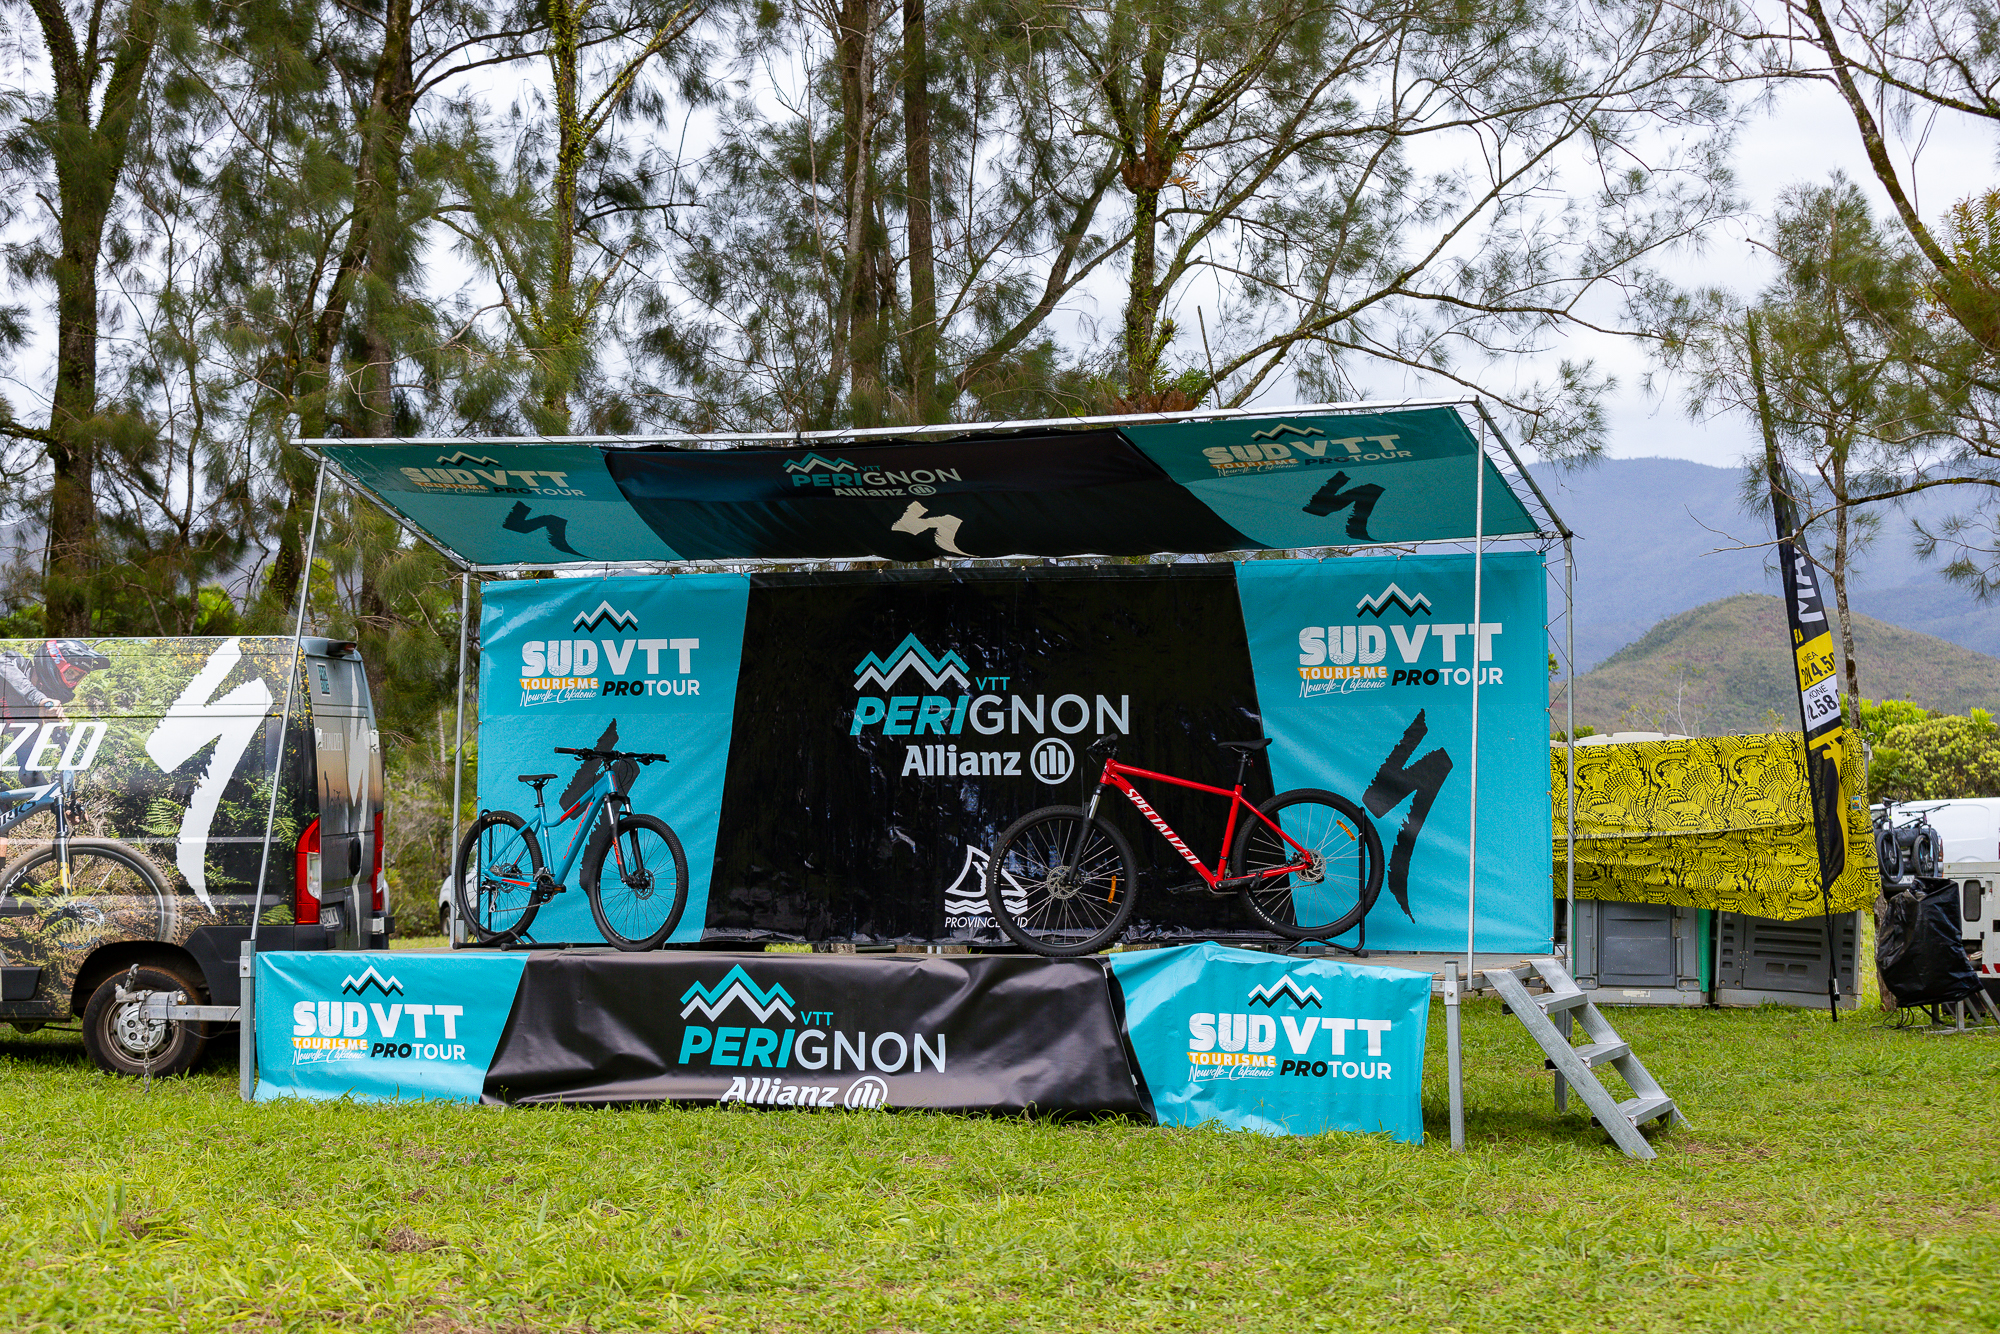
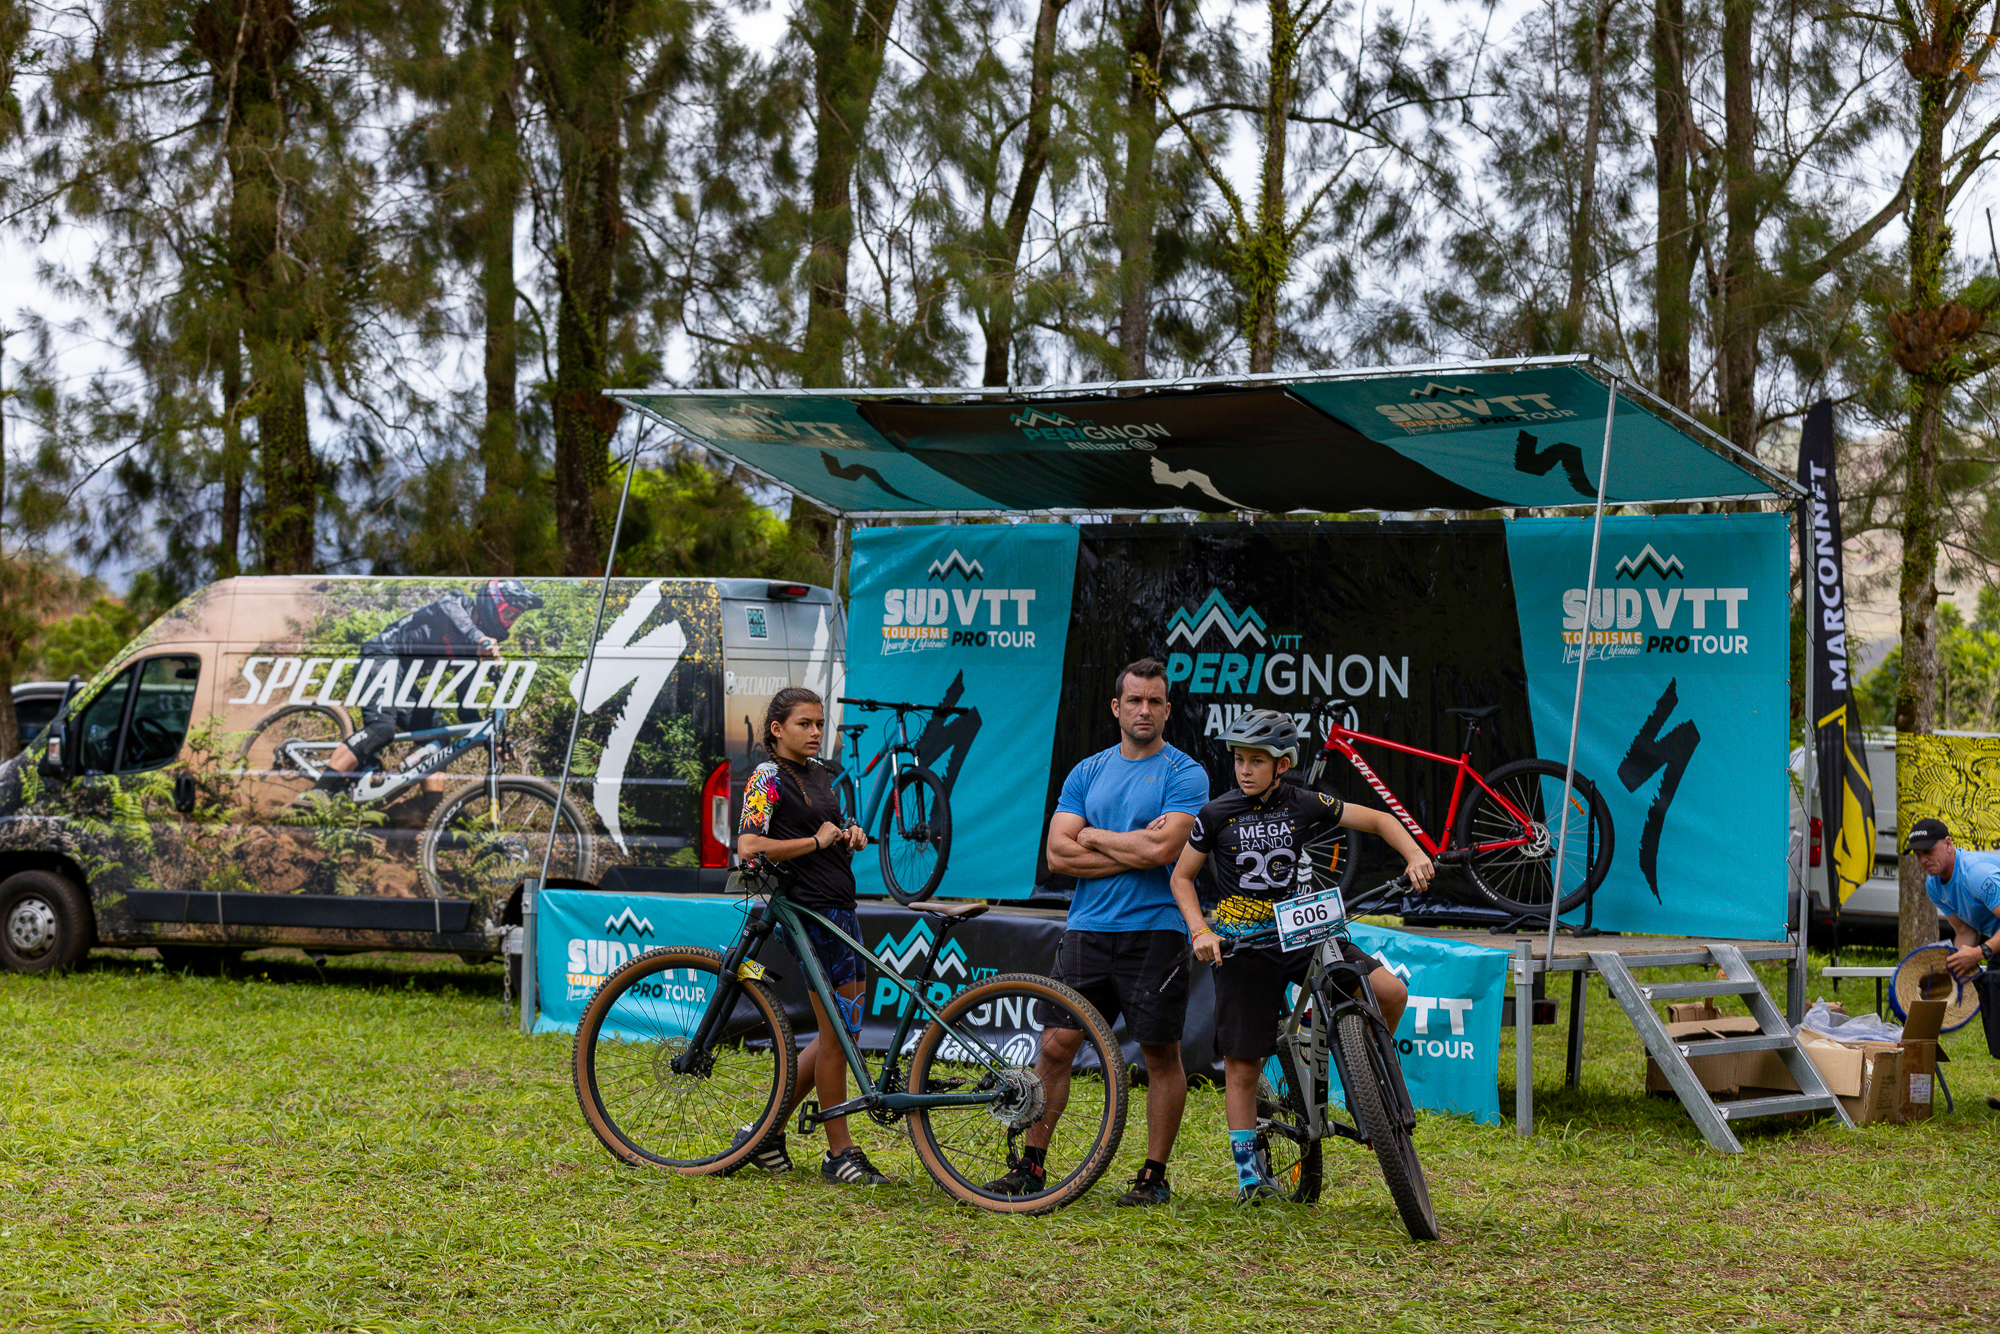
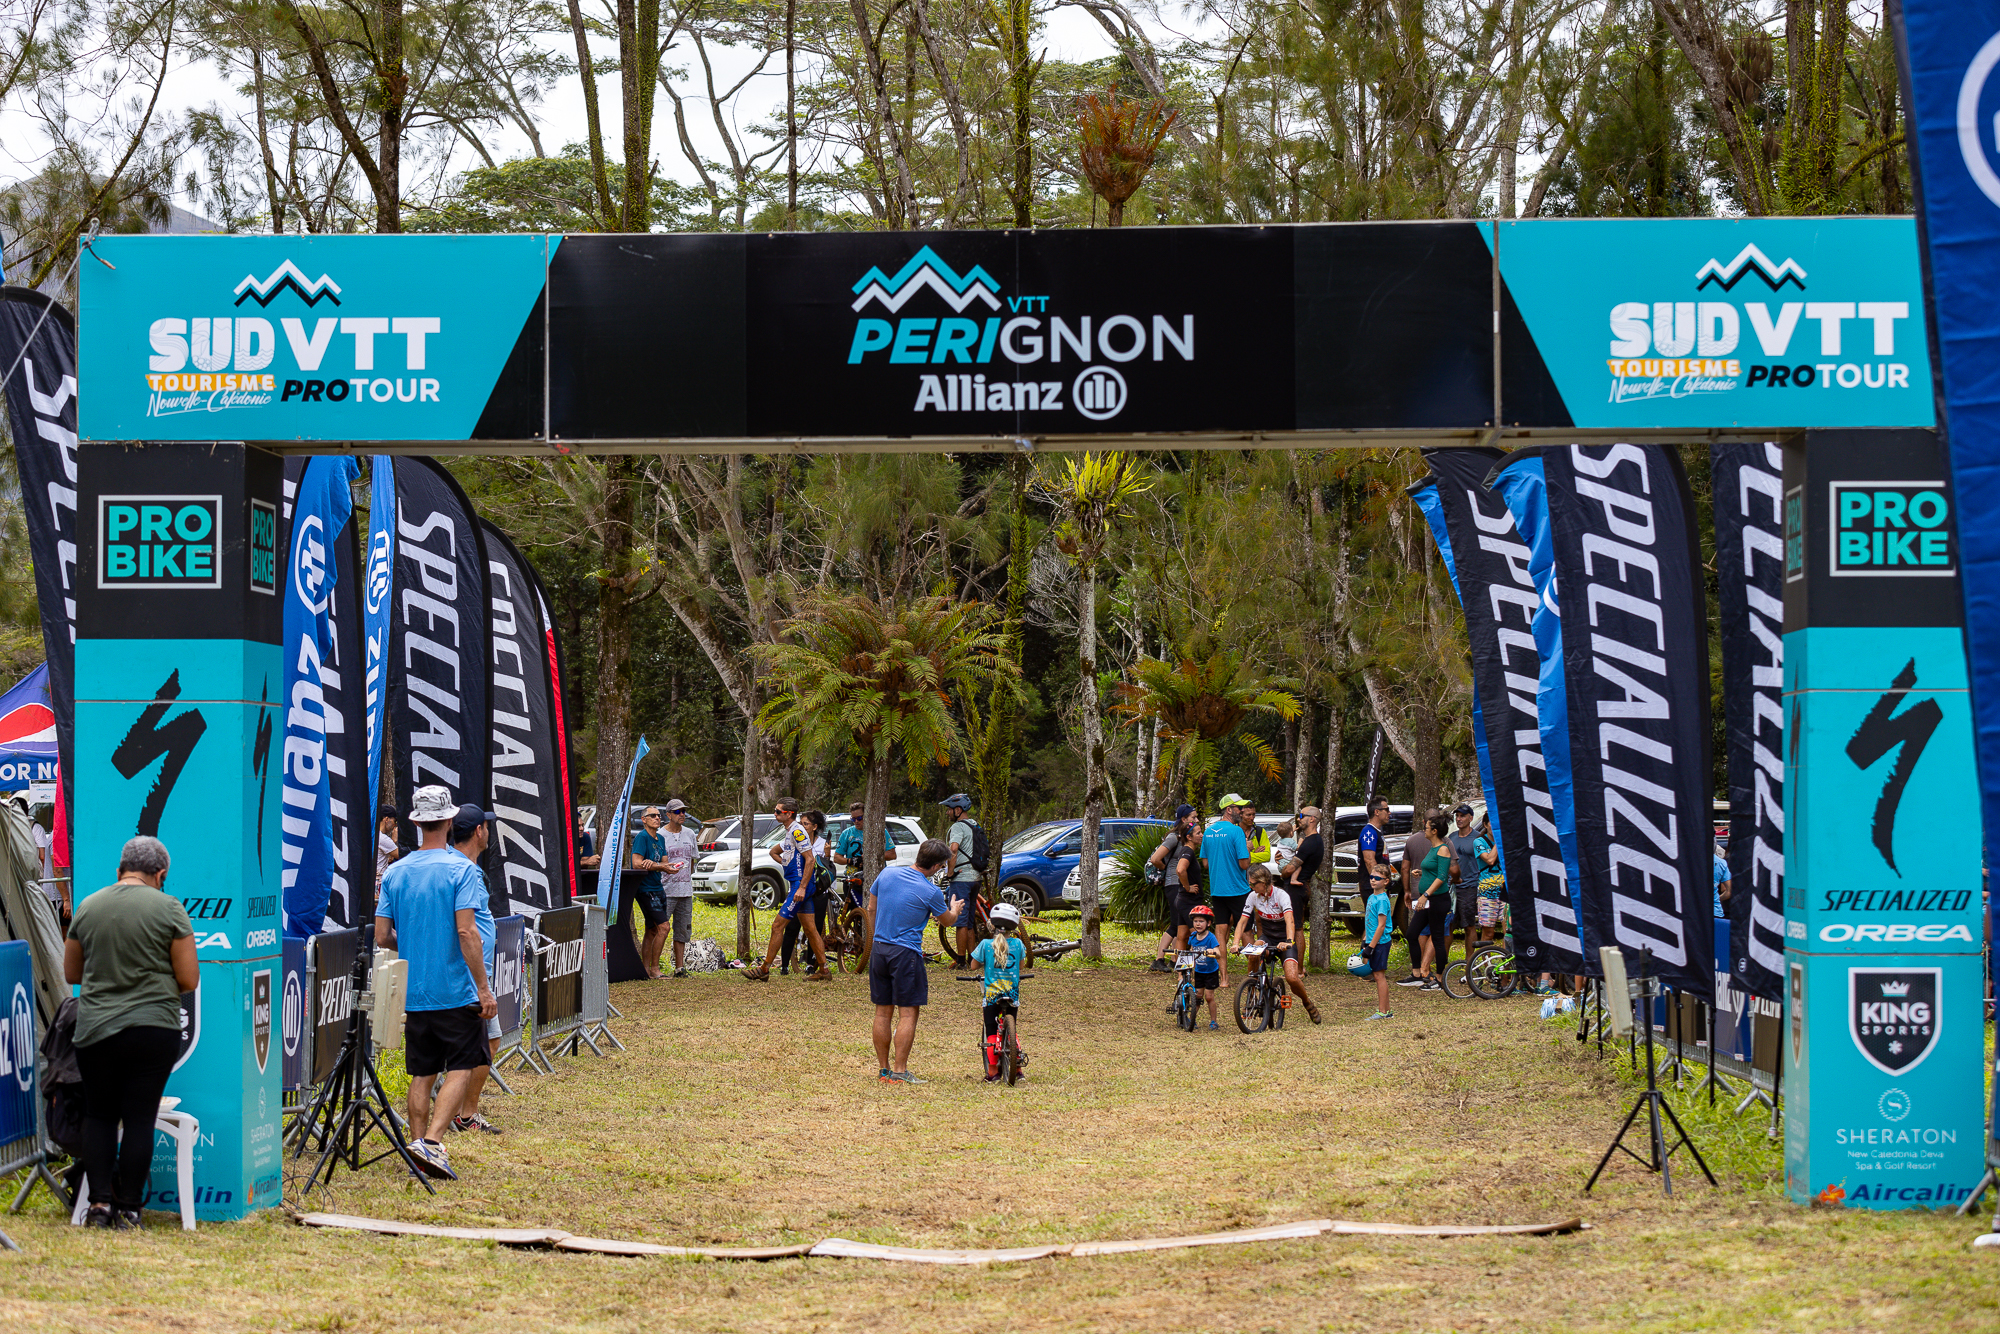
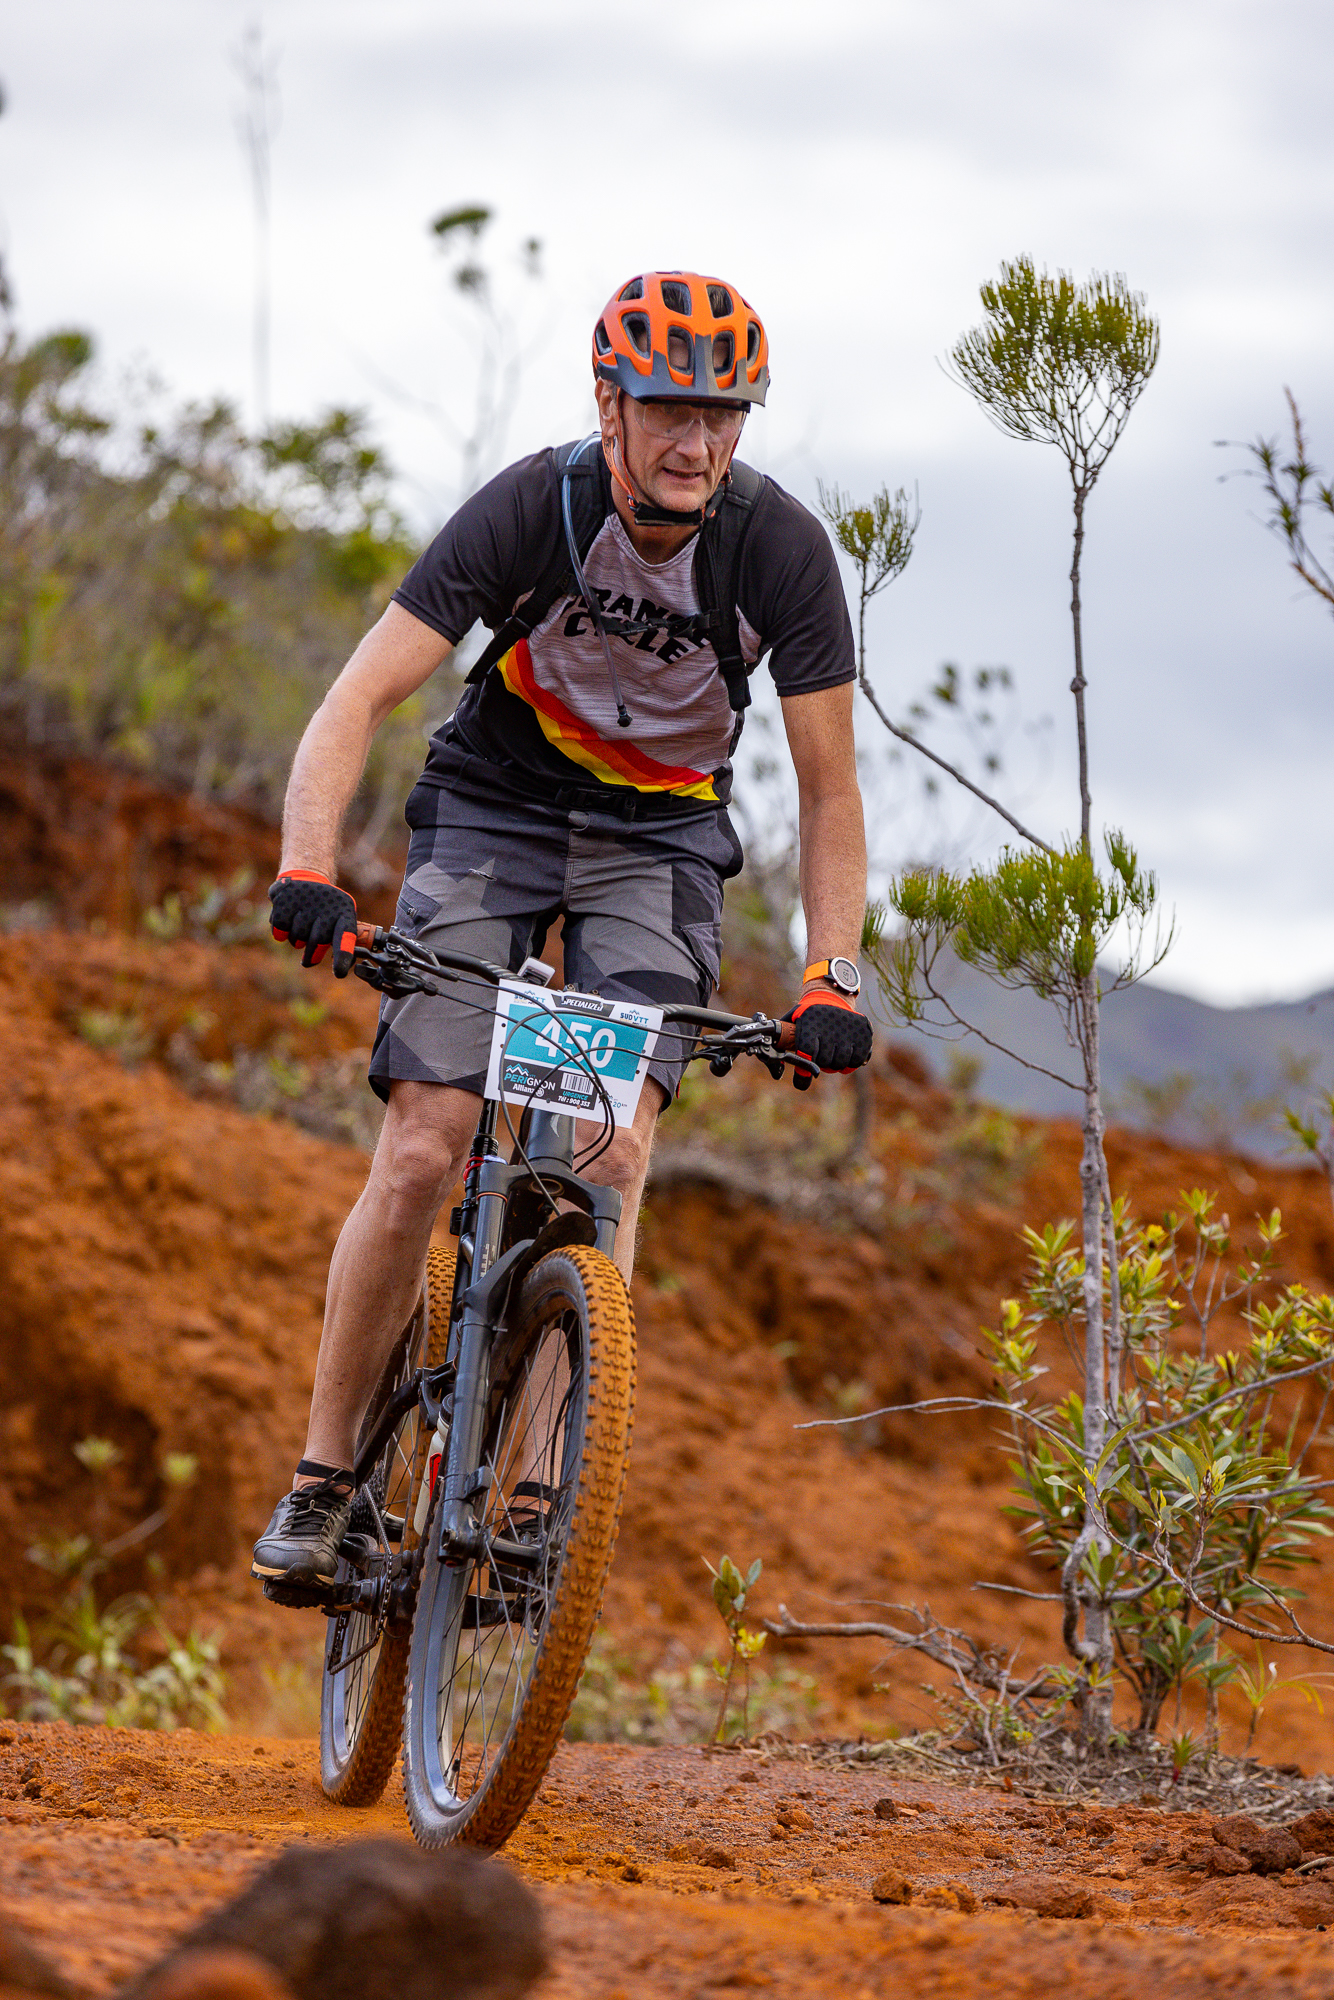
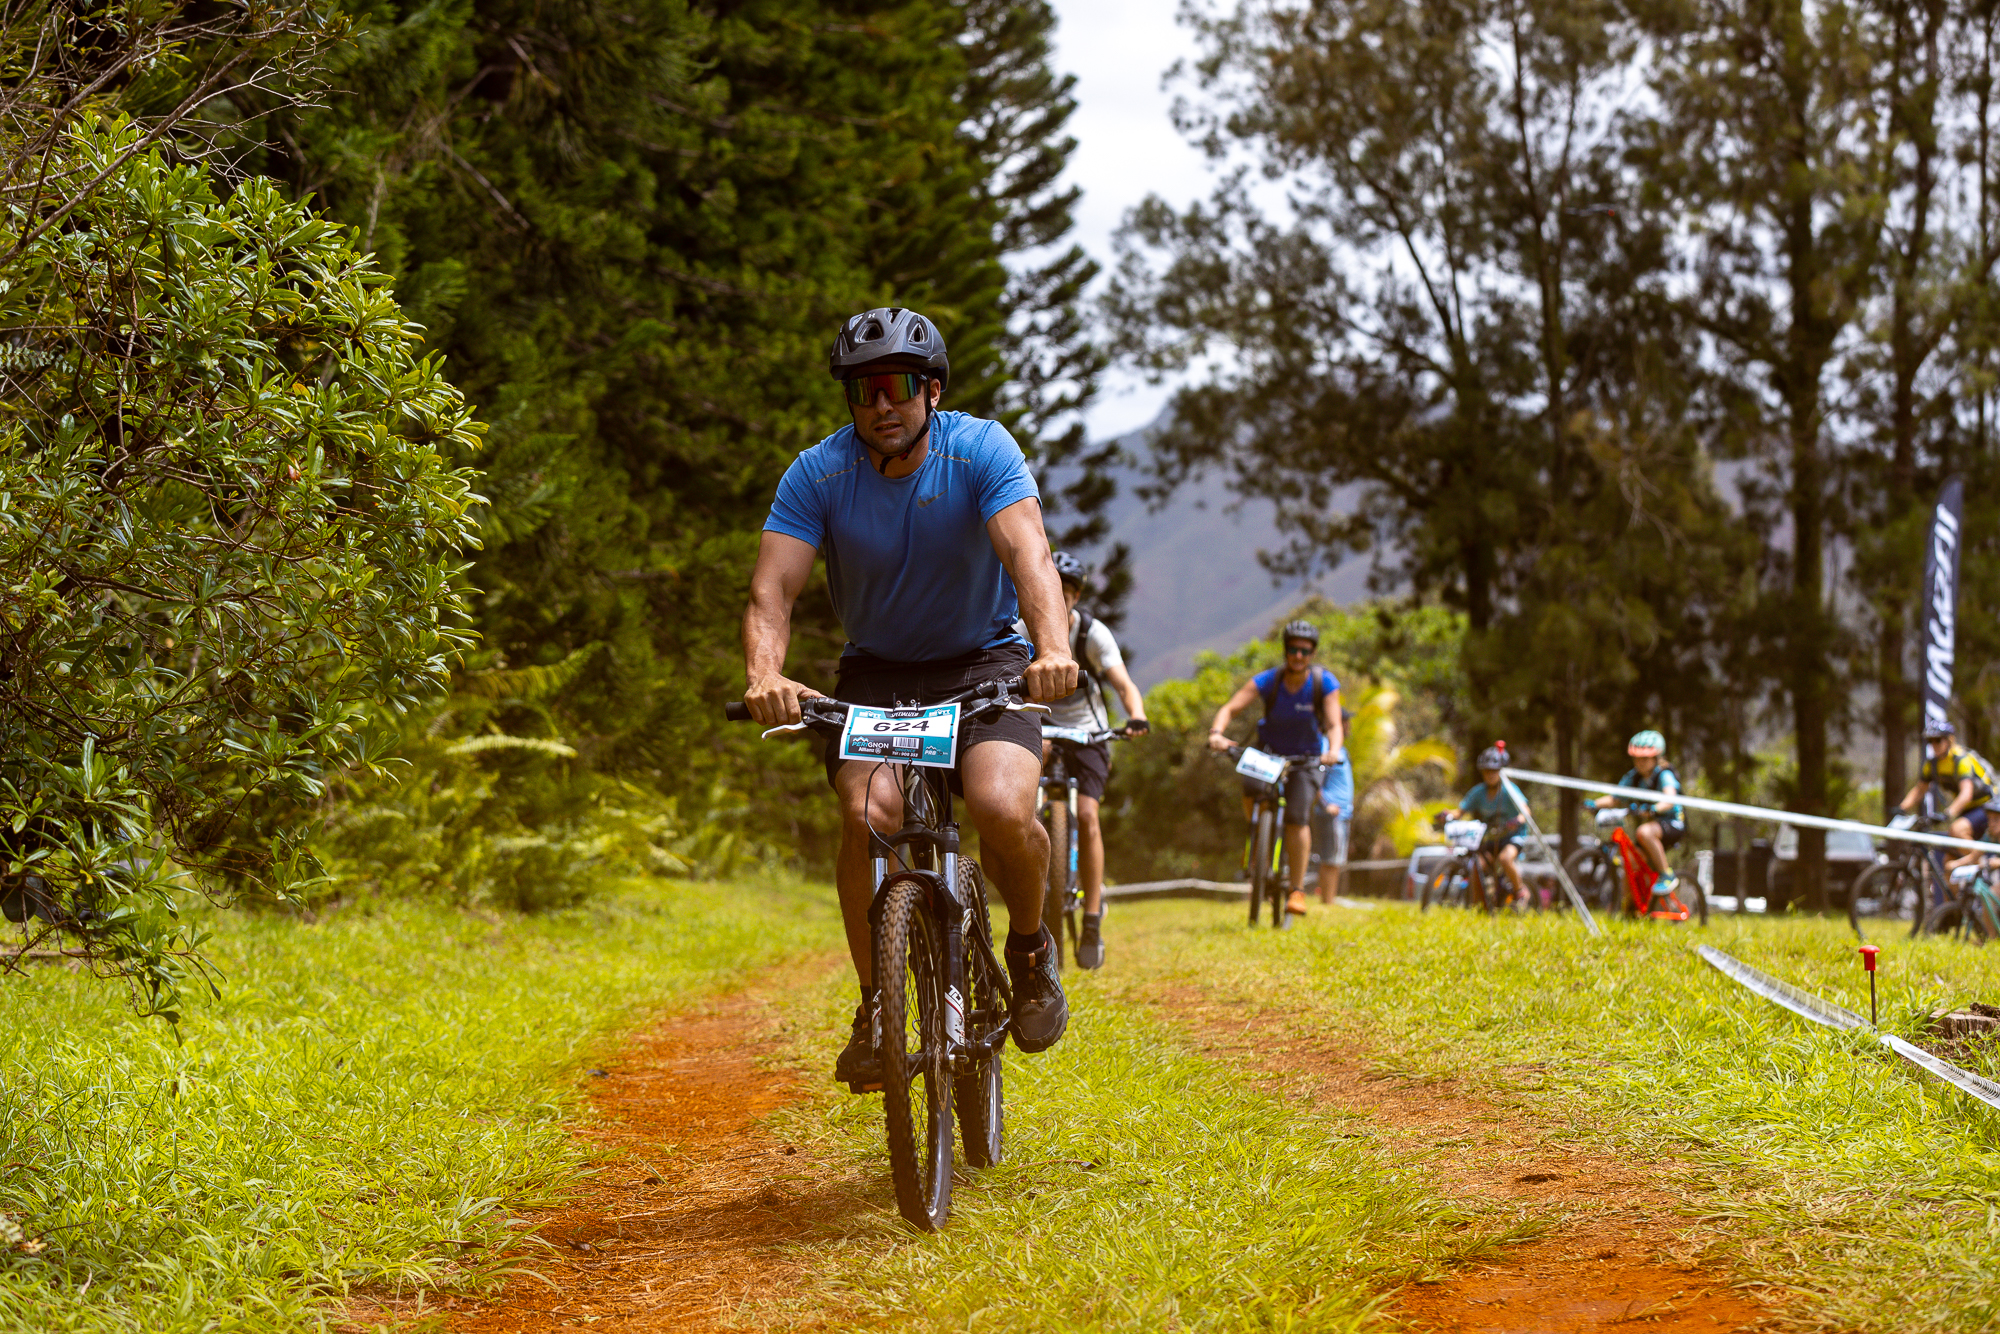
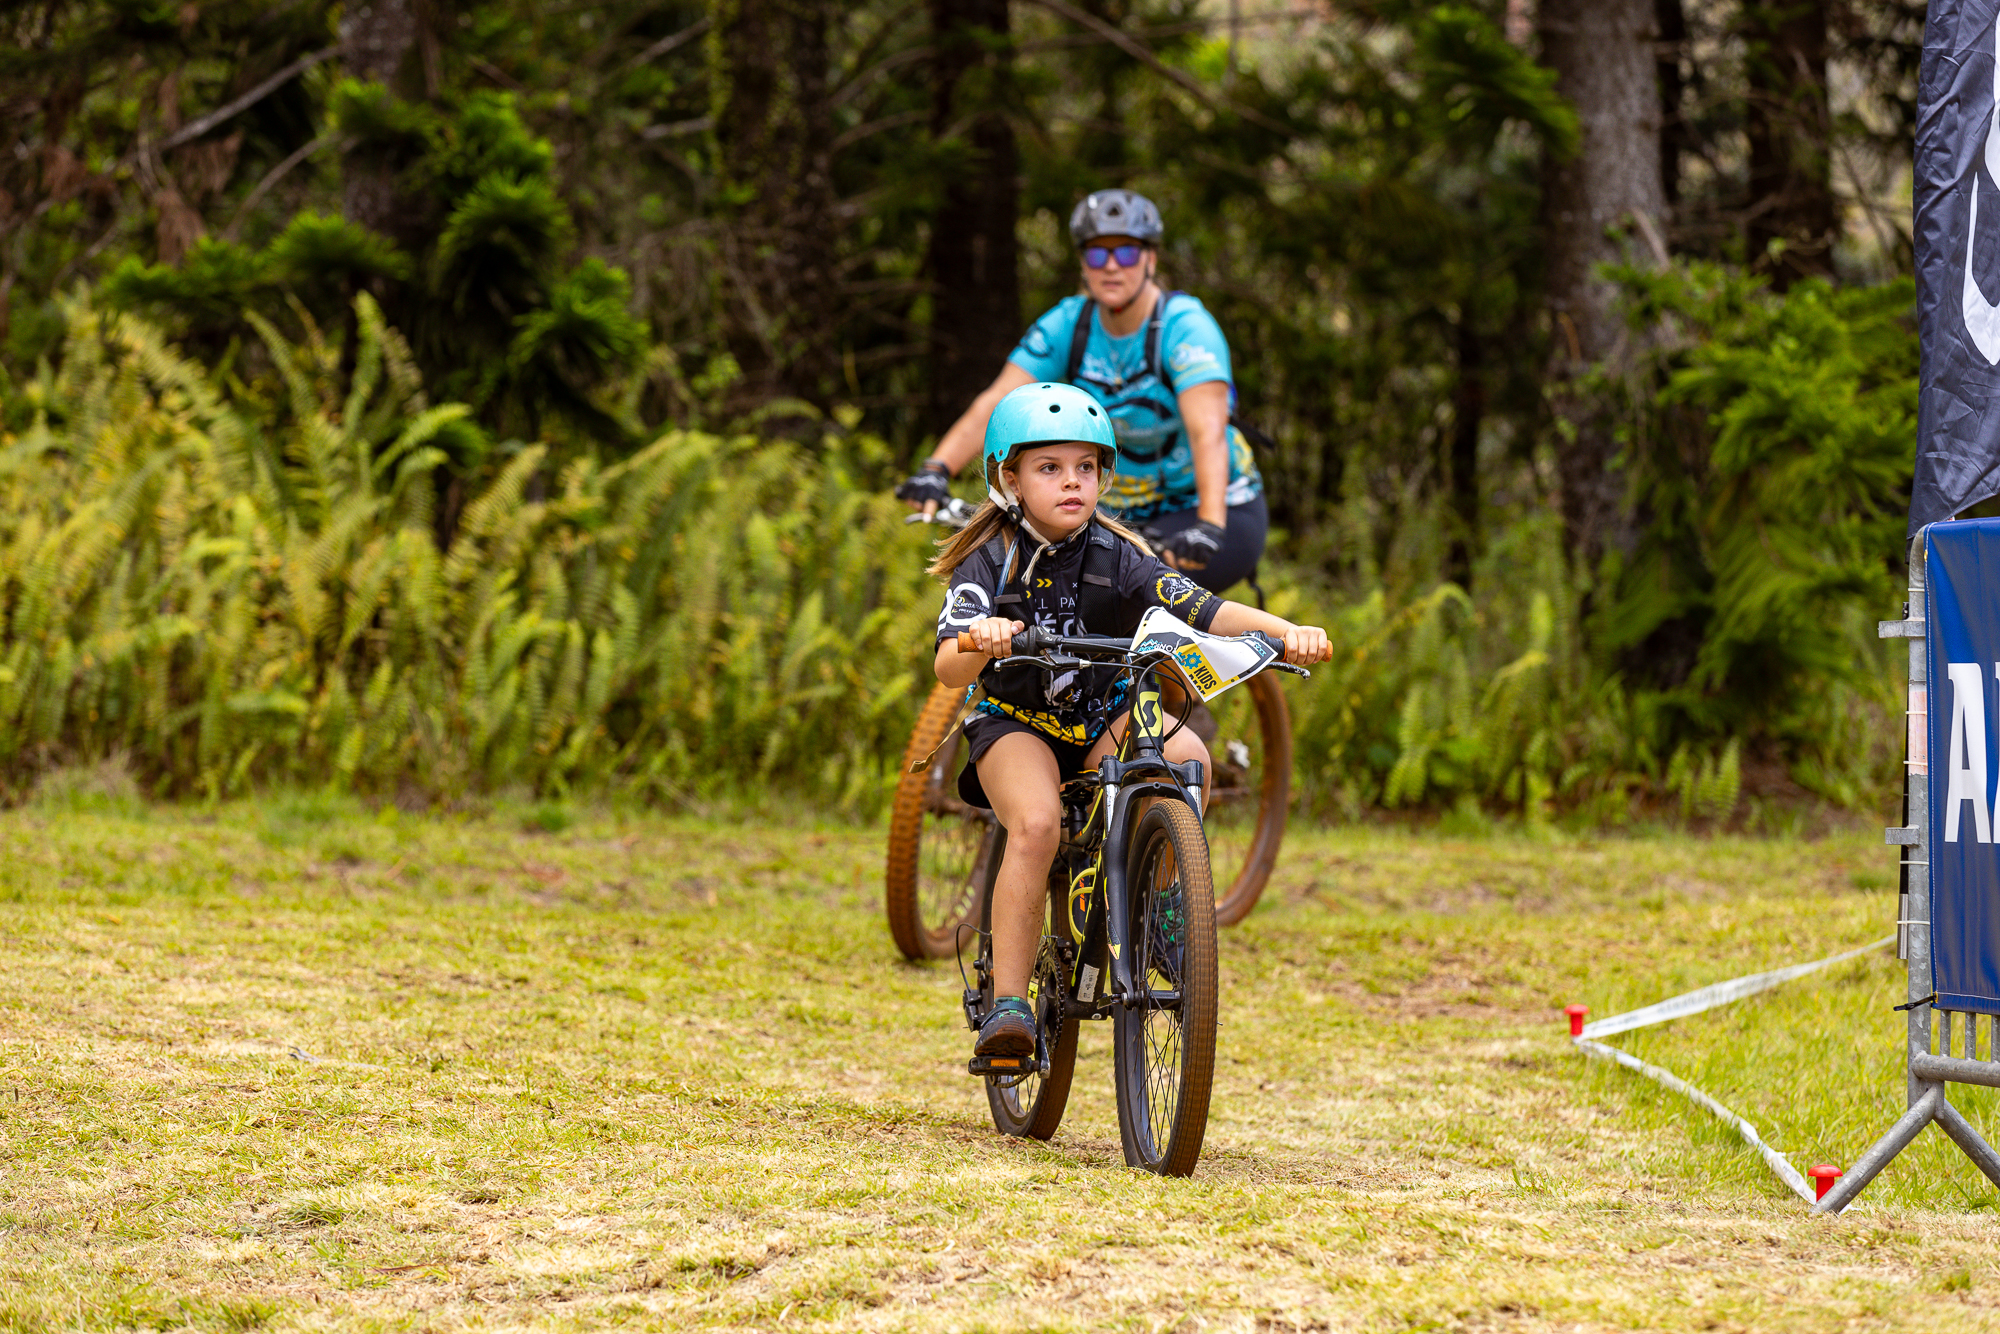
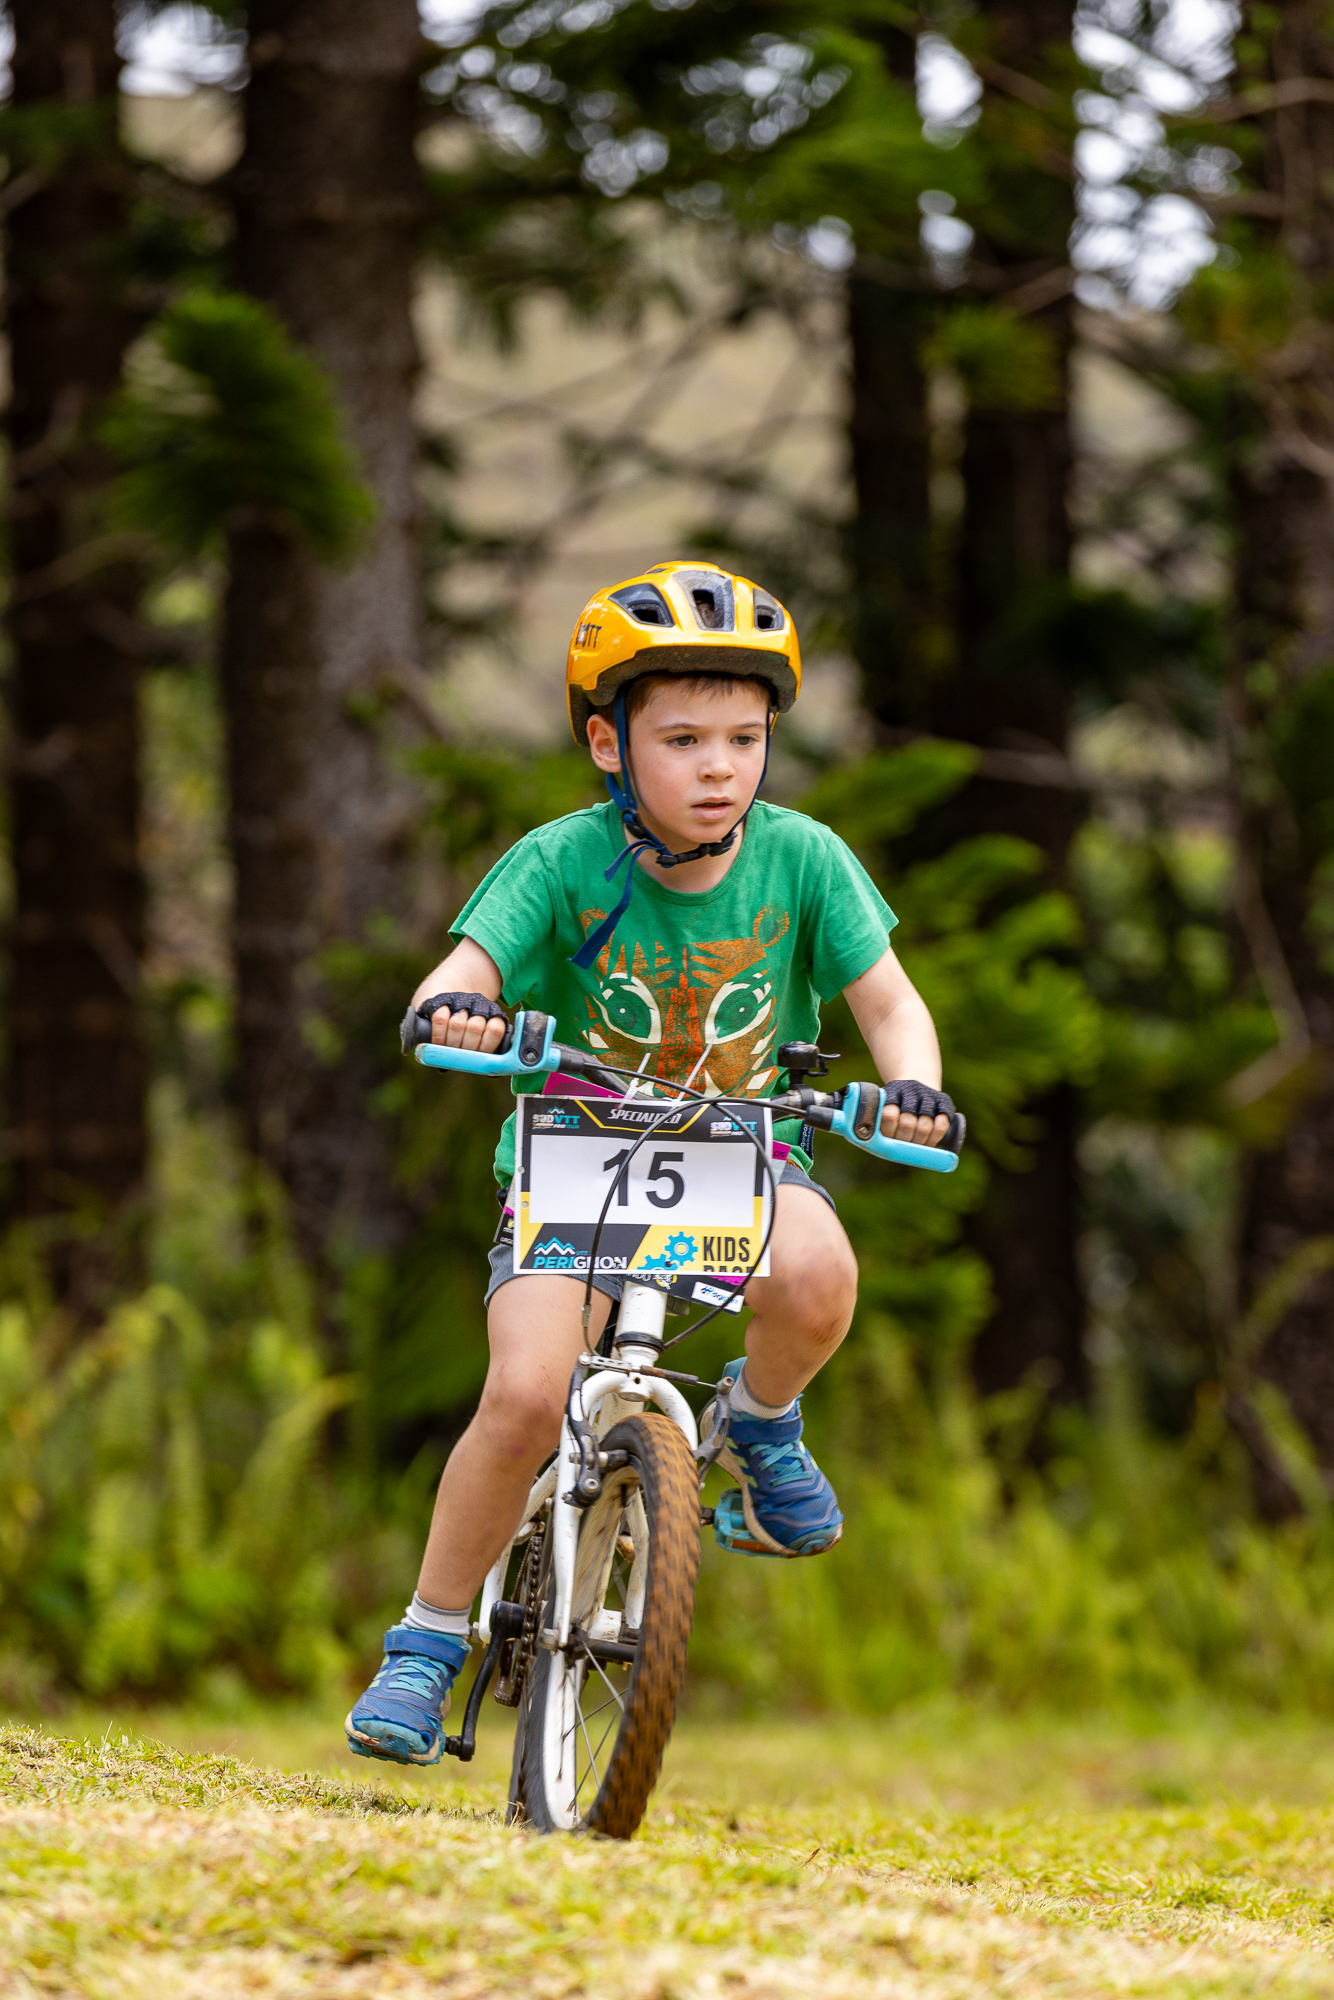
Blue River Provincial Park
If Domaine de Deva is serious, Blue River is sublime. This park sits inland, away from the coast, in terrain that feels closer to New Zealand backcountry than tropical island. The trails here are varied – some technical, some fast, all rewarding. And in October, it hosts the Perignon MTB race, another two-day event scheduled for October 10-11, 2026.
I rode Blue River on a rest day between training sessions, just exploring. There’s something about riding in a place with no pressure, no GPS track to follow, no Strava segment to chase. Just you, the bike, and trails that lead somewhere you haven’t been. I ended up at a viewpoint overlooking the valley, legs buzzing, lungs full, completely alone. It’s the kind of moment you can’t manufacture.
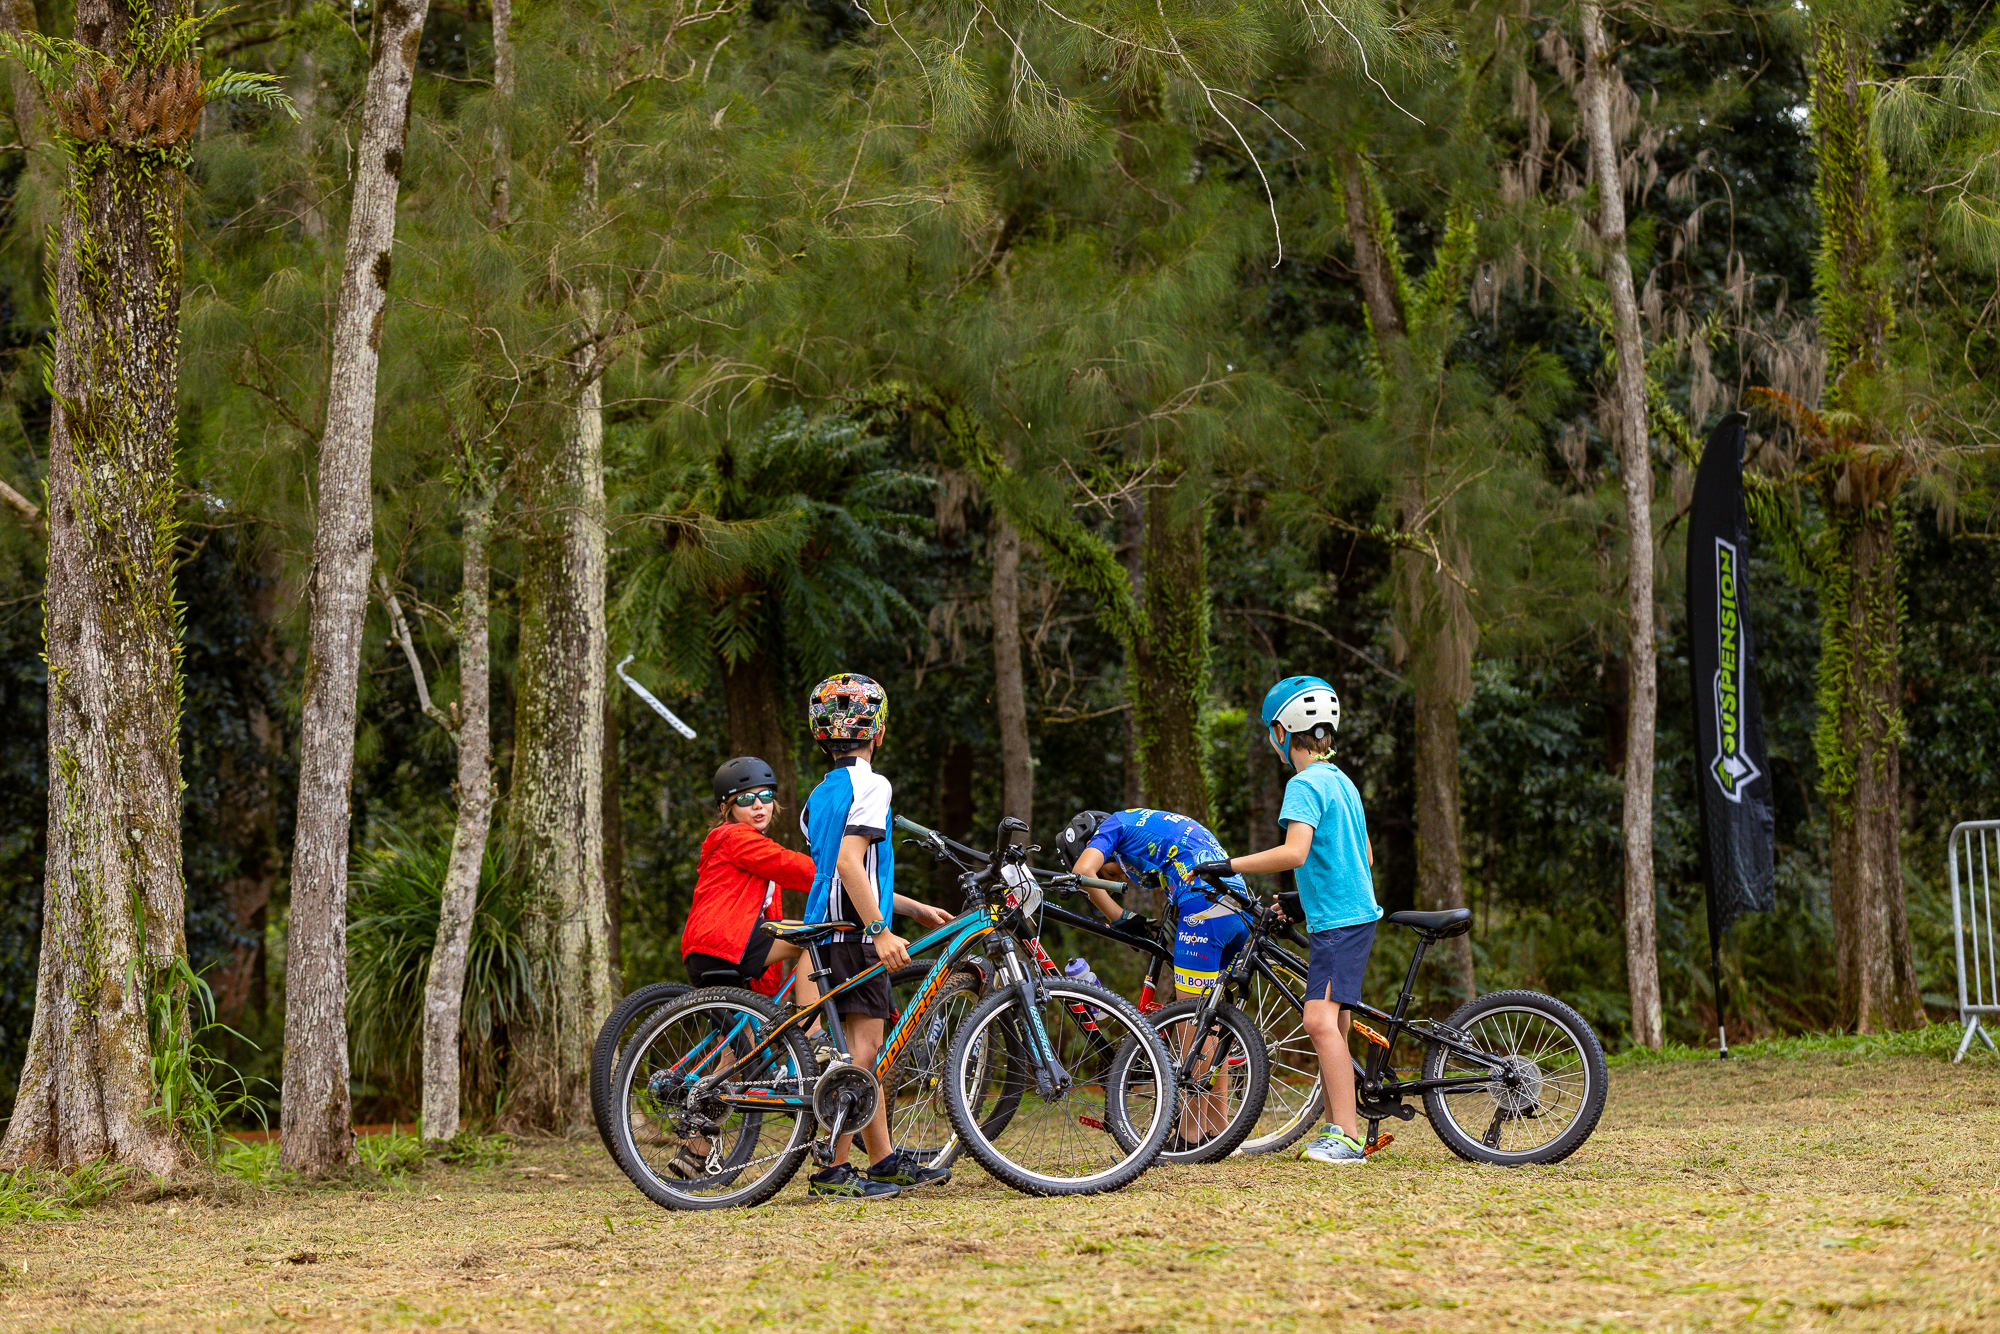
Tina’s Bike Park
Right in Nouméa, Tina’s offers accessible riding without needing to drive anywhere. It’s more park than wilderness,
but the trails are well-maintained and perfect for warming up or cooling down. If you’re staying in the city and want to spin the legs without committing to an expedition, this is your spot.
Netcha
Netcha is quieter, less developed, and frankly, a bit of a hidden gem. The trails here feel more raw, less curated. If you’re the type who prefers discovery over convenience, carve out a day for Netcha.
Base Camp: Ramada Nouméa
I stayed at the Ramada Hotel in Nouméa, which proved to be exactly what a riding trip needs: clean, central, functional. It’s not boutique. It’s not trying to be. What it is, is well-located, with staff who didn’t blink when I asked about bike storage and seemed genuinely interested in where I was planning to ride.
The hotel sits close enough to the city center that you can walk to cafes and restaurants, but far enough from the main strip that you’re not drowning in tourist noise. After long days on the trails, I’d return, shower off the dust and sweat, then wander down to Anse Vata beach to watch the sun drop into the Pacific while nursing a beer.
There’s something deeply satisfying about that rhythm: ride hard, eat well, sleep deep, repeat.
The French Factor
New Caledonia is French. Not French-influenced. Not French-themed. Properly, administratively French. The currency is the Pacific Franc (CFP), which stays pegged to the Euro. The language is predominantly French, though you’ll find English speakers in tourist areas and among younger locals. The food is – and I say this with full appreciation – absurdly good for a place this far from Paris.
Bakeries serve actual croissants, the kind with proper lamination and that slightly yeasty smell that makes you instantly hungry. Restaurants take food seriously without being pretentious about it. Wine lists feature French imports at prices that would make Australians weep.
This creates an interesting cultural overlay. You’ve got Melanesian culture, indigenous Kanak traditions, French administrative systems, and a growing population of immigrants from Wallis and Futuna, all coexisting in this small archipelago. It’s not always seamless – the recent unrest proved that – but it creates a texture you don’t find in more homogenous destinations.
Beyond the Bike
Look, I went for the riding. But pretending that’s all New Caledonia offers would be disingenuous.
The lagoon is legitimately stunning. Snorkeling and diving here rank among the best in the Pacific. The reef system
supports an ecosystem that includes dugongs, sea turtles, and enough tropical fish species to keep marine biologists
busy for careers. You can kayak through mangroves, kiteboard in protected bays, or just lie on beaches that see a
fraction of the traffic Hawaii or Fiji deal with.
Île des Pins, “Isle of Pines,” sits southeast of the main island and offers that postcard-perfect island escape if you need a counterpoint to all the technical riding. Traditional Kanak culture is more visible here, and the pace slows to something approaching stillness.
But honestly? I kept thinking about the trails.


The Logistics
Getting there is straightforward. Aircalin flies direct from Auckland, Sydney, and Brisbane. Three hours, three
hours, two hours respectively. Pack your bike, check it as luggage (Aircalin handles bikes without drama), and
you’re done.
Car rental is essential. Europcar has a desk at the airport and locations in Nouméa. Get something with decent clearance if you’re planning to access remote trailheads. Roads are generally good, but “generally” does some heavy lifting in that sentence.
Accommodation ranges from budget hostels to resort-level luxury. I’d lean toward staying in Nouméa as a base – it’s
central, it has infrastructure, and the Ramada there offers solid value without trying to extract every last Franc from
your wallet.
As for timing: June for the Deva100, October for the Perignon MTB, or frankly any time between April and November. The summer months (December-March) get hot and humid, with a higher chance of cyclones. Not unrideable, but not optimal either.
The Honest Assessment
New Caledonia isn’t perfect. It’s dealing with serious internal questions about identity, independence, and equity. Tourism infrastructure isn’t as developed as neighboring destinations. English isn’t universal. Prices can sting, especially if you’re used to Southeast Asian budgets.
But here’s what it offers: accessibility without crowds, world-class riding without the hype, cultural complexity
instead of resort-sanitized “authenticity,” and a landscape that manages to be both familiar and completely foreign.
I flew in on Aircalin on a Wednesday morning. By Thursday afternoon, I was waist-deep in the lagoon, bike leaning
against a palm tree, legs still vibrating from that morning’s ride through Parc des Grandes Fougères. By Saturday, I was mentally planning my return.
Three hours from Auckland. That’s closer than Queenstown. Closer than most Australian destinations worth
reaching. And somehow still flying under the radar of the mountain biking masses.
I’d suggest keeping it that way, but that seems selfish. And besides, places this good don’t stay secret forever.
Practical Information
Getting There:
Aircalin operates direct flights from Auckland (3 hours), Sydney (3 hours), and Brisbane (2 hours).
Website: https://www.aircalin.com
Facebook: https://www.facebook.com/aircalinNC/
Instagram: https://www.instagram.com/aircalin/
Car Rental:
Europcar has locations at La Tontouta International Airport and in Nouméa. Essential for accessing trailheads.
Website: https://www.europcar.fr/fr-fr/places/location-voiture-new-caledonia/noumea/noumea-centre-ville
Facebook: https://www.facebook.com/EuropcarNouvelleCaledonie
Instagram: https://www.instagram.com/europcar_nc/
Accommodation:
Ramada Hotel Nouméa offers central location, bike-friendly facilities, and good value.
Website: https://ramadanoumea.com
Facebook: https://www.facebook.com/ramadahotelnoumea
Instagram: https://www.instagram.com/ramadanoumea/
Mountain Bike Parks & Events:
• DEVA100 – June 27-28, 2026, Domaine de Deva
https://www.proevents.nc/evenements/deva100
https://www.nouvellecaledonie.travel/destination/cote-ouest/domaine-de-deva/
https://sitesvtt.ffc.fr/sites/les-boucles-de-deva/
• Perignon MTB – October 10-11, 2026, Blue River Provincial Park
https://www.proevents.nc/evenements/perignon
https://www.province-sud.nc/decouvrir-et-visiter/pprb/
• Parc des Grandes Fougères – Technical rainforest riding
https://www.province-sud.nc/decouvrir-et-visiter/ppgf/
• Tina’s Bike Park – Urban trails in Nouméa
https://www.sudtourisme.nc/offres/les-boucles-de-tina-noumea-fr-3005526/
• Netcha – Raw, less-developed trails
https://sitesvtt.ffc.fr/sites/les-boucles-de-netcha-6/
Event information: www.proevents.nc
Tourism Resources:
New Caledonia Tourism:
https://www.nouvellecaledonie.travel
Facebook: https://www.facebook.com/nouvellecaledonieFR
Facebook (South Tourism): https://www.facebook.com/sudtourismenc


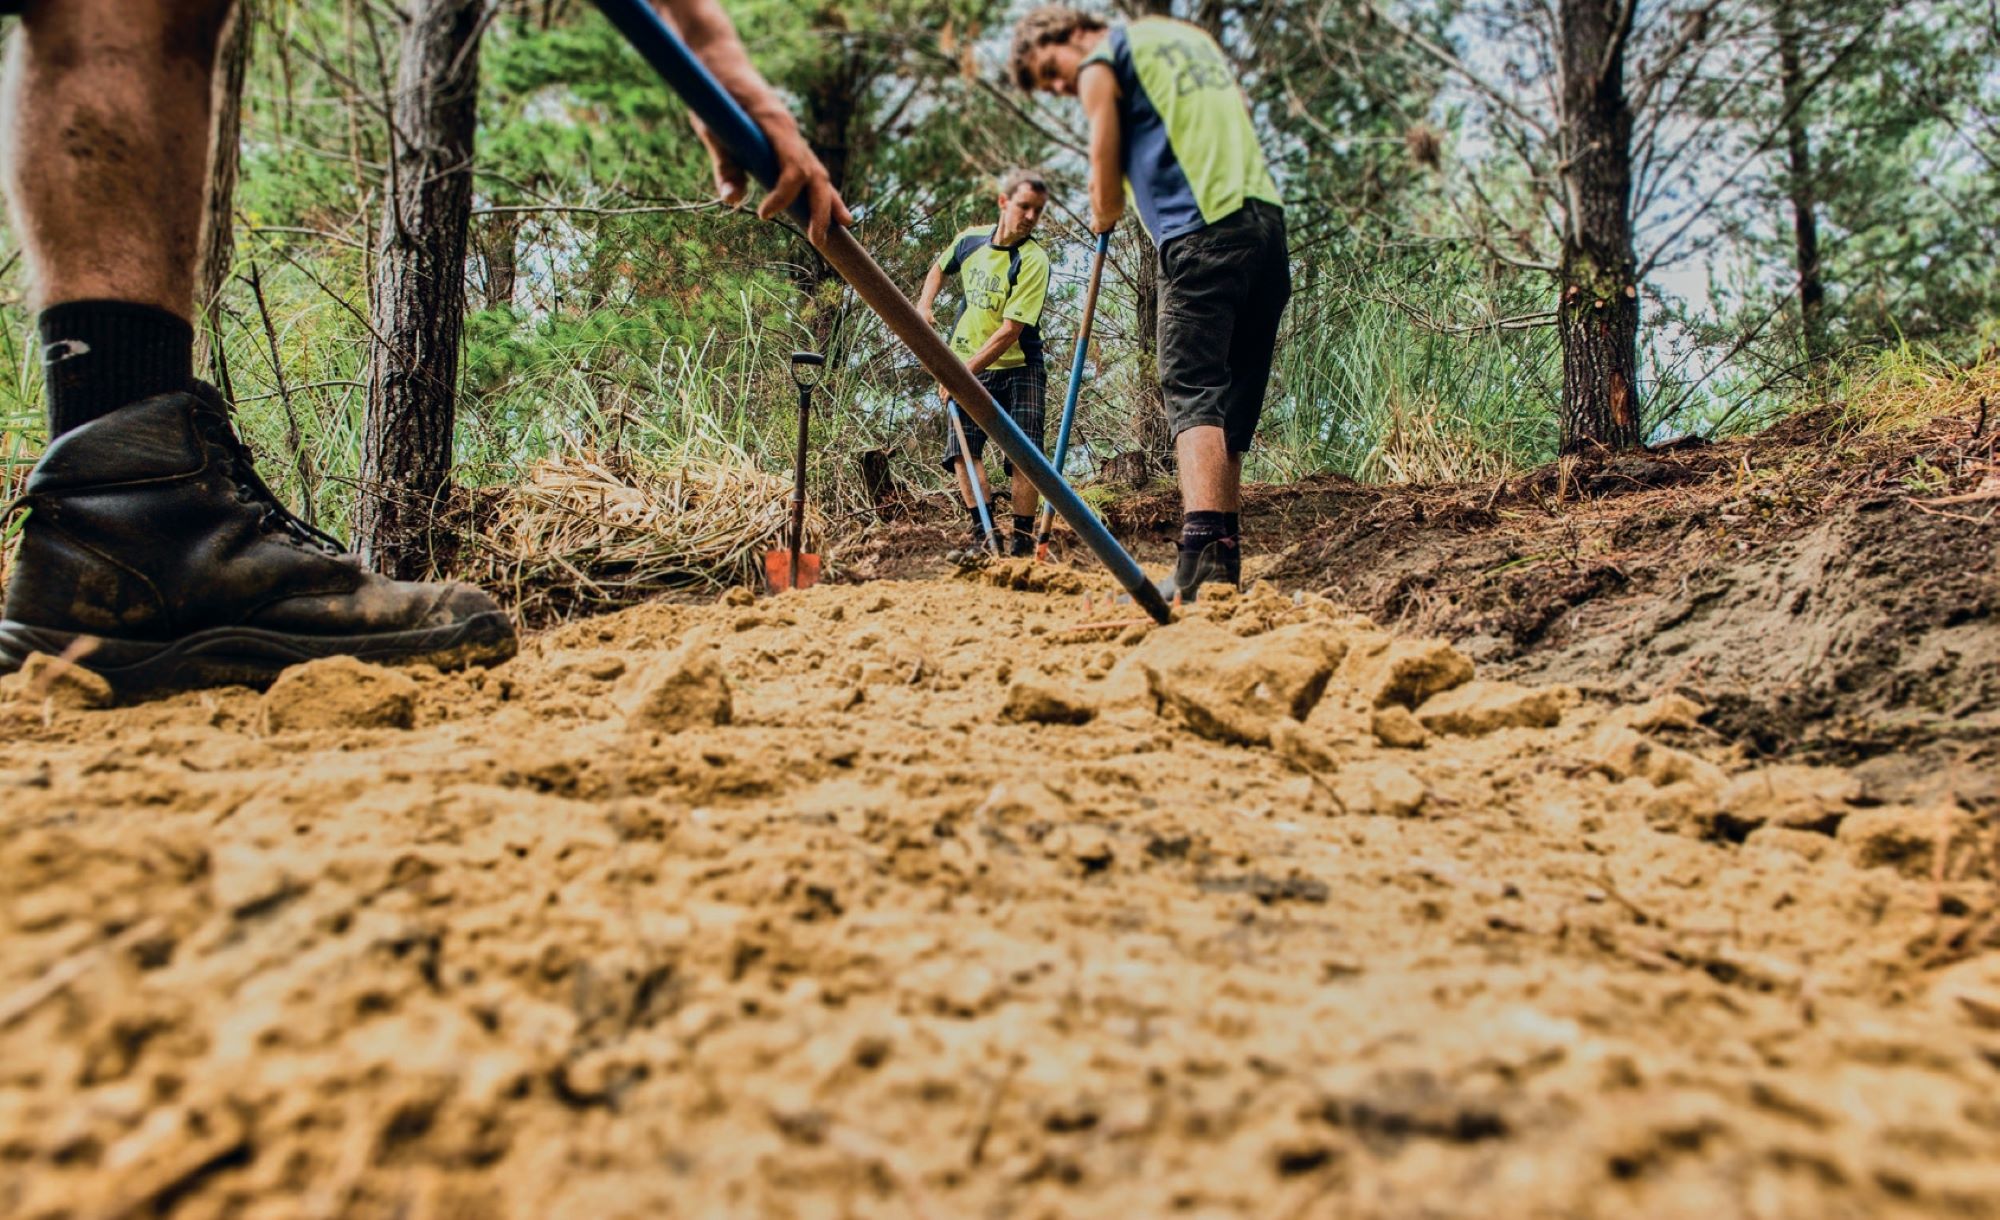
New Trail Guidelines
Words Meagan Robertson
Images Christian Wafer
What if being able to ride a Grade 5 in Rotorua meant being able to ride a Grade 5 in Nelson? And riders who rode Grade 3 Great Rides could confidently ride Grade 3 singletrack around the country? Well, that’s what the Trail Guidelines intend to achieve.
After months of research and review, the newly released New Zealand Mountain Bike Trail Design Guidelines have been released and are being distributed to trail builders nationwide, through Trail Fund. Updated by Recreation Aotearoa in partnership with DOC, Ngā Haerenga New Zealand Cycle Trails, ACC, and Sport NZ, the aim is to provide safer, more consistent, and more inclusive trail experiences to riders across the country by providing clear guidance for everyone involved in their design, construction, and maintenance.
Developed in consultation with trail builders, land managers, and riding groups nationwide, this third iteration of the guidelines includes everything from fine-tuned grading specs to new chapters on signage, auditing, safety, maintenance, adaptive access, and more.
The impossible task of updating the guidelines to the satisfaction of trail builders and mountain bikers across the country was led by Jonathan Kennett—who most will know from the Kennett Brothers long-time contributions to MTB grading and guideline development in Aotearoa.
“It was always going to be a challenge aligning different features into a single grade, because mountain biking is so diverse,” said Jonathan. “But I think where we’ve landed will please 99% of riders. The biggest change in the guidelines has been allowing steeper gradients and more features for downhill tracks, Grade 4 and 5 in particular, without those tracks becoming completely unsustainable. We’ve largely done this by adding new guidance for rollovers and chutes, which can be quite steep, so long as they have a reset section at the bottom.”
Why is the guidance needed?
The update comes in response to a Coroner’s recommendation to align trail safety guidance nationally, as well as mounting ACC injury claims. With over 5,500 injury claims and $22 million in ACC costs last year alone, ACC sees this unified approach as both timely and necessary.
A key step in unifying the approach was having the country’s two largest trail building organisations—DOC and Ngā Haerenga— on board. With DOC confirming it will transition to using the new guidelines, and Ngā Haerenga New Zealand Cycle Trails aligning its own specifications accordingly, the 2025 edition is a true national reference point—streamlining previously fragmented guidance into one accessible framework. “ACC is proud to support the updated guidelines, which are all about helping people enjoy mountain biking safely,” says Kirsten Malpas, ACC Public Health and Injury Prevention.“Consistent signage and trail grading helps riders choose the right trails for their skill level and reduces preventable injuries.”
Trail Fund invests in getting guidance in the right hands
“The Coroner’s recommendation is an admirable and valid request,” says Trail Fund co-president, John Humphrey. “But a monumental task for a trail system largely built by disparate volunteer groups around the country. That’s where Trail Fund comes in—we are the only national organisation liaising with trail builders around the country and we’repleased to be involved with this ongoing initiative.”
One of the key differences in this update is the addition of a Trail Builders’ Handbook, which offers trail crews a concise, field- friendly reference—complete with diagrams, benchmarks, and design dos and don’ts for each of New Zealand’s six MTB trail grades. These handbooks are well suited to be distributed by Trail Fund, which has carried out training for hundreds of volunteer trail builders over the past decade. The organisation is also well placed to encourage clubs to use them, especially those who receive funding from Trail Fund.
“We appreciate that every area and club is different, and trail builders collectively hold a broad range of skills and approaches,” says John. “However, we are confident those involved have done their homework and put forward high-quality guidelines that provide a robust framework for trail building around the country.
“This doesn’t mean the conversation is over. This is the third iteration of these guidelines, and we look forward to working with the trail building community on implementation to support the evolution of mountain biking and trail building.”
Trail Fund NZ will continue acting as a conduit between builders and Recreation Aotearoa, helping to channel on-the- ground feedback to ensure the guidelines stay relevant as the sport evolves.
What’s new?
This third edition builds on the earlier 2018 and 2022 versions. Key changes include:
Updated grading guidance:
Small but significant refinements have been made to gradient ranges, minimum widths, radius, and jump length specifications. These tweaks are intended to better align guidance with the realities of today’s trail construction and riding styles.
New chapters on signage and auditing:
For the first time, the guidelines offer detailed templates for signage and safety warnings, developed with input from the NZ Land Safety Forum. An auditing chapter is designed to help clubs and land managers assess trail conditions and confirm grade accuracy.
Improved safety design:
The safety chapter directly responds to coroner recommendations and ACC data. It introduces practical methods for designing fall-safe trails, assessing hazards, and mitigating risk without compromising rider enjoyment.
Stronger focus on inclusivity:
Building on the Outdoor Accessibility Design Guidelines released earlier this year, the guidelines provide specific direction for adaptive MTB trails, including grade specs and facilities for riders on three- or four-wheeled bikes.
New Trail Builders’ Handbook:
A complementary Trail Builders’ Handbook offers trail crews a concise, field-friendly reference—complete with diagrams, benchmarks, and design dos and don’ts for each of New Zealand’s six MTB trail grades.
What it means in practice
Over the years, trail riders have lamented how a Grade 5 trail in Rotorua differed from a Grade 5 trail in Nelson. Based on the newly published guidelines, here are the differences:
Grade 4 – Advanced
Track width 0.6–1.0m
Surface Mostly stable, but may include loose rocks or variability
Obstacles Up to 200mm high
Berms Up to 40°
Jumps 1–7 m long, 10°–30° ramps; all features must be rollable
Drops Up to 400mm, rollable
Uphill steps Up to 200mm
Concurrent features Up to 3 at a time
Risk Exposure possible; suitable for riders with excellent skills and experience
Grade 5 – Expert
Track width 0.4–0.8m
Surface Widely variable; roots, rocks, ruts common
Obstacles Up to 500mm high
Berms Up to 50°
Jumps 1–12 m; may not be rollable (b-line or bypass required)
Drops Up to 1,000mm
Uphill steps Up to 500mm
Concurrent features Up to 4 at a time
Risk Steeper, narrower, and more technical than Grade 4; higher exposure and consequences
Where to find the Guidelines
The full New Zealand Mountain Bike Trail Design Guidelines and the new Trail Builders’ Handbook are now available online at Recreation Aotearoa, Trail Fund NZ, DOC, and other partner websites. Printed handbooks are being distributed to trail building groups around the country via Trail Fund NZ.
To support understanding and adoption of the new content, Recreation Aotearoa is hosting two free webinars in late August—one for land managers and one for trail groups. Registration links are available online.

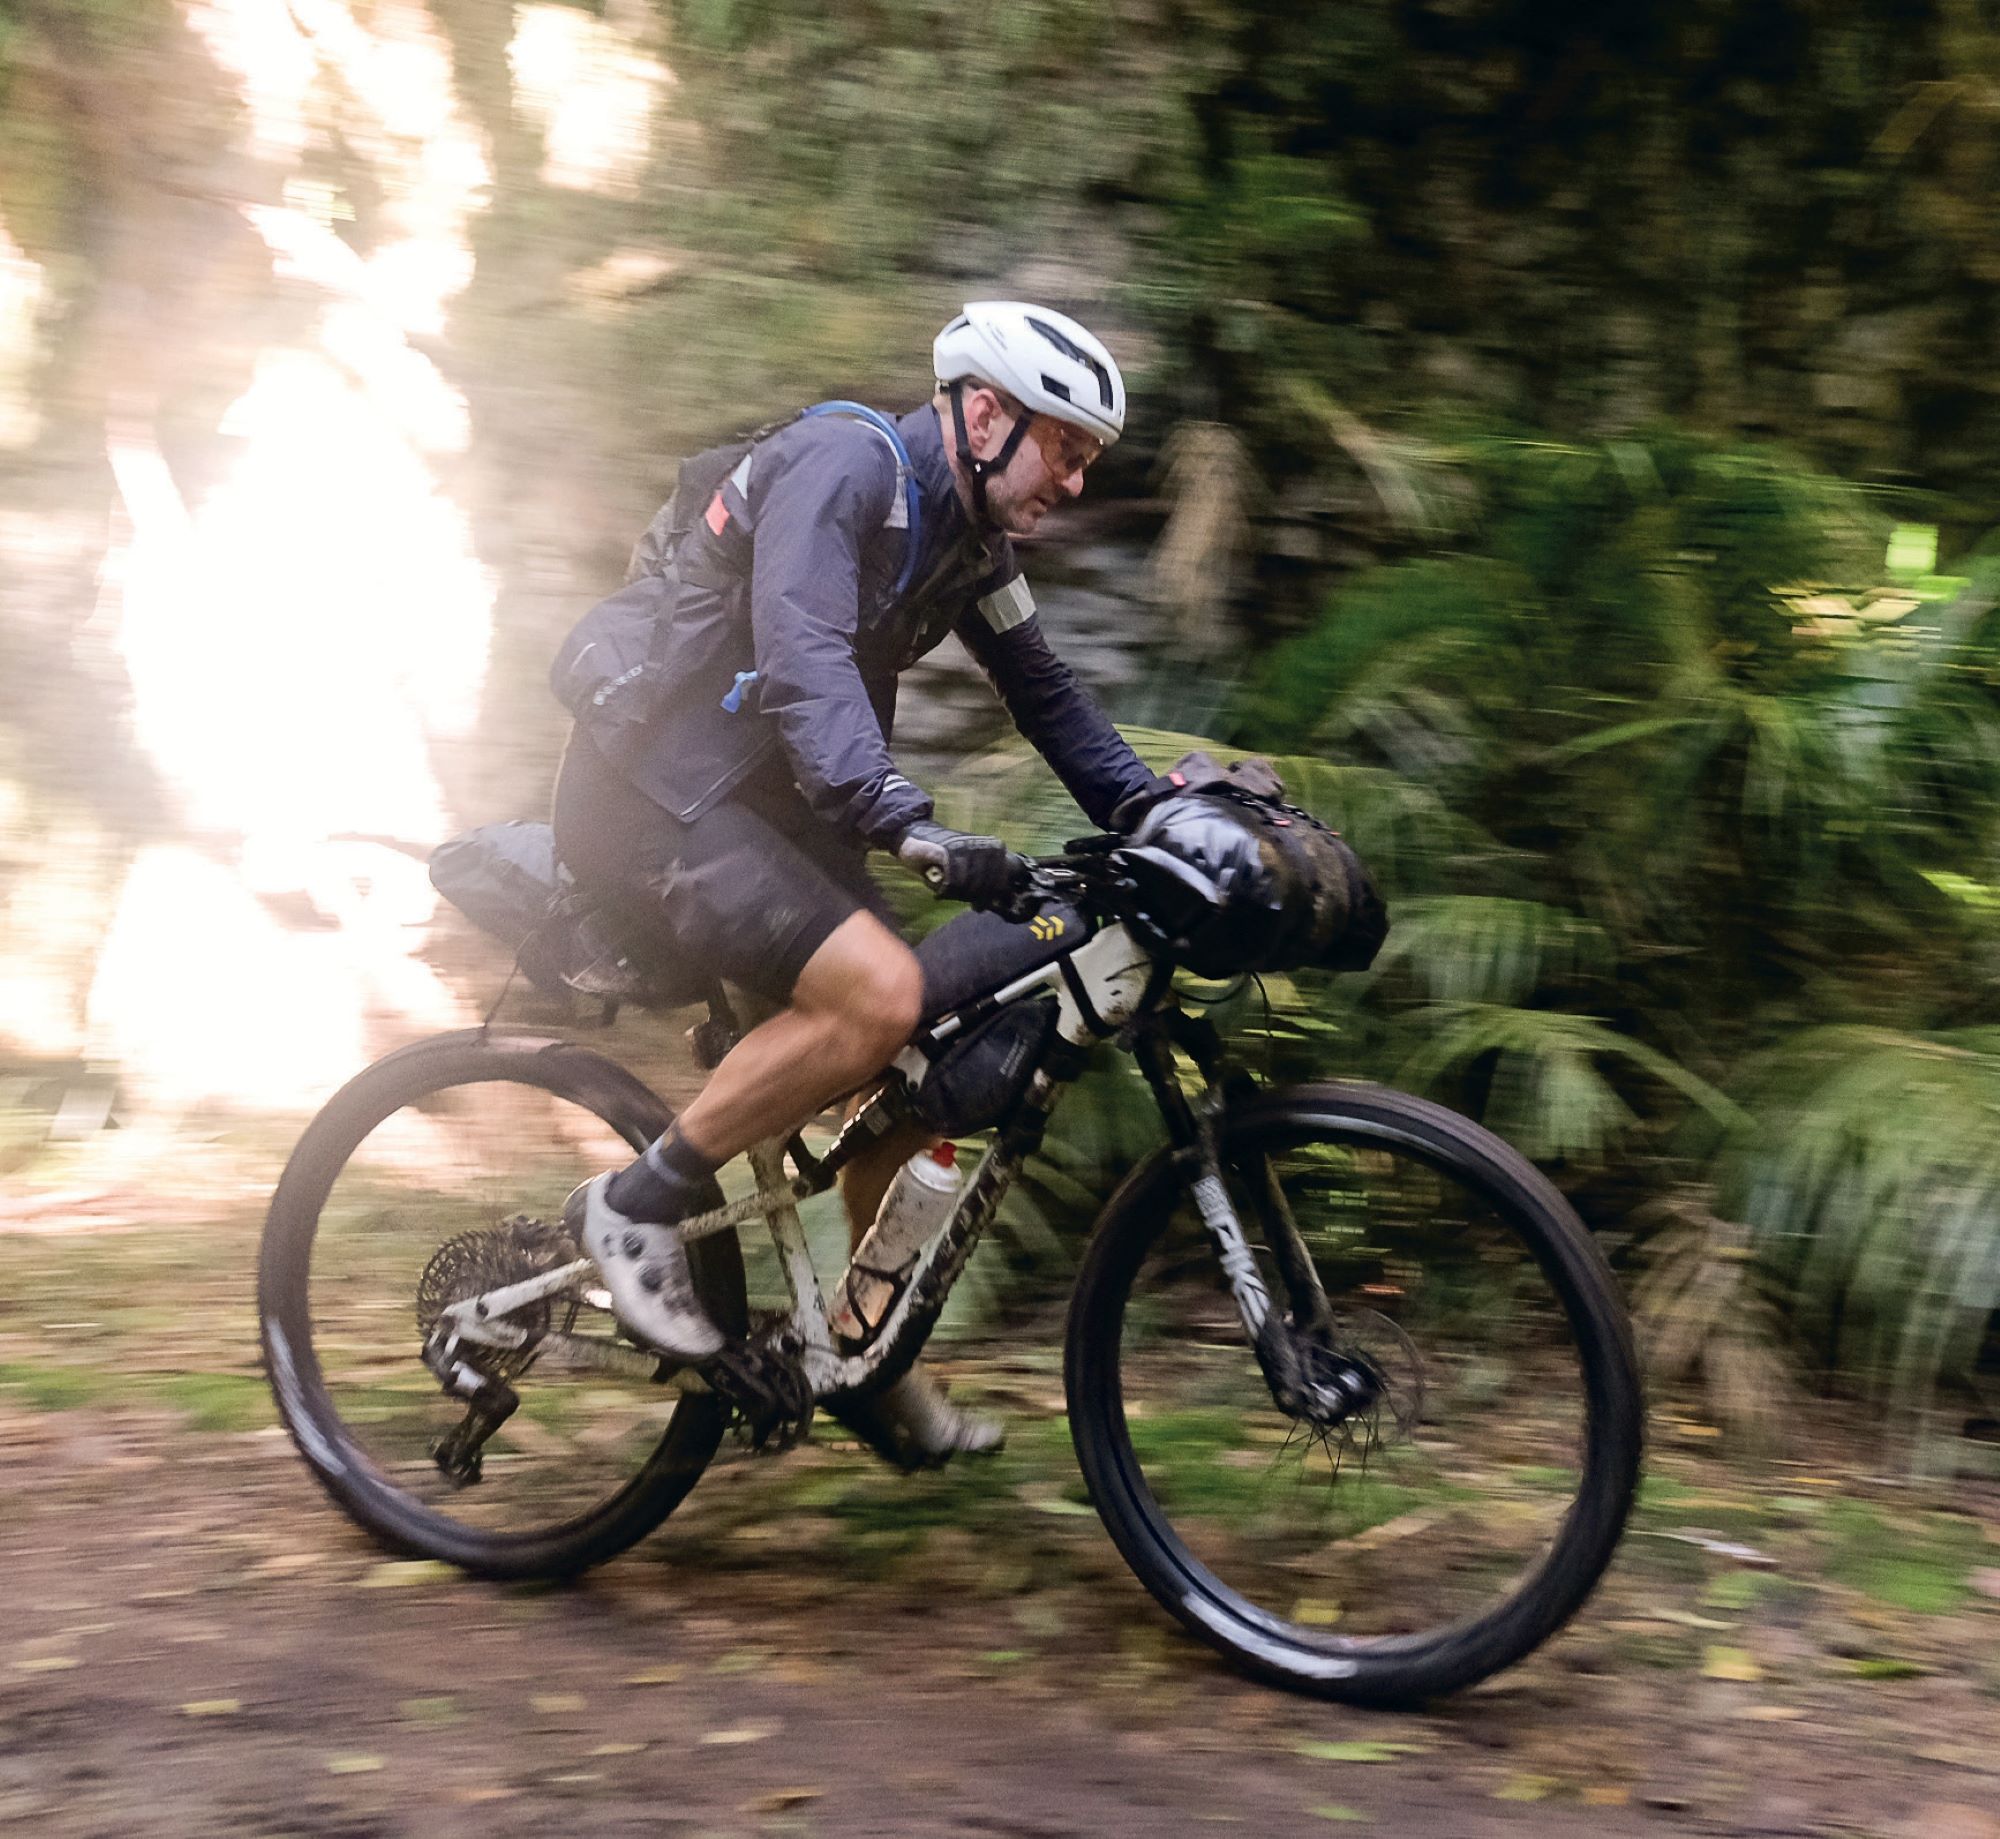
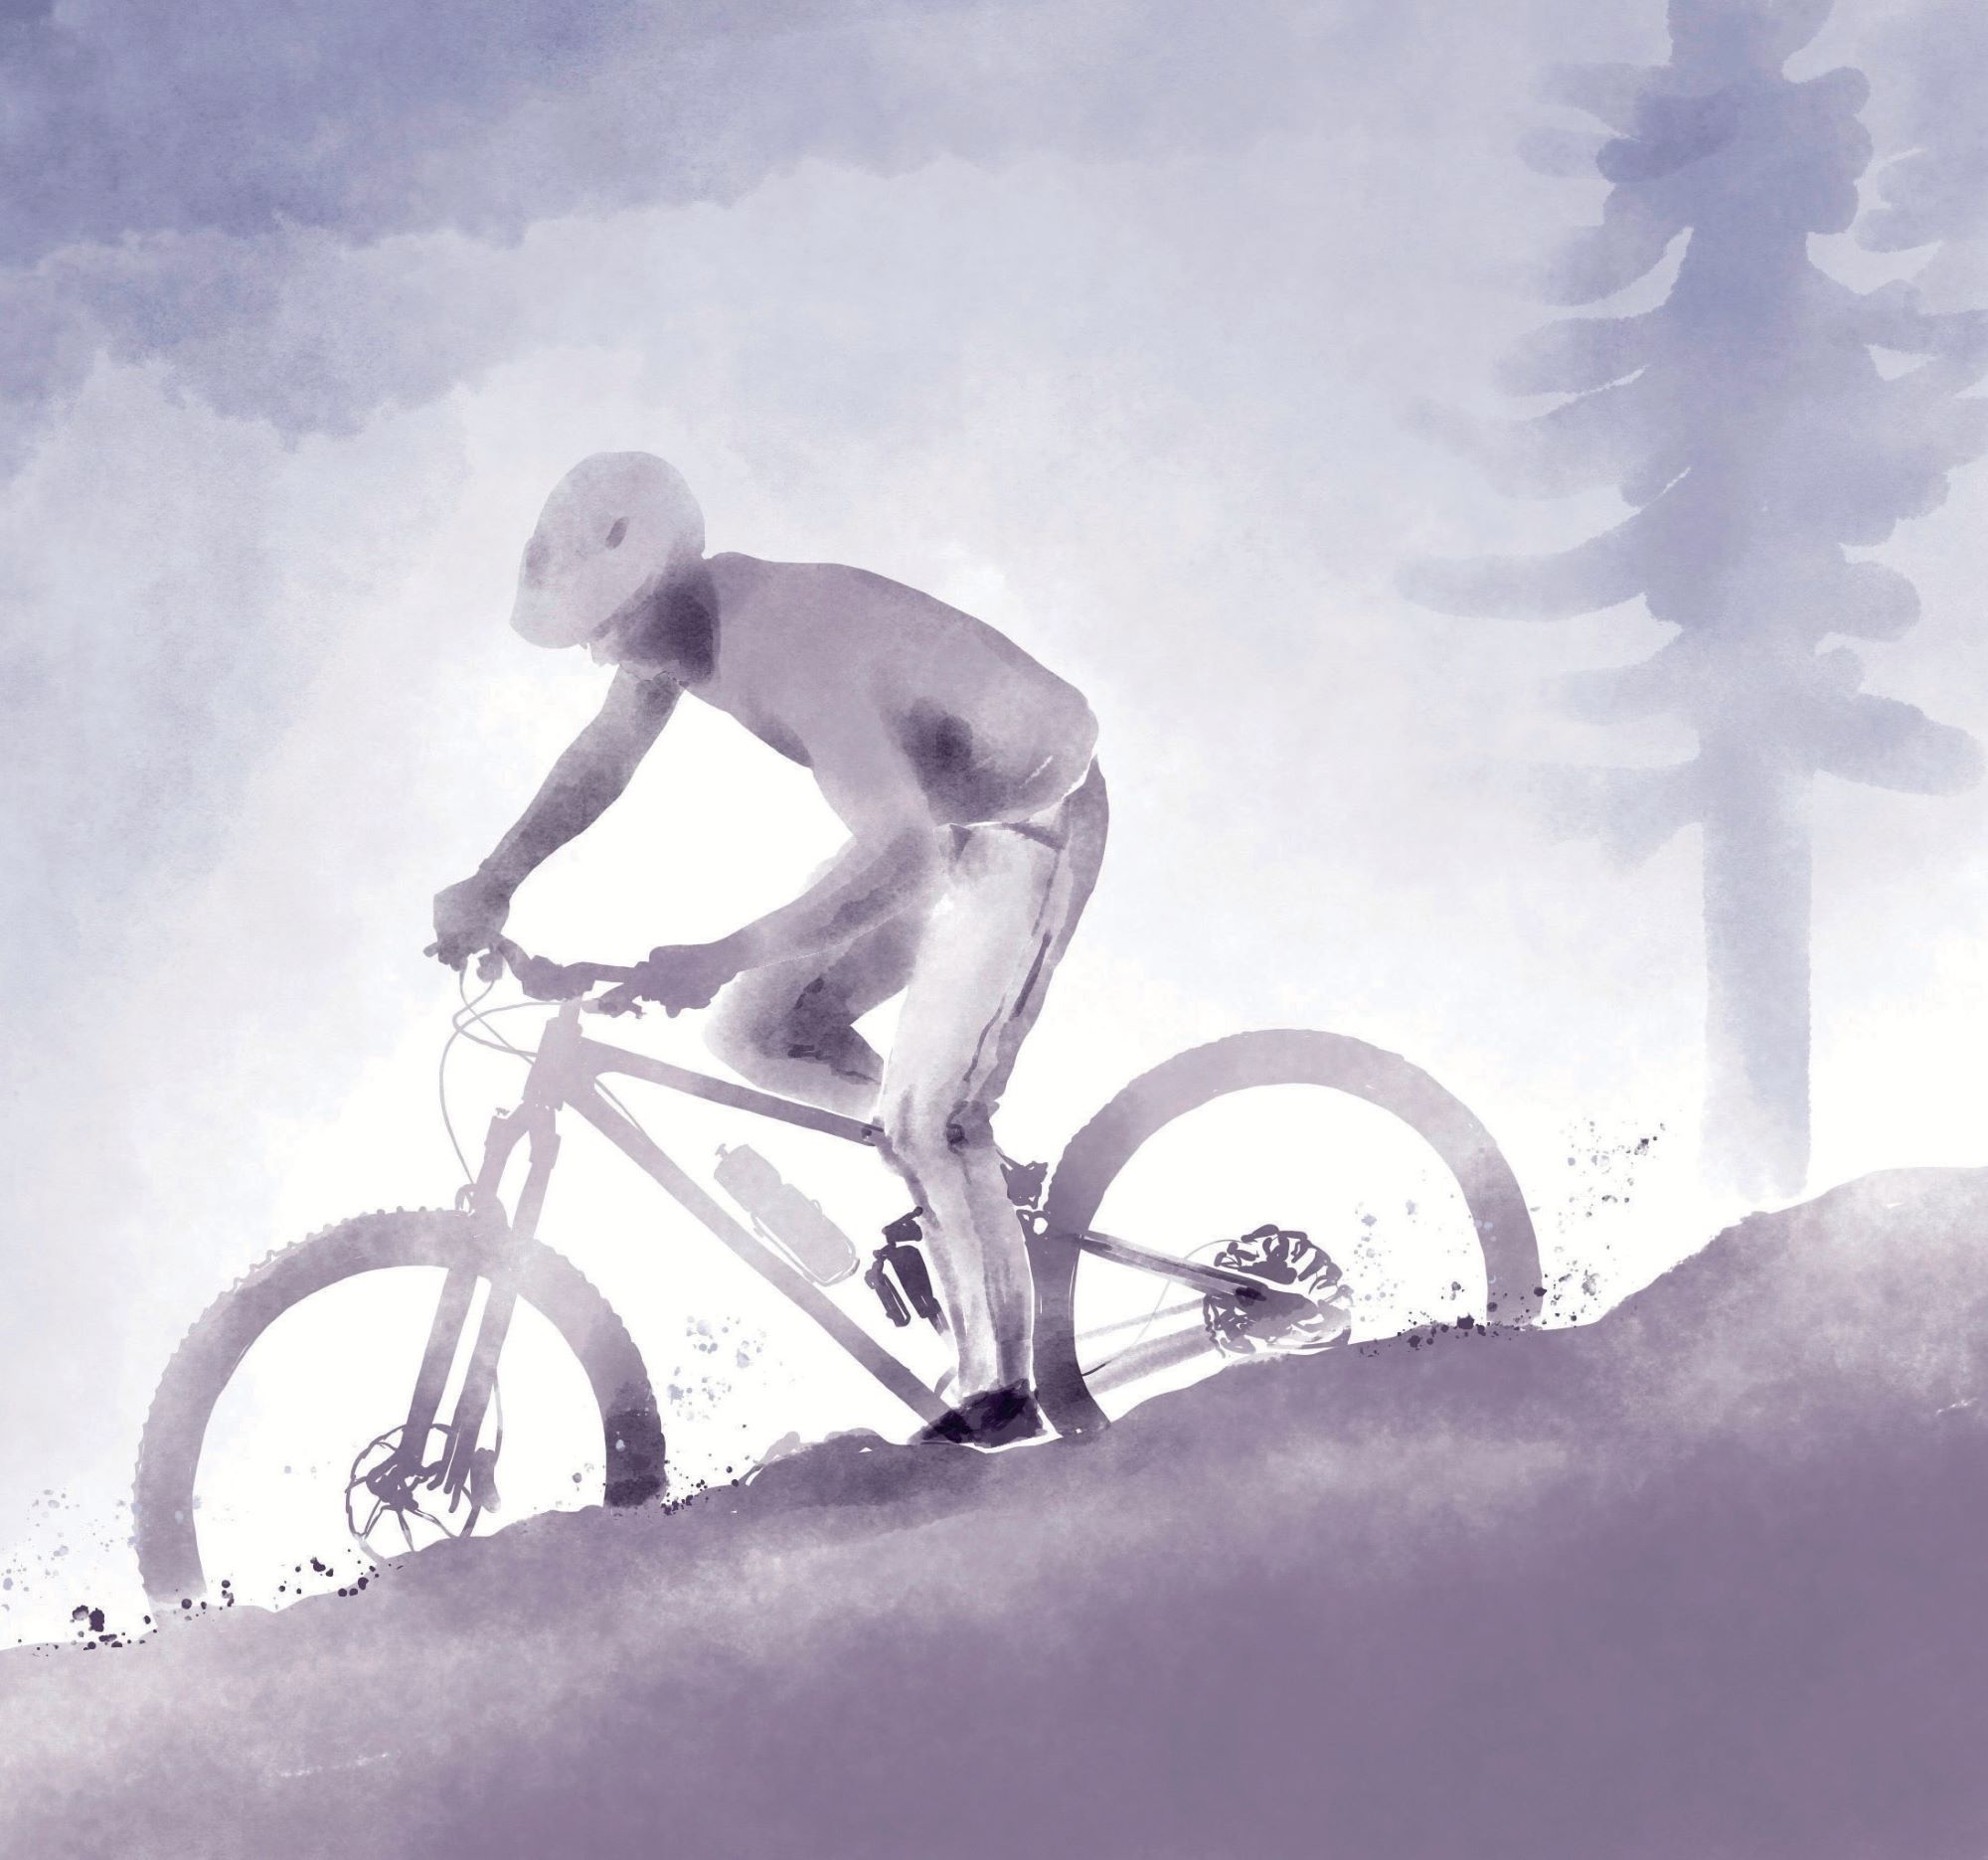
Exposure Therapy
Words Lester Perry
Images Sam Horgan
Each time I head out for a big mission, I’m trying to answer the question: “what else is possible?”; trying to redefine what I can do; and maybe even find a limit to what I can do.
Riding mountain bikes takes on myriad forms. For some, it’s an artistic expression, flowing through trails and jumps, interpreting features in their own way, translating them into a kind of moving work of art. For others, riding bikes is more about the physical feeling: muscles, heart rate, breathing, focus and exhaustion. Some would call it “Type 2 fun”.
My riding life has been expansive: I’ve flowed through jumps, interpreted trail features and chased the clock racing down hills. I still enjoy all aspects of riding but, these days, I’m drawn to bigger and bigger days on the pedals which ideally take in hours of translatable single track.
When I was younger, a three-hour ride seemed impossible but, over time one hour of riding stretched to one and a half, then two, eventually three, then five, then 12. It’s been an evolution over 30 years, and while I’m pushing to find the limits of what my body can do, the more hours I spend pedalling, the more I realise the limits of what I’m capable of are really in my head; mental not physical. It’s a kind of exposure therapy that’s helped me redefine what I’m able to achieve on the bike. Add a bit more time to each mission, more hours, more climbing, more hike-a-bike, a little more of everything. The more we’re exposed to adversity and challenge, the more we can adapt and overcome it.
Generally, when out for a big ‘endurance’ ride, it’s not the body which fails first, but the mind. The mind puts in place safety measures and boundaries to keep our physical self safe, telling us we can’t go further or do more in order to protect us. I’ve found a huge learning is the ability to distinguish between my brain telling me I’m simply uncomfortable, and it telling me I’m actually in trouble, in danger, or perhaps even injured. If I’m sure I’m just uncomfortable and there’s no real threat to my wellbeing, it’s a case of reframing the pain as just information. Information that yes, I’m uncomfortable, but I’m not actually in real danger. Success is about adapting to discomfort and overcoming it in order to keep pushing forward, ignoring the brain saying we can’t, or shouldn’t, be doing what we’re doing.
Big rides bring a big appetite, and food brings comfort when you’re out on the bike for many hours. Food not only provides fuel for our endeavours but helps the brain stay sharp and able to make good decisions. Even having the sharpness to know the difference between being uncomfortable and being at risk. A hunger bonk in the middle of nowhere can be the start of bad decisions and the slide to disaster.
The old saying, “suffering shared is suffering halved” is absolutely applicable here. A multi- day mission seems so much harder alone than when it’s shared with friends. Take the Kahurangi 600 ride I outline elsewhere in this issue; if I’d done that trip by myself, it would have felt like such a huge undertaking with much higher consequences if things went sideways. Sharing the trip with mates made it seem so much more approachable and achievable; much like most things in life.
Each time I head out for a big mission, I’m trying to answer the question: “what else is possible?”. Trying to redefine what I can do, and maybe even find a limit to what I can do. Obviously, it’s a balance between trying to go big and being underprepared, stupidly putting myself at risk, and stepping things up each time, exposing myself over time and taking things up a peg rather than just trying to ride headlong toward a limit to try and break through. That would likely find the limit, but end in tears.
Ultimately, I’m finding that big rides are more than just hours on the bike and kilometres under the tyres. They’ve become a practice in resilience, patience, and redefining what’s possible in other areas of life.
Bike Town
Words & Illustration Gary Sullivan
There are numerous things to note about life in a bike town.
Many you might expect. More bike shops, and better ones, than you would normally see in a regional town. There are many bike-related businesses located in the town for obvious reasons. Distributors. Designers. Skills teachers. Trail builders. In the example I live in, there are even two suspension specialists.
All these activities are here in my hometown because right on the edge of the joint there is a forest full of trails.
What you may not expect, and this is a feature of town that still amuses me after a quarter century of living here, is that almost all professional relationships are with fellow bike riders. And not because they are selected on that basis. The odds are that if a professional chooses to live here, the outdoors will be a big factor in the reasons why. And, if you are going to be an outdoors person around here, there is a solid chance you will be some sort of mountain biker. So, it follows that many contacts in the day-to- day are also likely to be seen out in the trails.
The first professional I encountered when we moved here, while we were still living on and off in a campground, was a doctor. I went to see her because I had munted my shoulder by going over the bars and had the extreme good fortune to get an appointment with a woman who has become a great friend. I knew she was likely to be a great doctor when she listened to my tale of woe then said, “that isn’t so bad, check this out” and proceeded to pull her shirt aside so the row of screws in her clavicle popped up in clear relief. She had busted herself mountain biking. For the 27 years since then, we have compared notes about our rides every time I have needed medical care.
In that time, I have also become acquainted with accountants, bankers, lawyers and physiotherapists, all of whom are dead keen mountain bikers.
Not to mention the nurse, the radiologist, the aneasthetist, and the emergency department doctor who dealt with me on one incredible visit to the hospital. All mountain bikers. My get-up made it obvious what I had been doing to snap my clavicle, but the novelty was talking to a series of people who wanted to know which trail, and where on the trail, and oh yes, that bit. They knew exactly where I had binned it.
The latest example of this trend is another medical professional.
When I got on her roster she had just moved here. When we met, we discussed the marvels of the forest, among other aspects of her new hometown.
She reckoned she loved the forest but couldn’t imagine going in there on a bike – too dangerous.
I only get to see her once or twice a year. Around the time of our second or third appointment, it turned out that bikes were now on the agenda, and she was riding a few of the forestry roads with her crew and really enjoying them.
The next time the Forest Loop was the favourite.
On my latest checkup, I learned that they had moved on to full suspension bikes, and were loving Grade 3 trails, like really fizzing about a couple of them.
It is currently pollen season, and she has really bad hay fever. She reckoned if she had known how bad the pine pollen was, she might never have moved here.
But, with those trails right next door, there is no way she would move away now!

Bridgedale MTB Socks
Words Lester Perry
Images Thomas Falconer
RRP $2975
Distributor Shimano NZ
Socks are often overlooked when it comes to mountain biking attire, but with our feet firmly planted in stiff riding shoes for hours, perhaps they deserve a little more attention.
Bridgedale, a company from Newtownards, Ireland, has been crafting socks for over a century. Their journey began with socks for the army during World War I. Bridgedale’s focus on creating the best outdoor activity socks ensures that they pay meticulous attention to detail.
Bridgedale’s MTB socks are engineered with advanced cushioning strategically placed in key areas. The asymmetric design utilises cushioning in specific areas for each foot, while the Vibration Damping Footbed employs a unique padding to reduce pedal chatter and trail vibrations. Padded zones around the outside of the foot, ankle, and along the Achilles provide additional warmth and impact protection. Bridgedale has even developed a new Underfoot Toe Seam for this range. By moving the toe seam to the underside of the sock, they’ve added extra padding on top of the toes and increased protection against impacts in the vulnerable area.
Bridgedale’s FusionTECH process sets them apart by blending high-quality yarns and materials with the latest knitting technology. This ensures every sock is comfortable regardless of conditions. Summer-weight models use Coolmax for cooling, while Merino wool provides a soft feel, temperature regulation, warmth and anti-bacterial properties. The underfoot toe seam eliminates the cold spot across the top of the toes, an issue with traditional over- toe sock seaming. This choice of materials, construction techniques, and the availability of two different weights, ensure there is a sock in the range to keep your feet comfortable regardless of the terrain or the conditions.
Bridgedale’s new Off-Road Bike socks offer improved performance through enhanced fit and support. Utilising Lycra Sport, they provide a supportive compression fit. A structured Y-Heel band and elasticated arch ensure a close fit, eliminating movement and friction. This additional support and precise fit enhance foot positioning, stability, and balance, leading to greater bike control.
I absolutely dig a fresh pair of socks. The plush feeling wrapping around your foot is so damn luxurious. This was certainly the case when I slipped on a pair of the Bridgedale Midweight merino socks. Initially, they felt great, providing a tangible feeling of support, especially around the footbed. On the bike, the socks offered ample support and stayed up – slipping down is one of my pet hates! After several rides, including a long four-hour pedal, the socks performed well without bunching. This was achieved via the asymmetric foot-specific design which eliminates friction from cycling shoes and provides better protection than a regular sock. The moisture management wicks any dampness away effectively, keeping feet dry in both warm and cool conditions by controlling heat and sweat.
After several washes, the socks have remained in good shape. Another pet hate of mine is how quickly new socks can get destroyed by the washing machine. It’s super annoying when you drop good money on a pair and they end up out of shape after just one or two washes. Bridgedale’s range feels durable and they completely back their products with a Lifetime Guarantee. This guarantee covers any defects in workmanship or materials, reflecting their 100 years of experience in sock-making. Knowing your sock game is dialled means you can focus on your riding experience. Don’t overlook your riding sock drawer – treat yourself to a good pair that’ll last the distance. The only downside is that these socks are quite spendy – but the quality, durability and guarantee makes them worth it. These socks are incredibly comfortable, far surpassing most others in my wardrobe. They’ve been on high rotation during house duties and on most rides – they’re that bloody good!
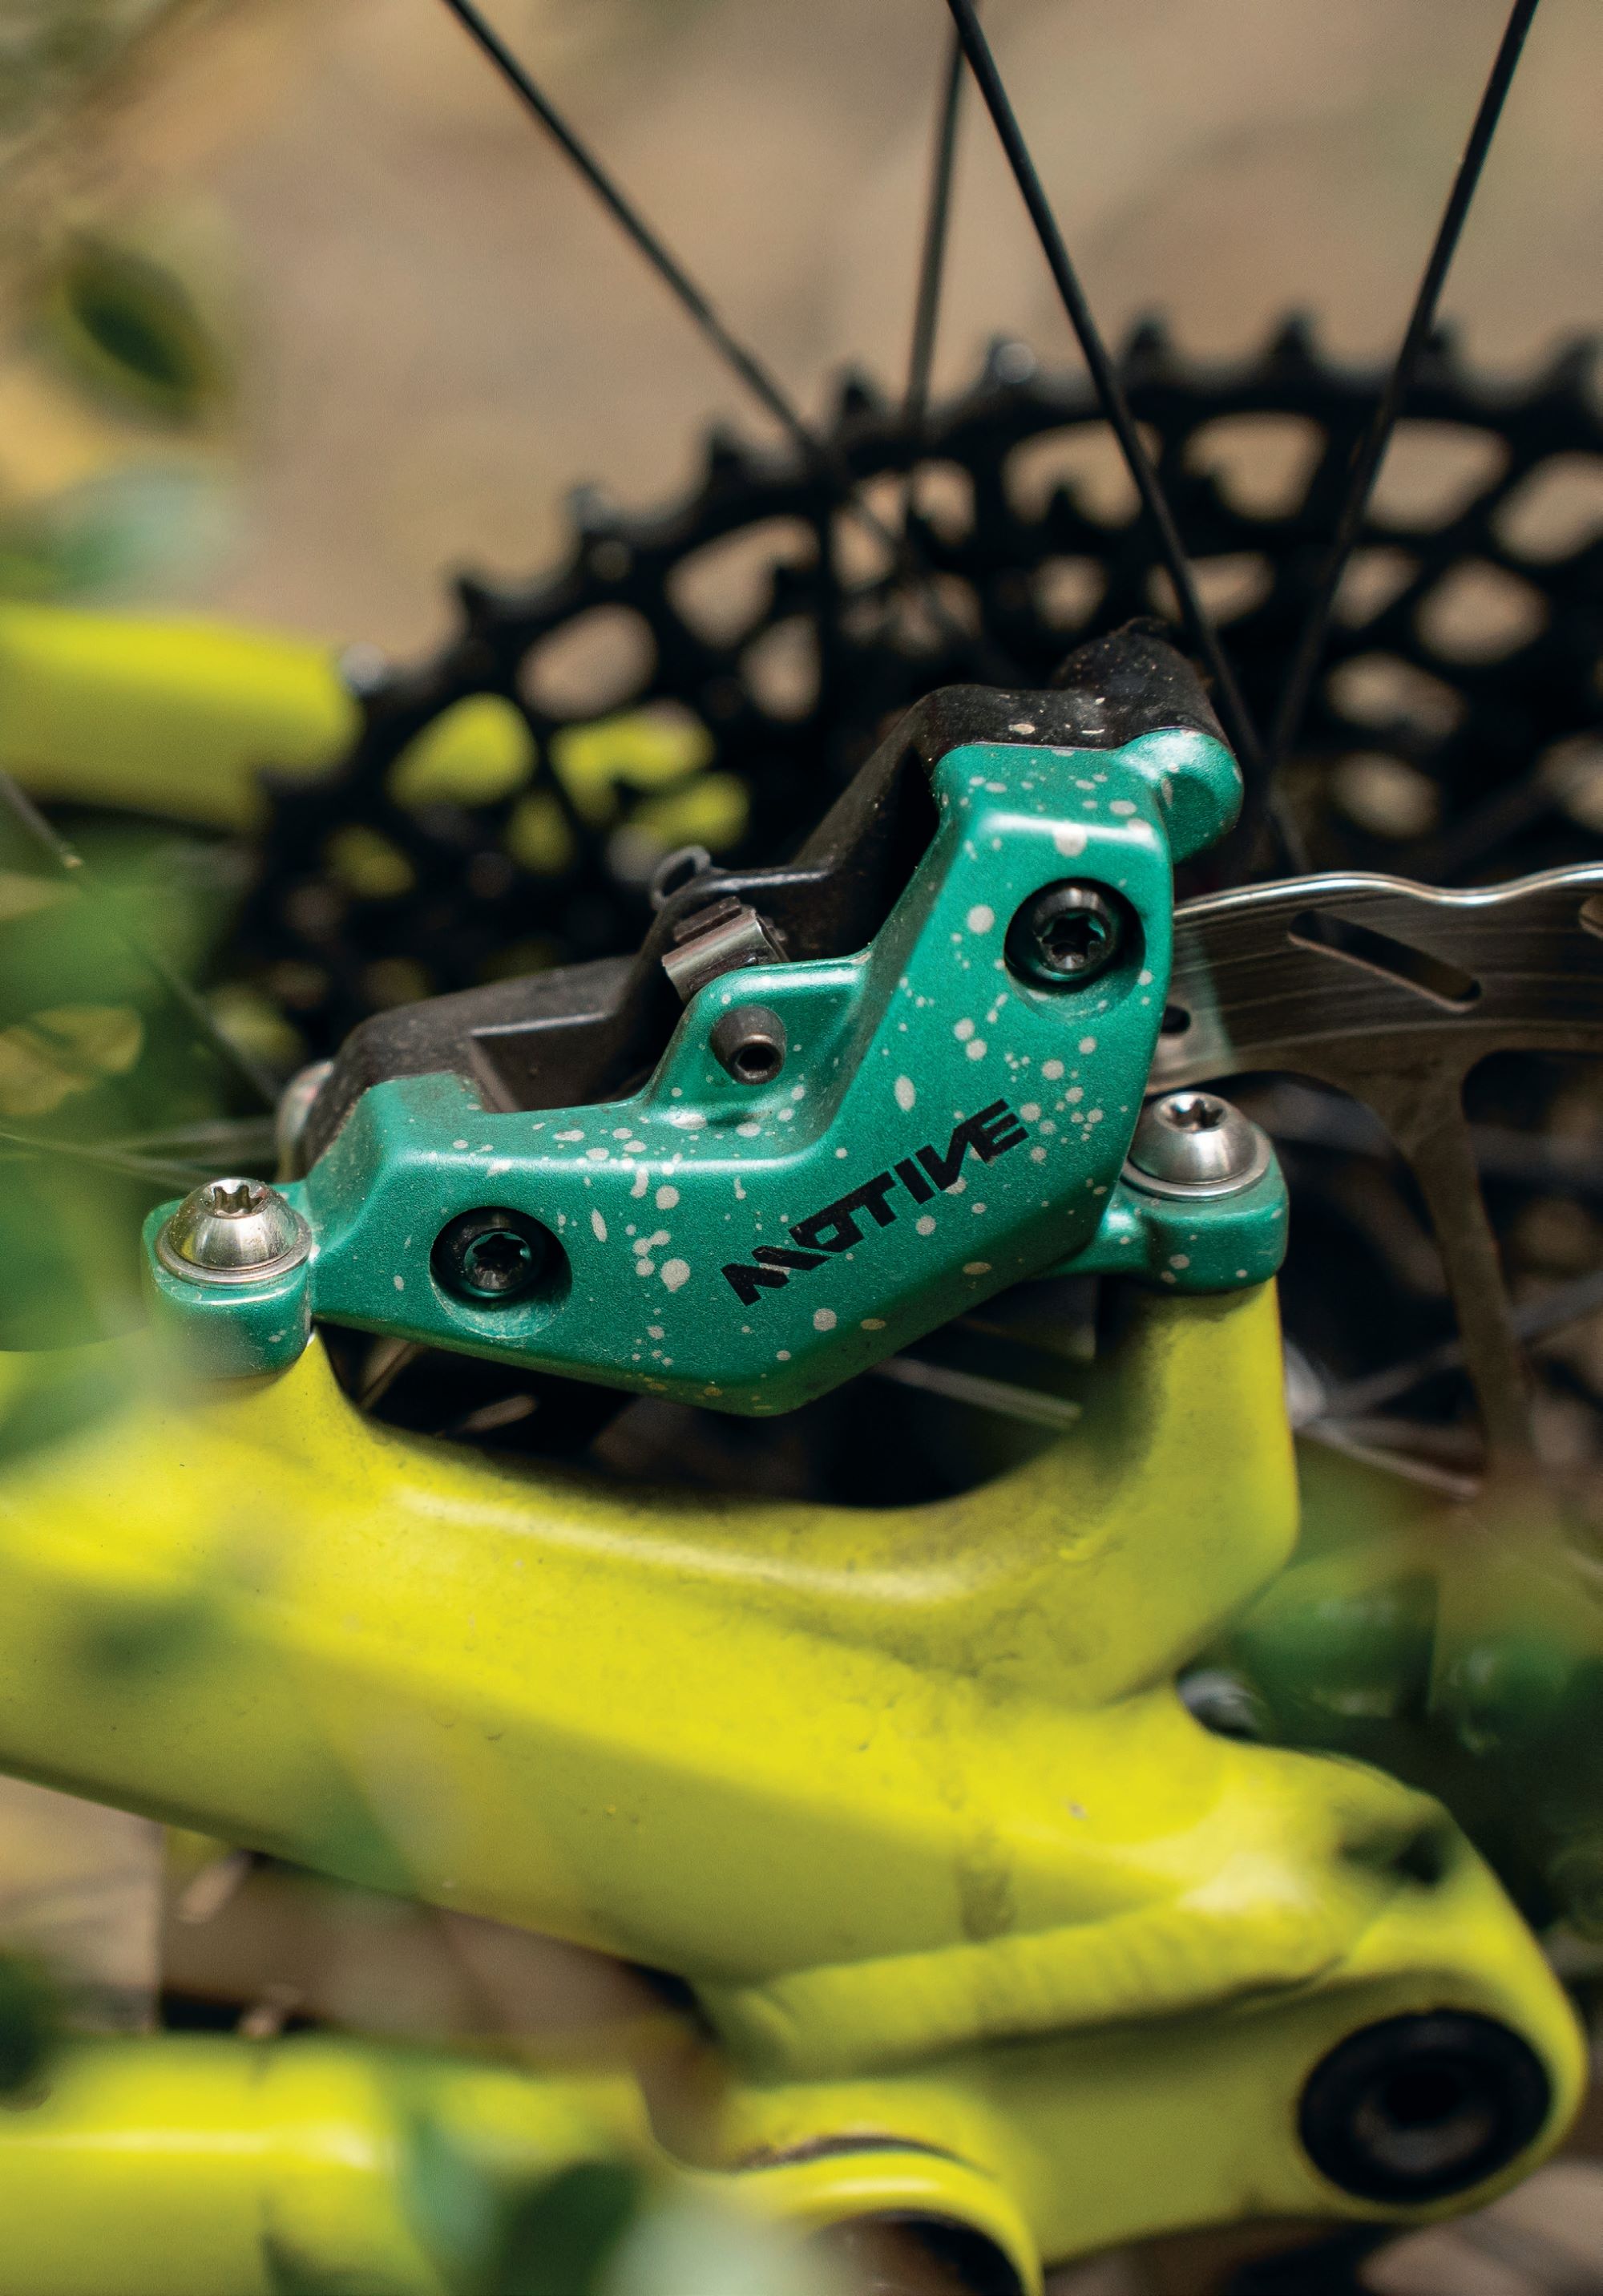
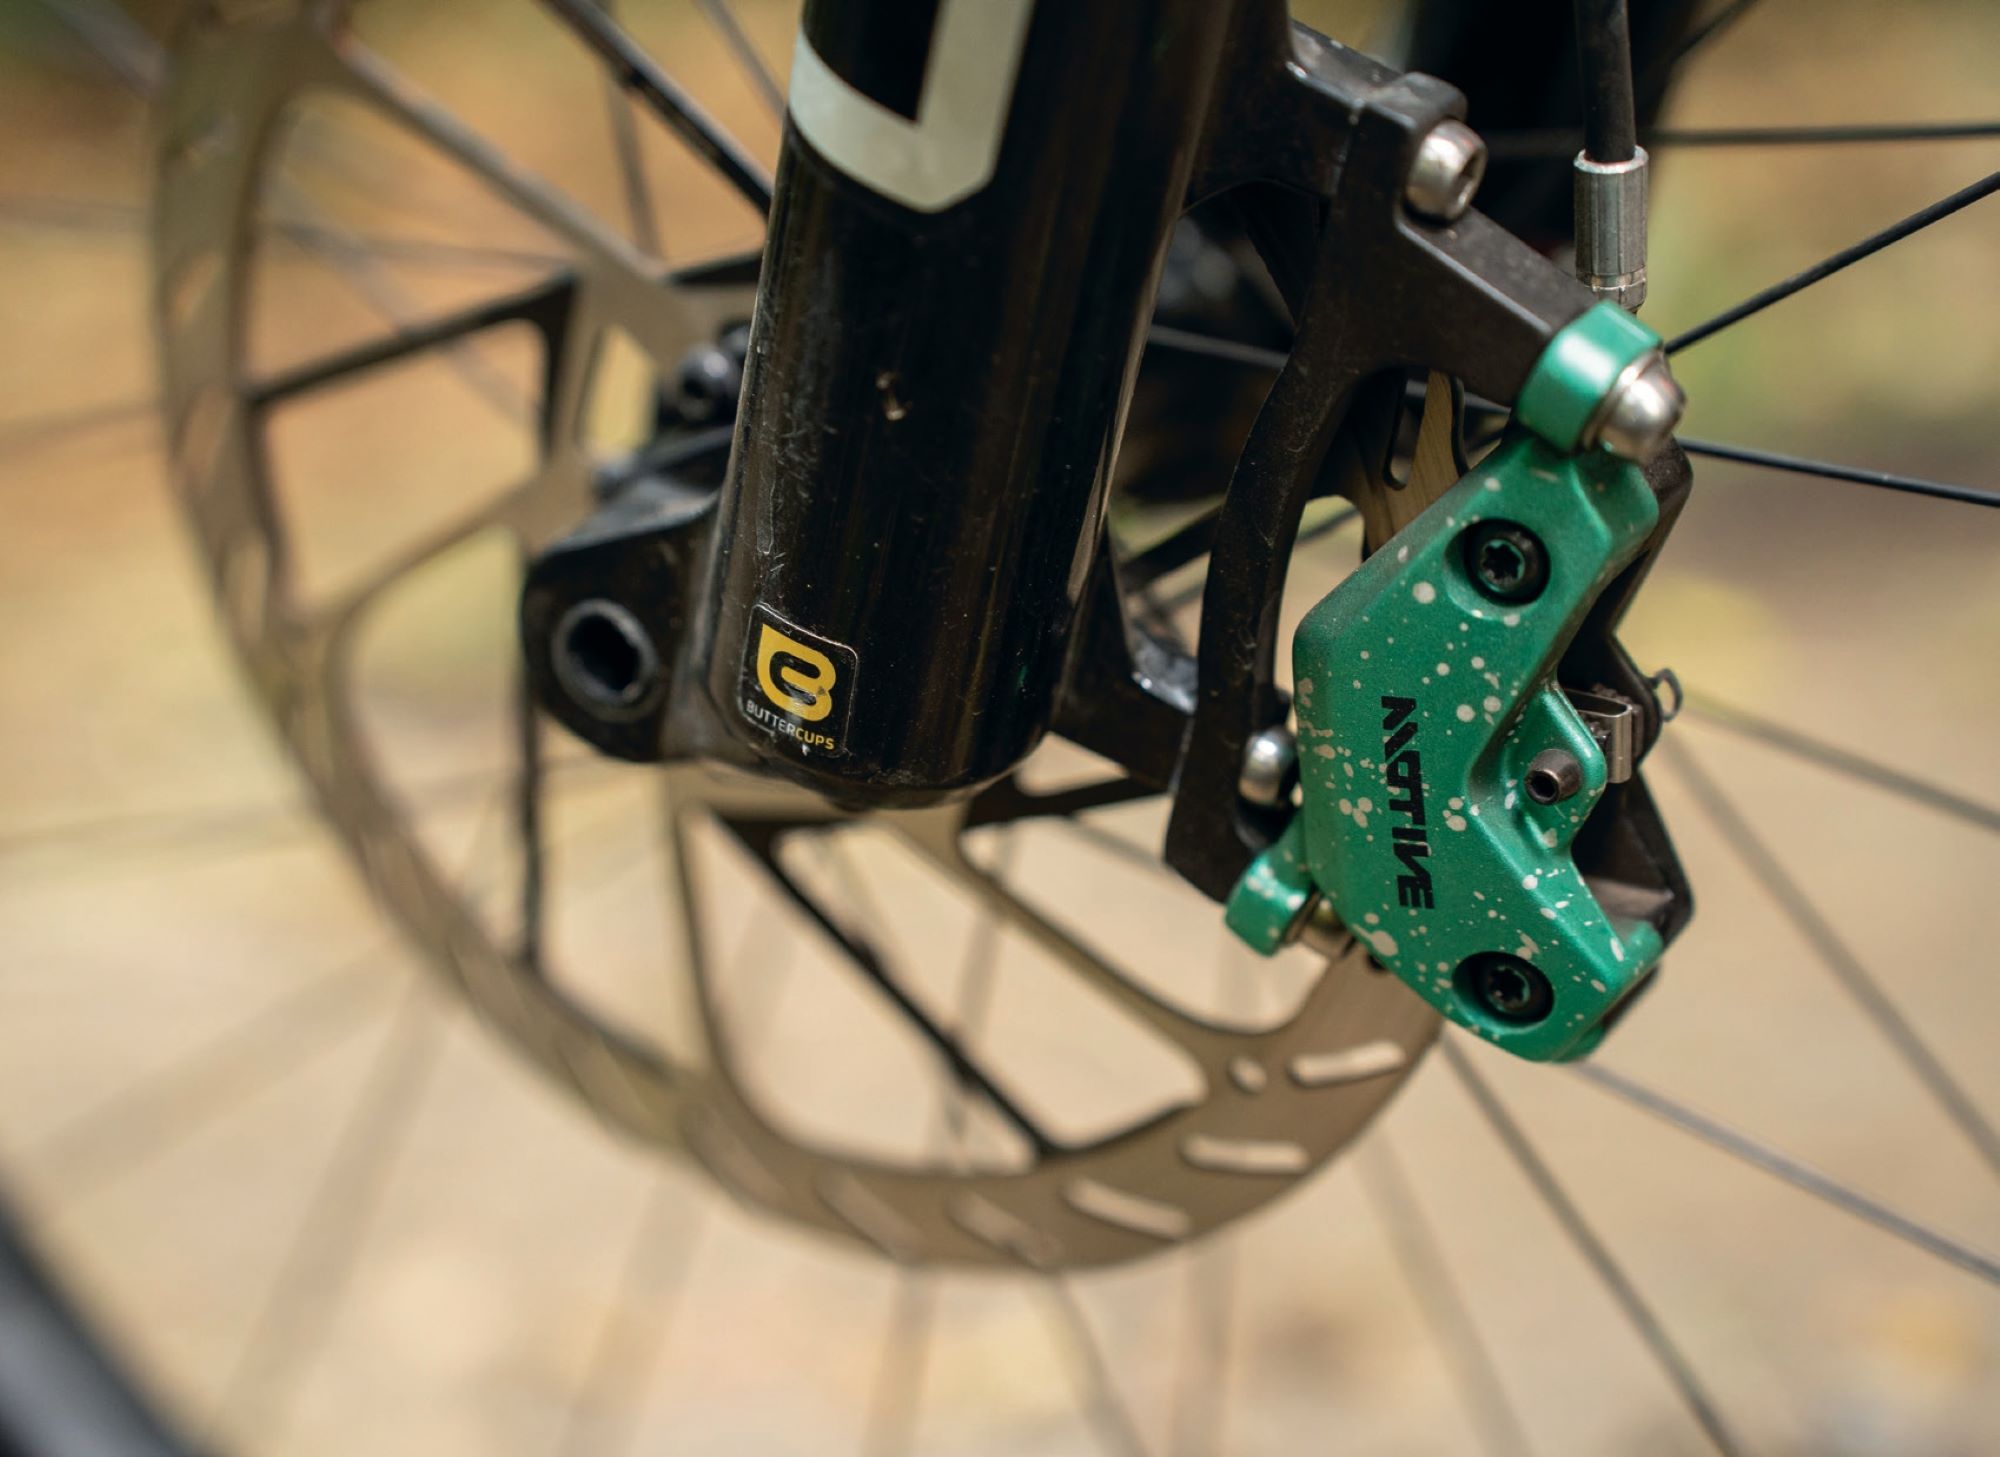
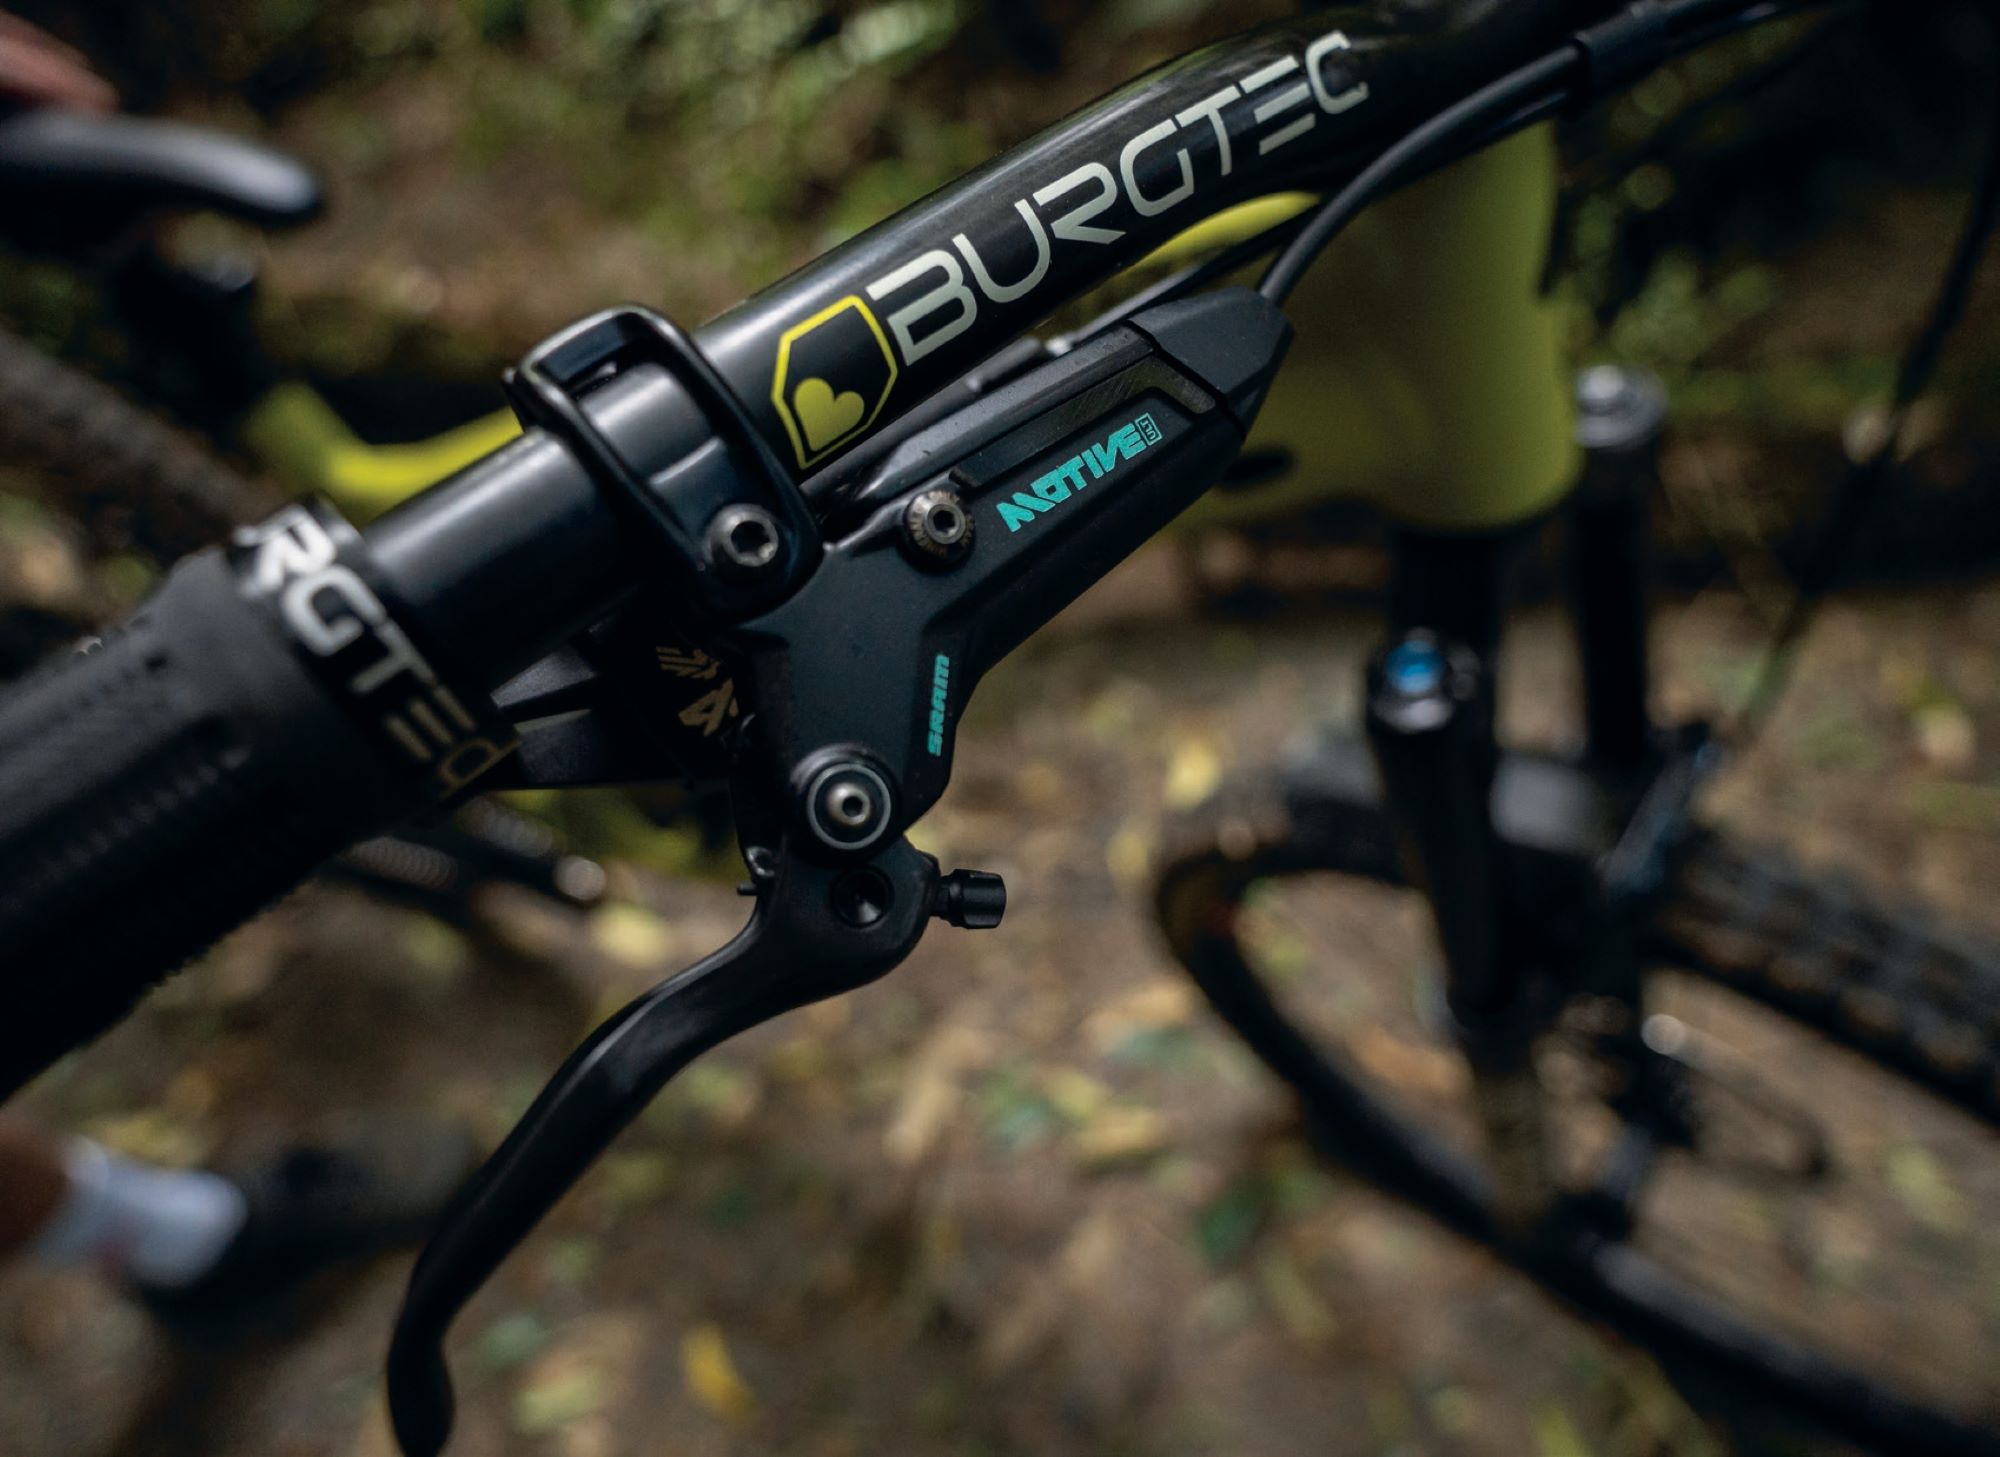
SRAM Motive Ultimate Brakes
Words Lester Perry
Images Thomas Falconer
RRP $1280
Distributor Worralls
In February 2024, SRAM dropped their fresh, brutally powerful, top-tier gravity brake; the Maven Ultimate. Although Maven was their second offering with Mineral fluid, the change to a Mineral brake fluid on this new flagship model hinted at a shift across SRAM’s brake offerings, and a move towards bleeding out DOT fluid systems, replacing them entirely with Mineral fluid brakes.
A year later, in March 2025, SRAM unveiled what many had suspected was coming: a simplified lineup of brakes based around a more user-friendly, and in most opinions, better-performing Mineral fluid.
I’ve been running a set of Mavens on one of my bikes for about a year and when I saw the Motive launch, I was keen to get on a set. Realistically, they’re squarely targeted at most of the riding I do and would suit another of my bikes perfectly.
This range revision plans to reduce the SRAM lineup from 27 models down to just ten, in a move to simplify and consolidate. The range is now split into three distinct streams: Maven targeting gravity, Motive targeting XC and Trail, and the DB series targeting power at a reduced price, thanks to fewer features and added weight.
The Motive series replaces two previous brake series from the SRAM range. The Motive brings almost the equivalent power as the now-discontinued Code, at a weight only slightly above the also-discontinued two-piston Level series, but in a Code-esque four-piston package. The Motive calliper is slightly squarer, and more boxy, than the sculpted Code, but houses the same size pistons so there are obvious similarities, although with new fluid comes new seals throughout the system.
The Motive is available in three tiers: Ultimate, Silver, and Bronze, like other SRAM brakes. All share more or less the same performance, with only minor tweaks distinguishing each level. The Ultimate has a crisp anodised finish, a swanky carbon lever with bearing pivot, and premium titanium hardware. Silver level goes to an alloy lever blade, with more basic stainless steel hardware, and less swanky finishing. The Bronze level is a little more no-frills with its bushing lever pivot, basic hardware and less premium finishing. The calliper has a fixed line fitting instead of the swivel banjo of the upper tiers. Differences in weight between the levels are subtle: Ultimate 265g, Silver 273g and Bronze 279g (rear brake, 1800mm hose, ready to ride but sans mounting hardware).
The Motive lever stays in line with the new ‘stealth’ styling, keeping the master cylinder and brake hose almost parallel to the handlebar. Thanks to the DirectLink lever, the feel is lighter than the Maven, right from the start, and has a more ‘normal’ SRAM feel of “what you put in is what you get out”; whereas the Maven’s SwingLink style lever has a cam that effectively multiplies your input power as you pull the lever, giving a different feel more suited to the demands of heavy braking over long periods. There’s no pad adjustment, which keeps things simple and lightweight, although basic reach adjust remains.
Expert Kit
The Expert Kit is a great way to purchase the Ultimate brakes. The kit includes everything you need to set up the brakes and maximise their performance over the long term. A pair of brakes, two pairs of sintered and two pairs of organic brake pads, 2x 160mm and 2x 180mm rotors, as well as all associated mounting hardware and mounts, and a multitool, complete bleed kit and oil. Essentially a one-buy solution to complete a top-tier Motive set up for XC or lighter trail use, that’s customised to the user’s specific needs.
The Ride
In my case, I threw the 180mm rotors on immediately with sintered pads. With it being the end of summer, and fitted to a 140mm travel trail bike, I opted to start with what I deemed the most powerful setup from the get-go and, if required, switch to a smaller rotor or organic pads from there. Needless to say, I haven’t changed anything.
It’s not normal for me to run a 180mm rotor up front unless I’m on a cross-country bike but, not having the option to go larger (at least out of the box), I was stuck with it. I’ve been surprised at how powerful the brakes are, even with the smaller front rotor.
The modulation is excellent, and lever feel is consistent throughout a descent. The ‘what you put in is what you get out’ feeling is certainly there and they feel like you can just squeeze harder and get more bite, however, there have been times I’ve noted I’m pulling quite hard when needing to haul anchor and stop quickly… like when one of your mates’ crashes right in front of you!
These brakes excel in the realms they’ve been designed for; cross country and trail. I wouldn’t think twice about putting these on a full-on XC race machine (in fact mine will likely end up on one) and in cases where weight is still relevant, i.e. on many ‘trail’ bikes, these would be ideal, possibly with a 200mm rotor up front, particularly if you’re heading toward the 90kg mark. For any enduro bike or rider purely focused on descending, where pedalling is just a means to an end, and where raw braking power is paramount, something less weight-focused like a Maven, or a new Shimano XT would be much more suited, particularly when trails get steep.
I think it’s worth noting here that bigger, or in this case, gruntier and more powerful, is not always better. Many people (myself included) are over-braked, choosing the most power possible rather than what’s actually best for them, often blinded by the power and large rotor sizes. The Motives have opened my eyes to some of the subtleties that make for better braking, not just having maximum power, but modulation, consistency and even the changes in using different pad compounds or rotor sizes, which help make it optimal for where, and how, I ride.
Leatt Enduro 3.0 Pant
Words Lester Perry
Images Thomas Falconer
RRP $199
Distributor BikeCorp
Launching in the moto world in 2015, Leatt first began to dabble in MTB gear with a range of helmets. By 2020, they had expanded their line to not only include helmets but pads, neck braces, shoes and apparel as well, offering a complete head-to-toe solution.
Now in its 20th year, and with numerous design awards under its belt, Leatt continues to go from strength to strength. In mid-2025, the brand announced its second quarter revenue was up 61%, its fourth consecutive quarter of growth, bucking the current industry trends in a big way.
They must be doing something right.
Through early 2025, on rides when I was reaching for long pants, a pair of Leatt Enduro 3.0 have been my preferred option. Particularly through autumn and winter, long pants win out over shorts for me. The increased protection they offer is nice, but it’s the ability to finish a filthy ride and just drop dacks and drive when I get back at the car—plus the minimal clean up required—that makes these a winner for me.
Although the name of these pants has ‘enduro’ in it, they’re far more than just an enduro pant. If there’s any time you’d wear long pants, these would do the trick, with one possible exception, which I’ll get to below.
With its regular, pre-curved fit, the pants are comfy on the bike, and there’s plenty of room for pads underneath without them being overly baggy. Long pants followed a trend of becoming slimmer and slimmer for a moment there but, thankfully, these are a bit more roomy. A Velcro waist adjuster on each side helps get the fit just right, and the medium size is in line with most 32” pants I wear, although if I were any larger, I’d likely need to step up to the large size, as I have the adjusters maxxed out as it is. The leg length is a fraction longer than ideal for me at 176cm tall, sitting partway down my ankle; my preference would be a little higher. Reality is, my legs are probably shorter than average for my height, so I’d imagine they’re optimal for most people, and the length isn’t enough to put me off.
The main fabric is lightweight and breathable, with a soft backing. Key areas are perforated to increase breathability. Around the inside of the thighs and across the seat is a three-layer, waterproof, breathable fabric. Helping keep you somewhat dry from ground water spraying up, while the pants remain breathable overall.
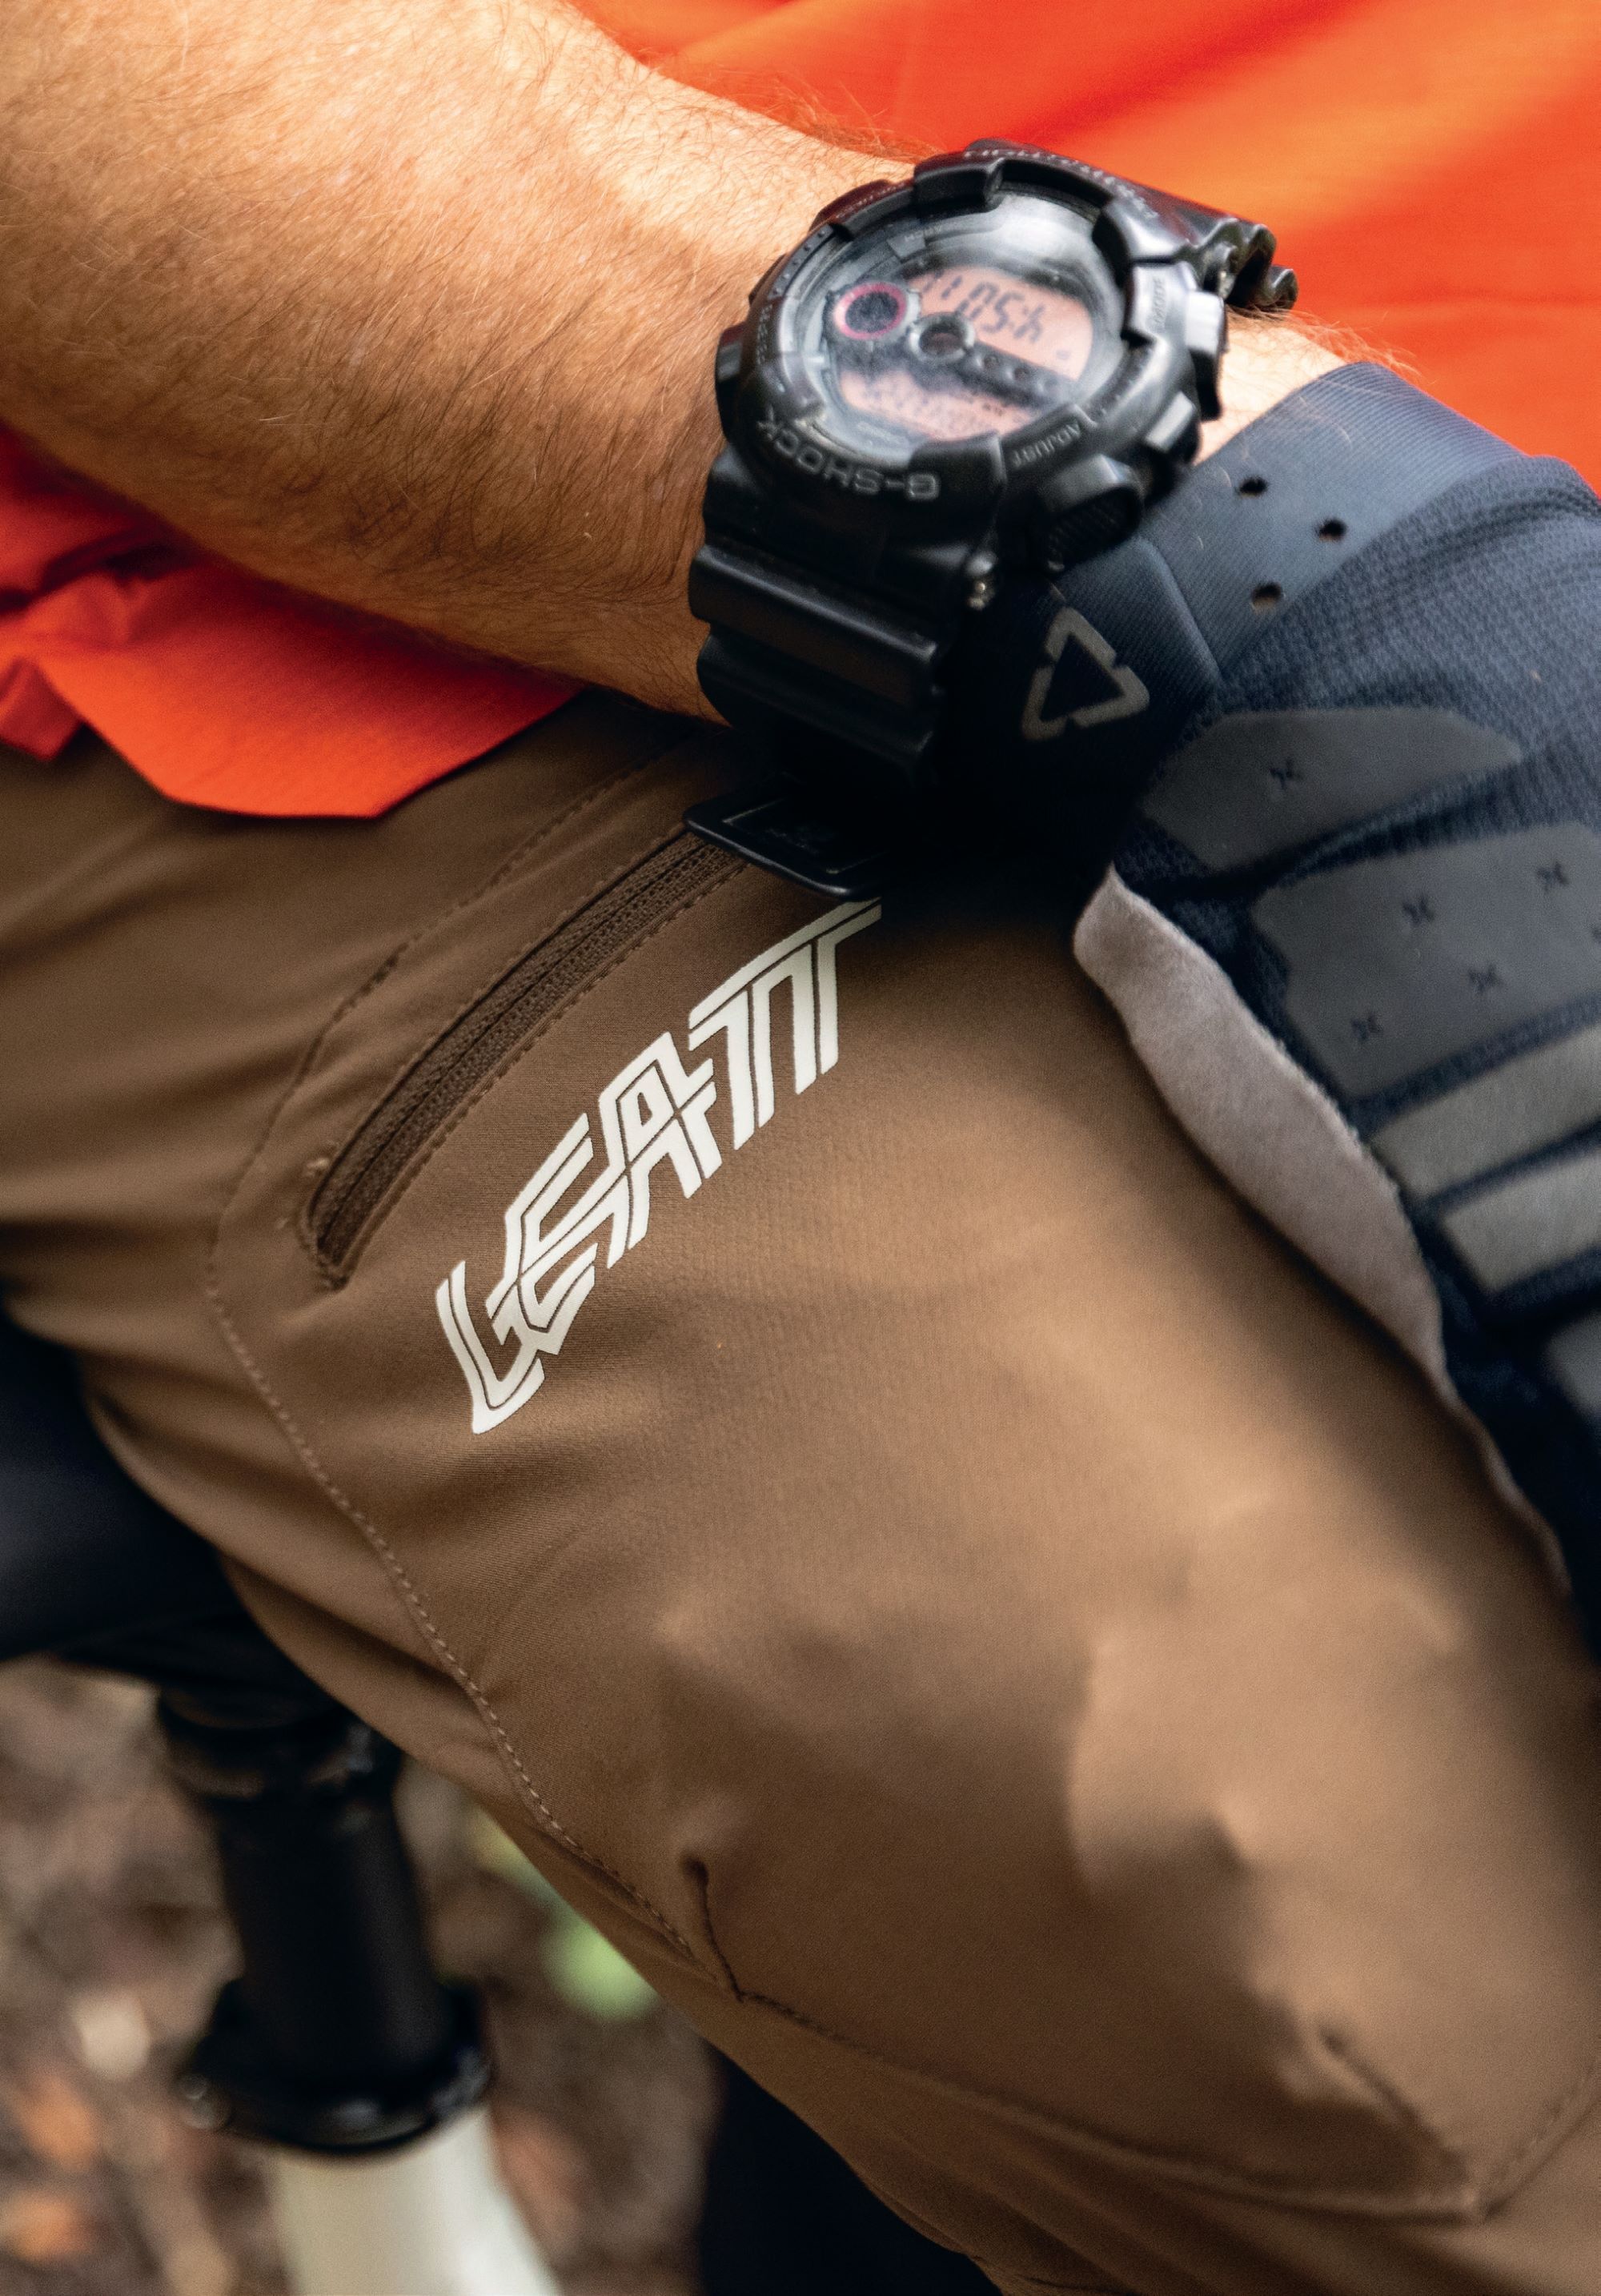
The Enduro 3.0 pant has pockets aplenty, ideal for big days out pedalling or lapping the bike park. Zipped thigh pockets feature on each leg and are large enough for a fair amount of cargo—they’re about the same size as a pack of jelly snakes. Each side also has more traditional, zipped, hip pockets; with an elastic key loop on the left side. The fifth pocket, located on the back of the waistband, is large enough to hold most cell phones—or some more snacks.
Out on the trail, the pants perform well and there’s nothing that stands out as a negative with the fit or function. The cut is perfect while seated and is fine for pedalling for long periods without excessive bunching. The fabric is a tad heavier than super lightweight trail pants, but this makes them harder wearing. The downside is that the overall weight of the pants is slightly higher, in part thanks to the fabric involved in the pockets. It’s not noticeable on the trail, but it’s worth noting these aren’t a super light trail pant, they’re sturdier and should last longer.
I wore these pants while in Christchurch reviewing the Specialized Levo 4, spending a day out pedalling around in what were near monsoon conditions. It was here I found a minor shortcoming of these pants: although the fabric repels water, it only does so to a certain degree. Thanks to the looped backing of the fabric, its overall weight and the pockets, when saturated, the pants retain more water than Leatt’s lighter-weight trail pants. They’re awesome for general use and on wet trails or in light rain, in part thanks to the waterproof seat area, however, when it’s absolutely pouring down, the lighter pants will retain less water.
So, who are these pants ideal for? I’d recommend these for anyone who has a focus on descending, who’s likely to need the extra protection they offer. Shuttle bunnies or eBikers, these will be right up your alley. If you’re into big, backcountry rides, the extra pockets will help you carry more and let you distribute the weight across your body. Just check the weather forecast before you leave home.
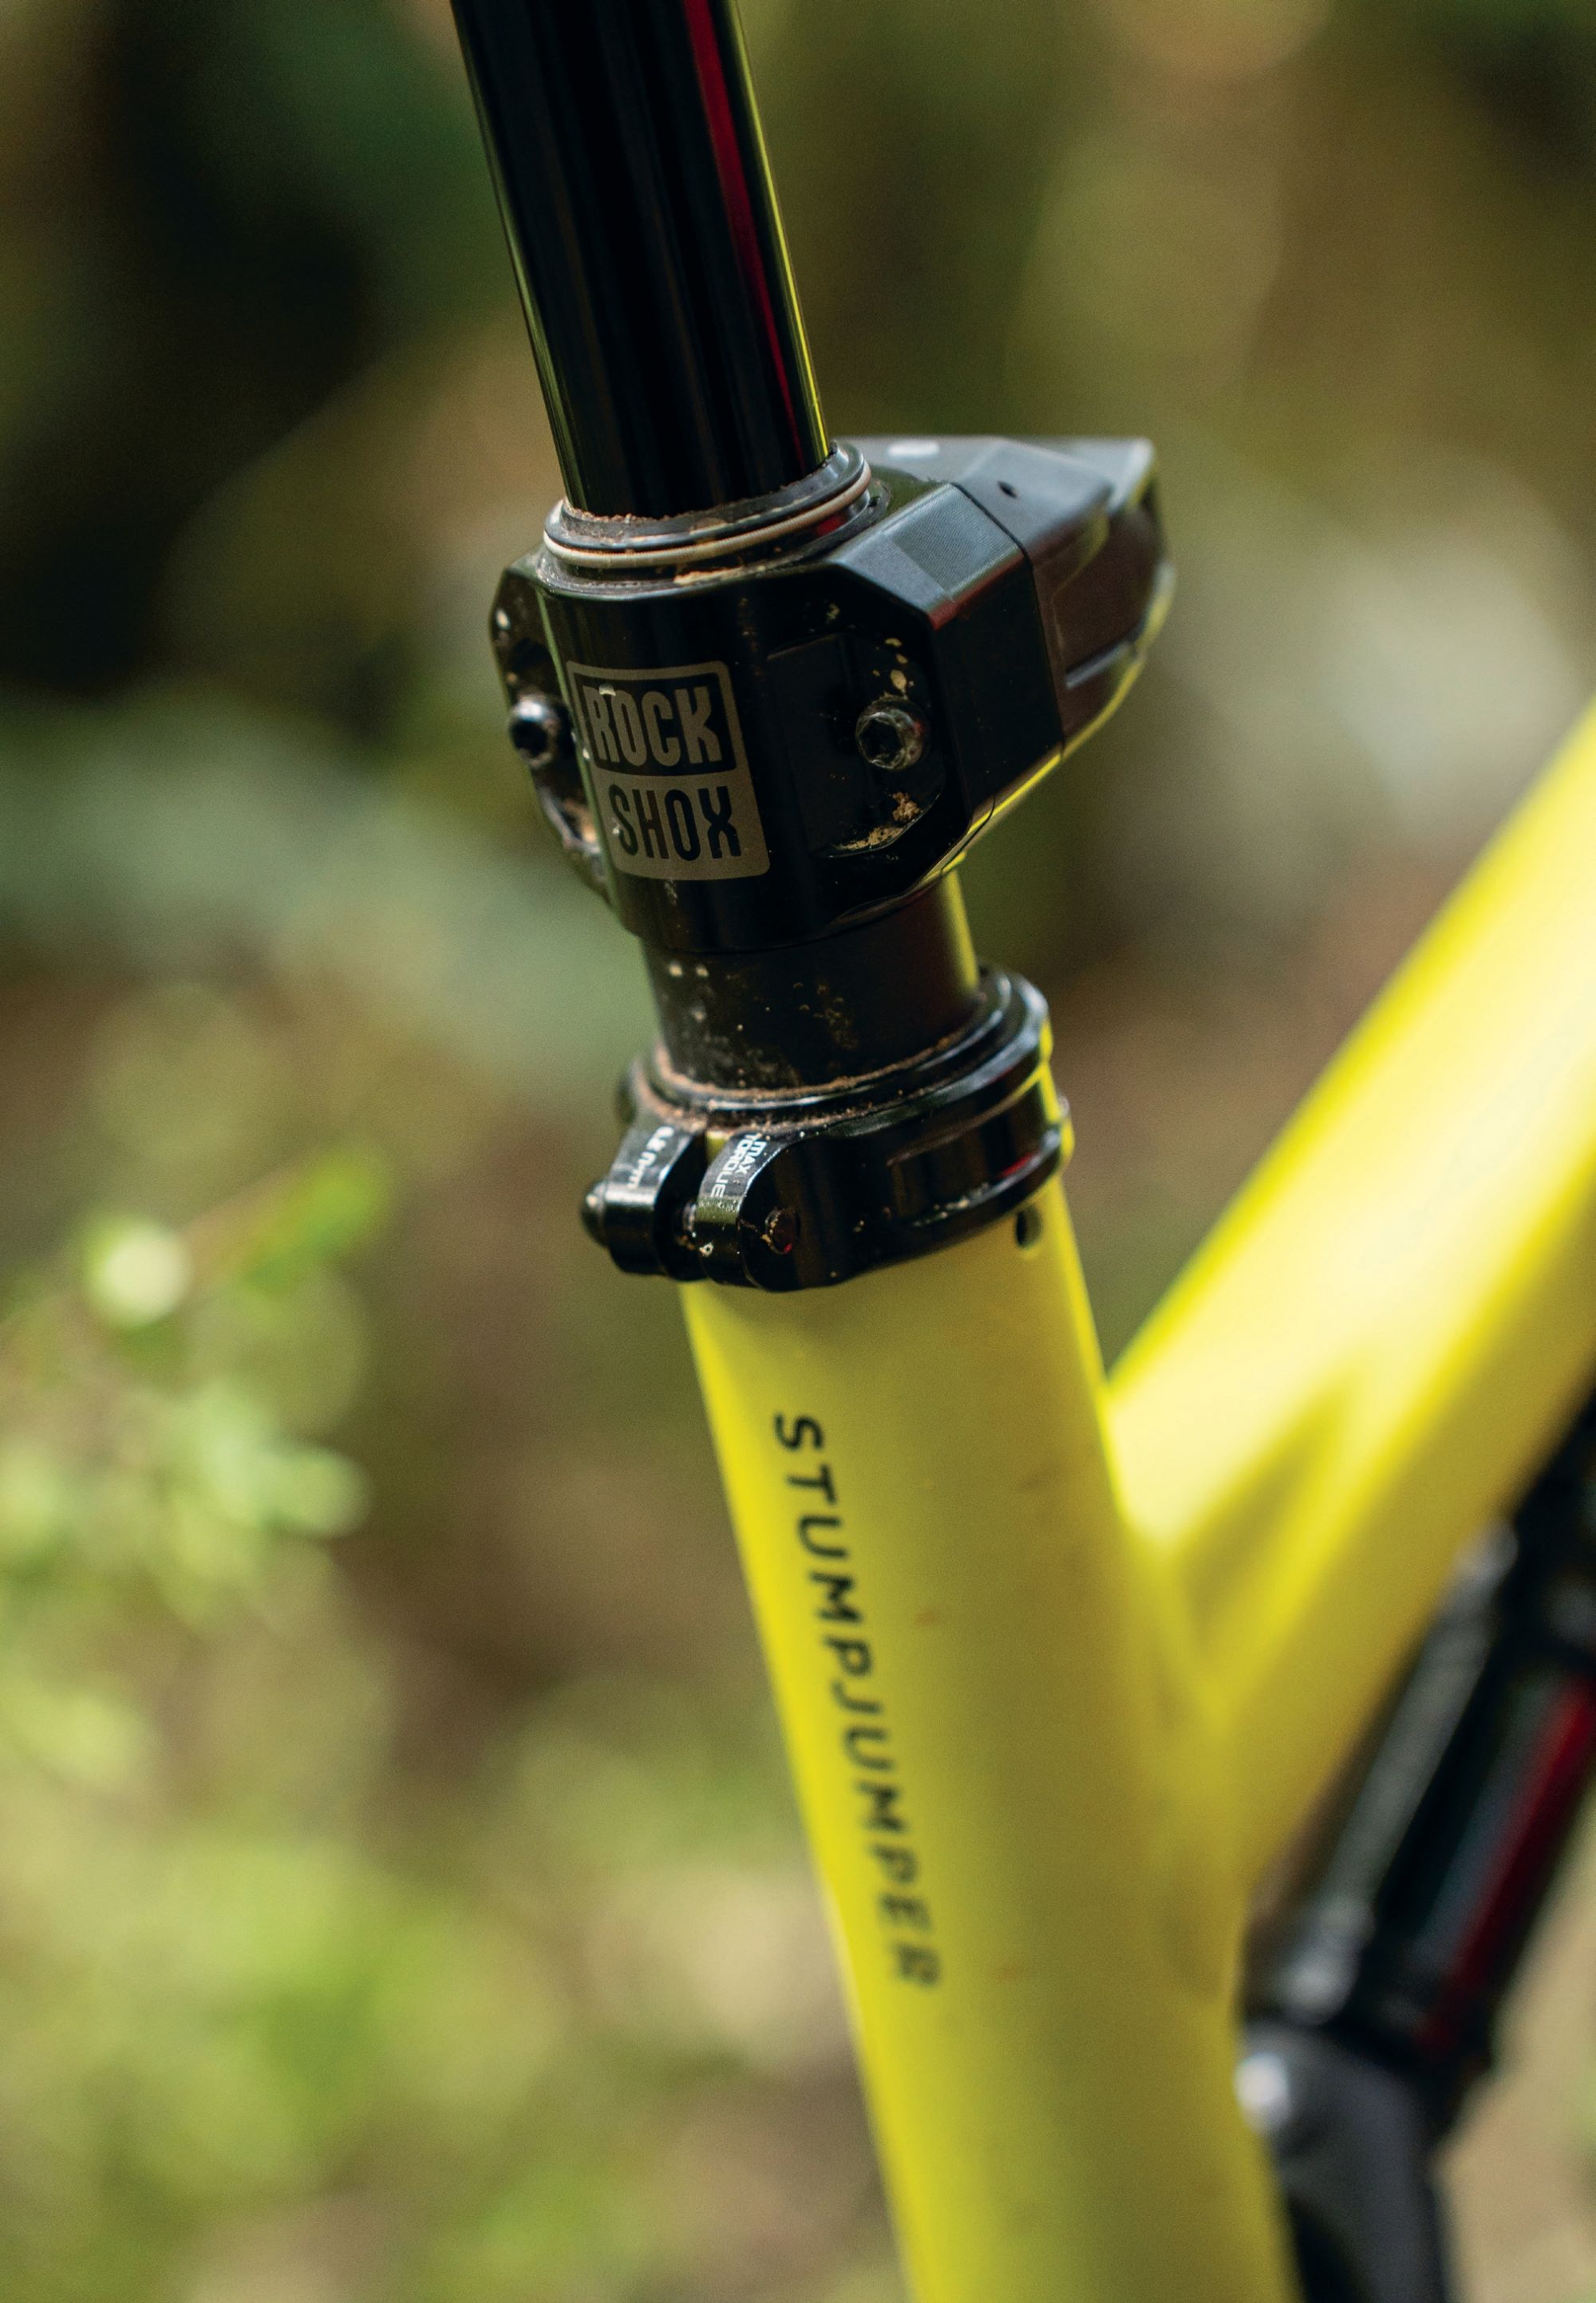
RockShox Reverb AXS B1
Words Lester Perry
Images Thomas Falconer
RRP $2975
Distributor Shimano NZ
There’s a fresh, new (and much-welcomed) dropper post in the RockShox range. The latest Reverb B1 broke cover recently, and I’ve been putting in some rides to get familiar with it. Here’s the lowdown after a month or so.
Firstly, somehow, unlike almost everything in life at the moment, the price of this new Reverb is actually less than the previous. Given its comparable simplicity, it’s also likely to save you money in the long run over that model, too. Go figure.
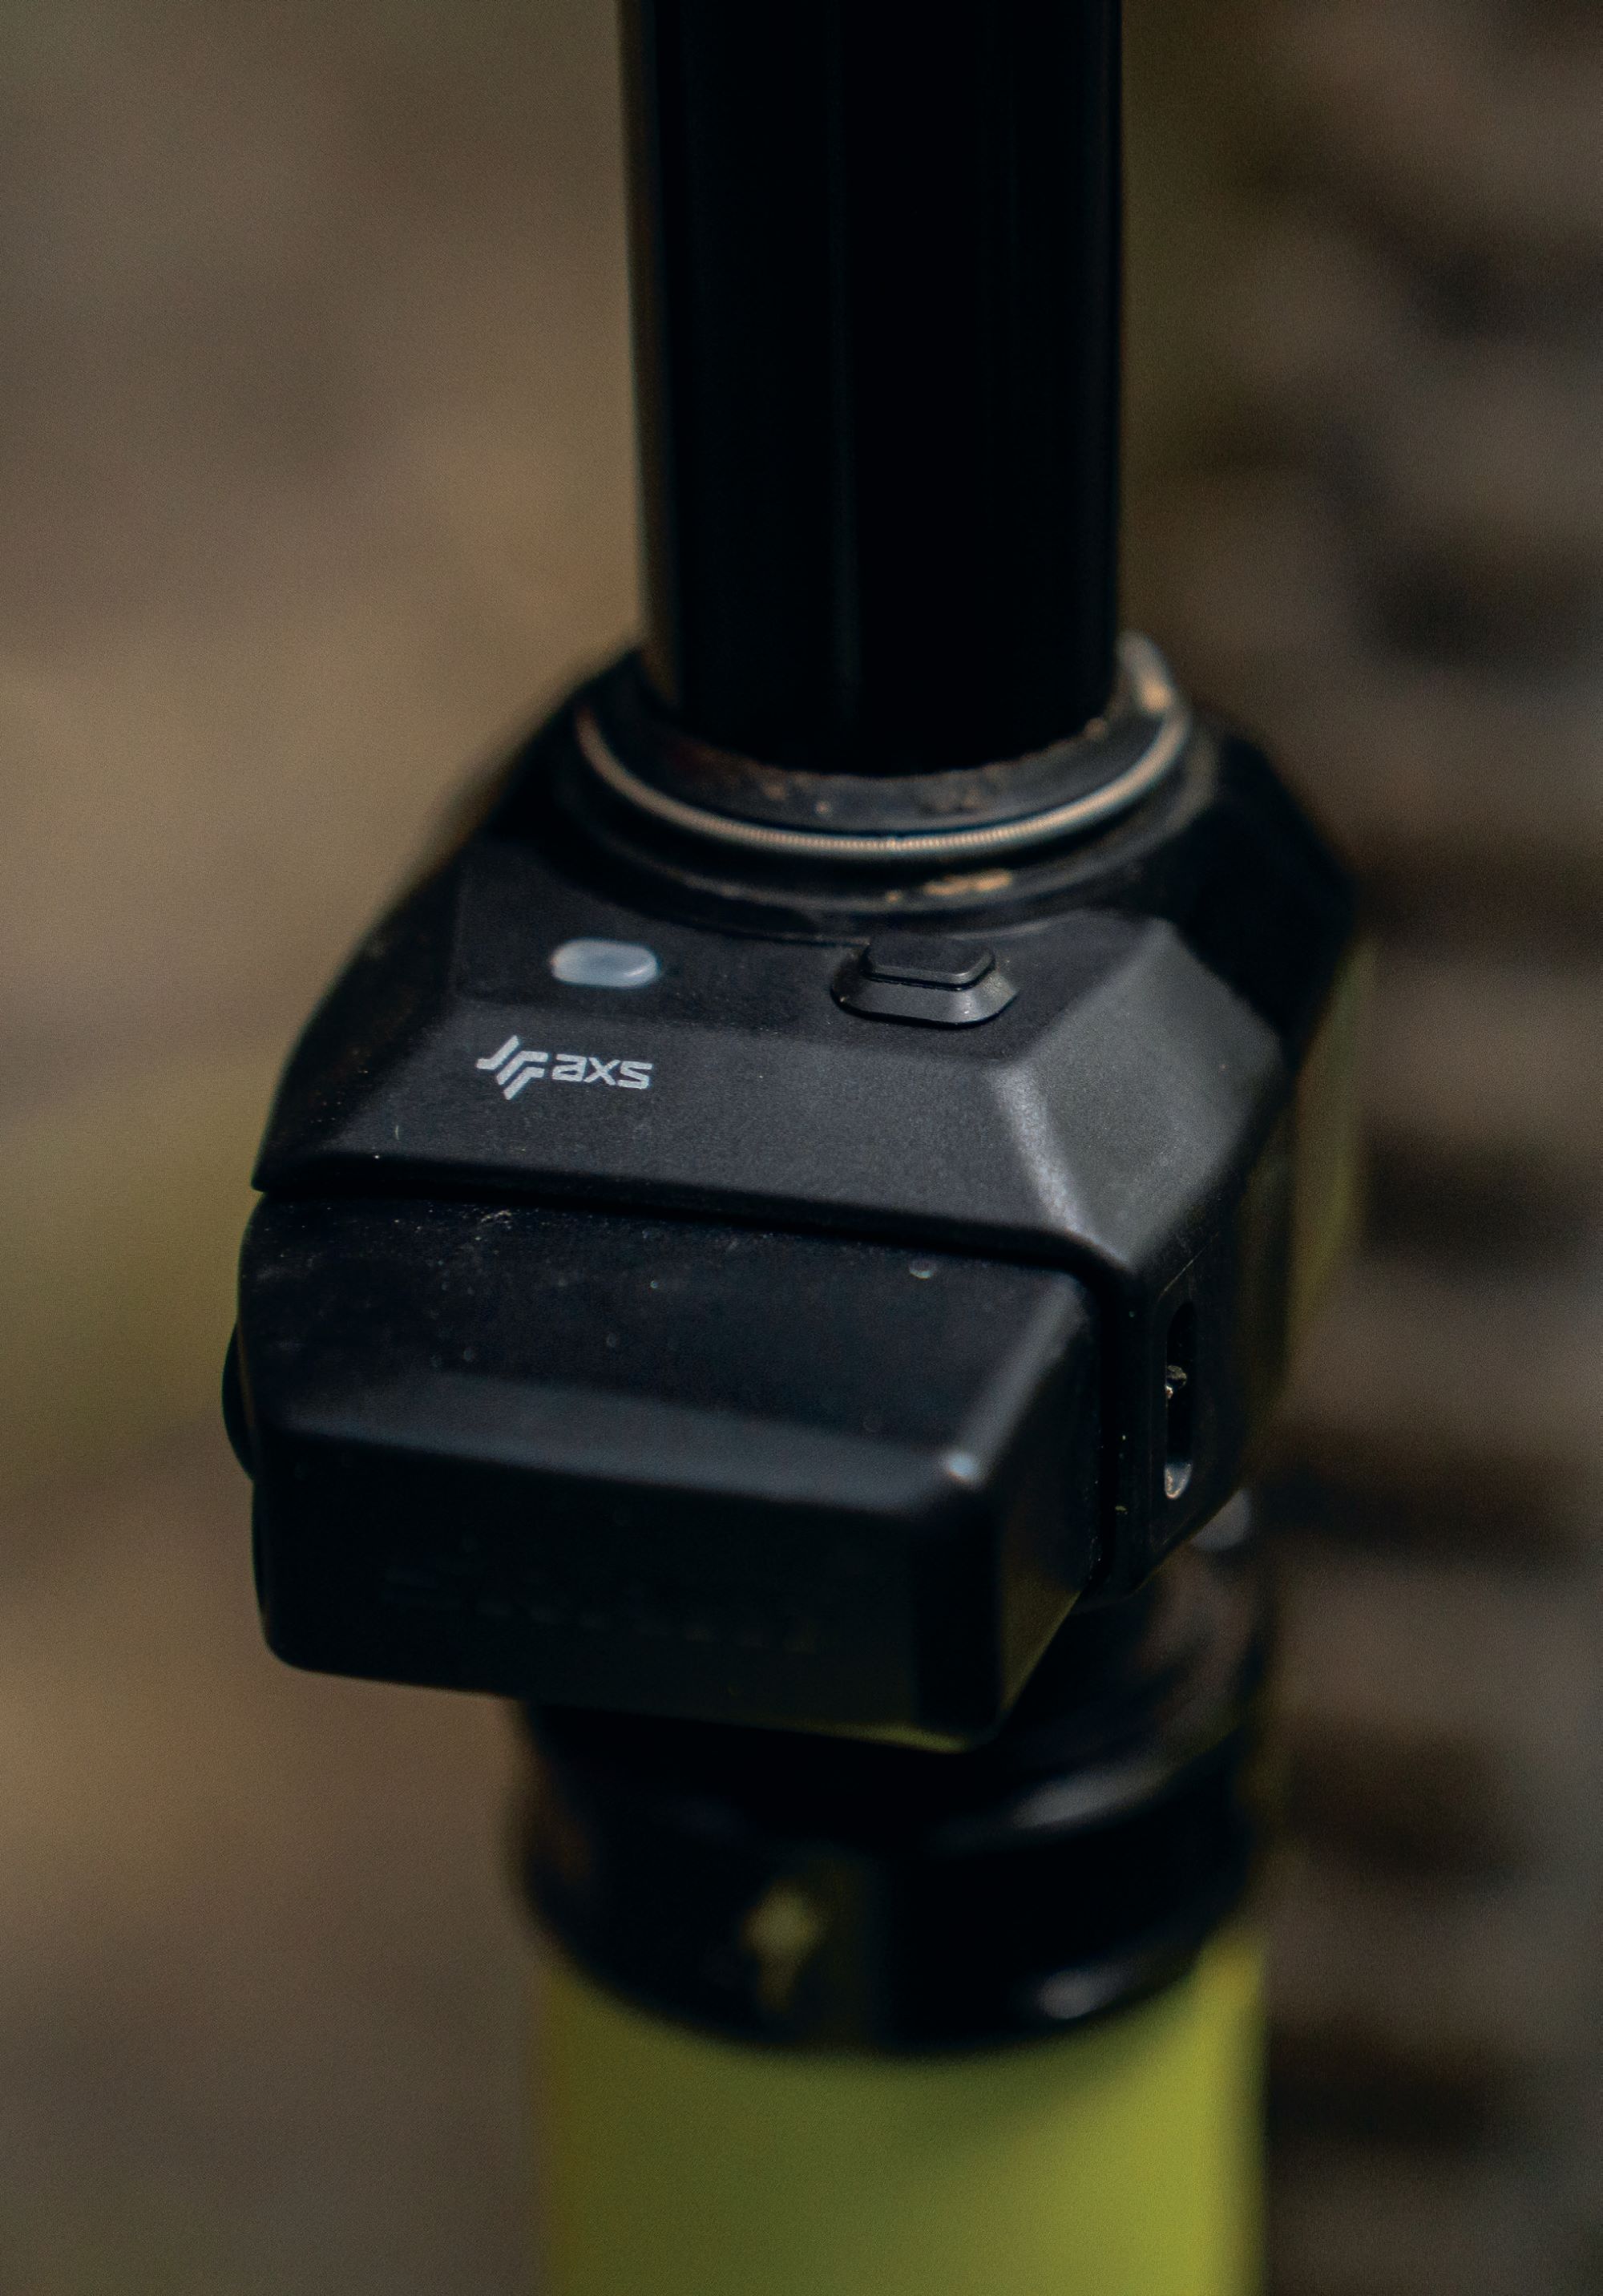
As with the Previous Reverb AXS post, there are no cables or wires involved. The Reverb B1 seamlessly slots into the AXS ecosystem. Simply drop the post into the bike, pair it up to an AXS controller, and you’re good to go. If you’re running an AXS drive train, it’s nice to be able to fine-tune which button on your cockpit activates the post through the SRAM AXS app; there are numerous combinations, although some make more sense than others.
From first glance, it appears the most significant change on the post is the moving of the actuator and battery from the head of the post down to its collar. This change, combined with a redesigned seat clamp, reduces the stack height by a fraction from the previous post. Most importantly, it brings the weight more centrally on the bike. The stack height is still above the market-leading One Up V3 post, although that’s cable-actuated, so not an accurate apples-to-apples comparison. Can’t have it all, I guess. The overall length of the post is shorter than previous Reverbs, though, bringing it closer to the competition so riders can now have more drop on smaller bikes.
There are seven drops available, ranging from 100mm to a gargantuan 250mm, stepping up in 25mm increments. From what I can find, 250mm is the largest in the market by 10mm. Previously, some head scratching, measuring, and diagram drawing (true story) would ensue as I tried to figure out what the longest drop I could fit on my bike would be in relation to my preferred saddle height; thankfully, RockShox has a handy calculator on their website to help determine the best option for any frame.
With the noticeable external changes, it would be easy to miss the other significant change in the post. A new ‘air over air’ design ditches the previous hydraulics in favour of positive and negative air springs. The two air springs balance pressure against each other as the post drops, effectively supporting rider weight on the positive air spring rather than relying on the hydraulics of the past. It’s no secret that RockShox’s previous posts had issues when their air and oil mixed, leaving a flaccid, squishy post in need of an expensive service. Long term, it remains to be seen, but if this system lives up to the hype, the days of unintended squish appear to be over.
The new air-over-air spring enabled a new feature, ActiveRide, which provides a small amount of vertical movement. At full extension, the amount of pressure in the post indicates the amount of travel available when fully extended. At the maximum pressure of 600psi (425psi on the 34.9mm post), it’s rock solid at the top of the stroke; the deeper into its stroke, the more travel or squish is available. It’s not a lot, but it’s there, and it increases if you drop the pressure in the post. Why build what is effectively suspension travel in the post? RockShox theory suggests that at full height, it enables a rider to stay fully weighted on the saddle over rougher terrain, which is particularly beneficial while climbing, as the rider can continue to apply consistent power without needing to disrupt their rhythm by unweighting. When tackling a particularly technical climb with steps or moves where dropping the saddle slightly is advantageous, the travel in the post again allows some damping against the terrain, helping you stay seated for longer. The conspiracist in me thinks that maybe, just maybe, RockShox couldn’t get the post to be rock solid when partially compressed with this new air spring, so they embraced the squish and gave it a name. Whatever the case, it seems to do what they claim, although I’m not so sure there’s a performance advantage on anything other than a hardtail.
The AXS button is now easier to reach while in the saddle, located at the top of the actuator (by the battery). It’s used to sync the post with its controller or as a manual actuator should a controller go offline. The post works with any actuator in the AXS ecosystem, including older paddle-style controllers and the now- common double-button pod controller.
With a claimed 60 hours of use from a full charge, or over 20 weeks for most of us regular folks, the battery will last a long time, but it’s easy to forget about it, too. If you’re running other AXS components, you’ll likely have the same battery elsewhere, so swapping a derailleur battery to a post, or vice versa, could be a saviour. I’ve seen this swap done on more than one race start line when a rider realised their derailleur was nearing flat.
Servicing on previous Reverbs was a total headache, and if an issue resulted in a complete rebuild, it was often cheaper to just replace the post with one other than a Reverb. This simpler design, combined with some forethought from the product team, means the B1 is completely user-serviceable. A simple ‘clean and grease’ 1-year service can be completed in literally minutes and requires only a few standard tools. No seal kits or oil faff required. The 2-year (600-hour) service is a bit more involved and requires some more specialist tools, but is still achievable for a competent home mechanic, thanks in part to SRAM’s in-depth online service manuals and YouTube tutorials.
Riding the new Reverb is not unlike the old version: push the button while you’re sitting on the saddle, and the post drops. Stand up, press the button, and the post shoots back to full extension. I’ve found myself reaching down at times to feel if the ActiveRide is doing anything, and sure enough, it’s going up and down slightly as I ride over bumps, although it’s hard to say if it’s offering any sort of advantage. There’s no rotational slop at all in the post and, so far, no sign of forward and backward movement either.
It’s nice to see RockShox are not resting on their laurels with their previous post, but recognising there were some shortcomings and developing something new in the form of the B1. They should get extra points for a complete revision rather than just minor updates. While it would be nice to see some fine-tuning of the drop available, like many mechanical posts, I guess that leaves something for RockShox to strive for in their next release. Maybe?
Given how simple the post is to install, and its price tag, it’s likely the post could be passed from bike to bike as its owner updates or changes their frame. However, with how new the post is to the market, it’s only fair to mention that no one’s 100% sure of its lifespan.