Bosch eBike systems take digital theft protection to a new level
Words: Alex Stevens
Ebike sales have been on the rise for the last few years and, unfortunately, so have eBike thefts. Chances are you saw the recent story about one particular enthusiast who was so keen to get his hands on his dream bike that he broke into his local store and pedalled away on a $17,000 rig.
Once upon a time, a lock and chain used to be enough to deter potential thieves. Now it seems our prized possessions are not safe even when locked away inside a shop with a burglar alarm system. The bike thief did forget one important thing: the charger. The store owner is hopeful this might be his downfall and buying a new one might be how he gets caught. Fingers crossed.

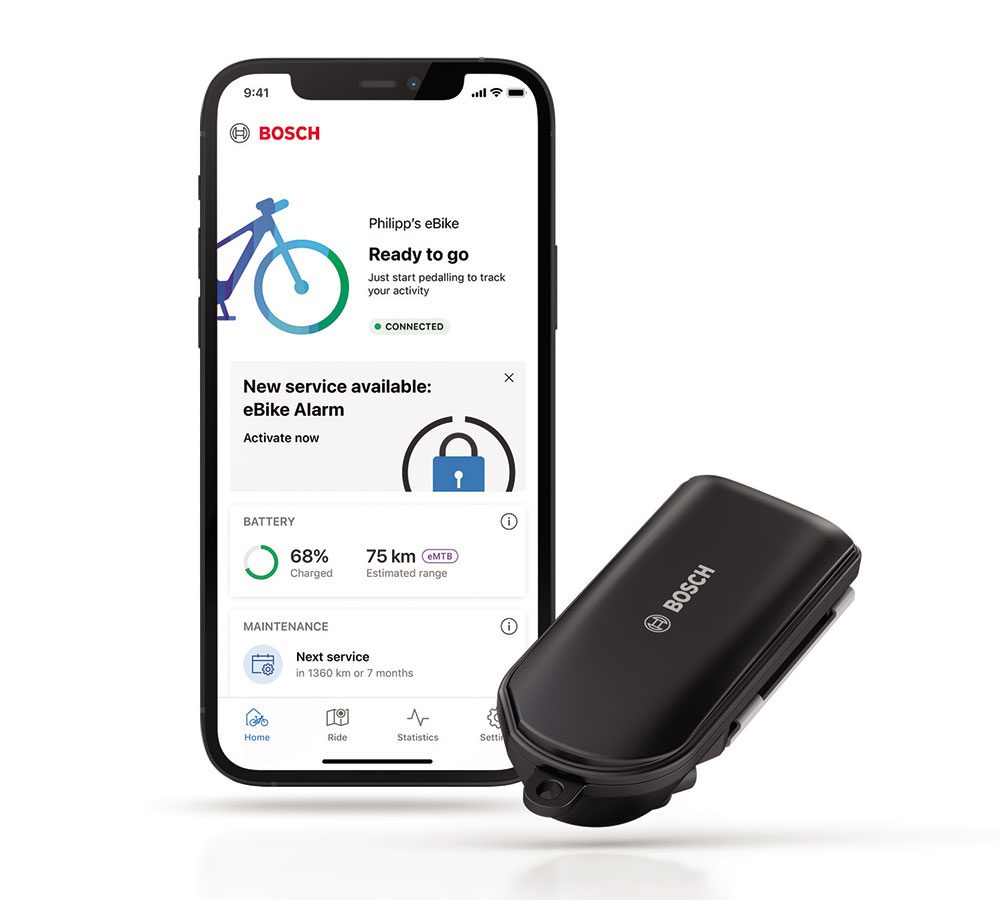
There is actually one system which could have helped save the day here, or at least led to a speedy retrieval of the stolen bike. Bosch’s new eBike Alarm function provides more safety and better protection. The alarm is able to tell users the location of their eBike and sounds an alarm in the event of suspicious movements.
We tested it and can confirm that ‘suspicious movements’ include moving the bike just a couple of centimetres when you’re in the middle of servicing it and forget that the alarm is enabled. We were treated to an ear-piercing screech that would surely be enough to deter even the most determined thief. If, however, the eBike is stolen, you would receive a push notification on your smartphone along with location tracking via the eBike Flow app.
After a one-time installation via the eBike Flow app, your smartphone serves as a digital key. If you switch off your eBike, eBike Alarm activates automatically. There’s a two-stage system to the alarm and the smart motion detector can tell whether your eBike has been moved a little or a lot. In the case of slight movements, the eBike system emits several short warning tones as a deterrent.
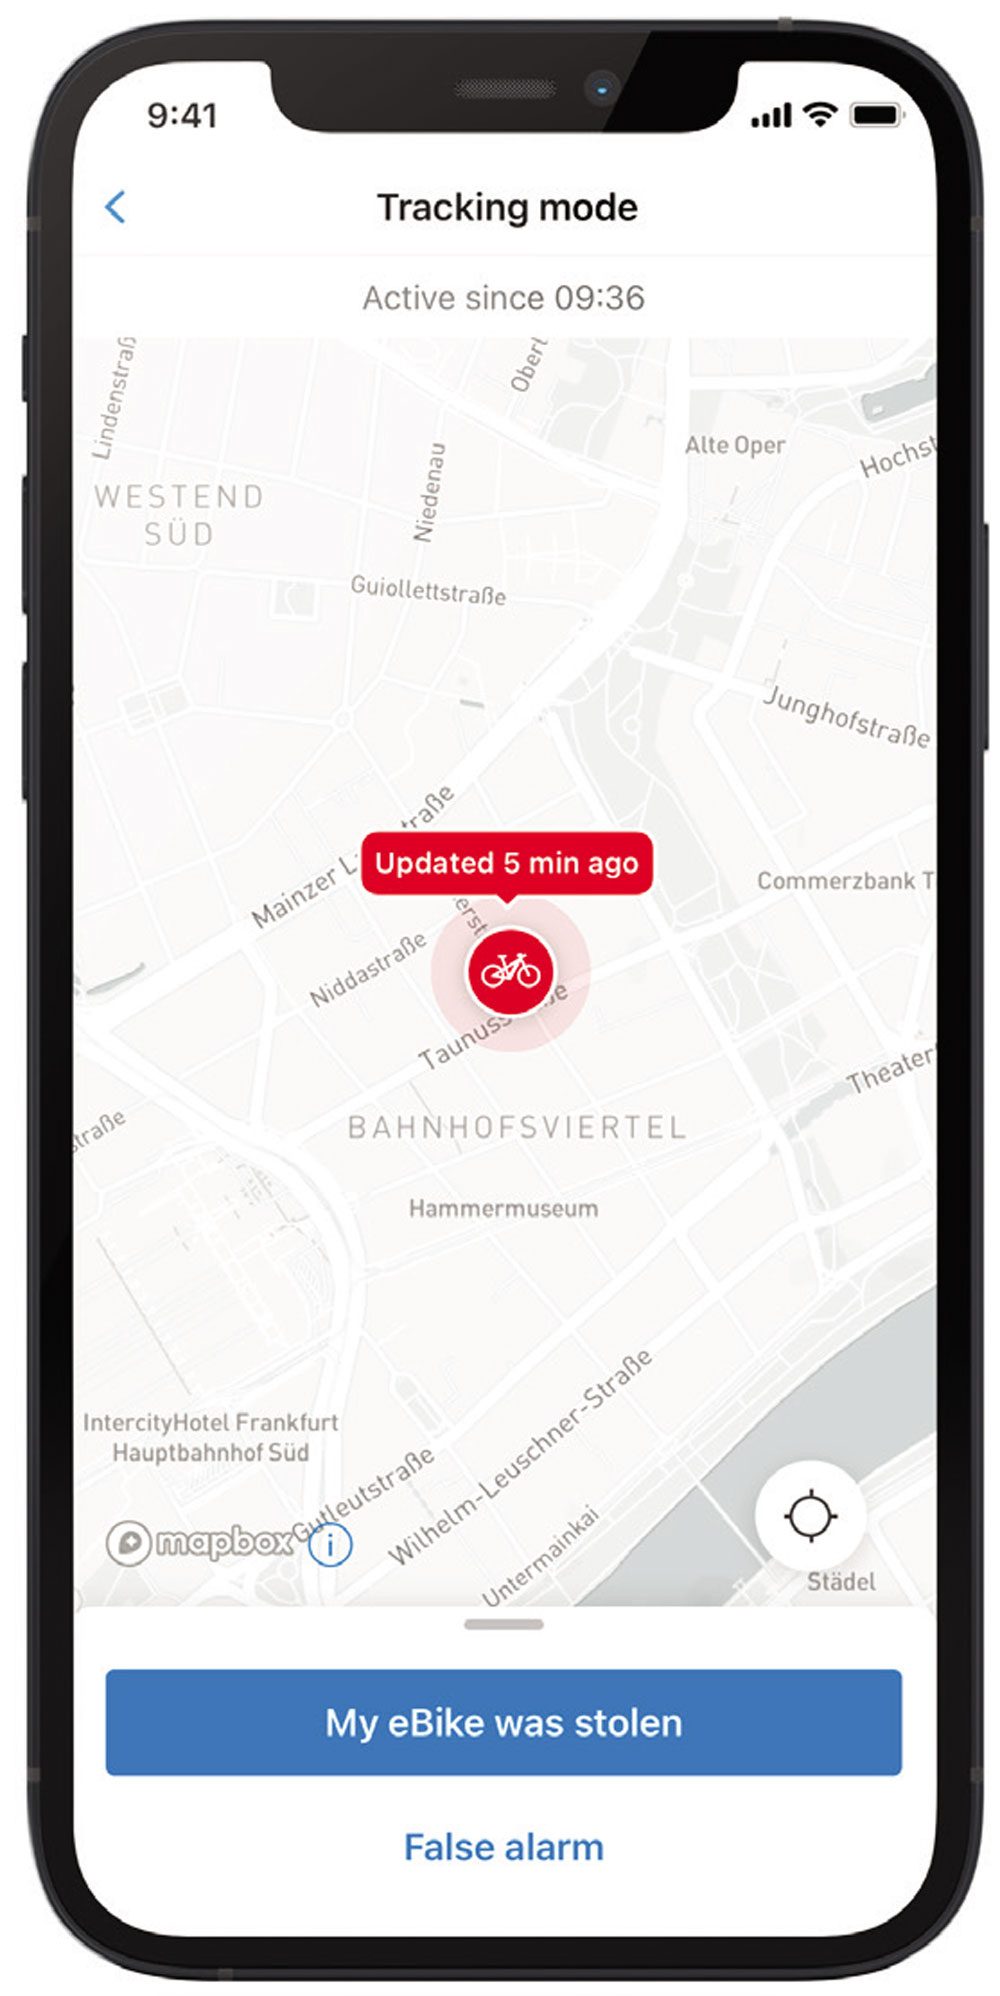
If the eBike is moved a lot and the matching digital key, i.e. your smartphone, is not nearby, it sends out a loud alarm tone as well as a notification to the smartphone. To use eBike Alarm, the eBike Lock feature must be activated in the eBike Flow app and the new ConnectModule installed on the eBike by a specialist dealer. It can be installed on any Bosch Smart System-equipped bike. The paid component is installed on the eBike and contains a radio and GNSS module, a separate battery and various sensors. You can only use eBike Alarm after installing this component.
Users who decide to purchase a ConnectModule, receive eBike Alarm for twelve months at no additional cost. After that, they can decide whether they want to continue using the digital service at a fee – eBike Alarm is not charged for automatically.
After the free trial year, the feature costs 4.99 euros per month or 39.99 euros per year. The subscription is charged in euros since Bosch is based in Germany, but the service is available further afield, including Aotearoa.
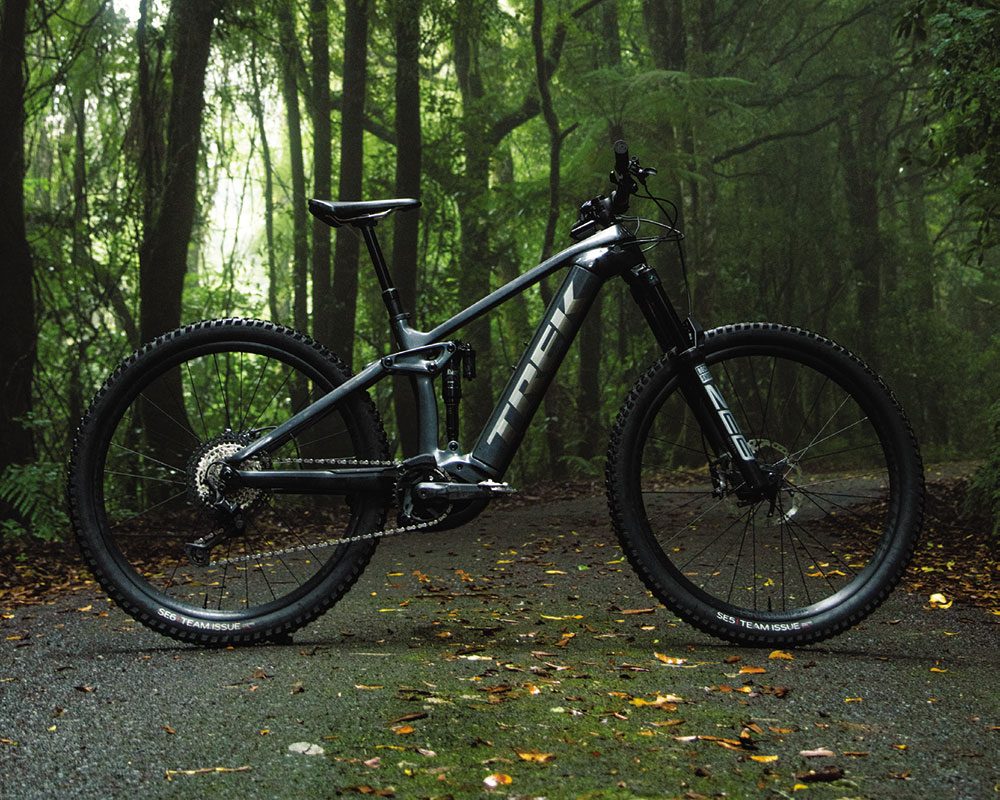
Bike Review: Trek Rail 9.8
WORDS: GAZ SULLIVAN
DISTRIBUTOR: TREK NZ
RRP: $12,999
I am not privy to the think tank at the centre of Trek Bikes, so what follows is pure guesswork, but here goes: Nearly two decades ago, Trek broke ranks and named their flagship trail bike after the top category of that very American petrol-head sport of drag racing. From its very beginnings, in the 1940s, the simple competition between two vehicles over a standing start quarter mile has been a technical arms race. And, the first thing those early hot rodders did to get an advantage over the guy in the other lane, was to figure out how to use something more volatile than pump petrol into the engine.
The stuff they focused on is nitromethane. Various amounts of it definitely makes more horsepower. Mixed with a number of other ingredients to make engines start reliably and not tear themselves apart immediately, nitro was called ‘the poor man’s supercharger’. Then they added superchargers, and squeezed phenomenal power out of a V8 motor.
To differentiate the entrants running on regular petrol from the engines running on anything else, a category was added to racing classes called ‘Fuel’.
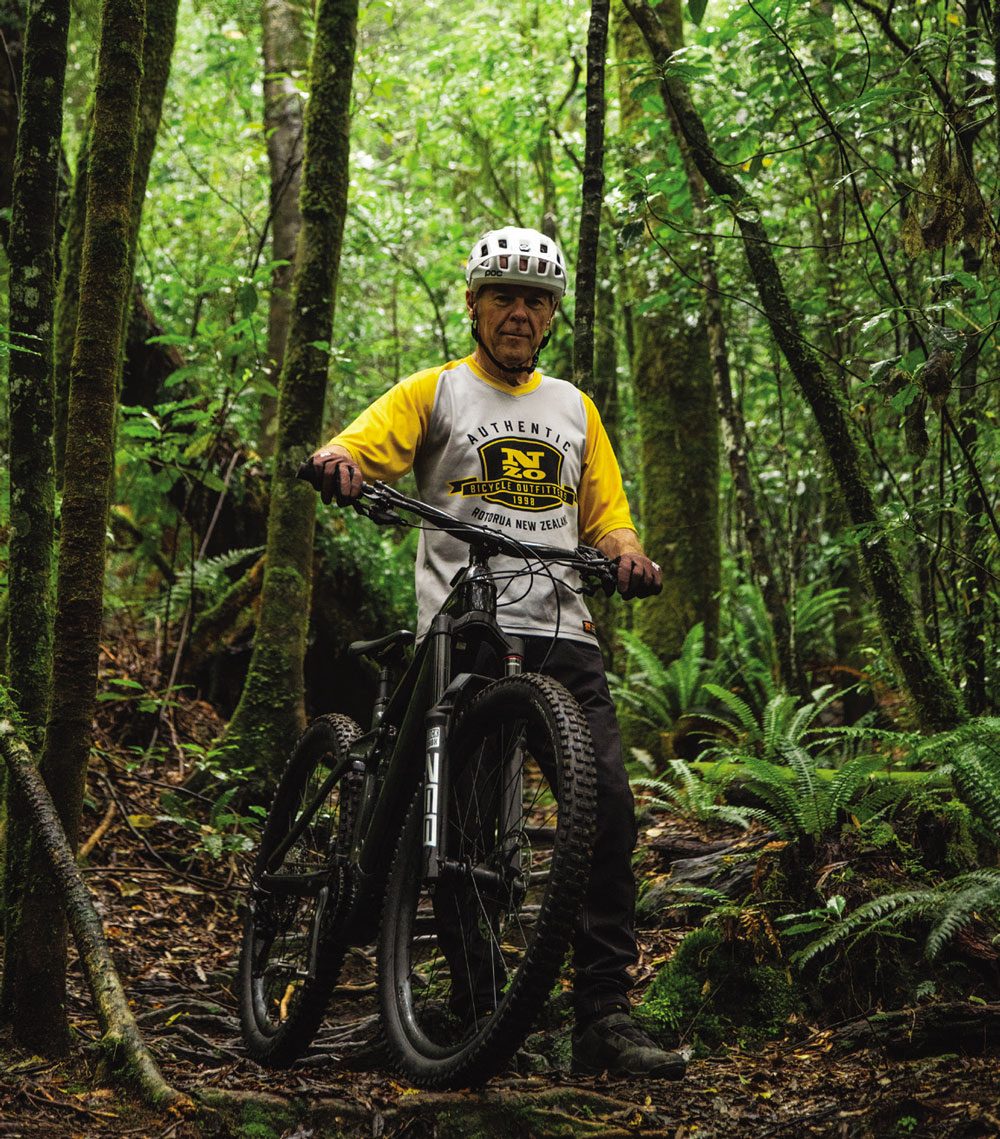
If there was any doubt that Trek was referring to nitro when they named the Fuel line, they dispelled that by adding a model called Top Fuel a few years later: that is the name of the blue ribbon event of drag racing, the fastest, most explosive, and most specialised class of the sport.
The first dragsters were simple contraptions, usually a 1930s Ford with the body removed and the engine set back toward the rear of the vehicle, and some sort of crude accommodation for the driver, aft of the engine. Because the main members of the chassis were frame rails, the cars become known as ‘rails’. As things got more sophisticated, and custom-made machines were fabricated from lightweight tubing, the name stuck. The fastest things on a drag strip were rails.
When Trek launched its flagship eBike, they slapped the name ‘Rail’ on the top tube, further cementing my belief that any other possible meaning associated with the name could be ignored: it was another tip of the hat to the dragsters.
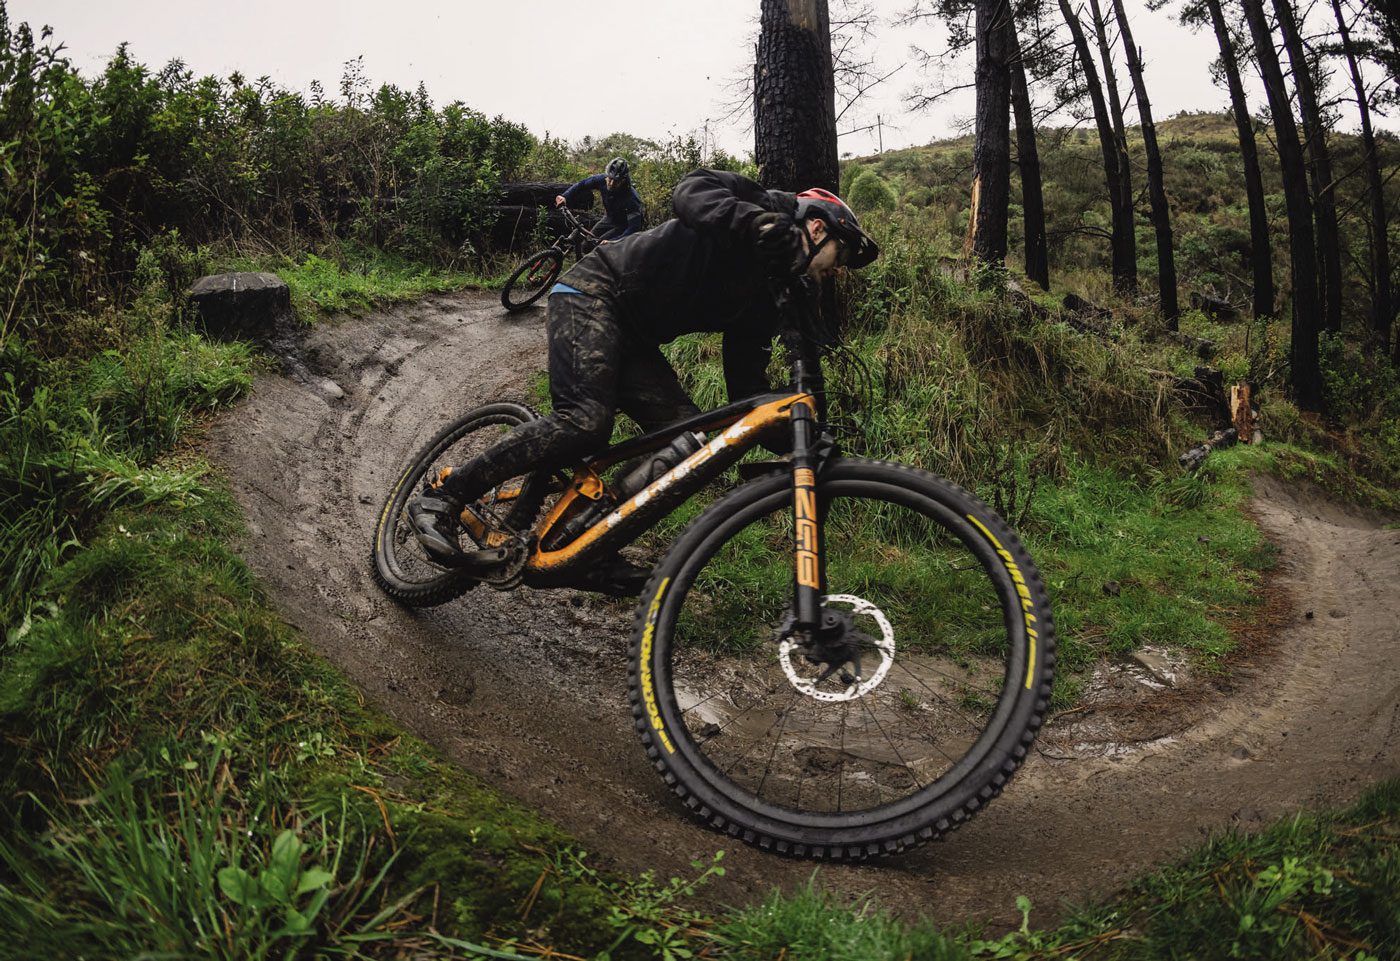
The latest incarnation of the Trek Rail is the third iteration of a simple design, based on the time-proven system shared by the Fuel and the Slash. Like its four-wheeled namesake, the design is fairly brutal and unapologetic. No attempt is made to hide the Bosch power plant, and the Rail 9.8’s massive 750 watt battery is an obvious part of the bike’s architecture, not really hidden in the gargantuan down tube. It’s an obvious eBike, and wears its heart on its sleeve.
To further connect the bike to its hot rod DNA, is a sparkly metallic ‘prismatic’ paint job and big decals that look like chrome.
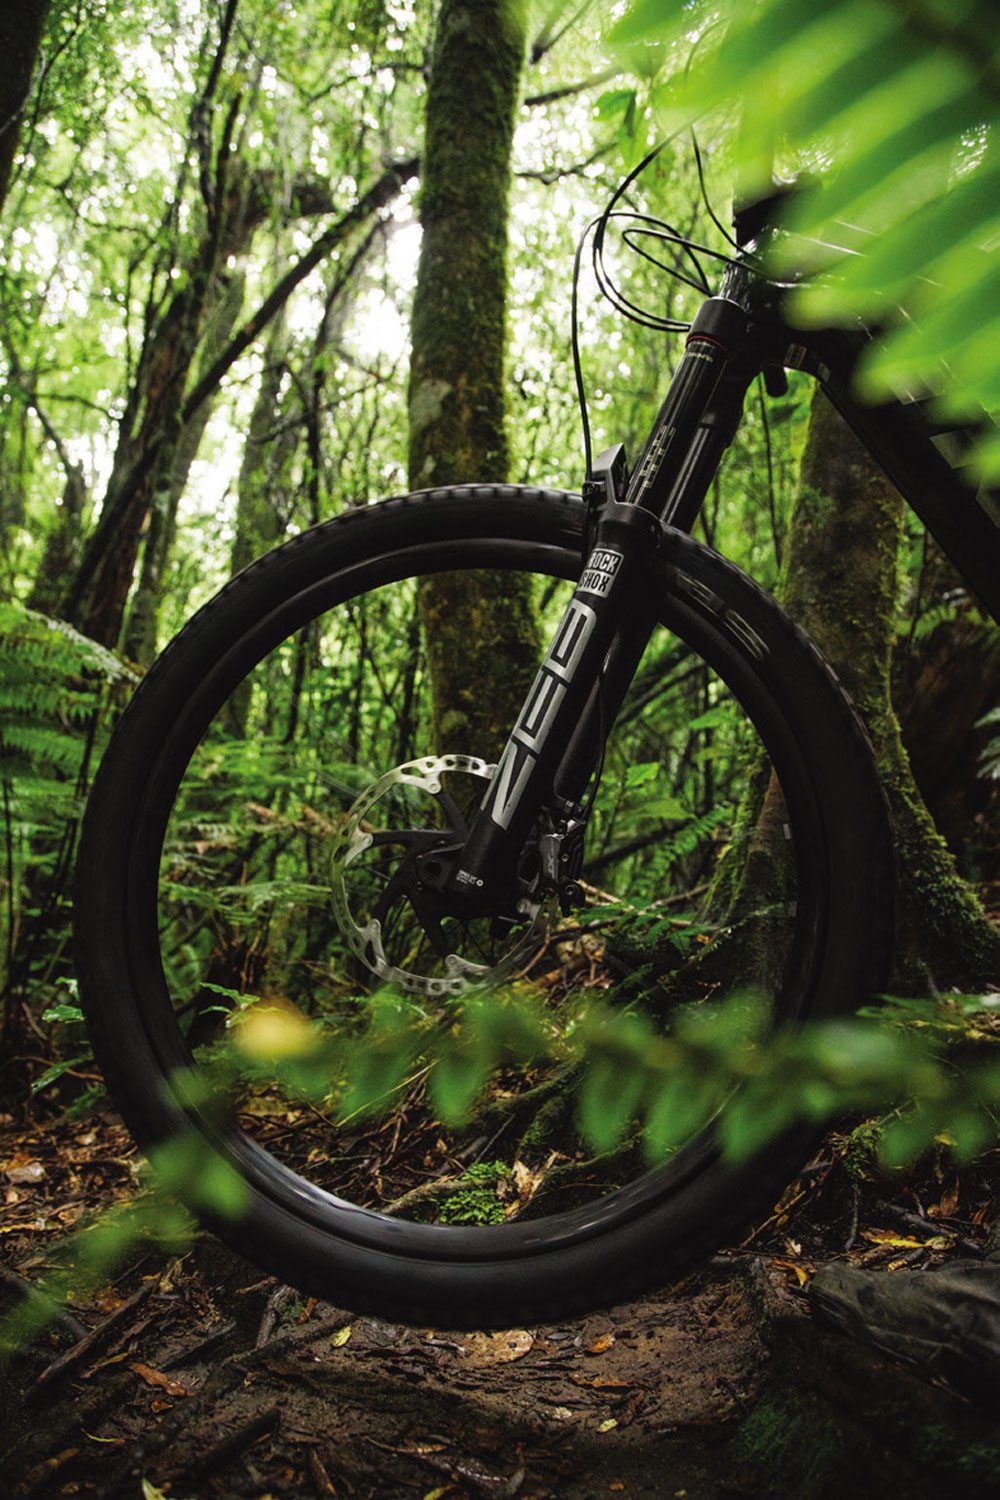
Out of the box, the 9.8 has an epic set-up. A full carbon frame offers 150mm travel and is teamed up with a RockShox Zeb fork, providing 160mm travel up front. It comes with a tough Bontrager 29 inch wheelset that stayed true and gave no trouble over a three month review period where I clocked up over 1100kms on the bike. It is possible to mulletise the bike with the assistance of a Trek dealer to make the necessary adjustments to the Bosch system for correct speed readings and power output. Mostly Bontrager components wear a full set of Shimano XT shifters, drivetrain and brakes.
Geometry is aimed at going fast on trails: a head angle of 64.2 degrees in the low setting of the adjustable rear suspension flip chip Trek calls a ‘Mino-Link’, and a longish frame reach of 45.2 cm.
The Bosch Performance CX Line motor has a reputation for reliability and, on the trail, it was surprisingly quiet compared to other eBikes I have shared rides with. The Bosch motor does emit a fair amount of clatter on downhills, however.
The details are nicely handled, a removable battery has a pop-out handle for carrying it indoors for charging, or to keep it safe while your sled is hanging on the back of the truck. You can access the internal cable routing while the battery is out. The bike has a neat little flap over a charging port on the seat tube, so you can charge it while the battery is installed.
Charging takes quite a few hours from low to full charge, but is worth the wait once you get on the trail. The battery is a seriously well-endowed source of grunt.
Last year, I was lucky enough to write up a NZ Mountain Biker review of the Trek Fuel EX e, and I was amazed by how much I liked the e-assist. I reckoned the Fuel EX e was the ideal bike for a mountain biker, with a bit of fitness and experience, looking to go a bit further or squeeze more trail out of a busy schedule. Now I can directly compare the EX e to the Rail, and I think that still holds true.
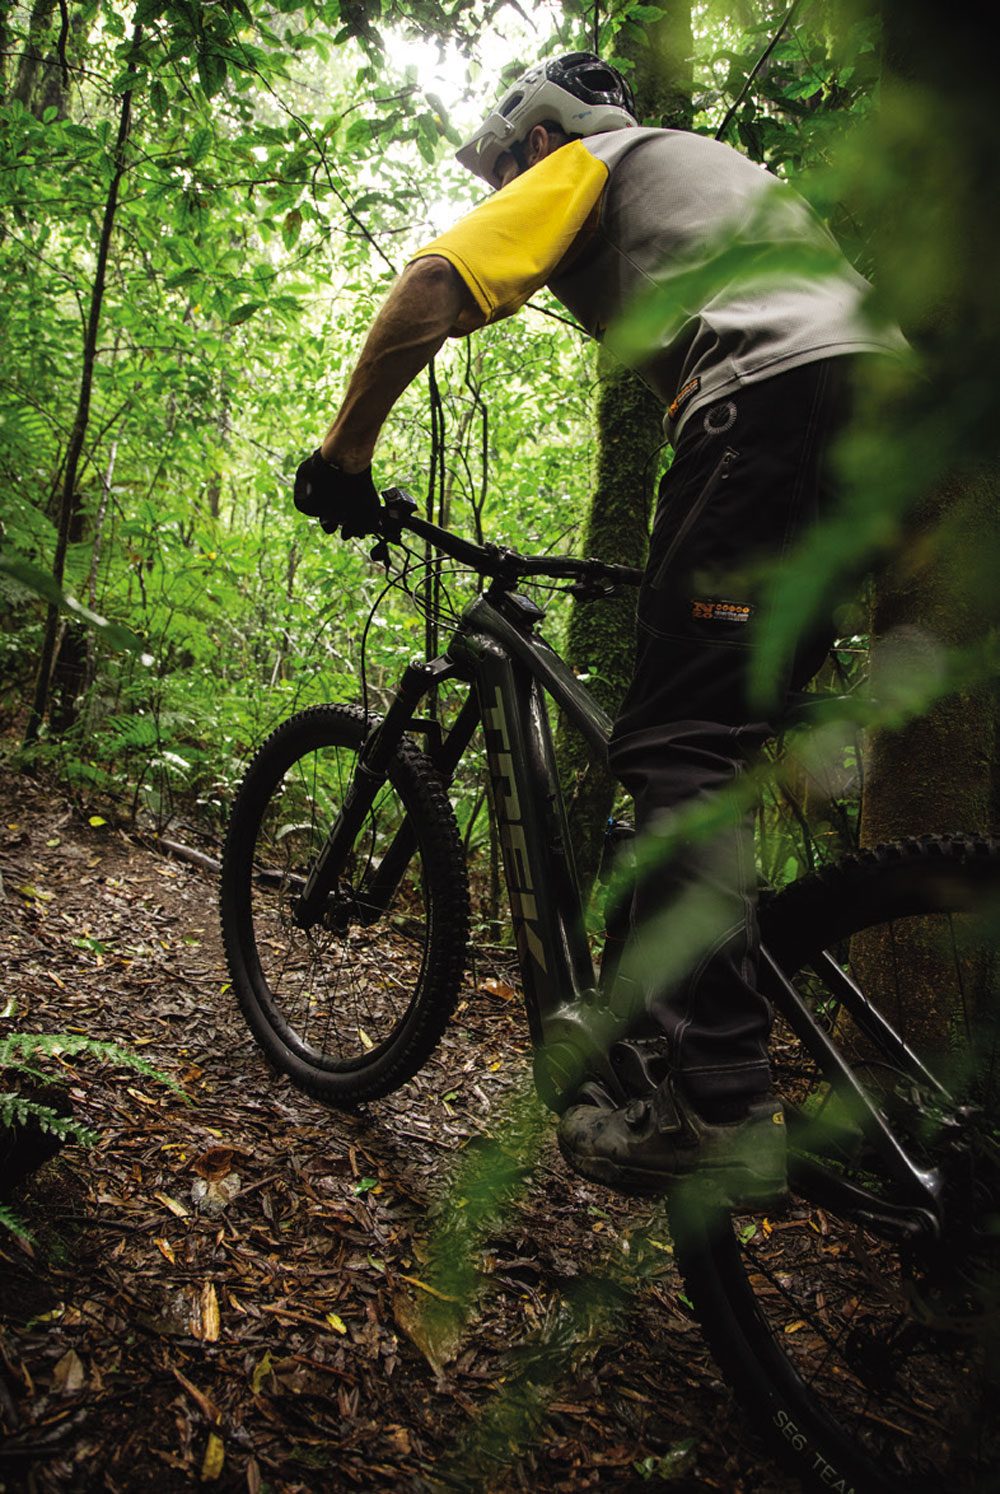
The Rail can take anybody to the top of just about any climb with comparative ease. But, put it in the hands of a rider with a bit of fitness and experience, and riding it becomes a different sport.
The brute power of the bike is amazing. I found myself looking for very steep things to ride up. At 85nm of torque it isn’t the most powerful bike available, but I am not sure more power would be much use – it’s fun figuring out how to dole out the horses without overcooking the available traction.
The range of the bike is equally impressive. My last outing before the sad day I had to hand it back was a case in point.
I rode 62.6kms, climbed almost 2000m, and averaged over 20km/hr. Most of that was on-trail. There is no way I would have chosen the route I took on my pedal bike, and if I did I would have been out for a very long time.
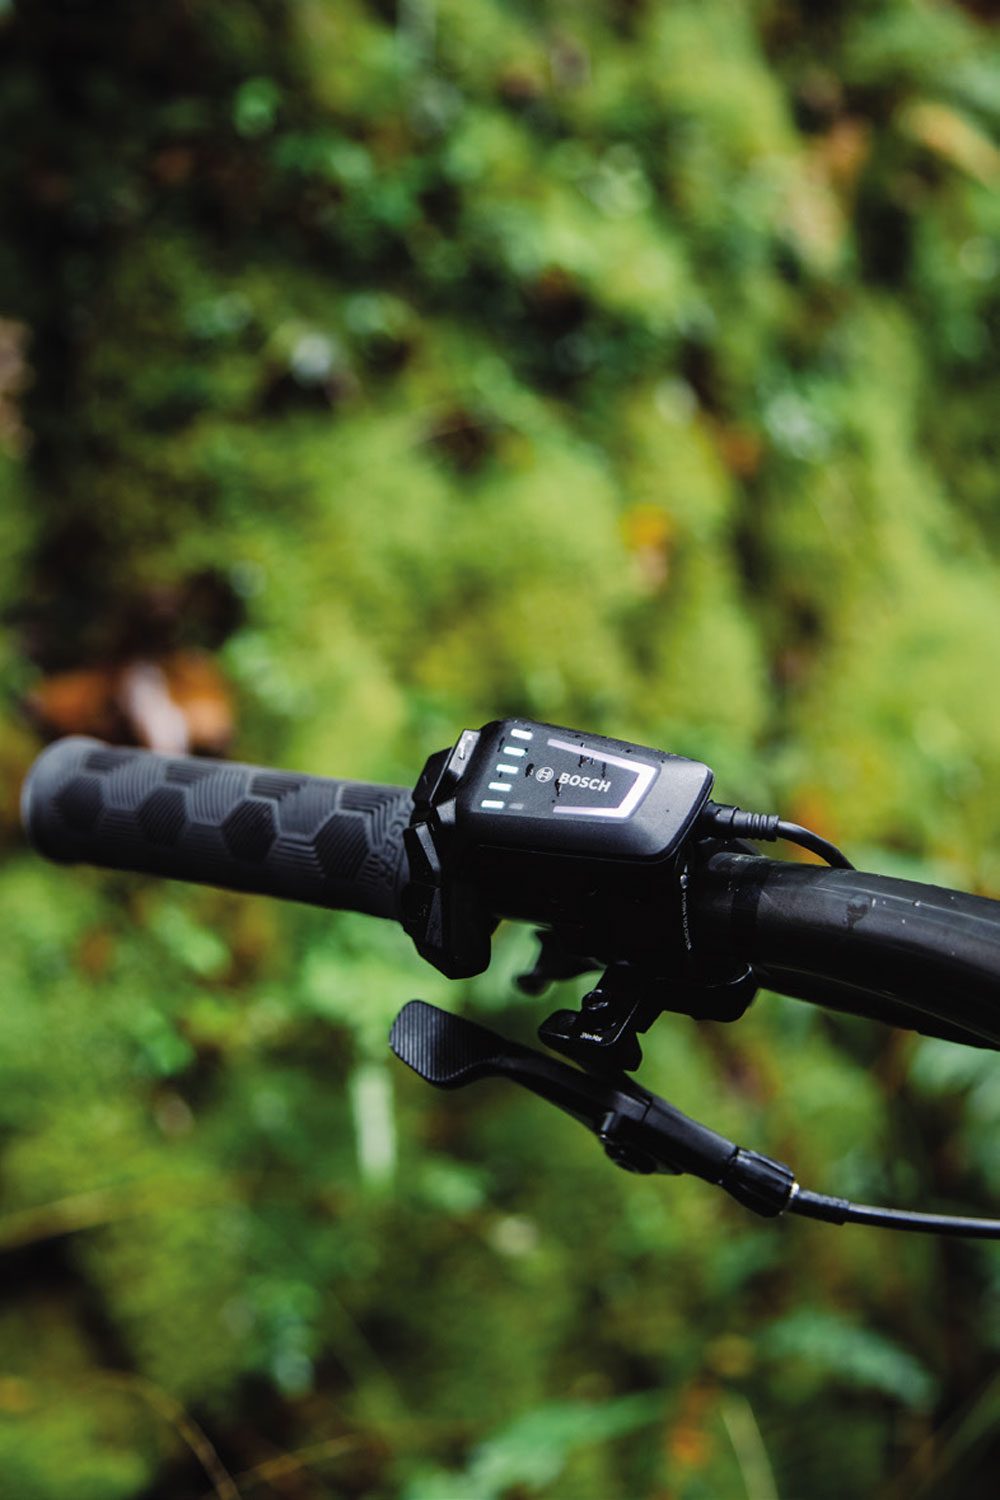
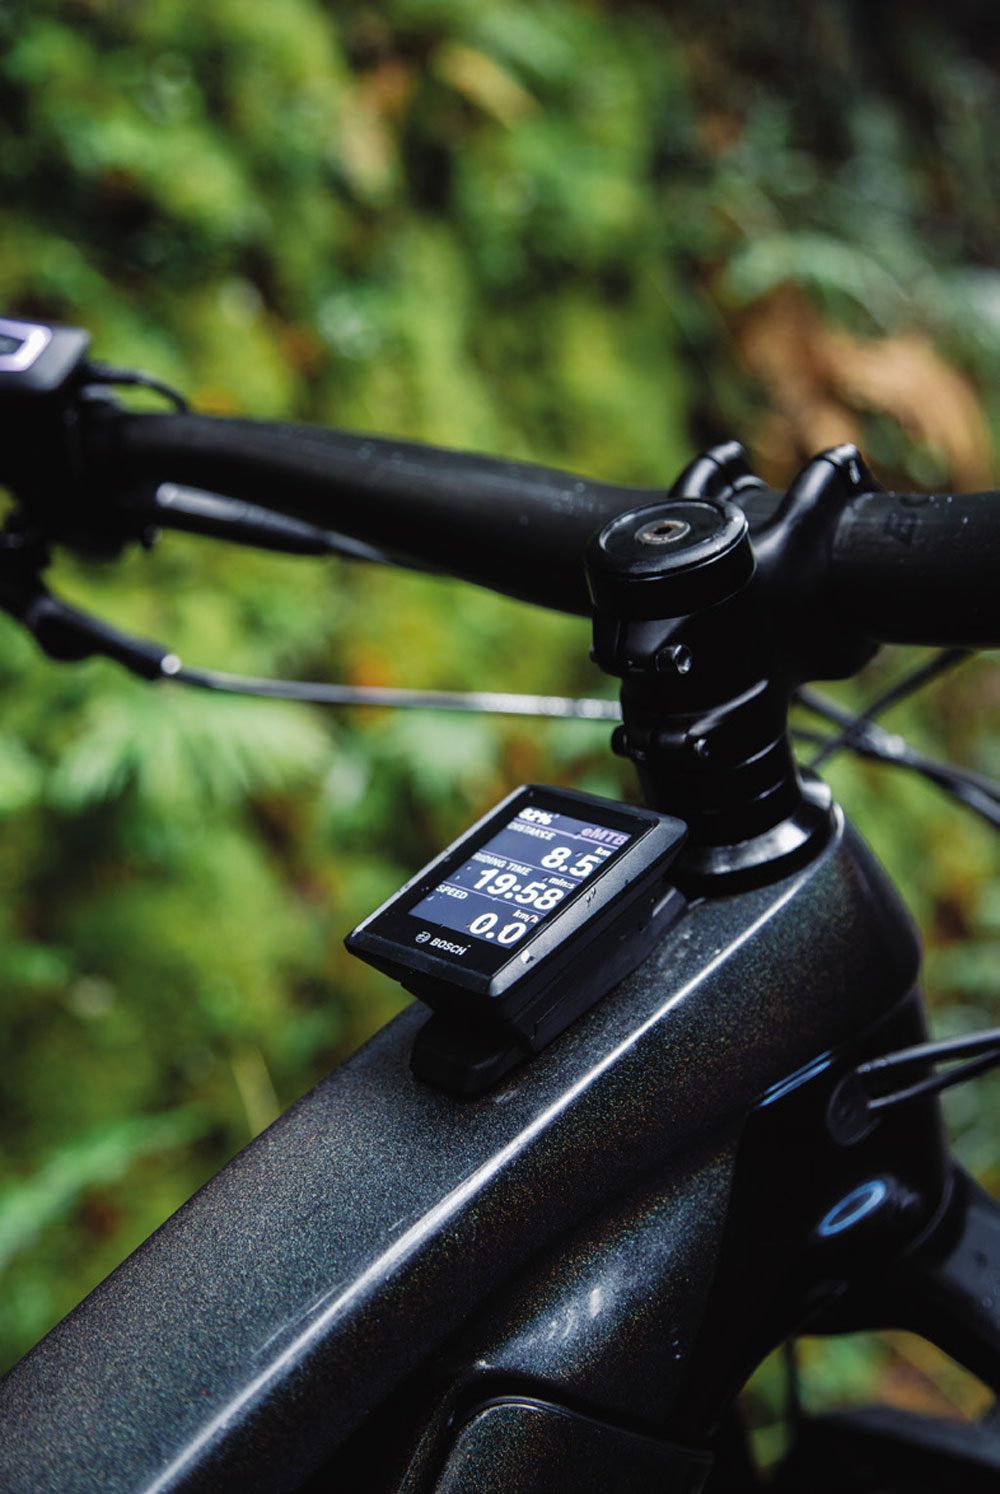
The Bosch Smart System – which the 9.8 shares with the XTR 9.9 Model – is a slick and feature-packed interface with the bike’s power system. A clear readout panel sits on the top tube. A neat little cluster of buttons sits out by the left grip, with on/off on top of the cluster, two buttons for moving through the display options, an ‘ok’ button – which also acts as a scrolling button for the display screen – and two buttons for choosing the power mode. In addition, the control cluster has a colour-coded LED graphic that lets you know what power mode you are in. More on that later!
There is a lot of information available via the display. The first screen shows battery percentage, power mode and current speed. Toggle the selector through the screens and you get similar info in more detail: larger readouts of battery level, distance covered this ride, distance remaining at current power mode, current and average speed, current and average cadence, and much more.
The system integrates with an app available for a more modern phone than the vintage iPhone I was using at the time of the review, so I can’t say how that works. Based on how slick the system is in use, I expect it is good.
The modes of power available on the 9.8 are the same as the rest of the Trek Rail line. You have Eco, Tour, Emtb, and Turbo. In my dozens of rides aboard the Rail, I can’t say I ever used Eco. I am sure it would be useful for something, when that mode is selected the range claim is over 100 kilometres. But, seriously folks, this thing is an eBike, so why not E the snot out of it?
The ride I mentioned earlier, that covered a good chunk of my local patch and included some very hard climbing, was completed in Emtb all the way.
Emtb is the sweet spot. It is intuitive, an attempt by Bosch to determine what the rider is trying to do, dishing out power as optimally as the onboard computing can deliver. Like the other modes, it measures the watts the rider is putting in and multiples them, but it also responds to short and extreme bursts by continuing to supply power if the rider backs off briefly, making short work of tricky root sections on steep climbs. Once a rider becomes accustomed to this delivery of extra power it is really useful for conquering technical climbs.
I tried Tour mode from time to time on rides, and noted that the assist is similar to Emtb but gentler, and the range is increased. Turbo is full power, but Emtb has the same power when you need it and just feels better and more natural.
The extra weight of the bike is only really apparent when lifting it into the van, or if it ends up on top of you – which, I confess, happened to us a few times. On the trail, the e-assist easily overcomes the 23.4kilograms of heft, and I think the extra weight down low makes going downhill on the bike a lot of fun.
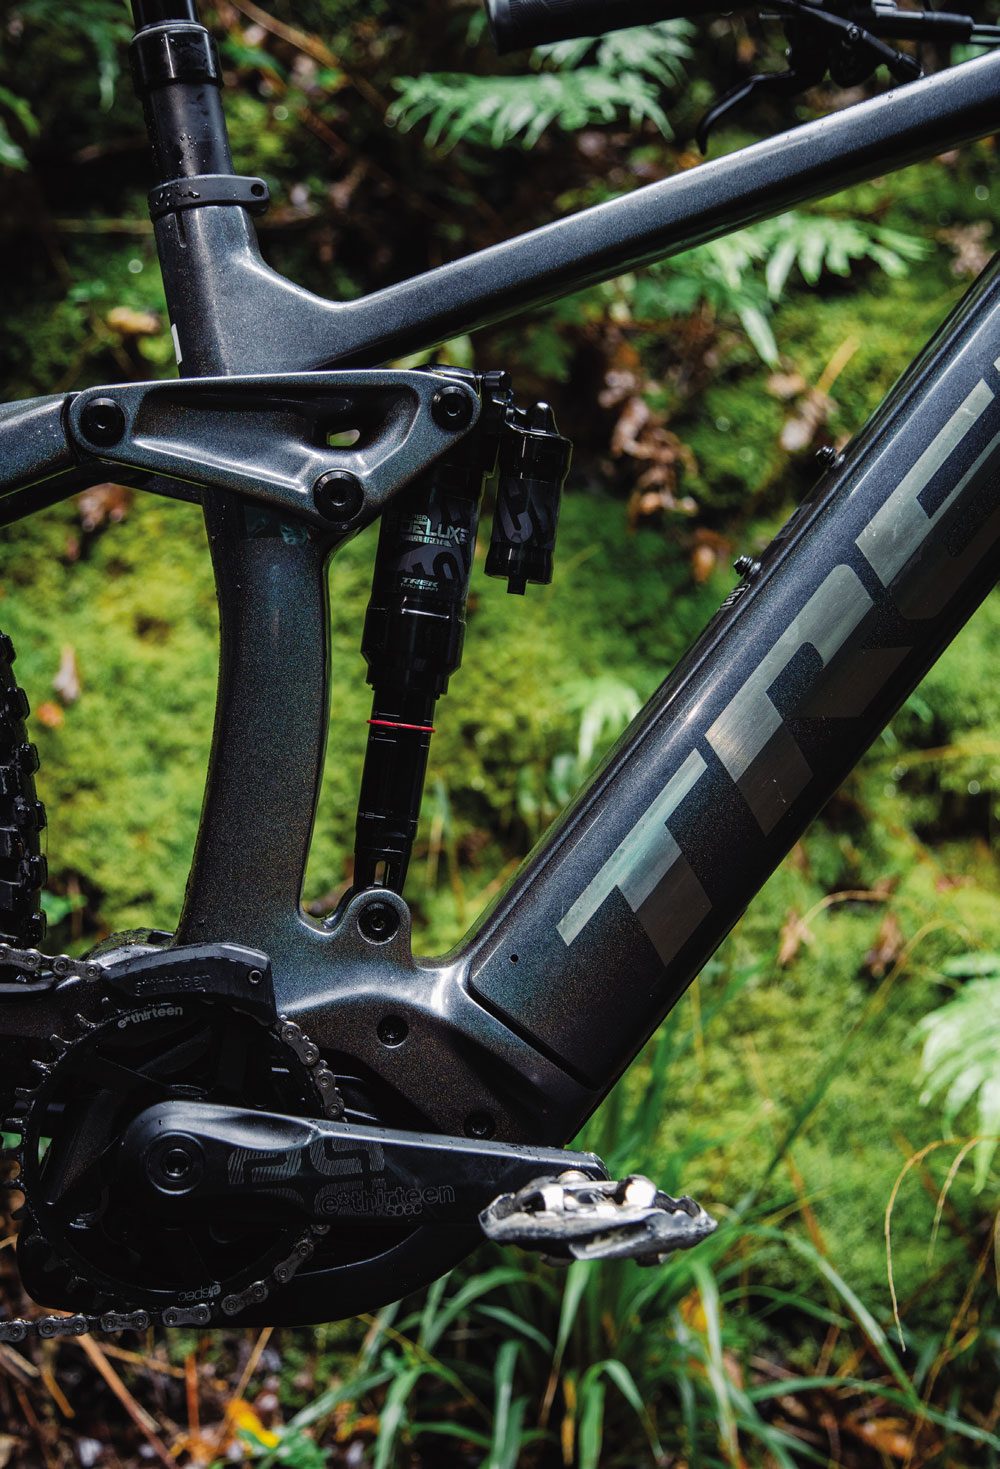
The suspension design of the bike teams up with the RockShox dampers to deliver a well-balanced ride. The Zeb fork is a good partner for a big bike like the Rail, with stiff 38mm legs keeping the front wheel going where you point it. The custom-tuned Super Deluxe shock out back has a thrust-shaft design that provides a very supple feel.
The generally-downhill-oriented geometry of the bike makes hauling ass a lot of fun on any trail, and I was surprised how often I came up against the only minor riding niggle I experienced with the Rail. It is speed-limited at 32kph for the New Zealand market. At that speed, the power simply stops being delivered. On the EX e that speed-limiting factor was easy to ignore because the power system is disengaged from the pedal power of the bike. The Rail has a different approach, so when the motor stops assisting, you are driving the motor with the pedals. It goes from punching you forward to feeling like a real drag on the pedals, instantly.
The Rail is a bike that I liked immediately, and grew to like even more as the test period extended. Because the bike was in the shed, and I knew at some point it wouldn’t be, I rode it almost exclusively. Switching back to the pedal bike was tough, because the power of the Rail is so front-and-centre of the ride experience. Getting used to the speed of the bike on all sorts of terrain made getting aboard a plain old mountain bike feel very slow and drab.
A couple of rides on the regular bike removed that feeling, and all was well with the world – but the rides that are on tap with the Rail make a strong case for having one in the rack.

Product Review: Wheelworks TrailLite Carbon & TrailLite Alloy
WORDS: LANCE PILBROW
DISTRIBUTOR: WHEELWORKS
RRP: $3350 WHEELSET
Wheelworks has been at their game for 20 years, and their trademark ‘Wheelworks’ rim decals have become something of an icon in the New Zealand cycling scene.
“They cost how much?!” My mother-in-law gasped as I revealed the price of the latest Wheelworks carbon wheels I had hanging from the wall in my garage workshop. My mother-in-law is a casual cyclist, eBikes opening said door, but the idea of anyone spending $3350 on a pair of wheels seemed, at the very least, bizarre in her mind.
“What exactly do they do?” she asked.
“Well, I guess they roll like any wheel”, I replied. “But they’re also very light; they’re made of carbon fibre, and they’re built right here in New Zealand. They’ve got an amazing warranty, unlike anything else really,” I replied.
Yes, these were probably the most expensive hula hoops either of us had laid eyes on, let alone touched. “And people buy these?” she asked again. “Yes,” I said, enthusiastically. I felt like arguing the merits and value of these shiny new wheels – that I had been drooling over ever since they arrived –was not something even my persuasive self could achieve, so I quickly steered the conversation back towards the firm favourites of most parents-in-law: politics, Jacinda, COVID, the usual.
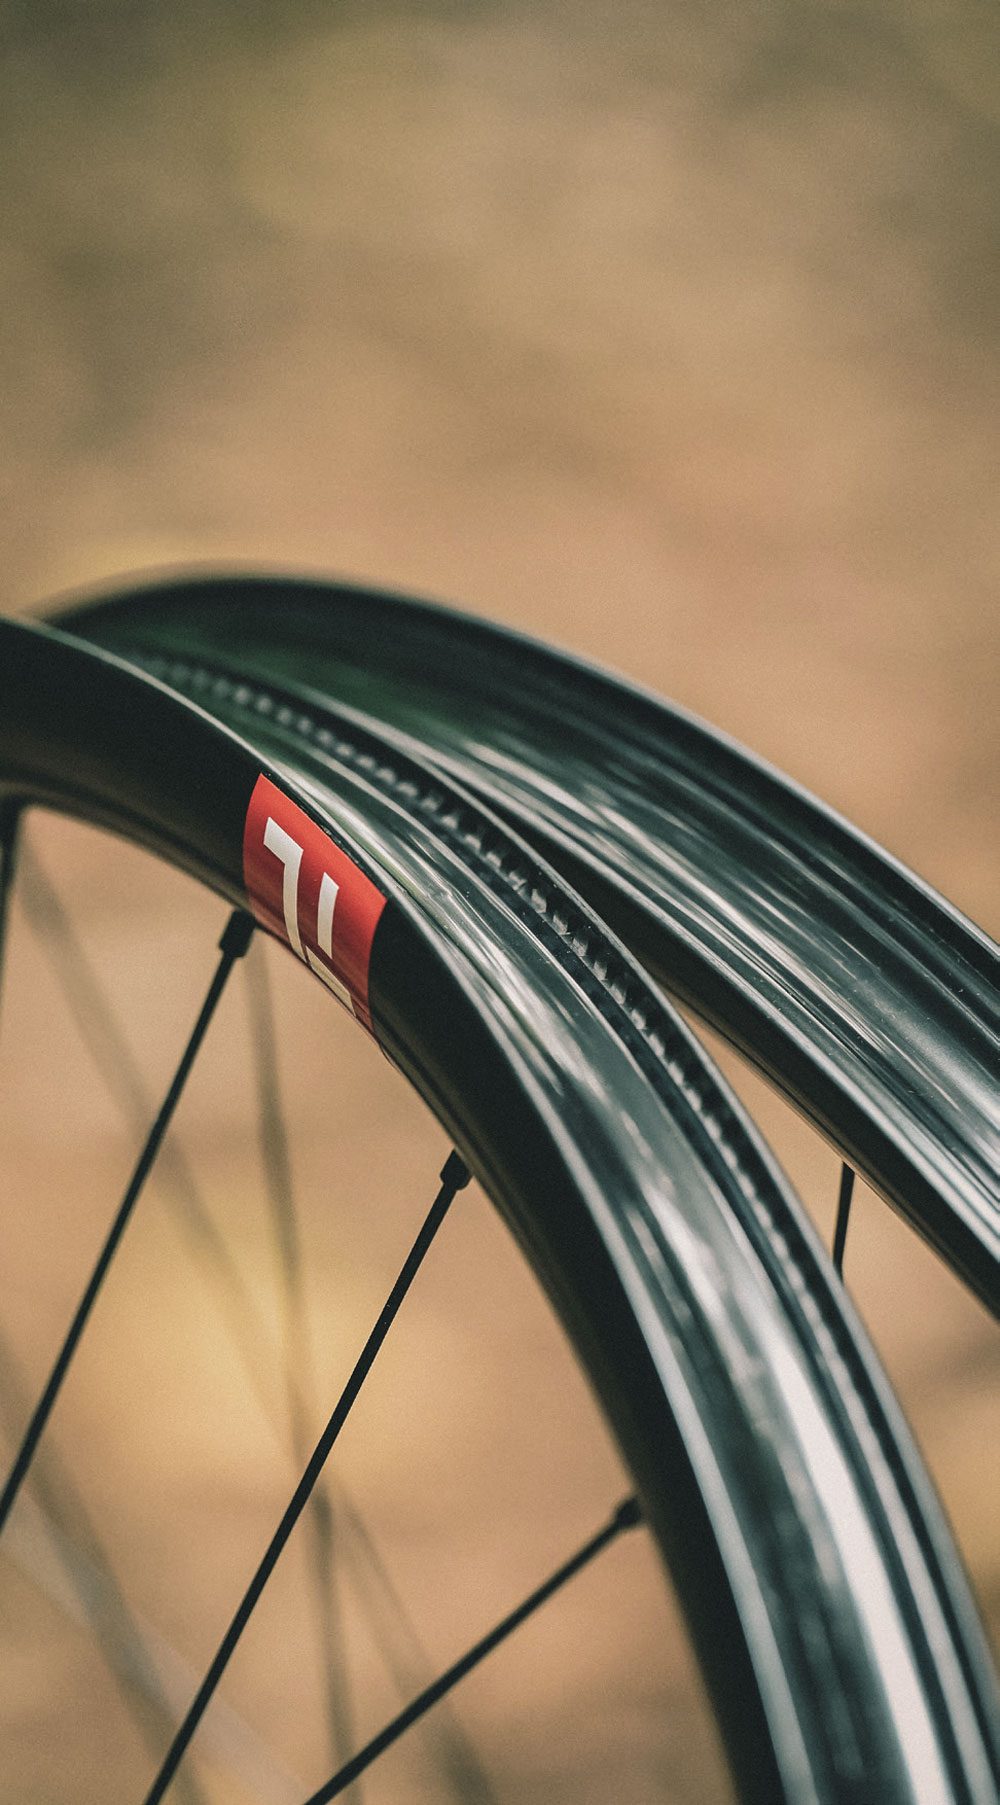
What is value in our sport? It is something I have been mulling over, particularly as I’ve had these Wheelworks wheels on review for the past few months; undoubtedly the most expensive single ‘component’ I’ve reviewed in my fifteen or so years working as a writer in the mountain bike industry. Pulling up at the trailhead, I felt a little like how the owner of a Ferrari or a Lamborghini might feel as they pull up in the parking lot, with people actually saying out loud to me, “nice wheels!” Yes, yes they are very, very nice wheels.
Before we get too deep into philosophical discussions about value, let’s talk a little about wheels and why Wheelworks, a small New Zealand company based out of Willis St, Wellington, sent me their latest creations. Wheelworks has been at their game for 20 years, and their trademark ‘Wheelworks’ rim decals have become something of an icon in the New Zealand cycling scene. With a small team, they have been able to focus on doing what they do – building the best quality wheels they can, slowly iterating and improving their products – to carve out a niche in the marketplace. Over the years, their own in-house products have been designed with the typical Wheelworks attention to detail, and they’ve become renowned for their exceptional quality and strength. They’re the kind of company that, when you ask around about them, you don’t hear anything but good reviews.
A recent overhaul of their products led to something of a streamlining of options, and I was lucky enough to be asked to review and compare their new TrailLite Carbon and TrailLite Alloy wheels.
So, a quick overview. The TrailLite Carbon wheelset comes in at 30mm internal / 36mm external width and it runs 28mm high. The carbon rims were matched to Wheelwork’s own Dial hubs and laced with DT Swiss Aerolite spokes. For comparisons sake, I was also sent a set of new TrailLite Alloy wheels as well, the same build but with an alloy rim instead of carbon.
Both sets came with red decals on the hubs, a small red ‘TL’ (TrailLite) icon, and a larger silver Wheelworks logo that follows the arc of the rim. These are all customisable to match whatever colourway your bike is – because you know we like to be all matchy matchy. They came pre-taped and with valves installed.
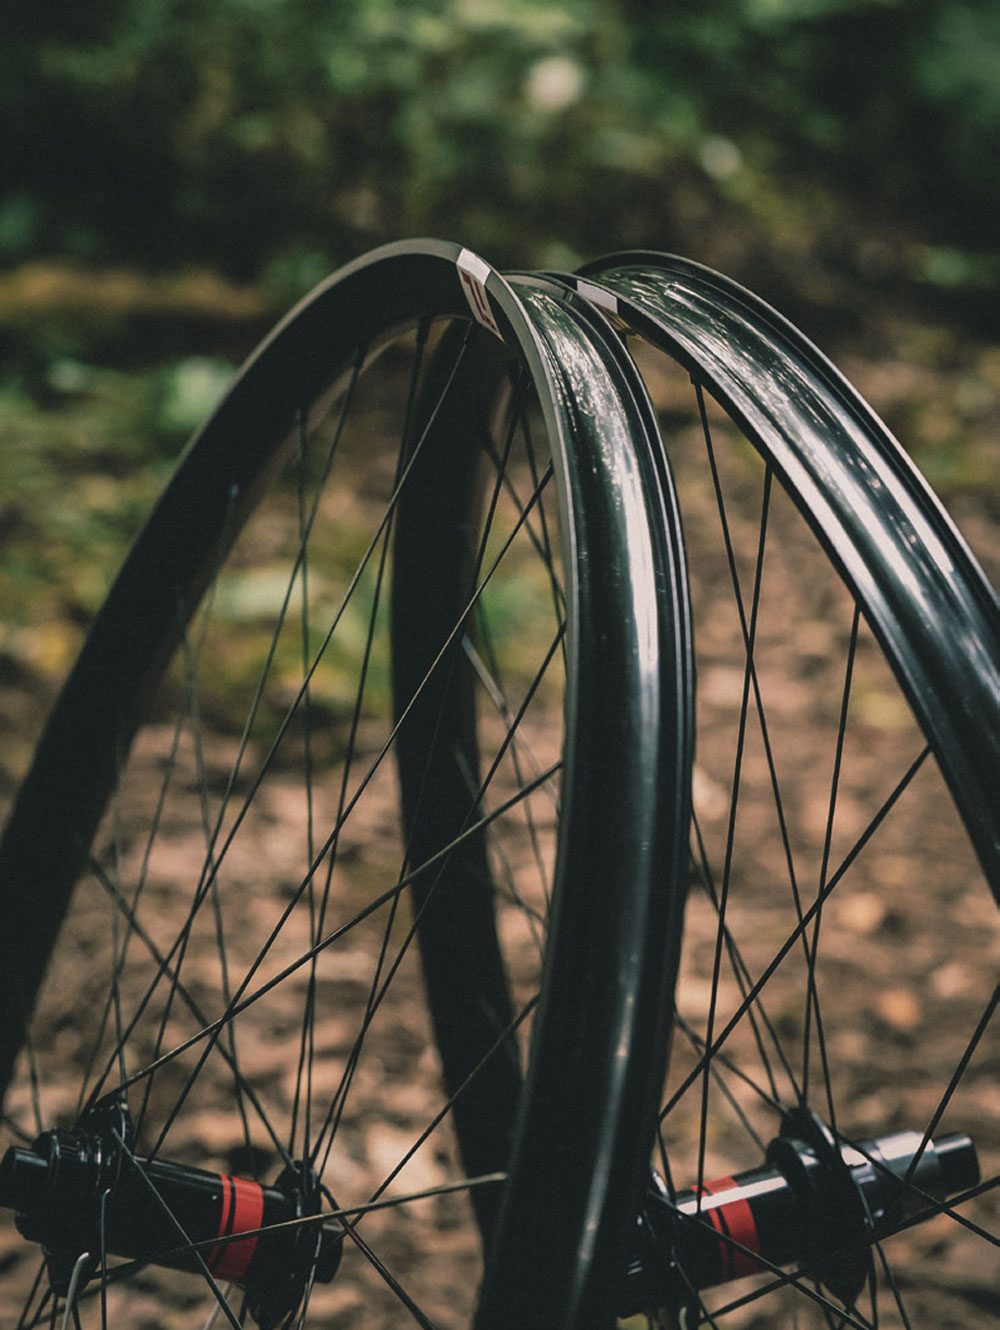
Before they’d even arrived I was able to experience first-hand the way Wheelworks operate. A phone call with Wheelworks ensured I was able to discuss all aspects of my riding to make sure they had as much information as possible to get me on the right set of wheels: my riding style (do I take the ‘b’ lines or absolutely huck everything in sight?); my bike and travel (is this going on an XC racing whip or an enduro sled?); riding intentions (do I want these to survive multiple seasons of enduros, or am I prepping for the Whaka 100?); oh, and without getting too personal… how much do I weigh? All this information helps Wheelworks get their customers on the right wheel, with the right build, at the right price. But the question still has to be asked – these are a $3350 wheelset, so why do people buy Wheelworks wheels over any of the other boutique brands that are available? I was able to put these questions to Andrew Ivory, one of the Wheelworks team, over a Zoom, and it really helped me understand the unique space that Wheelworks occupy in an increasingly crowded market.
First of all, it’s always going to be positive that they’re local. Most of us would prefer to buy New Zealand made products (their rim manufacturing, like most carbon products, is done in China it should be pointed out) if we can find items of similar quality at a comparable price. Supporting New Zealand companies always feels good. But it’s more than just ‘feeling good’, for Wheelworks this means that they can offer after sales services that are in a league of their own. Yes, they offer a lifetime guarantee on their carbon wheels. That’s great, but a few other companies do that too. A Wheelworks warranty, it should be pointed out, isn’t just for a manufacturing fault, it’s for any impact damage. If you ‘case’ a jump and destroy your wheel; if you break the carbon rim of your Wheelworks wheel while riding it; they’ll replace the rim and rebuild the wheel at no charge. That’s saying something. So often companies try to find a way of passing on costs back to the consumer; “yes we’ll replace the rim, but you have to pay to get it built up” for example. This real commitment to stand by their products is something they can offer without fear, because with 20 years’ experience in the business they know, they just see so few wheels they have built ever come back.
But, it goes on; if your wheel ever simply goes out of true – they’ll true it up for you at no charge. If a nipple breaks, if a spoke breaks – they’ll replace them at no charge. So yes, it’s a lot of money for a wheelset but, in a way, it’s the last wheelset you might ever need to buy and you’ve got a lifetime of free servicing to go with it. Oh, and as they obviously carry plenty of stock of all their products, they can usually offer same day repairs, or get it back out on a courier to you in 24 hours. With the current wait times you experience at most bike shop service departments, this is really impressive.
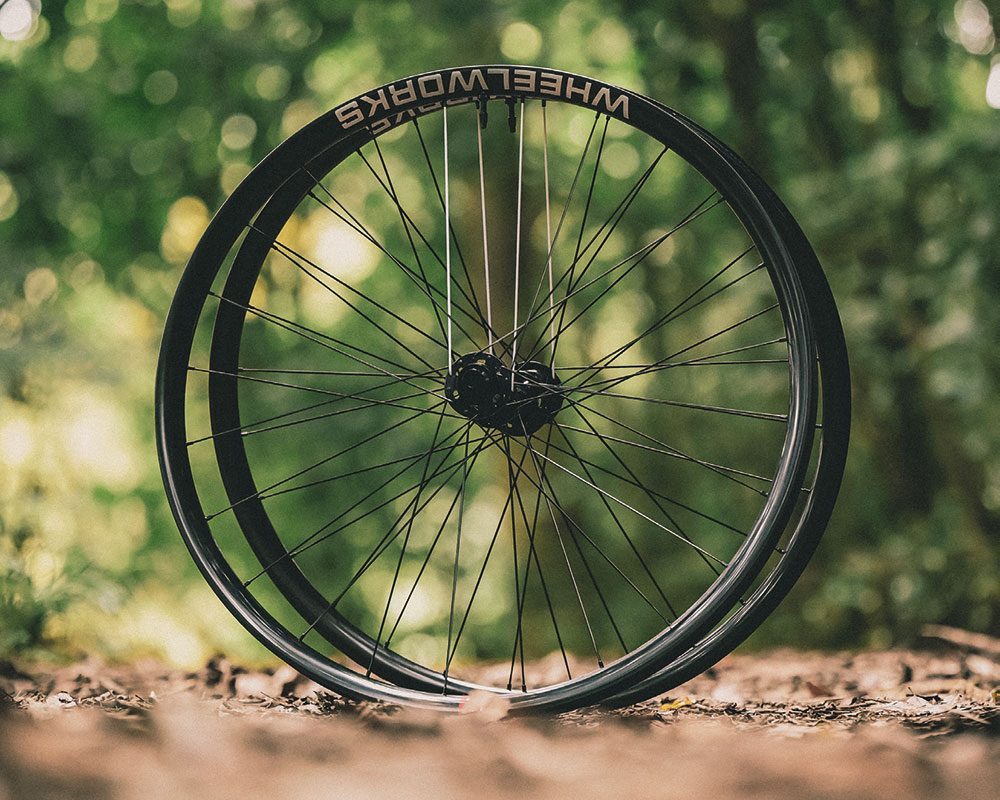
Wheelworks have tried to create something special with these wheels. Not all carbon rims are created equal, Andrew informed me. Over the years, dealing with all the different brands and intrepidly exploring, getting their own carbon rims manufactured to their specifications, they have seen it all. And it isn’t all rosy. At one point in the company’s past, they were returning up to a third of the rims they received back to the manufacturer as they didn’t pass their own quality control standards. That led them to move to other manufacturers and, Andrew told me, now they have a great manufacturer whose quality is outstanding. But what makes their rims unique? Isn’t it just a fancy hoop with a bunch of holes in it? No, not really. For the TrailLite rim it’s the specific way in which the carbon and resin is laid up, and then the precision with which the spoke holes are also drilled that sets Wheelworks apart. The spoke holes are all drilled, if you can imagine, with their final spoke path in mind. Once Andrew explained it to me, it started to make sense; spokes don’t run from the rim perpendicularly to the centre of a circle, they run at a slight angle to where they lace to the hub, which isn’t quite the centre due to the way wheels are laced with a cross-over pattern. What’s more, putting the wheel on its other axis, the spokes run ever so slightly to the left and the right to allow for the width of the hub. Wheelworks carbon rims are drilled taking all of this into account so that the nipples sit neatly against the rim and don’t rub or pull with uneven tension. Also, rims are designed specifically for front or rear use, with the rear rims being designed with more strength and impact resistance in mind. The attention to detail is true of their Dial hubs, with flanges angled to help the spokes align directly to the rim, and perfectly chamfered edges to hold it securely. They are also designed with ease of serviceability in mind.
It’s hard to talk about anything in the bike industry without referencing what it weighs. The Wheelworks Carbon TrailLite wheelset I rode weighs in at 1650g grams, and the alloy set at 1830 grams. The carbon front rim weight is 405 grams and the rear, 490. Dial front hubs are 135 grams, and the rear, 290. If you’ve had any interest in a new set of wheels it’s likely you’ve started to read up on the various options out there and maybe even started a little spreadsheet tabulating the weight of the myriad of options out there. (To compare it with something at a similar price point, a Reserve 30SL wheelset has a claimed weight of 1723 grams, built with i9 Hydra hubs.) 1650 grams for a trail bike wheelset is certainly light, but it’s not veering into the category of ultra-light, which is maybe around the 1300 – 1400 gram mark. This really reflects a big part of Wheelworks’ market, and where the TrailLite product is targeted; riders who tend to be people who do all manner of things – the odd XC race, a bit of bikepacking – and just generally orient their life around getting out on the bike as much as possible. The type of people who want a wheelset that is reliable enough to be used in any and every situation but is still light enough to make a bike feel like it’s come to life.
This was pretty much my experience with the TrailLites. I first put them on my bike a few days before an impromptu entry into the Whaka50 and couldn’t help but appreciate what they did to my ‘down country’ bike. The acceleration that a lighter wheelset offers became noticeably apparent when using them over a longer course like the Whaka, with lots of climbing. It was especially noticeable in sections where the terrain took me through short and sharp ups and downs; I felt like I was much more able to keep a good speed up pinchy little climbs at the end of the race where I was used to slowing down to more of a ‘just survive’ grind through the final climbs. After this, they endured a summer of riding, with plenty of opportunities to enjoy the way a lighter weight wheelset makes a bike accelerate out of corners, carry a little extra speed into corners and pop a bit further off of anything that looks like a jump. I couldn’t help but think that the carbon TrailLites also seemed to hold their line through off-camber terrain with a greater ability than the wheelset they had replaced on my bike.
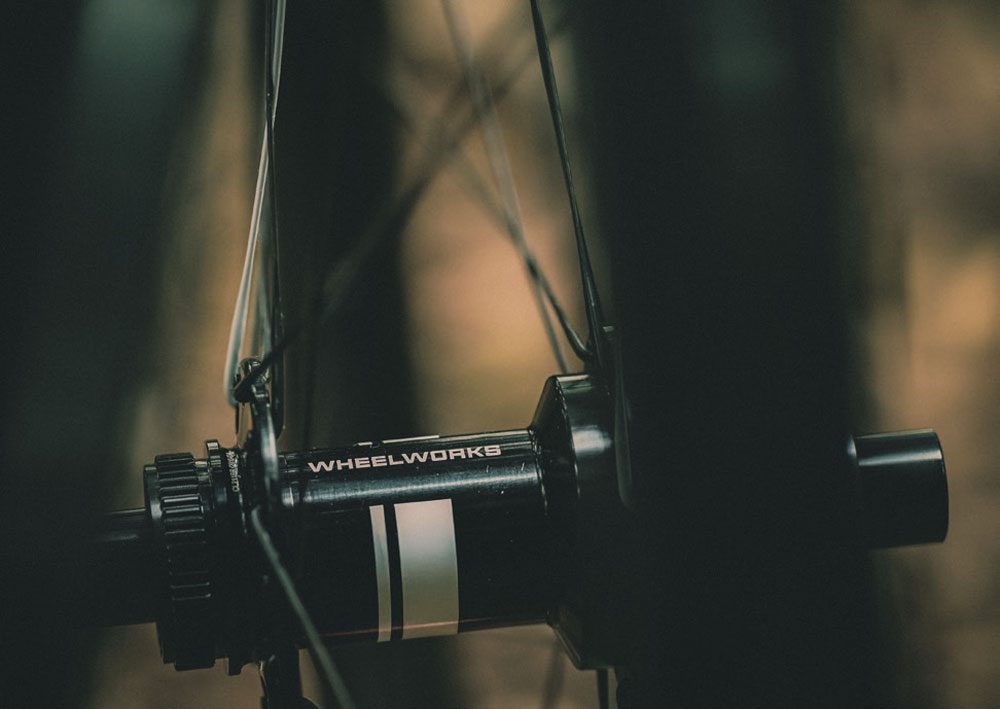
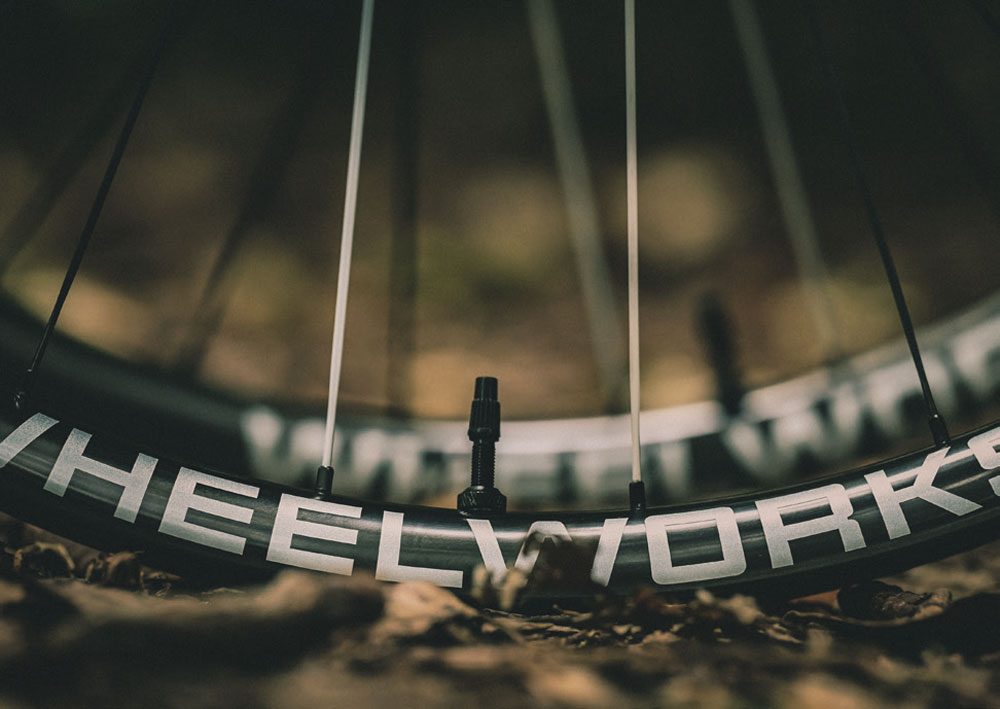
The alloy TrailLites were interchanged with the carbon wheelset with the intention that I would be able to review these in something of a side-by-side way. This was always going to be a difficult task, as it sounds like some sort of science experiment that is being done in a controlled environment. The reality is it’s anything but controlled and there’s no way of keeping tyre pressure, suspension pressure and trail conditions the same, let alone the way any particular ride unfolds. All this is to say that real world side-by-side testing that claims to provide anything scientific is maybe more aspirational than data driven. In terms of on-trail performance, the best I can offer in terms of a comparative statement is that the lower weight of the carbon wheels did indeed seem to translate into on-trail ‘liveliness’, and I appreciate that’s a suitably vague statement! Perhaps what this also reflects, is how impressed I was with the alloy TrailLites too. At around $1850 – depending on your build – the TrailLite alloy version gets a lot of the Wheelworks benefits: working with a great company and getting custom wheels expertly built; an amazing after sales service and warranty. Putting them on my drop-bar bikepacking MTB, I felt like the weight savings were less apparent in terms of acceleration, as my bikepacking bike tends to be ridden on gravel roads with more consistent speeds; there is simply less braking and accelerating compared with typical mountain bike terrain, so you simply aren’t trying to bring the bike up to speed so often. This made the lower priced alloy TrailLites seem more appealing for that application, and the carbons more appealing for pure mountain biking, if your budget allows. The Dial hubs have run flawlessly through the test, and I personally liked the ‘precise’ sound to the freehub. It’s moderately noisy in a good way, with a satisfying zing about it, but it doesn’t make a big deal of its presence either.
It’s worth mentioning that chasing weight savings really can be chasing your tail in mountain biking. In one sense, we’re seeing lighter and lighter wheels, and on the other we’re putting wider and heavier tyres on our bikes. You could argue that keeping wheels light means that even with heavier tyres, wheels aren’t getting heavier and heavier. What’s maybe more interesting, is the way that eMTBs might play a role in how we think about wheels. With the average eMTB carrying 20kgs or more of weight, and typically smashing into things with more momentum, having correctly built and tensioned wheels is going to be essential.
Speaking of smashing things, I did in fact accidentally do my best to take Wheelworks up on their warranty. Mucking around on dirt jumps with my kids one day, pretending I was 16, it all went wrong. I came up horrendously short, one wheel either side of the dirt jump landing. Mid-air I knew that what was to come was not going to be pretty. The impact was severe, and I was reasonably sure I would be couriering the wheels back in pieces. But once I dusted myself off and hobbled over to my bike, I was amazed (and relieved) to see the wheels still running true – which is a real testament to their build quality.
Buying a set of wheels isn’t something you do as just a casual upgrade, like getting a new derailleur. It’s a serious investment and one that you do only when you really need to. The TrailLite wheels are going to appeal to a lot of riders who are comparing their options, especially those who are building a bike up item by item. I’m thinking these will be particularly appealing for people who are looking to invest some of their budget where it’s going to make a noticeable difference, and especially so if they dabble in things like bikepacking – where gear failure can leave you stranded in the middle of nowhere. (Having replaced multiple spokes on a friend’s bike in the middle of the Timber Trail, midway through the Kopiko, I can attest first-hand how serious this can be). It will mean different things to each of us, but to be able to speak to people like Andrew and their team on the phone, talk through all your interests and intentions, and for them to bring their wealth of knowledge to help you explore your options, is fantastic. I genuinely got the impression they weren’t simply about selling expensive wheels, but were trying to find solutions that worked for individual riders, whatever their budget was. The option to be able to demo wheels before buying them is something else that is really unique too, and reflects their commitment to outstanding service.
Six months is actually a pretty decent amount of time to be given to review a product in the typically fast turnaround deadlines of mountain bike media, but it’s still short enough that it’s hard to give anything particularly useful in regard to assessing claims about long-term reliability. I’m really encouraged that Wheelworks are going to leave the carbon wheels with me to do an even longer term assessment of their reliability, but if understanding Wheelworks ethos and my initial testing is anything to go by, there are going to be many happy miles of rolling to come.

Bike Review: SRAM Eagle Transmission XO Groupset
WORDS: LIAM FRIARY
PHOTOGRAPHY: JAKE HOOD
DISTRIBUTOR: WORRALLS
RRP: $3,315
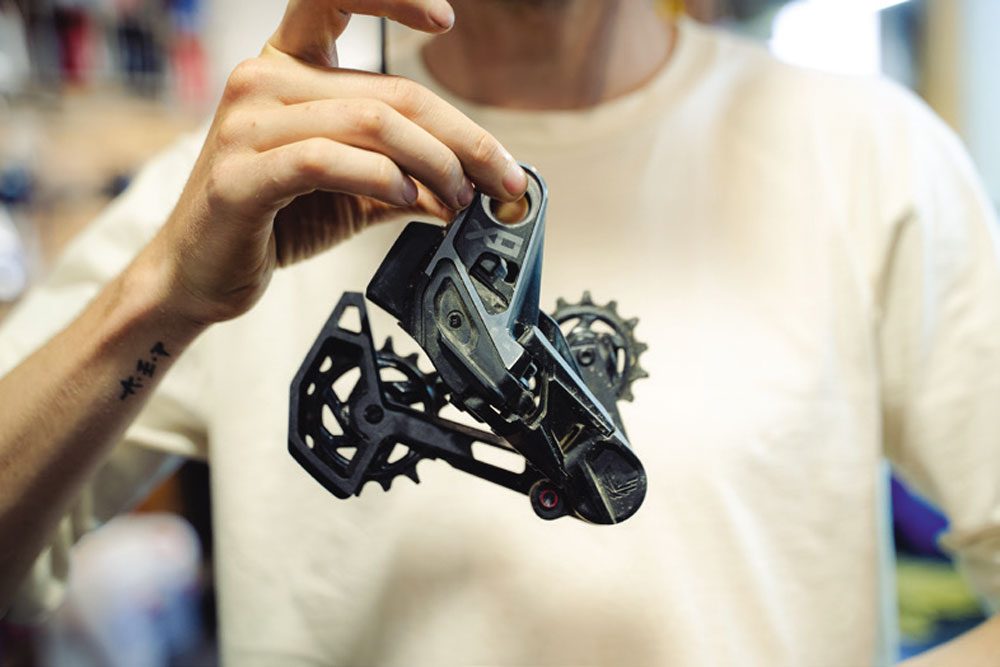
The mountain bike world is constantly moving forward. The sport is – and has been – defined by progression. I mean, without it, we wouldn’t be riding the bikes nor the trails we are today. SRAM’s Eagle Transmission takes the term ‘progression’ to a whole new level. I think the real standout thing about this product is a statement from SRAM’s PR homie, Chris Mandell, who said, “we (SRAM) didn’t have to change the hanger, but we wanted to have better, more precise, accurate and robust shifting”. And so, several years back, the development started.
Sometimes progression is misguided and, as we know, there’s a heap of new products with a ton of claims that don’t really seem to add any value. However, getting rid of the derailleur hanger with the new Eagle Transmission groupset, and solving adjustment issues, has value. The evolution hasn’t relented in the past two decades and, it’s fair to say, most parts and components have been overhauled, making them lighter, efficient and more robust. The drivetrain and, especially, the rear derailleurs and corresponding cassettes have undergone significant improvements, offering huge gear ranges and fast, reliable shifting. So, as the key player between the derailleur and frame it’s fair to say the derailleur hanger has seen some development – but it’s been lagging. Especially when you consider the wide range gears of modern derailleurs. Also, nearly every bike brand uses their own hanger design, which sometimes requires adjustment of the rear derailleur. This can often mean messing around with the upper and lower stops, or the B screw, because if the rear derailleur isn’t shifting like it should, you need to set the distance between the upper pully and the cassette. And we haven’t even delved into the realm of dropping or knocking your derailleur hanger, which can make it bend and render it bloody hopeless.
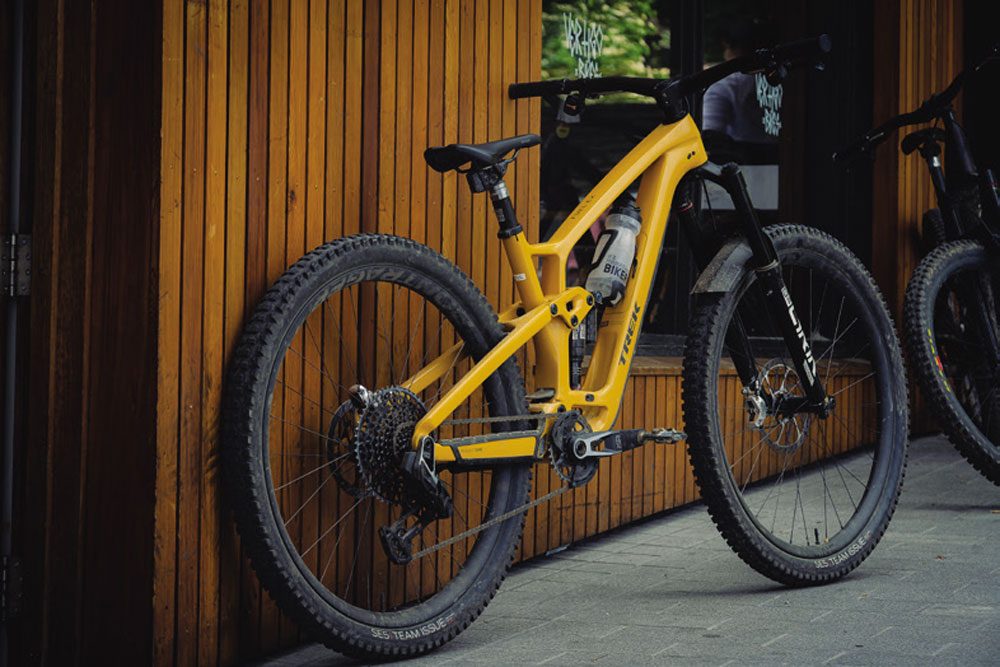
SRAM’s Eagle Transmission aims to solve all these issues by removing the hanger altogether, thanks to its hangerless interface. The Eagle Transmission derailleur mounts directly to the thru-axle, however, it’s not all that simple to get this transmission on your bike. You will need to have a UDH derailleur hanger. Now, I’m not here to write an essay about it, but more to give you my first impressions of riding the new groupset over the past four months. For more, check out the feature (page 40) about the SRAM ride camp, and we will aim to bring you more ongoing tests of the groupset throughout the year. In the next issue, I will go more in-depth about the new cranks, chainrings, chain, and the longevity – I will also add my take on the new SRAM Code Ultimate Stealth brakes.
Late last year, I was contacted by Chris Mandell (SRAM PR) to get a UDH bike ready for his upcoming visit to Aotearoa. I scrambled around and managed to wrangle a media Trek Fuel EX bike, which we fitted out with SRAM Eagle Transmission XO groupset.
My initial riding impressions of the Eagle Transmission, was that it shifts more efficiently and has a mechanical shift feel. Let me elaborate on those points in a reverse order.
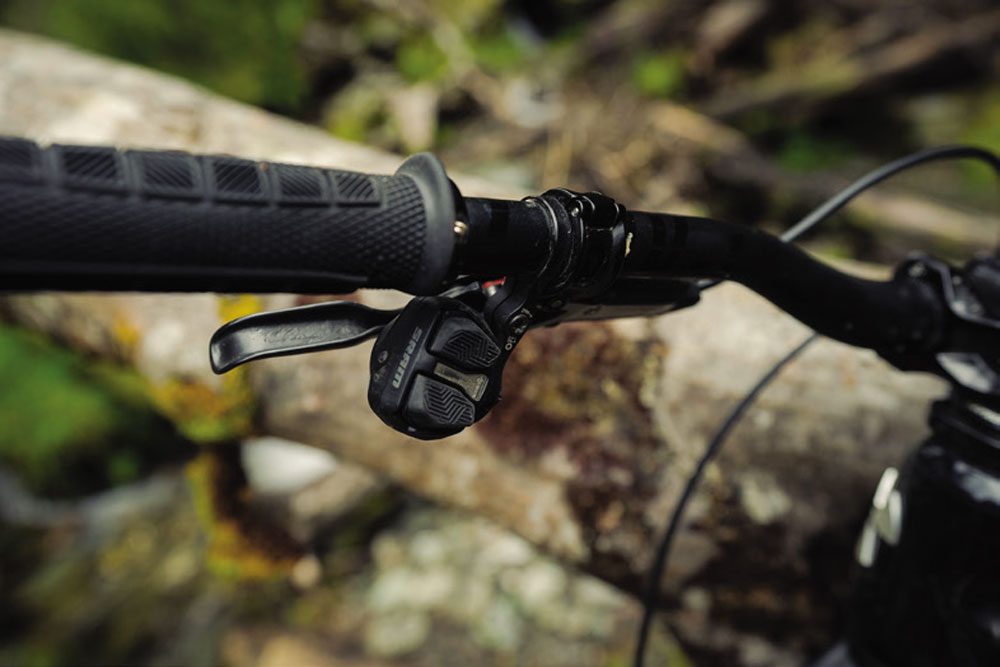
The Eagle Transmission groupsets have new controllers, now called ‘Pods’. There are two models – Standard Pod and Ultimate Pod. They both look similar, but you can change the rubberised button caps on the Ultimate Pods and adjust the ergonomics of the buttons. Also, there are two clamps for mounting the Pod. The standard clamp connects the Pod to the brake. You can move the Pod in and out to a certain extent, moving it towards or away from your hand, as well as rotating the horizontal axis. Alternatively, you can make use of the so-called Infinity Clamp, which is a separate handlebar clamp. You can rotate this in almost any position and attach it in every conceivable way. Here too, the Pod can be rotated infinitely around its own horizontal axis. The whole thing tightens up with a single Torx T25 bolt. Additionally, on the inside of the Pod, you’ll find a button for the MicroAdjust function, which allows you to fine-tune the derailleur, shifting it inwards or outwards in 14 increments. You can still adjust the assignment of the buttons using the SRAM AXS app, or use the traditional AXS controllers if you don’t get along with the new Pods.
The shifting on the new AXS Pods is different when compared to the previous generation of AXS controllers – its more defined, and firmer. They give better feedback and have a definite click. This is thanks to rubberised caps and the different ergonomics options – it’s much clearer about which button you’re pressing. This became evident when getting rowdy through a tough technical rock section. The more I have used these Pods, the more I like them – and this became more noticeable when switching back to the previous generation of AXS controllers. They just make more sense in terms of the ergonomic perspective.
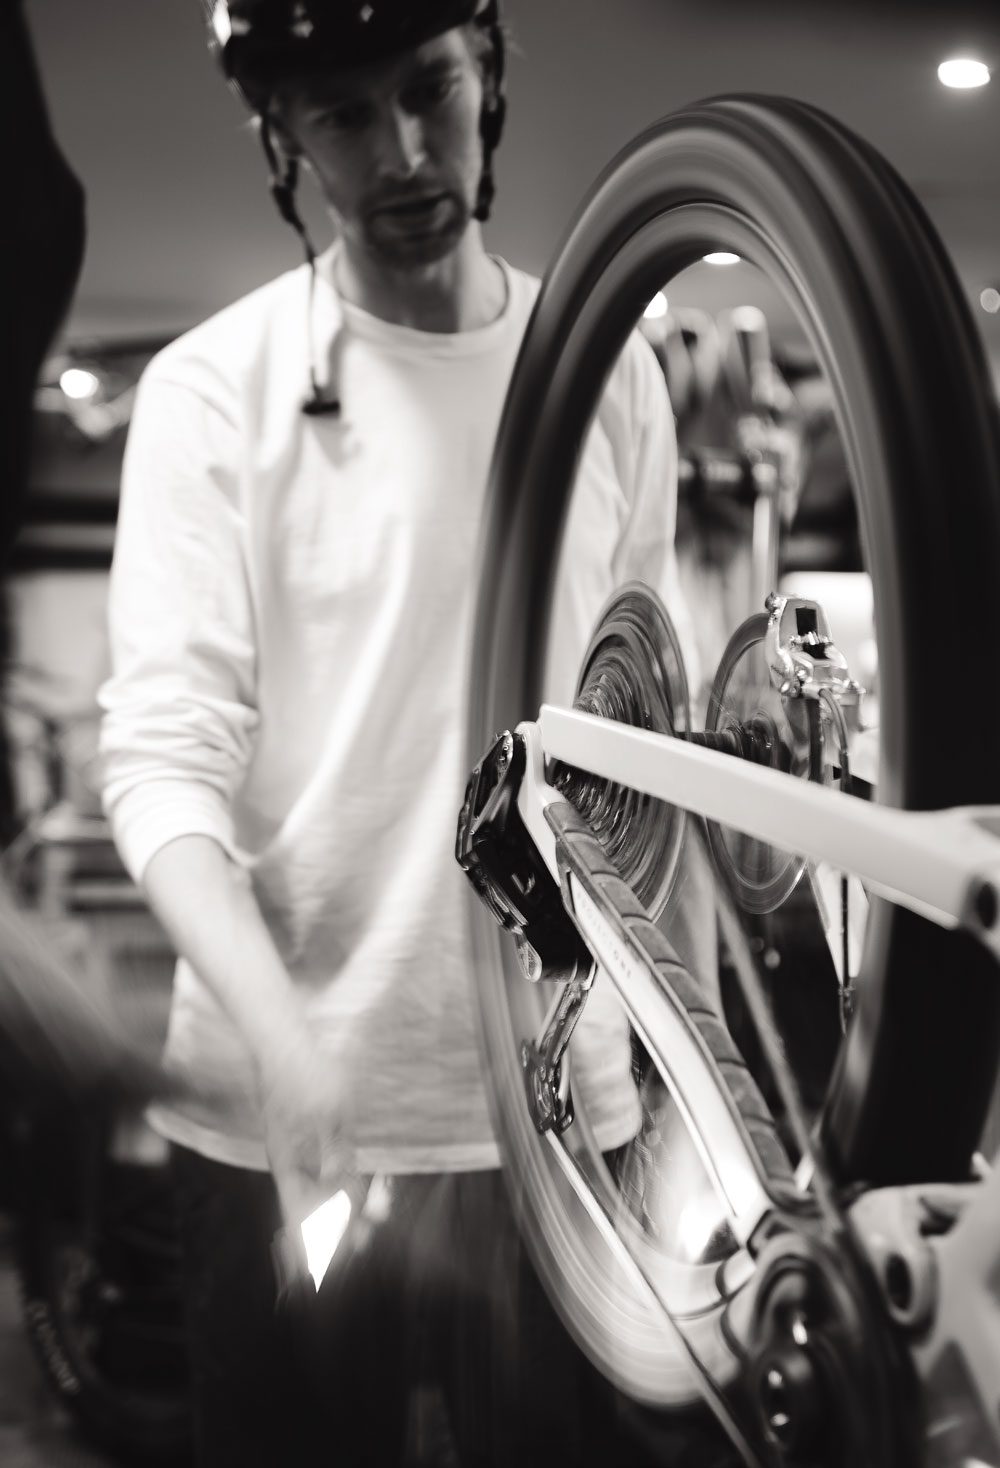
Let’s move onto the shifting. Out the gate, the functionality of the Eagle Transmission groupset is a very clean shifting process, however, there’s a slight lag when compared to conventional shifting. There’s a reason behind this: the chain of the new transmission will only shift once it has reached the perfect point on the cassette. So, when you press the button on the Pod, it doesn’t necessarily make the rear derailleur move immediately. This does depend on your gear choice and your cadence when shifting. But we’re talking fractions of a second and it’s barely noticeable after you’ve ridden it for half an hour – now I don’t even notice it. The flip side to this, is that it allows you to shift unhindered, and keep pedaling at full throttle.
Out with the old ways and in with the new era – you no longer need to back off the pedals every time you’re shifting. This is quite a big change and it’s supreme in practice. Also, this is super- convenient and promises to massively increase the longevity of your drivetrain – especially on an XC bike or eMTB. Sometimes, when shifting more than one gear, it feels like the derailleur delays the process ever so slightly – so you think you’re done and then it shifts into another gear. The reason behind this, is to maintain its precision and keep the chain engaged with a maximum of two cogs at once. You can delete that knocking noise and associated vibrations you get from conventional derailleurs when shifting under load.
The groupset has been flawless. During the four months I’ve tested it for, it’s been smooth and quiet all that time. That’s no joke – I’ve travelled with the bike up and down the country in cardboard boxes and it’s been on and off my rig a ton, and that’s before I even mention the relentless riding. I think I noticed the biggest change when I went back to continental shifting – it becomes apparent that you need to back off the pedals to shift. For me, the shifting under load is massive gamechanger. After a while you unlearn the old ways of shifting, and this shifting becomes intuitive.
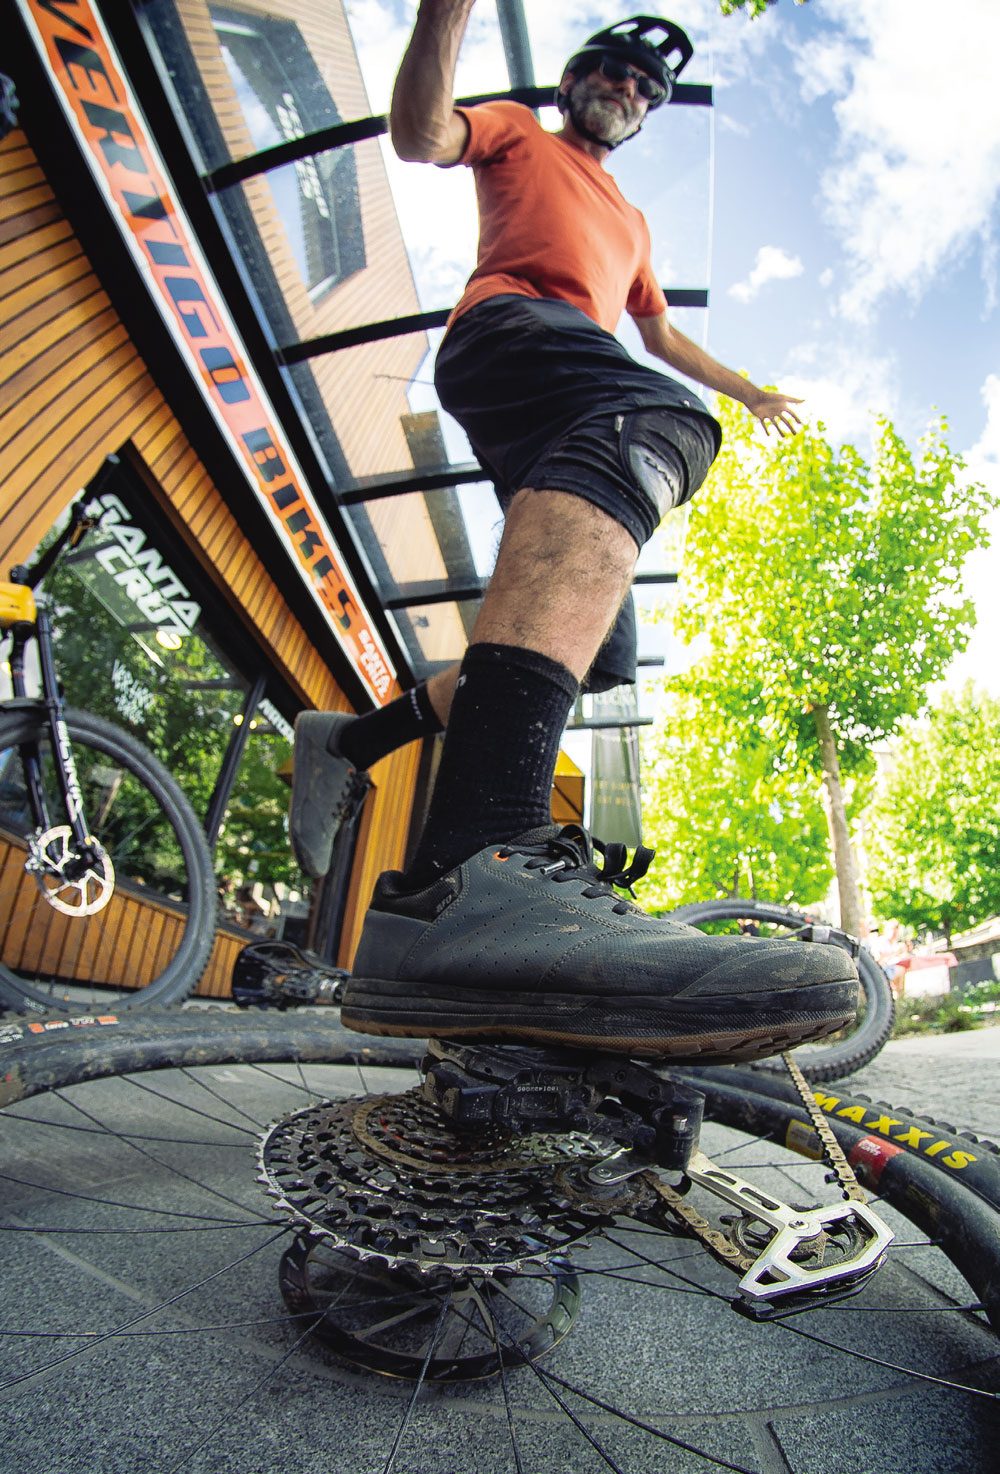
I was clearly lying earlier, as this is now becoming an essay – so let me bring it to a close with some final words about robustness. During the test period I didn’t manage to rip off any of the rear derailleur, and would bet it’s near impossible to do so. I bashed the derailleur around and it has come away unscathed, apart from a few cosmetic scratches. It rides unfazed about any disturbance, even when directly stood on – Chris did this during one of the ride camp days and showed us that even when it’s stood on you can pick it up and ride off without any drama whatsoever. I have shown a few friends this trick over the test period and it impressed them, but what was more impressive was that I could get back aboard my bike and change gears. This derailleur is bloody tough and performs incredibly well.
SRAM have done well at removing the parts off the trail that are annoying – like adjustment requirements – and delivered on impeccable, reliable and robust shifting. Yes, the price is damn high, but given the innovation, quality and precision, you’re not going to be disappointed.

Downhill World Record
Words: Annie Ford
Photography: Callum Wood
A World Record: the pursuit of something you’re not even sure is possible. An opportunity to push your ability and ambition to the outer limit.
It started with a ridiculously pedally summer. After riding the length of New Zealand, towing a surfboard, my newfound fitness led me to climb over 10k vert – accidentally becoming the first woman to do so on an enduro bike. It was a summer of deleting limiting beliefs and digging deep. But I’m a downhiller at heart, and there was one last thing I had my eye on before the end of the season: take the same trusty bike – my Santa Cruz Nomad – and attempt to break a Downhill World Record.
After a little research, I learnt there was no Women’s World Record for vertical descending in 24 hours, only a men’s record. The minimum requirement to set the women’s record was 30,000 metres, or eight Aoraki/ Mount Cook’s. The Men’s World Record, held by two Germans in Schladming, stood at a mammoth 40,840 metres, or 10 Aoraki/Mount Cook’s. I felt sorry for my enduro bike already.
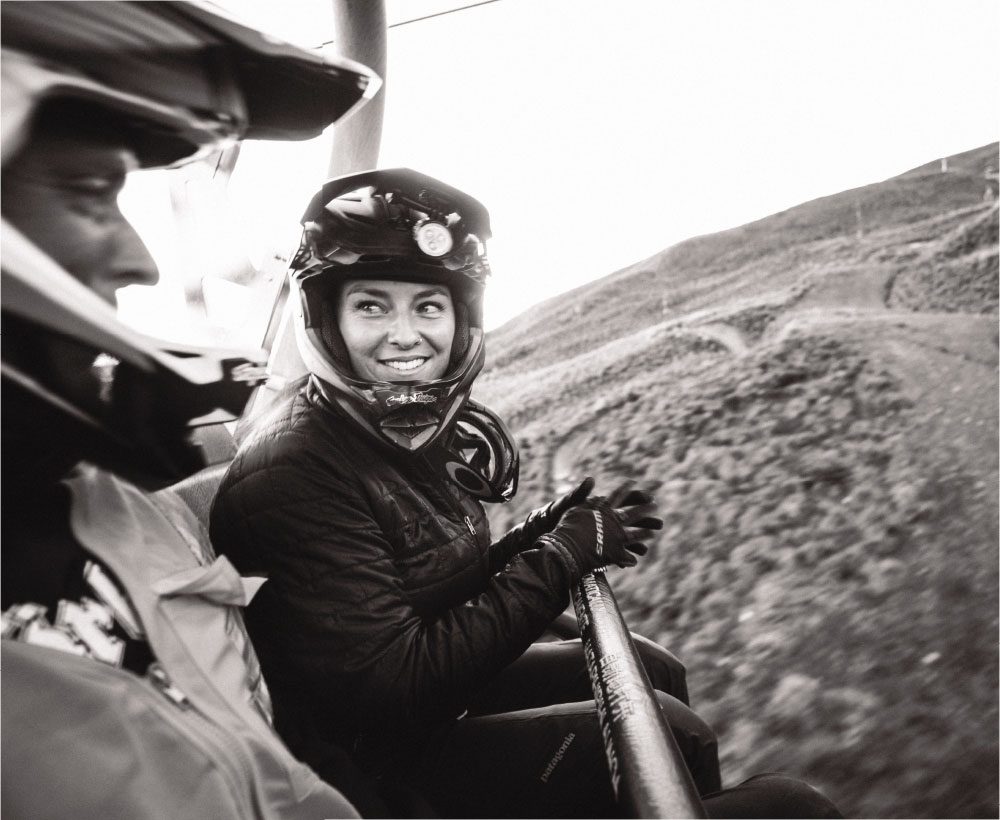
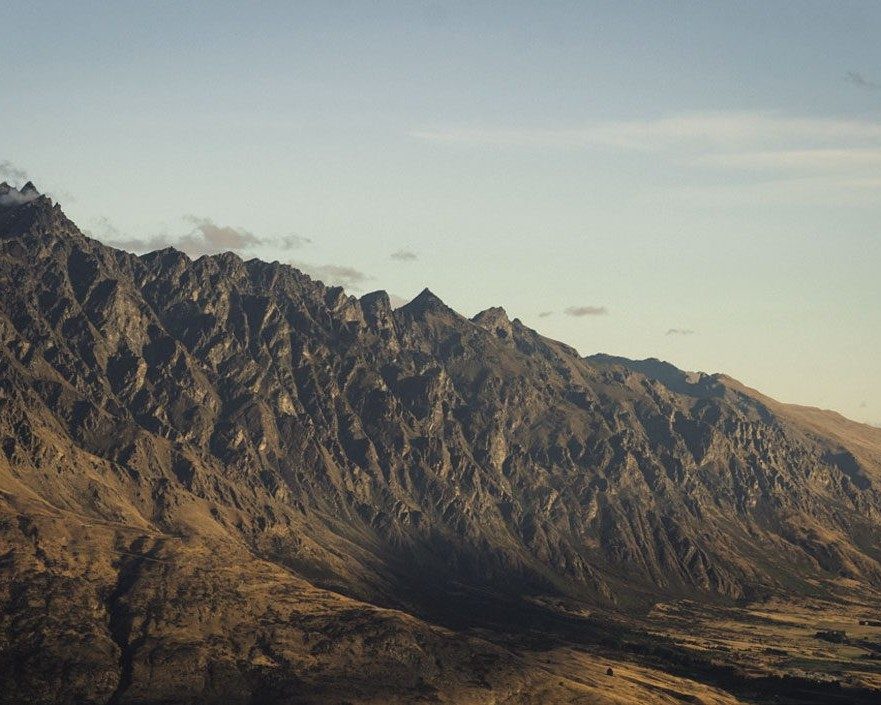
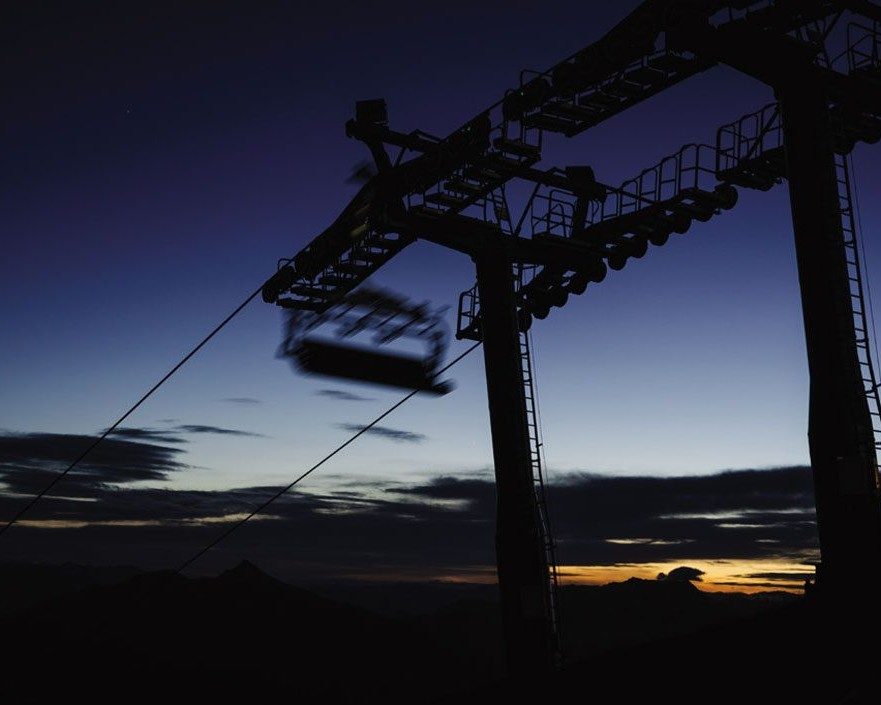
First hurdle: where? Nowhere in New Zealand – or Aussie – can you descend vertical metres as quickly (or as enjoyably) as you can at Coronet Peak. And it’s right in my backyard. Exposed, rough and – best of all – steep, the National Coronet DH Track was my lap of choice: four minutes up, four minutes down, with 419 metres vert gained each time. To set the women’s record, I’d need to do 72 laps.
I began mentally preparing for the sheer repetitiveness and volume of laps. What would it even feel like? No one knew. Ahh well, I guess that’s the whole concept behind a world record.
Second hurdle: the Nomad. I was about to do a season’s worth of riding in a single day. My poor, poor baby… Ben and KC from Vertigo Bikes came to the rescue. We replaced my handlebars with ultra-compliant carbon Title MTB bars, slid on RevGrips and installed Axxios vibration reduction. My SRAM/ RockShox setup was still mint and only needed a service. We rebuilt the wheels, threw on new tyres, and made everything super soft.
Third hurdle: sickness. How’s this for timing – two days before the attempt, I woke up unable to move. I was rolled by the only flu I’d ever had and couldn’t breathe without coughing. I organised the final days by texts rather than phone calls, so people couldn’t hear my voice – and couldn’t tell me not to do it. Sorry mum.
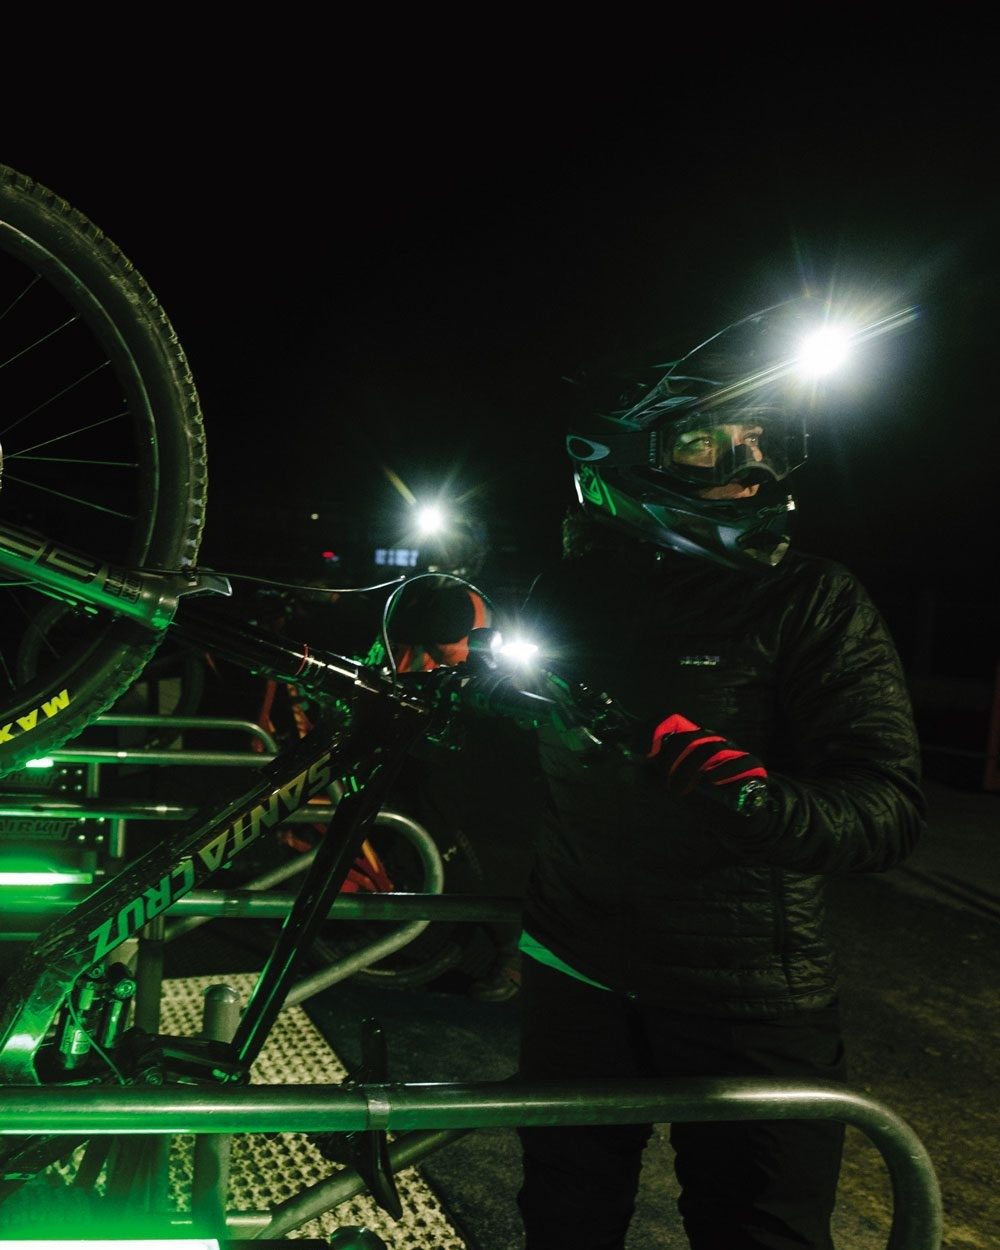
The day rolled in and I was sick as a dog. On the plus side, the weather looked clear for the first 12 hours, with rain forecast to increase. The plan was to kick off at 8pm on the 15th of March, knocking over the night laps while fresh. The Coronet chairlift was sped up to 100% and trucked along at five metres per second – almost too fast to remove our own bikes from the chair in front. The excitement was intense, I couldn’t wipe the smile off my face. I’d never seen a chairlift move so fast. It was bloody happening.
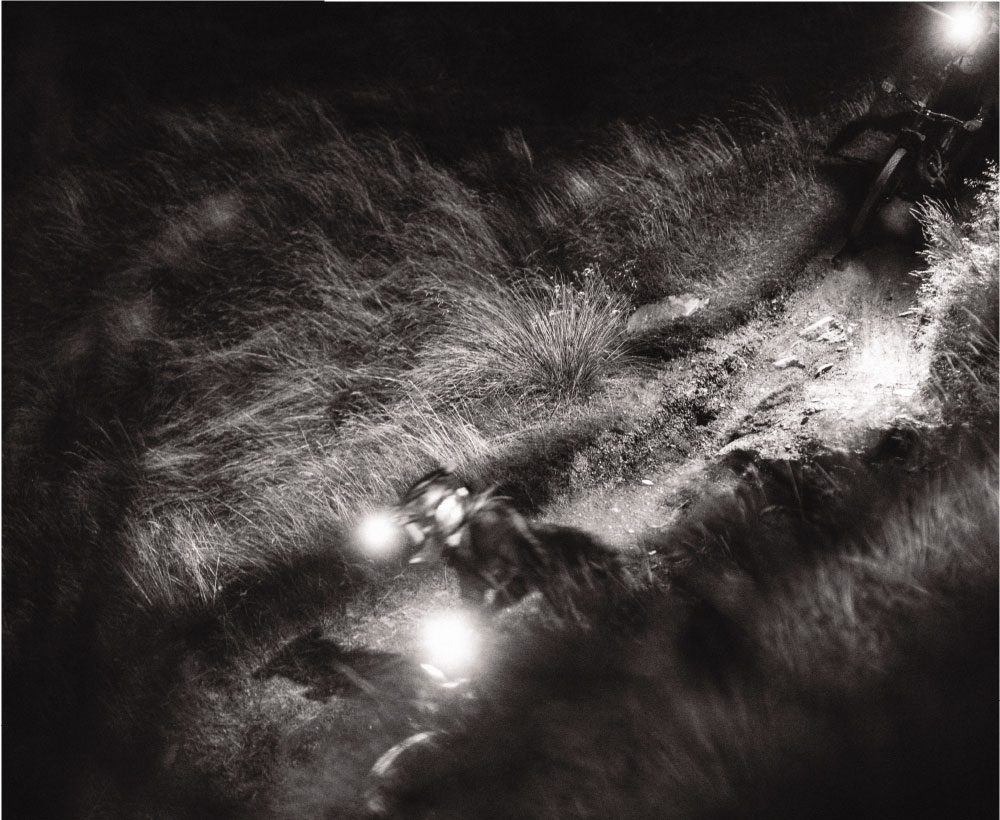
Lap 1 was the most dangerous in my mind, simply because my excitement and energy was borderline ridiculous. “Pace yourself”. Find your lines, settle in. One done. My cheeks already hurt from smiling.
And so, it began. It was some of the most fun riding I’ve ever done. It felt like my mates and I had a private bike park with the speediest chairlift ever – it was ruinously good. The dirt was perfect, a million stars overhead. It didn’t seem real, and we kept looking at each other and bursting out laughing. Time was flying. The cold air attacked my lungs on the chairlift, and my cough became our constant companion. Ascending was harder than descending in those early hours.
For the first 20 laps, I set the pace by leading other riders. I soon learnt that following someone else, however, meant I had to think less. I soon had favourite riders to follow, especially if they showed me smoother lines. It wasn’t long before we could ride that track blindfolded. We knew every rock, every line.
Forty laps in – halfway to the women’s record – fatigue began to wear in. I had my first Red Bull ever, with a coffee chaser. Damn, I could never have foreseen the effect: infinite energy at 3am, a million words a minute. It lasted about five laps before a thick, solid wall was hit. My appetite plummeted, and all food became repulsive. I was on the verge of vomiting each and every time I ate, with food getting shaken up the instant I dropped in. Conversely, I couldn’t afford not to eat, with mandarins and boiled potatoes all I could keep down. Rather than looking for fast lines, I began looking for smooth lines.
Fifty laps in, I began double finger braking and sitting down while descending. Combined, I swear there’s no better feeling in the world. There were no more smooth lines, given I had created my own braking bumps throughout the night. The beginning of arm pump was setting in, an uncomfortable sensation I had sought while training, but never felt. Temperatures dropped, my fingers began to freeze, and braking became more and more difficult. Digging had begun.
A faint red glow lit up the mountain range across the valley, the beginning of an incredible sunrise. I’d just lived the fastest night in history. Those sunrise laps are burnt into my memory forever – a red sky above, lapping with mates in one of the most epic places on the planet. We stopped and stared, but only for a moment.
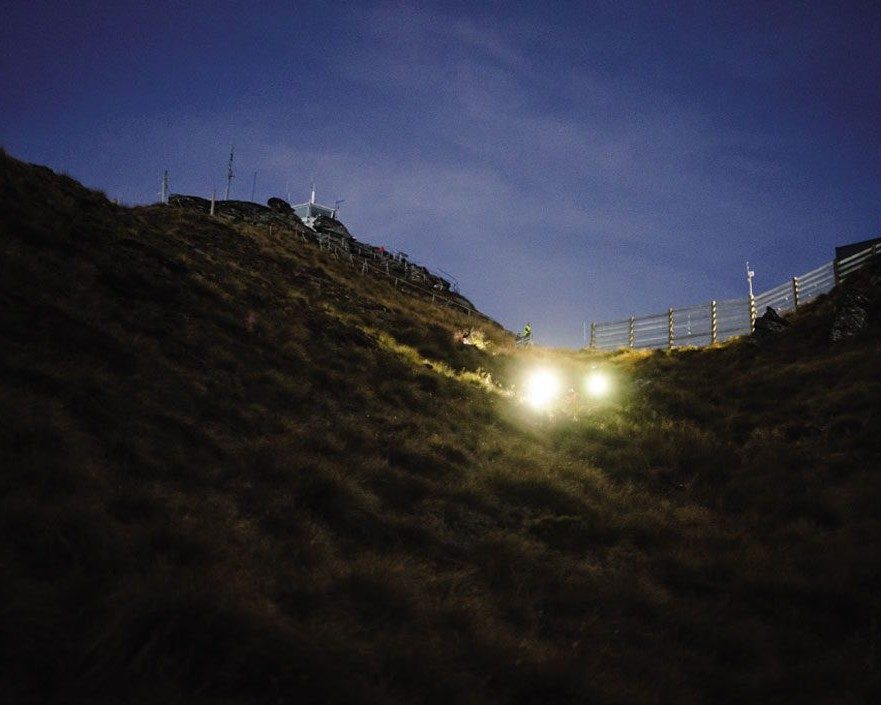
The Women’s World Record was hit at 9am, 13 hours into the ride, with a growing crowd to celebrate. Wow.
Day broke. The light changed everything; it felt like our laps now were on a different mountain, on a different day, on a different planet. Twelve of 24 hours down already, I started doing my fastest lap times, energised by being able to see, plus the women’s record – 72 laps, 30,000m – was getting close now. I got so excited I started doing features and pulling up for jumps again – a bad idea in hindsight, given every single impact cost me towards the end. The crew that had lapped all night with me needed to go to work, leaving me to continue lapping, alone now. This is how I usually ride, and I smiled to myself on the chairlift, absorbing the absurdity of it all. It gave me a chance to pause, feel. It’s then I realised I couldn’t feel my thumbs anymore. Nerve damage. Hopefully they come back someday.
I watched darkening clouds roll towards us from the south, it was no longer a race against time, but a race against rain. My support crew warned me I was a single lap away from the women’s record, that I was well ahead of time, that I should rest. The threatening rain decided for me – the perfect dirt wasn’t going to last much longer. The risk of injury would skyrocket if it got wet, so I’d only rest when I couldn’t continue riding non-stop.
The Women’s World Record was hit at 9am, 13 hours into the ride, with a growing crowd to celebrate. Wow. Eight Aoraki/Mount Cook’s. A new World Record holder. It wasn’t the plan, but, why not? Time to hunt down the men’s record. To celebrate, the support crew didn’t force me to eat that lap – a genuine and unexpected highlight. I began to realise eating was one of the hardest parts of the attempt.
Rain began to fall. Twenty more laps would break the Men’s World Record. Doable. Within reach. But, with fatigue and increasingly muddy conditions, 20 laps felt like 2000. I couldn’t afford mistakes, because my balance was rapidly deteriorating. I was double finger braking only now and sitting at every opportunity – which wasn’t often. My hands and forearms were noticeably swelling with each lap, their size clearly seen beneath my gloves and jumper. I slowed, could no longer jump, and began gritting my teeth with the pain of every braking bump or G-out. It was then that Brooke and Penny joined me – I harvested their high energy and stoke. More and more tourists joined the fray, filming and encouraging us from the sidelines, which meant even more energy for me to harvest.
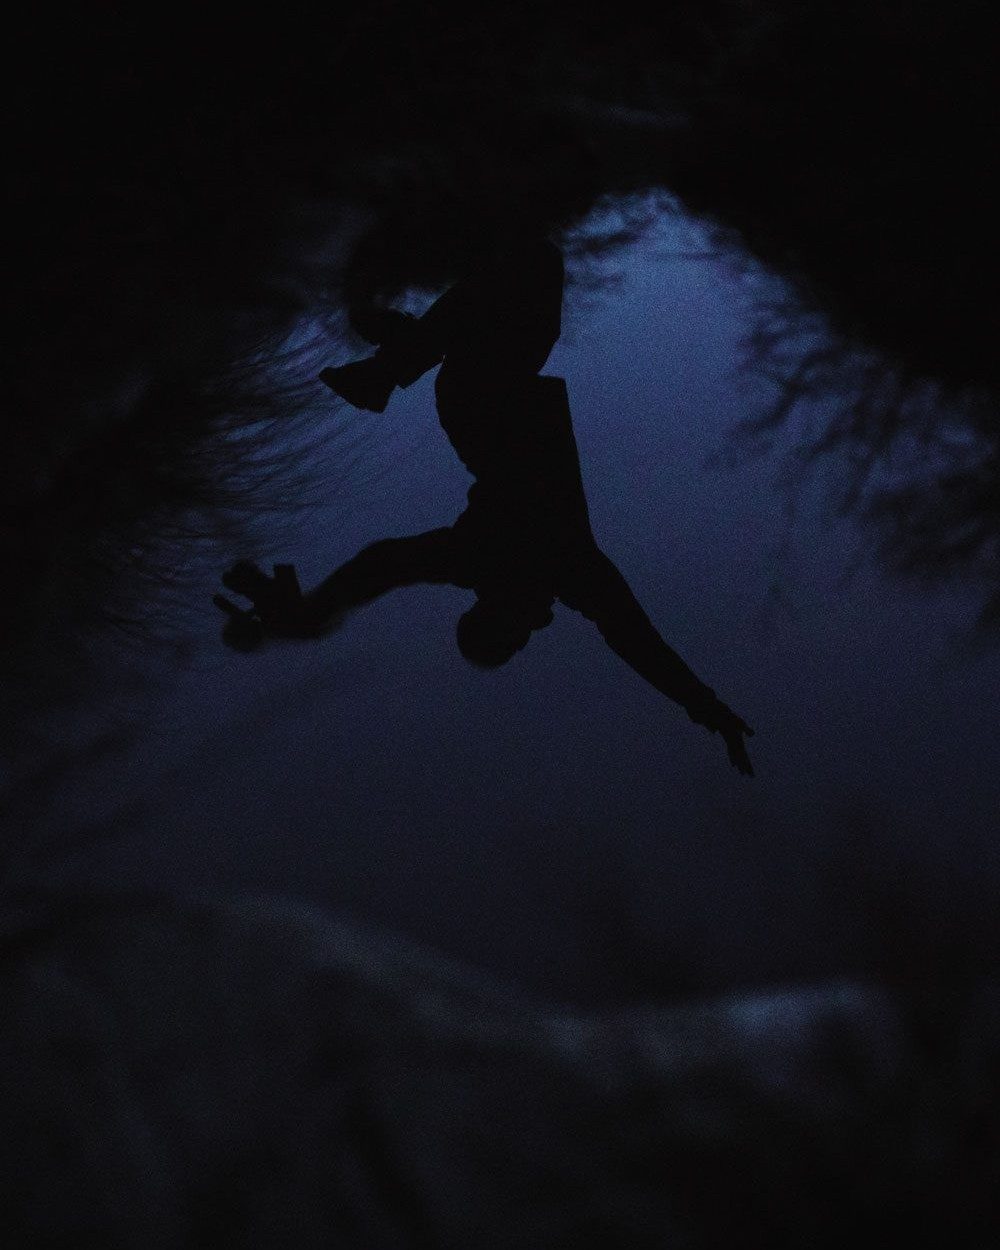
The heavens opened with just ten laps to go, and the last few laps were indeed horseshit. No one wins a shootout with wet Coronet. Thick mud coated both my tyres, making balancing through tight switchbacks near impossible. The closer to 100 laps we came, the slower time seemed to go. I had a little tumble on the 98th lap, covering my gloves in cold mud. I didn’t have the emotional bandwidth for a response to the layover, just picked the bike up, wiped my hands, and carried on. The words “be patient, stay upright” were now on repeat in my head.
At the bottom of the 98th lap, I was told I’d just broken the official World Record. I was exhausted, wet, but grinning; and met with clapping from hardy spectators braving the rain. I felt relief, and impatience. I was solely focused on 100 laps. Nothing else mattered. Arbitrarily and shallowly, ‘98 laps of Coronet’ just doesn’t sound quite as good as 100. Righto, two more then.
Those last two laps were easily the diciest riding I’ve ever done. Every part of me was fatigued, my arms were massively pumped, my goggles were covered in rain, and the trail had become peanut butter. I especially dreaded the rock slab, where poor balance went head-to-head with high consequence features. Despite this, speed increased on the final lap with all pain forgotten, completely trumped by the excitement of finishing. Crazily, it was one of the fastest laps I’d ridden. On the home straight of the 100th lap, I saw the support crew, standing and waiting in the rain, smiles from ear to ear. It was done.
I dropped my bike at their feet and was showered in rain and beer. I had no words. Arms were wrapped around me, with friends and strangers joining in the celebrations. I cannot explain the feeling I had in my chest, the comradery of the crew, the soreness in my body. It’s an experience I’m not sure I’ll ever be able to surpass, but I’ll sure try.
Final figures: 100 laps. 42,085 metres descended. 18 hours and 53 minutes.
I dropped my bike at their feet and was showered in rain and beer. I had no words.
I went out chasing a number, but that turned out to be the least important part. The people, the focus, the beauty, the mind, the body, and the INCREDIBLE support. That’s what’s real.
I honestly cannot articulate my gratitude to those who made it up the mountain with me. I could not have done it without them. They brought fuel to the fire, timely playfulness, and brilliance to this giant ticking clock we call life. I’ll never forget it.
A special shout out to the incredible Coronet Peak team, who supported me every step of the way. To SRAM, Patagonia and Title MTB for getting epic adventures like this off the ground. To Ben Hildred, for your perseverance in getting me to eat, and holding me up physically and mentally when the going got really tough. To the riders, Mateo Verdier, Brooke Thompson, Piyush Chavan, Jess Blewitt, Baxter Maiwald, Brett Rheeder, Penny Rowson, Jake Byrne, Sam Evans and Jamie McKay, who shared the wild ride. To the witnesses, Robert Lyons, Robin Bush, Lena Florey, Iona Bruce and Paul Westbrook, who put in long shifts at ridiculous hours. And to Jonny Ashworth and Callum Wood, whose incredible talents captured the day perfectly.

Musings
Words and illustration by Gaz Sullivan
“I hit ‘Buy Now’ and moved into the post-purchase second-guessing period…”
A couple of weeks ago, the stars aligned, and I added two new bikes to the stable at once. By a combination of circumstances that are best left unexplored, I stepped up to a brand new trail bike. Part of that exciting transaction was keeping all of my previous trail bike, except the frame.
As many of you will understand, there are already more bikes in my shed than I really have time to use. Each is suited to a particular purpose, and there is surprisingly little redundancy across the fleet. Some of them get out several times a week, some of them might hang there for months, waiting for the day when what they are useful for is what I am going to have a crack at.
So, with that in mind, a sensible person would turn the pile of pretty nice parts into cash via some sort of online marketplace.
That is what I set out to do. Honest.
My first step was to browse around, trying to establish a value for all this stuff.
There were similar parts with prices ranging from depressingly low to delusionally high.
And there were a lot of things available. I started thinking about the sheer tedium of listing everything, communicating with tyre-kickers, and then trying to send a pair of wheels to Invercargill.
Wondering if anybody would want the entire pile, and because I have a short attention span, I wandered over to the ‘frames’ department on the off chance there might be some path to follow there.
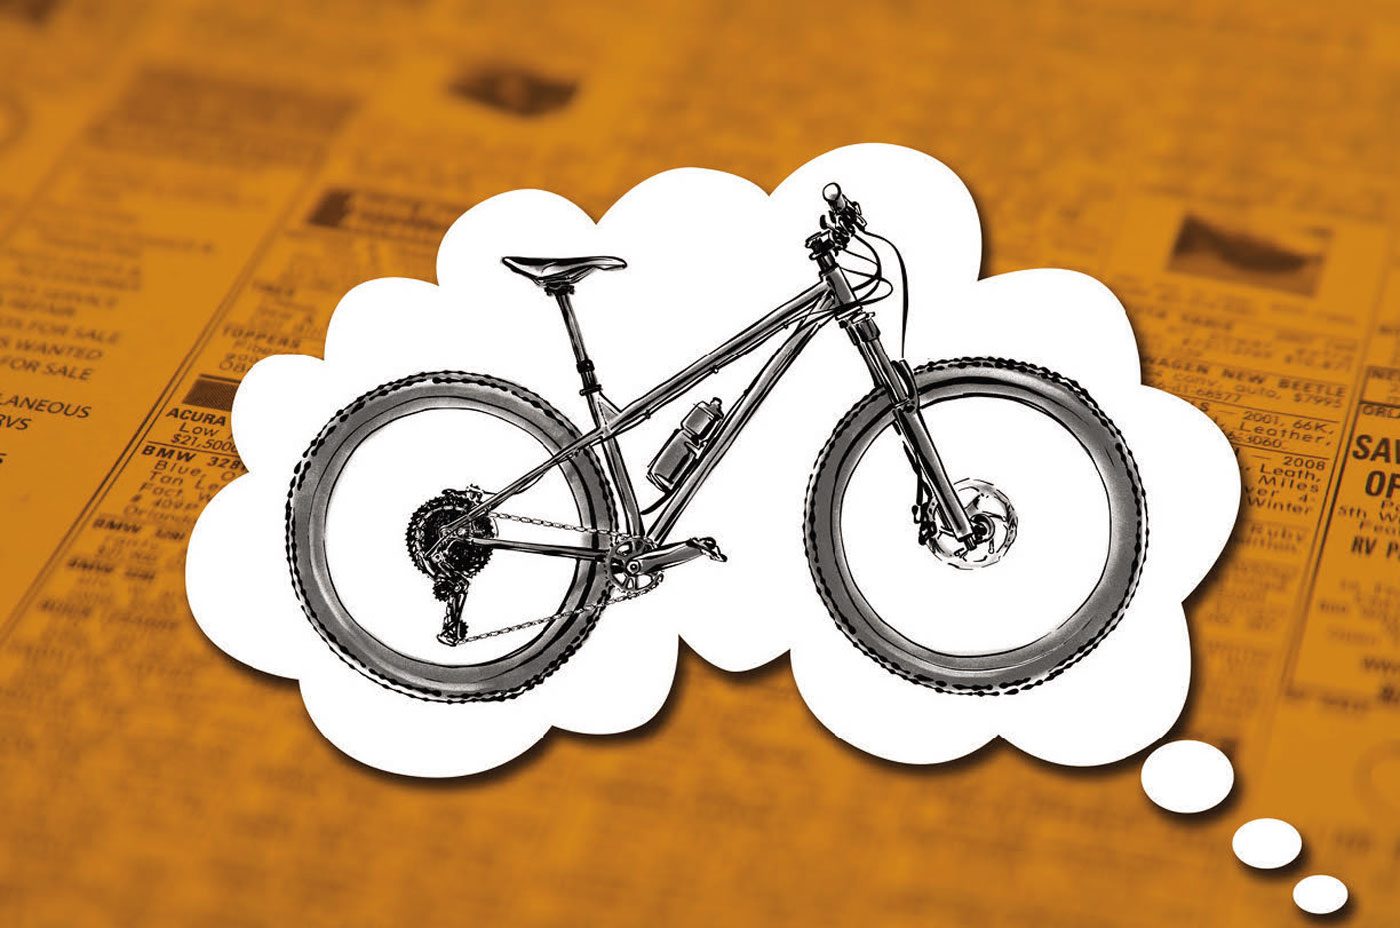
The very first thing I saw was a brand-new hardtail, my size, and completely compatible with everything in my parts trove except the bottom bracket. Plus, it was steel, which made it cool and very desirable.
A short but fierce mental argument followed. I bet you have endured similar battles. One part of my brain was of the opinion that a seat tube diameter matching my functional-but-virtually-worthless dropper post was a sign from heaven, and I should immediately buy the frame before anybody else did. Another part kept chiming in with the various things I could do with my winnings if I carried on with the original plan and ditched the parts. The first part came back with the very sound reasoning that if I acquired the frame, built it up, and then fell on hard times, a complete bike would be easier to sell than a pile of parts, and there would be nothing left over except a rear shock. Which would be left over anyway, and can be sold. It might even pay for the required bottom bracket.
The ‘buy the frame’ faction had the upper hand, but the other side somewhat lamely countered with a comment about the number of bikes already in the shed, pointing out how rarely some of them escape into the wild.
That was fairly easy to ignore – we are well-practiced in doing exactly that.
The final straw was somebody asking a question about the frame while I was looking at it.
I never found out what the question was, and didn’t wait for the answer. I hit ‘Buy Now’ and moved into the post-purchase second-guessing period.
The excitement of the new possession was far more powerful than the slowly fading doubts, and soon enough the frame turned up and the parts were bolted on.
The bike came out even better than Mr Positive Brain imagined, and the naysaying lame-o in the negative has not been heard of much since, except for a brief appearance the first time we took the new beast into the trails.
A sort of ‘see? I told you this was a dumb idea’ popped out on the first bit of fast, choppy trail, as my body tried to adjust to life with no rear suspension. How we rode places like Moab, Utah on a rigid hardtail is beyond my ability to recollect, but we did, and I have doggedly continued to try to do so.
I am not really getting any closer to floating over the ground like I should, and rides on the new dually are certainly much easier on the joints and fillings. But me and my mental go-for-it are still very happy we went for it.
Nothing like a different bike to make a ride fresh and new.
Red tape runs down volunteer enthusiasm
Words: Meagan Robertson
Photography: Cameron Mackenzie & Henry Jaine
As a longtime supporter of volunteer trail builders, Trail Fund NZ increased its focus on advocacy four years ago. The catalyst was when it came to light that the classification of bikes as ‘vehicles’, on public conservation land, was causing significant delays to projects around the country and meant that iconic trails – including several Great Rides – did not comply. Since then, it’s been a slow ride towards resolving the issue, and several passionate volunteers are feeling defeated.
“Old Ghost Road, Great Lake Trail, Paparoa, Timber Trail… these are only a few of the country’s Great Rides that have sections that don’t comply with the local Conservation Management Strategy,” explains Trail Fund Advocacy Manager, Jimmy Young. “It is understood that numerous Great Rides have sections that don’t comply, and dozens of other iconic mountain bike trails are also caught in the crosshairs.”
The knot at the bottom of these cross hairs appears to be the Conservation Act 1987, under which bicycles are considered vehicles. However, most (if not all) of these trails have been built since then, with DOC permission an integral part of the planning and execution processes.
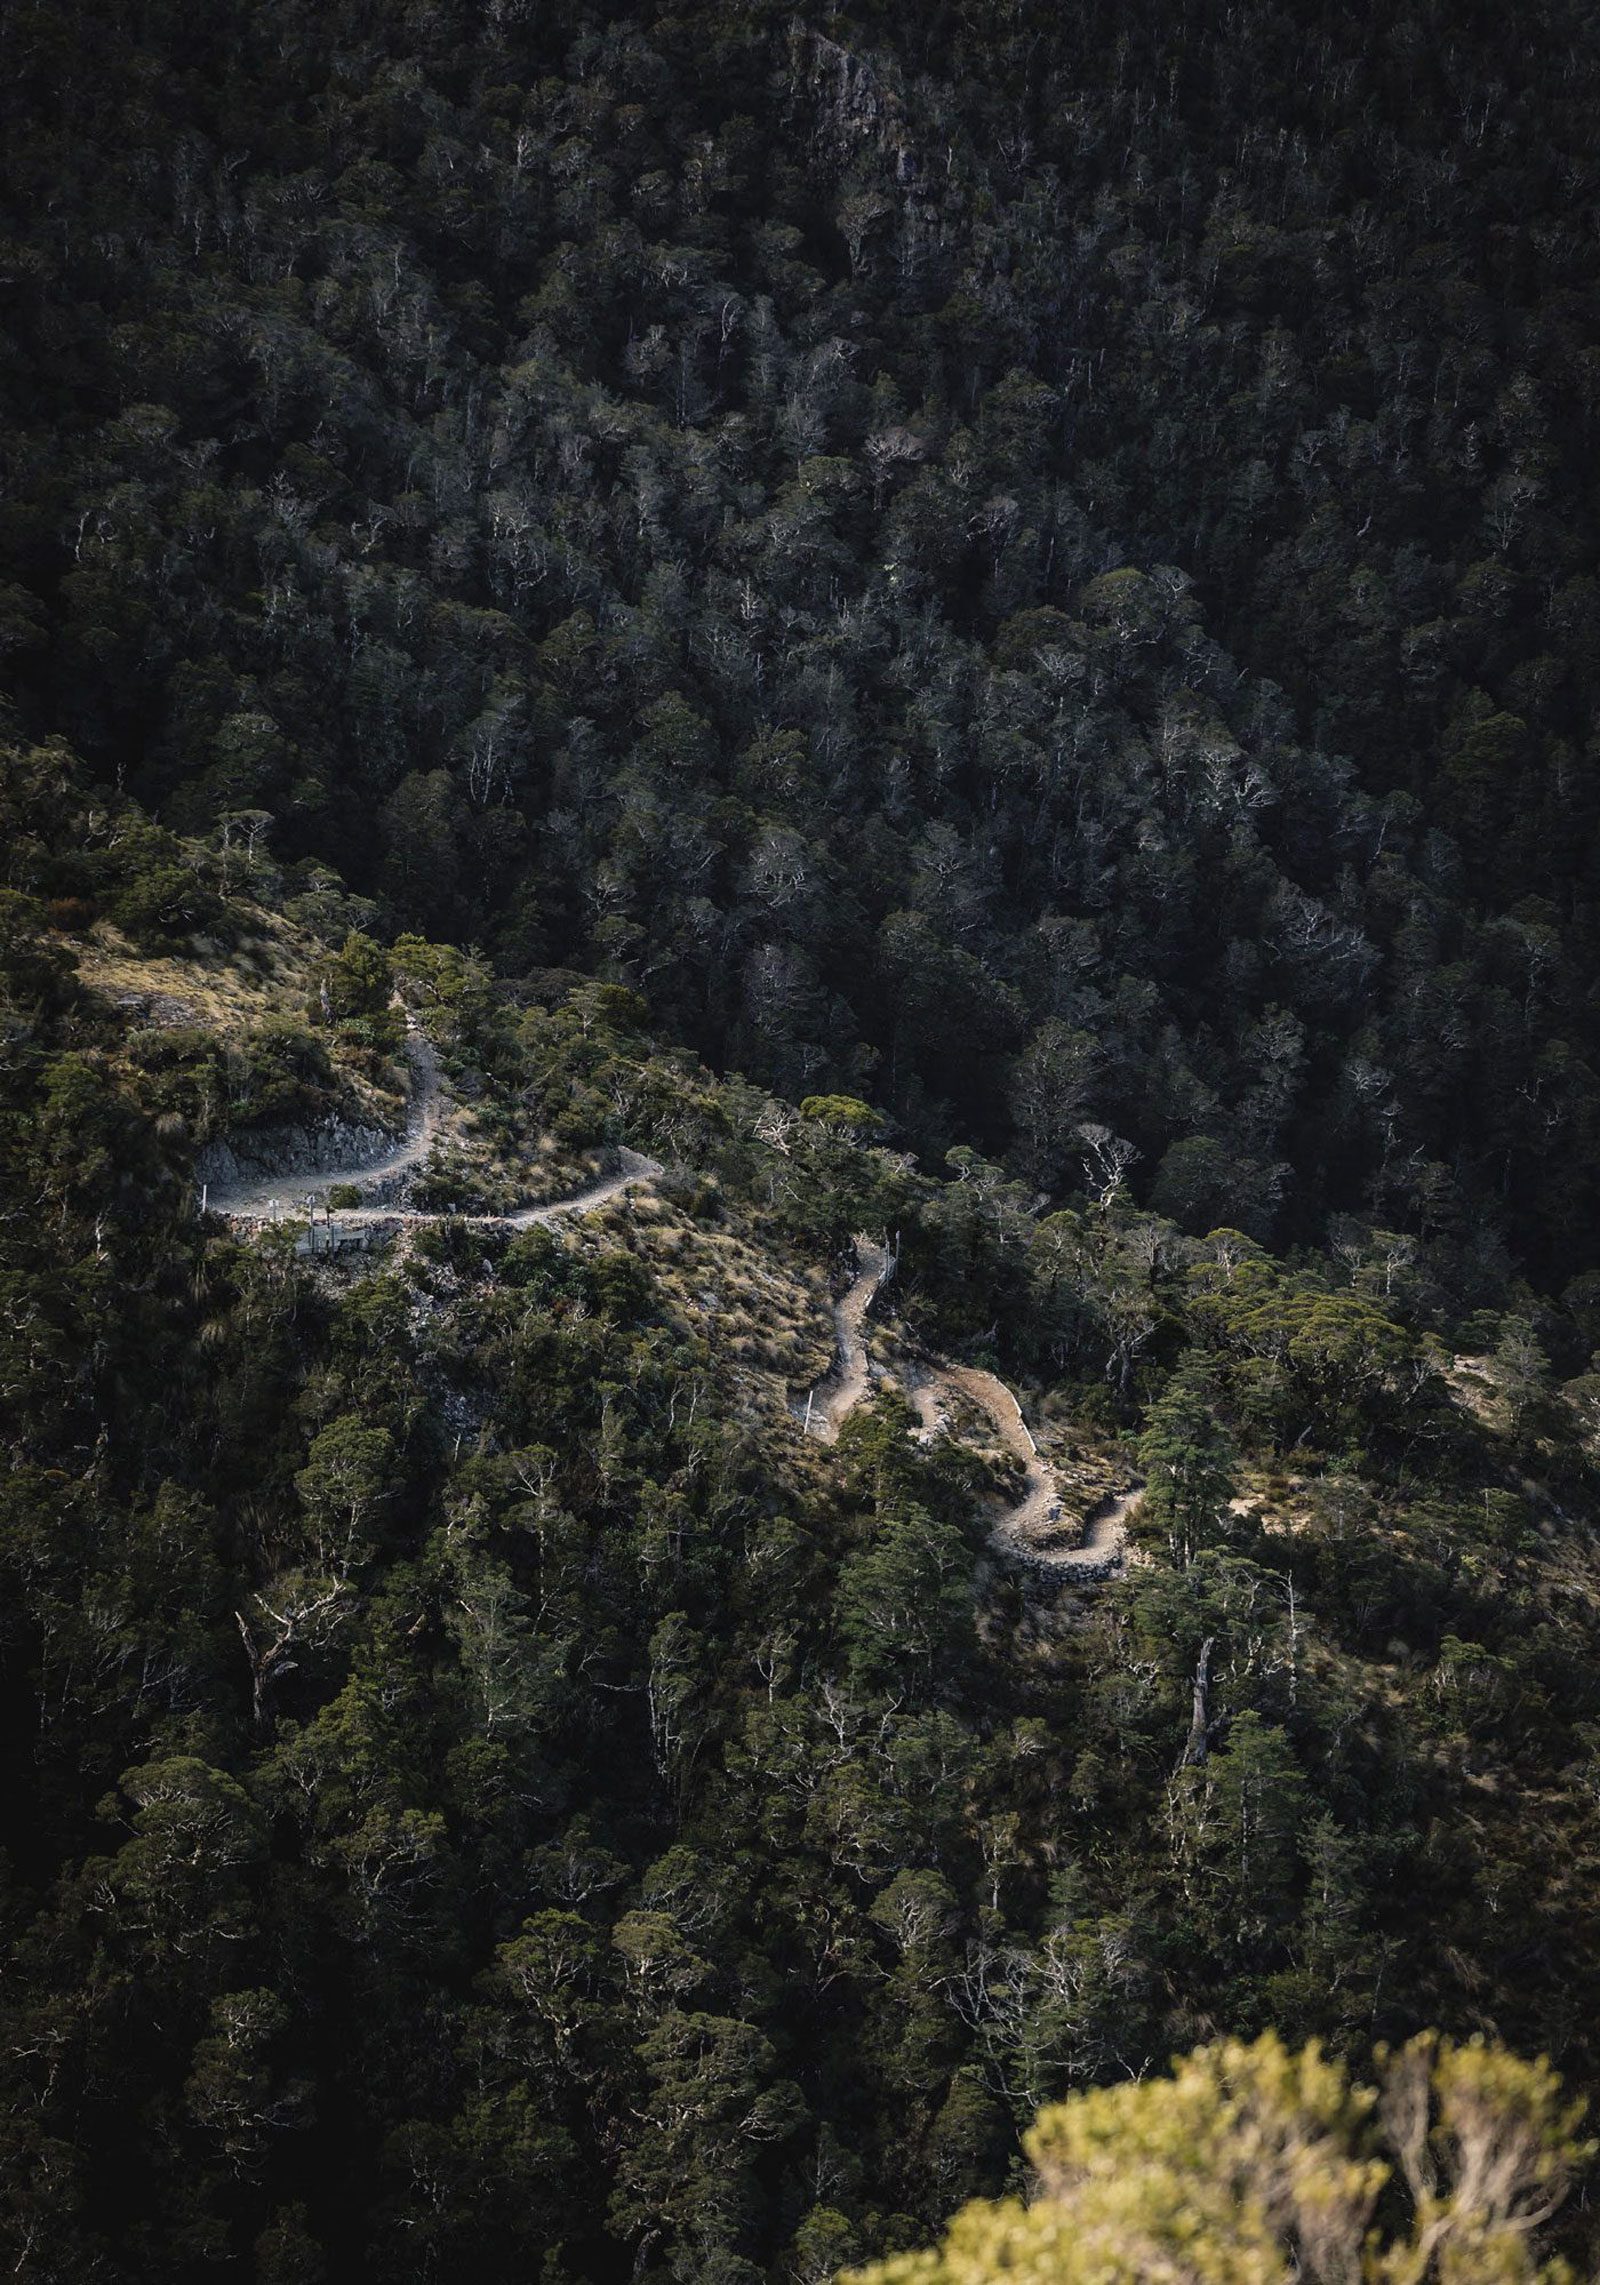
What changed?
At some point around 2018, Department of Conservation (DOC) staff started taking a different approach towards applications for cycle trails on department land. According to DOC, it is due to increased interest in biking around the country, but cycle trail managers and administrators say there appears to have been a complete reinterpretation of the 2005 legislation that overlaid the conservation management strategies.
“The ‘new’ approach was that a region’s Conservation Management Strategy (CMS) needed to identify the locations and use of vehicles (bikes in our case) and other forms of transport on land owned or administered by the department,” explains Jimmy. “However, DOC now wanted the locations of current and proposed cycle trails to be listed in the strategies before an application could be made to build them.”
Basically, bikes can only be used on trails explicitly specified (in a list) in the CMS, as opposed to assessing bikes on trails through an ‘effects–based approach’, which is the approach Trail Fund and other bike organisations are suggesting.
While this might not be an issue if the CMS’ were reviewed every few years, this is far from the case in New Zealand. CMS’ are only meant to be reviewed every 10 years and, in reality, seven of the 16 are current, two are under review, one is under development and six are overdue for review. Some are more than 20 years old.
Taupō trails on trial
Bike Taupō, which has built tracks and provided community representation for all Taupō cyclists since 2002, was one of the first clubs to face DOC’s ‘new’ interpretation of the Act. Chairperson, Pete Masters, and committee member, Rowan Sapsford, reached out to Trail Fund, and Jimmy has been working with them and other groups since then.
“We have more than 200kms of trails that we manage and approximately 160kms of these are on public conservation land,” explains Rowan. “A number of them were purpose–built by Bike Taupo, including the Great Lake Trails and the Rotary Ride, which were developed back in 2003.
“Approximately four years ago we were told that these trails were ultra vires (which means an act that lies beyond the authority of a corporation to perform), as they were not scheduled in the local CMS, despite all trails being developed with signed management agreements with the Department.”
Rowan says this has been extremely problematic for several trails on public conservation land managed by Bike Taupō, as they have not been able to renew management agreements or access funding – despite support from the local DOC office.
This prompted Bike Taupō to start working with Trail Fund and other trail groups around the country to request that DOC move away from the scheduling approach. Four year later, the discussion continues.
“We believe an effects–based approach, where trails are assessed against the values at place rather than just being written off because bikes will be ridden on them, should be adopted,” says Rowan.
The club felt like maybe it was making headway when the Department recently agreed that a new cycle trail within the Taupo Tongariro Conservancy, which is not scheduled in the CMS, will be able to proceed.
“While this is great news for the club and the community on this one trail, it’s not reassuring overall, as we’ve been told by the Department that this will not apply to any other trails in the area,” says Pete. “This makes no sense, and feels like a cop out if the Department planners are going to take a consistent approach.”
With management agreements for some of the club’s trails up for renewal soon, Bike Taupo says it will be a real test of the Department’s approach.
“We have awesome support from the local DOC team, but I guess we will have to wait and see if the Department refuses to renew our management agreements for biking trails which have been in place for 20 years, such as the Rotary Ride between Taupō and Huka falls.”

Kaihu cut short?
On 10 June, 150 local cyclists were thrilled to cross the new Ahikiwi Bridge at the official opening of stage one of the Kaihu Valley Trail, a 30–kilometre route between Dargaville and Kaihu comprising two off–road trail sections currently linked by low–volume roads.
Once complete, the Kaihu Valley Trail in Northland is intended to allow cyclists and walkers to wind their way through forest and farmland, and along the Kaihu River from Dargaville to Donnelly’s Crossing – a distance of some 45km. It will largely follow the historic rail line built in 1896 to service the kauri industry. The top third of this old rail corridor is stewardship land administered by DOC.
However, excitement was muted due to news received just weeks before that the DOC concession for Stage 2 of the trail – which would take riders off the narrow state highway and reduce climbing – was declined.
In late 2022, DOC staff were asked if there were any issues related to the concession. They advised no, then took until May 2023 to decline the application.
Local Steve Gwilliam from the project team says the concession application was made in mid–2021, and the team reached out to Trail Fund for support in early 2023, in desperation.
“They declined our application despite granting a concession a year before, for the bridges and trail in Kaiwaka township (50km away), which specifically states ‘walking and cycling’,” says Steve. “This should have set a precedent or provided exceptional circumstances for consideration.
“It’s disappointing that it took 20 months for DOC to respond to the project team and advise the application for cycling was inconsistent with the General Policy Statement (GPS) and CMS,” says Steve. “Even more disappointing is that the corridor, which has little conservation value, is farmed (stock, vehicles etc) by adjoining farmers ‘without’ any concession, which is in complete breach of the GPS and CMS. In our view, it’s likely a cycle way would offer more protection to the remaining historic rail corridor and features, than the current illegal farming operations.”
Ironically, Northland MP, Willow–Jean Prime, who is also Conservation Minister, joined Kaipara District Council deputy mayor, Jonathan Larsen, in cutting the ribbon at a June 10 ceremony hosted by Ahikiwi Marae in Kaihu.
“This is an investment in the region,” said Prime. “It is good for locals and their wellbeing and also for visitors who come to the region.”
The track will form part of existing and proposed trails traversing the whole Northland region, including the Kauri Coast Cycleway Heartland Ride, which runs southward from Rawene on the Hokianga Harbour – and which itself links to the Twin Coast Cycle Trail from the Bay of Islands to Hokianga, one of the 23 Great Rides of New Zealand.
The trail has received significant investment from various sources, including $4 million from the Infrastructure Reference Group, a $600,000 contribution from Waka Kotahi and funding through the government’s COVID–19 Response and Recovery Fund from MBIE.
Unfortunately, the MBIE funding had a deadline and, due to the delay on DOC’s part, Steve says the opportunity to build the section of trail that had the most benefit to riders – by taking them off the narrow state highway and public roads with 100km/hr traffic and no shoulders, taking away substantial climbs and travelling through some iconic northland topography – has now been missed.
The concession application has been amended to be ‘walking–only’ in hopes it might get traction, but has heard nothing since.
“It’s pretty demoralising to put in so much effort and just feel like you get nowhere, despite everyone being seemingly on board in public,” says Steve.
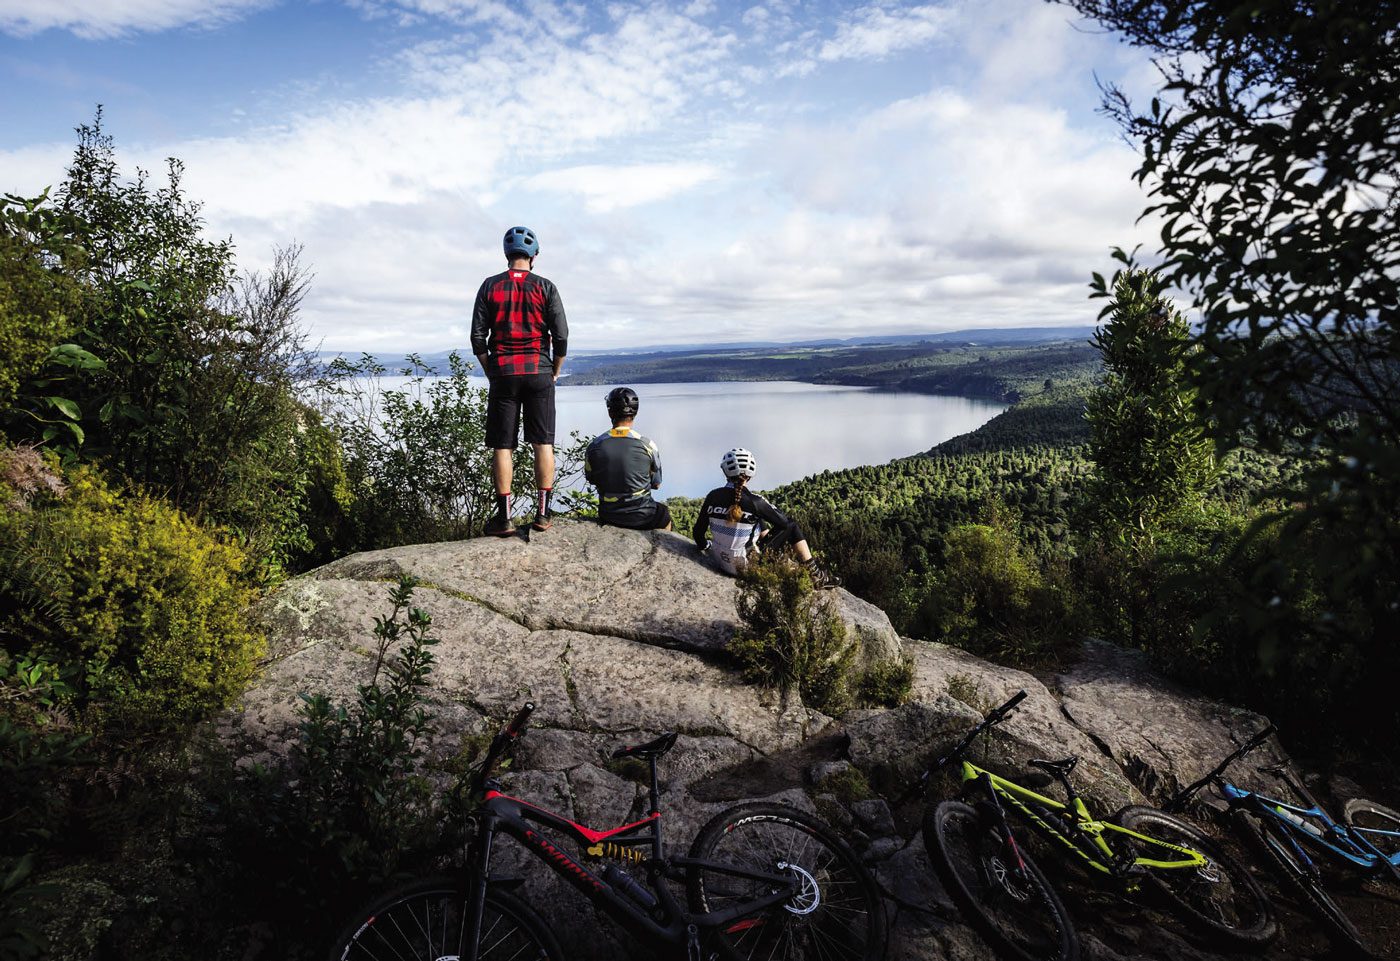
Under pressure
Despite the frustrations, many bike organisations are loathe to publicly criticise local departments for fear it could make things worse, or because there’s generally a good relationship locally. However, one region’s results suggest public pressure could do the trick.
This is what happened in Otago, where the department – under pressure to consider many new cycle trails, including the Kawarau Gorge link between Queenstown and Cromwell funded by the Government as part of a grand cycleway from Central Otago to Dunedin – was forced to take action.
DOC launched a partial review of the 2016 Otago CMS, which attracted almost 1750 public submissions in 2019, and a decision listing 112 possible cycle trail sites was issued in July 2022.
However, the proposals still needed to go through an assessment process, including engagement with Ngāi Tahu and consultation with the Otago Conservation Board, and organisations spent thousands of hours covering every piece of land where they might want to develop a biking track.
“While it’s great that a partial review means there’s the possibility of new cycle trails that are in line with the CMS, retaining this approach isn’t the answer,” says Jimmy. “What we need is an effective mechanism for assessing tracks on their merits and impacts – not one approach for walking tracks and another for cycling.”
Looking ahead
Despite little progress in three years, Trail Fund and the organisations it’s been working with continue to strive for a solution.
“We really want to work with DOC on this for the cycling stakeholders and provide greater access opportunities for recreation,” says Jimmy. “We are keen to be part of the solution and assist DOC to come up with a pragmatic solution that can solve the issue permanently.
“We all want a result that legitimises the activity of cycling on public conservation land and values the time and resources that committed volunteers put into trails around the country, week after week.”


First Impressions: SRAM GX Transmission
WORDS: LESTER PERRY
DISTRIBUTOR: WORRALLS
RRP: $2,170
“I was eager to pull out the UDH hanger from my battle-scarred frame and slide on a new Transmission…”
After hearing whispers that a more affordable GX groupset may be in the pipeline, I was eager to pull out the UDH hanger from my battle-scarred frame and slide on a new Transmission.
SRAM has launched the GX series – continuing their ‘All Day’ theme with a groupset designed for all-mountain, all-day missions, at a far more affordable price.
What you find on the GX system is largely the same as the higher-end Transmissions released earlier this year. There are some subtle differences which are visually noticeable from those higher-end units. In particular, the battery is hidden away in what I’ll refer to as the “Derailleur Garage” – keeping it out of harm’s way – essentially inside the derailleur. Replaceable, protective skid plates have been added, and a two-piece outer link. It also features a tool-free cage assembly – so it’s both removable and upgradeable, should you want to do so. A steel inner cage replaces the carbon of its higher-end brethren. Like the GX AXS of old, it’s been built for riders of the real world.
A couple of weeks before the launch date, a nice cardboard cube arrived on the courier. I quickly watched an install video, and it was game on. It’s been a long time since I’ve installed anything on my bike that required a proper read of the instructions or, in this case, a video. SRAM does a killer job of stepping through the installation process: whoa-to-go in around 30 minutes. I’d imagine after another couple of goes, a whole Transmission could be installed in about 15 – 20 minutes, maybe even quicker. It really is pretty simple provided you’ve watched the video. My only install hiccup was my inability to pair the system to my phone (no doubt user error, but I’ll figure that out soon) as well as the compatibility of the shifter clamp with my brakes, which aren’t SRAM. It took a bit of jimmying, but I managed to get the two to work together – it did mean that I couldn’t take full advantage of the adjustment that should have been available. Fortunately, the one spot I could get the shifter to sit was just right for me. I see in their documentation a different shifter pod mount is available and this would have completely solved my issue.

Te Miro MTB Park, just out the back of Cambridge, was my first testing ground. For the uninitiated, the trails are reasonably varied but the general theme is clay and native roots, dispersed amongst meandering climbs with the odd pinch or crux move requiring low cadence torque and fast, precise shifting to get the most out of your bike if speed is your aim. Coming off the back of a few days of intermittent rain, I wasn’t expecting much aside from mud and muck – perfect for bedding in a fresh groupset.
Leaving the car park, I snapped through the gears and made sure everything was still as it should be. I shifted through the cassette and took a couple of looks back just to be sure it had shifted, as it was so smooth and quiet, just a small ‘zit’ noise and a rolling increase of resistance at the pedals. I spun my way up the Easy As climb, taking the harder, steeper lines where possible, purposely shifting at the wrong time and under full power. Thoroughly impressed at how positive the shifting feel and accuracy was I pressed on, thinking to myself, ‘sure, it’s good now, but I bet once there’s some mud in the system it will be just like everything else’.
‘Easy As’ caps out and links into the Miro climb; its mellow gradients are broken up with some proper NZ native roots. Regular traffic polishes off the bark and pulls slimy dirt up onto them. You have to have your wits about you to keep the power down and maintain forward momentum, a situation where a mis-shift or slipped gear will likely see you stalled out or on the floor. Again, I was impressed by how accurate the shift was, with no slipping or mis-shifts, regardless of how many shifts under full power, and regardless of cadence.
Climbing to the top of the native bush, Miro finished, and I dropped into ‘Phil’s Gold’ – a test of a rider’s fitness, line choice and cornering ability; no steeps, but lots of corners, and a fair smattering of slimy roots. Eager to make this thing mis-shift, I again banged through gears, up and down the cassette, forcing shifts out of near-dead-stop corners. Nought. Nothing. Nada. I couldn’t get it to fault. I wondered whether I’d be so positive after a few months aboard the groupset – would the crispness remain after riding the second half of winter on it?
Another climb up Miro and a lap down ‘Native DH’ and my time was up for the day. I was only one proper ride in but so far, so good. I found myself shifting way more than I would aboard my previous group, and shifting from dead stops, under full power, and over chunky surfaces. I’d be concerned about heading over the bars and losing teeth on any of my other setups with that sort of carry-on.
SRAM made some pretty bold claims about their remapped Cassette, new X-sync technology (i.e. redesigned shifting ramps) and use of their flat-top chain to make it all work: ‘Creating seamless shifts even during your hardest power output.’ I’ve gotta say, there’s something in this combination of marketing speak and fancy nomenclature that really makes this thing shift impressively under power – something other brands claimed they’d done years ago – but SRAM has taken it up a level. I’ll be very interested if it continues to perform to this level, even after many km’s and battery charges.
So far, I have three main concerns. One, will the shifting with buttons mean I lose my right thumb muscle tone, rendering it useless when I go back to a cable system? Two, will I smash off the low-hanging shifter Pod? And three, will I want to give this groupset back after the next few months of testing is over?

Trek Evoke Clothing
WORDS: LESTER PERRY
DISTRIBUTOR: TREK NZ
RRP: $239 (SHORTS), $79 (TECH TEE)
“I reach for the same few pieces of kit each time I’m headed out to the trails; the cream rises to the top…”
Even though I have a fair mountain of riding kit in my cupboard, I’m beginning to realise how little of it I actually regularly use. I reach for the same few pieces each time I’m headed out to the trails. The cream rises to the top and, provided I’ve done my laundry, then it’s unlikely I’ll delve too deep into the pile to use anything other than my unintended favourites. Recently, a new set of kit has made its way into my rotation, though: the Trek Evoke tech tee and the Trek Evoke shorts have become some of my regulars for trail riding.
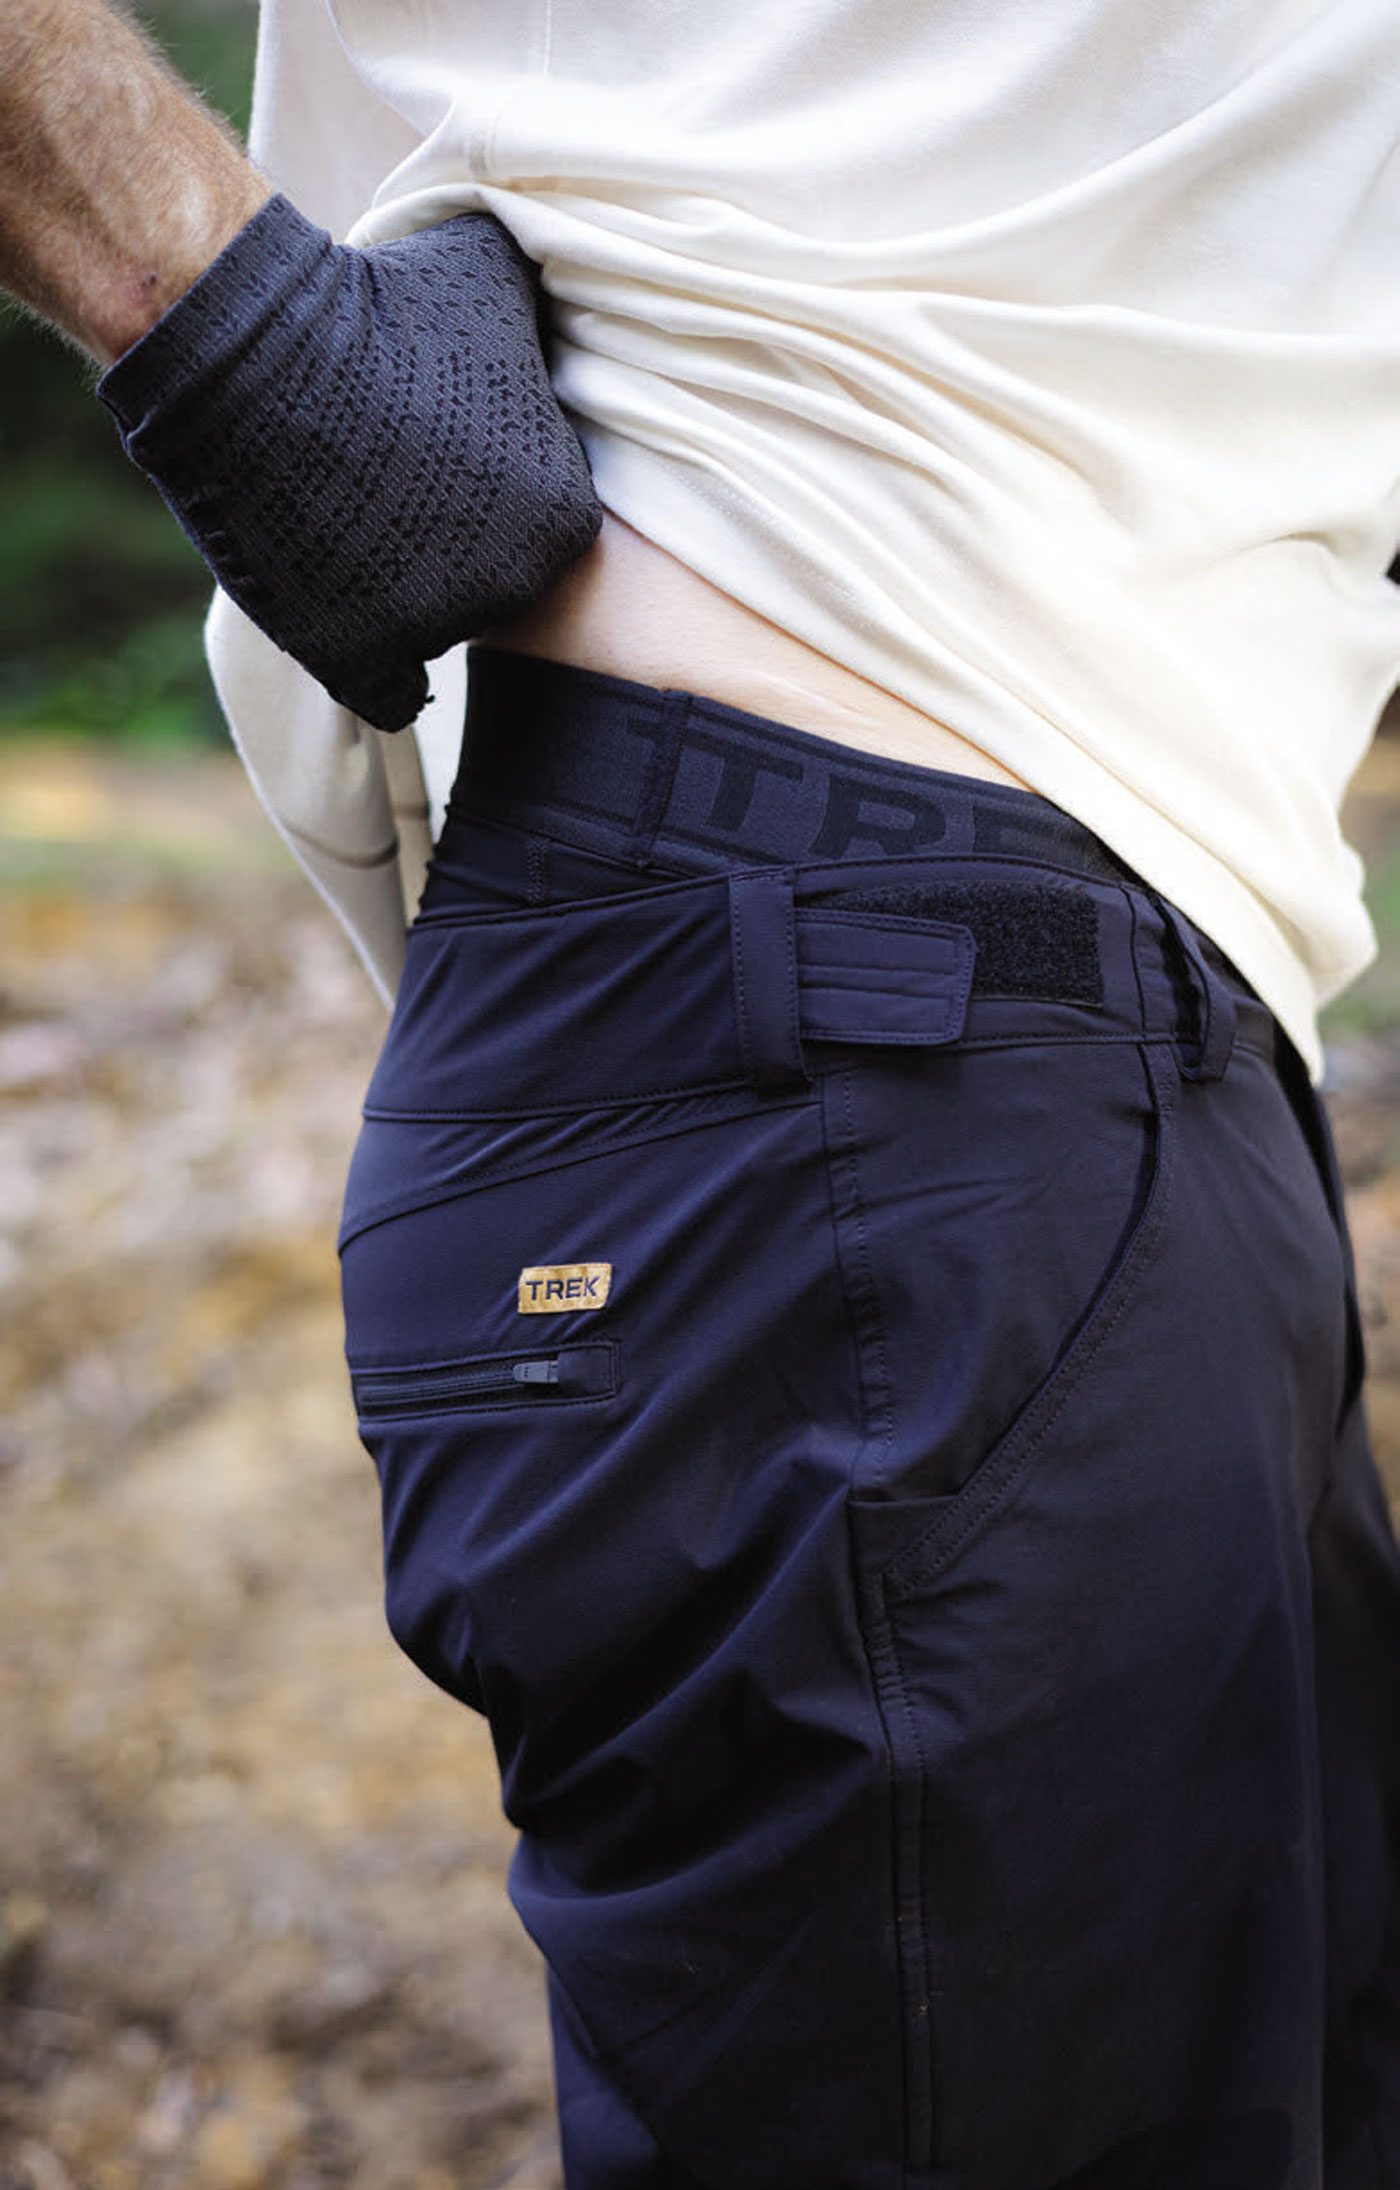
TREK EVOKE SHORTS
Trek has stepped up its game and featured a lightweight two-way stretch material on the outer short, that’s not only made up of 65% recycled materials but tested for harmful substances through the STANDARD 100 by OEKO-TEX® test as well. It’s soft to handle and plush against the skin.
There are two main hip pockets up front and a zippered one on the back – ideal for car keys or small Allen keys, but nothing much more considerable. Up front, a domed closure is paired with a zipper to keep things tidy. I’m a pretty strict 32” waist so went for a Medium. I reckon they’re slightly on the larger side but, with a small adjustment of the Velcro adjusters on each side of the waist, they’re spot on. The fit is listed as ‘semi-fitted’, which seems pretty accurate as they’re reasonably roomy through the leg without being baggy.
The leg length is what will probably be the kicker as to whether you like these shorts or not. I’m slightly below average when it comes to leg length for my 176cm height, and the Evoke’s sit a little above my knees with their 11-inch inseam. In the grand scheme of MTB shorts, this is on the shorter side of things; most shorts sitting in excess of 12 inches. I reckon this length hits the nail on the head for their intended use as a trail short though, ideally sans-knee pads. The overall silhouette is equally at home on a trail ride as at the gym or local swimming spot – they’d even be sweet for a drop-bar gravel ride. With subtle branding – just a small woven label above the rear pocket – they don’t scream “I’m a mountain biker!” at all… which makes a nice change.
Wearing liner undershorts has become normal for many riders these days, and we’re seeing fewer and fewer people hiding bib shorts beneath their baggies. There are a heap of liners on the market these days but, from what I’ve experienced, most fall short and are merely ticking a box rather than offering the ideal solution. The fits are off, chamois are bad and the overall experience leaves me wishing I’d just purchased a good pair of bibs instead – then hidden them under baggies, of course!
Trek has knocked it out of the park with this pair of liners though – I’m impressed. Let’s start at the top and work our way down: the waistband is a wide, soft number – think, a comfy boxer-short style – and there’s no narrow elastic cutting into your stomach as you’re doubled over, chewing your stem whilst grunting up a steep climb. A couple of different recycled nylon and spandex blends on the main panels help the shorts form nicely to your body, with no discernible bunching or rubbing. The legs feature a similar band to the waist, but with rubber grippers on the rear – finally, a liner the legs won’t creep up on – and they’re awesome for holding up knee pads too. The liner can be used snapped into place, attached to the shorts, or worn completely independently – i.e. under another pair of shorts. Not by themselves… although we’re not ones to judge.
All the good features of a liner are easily let down by an inferior chamois but, after lots of saddle time, my undercarriage is happy to report that the chamois lives up to the rest of the short. No dramas here.
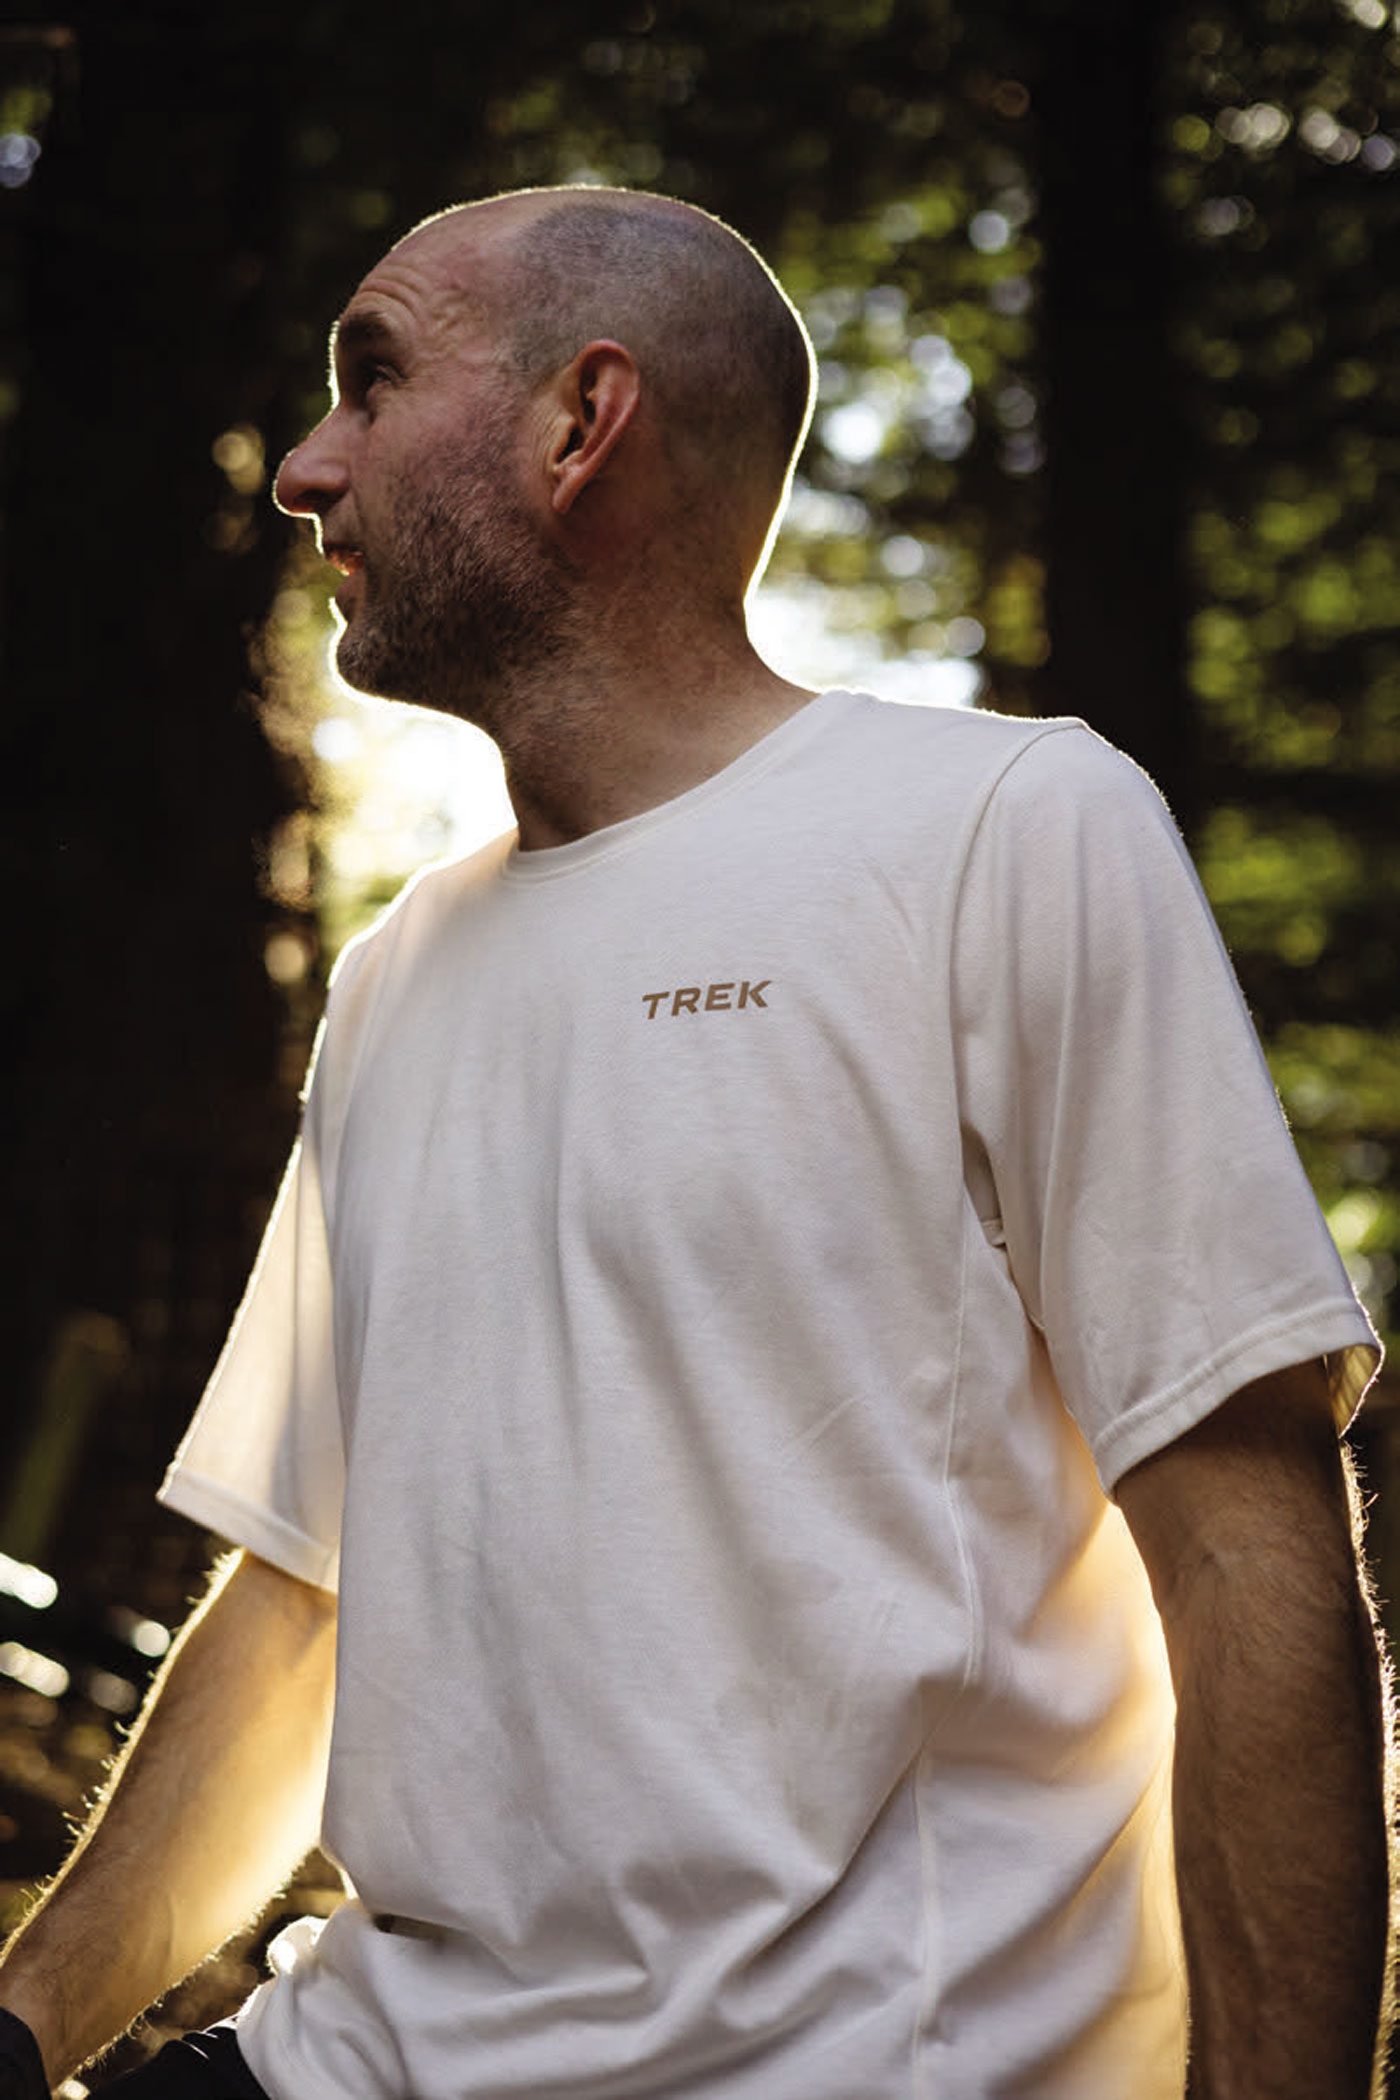
TREK EVOKE TECH TEE:
The Evoke Tech Tee’s main body fabric contains 85% recycled polyester blended with cotton, and passes the same OEKO-TEX® tests the shorts do, so no nasties are hiding in the fabrics.
Wearing a size large (normal for me) the semi-fitted cut is plenty comfy and leaves room for movement. I’m impressed that Trek used some panelling down the sides to help shape the form, not just a standard tee-styled cut. The rear has a slightly dropped tail to help avoid a public builders crack.
The fabric feels reasonably lightweight but not to the point I’d be concerned about tearing it any more than other riding shirts. It breathes well and doesn’t hold on to sweat but helps it evaporate off. Although I’ve been riding this off-white colour over the early winter, the mud seems to clean out of it much easier than some shirts I’ve used.
As with the shorts, this top doesn’t stand out from a casually-dressed crowd and, again, subtle branding helps you stay low-key; just a small chest logo hit proves that you are in fact a cyclist.
WRAP-UP
Like most of the Trek kit (or, previously, Bontrager) I’ve used over the years, the quality of both the shorts and the shirt appears to be top-notch. So far, it seems these garments will stand the test of both time and trails. If you’re searching for some versatile trail-riding garb with subtle style, and don’t want a baggier style ‘all-mountain’ look then the Evoke shorts and tech tee will likely be right up your alley.

Pirelli Scorpion Race DH & Enduro Tyres
WORDS: LESTER PERRY
DISTRIBUTOR: FE SPORTS
RRP: $149 (RACE DH), $159 (ENDURO)
“The first day of testing was about as testing for a rider as a tyre…”
‘Pick a tyre brand and be a dick about it.’ This phrase rings true in the MTB world – getting riders to try a new tyre brand is a tough ask. If what you’ve got works, why should you change it?
It’s fair to say the tried and true tyre brands have rested on their rubbery laurels over recent years, with no groundbreaking leaps forward in technology. Recently though, newer brands have entered the fray, and existing brands are innovating hard – in Pirelli’s case, they’re drawing on years of motorsport experience to shortcut the development process and take on the major players.
Pirelli has quietly toiled away for the last couple of years, developing their line of gravity focussed tyres, bringing over 150 years of motorsport prowess and synergising with MTB legend and development specialist – not to mention ex-World DH Champ – Fabian Barel alongside numerous test riders worldwide.
The perfect rubber compound is similar to Goldilocks’s porridge: when it’s not quite right, it’s not right at all. When conditions are prime, traction comes easy; it could roll well but then come unstuck on roots, rock or hardpack, feeling like you’re being “pinged” offline. Too soft and it will sap your speed and likely wear excessively quickly. What we’re after is the best of both worlds. When it comes to tyre carcass, we all want the lightest but most puncture-proof casing possible – again, the best of everything and an impossible task!
Once the Italians at Pirelli’s HQ in Milan finally woke from their afternoon ‘riposo’ (rest) we were shipped out two sets of their newly released ‘Scorpion’ gravity treads; a pair each of the new Enduro M in 29”, DH in 27.5”, and 29” to set up mullet.
Scorpion Race DH
Front: M (Mixed) Dual Wall+, Evo 42a dual compound, 29×2.5”
Rear: T (Traction) Dual Wall+, Evo 42a dual compound 27.5×2.5”
The Scorpion Race DH tyres feature a full 62tpi DualWall+ casing and a rubber insert at the bead to help prevent pinch flats. Designed with a heavy-hitting, all-out gravity focus, these tyres leave no question as to their intended use, with large knobs and huge, loud logos screaming, “Go fast and hit stuff”!
The best constructed tyre can be let down by the rubber attached to it, and it’s no secret most tyre brands fail at this when they enter the gravity market. Fortunately, it’s not Pirelli’s first rubber rodeo and they’ve nailed their compound. The Evo Dual Compound is soft and sticky, with a slow – but not sluggish – rebound characteristic. That sounds very subjective but it’s abundantly obvious when a brand gets the compound just right, and plenty have got it wrong.
Mounting these up on my enduro bike was a pleasant surprise. Comfortably edging them onto the rims by hand, then snapping them into place with a regular track pump – no tyre levers, sweaty brow or sprained thumbs required.
Rolling down the driveway, a few hops up and down the curb then some aggressive turns on the grassy verge gave a few instant impressions. They roll well for an out-and-out downhill race tyre, with no feeling like they’re sapping rolling speed and, while they’re noticeably heavier than the trail tyres I had been running, the weight is in line with their intended use and their competition. The first day of testing was about as testing for a rider as a tyre – a wet, but fortunately not too cold, day in Christchurch’s Port Hills. With slippery chutes and wet rocks aplenty, this was the perfect zone to get a feel for the treads in some challenging conditions. After all, what good is a tyre reviewed in prime conditions?
The first stop was the Christchurch Adventure Park and some sections of ‘The GC’ DH track. A few turns in the trail hooked right and straight across a slick off- camber; as I glided across the face I thought, “OK, these hook up well”. In control and comfortably upright, not something I’d expect to come so easily in these conditions.
You can’t tell a great deal how a tyre will perform by simply looking at the tread pattern, but you can make some assumptions about it will likely ride. The Scorpion ‘M’ tread has aggressive ramping on the lead edge of the centre knobs, helping it roll well and maintain speed. There’s a line of transition knobs to fill the void when tipping over to the side knobs from the centre, helping keep the feel consistent. Siping (small cuts in the knobs) are added to help the knobs conform to firm surfaces, adding extra edges for just that little more grip, as well as helping the designers somewhat tune the feel of a tyre. The M tread is reasonably open and clears mud well even at pretty low speeds, and the side knobs offer plenty of support and a consistent drift once they do break loose.
On the rear, the ‘T’ tread speaks of its motocross heritage. The main feature of the tread is a wide central knob – it’s super effective under brakes, and without the ramps of the ‘M’ tread it offers exceptional power transfer but higher rolling resistance – it’s a downhill focussed tyre after all, so not really a big deal. The central knob is designed to have the centre portion cut out of it to optimise for softer conditions or use as a front tyre. For the uninitiated, tread cutting is a common sight on the World Cup Downhill circuit. The side knobs are nearly identical to those on the ‘M’ series and have a similar consistent feel.
After a couple of days aboard the Scorpion DH tyres, sampling Christchurch’s Port Hills in winter conditions, I’d happily recommend them to those seeking a full-blown DH race or park option, those looking for a heavy-duty Enduro setup riding rocky courses, or aggressive ‘Clydesdales’ aboard e-bikes looking for extra grip and puncture protection.
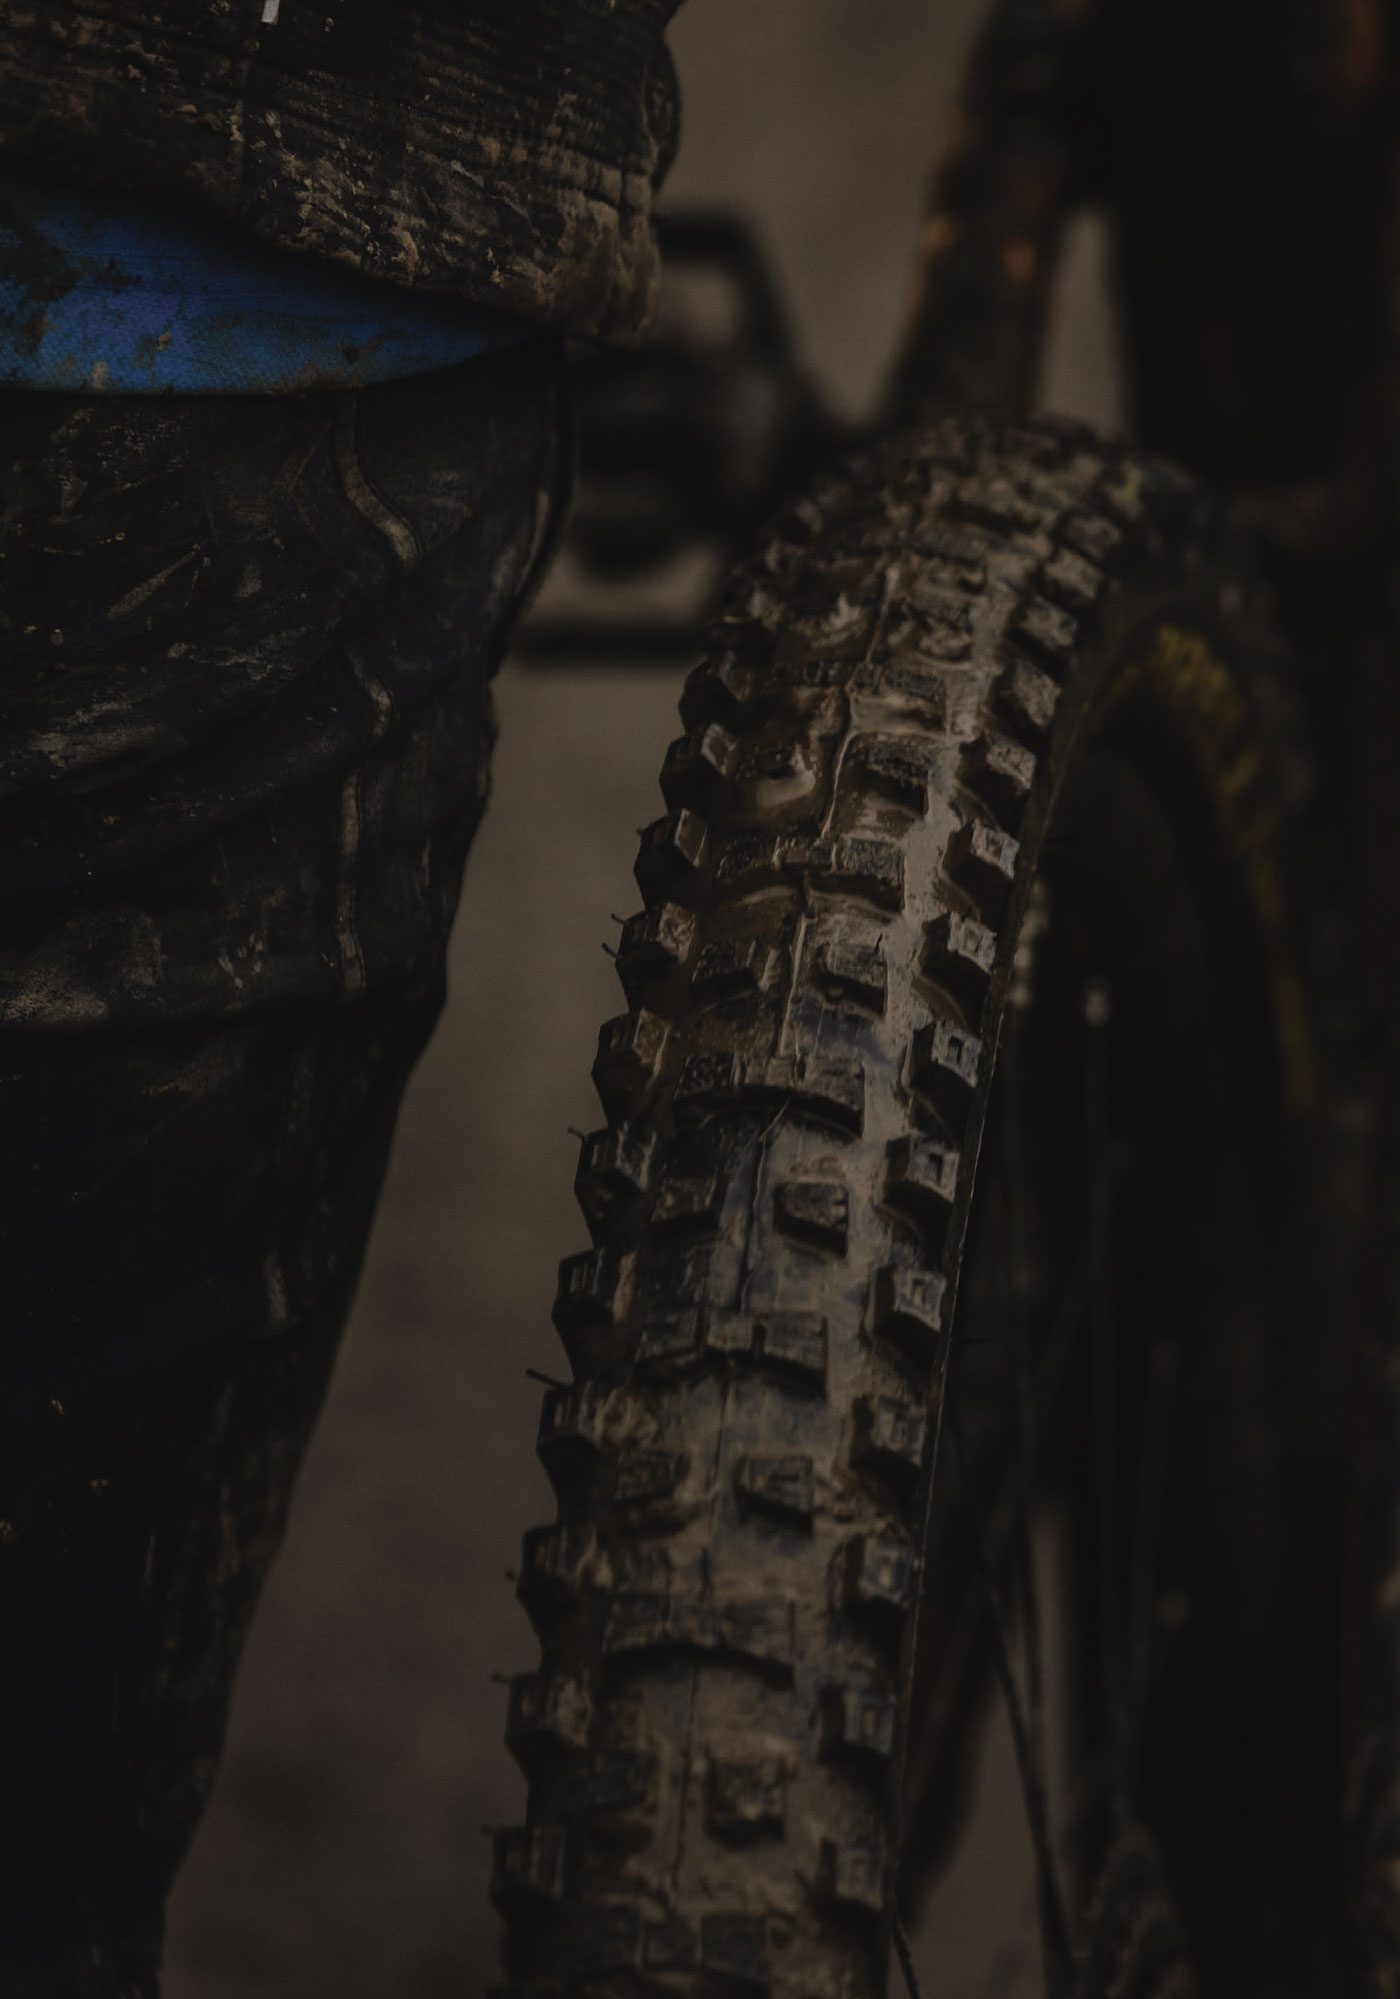
Scorpion Race Enduro
Front: M (Mixed) Dual Wall, Evo 42a dual compound, 29×2.5”
Rear: M (Mixed) Dual Wall+, Evo 42a dual compound, 29×2.5”
Back on home turf in the Waikato, I unpacked my bike after the Christchurch stint and mounted up the Enduro cased tyres. Just like the DH tyres, these were a cinch to mount up.
Front and rear I had the ‘M’ tread. The same tread and compound as the DH front tyre I’d ridden the week prior, but a more supple ‘Dual Wall’ 120tpi casing and rubber insert like the DH tyres. According to Pirelli’s documentation, these tyres knock around 190g off the DH versions in 29”, so certainly a big difference in weight.
Testing these in the middle of a Waikato winter it’s a sure thing there will be lots of moisture around and with our local trails a mix of hardpack clay, slippery roots and moist leaf rot, there’s plenty of variety to make an assessment – we’re just missing sections of chunky rock. Riding around this area can be sketchy at best of times, in the winter, so any shortcomings in either bike setup or skills will quickly be highlighted.
The lighter weight of the Enduro tyres was welcomed after running the heavier DH versions. The Enduro ‘DualWall’ casing gives more trail feel, and the lighter weight was certainly noticeable when hopping over trail features or accelerating out of slow corners. These things offer confidence in spades, particularly when the going gets fast and rough – after all, that’s precisely what they’re designed for. They allow you to more confidently head for the ideal line, not just the one dictated to you by the conditions or your tyres.
Descending on these is a blast. Charging on familiar trails and headlong into some sketchy root sections, I was thankful for how well the tyres held their line; the soft compound offering confidence on the roots where my normal tyres would let go. Cornering feels very natural, with no discernible gap from being ‘upright’ to leaning in, something I’ve struck on tyres in the past. There’s a positive, almost locked-in feel about them, thanks to the strategically placed, large sticky knobs.
All traction comes to an end at some point, and the Scorpions give a consistent drift rather than a “you’ve just hit ice” sort of surprise once they do let go. I noticed this several times when the tread would let go in a controlled manner and then hook up again, no big sketchy surprises here.
Braking was awesome, largely down to the large knobs, but equally down to the rubber compound and carcass, all damping trail chatter and allowing the tyre to bite and conform without breaking traction.
Climbing was where I found the only chink in the Scorpion ‘M’ armour. With the central knobs so heavily ramped on the leading edge, there’s no square sharp edge to bite in when climbing. ‘Slippery when wet’ surfaces require being conscious of where and when you’re putting the power down to prevent wheel spin. It’s not a big deal on a tyre of this genre, as they’re designed for all-out enduro speed, not taking uphill KOM’s. This trait may be more noticeable on an eBike so opting for the ‘T’ tread could be ideal.
All the acronyms and hyperbole mean nothing if you’re bouncing off roots and can’t hold a line confidently. The combination of tread pattern, rubber compound and casing on these inspire speed and confidence. If you’re an enduro racer or eMTB rider looking for a hard-hitting, but not overly heavy or sluggish set of tyres to use all year round, these should be on your ‘must-buy’ list.
Are the Pirelli Scorpion gravity series a game-changer? It’s hard to say they’re head and shoulders above the established competition, but they’re easily on par or fractionally better and certainly a very worthy opponent. If you’re looking to change things up and try something fresh, these tyres would be a great place to start. You might well find an advantage over what you’ve been used to – I certainly have.


